The Conversation (0)
Sign Up

Cover surrounding area with plastic drop cloths for easy clean up and less mess at the end of your project!
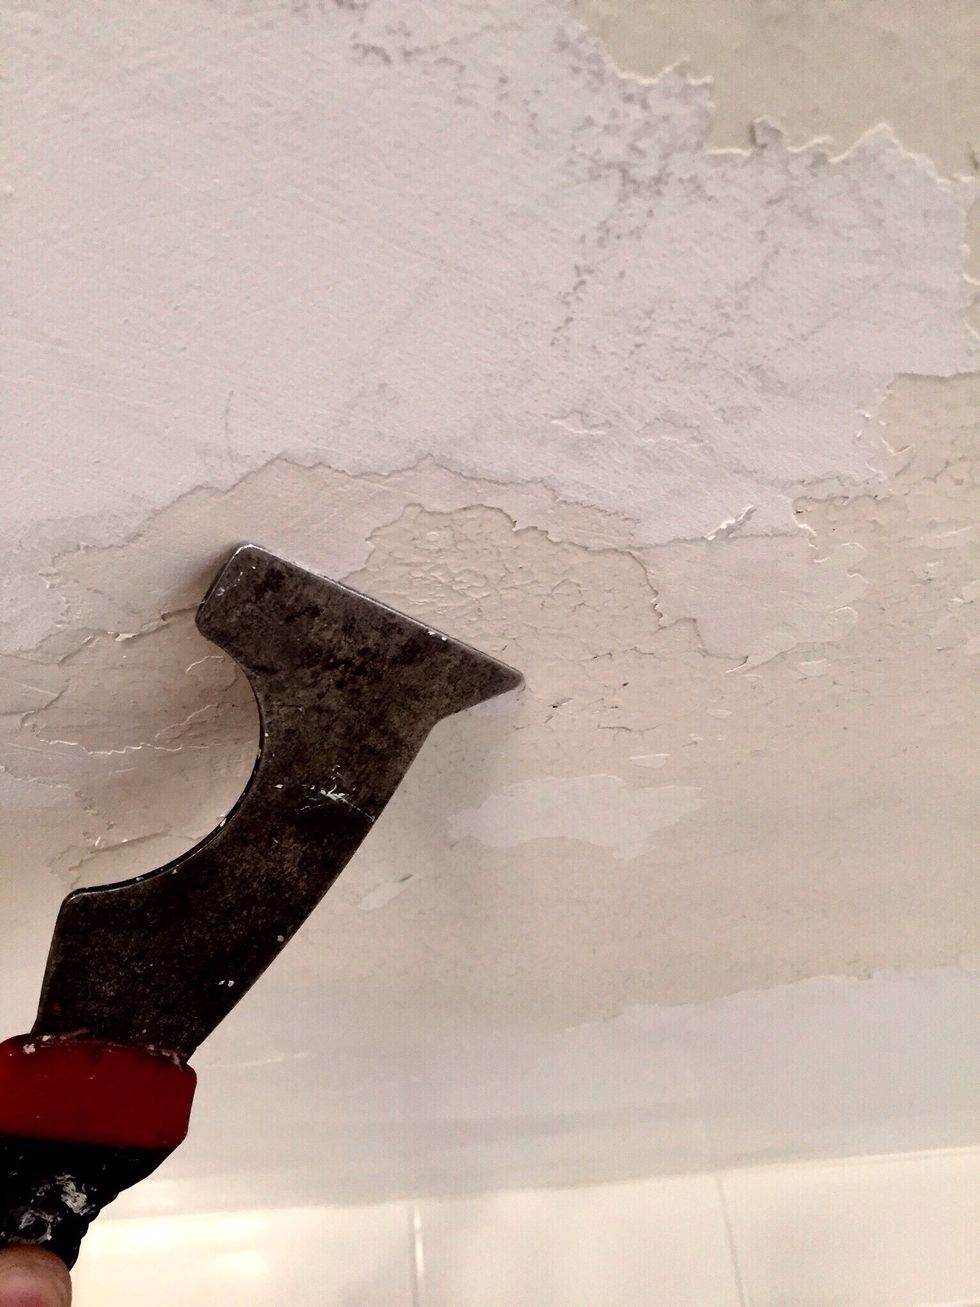
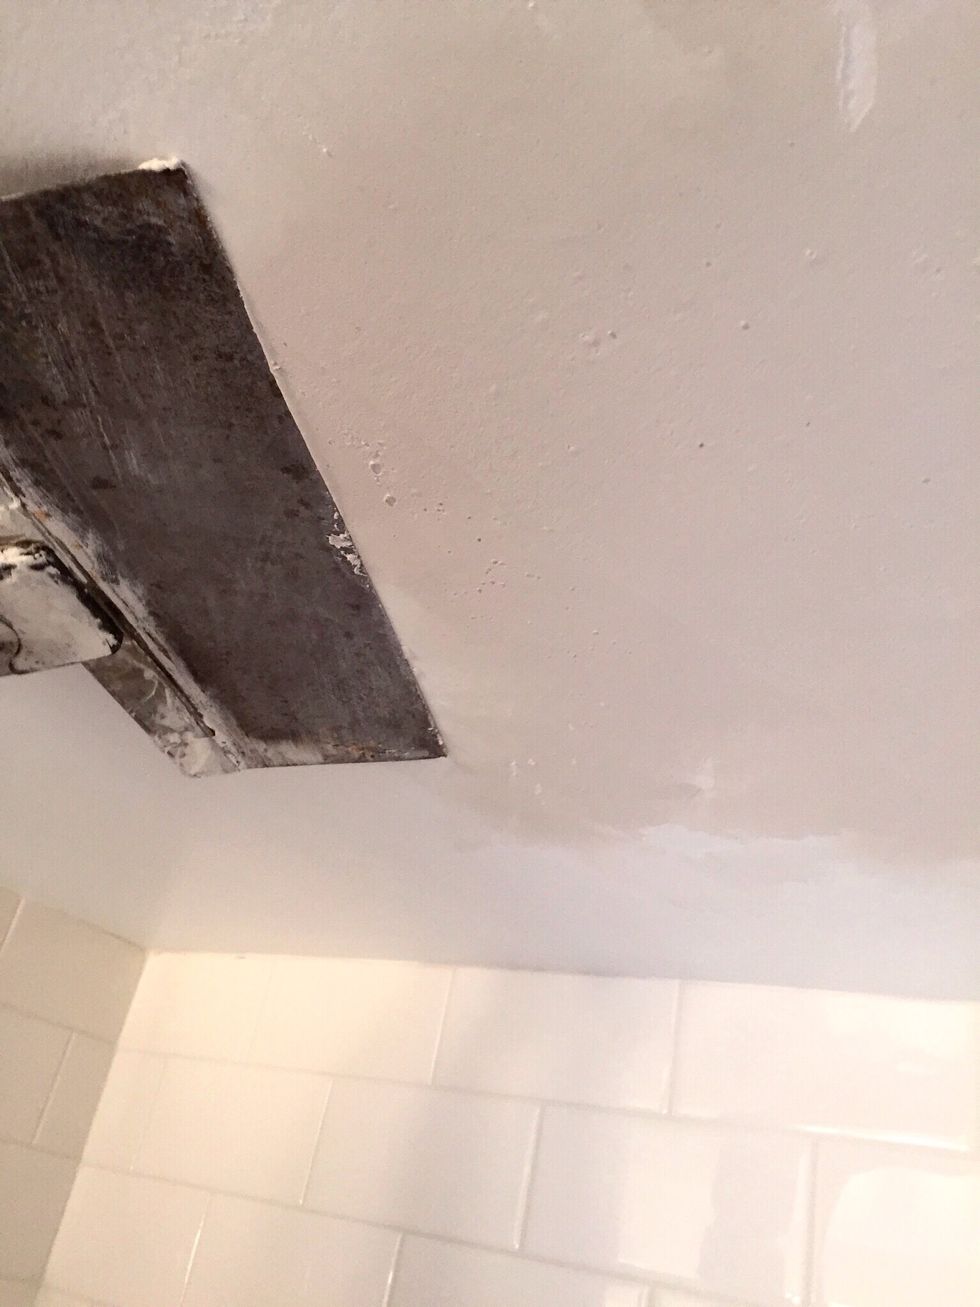
Where bubbles, flaking, or any loose paint is seen; gently scrape away particles with a putty knife or scraper. (In this image, the loose paint had already been scraped)
(In the image, the loose paint has already been scraped)

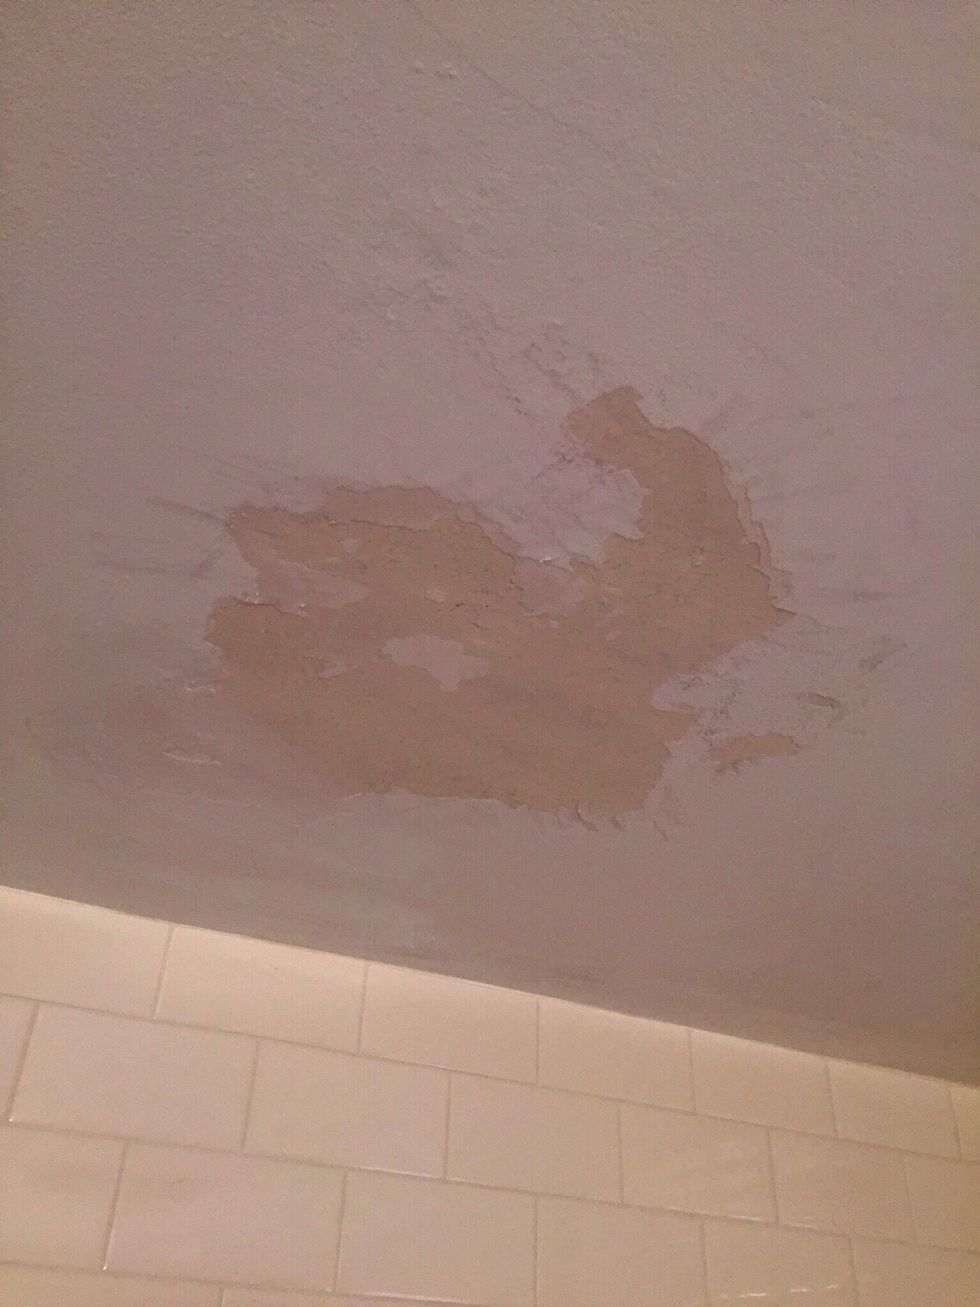
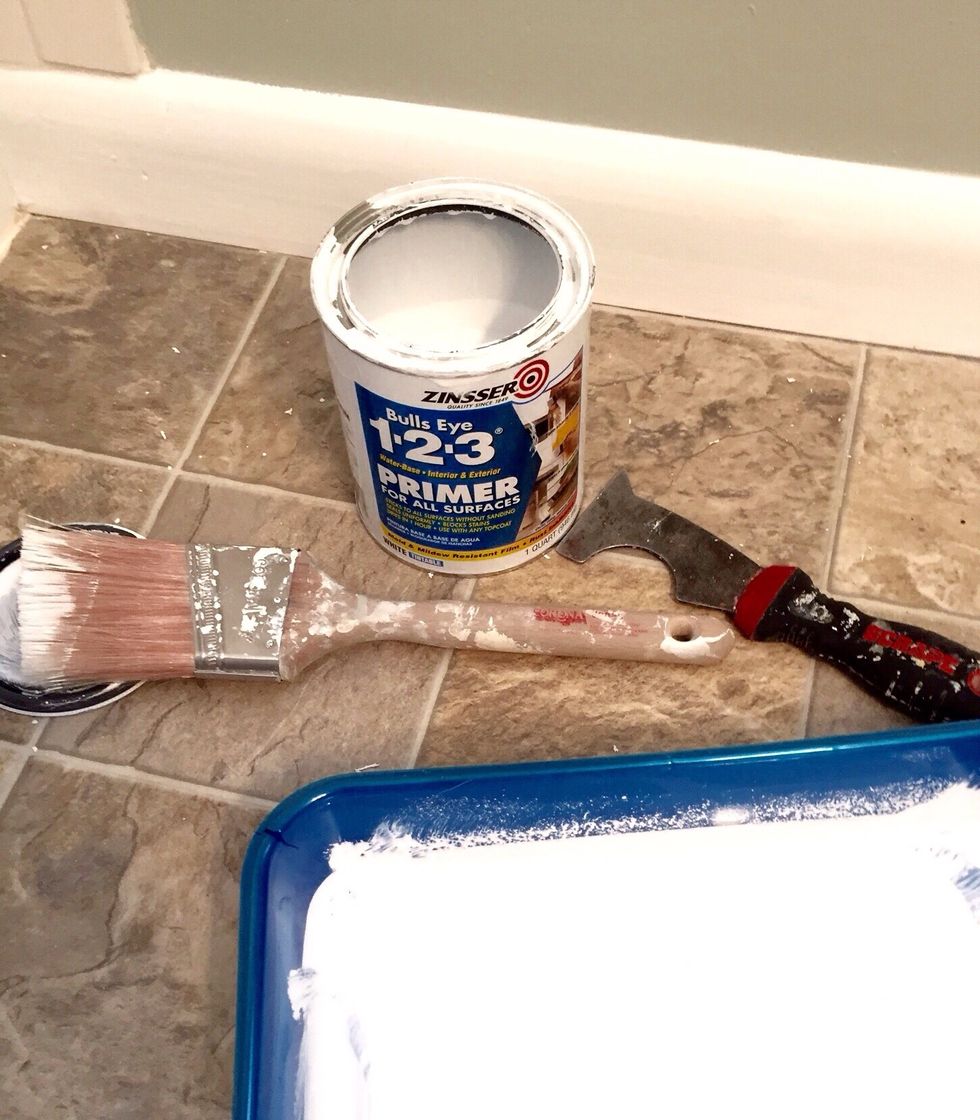
Grab your primer sealer of your choice (make sure it has stain covering properties) and make sure area is wiped clean of dust and remaining debris.
Prime the area prior to applying drywall mixture
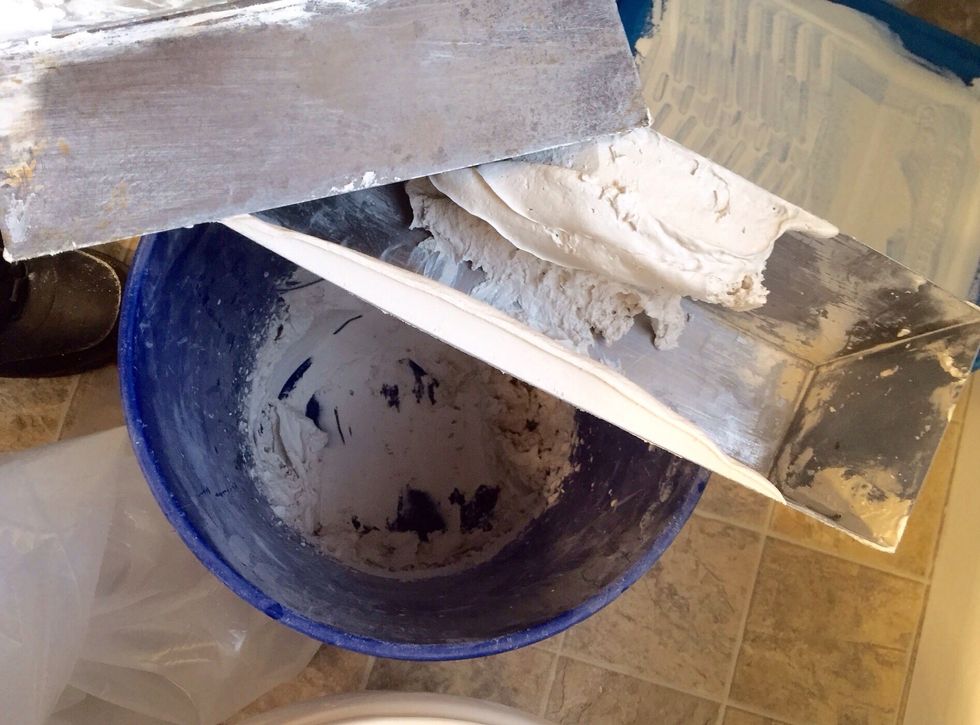
Grab your 20 minute drywall mixture, mud pan and 8" drywall knife and follow instructions on mixture until you get a smooth consistency.
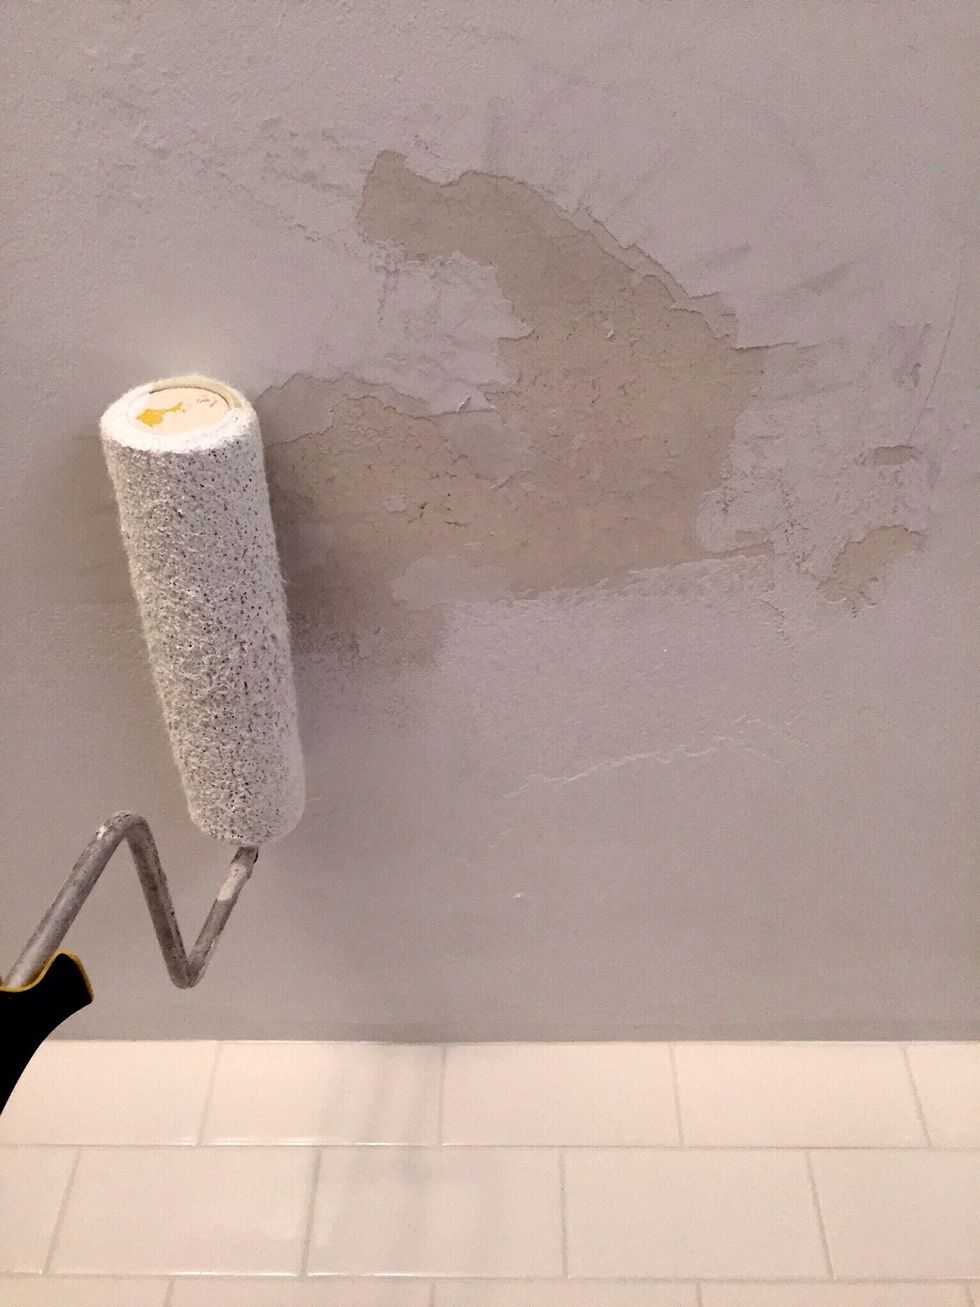
Apply mixture over and out past damaged area with 8"-10" drywall knife. This may take time until you get the hang of it. Be patient.

Your area should look something like this, smooth and thin.
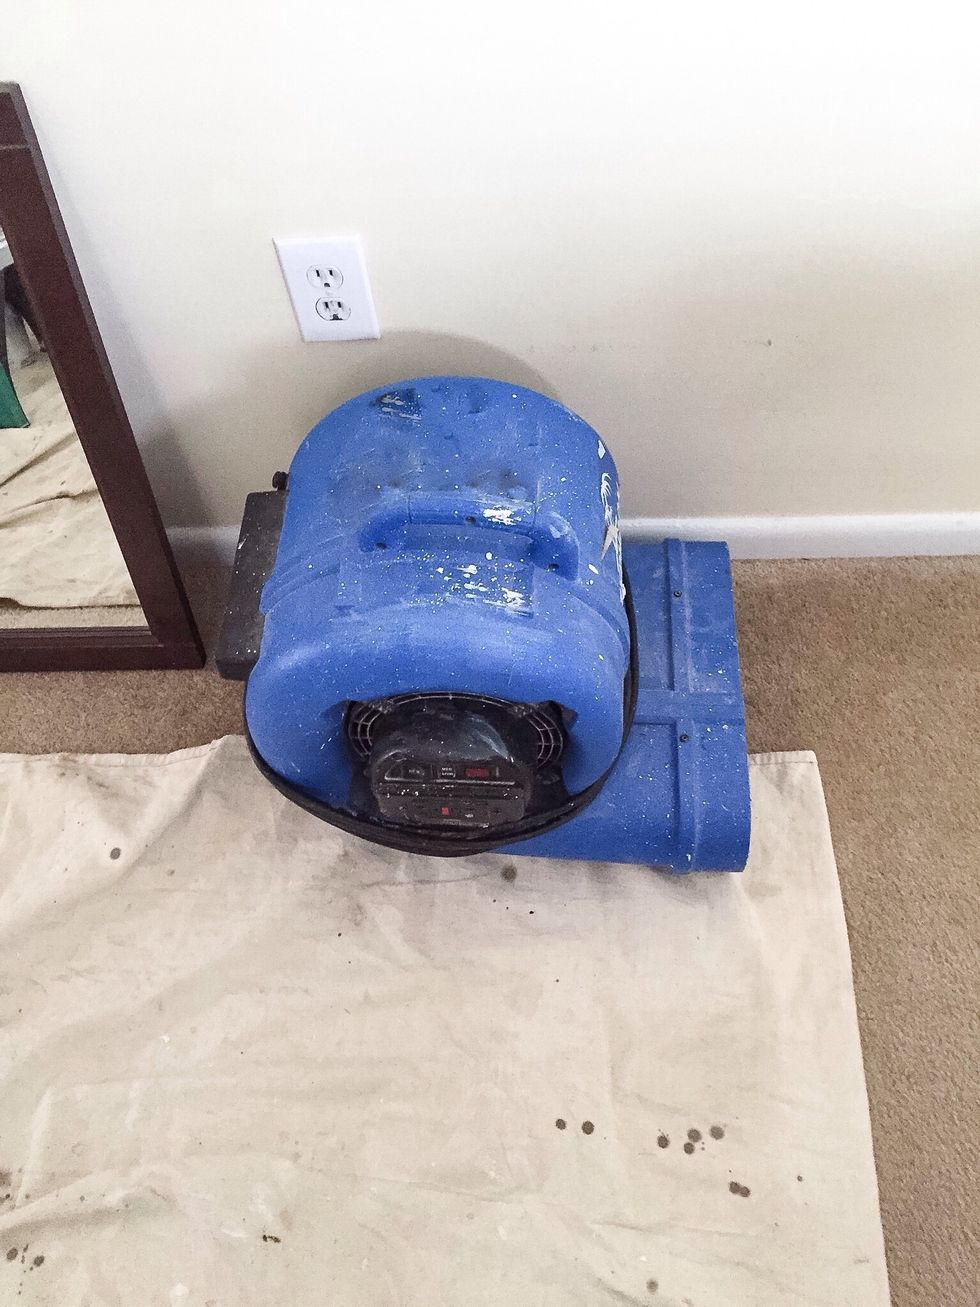
Allow mixture to dry. You may decide to use a high powered fan to help the drying process along!
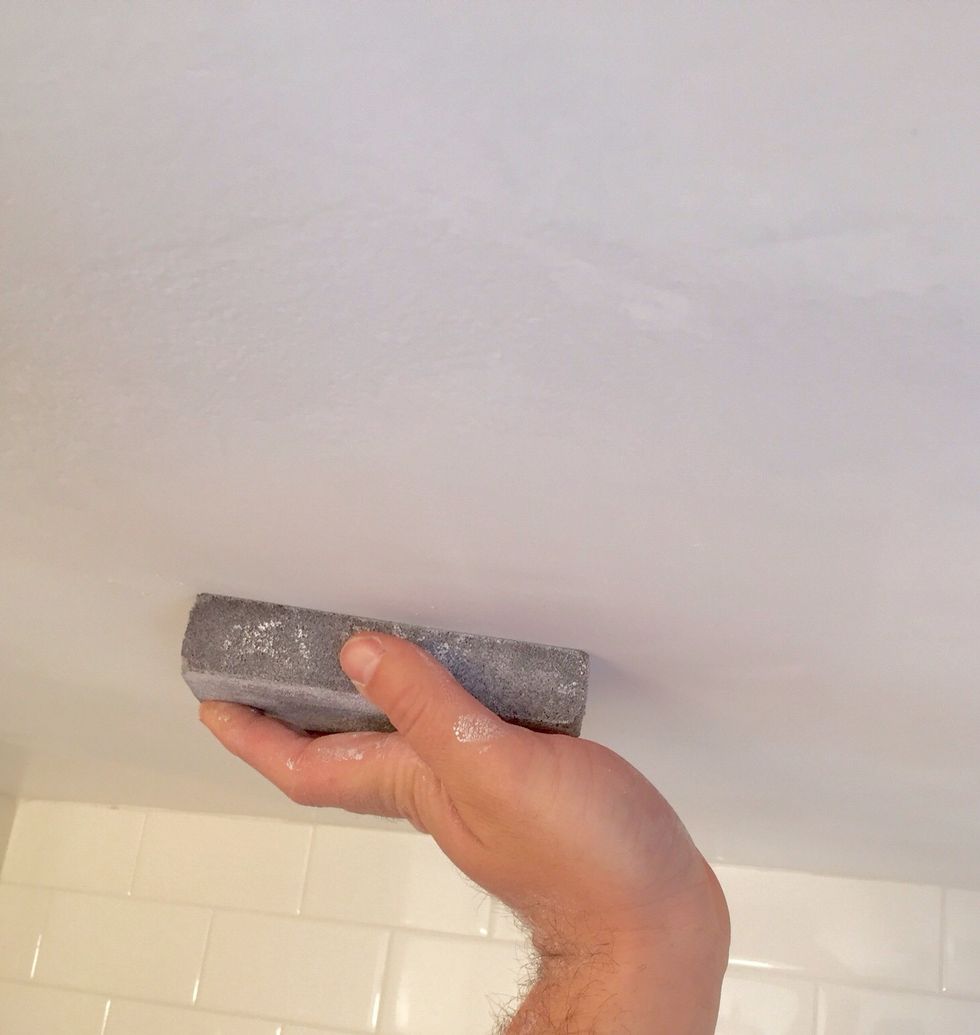
Once dry, sand smooth with a 120 grit sanding block.
After sanding, clean remaining dusty area with a slightly damp cloth. Then you are ready to apply a coat of your stain sealer/primer.
Re-apply a second coat of primer on patched area and let it dry. (At least an hour)
Once primer is dry, grab your ceiling paint. Tip- if you don't have the original ceiling color or paint can, you'll need a piece of the ceiling to have it paint matched!
If you don't have time to get the ceiling paint matched, decide to roll out the entire ceiling so there will not be evidence of ceiling repair.
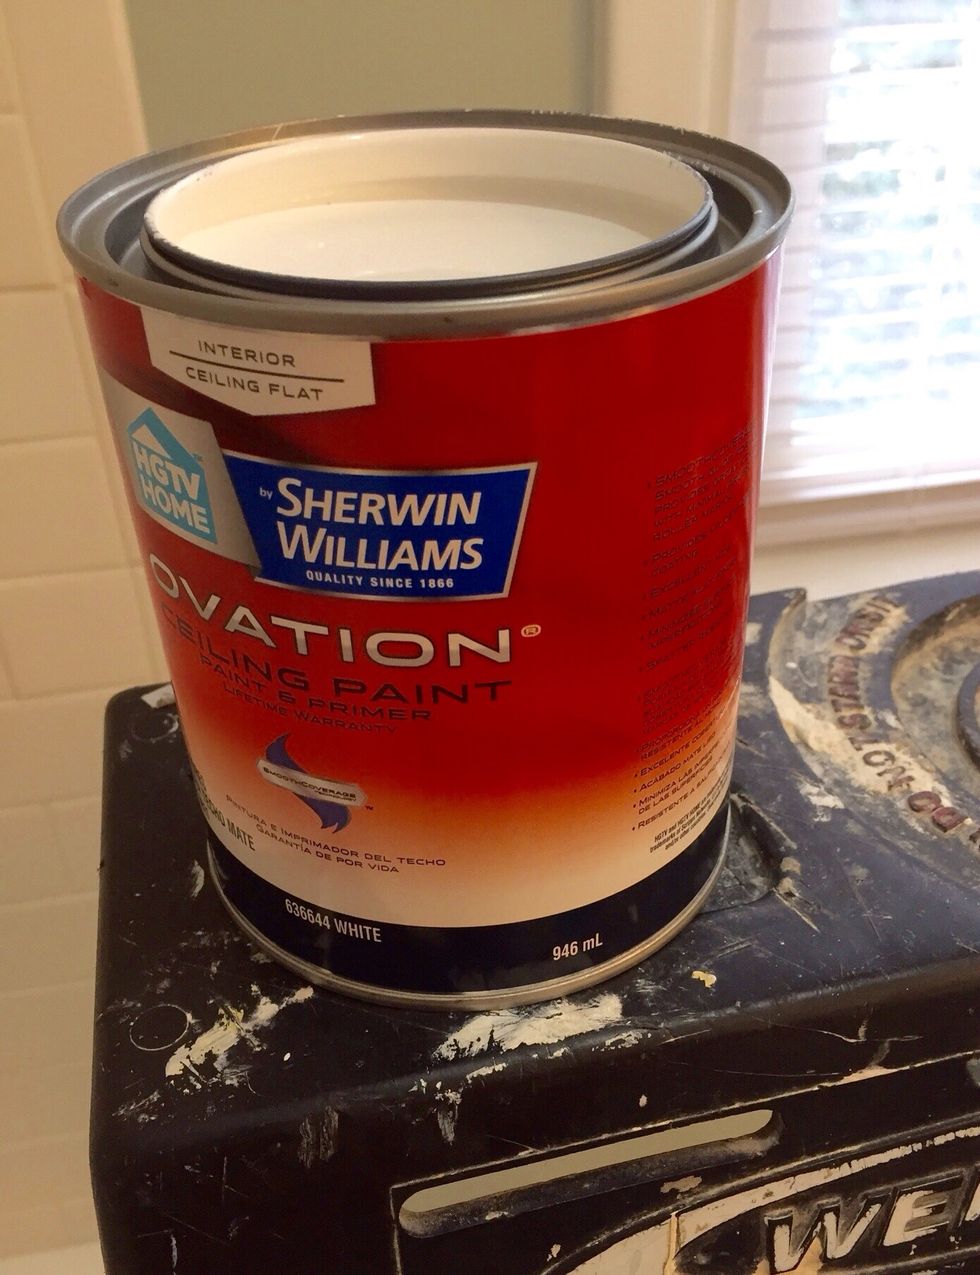
Always use flat paint on a ceiling. (A high moisture resistant paint is always a good idea in a bathroom.)
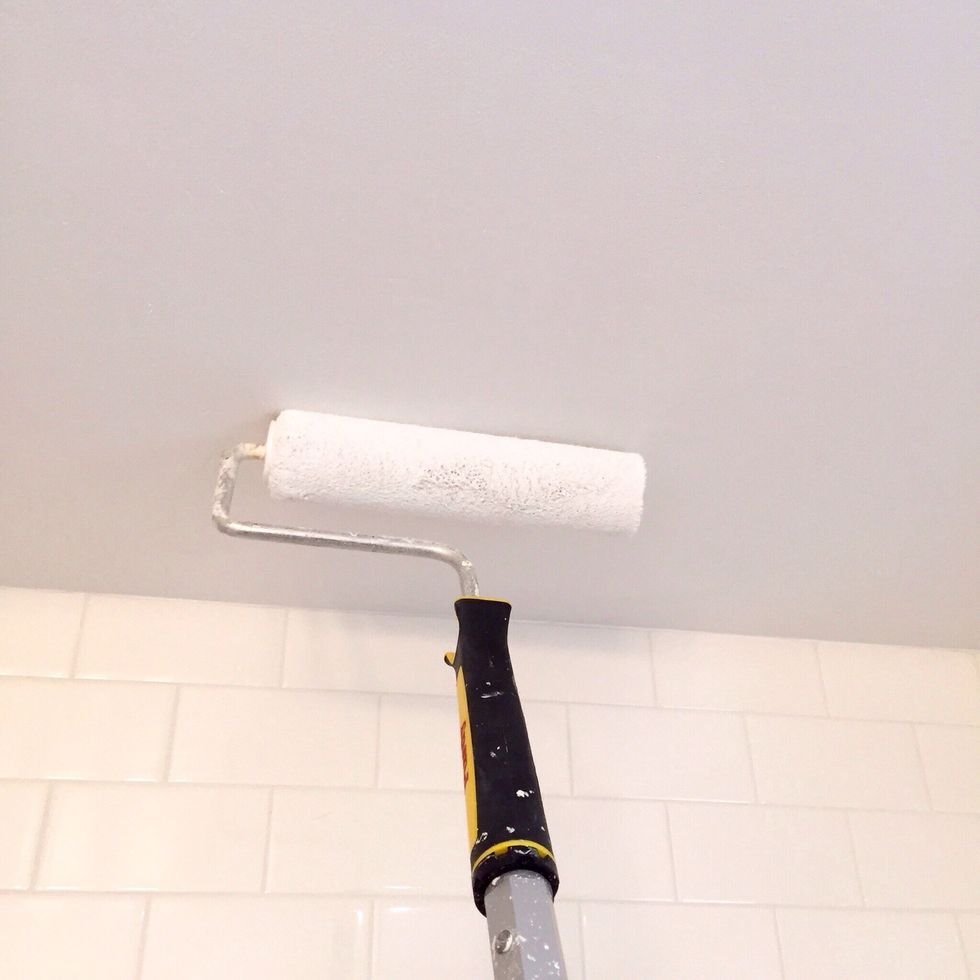
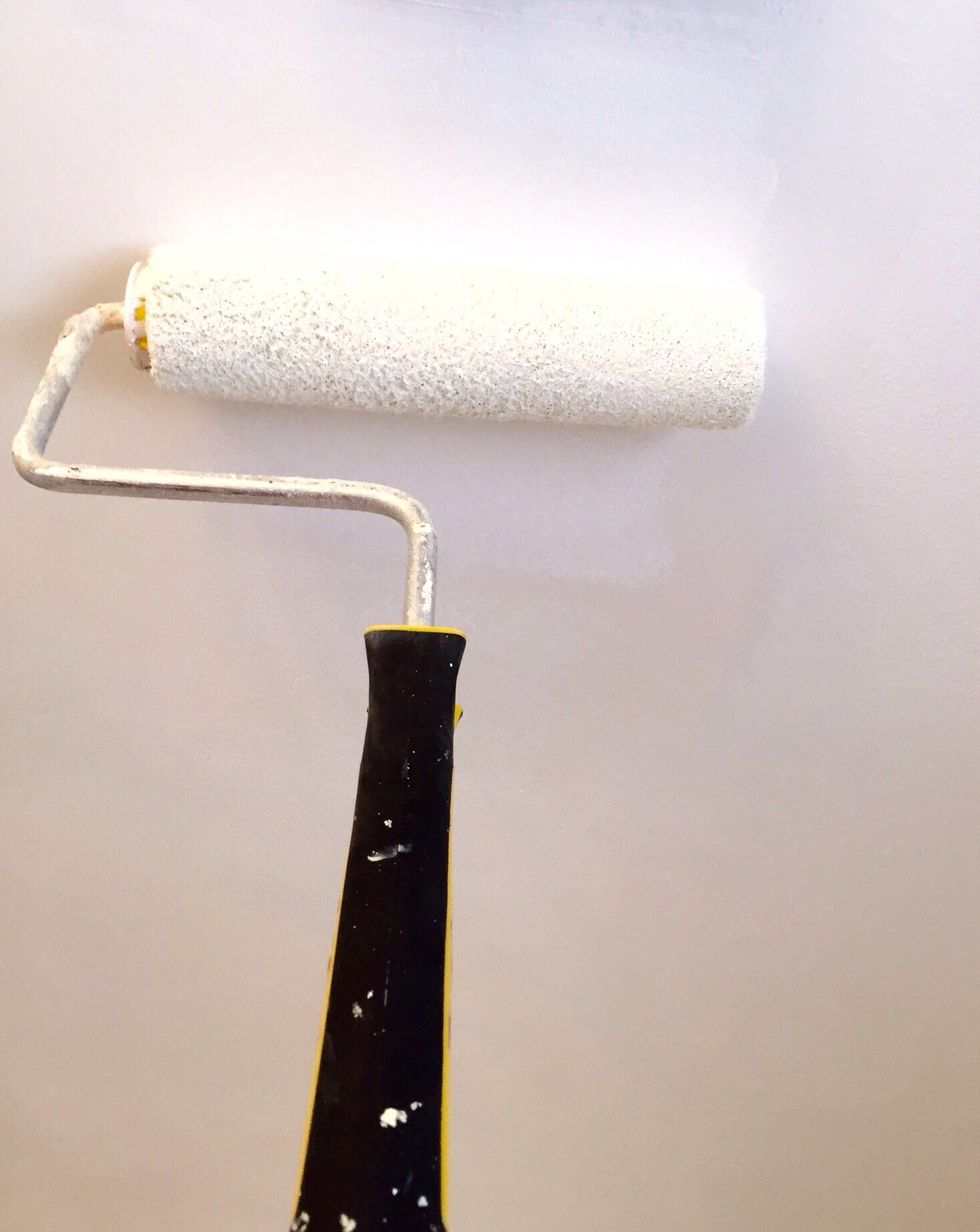
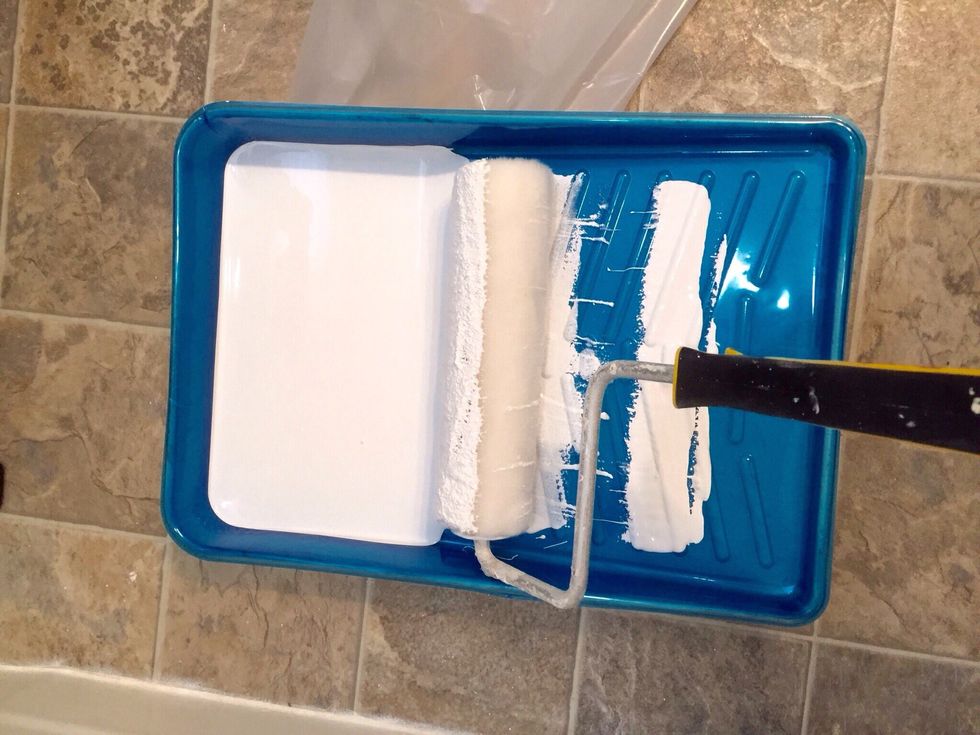
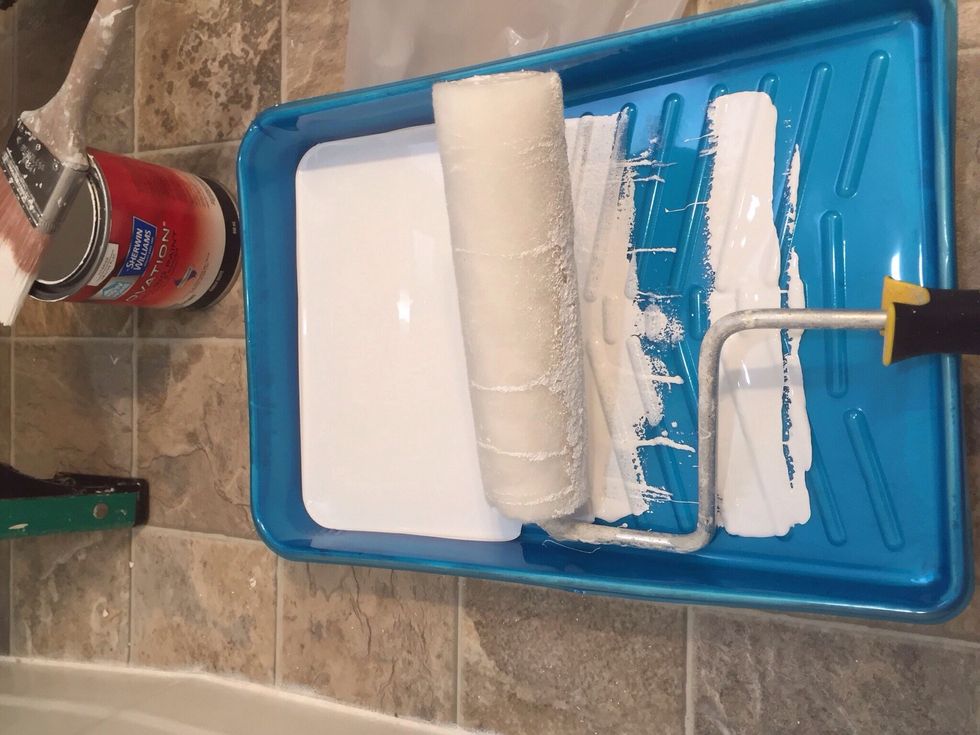
Roll on ceiling paint!
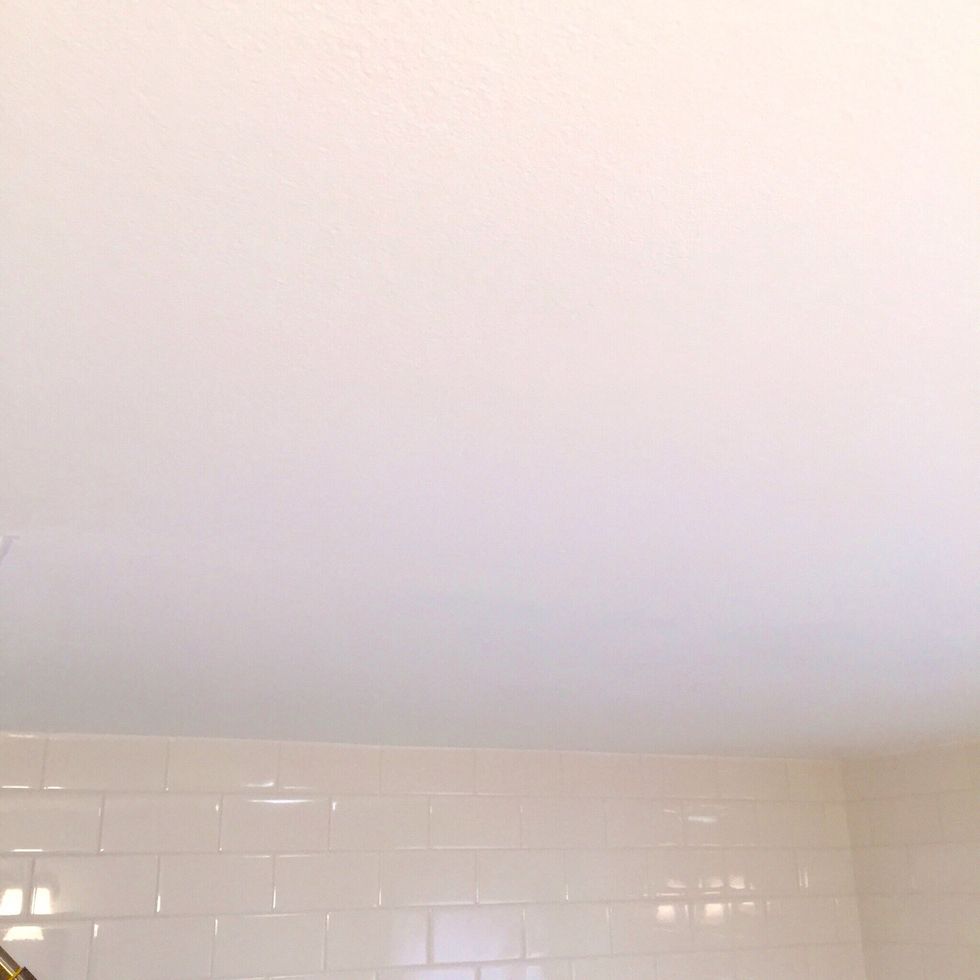
Perfect! Like nothing was ever repaired. Good luck!