The Conversation (0)
Sign Up
As paintball is a growing sport, there is a large number of people that need repairs on their equipment. This Snapguide is to help provide insight as to how to perform repairs and clean their own gear

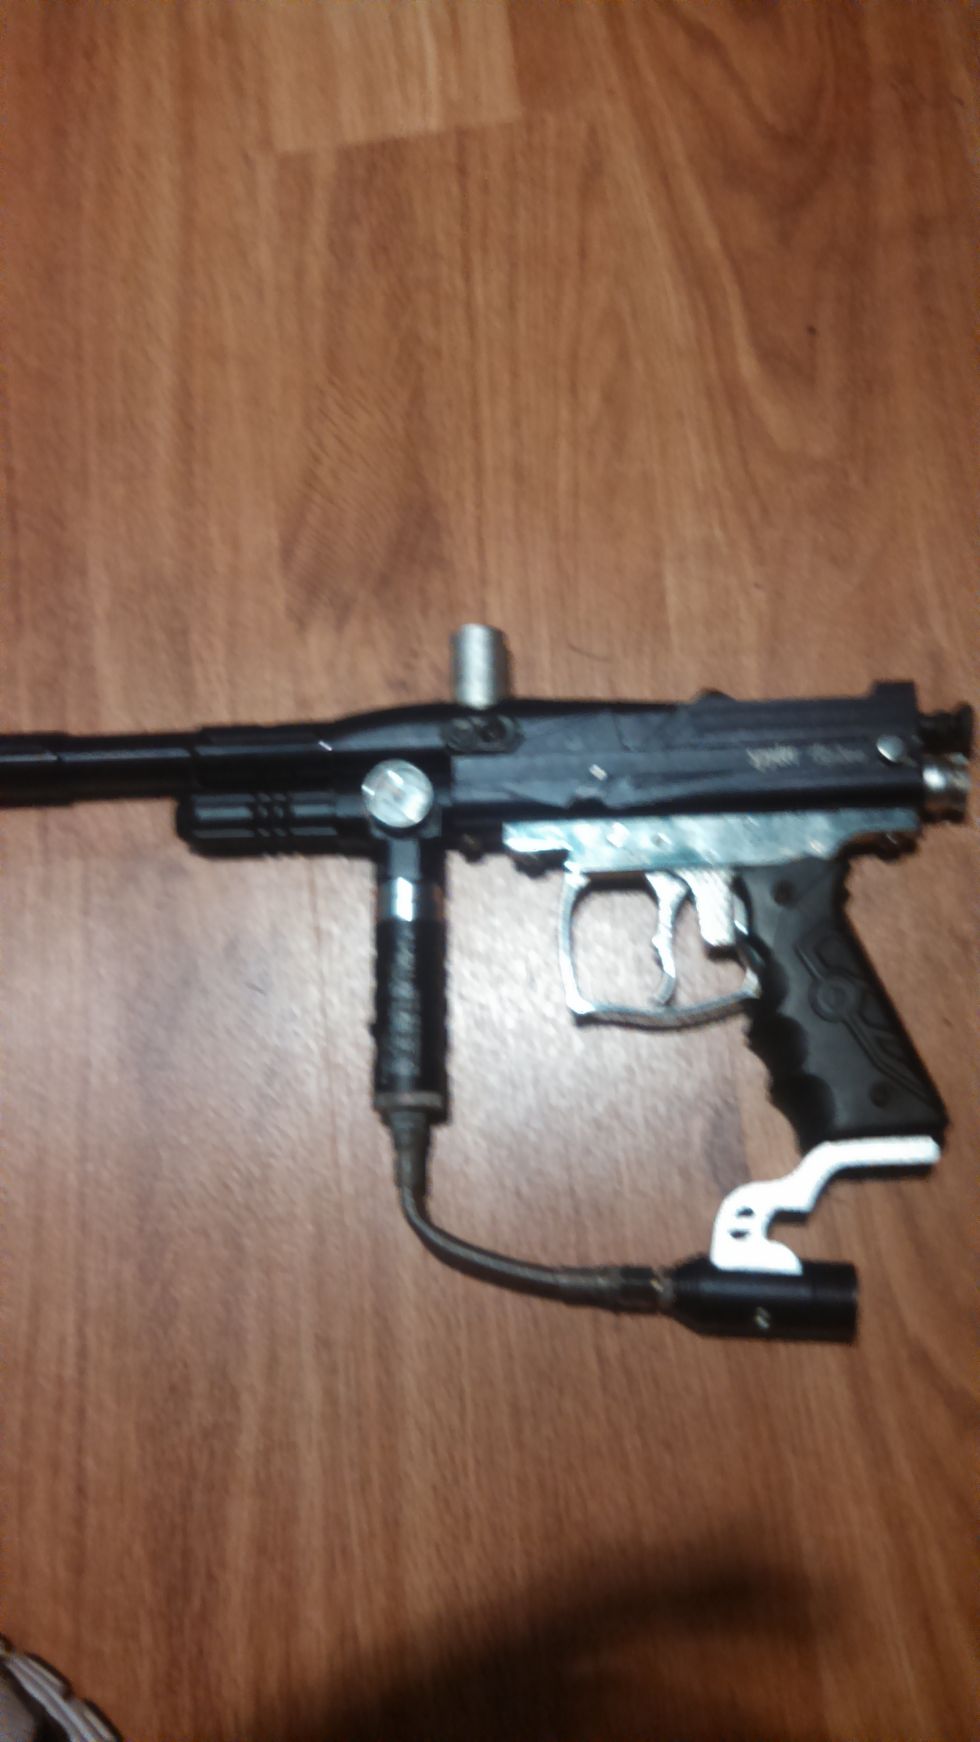
First you must begin by becoming familiar with the paintball marker and how it first appears fully assembled. The entire process of troubleshooting and rebuilding should take under an hour.
Generally air leaks come from 4 locations. 1st from the center of the gun, a poppet leak. 2nd from the far left a regulator leak. 3rd from the bottom an asa leak. Lastly from the frame a solenoid leak
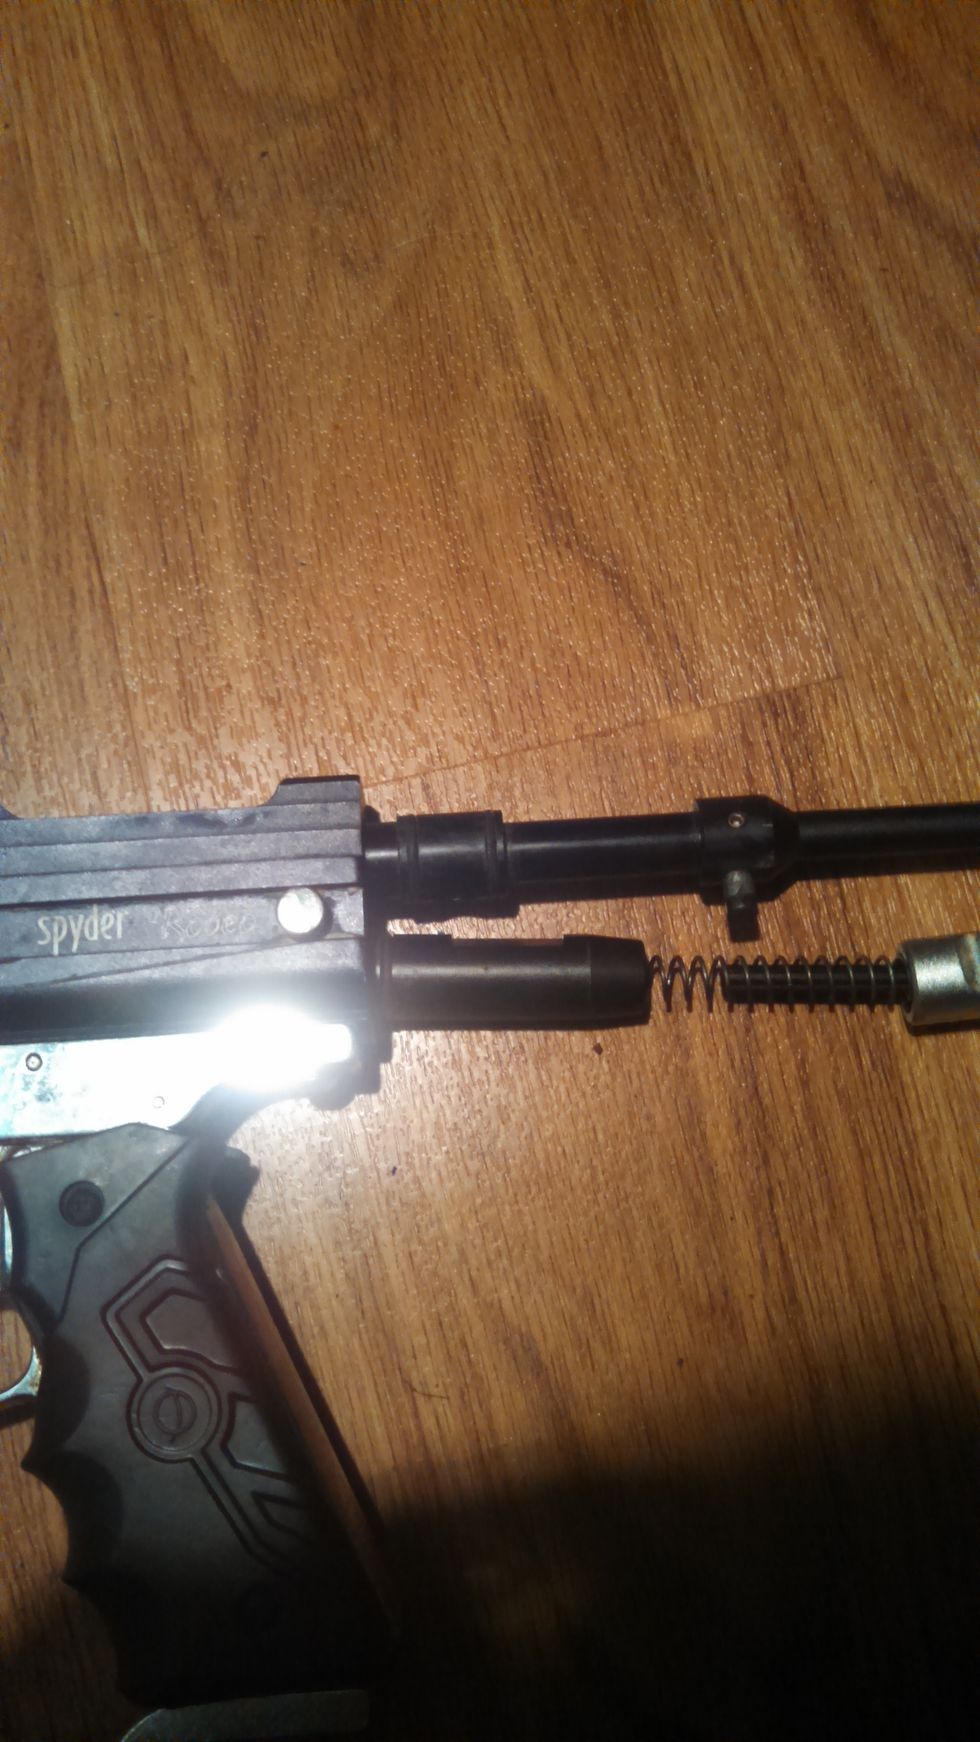
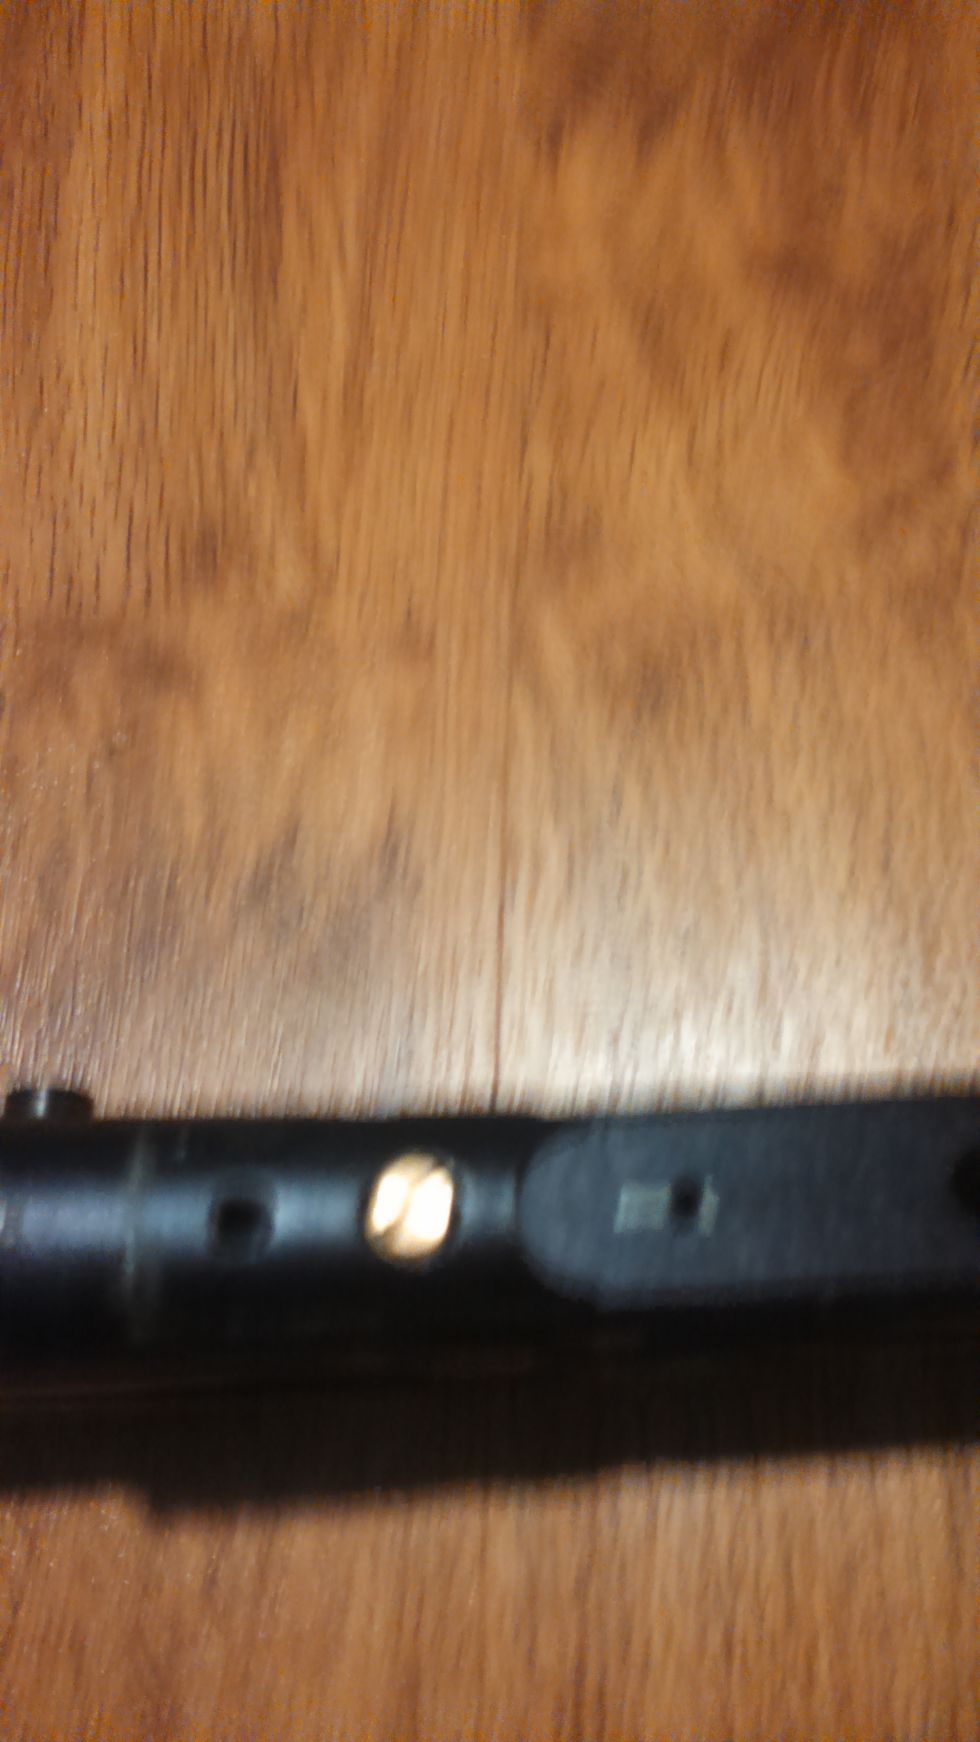
The first step in dissasembely will begin by pulling the pin which holds in the bolt and the ram. This is the silver piece next to the Spyder logo. the bolt and the ram should pop out on their own.
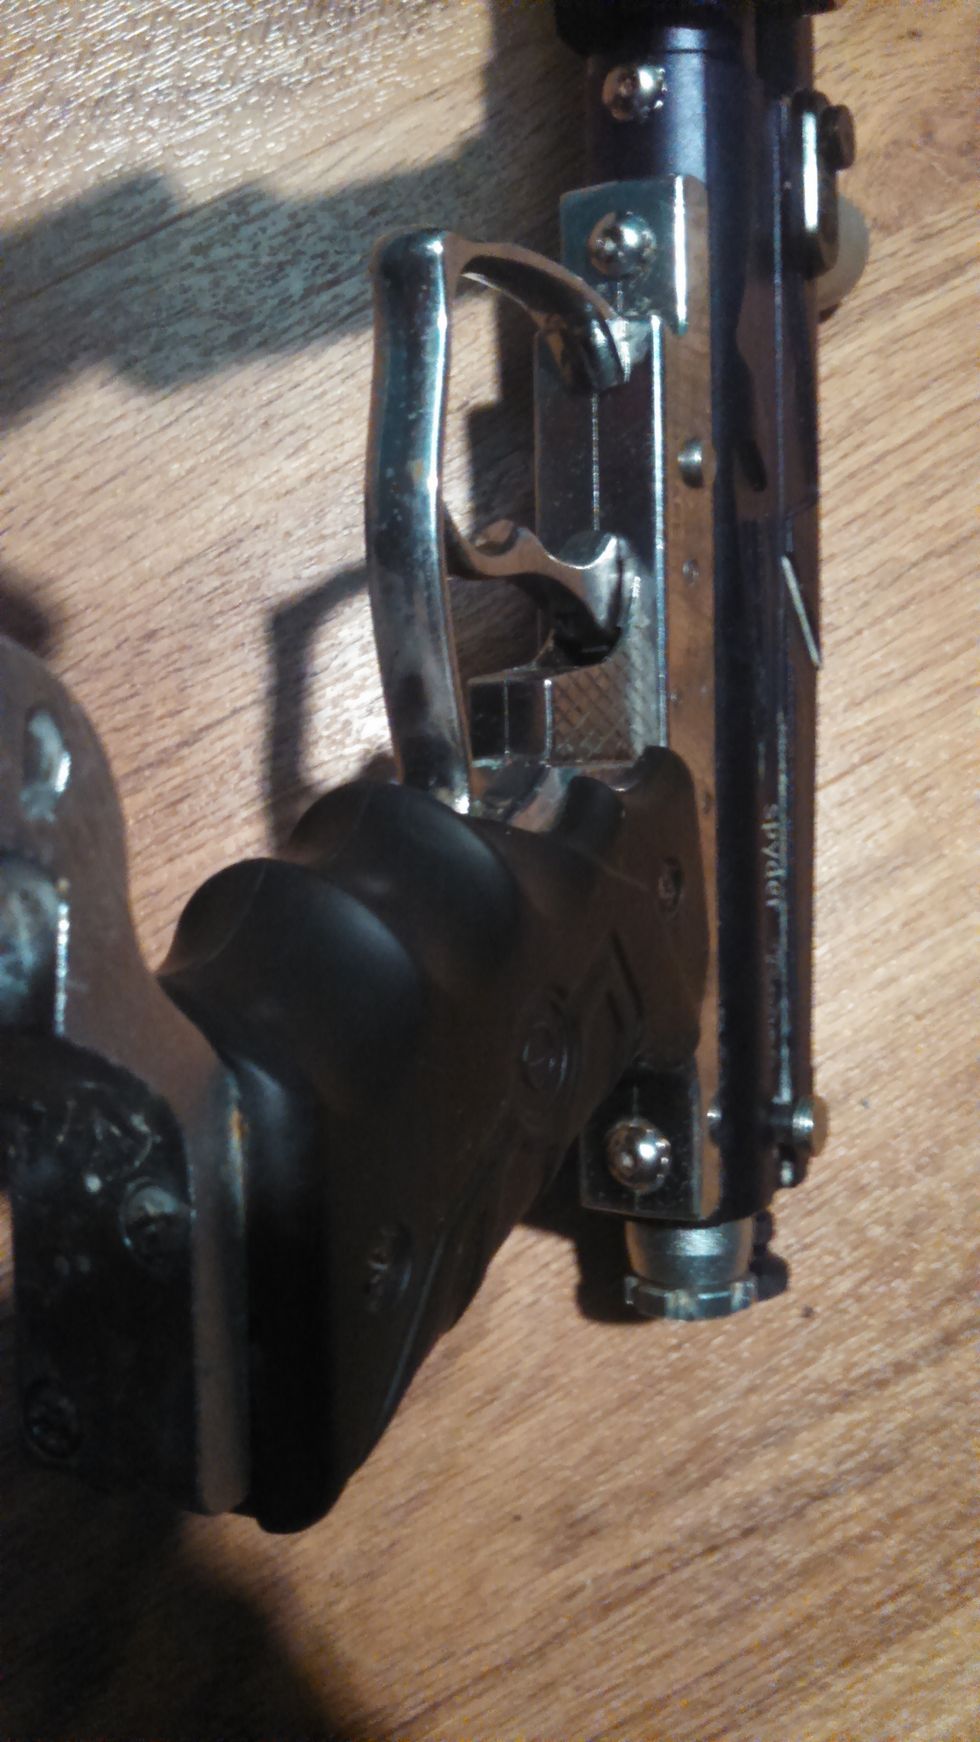
Next comes the removal of the trigger frame. This is a very easy process that just requires the two screws on the silver frame to be removed. At this point it is best to remove the third to save time.
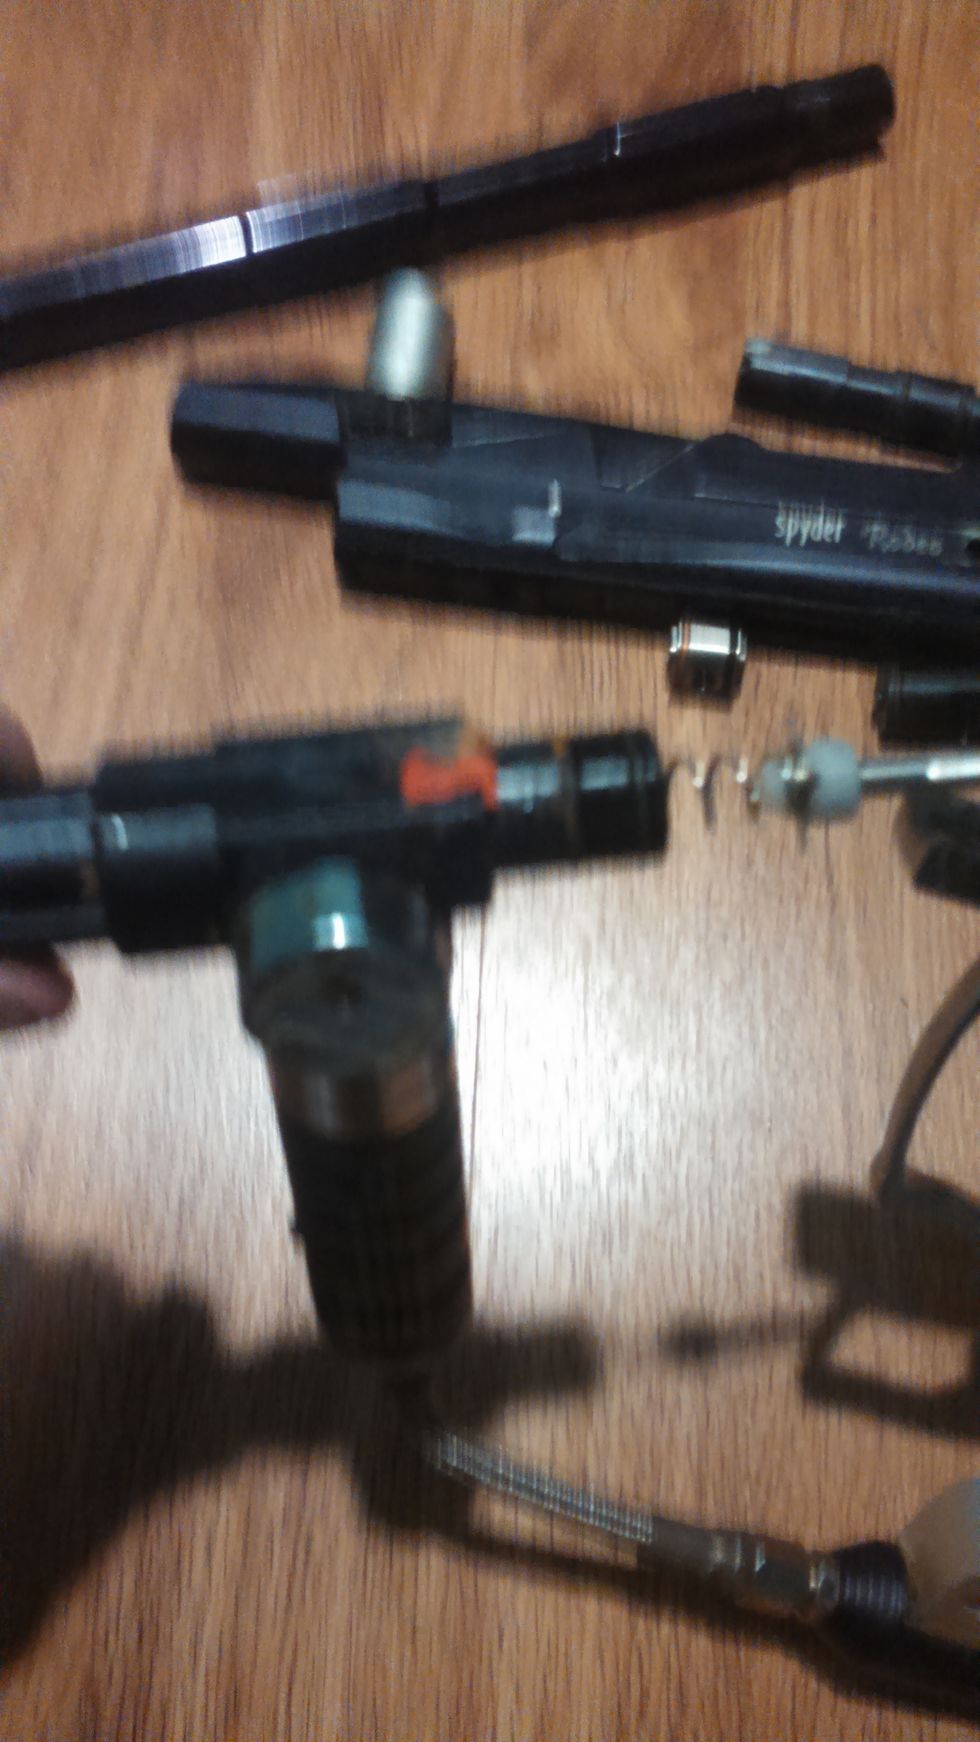
With removal of the 3rd screw the reg and volumizer assembly will detach. The poppet is the white piece shown. If this is damaged it needs replaced. Notice paint catches here, make sure its cleaned.
To completely clear the bottom chamber of the body this gold screw must be removed allowing the poppet housing to be removed. This is not necessary but allows for easier cleaning of the chamber.
After the chamber is completely cleared take the squigee and make a few passes through the breech until there is no sign of any paint or residue. It should be a very shiny surface like top is.
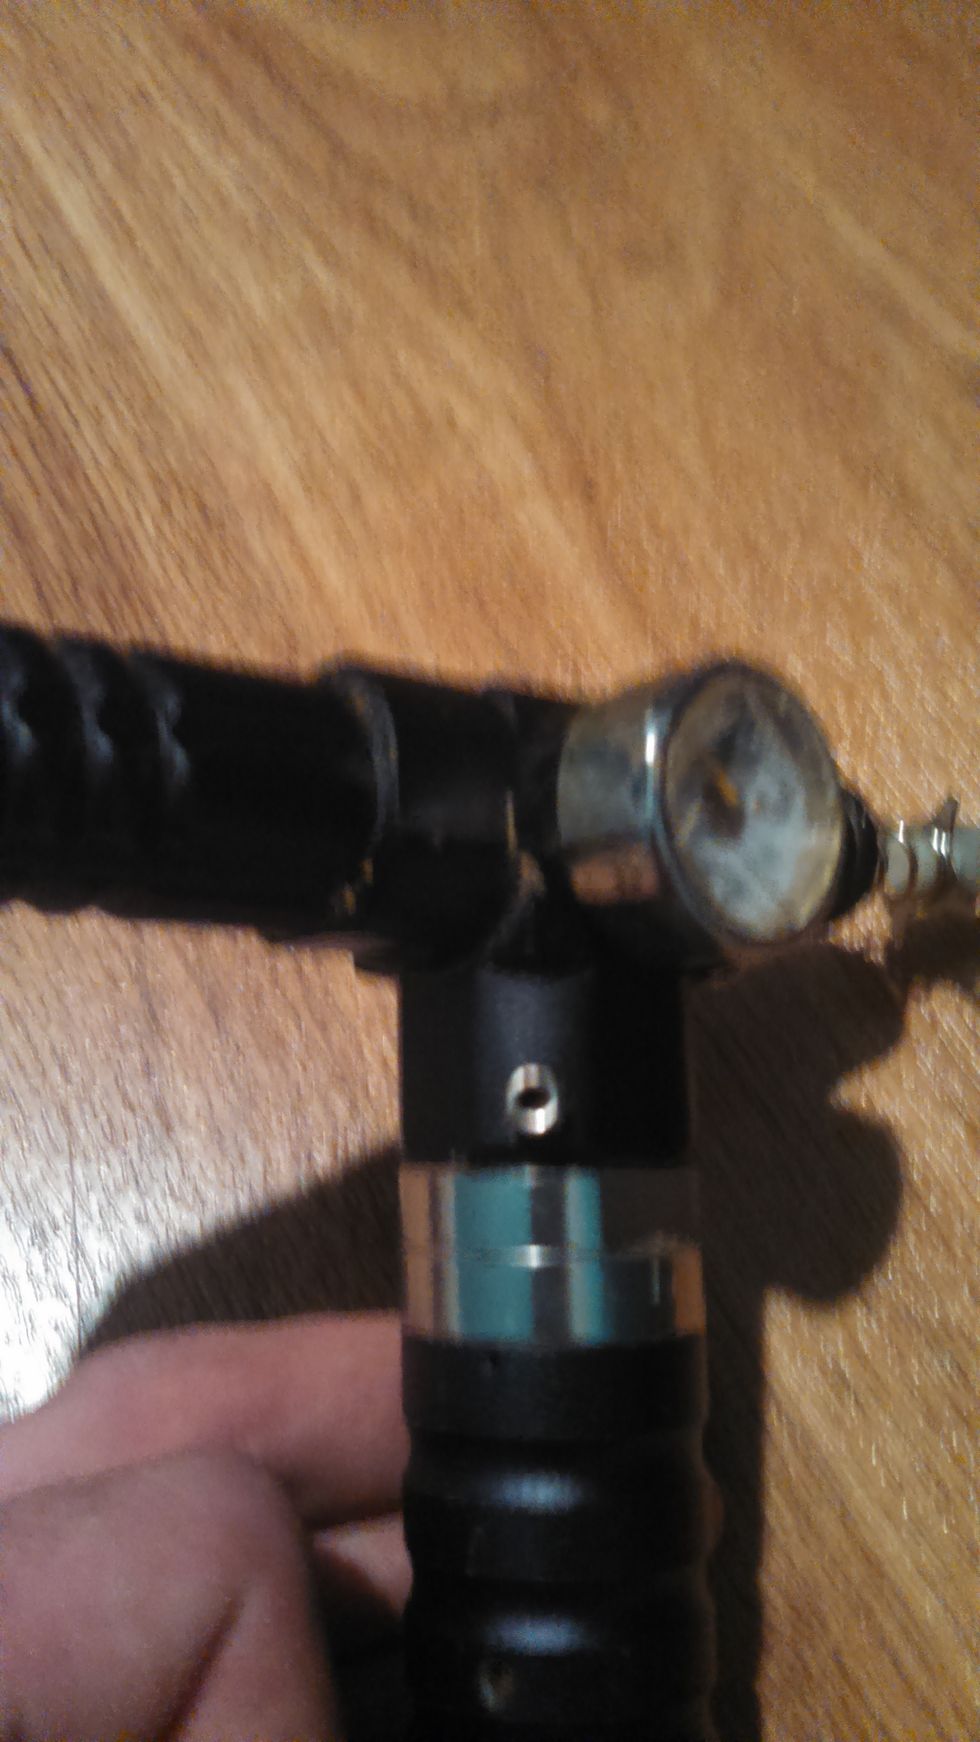
To completely disassemble and assure a thorough clean the reg and volumizer need removed. The volumizer simply unscrews, whereas the reg has two screws each on opposite sides.
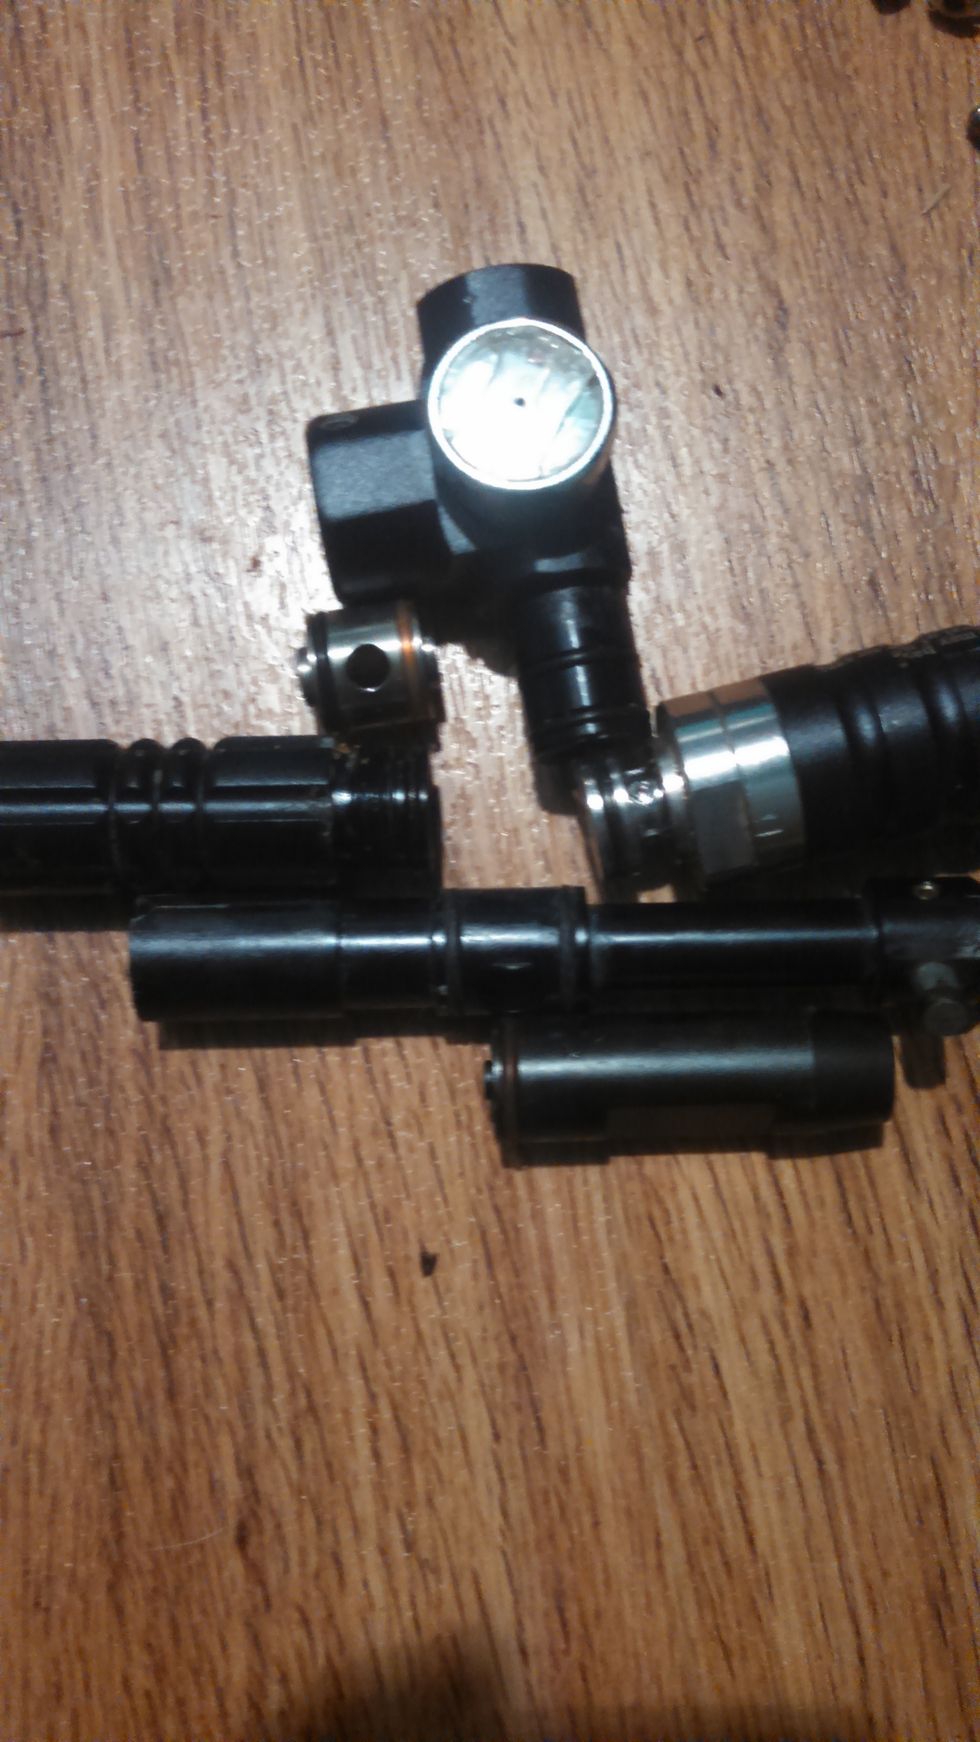
The 3rd location for a leak will come from the asa, as shown in the picture. It rarely goes bad, however if it does it must be replaced, as it cannot be repaired. Its held on by the two screws on top.
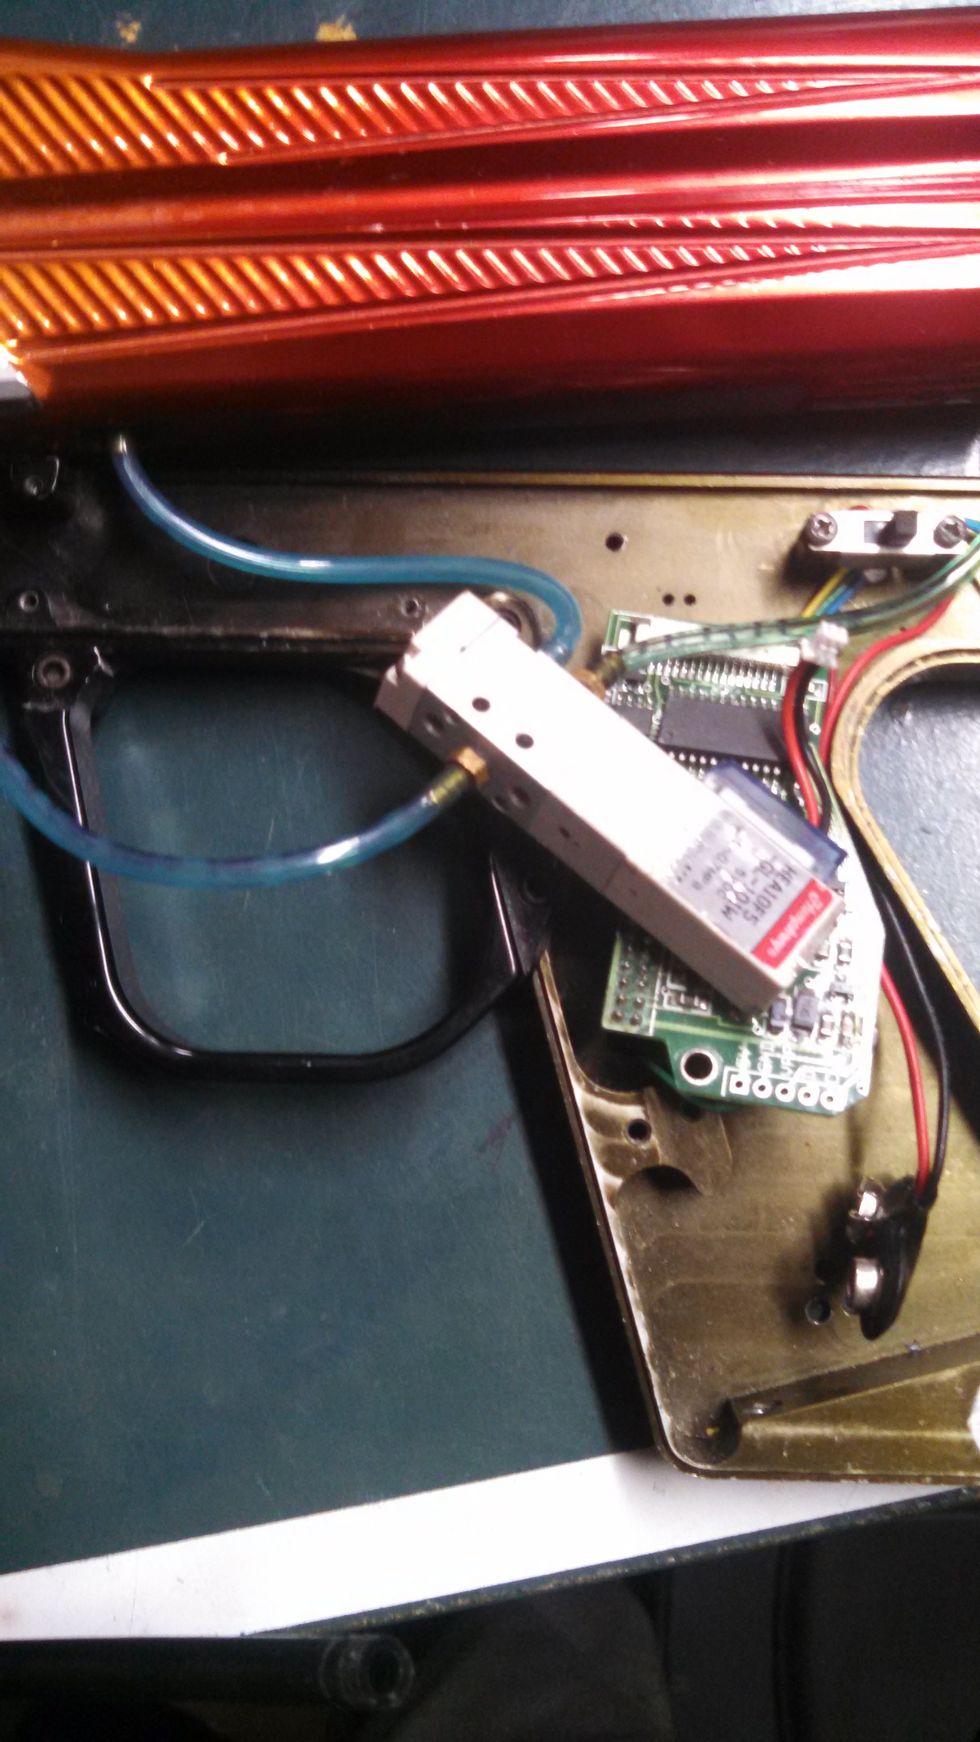
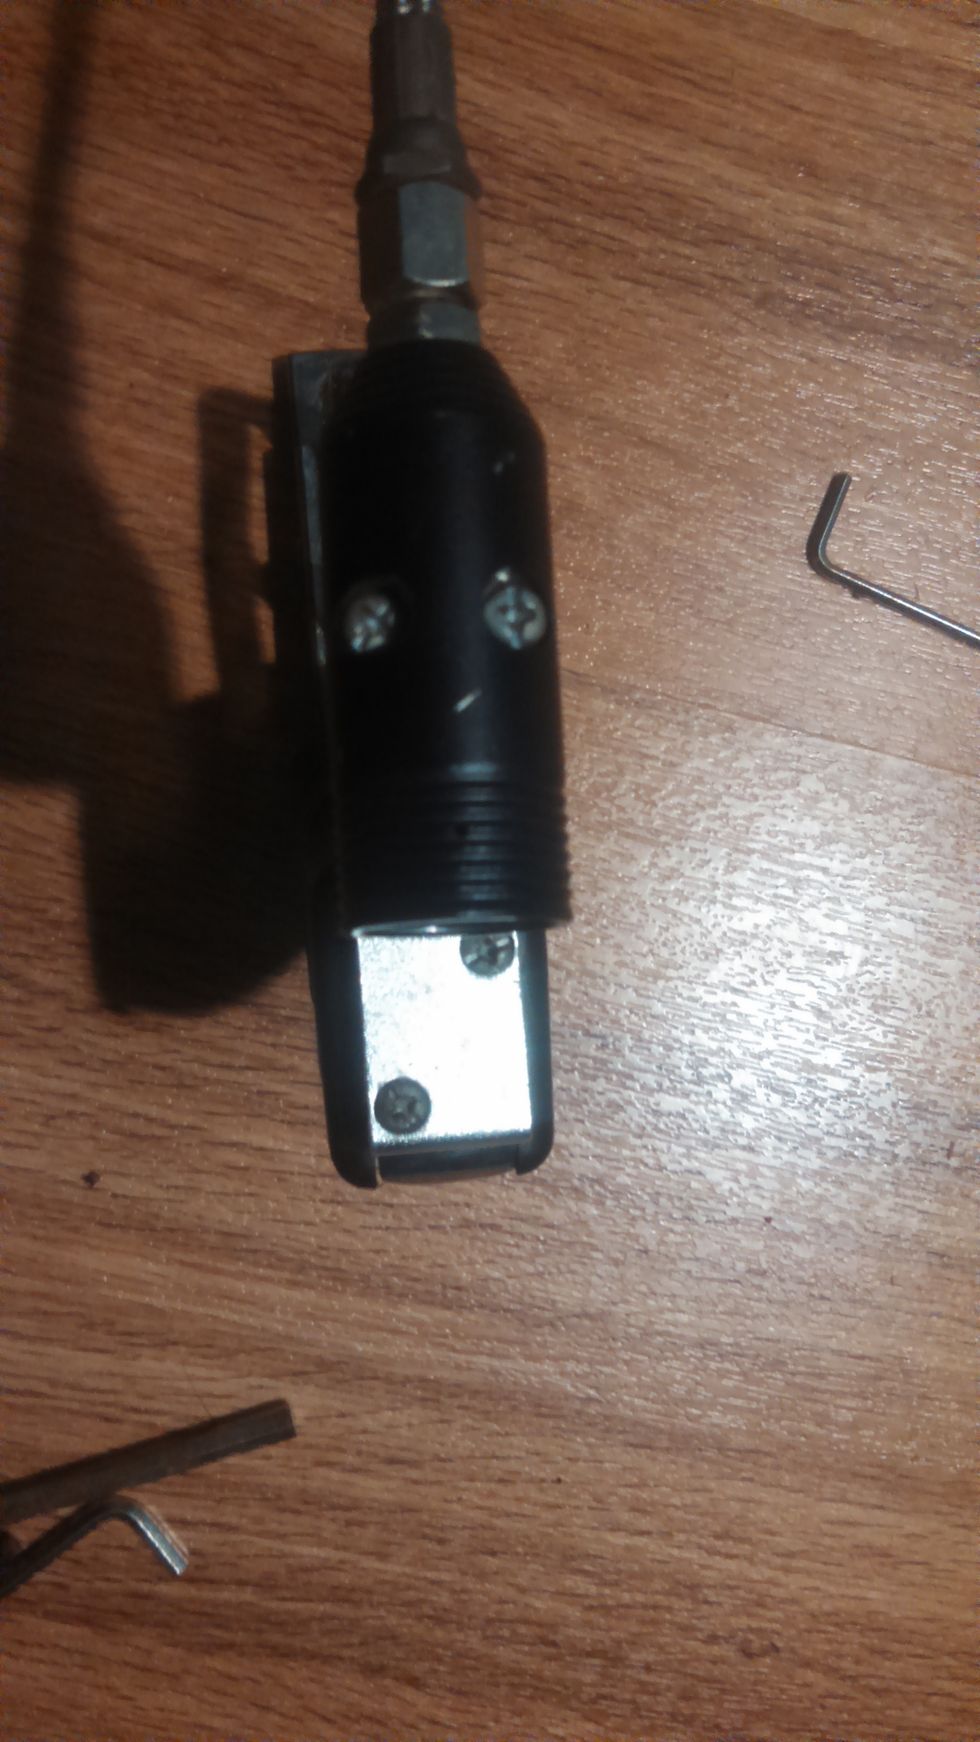
The last leak mentioned, the solenoid, only occurs in electronic markers. It can be repaired occasionaly by getting new hoses or barbs. It can be accessed by removing the grips held in by 2-5 screws,
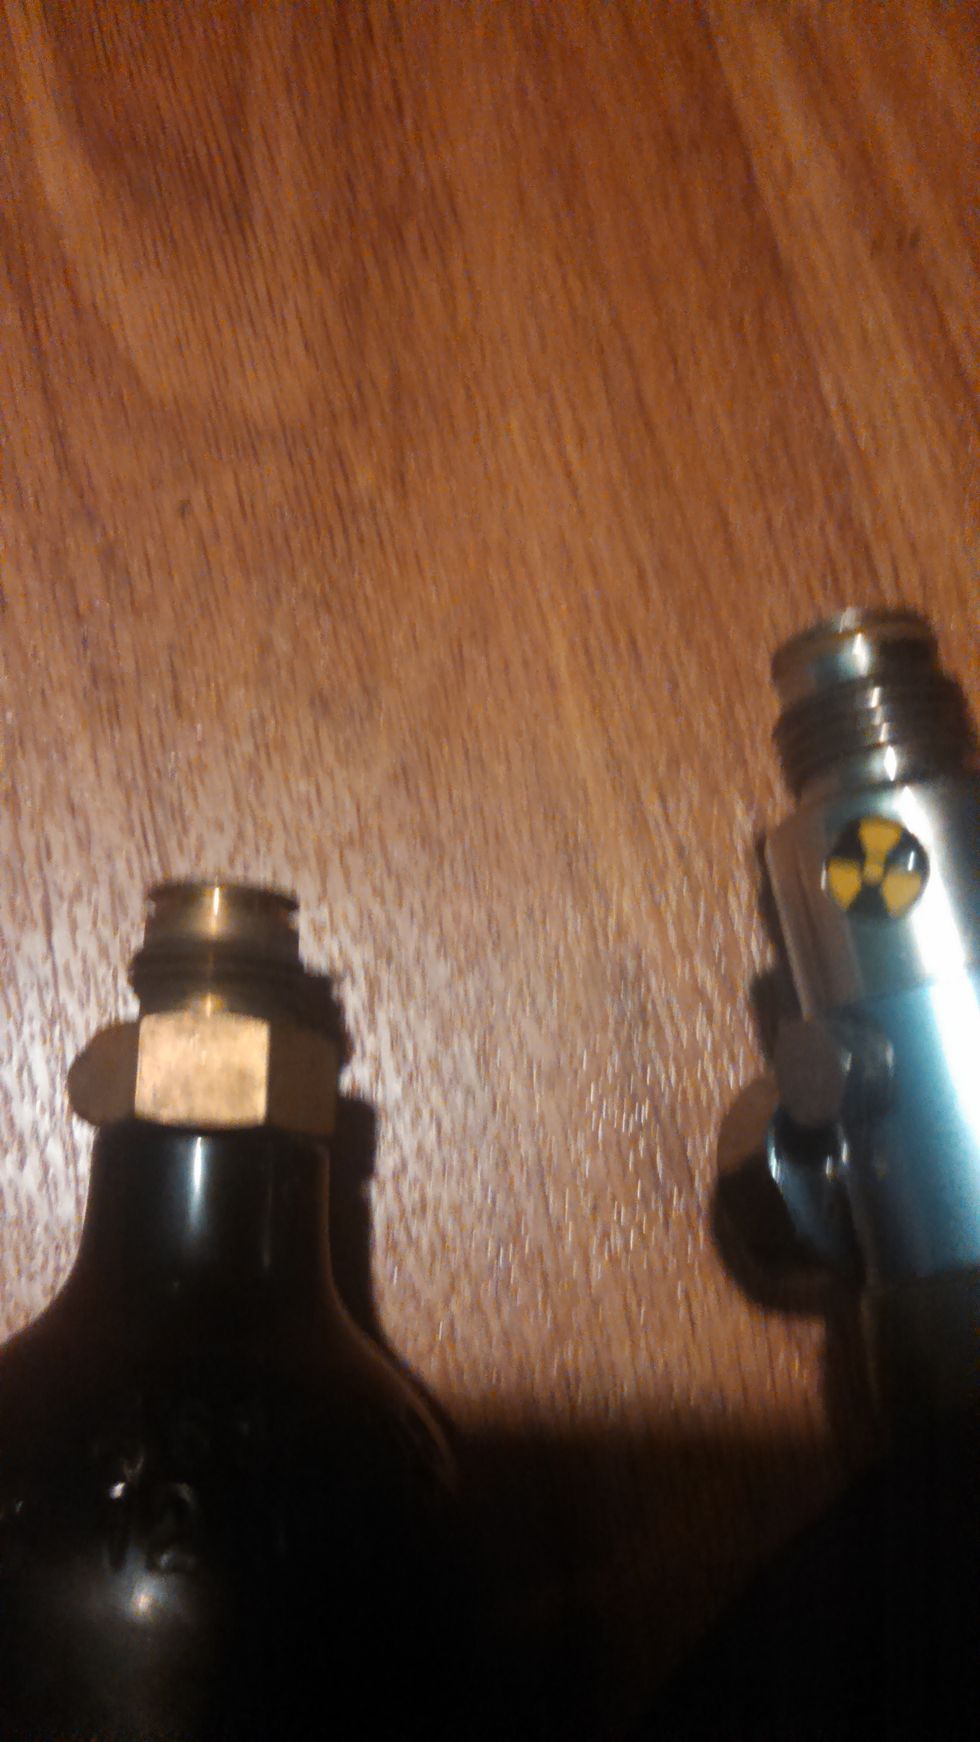
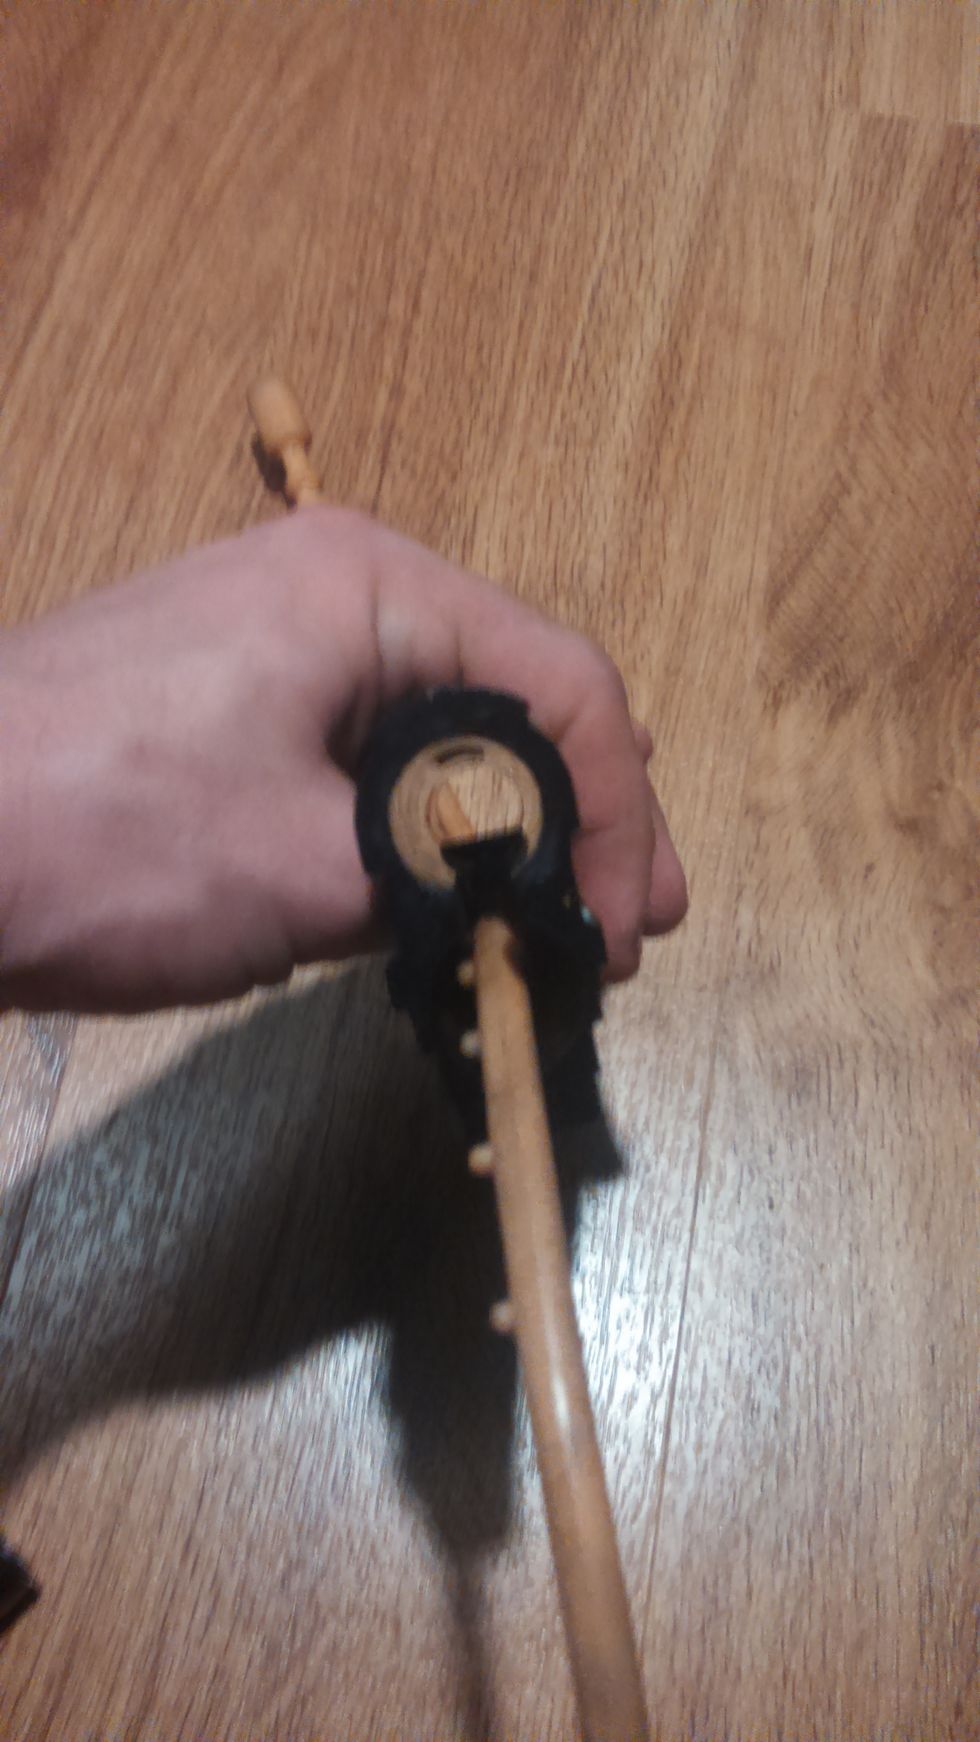
Occasionaly the leak may not have developed from the marker itself. Air tanks have o-rings that keep the air in. The left is missing the o-ring and will leak, the right has an o-ring and will be fine
This are all the pieces with o-rings that need lubricated. the top 4 should rarely be done,only when you take apart completely. However the bolt and ram should be done after every day of use.
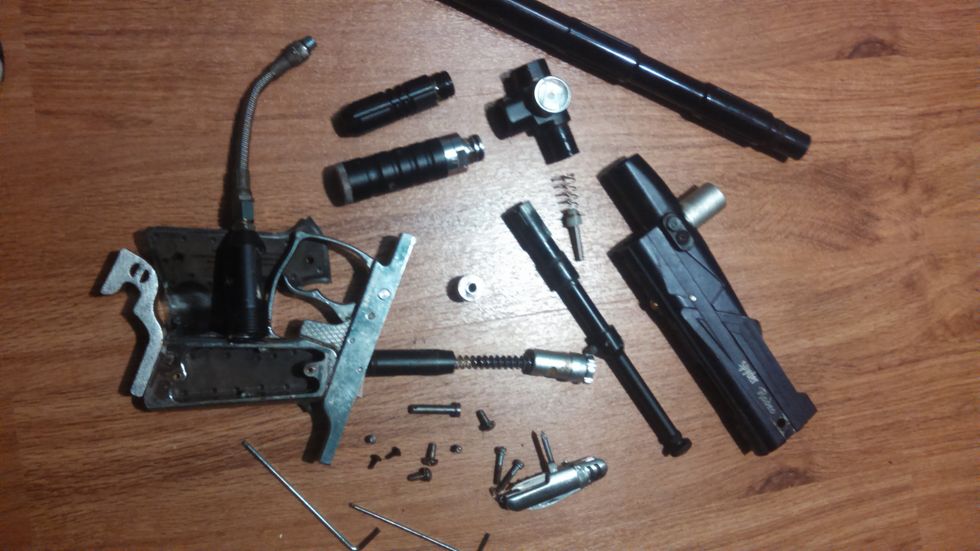
The marker completely broken down with all the screws and parts involved. Now that it is apart to rebuild simply follow the steps in reverse order. Double check all parts are cleaned and o-rings lubed

With the marker every piece will only fit in one location so as long as there are no parts left over it should be fully operational. Congratulations on learning how to rebuild a paintball marker.