The Conversation (0)
Sign Up
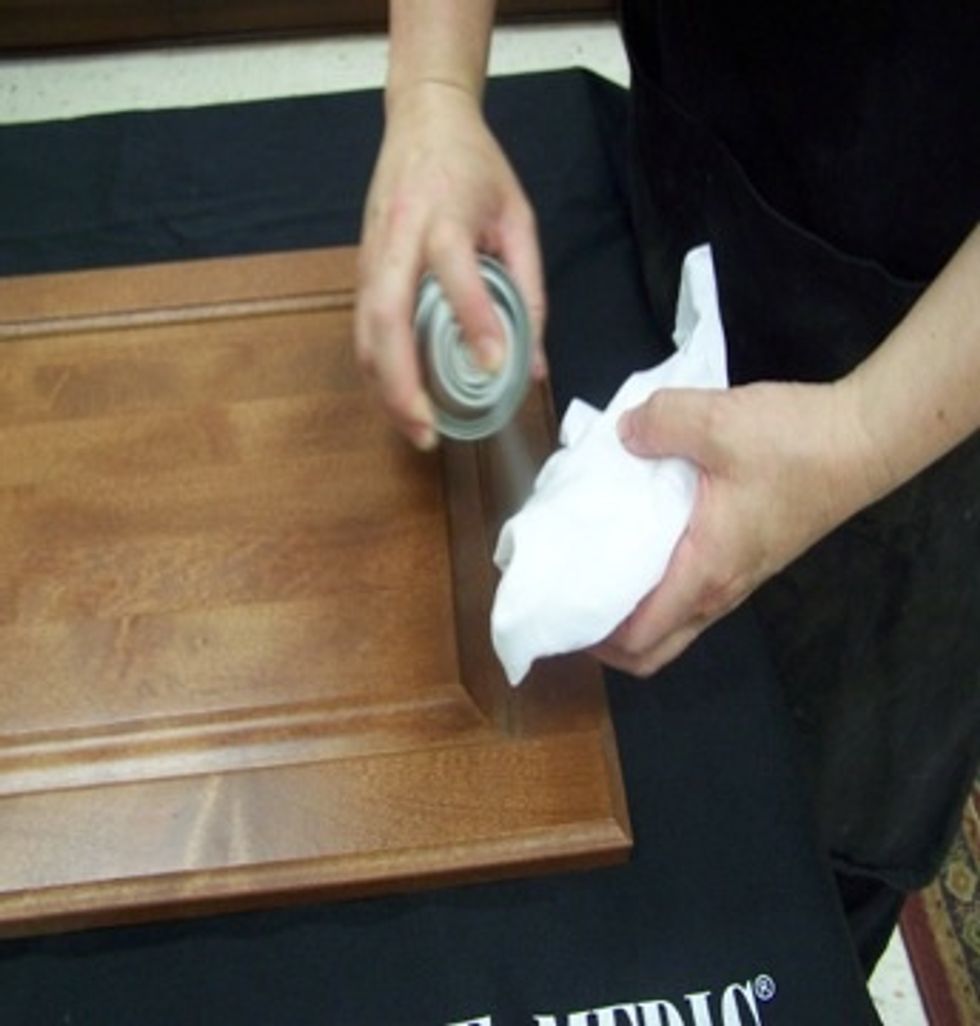
Remove excess wax, oil & other foreign material using Mohawk Quick Clean or Wax Wash.
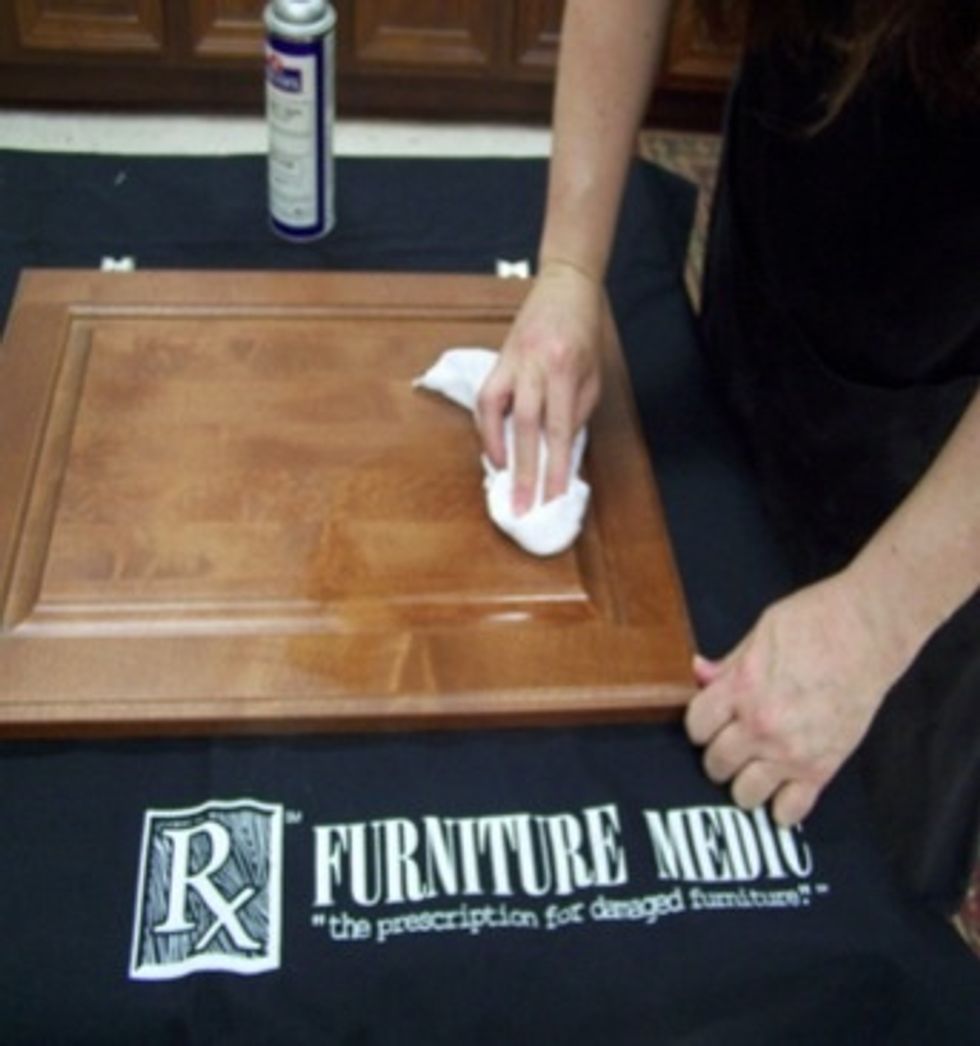
Wipe surface with circular motion, using Quick Clean or Wax Wash sprayed on clean cotton cloth.
Wipe of excess with clean cloth and allow finish to dry a few minutes before preceeding.

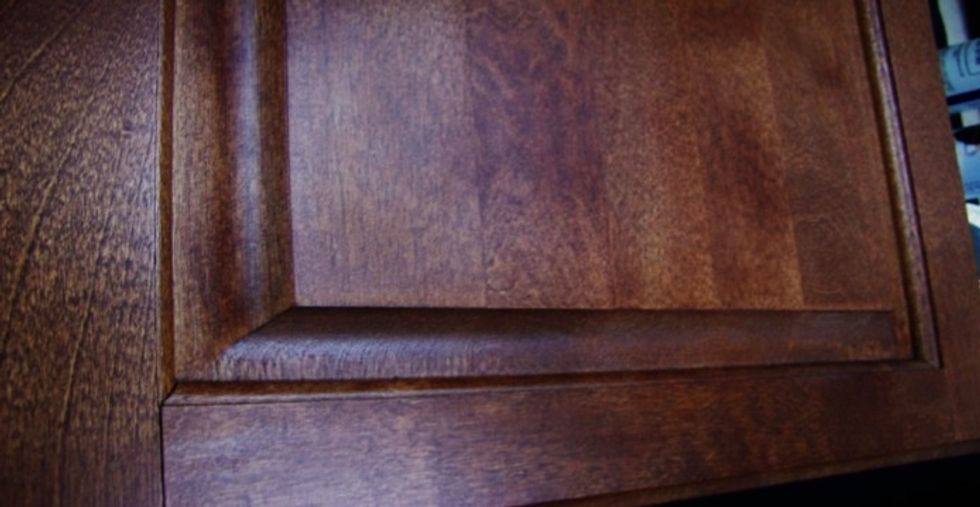
Remove any high spots that jut above the surface with a Silicon Carbide Waterproof 800A sandpaper or razor knife. If you happen to remove any color then you will need to replace it prior to the fill.
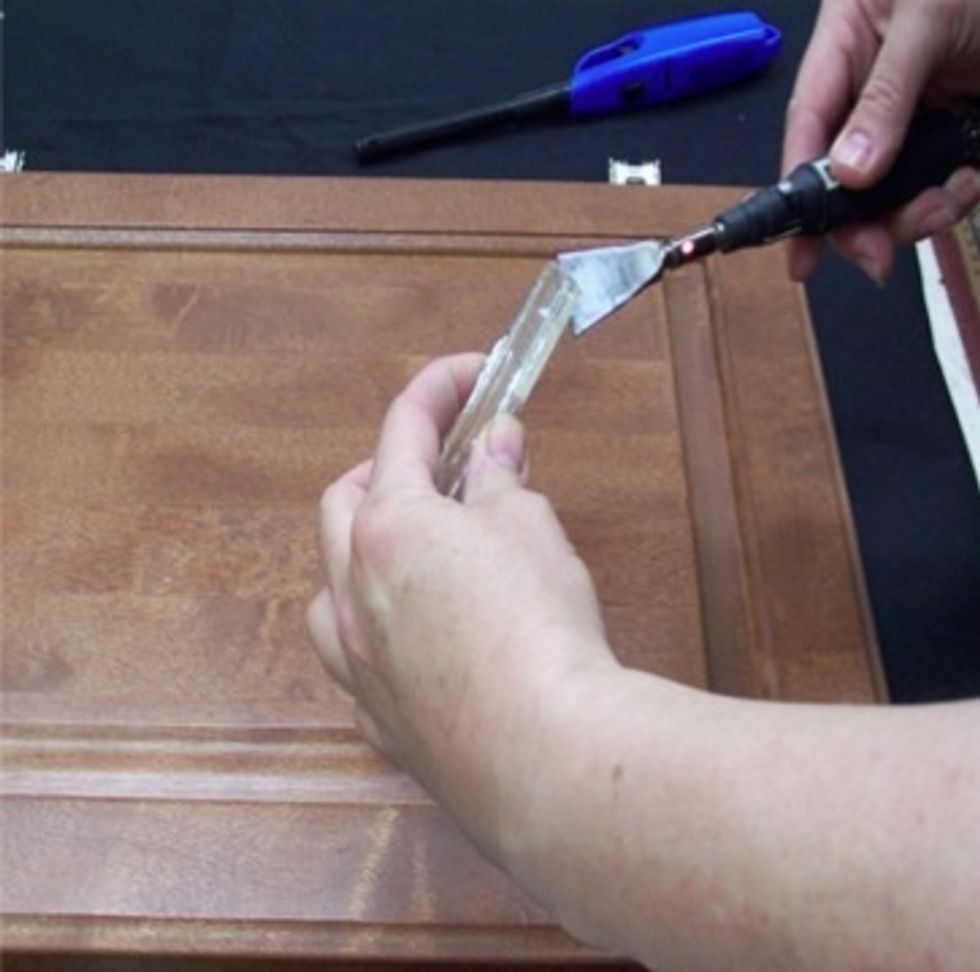
Melt the clear E-Z Flow burn in stick onto the blade of the burn in knife, then drip the resin into the damaged area. Slightly overfill the repair area.
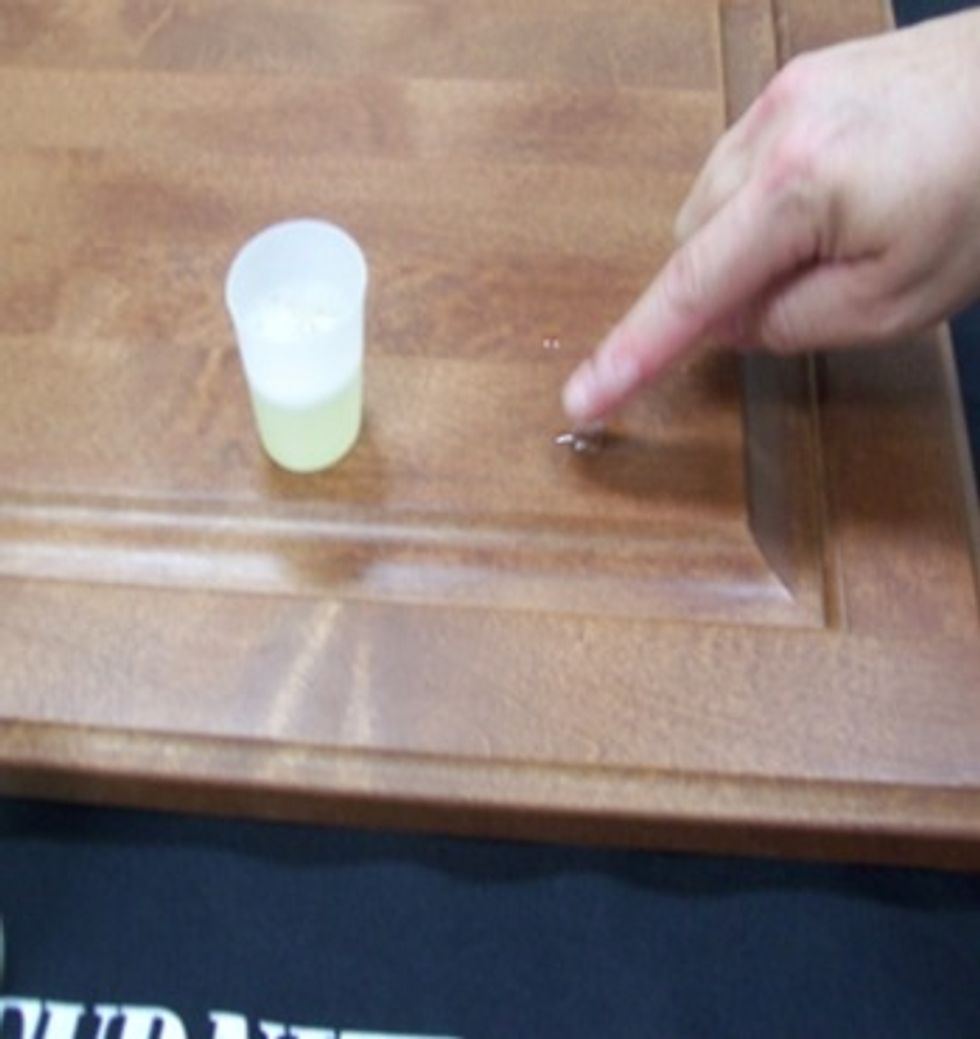
Allow the burn in resin to cool for a moment. Wet finger tip and press down resin to fill void.
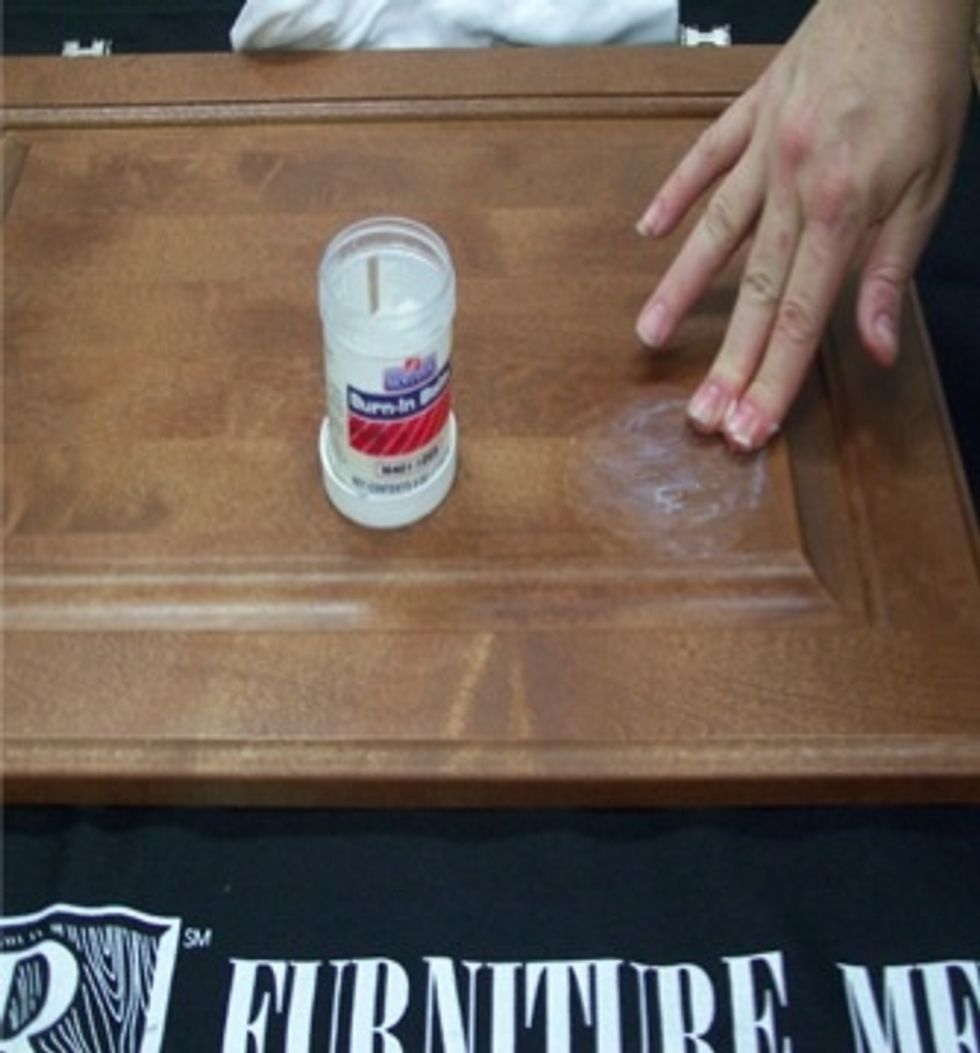
Apply burn in balm on and around fill to protect the wood surface from the hot burn in blade.
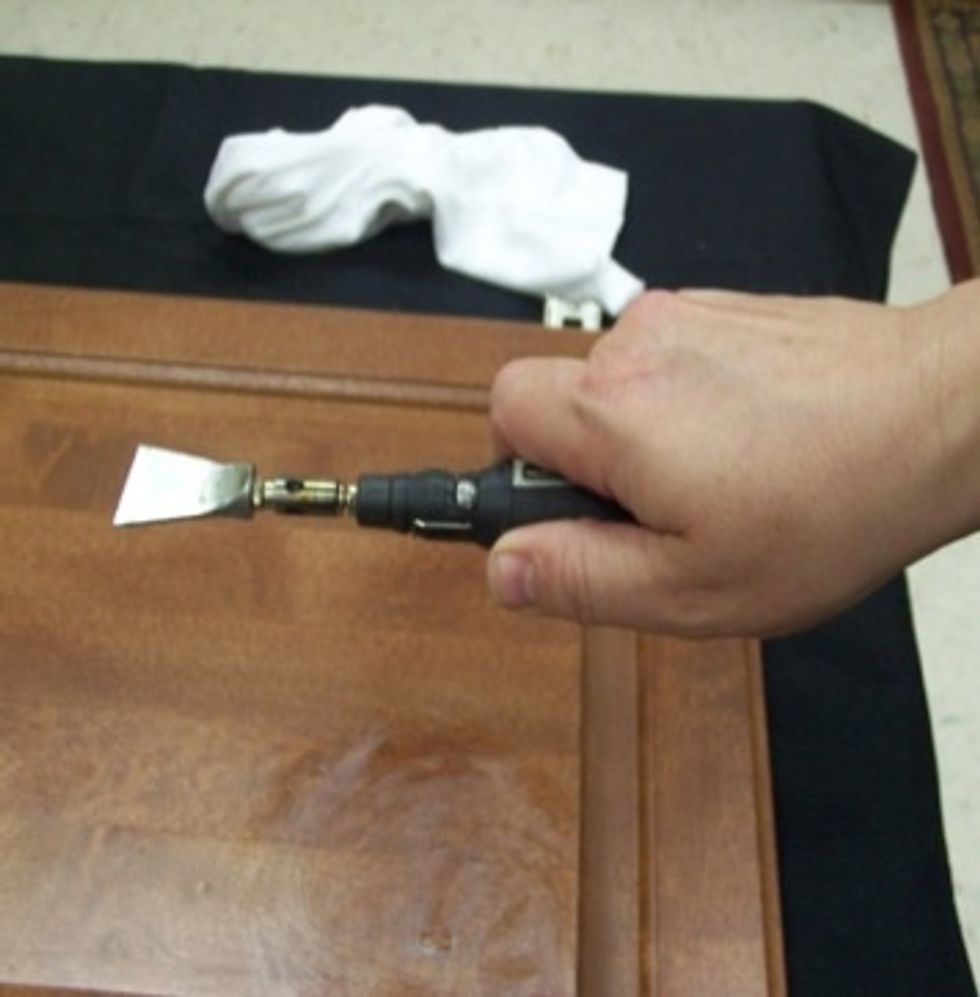
It is critical that the knife is held as pictured. The blade of the knife has a wide side and a short side. The wide side will always be on the same side as your thumb.
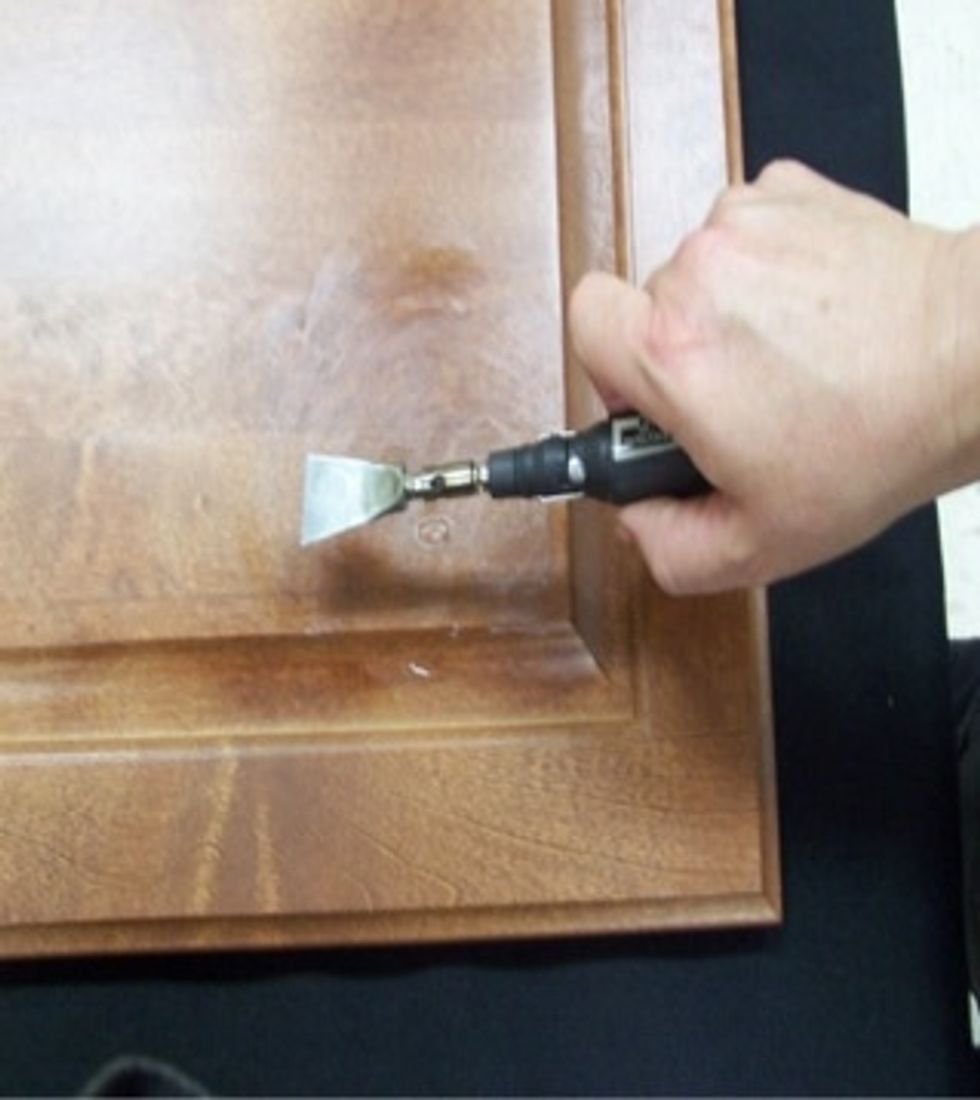
Level the fill with the knife. Hold the blade in front of the damage not touching the surface. Keep the blade moving as you touch down on the surface just before you drag the blade over the fill.
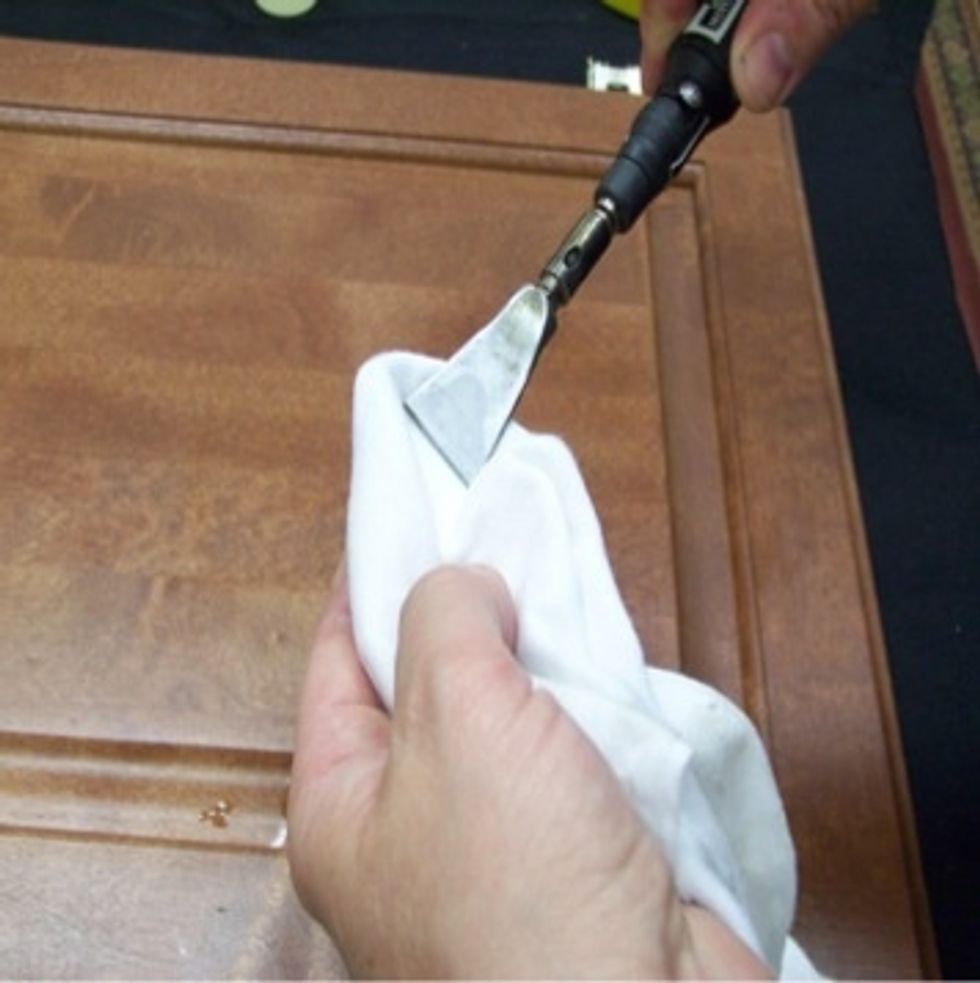
Clean the blade of the knife frequently during the process of removing the fill. Note: if the blade is smoking than the knife is too hot and you need to turn down the heat.
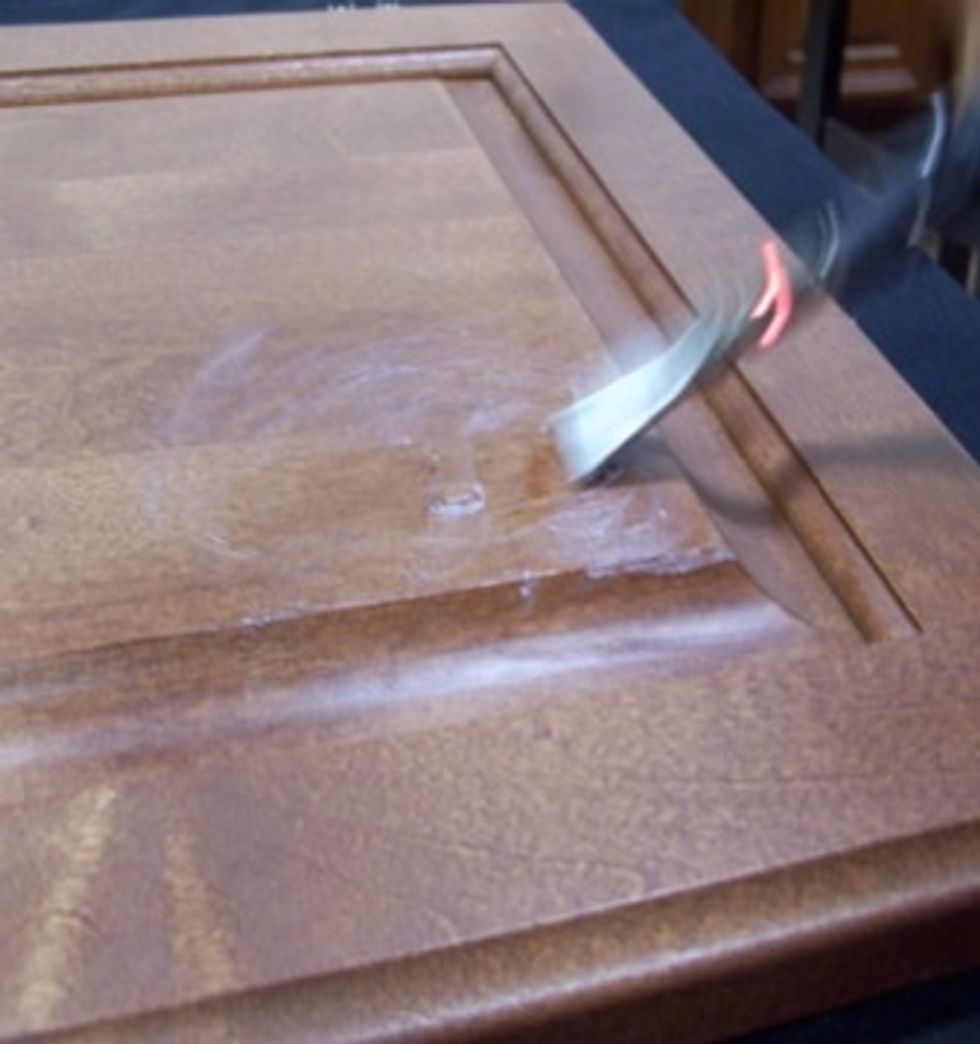
If you stop before the level liquifies you have will have residue left on the surface. If resin residue is present after cleaning you will need to go back with the hot knife and remove the residue.

Clean the surface carefully with Mohawk Quick clean or Wax wash. Note: Since the fill is not made from a resin carefully clean the area around the fill because the clean could remove some of the fill.

Lightly scruff the area with Silicon Carbide Waterproof P800A grit sandpaper wrapped around a Cork or Black rubber sanding block lubricated with a ration of 50/50 wool lube and water. Level the fill.
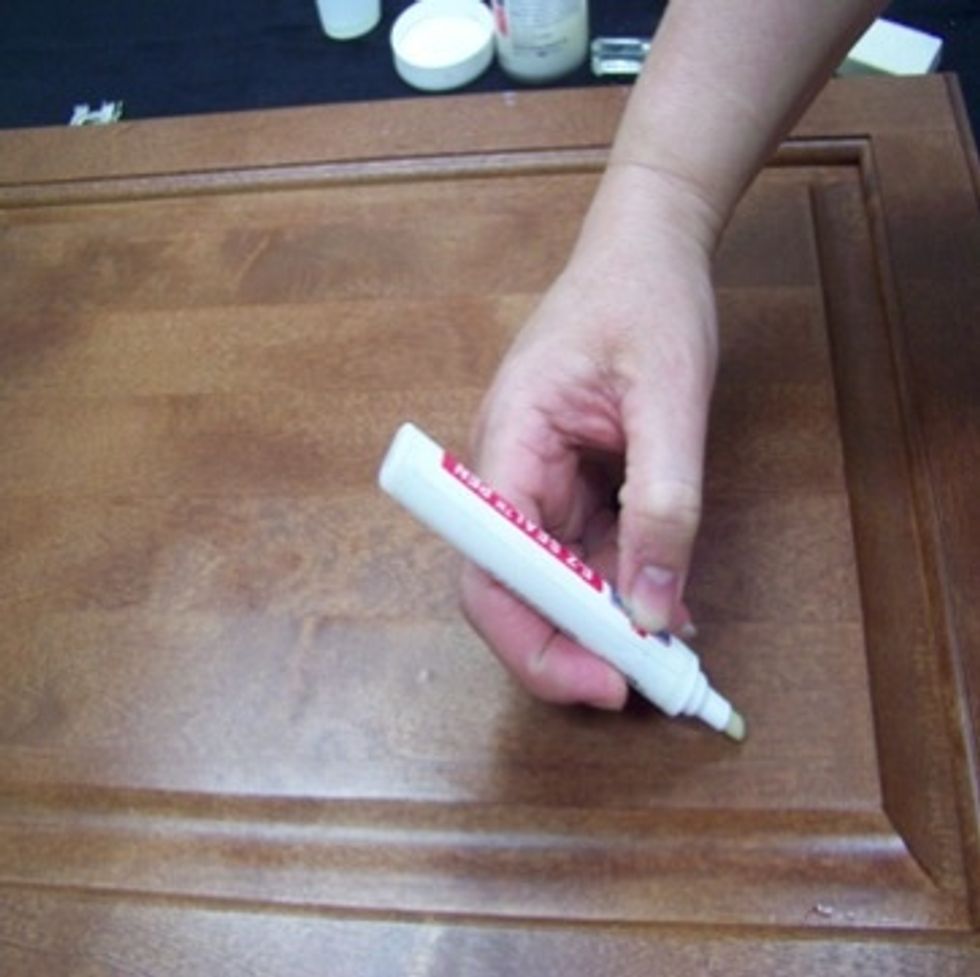
Seal the burn in with an E-Z Seal pen to cover the glossy resin fill. Note: Allow 10 minutes to dry.
Alternative Options: Seal in the clear burn in with the burn in sealer or E-Z Vinyl sealer.
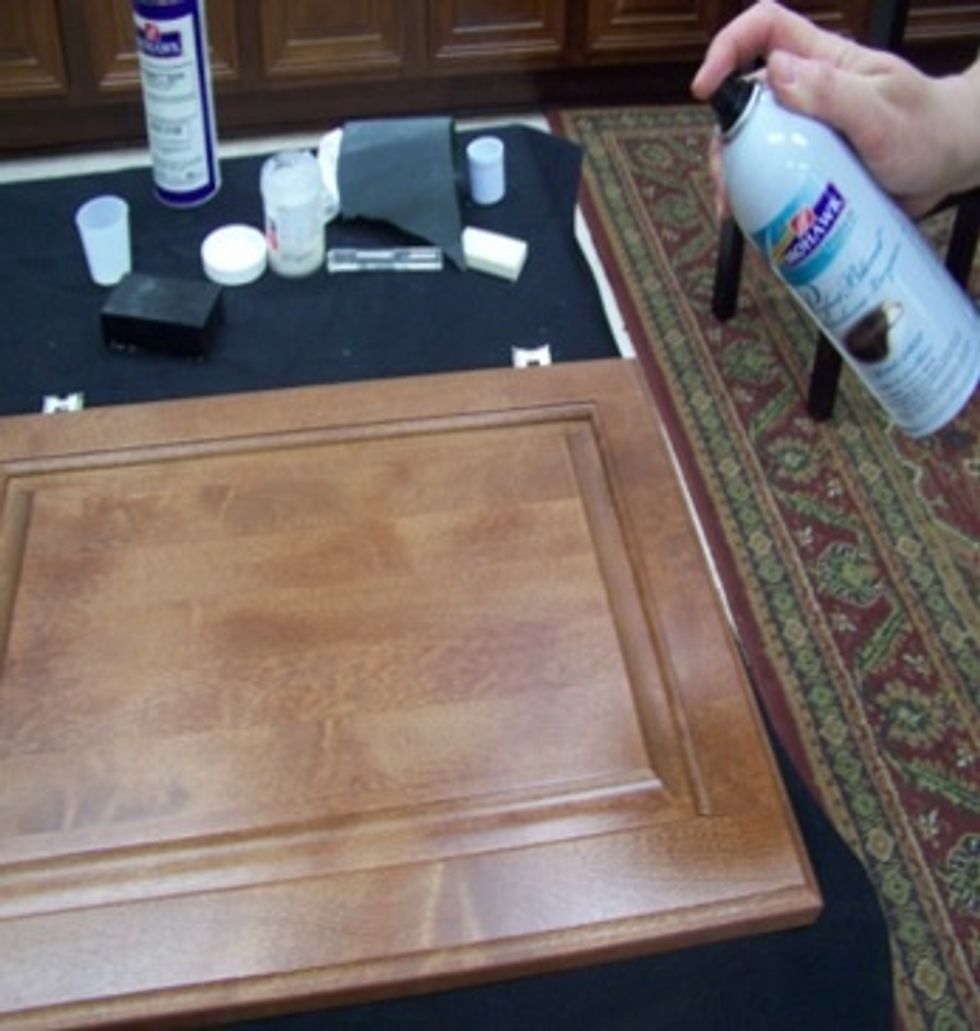
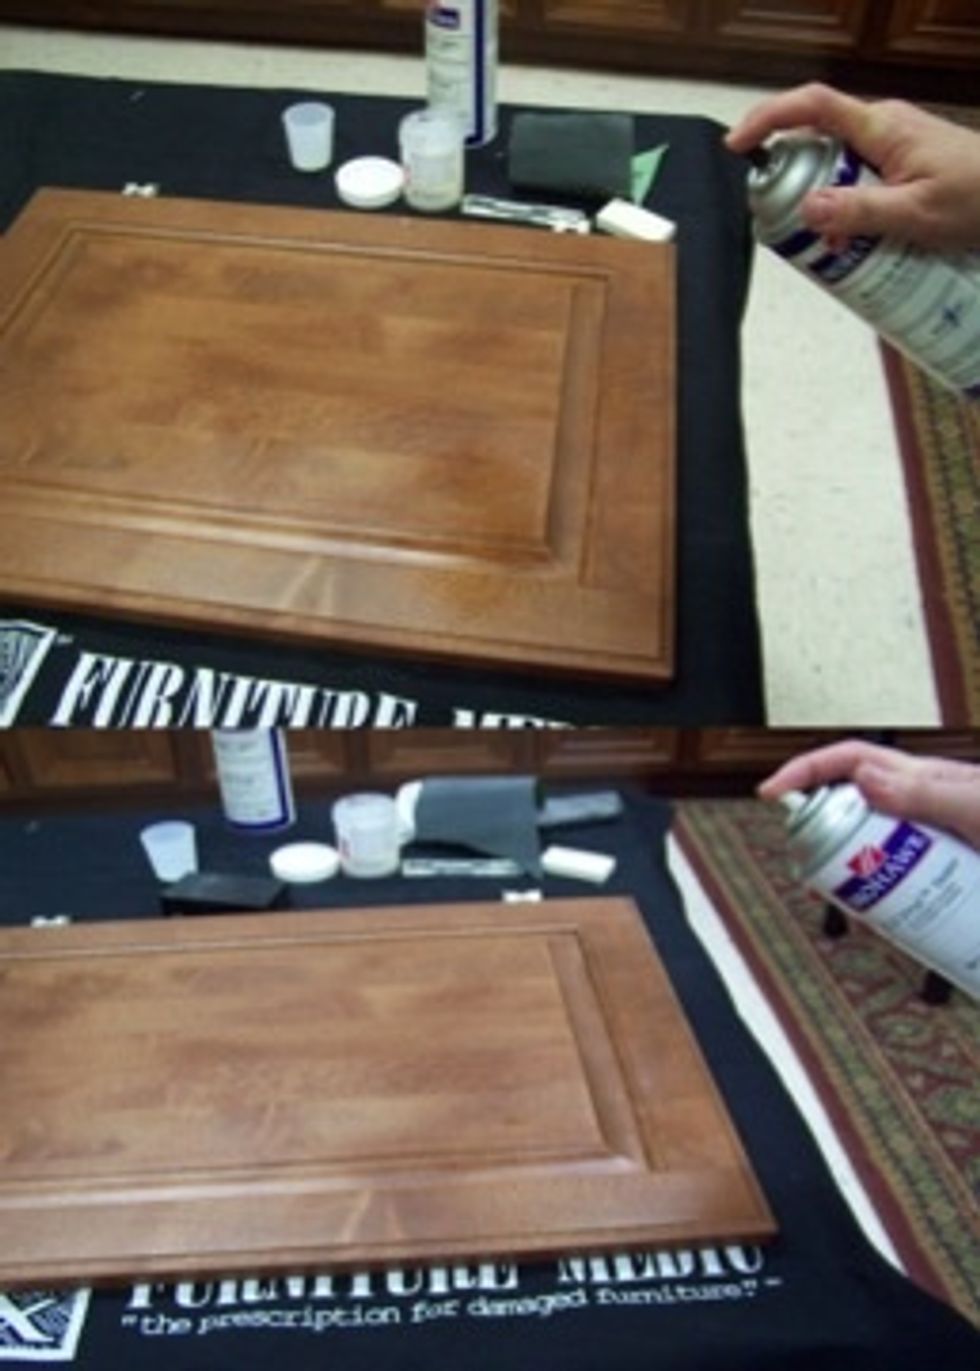
Top coat with a clear aerosol of proper type and sheen for the item. If you are blending in a low sheen finish than put a final coat of Mohawk Waterborne Lacquer in the appropriate sheen.
The End