The Conversation (0)
Sign Up

Download Sketchbook Pro from the App Store. It's paid but not crazy expensive. I think $5.
Procreate is the other app that I use for the tutorial. It's $5 to $7 on the App Store. Don't quote me though. I bought the apps previously and can no longer see the price.

Paper is another art, drafting and design app I use. It's simple but effective UI makes sketching and writing easy. I use it to brainstorm. This one is free but the majority of the tools are paid.

Here's my first reference photo.

The second...

The third...
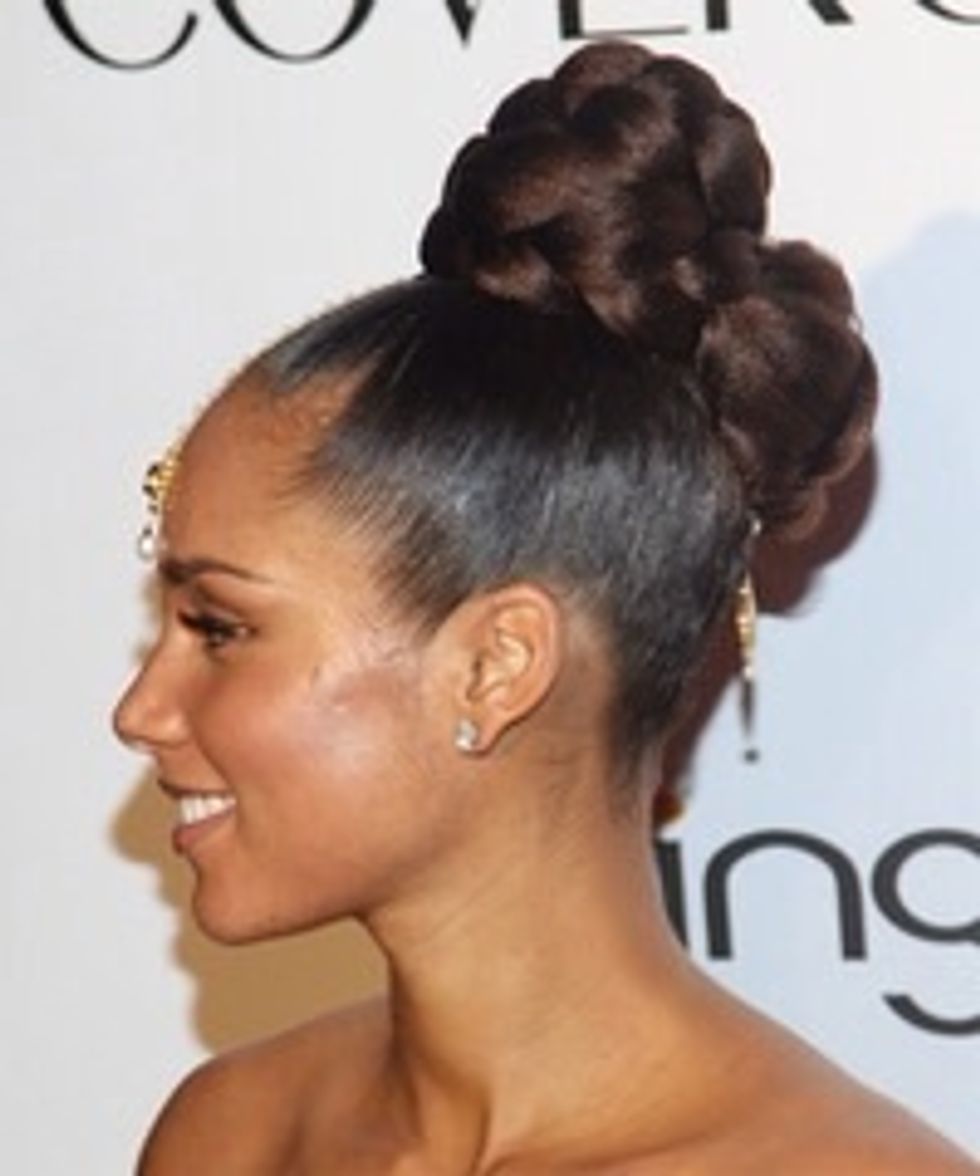
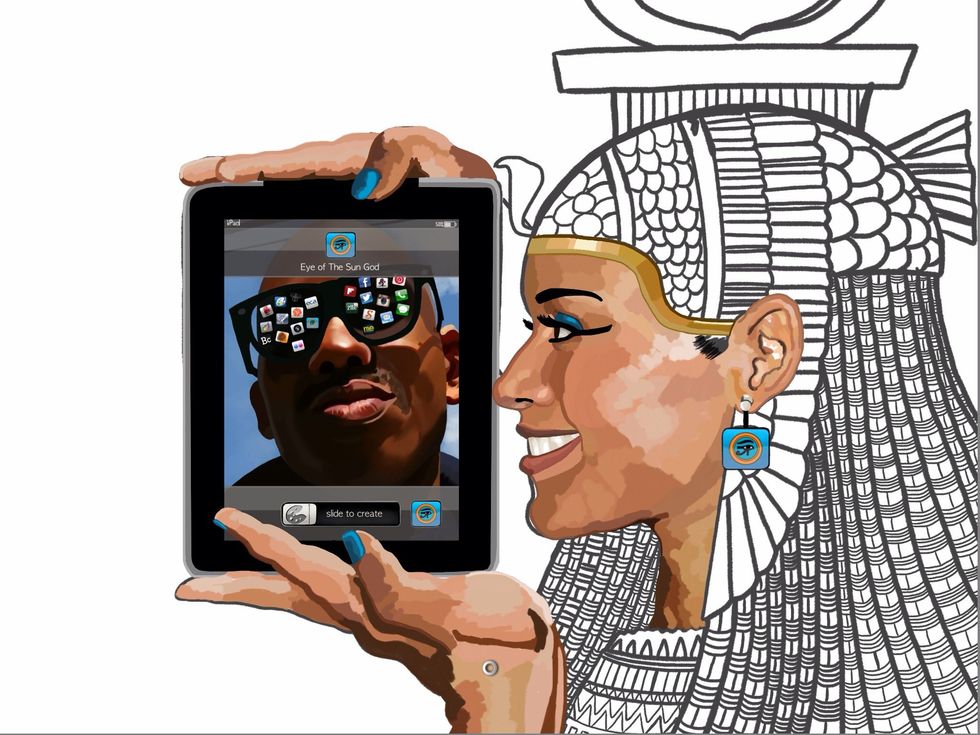
And the fourth which is Alicia Keys of course. Keep in mind I'm not illustrating her so I will be taking liberties. I'm only using it as a starting point to illustrate Isis.
When illustrating a character or figure that's not real you want to get reference to make him or her feel like they are a living person.
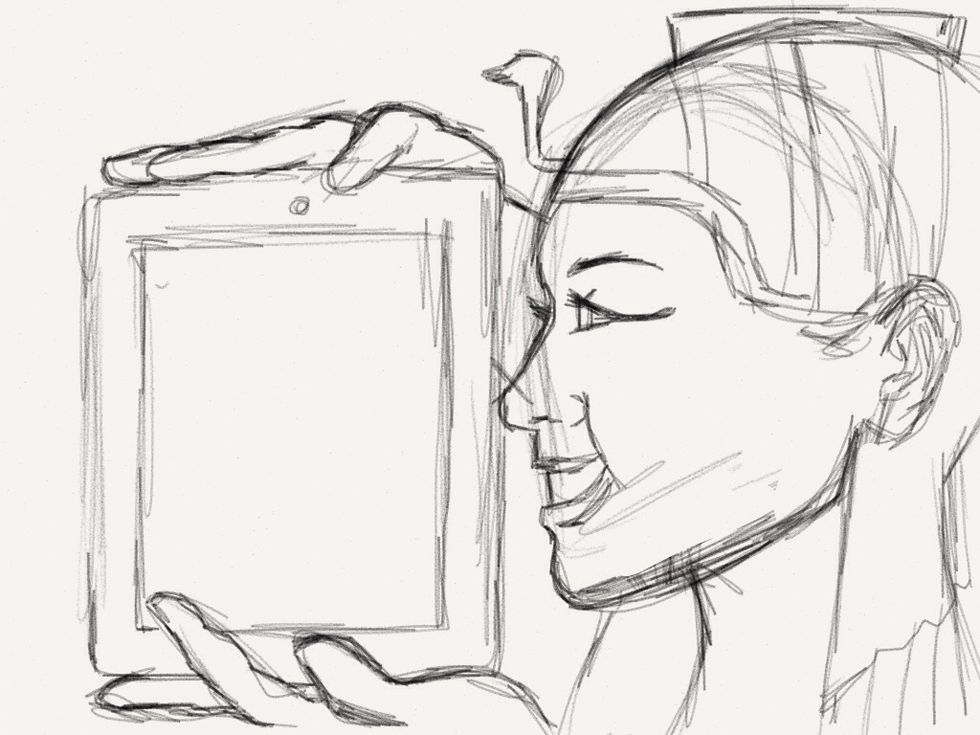
Here is my rough sketch that I created in Paper. I email it to myself and open it on Sketchbook Pro.
The image from Paper is retrieved from email and copied into Sketchbook. You just choose insert photo option from layers.
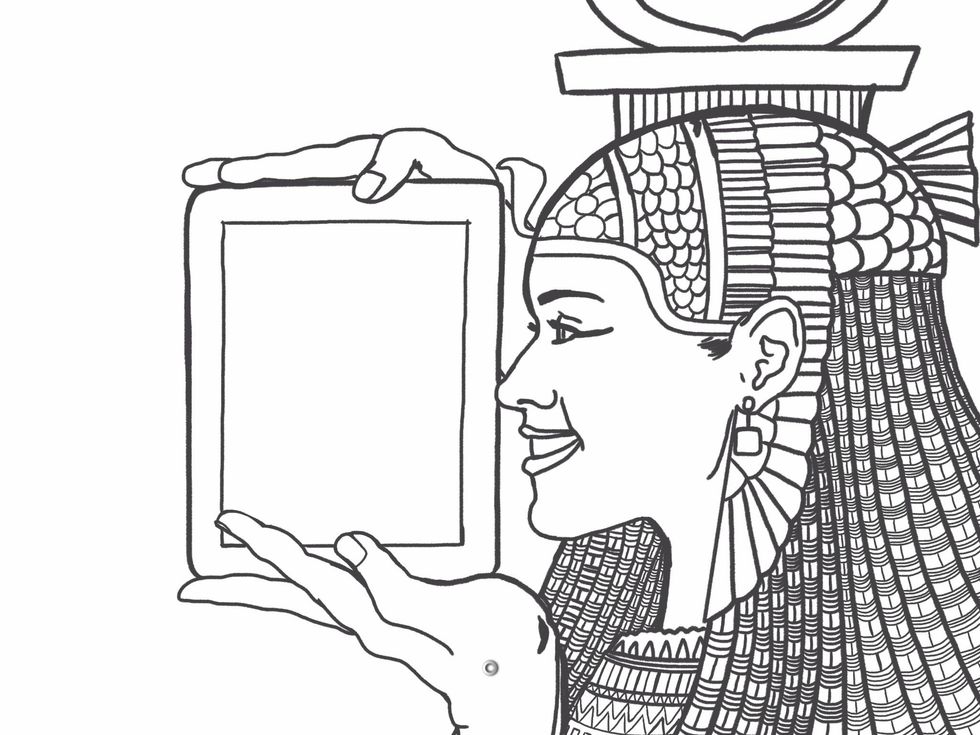
Now I create another layer on top and using the 2B pencil tool create a new drawing. Basically refining the rough sketch. Anatomy and proportions are important so go slow.
Create a new top layer and start painting. At this point I use that photo of Alicia Keys as a color guide. Insert the photo and you can pick out all of the skin tones.
If you're painting a figure it's important to understand the different values. There's light and shadow throughout the skin tones.

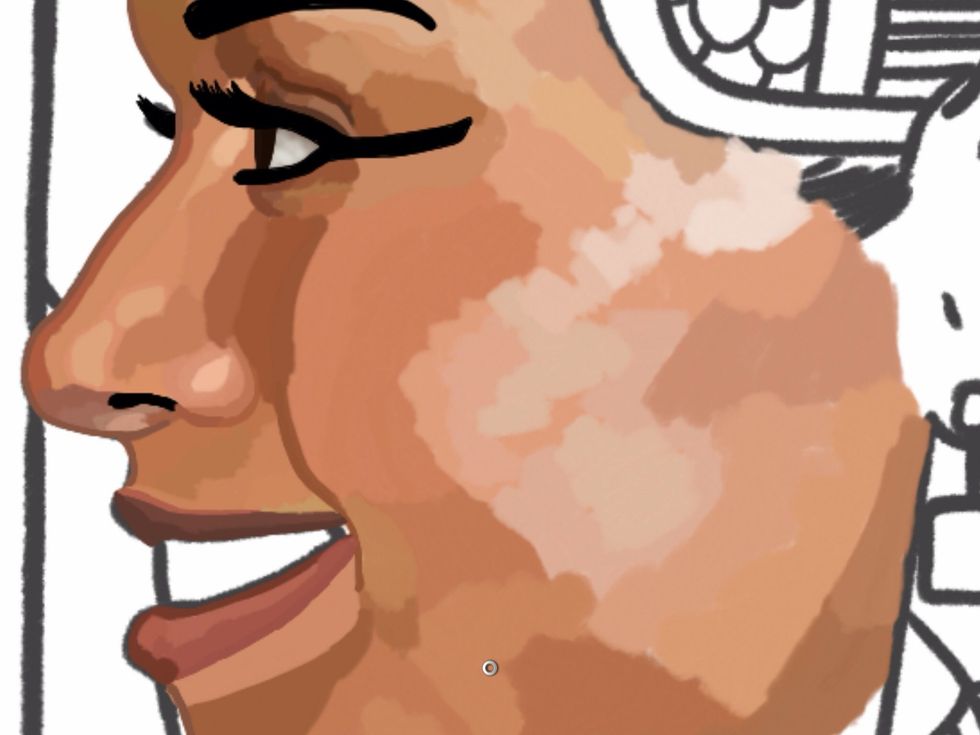
Here's a detail of the skin. Keep in mind at this point nothing is blended.
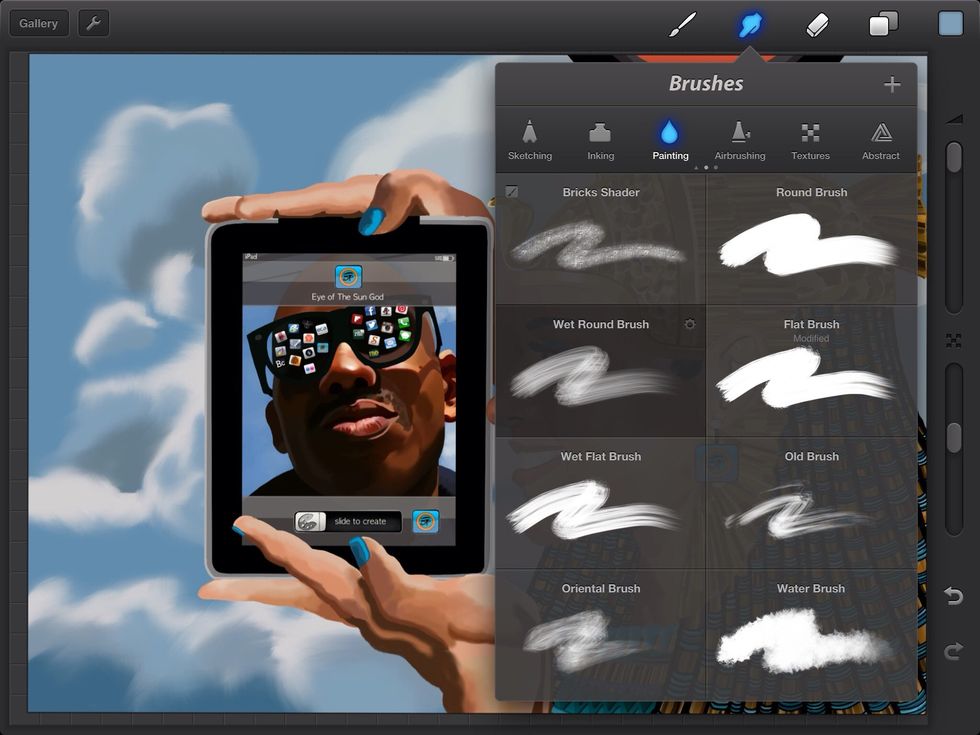
On a separate layer I render the iPad with black and grey tones. The painting in the lock screen comes from the Procreate app. See my other tutorials for copying and pasting between apps.

There's a close up of the detail.
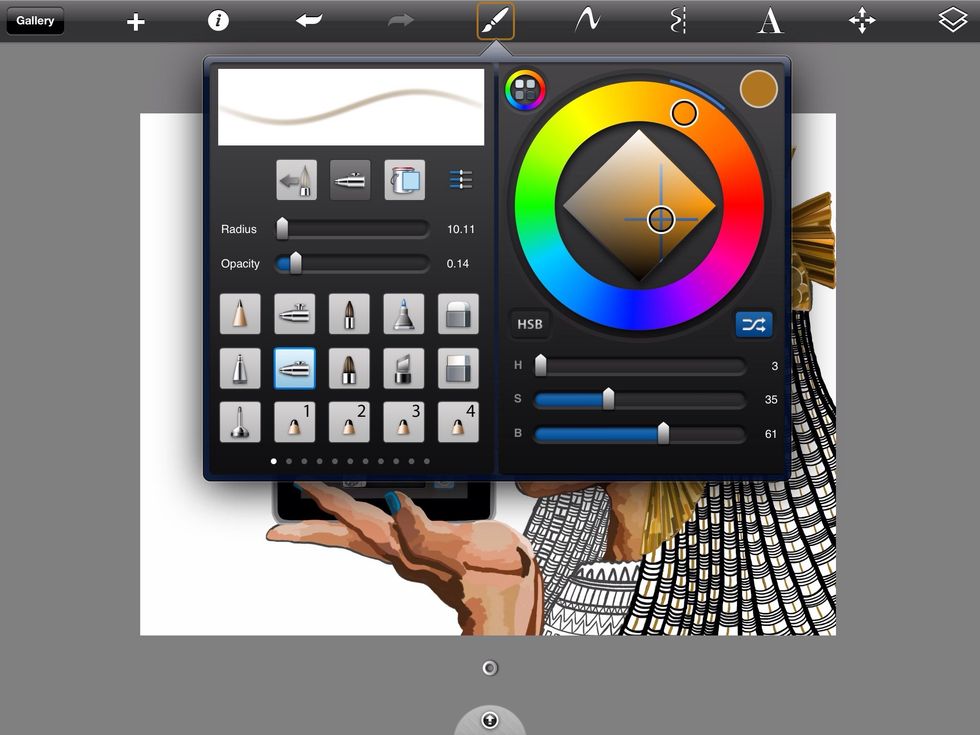
Now it's time to blend her skin tones. I choose the airbrush tool and reduce the opacity to about 15 to 20%.
The trick to blending is select a color with the eyedropper tool and go over it with the airbrush tool. That will give you a lighter but similar color. Use the eyedropper and select...
the lighter color and paint with it. Repeat the process until the skin smooths out. Practice makes perfect and this part is time consuming.
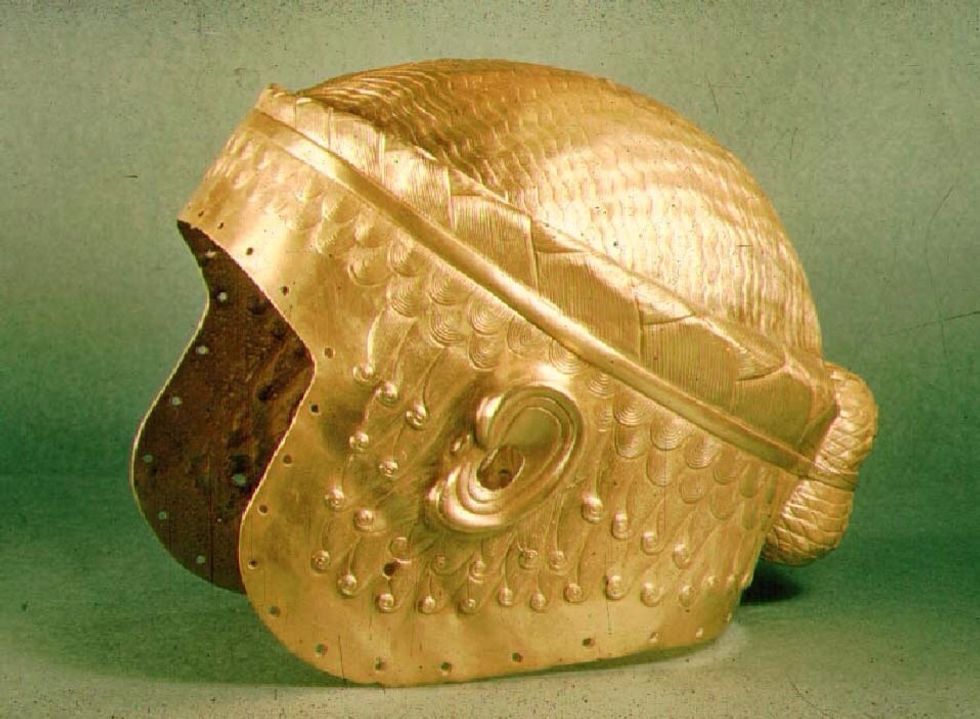
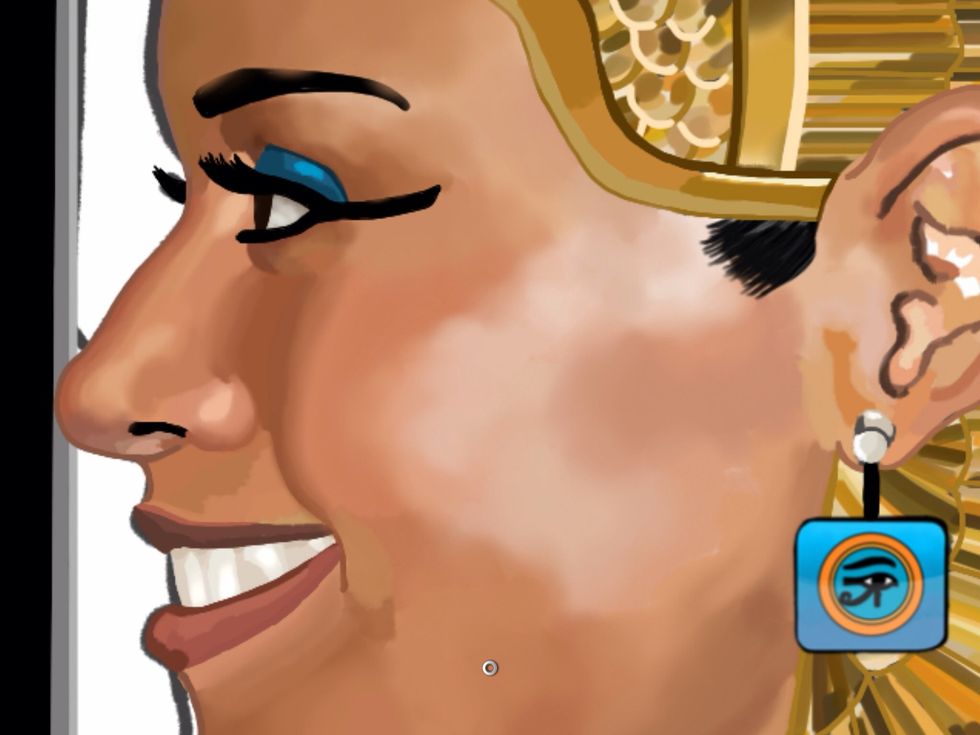
Another thing to go over is the golden helmet and beads. Here's my reference photo.
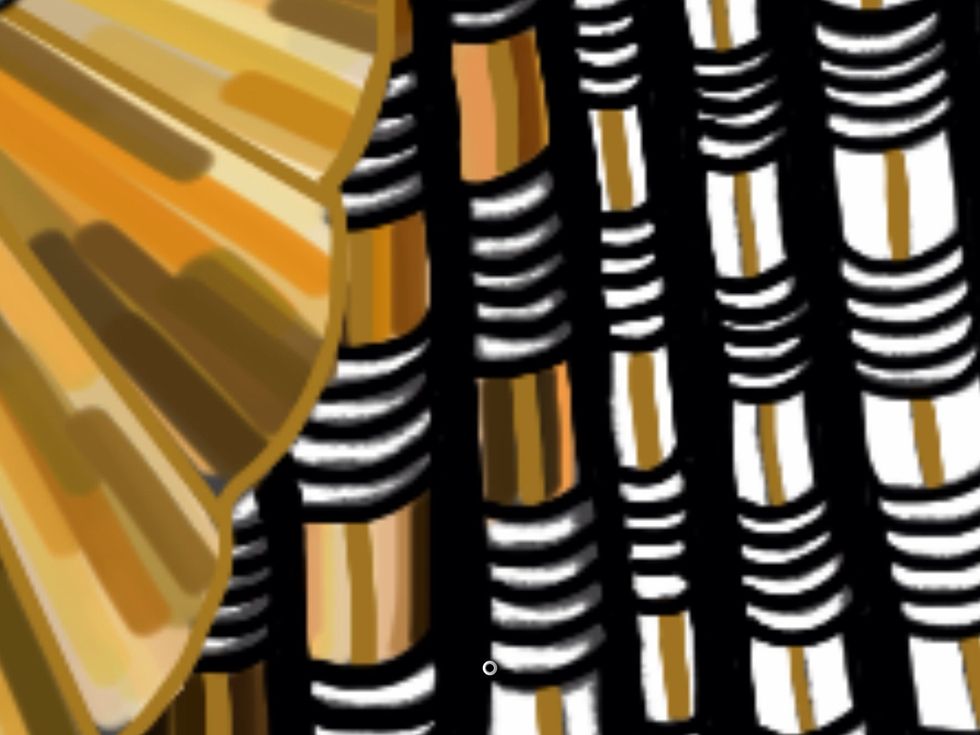
First I create a layer for the foundation. The helmet is a creamy color and the beads are outlined in black. Now a new layer is made and tucked under that one. Remember that the layers are transparent
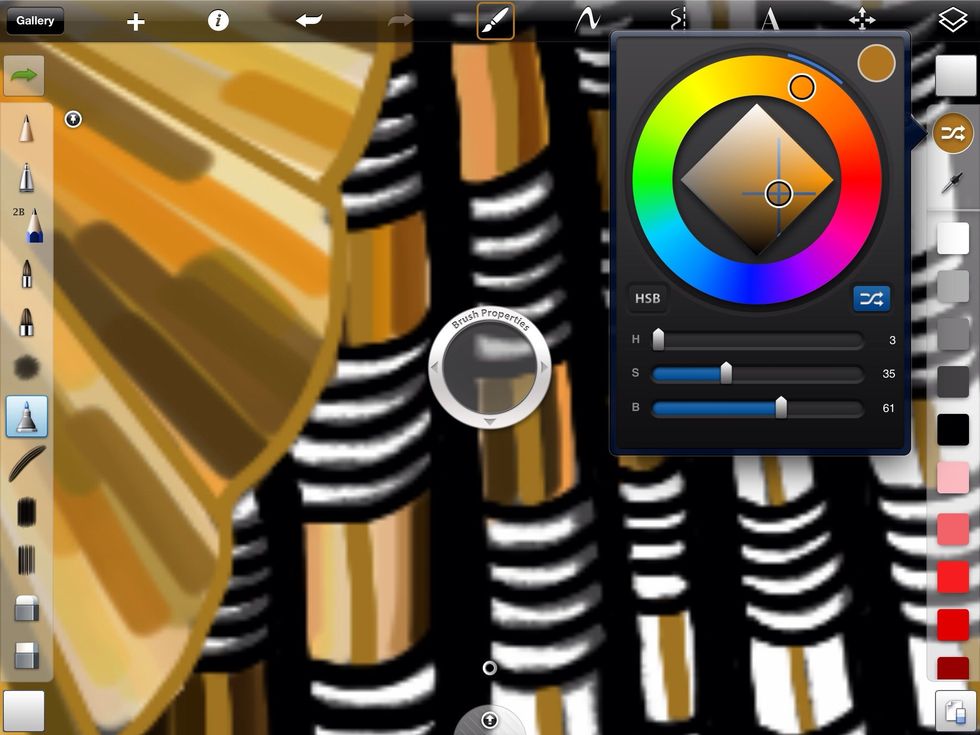
To get all of the unique color options for a metallic look I turn on the randomize color option. This allows me to paint different colors in a given shade. I adjust it to stay within gold.
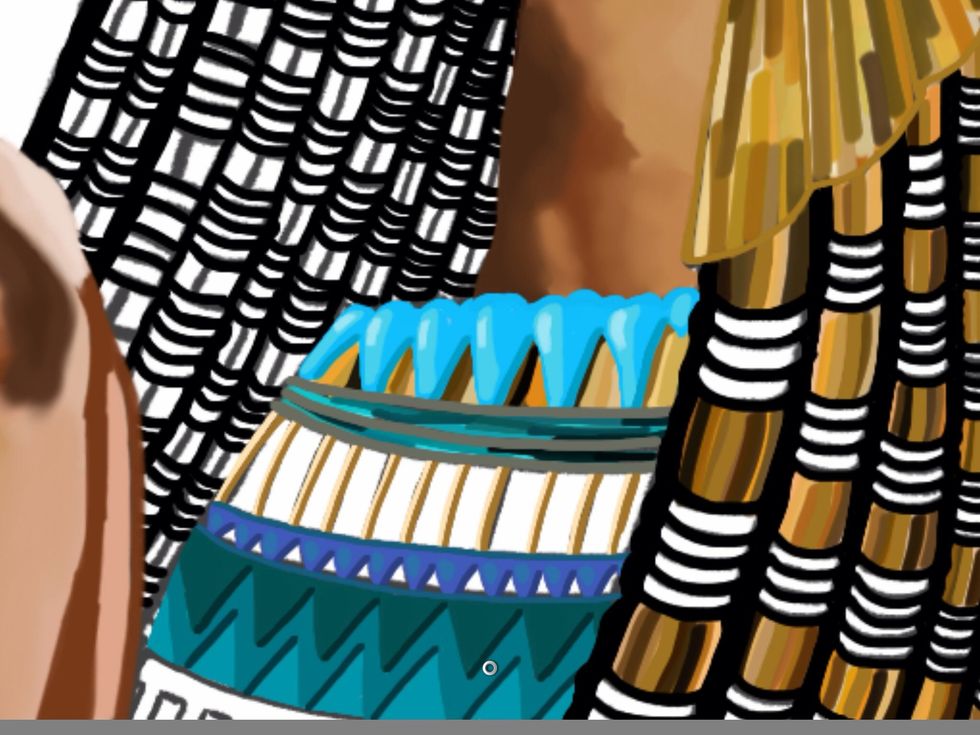
The same can be done for the necklace too.
Randomize color is a great option to have variety but not spend an enormous amount of extra time on a piece.
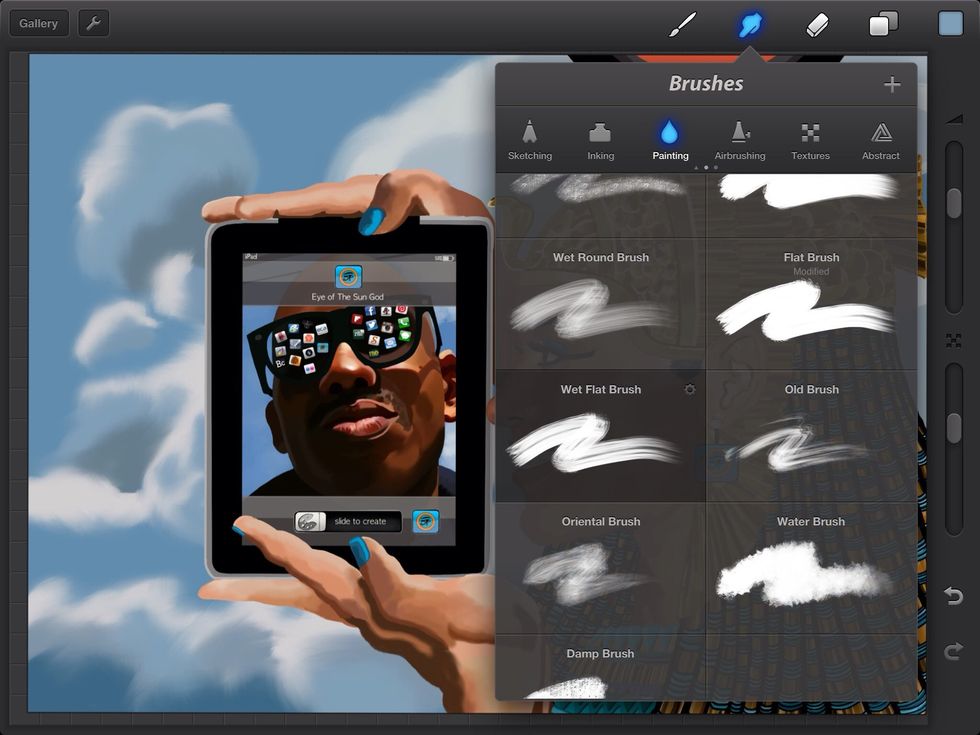
Once Isis is fully rendered I merge the layers and copy the illustration. Sketchbook is closed and I go into Procreate to paint in the sky and clouds.
Now using the smudge tool I go over the clouds for a softer, more organic look.

I merge the layers again, copy and close Procreate. Sketchbook is opened again and I paste in the new painting. I erase the edges lightly of the background for an ancient look and add some worn edges.
That's it! I hope you enjoyed the tutorial. Check out http://about.me/raheemnelson to see more work and http://bluecanvas.com/raheemnelson+ to buy prints.