The Conversation (0)
Sign Up
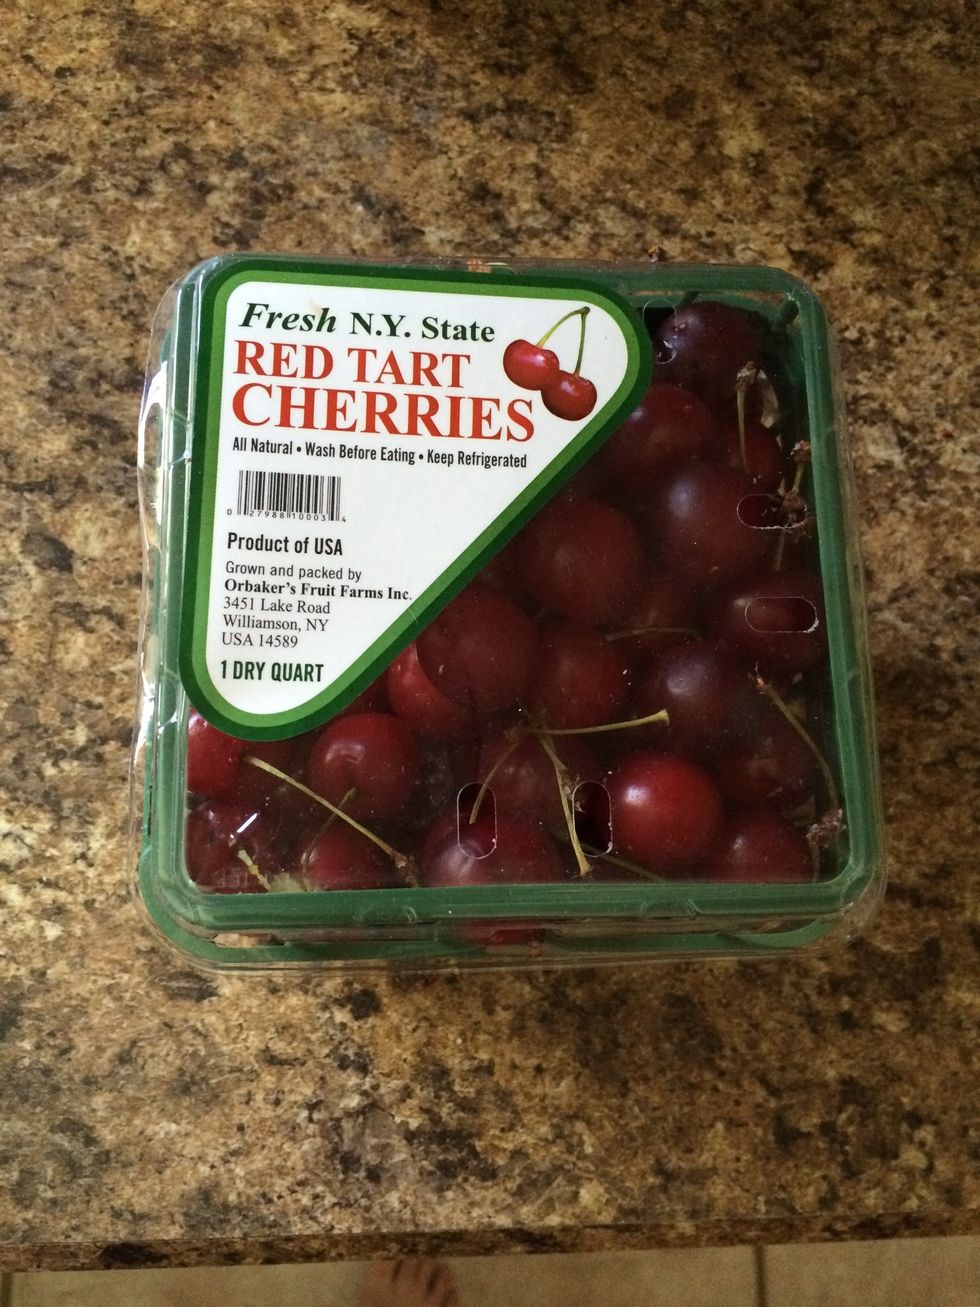
Get your cherries
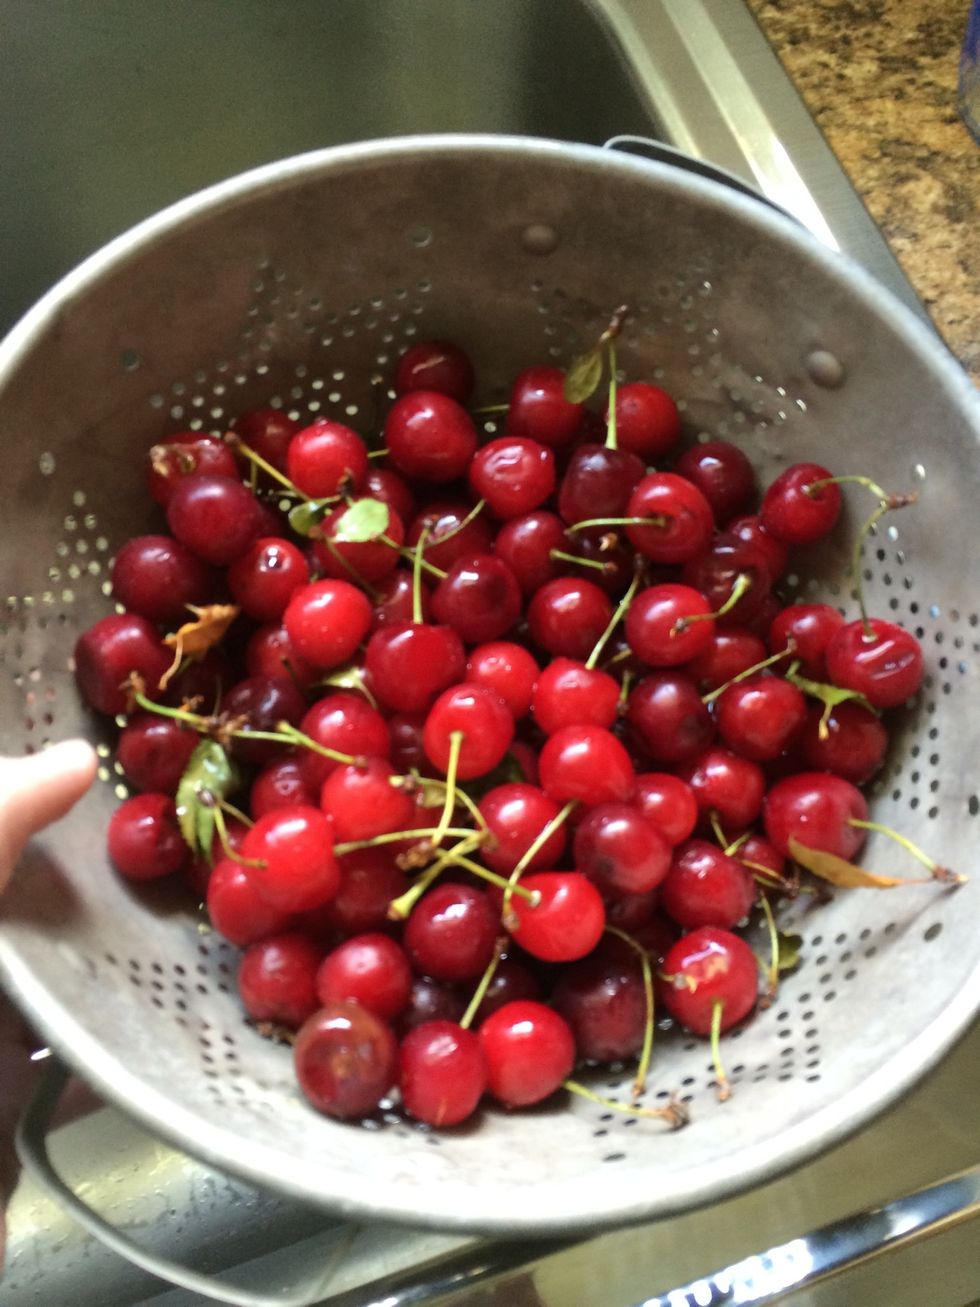
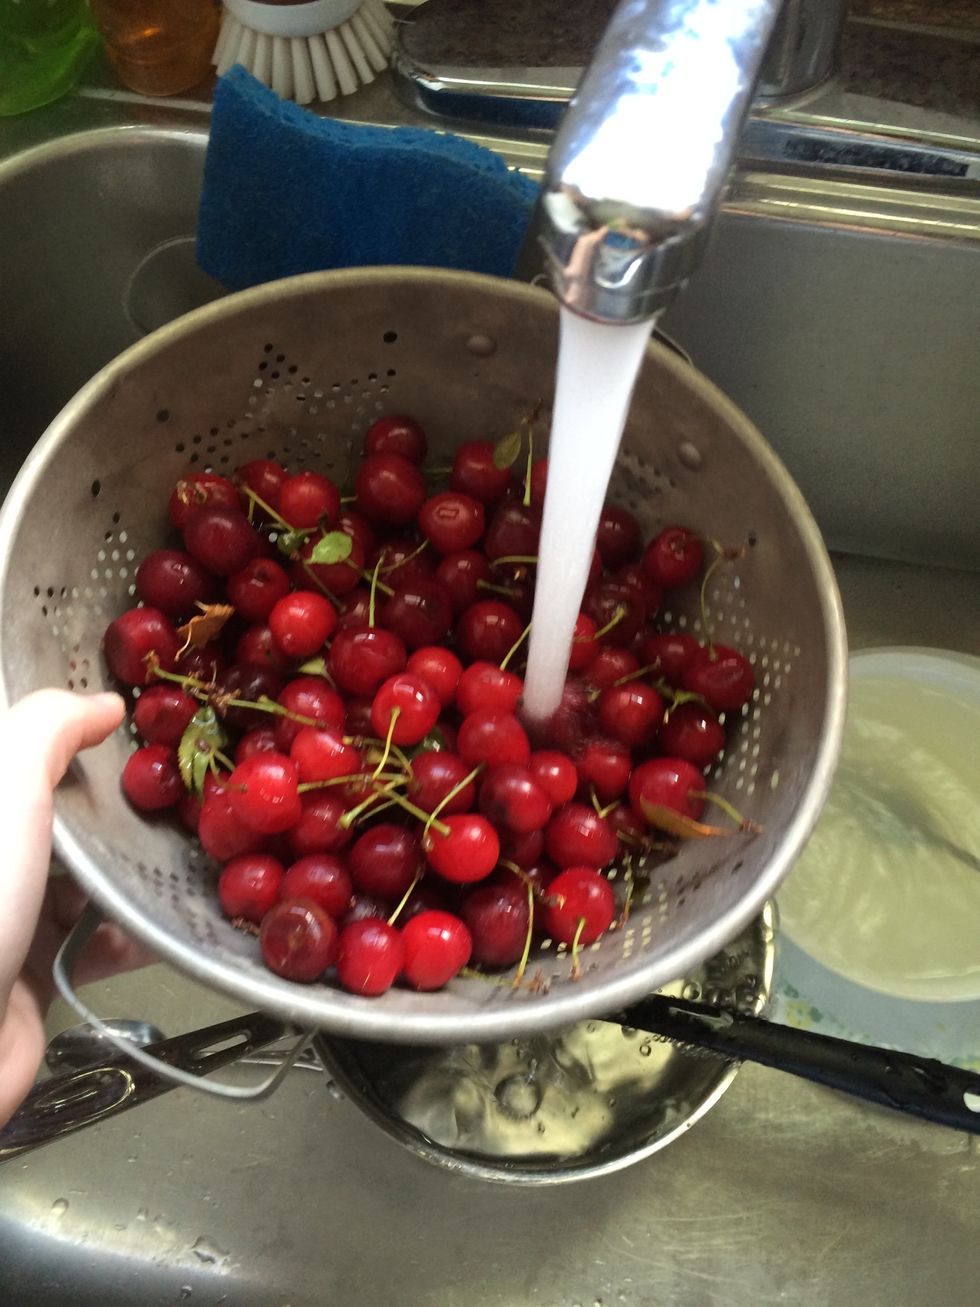
Put them in a colander to rinse them.
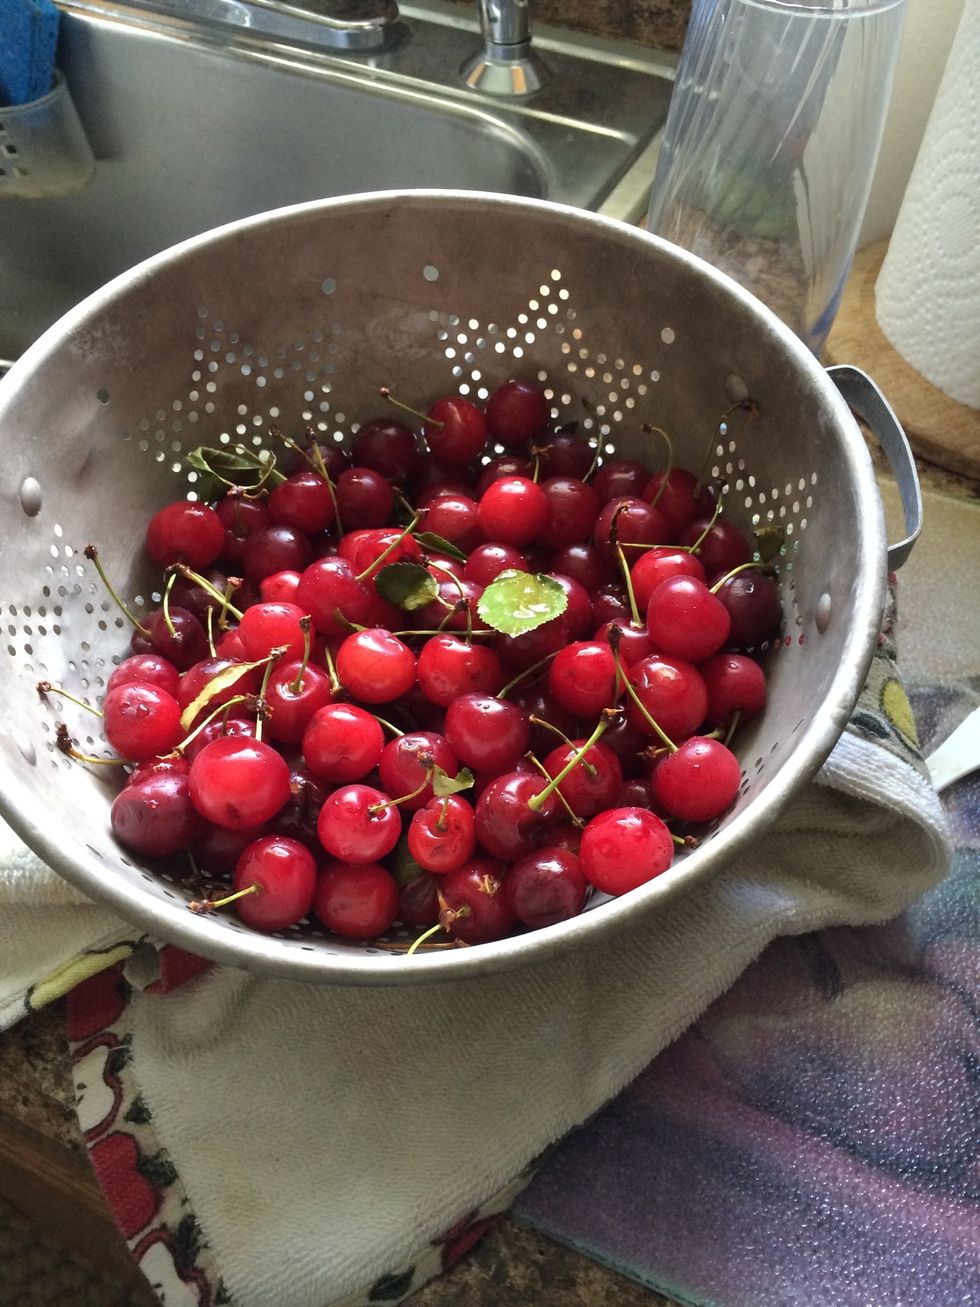
Set them on a towel unless you want a lake on your counter.
Now for what to use to actually remove the pits. There are two options that I've used but any hard small tubed object will probably work.
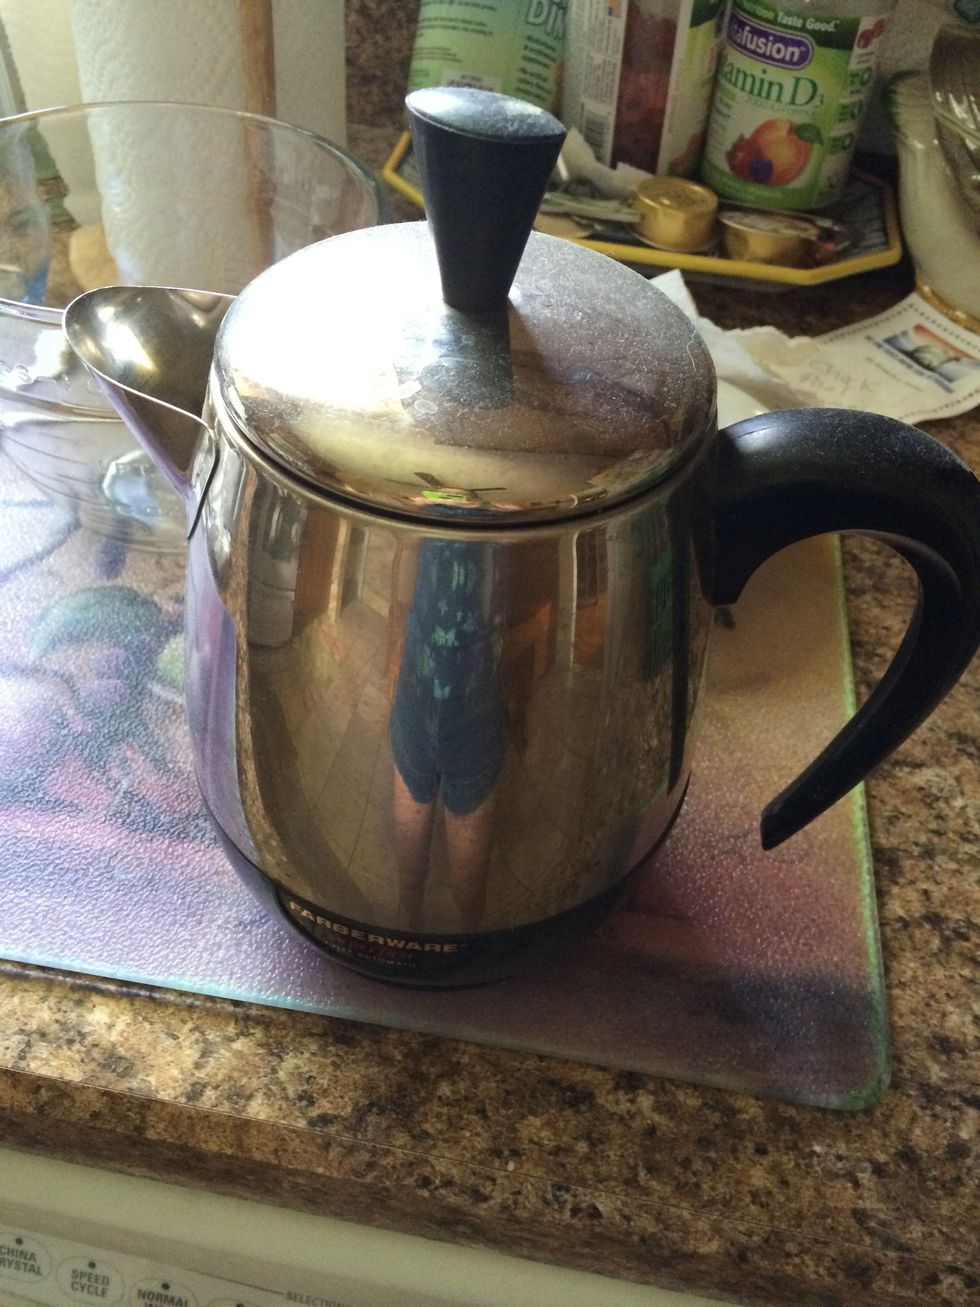
The first tool is to use the tube part in a percolator coffee maker.

The part that sticks up.
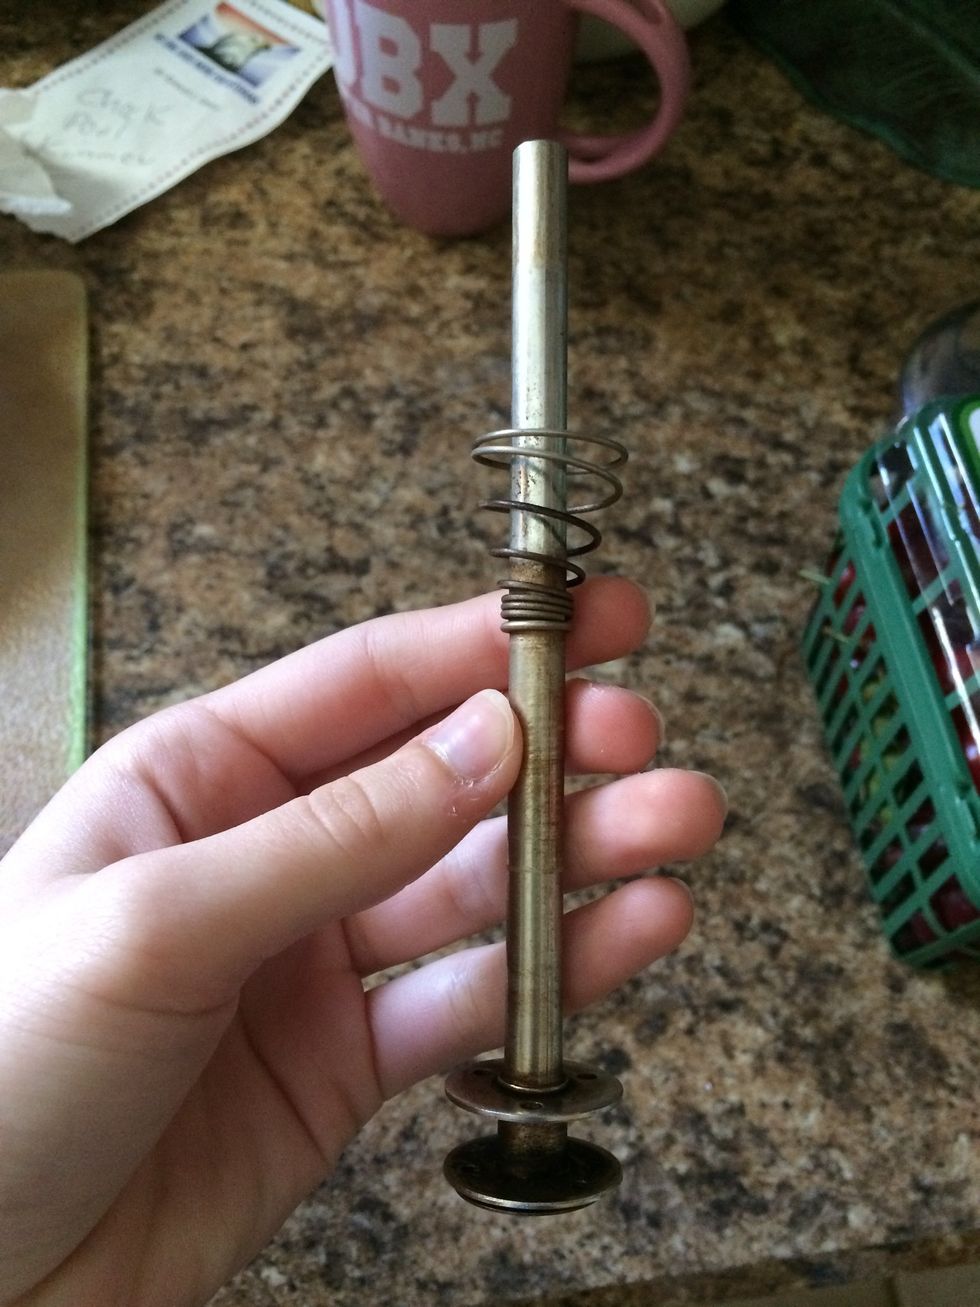
There it is
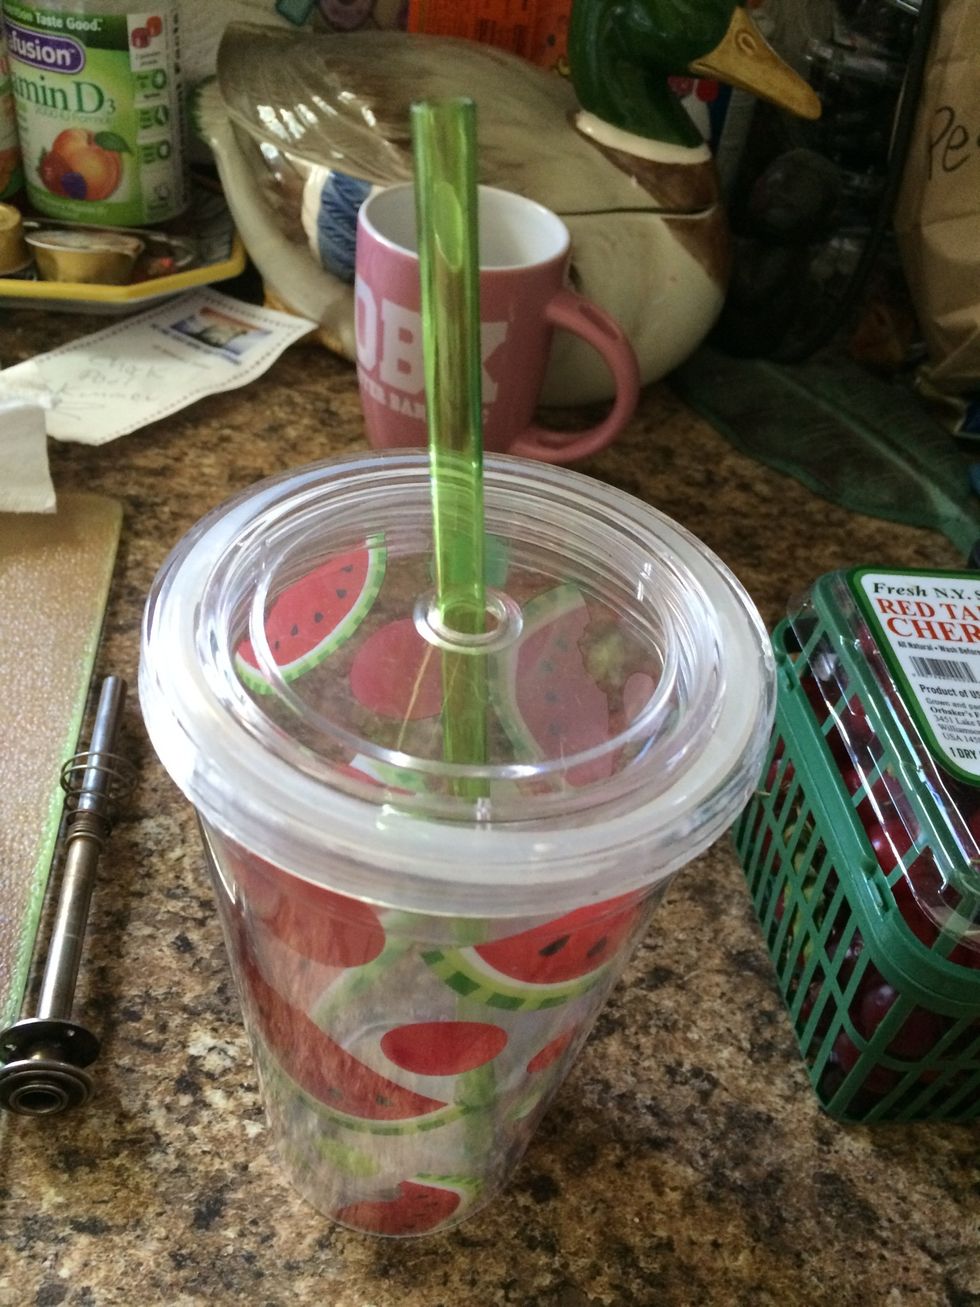
The second is to use a hard plastic straw out of a to go cold drink cups.

This part. Color doesn't matter just make sure it's hard plastic and won't bend.

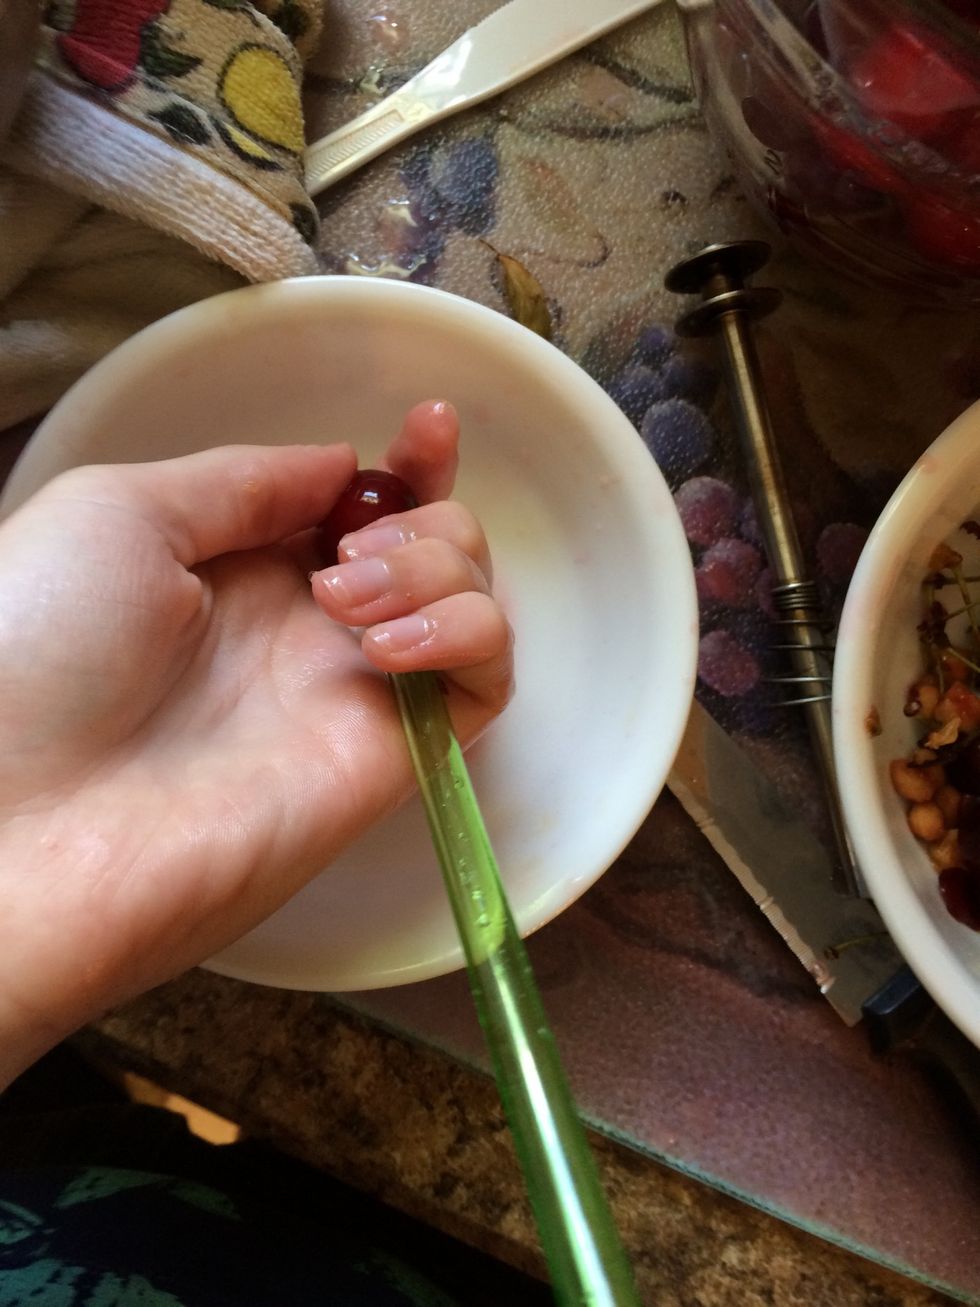
Take your cherry.

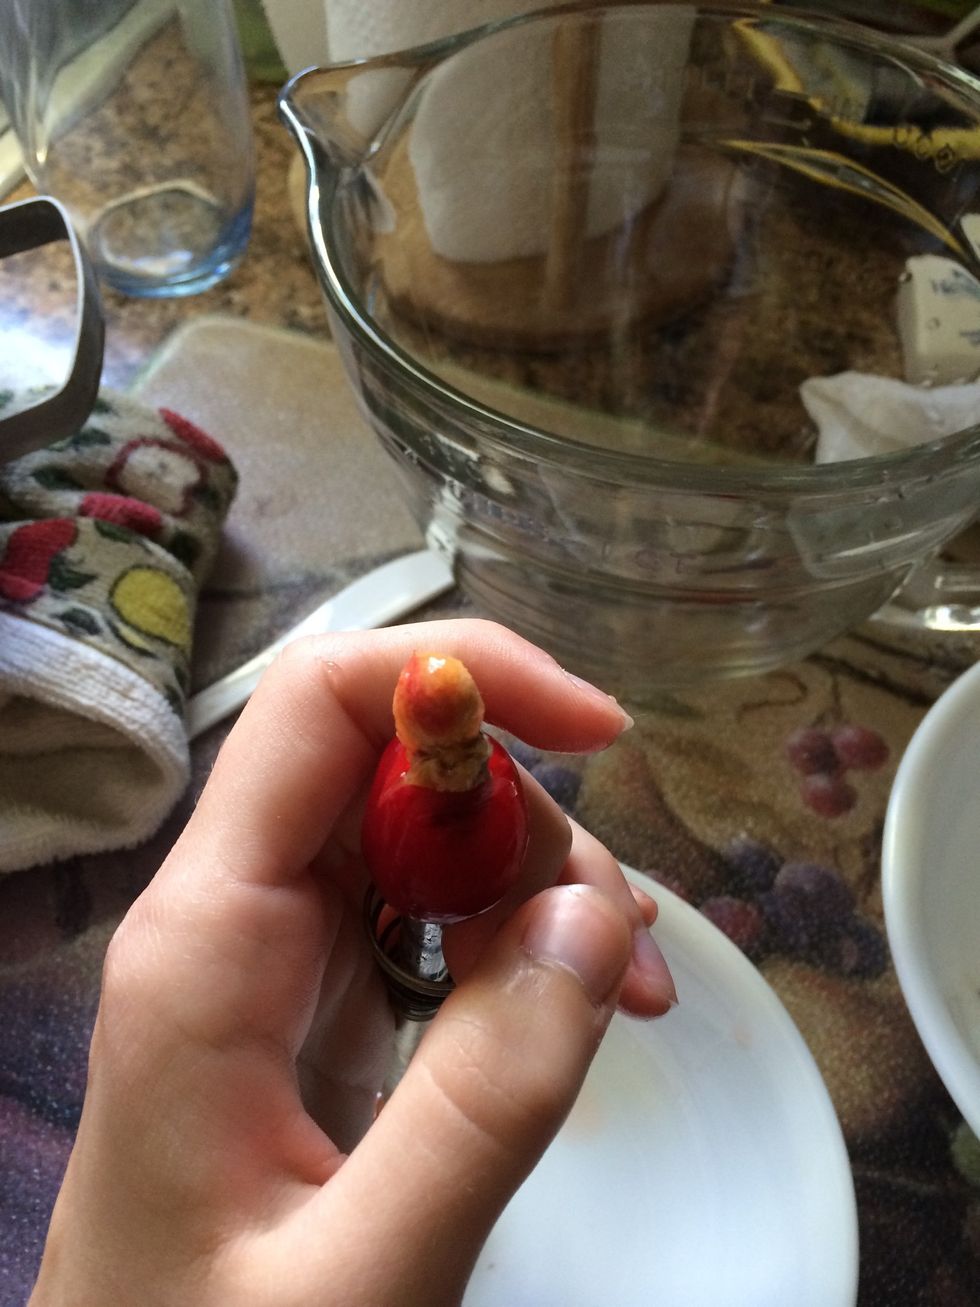
Put the stem through the top hole of whatever tool you're using.
Apply downward pressure onto the cherry while stabilizing the tube with your other hand. I don't have my other hand on the tube because I had to take the picture.

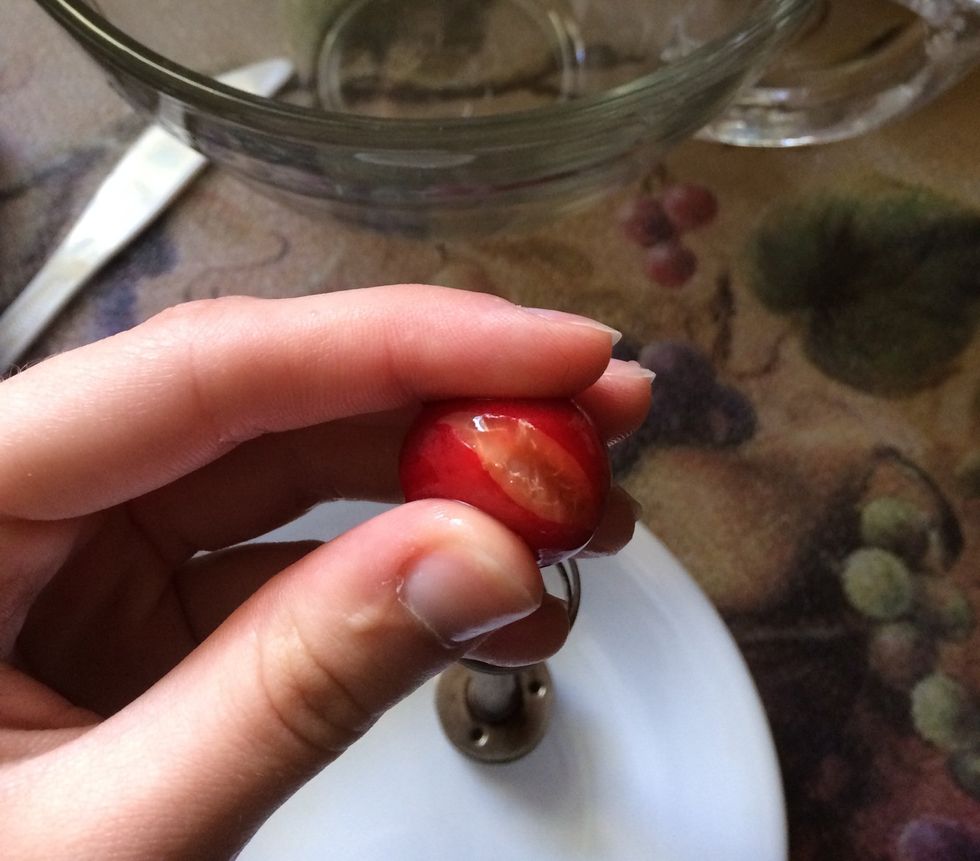
Or you can hold the cherry like this.
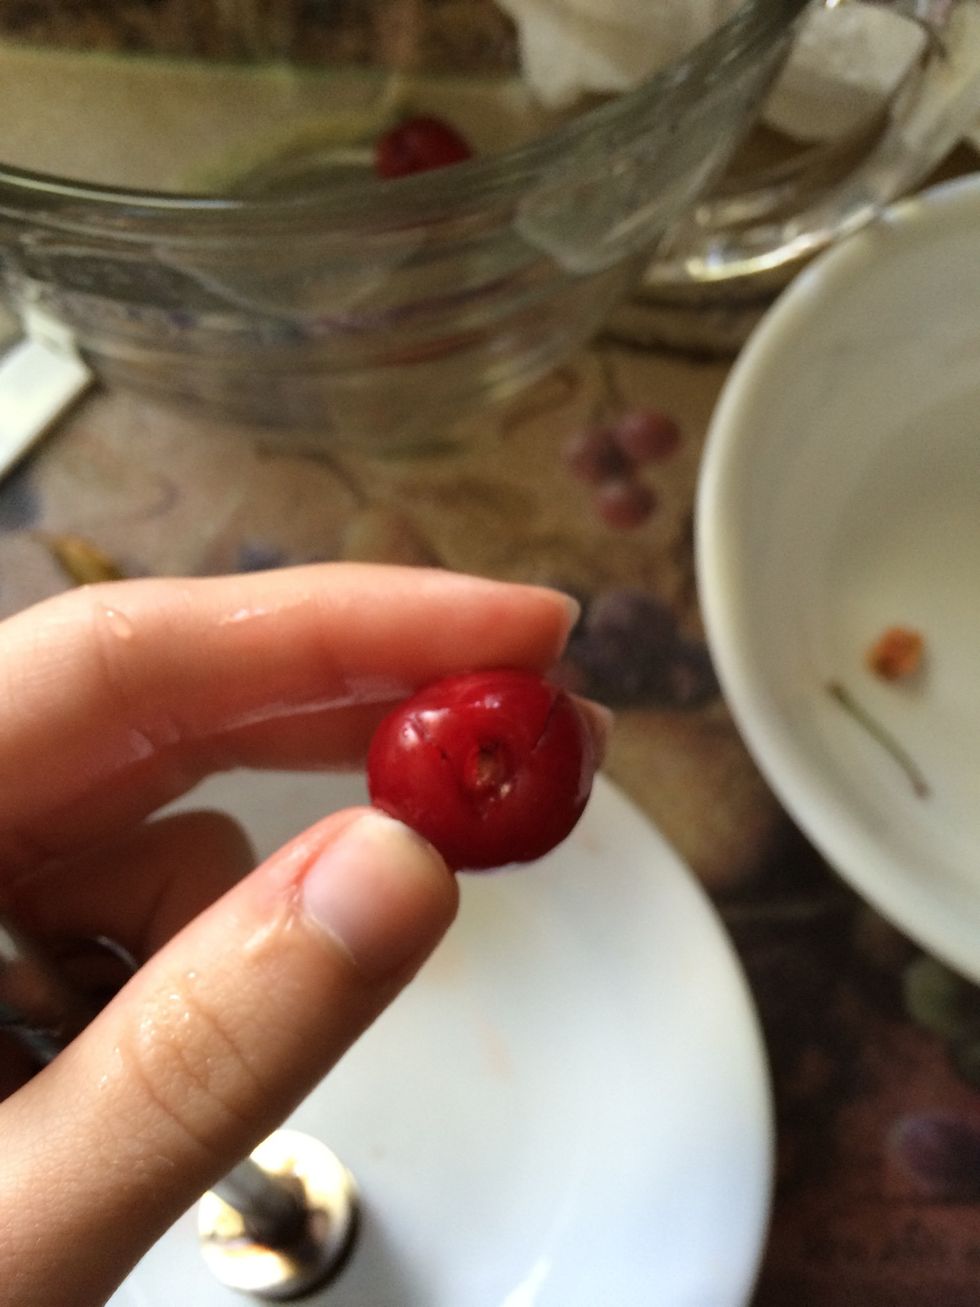
The pit should pop right out. The cherry flesh usually stays in tacked with a hole in the middle where the pit was pushed out.
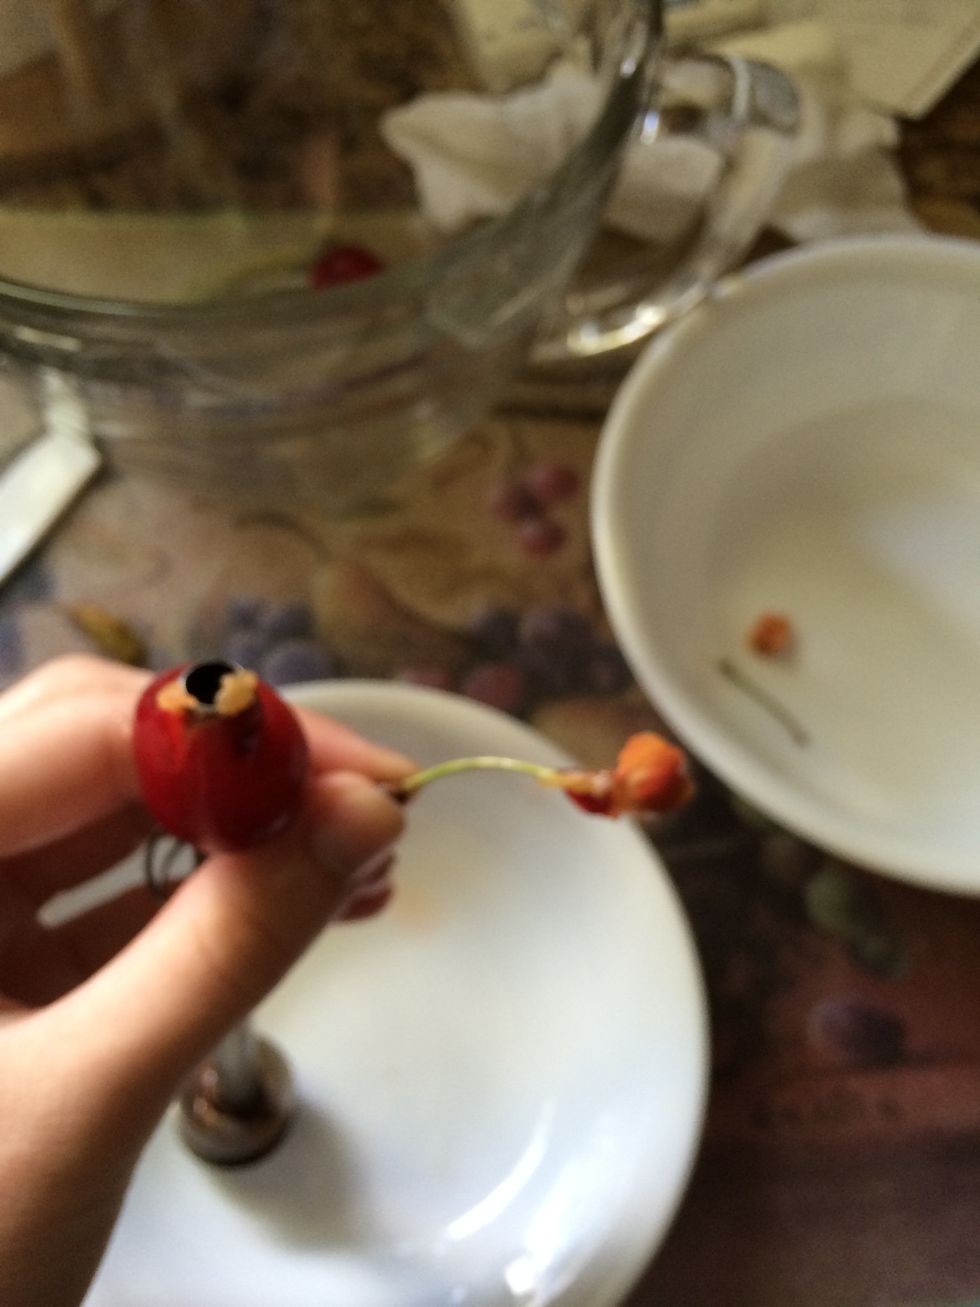
Take the pit off of the top and pop the cherry off of the tube.
If there is no stem just put the opening of the tube onto where the stem would be.
It's the same thing with the plastic straw

If the cherries are too ripe and squishy they might fall apart but that's okay. They're still usable.
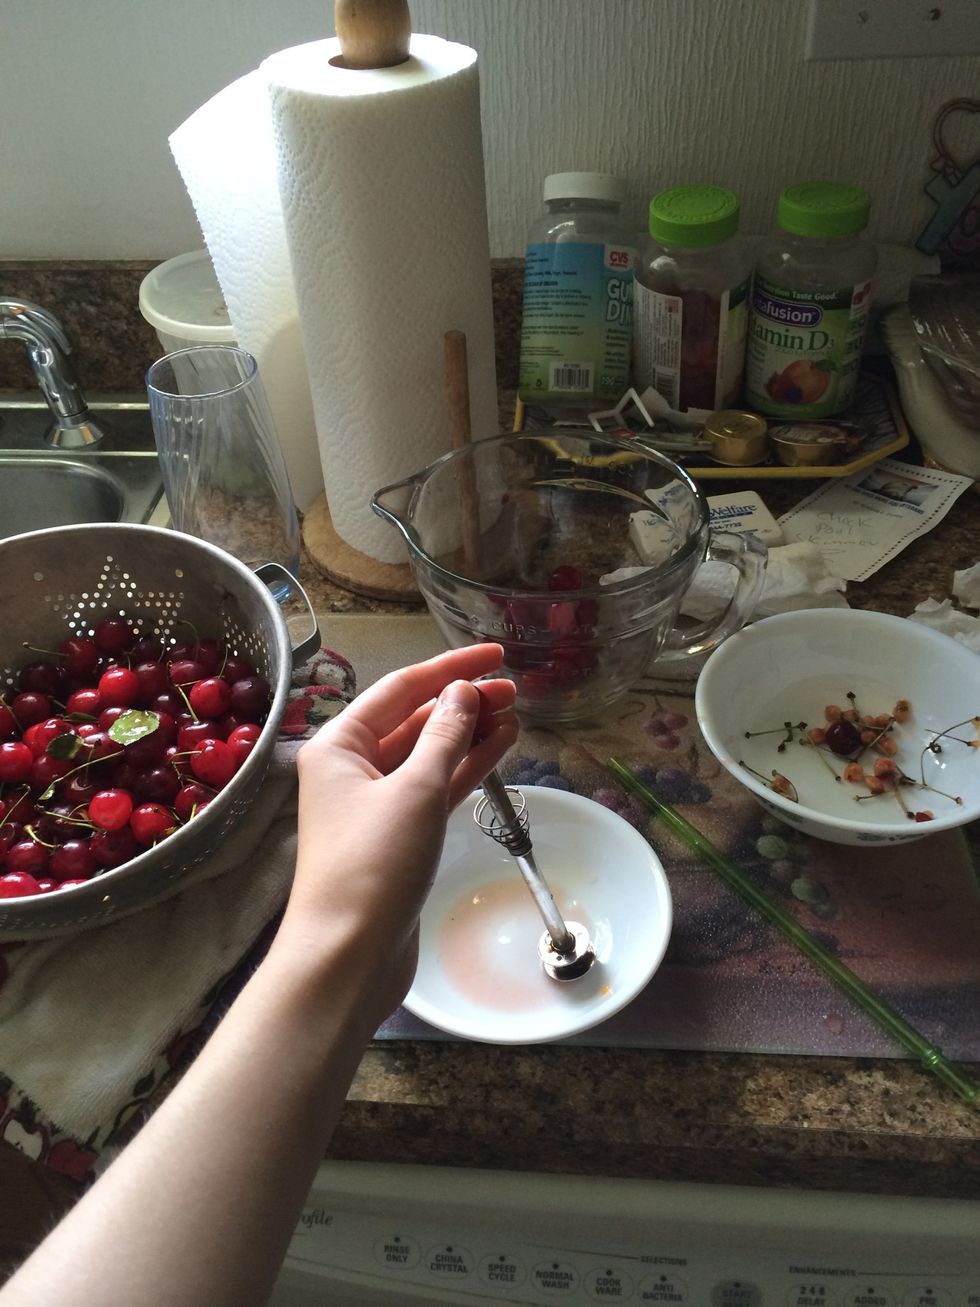
This was the whole set up I had. I had a bowl under the straw because the cherries let out a lot of juice and I wanted to save the juice for my recipe.

If the cherries are too firm and the pit won't pop out on its own just take a knife and make a little slit on the bottom of the cherry where it would pop out.
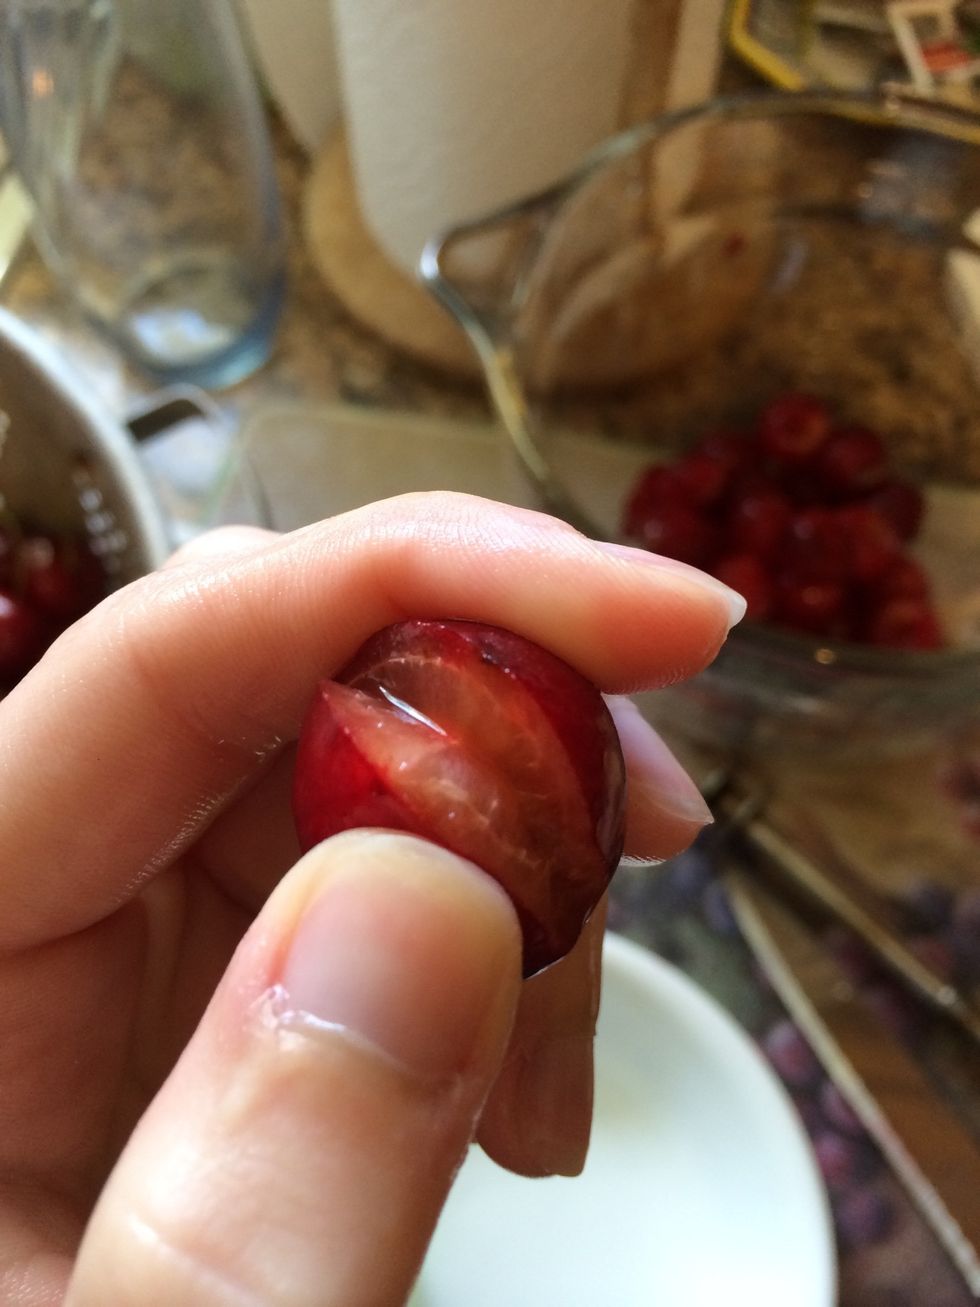
It'll come right out of the slit.

If stems get caught in the straw you can either put your mouth on the opposite end and blow them out.
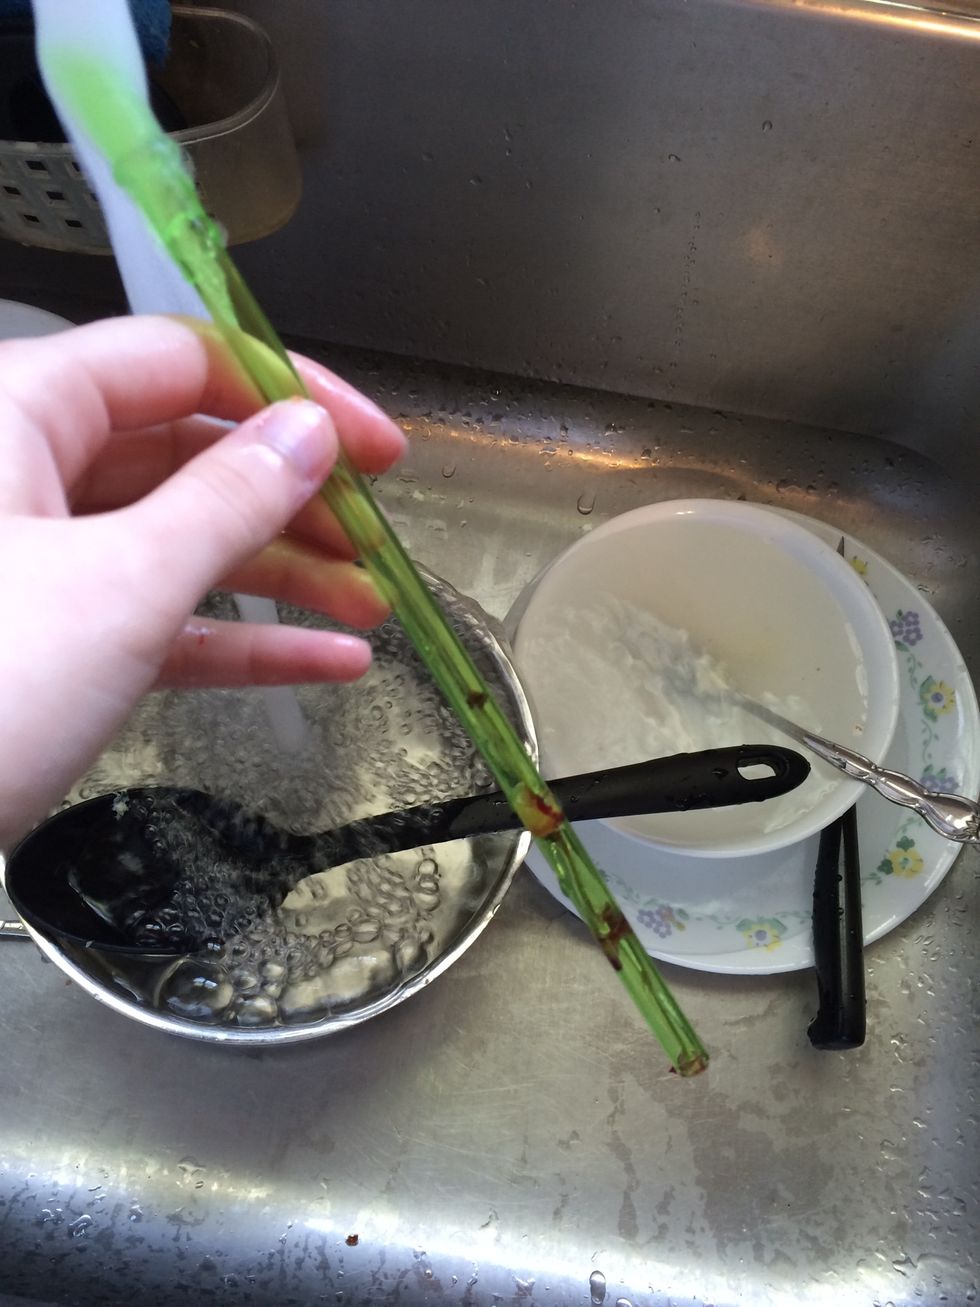
Or just run the straw under water and they'll just flow out.
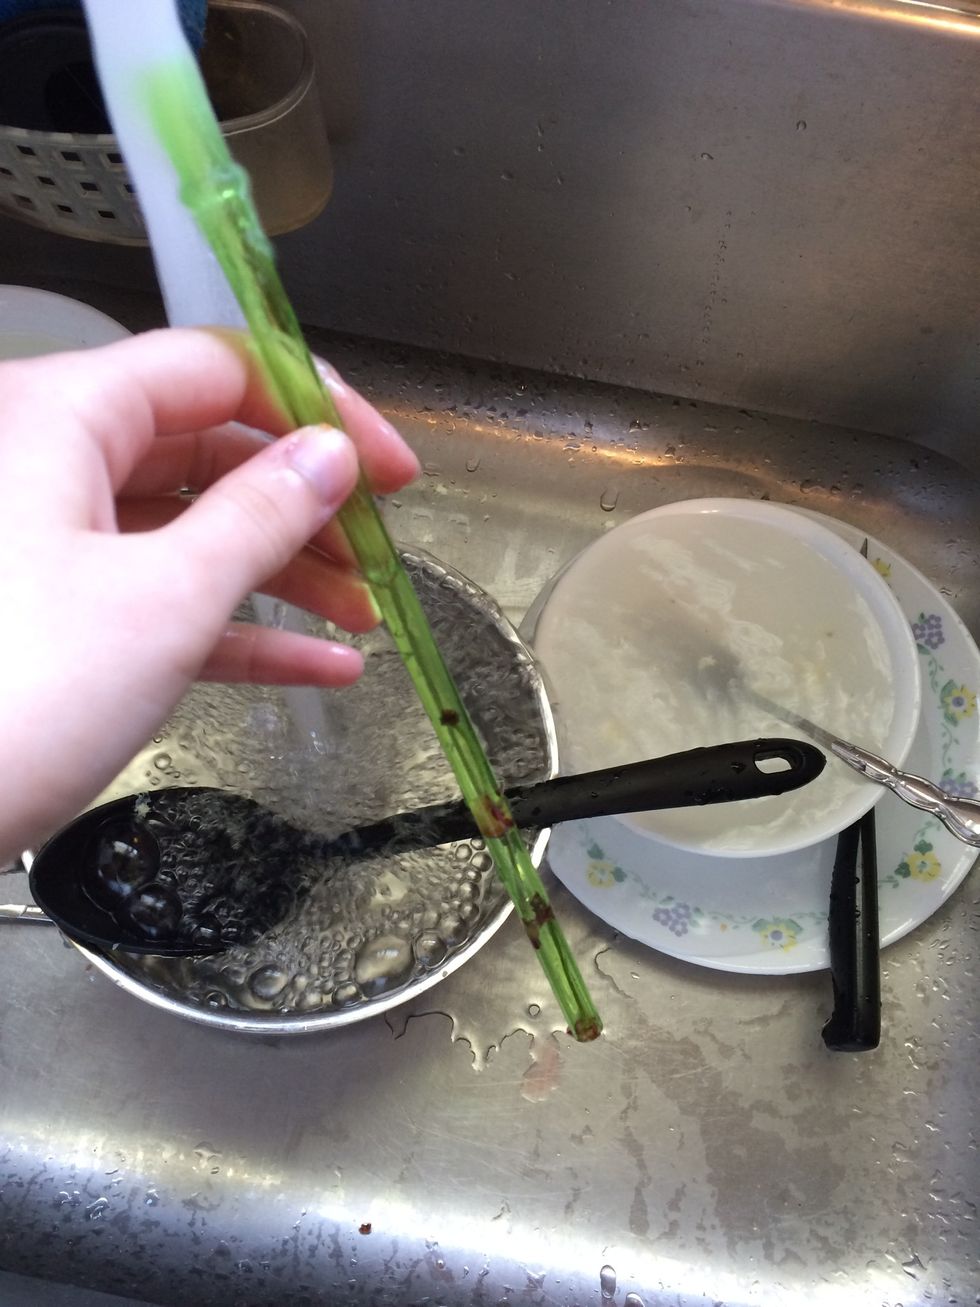
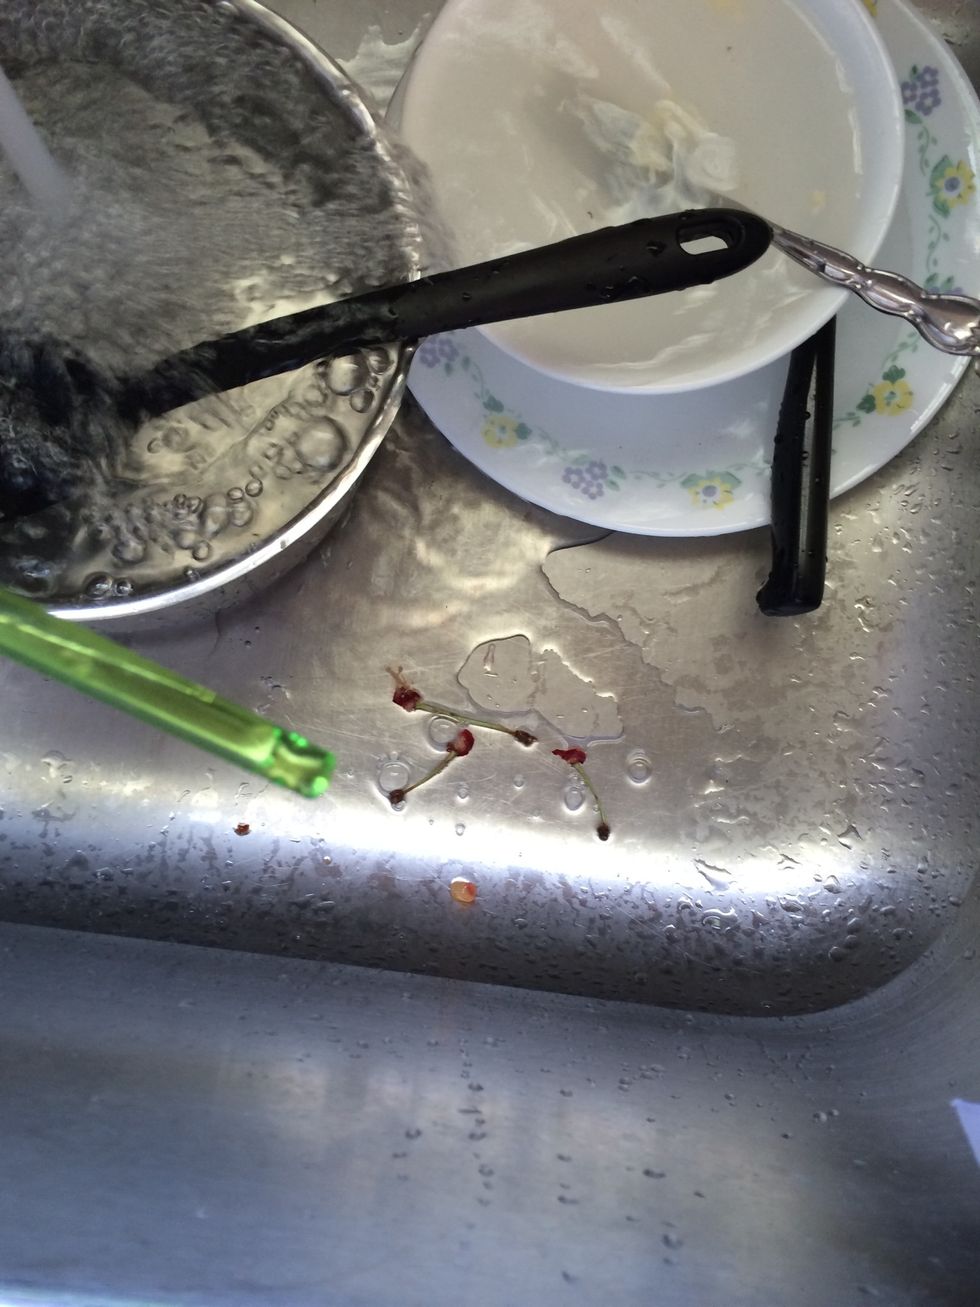
See?
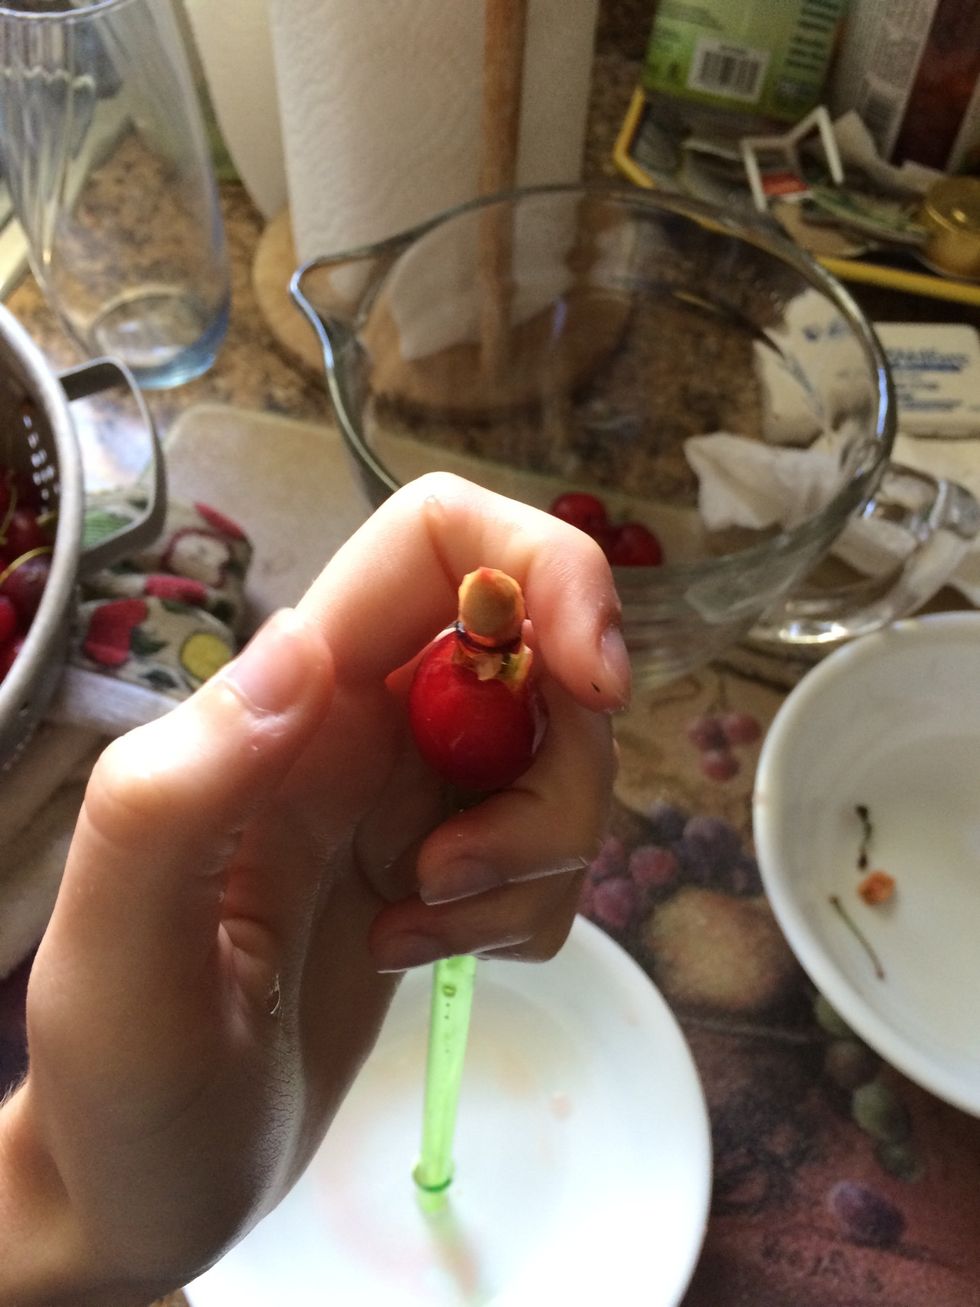
This is another way to hold the tube and cherry.
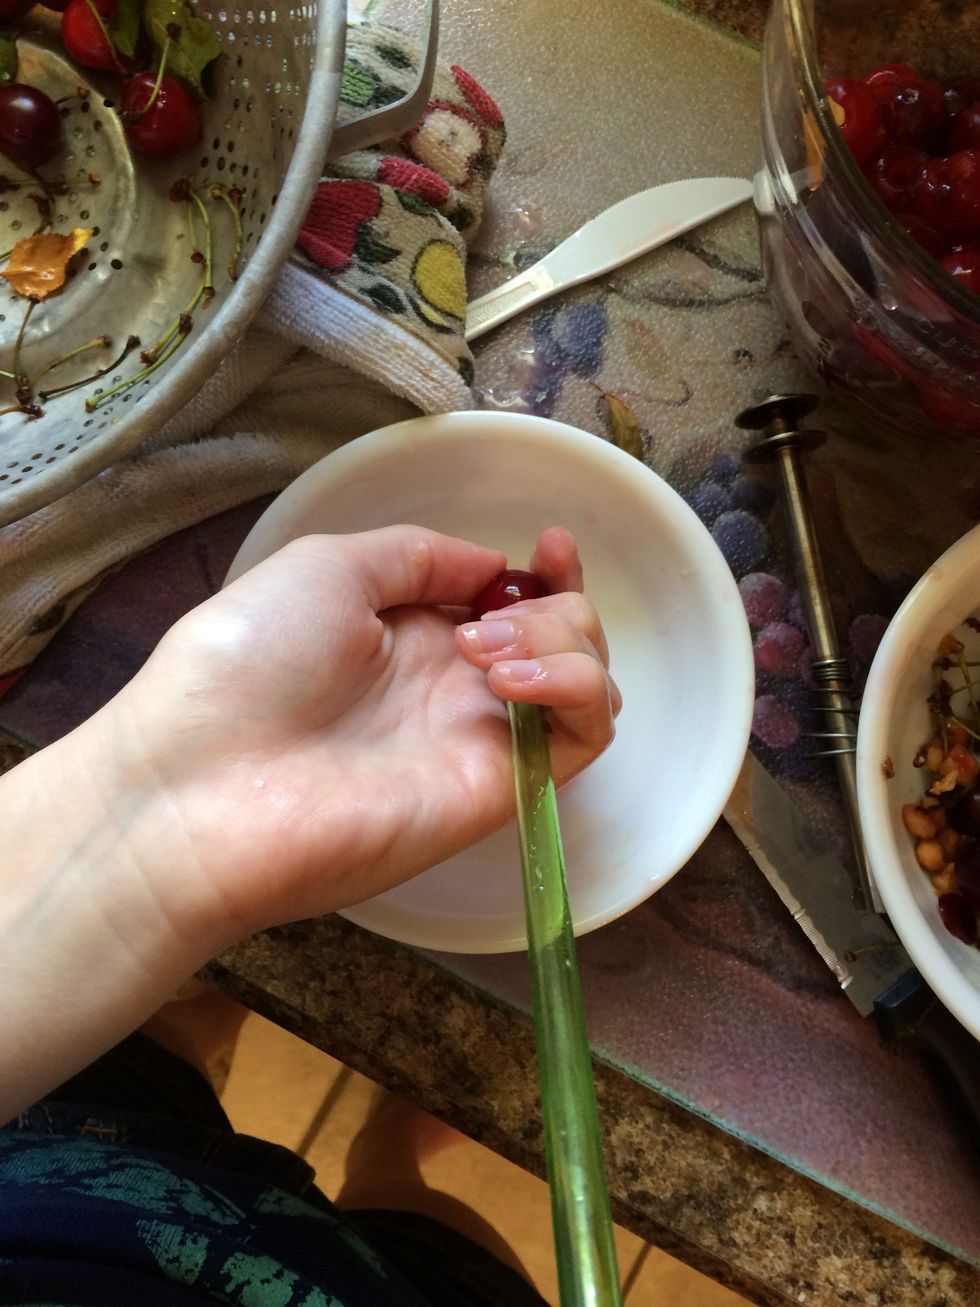
Hold the cherry cradled in your fingers, place the straw where the stem would be and apply pressure to the straw into the cherry. The cherry should pop out into your fingers.
Hope this helps! Now you can pit all of the cherries you want! Enjoy!