The Conversation (0)
Sign Up
Common reasons your valve is leaking air. (1) the valve isn't tight enough; (2) the washer inside is flipped out of place; or (3) there's sand, dirt or debris in the valve grooves. Simple to fix....
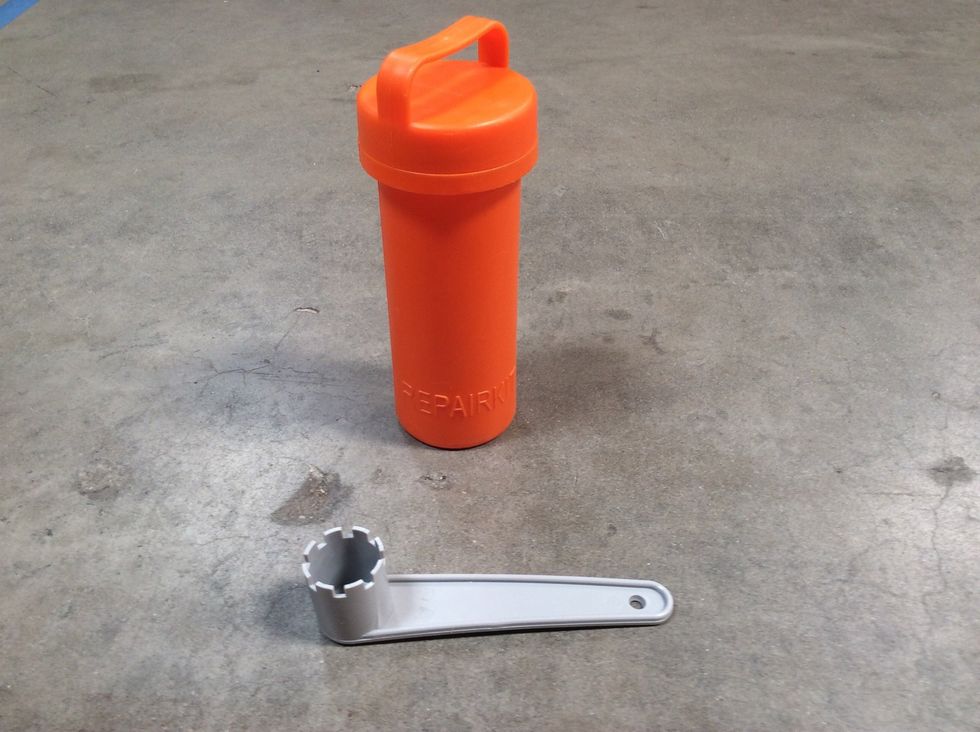
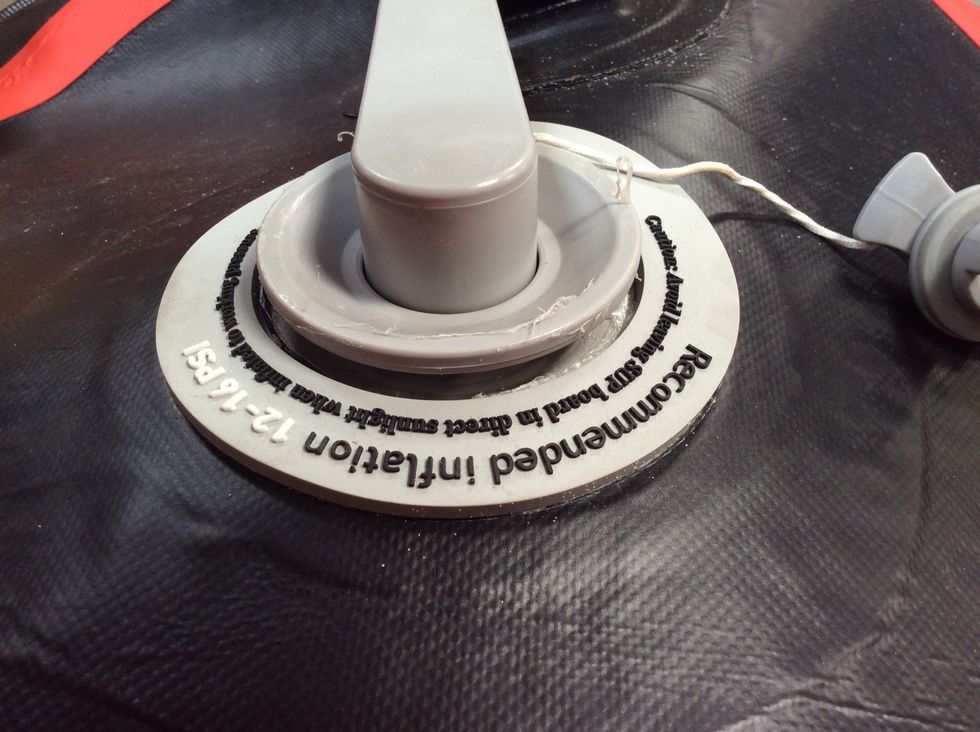
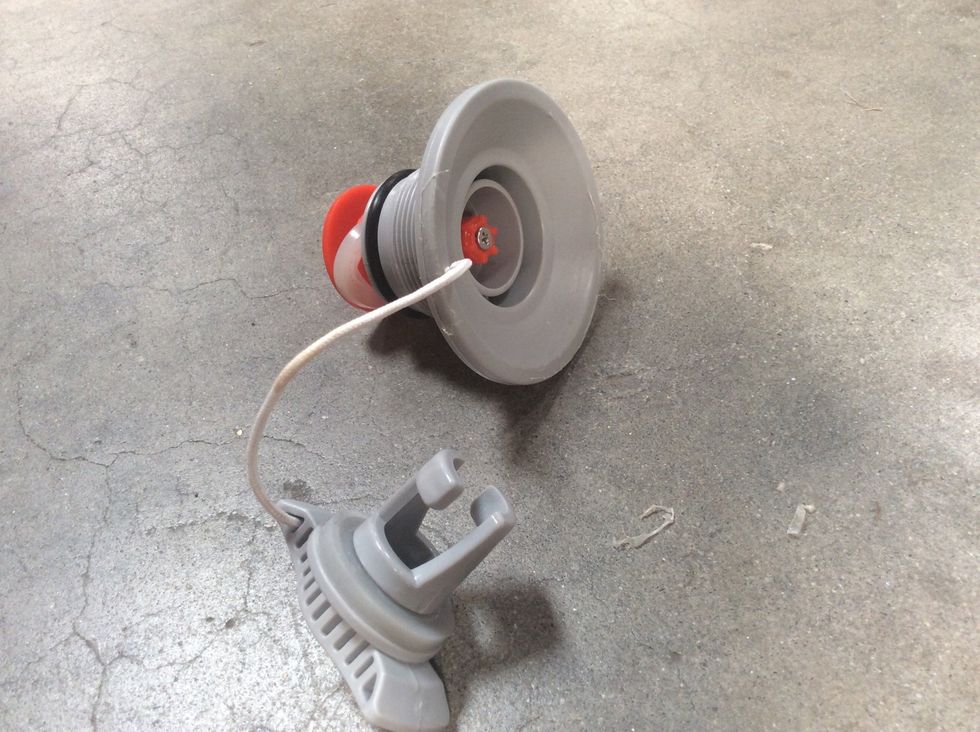
This is your valve wrench (grey), most likely found in your repair kit.
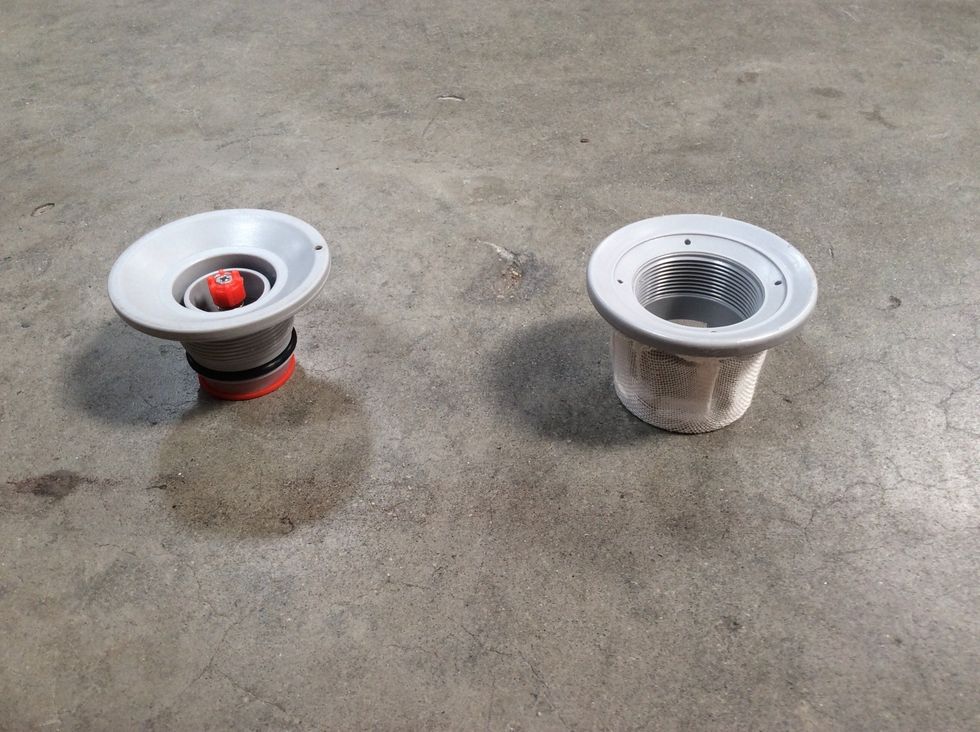
The male part of your valve is on the left. The female part of your valve is on the right. The female valve part is inside your board and should not be taken out of your board.

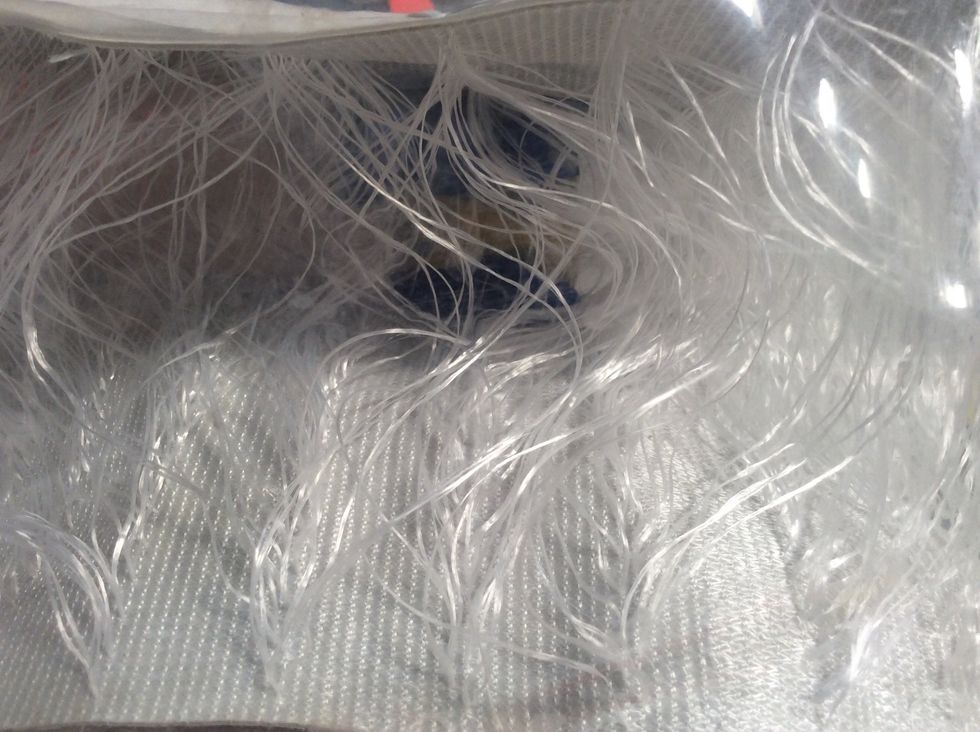
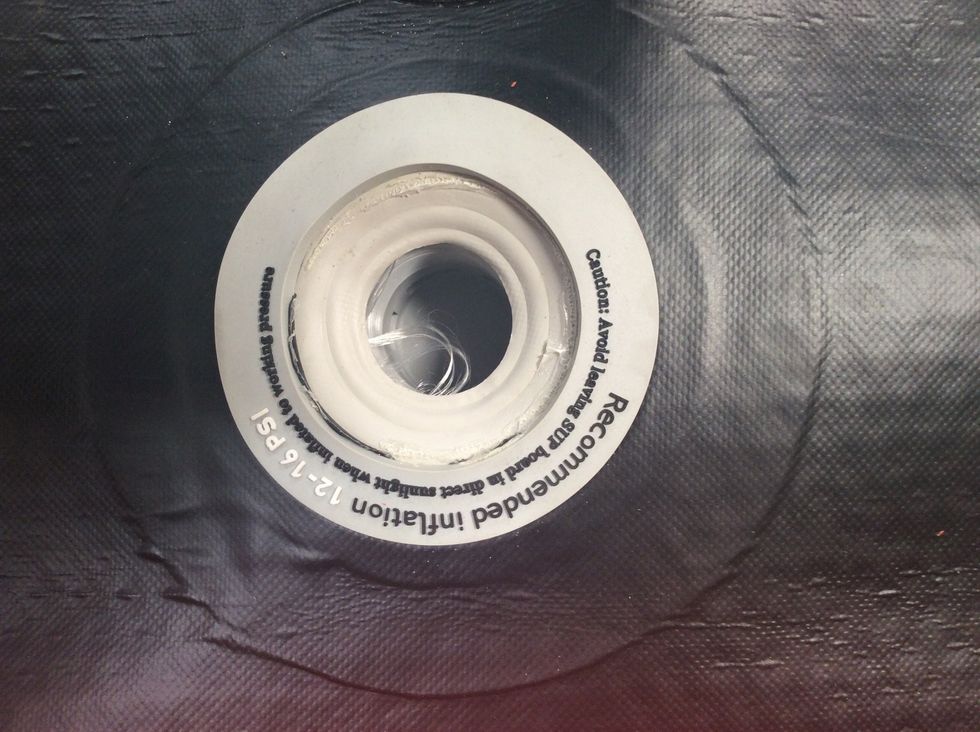
These are the thousands of drop stitches inside your board. See the female valve sitting inside. It is likely held in place with the male part. They are tightened together like a bolt and screw.
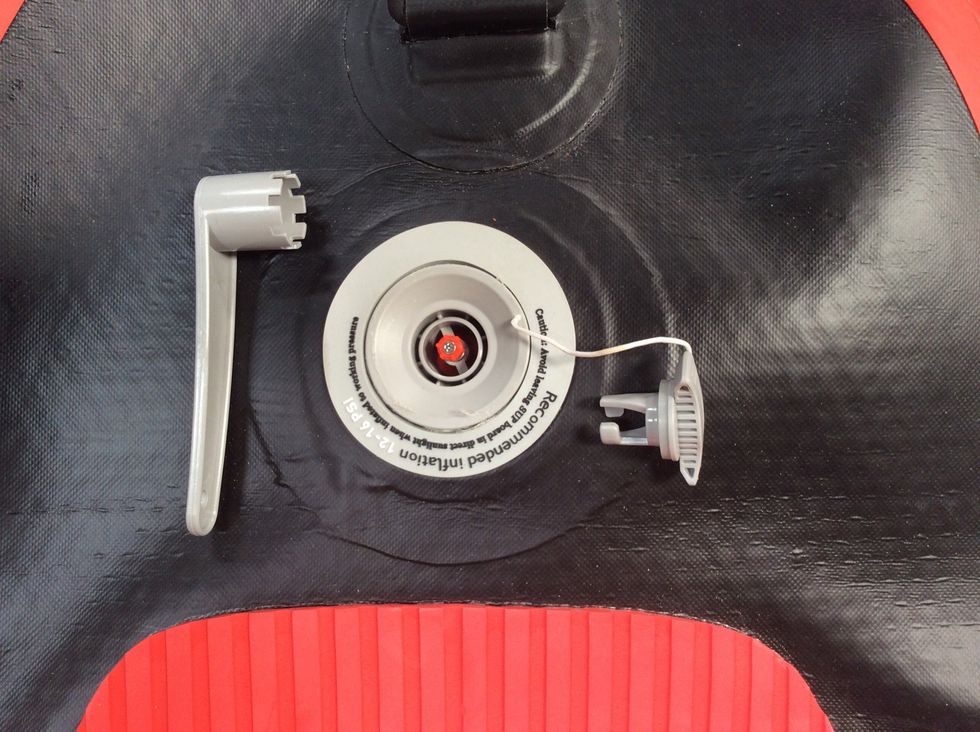
First, remove the dust cover from the valve.
Second, insert wrench into valve so that the wrench teeth lock in place.
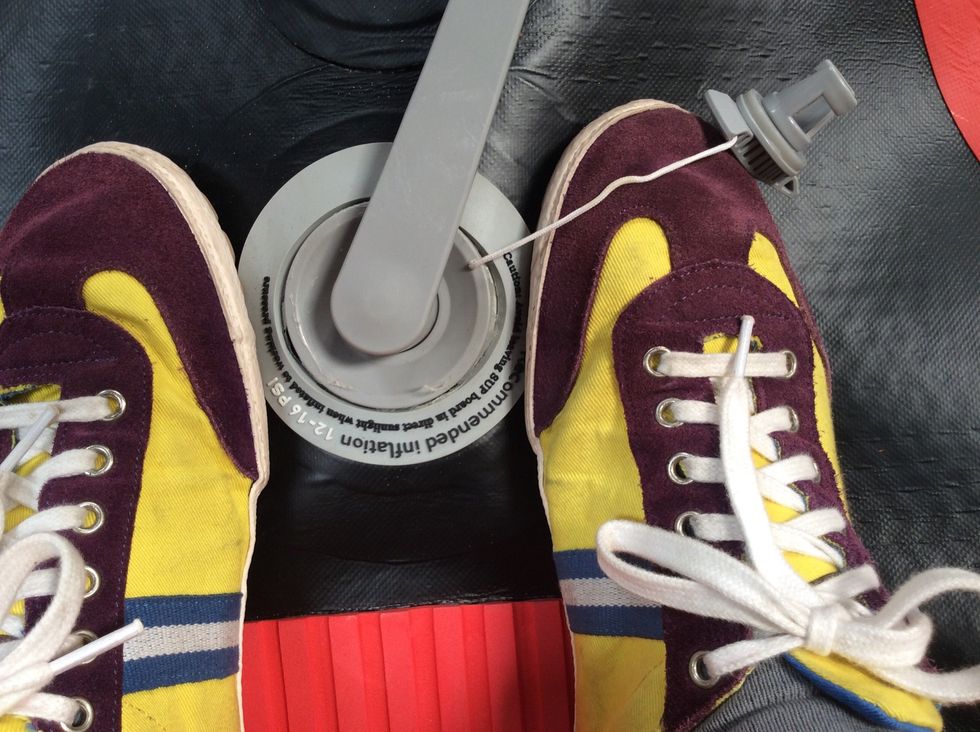
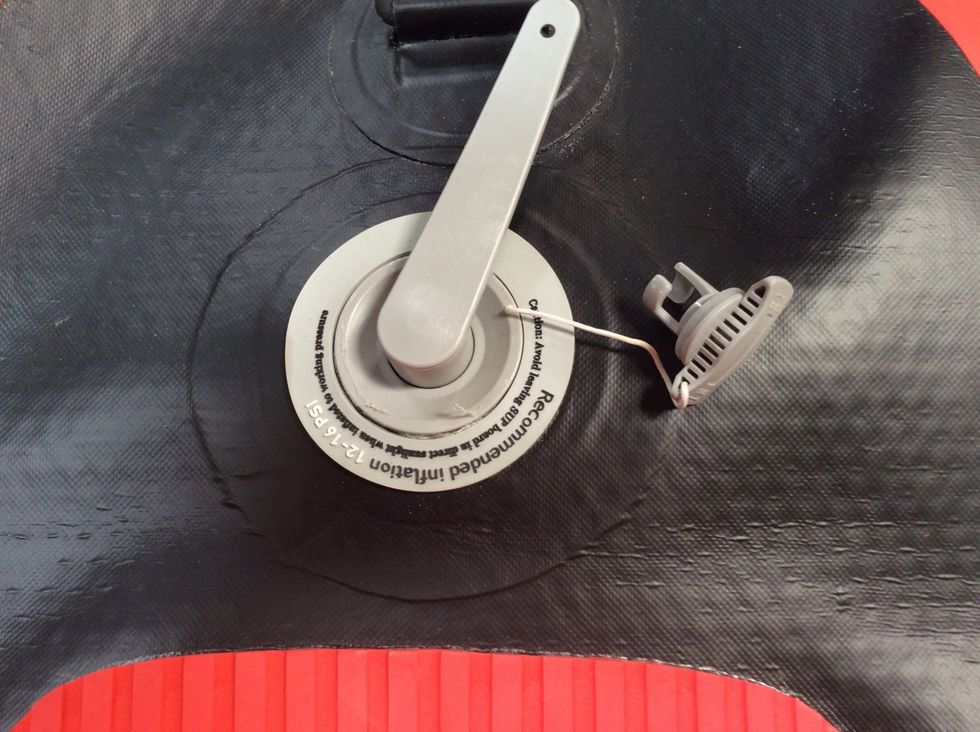
Third, stand on either side of the valve. This prevents the female part of the valve from spinning inside your board. You are simply applying downward pressure.
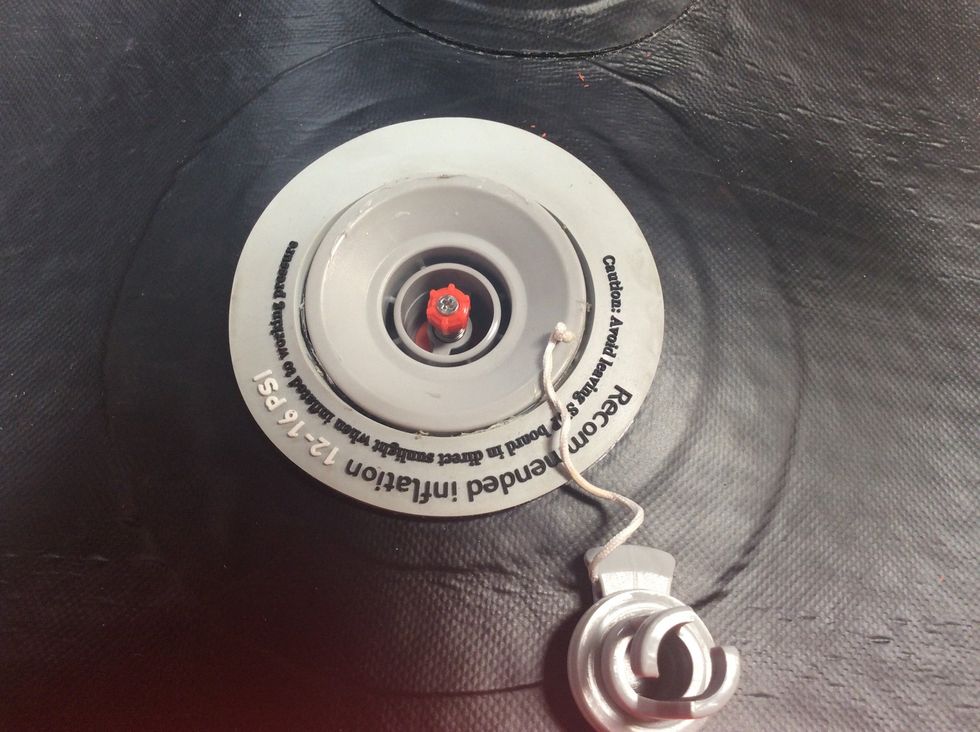
This is what the third step looks like on the inside. You don't want the female part to spin when you start loosening the male part (in the next step).
Fourth, begin unscrewing the valve counter clockwise to loosen it. Sometimes it will spin easily. Remember to apply downward pressure so the female part does NOT spin. Otherwise, you'll spin forever.
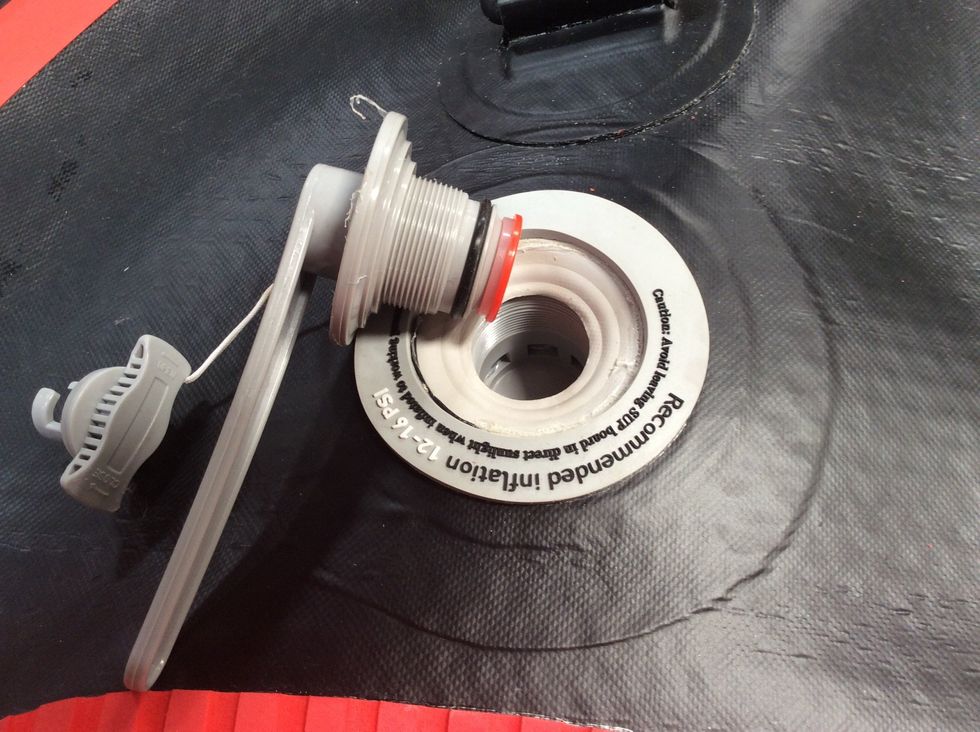
Fifth, continue unscrewing the valve counter clockwise. You may need to get your finger under the male valve lip to pop it out. In this photo you can also see the female part inside.
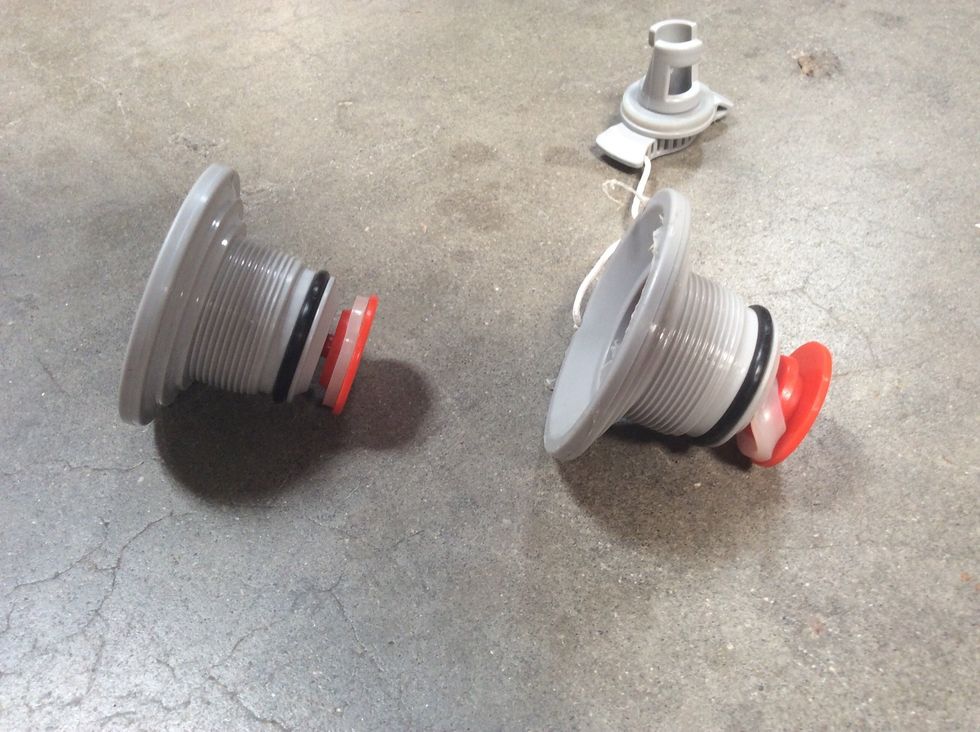
The valve on the left is fine. >>>> The valve on the right has the washer flipped up. This is likely why the board leaked. Simply use your finger to put it back in place.
To make it easier to put the washer back in place, open up the valve by depressing the red nipple and turning one-quarter turn. This should lock the valve open.
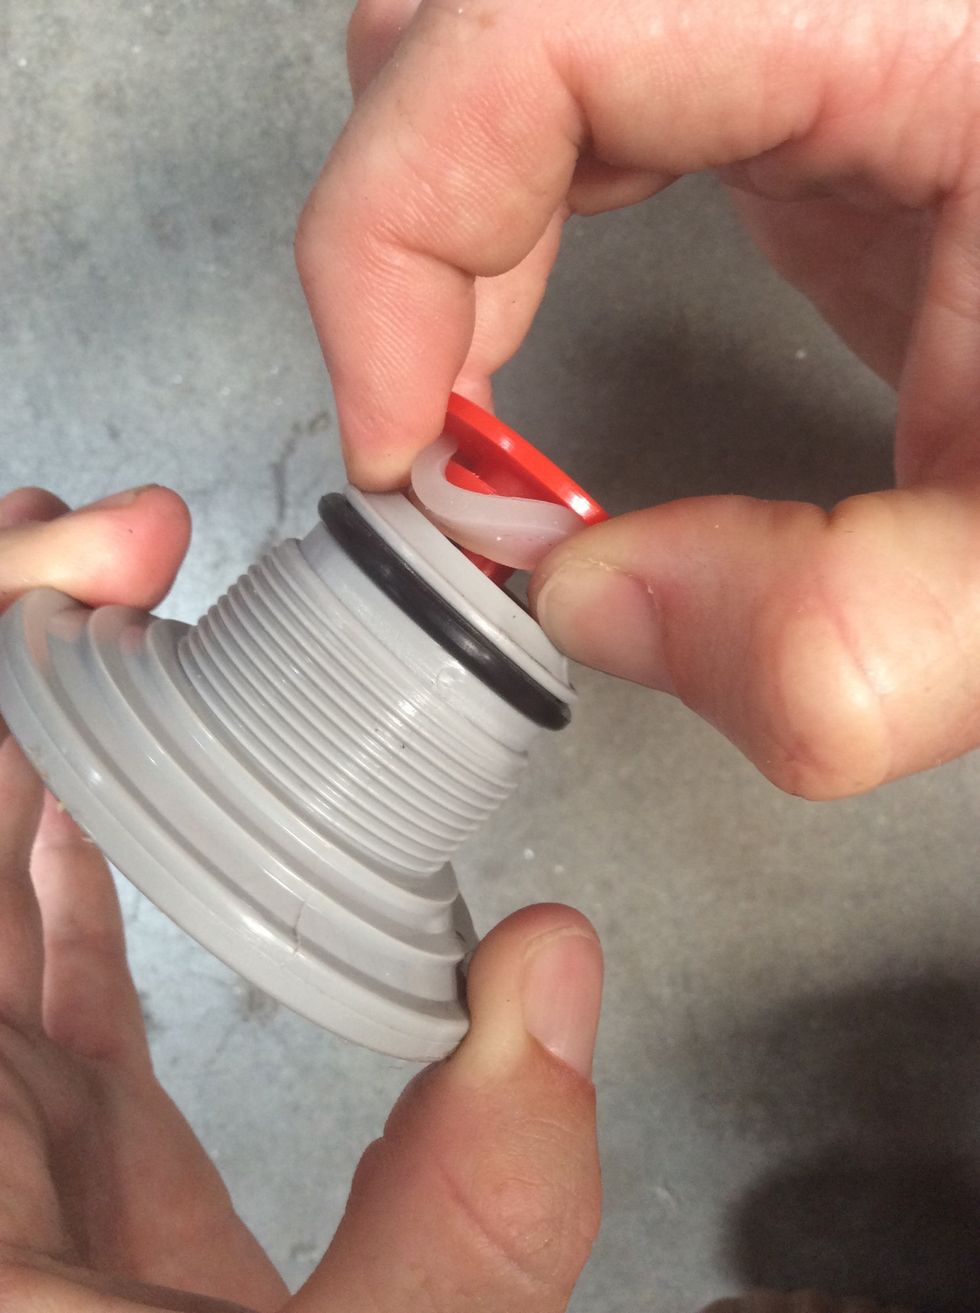
Pry clear with your fingers, not a screwdriver or sharp object. The washer just needs to pop into the groove closest to the end.
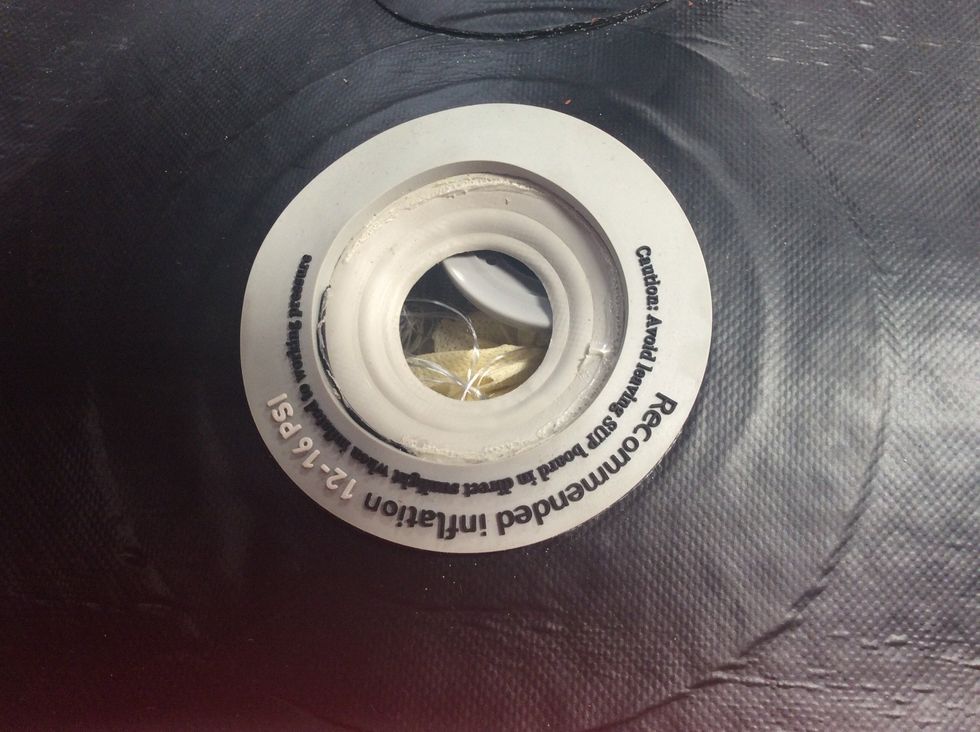
Sixth, align the female part with the hole. Here the female part of the valve is not aligned. So, simply align it.
Female is aligned, but there is drop stitch in the way. Clear the drop stitch and any other debris.
Seventh, it's time to put the valve back in. So, press down with one hand, and finger tighten with the other. Use your fingers and not the wrench initially so you don't cross-thread. Turn clockwise.
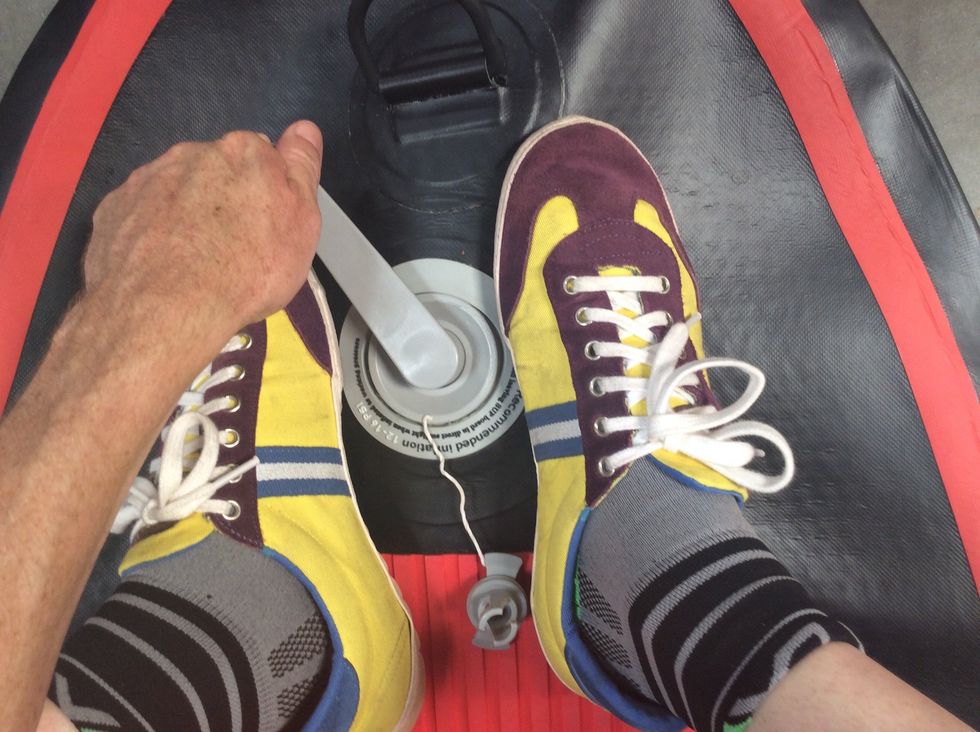
Eighth, make quarter turns clockwise with the wrench (between your shoes) until you can no longer tighten. The point of standing is to apply pressure downward so the female valve part doesn't spin.
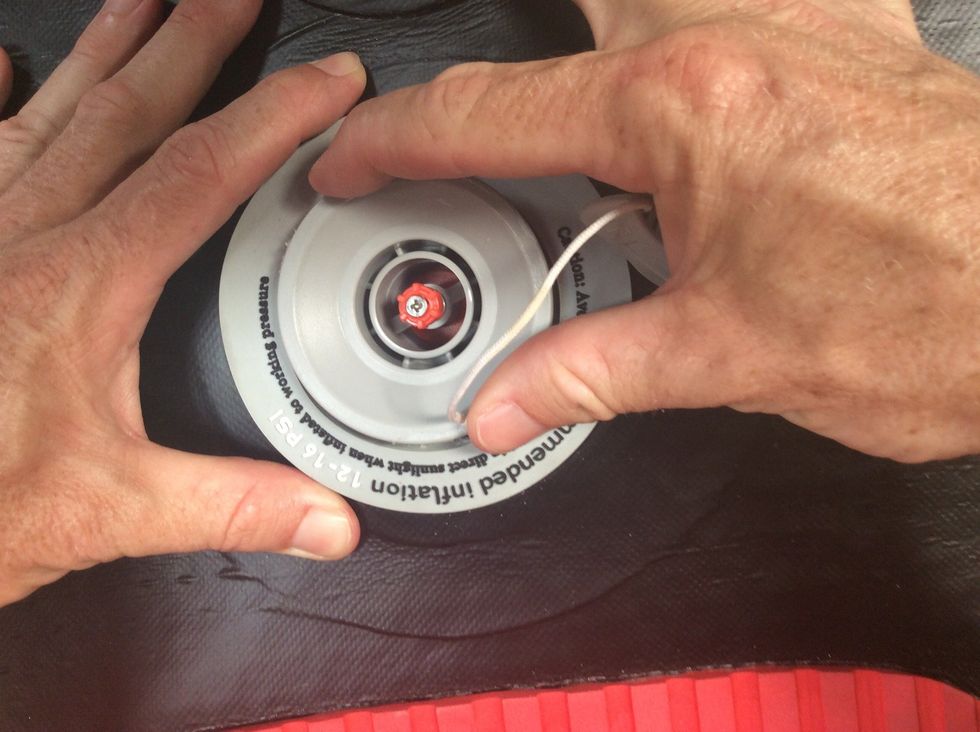
Make sure the red nipple is in the up position. This closes the valve so you can now pump up your board. To close, depress and turn the nipple a quarter turn in either direction until it pops up.
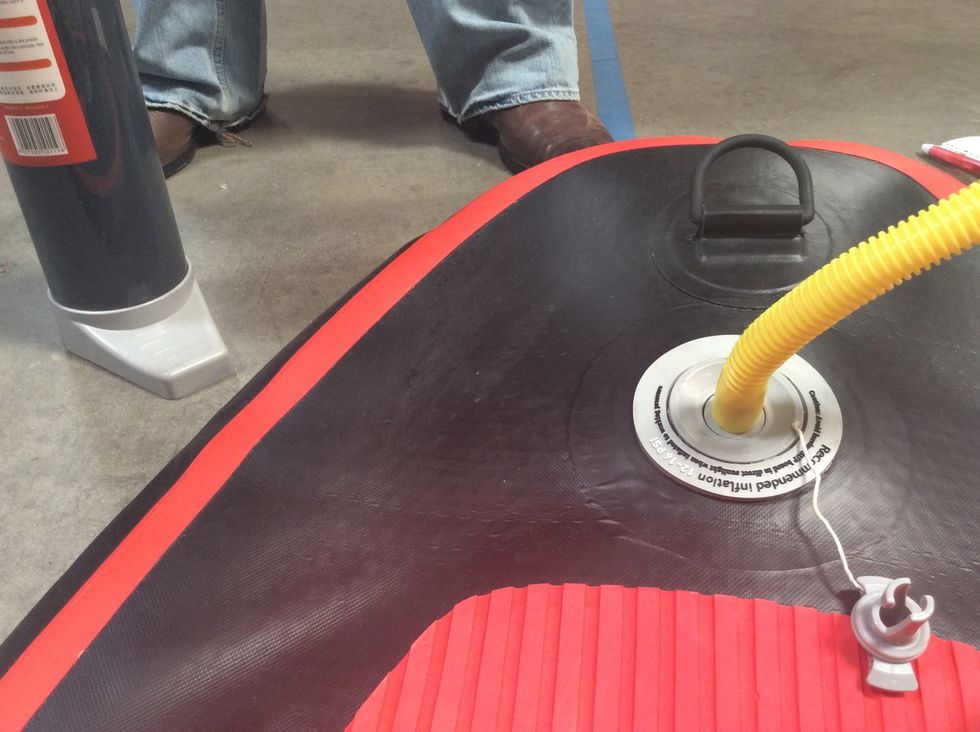
Insert hose and pump away.