The Conversation (0)
Sign Up

You will need a vehicle of some sort. I'm using my pontiac Grand Prix GT 01

You will also need two flat head screw drivers. You don't need a flashlight but it can be useful to see some screw you will need to remove.

A work space can be useful such as a garage.

This is the door panel I will be removing.
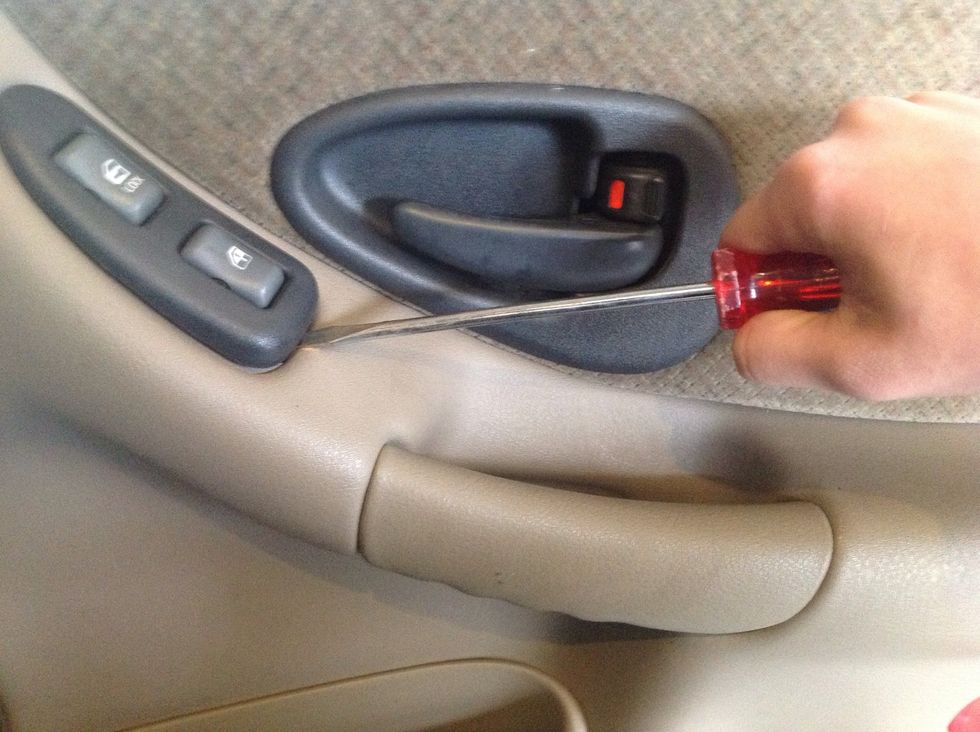
First you want to place the larger flathead screwdriver at the lower part of the control unit and push in. This will push on a clip that will release the control unit from the door.

Now your control unit is free for you to remove.

To disconnect the wires that attach to the switches for the window and lock you have to push in on the clip, and pull out. You can see the clip on the green switch.

Once you disconnect the wires push them back inside the door panel so they don't get in the way when you remove the panel.

Next, you need to unscrew the panel from the door frame. The screws are behind these two covers. To get to them you just have to stick your screwdriver under the covers and twist it.

Once they are removed the holes left behind lead to two screws. You need to use the smaller flathead screwdriver to unscrew these. If you can't see them this is where the flash light comes in handy.

Now the only things holding the door panel on are small clips that you disconnect by pushing your screwdriver under the panel and pulling it outward towards you.

You need to do this along the whole panel.

It makes it easier to work inside if you put the control unit cable behind the door handle.

Now you just have to unplug the tweeter from the primary speaker. This is done the same way you disconnected the control unit cables.

Now everything is disconnected and you are free do what you want inside. For example I am fixing my new speaker. :)

When you are finished you first need to reconnect the tweeter cable.

You want to make sure the door handle goes into the hole made for it when you put the panel in place.

Also, make sure you pull the control unit cables through when you go to re connect the clips to hold the panel on.

You also want to make sure the tweeter casing connects right.

Now just push the panel against the door frame. This will reconnect all the inside clips.

Put the screws back in the panel and that will secure the panel to the frame.

Now just put the covers back in place.

The final thing you have to reconnect is the control unit. This is simple just plug the cables back in place.

To put the control unit into the panel you have to push the front clip in place.

Then, push the back clip down to lock it in place.

That completes everything you need to do to remove a door panel.