The Conversation (0)
Sign Up
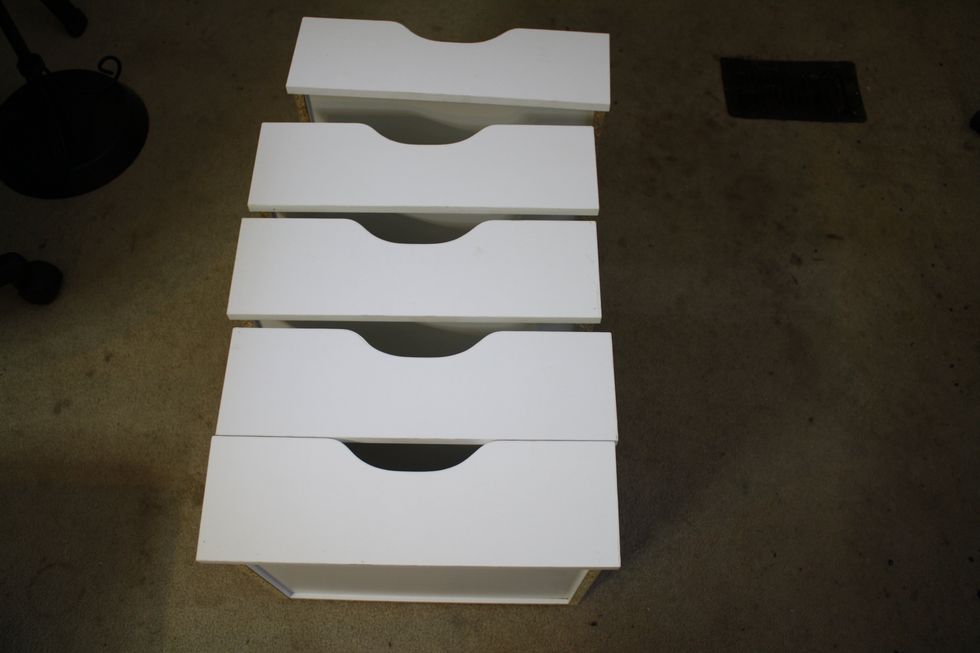
I decided to take my plain white storage drawers and turn them into something gorgeous that suited my room much better...using the new IOD line of course! Thank you, Prima & IOD, for making it simple!
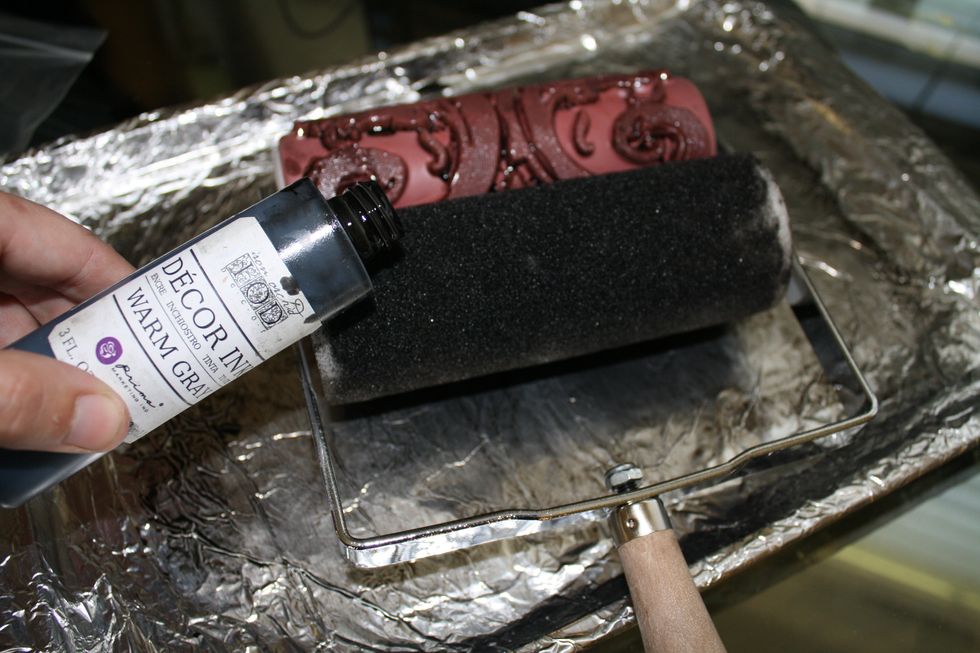
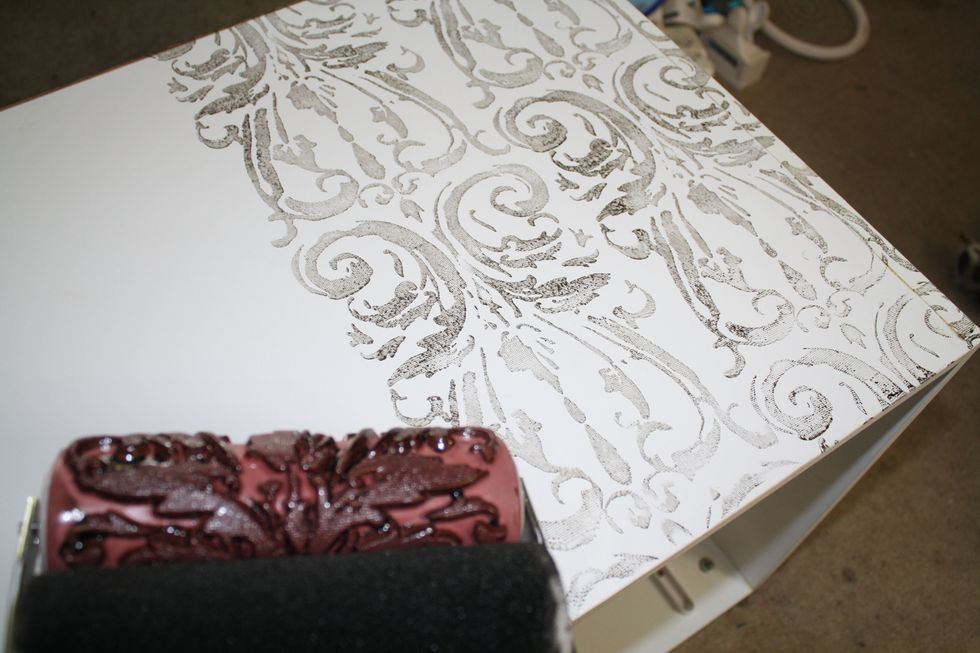
The décor ink is really made to go with the large décor stamps, and the roller is really made to go with chalk paint or matte paint, but, HEY, why not try this mix and see what happens!
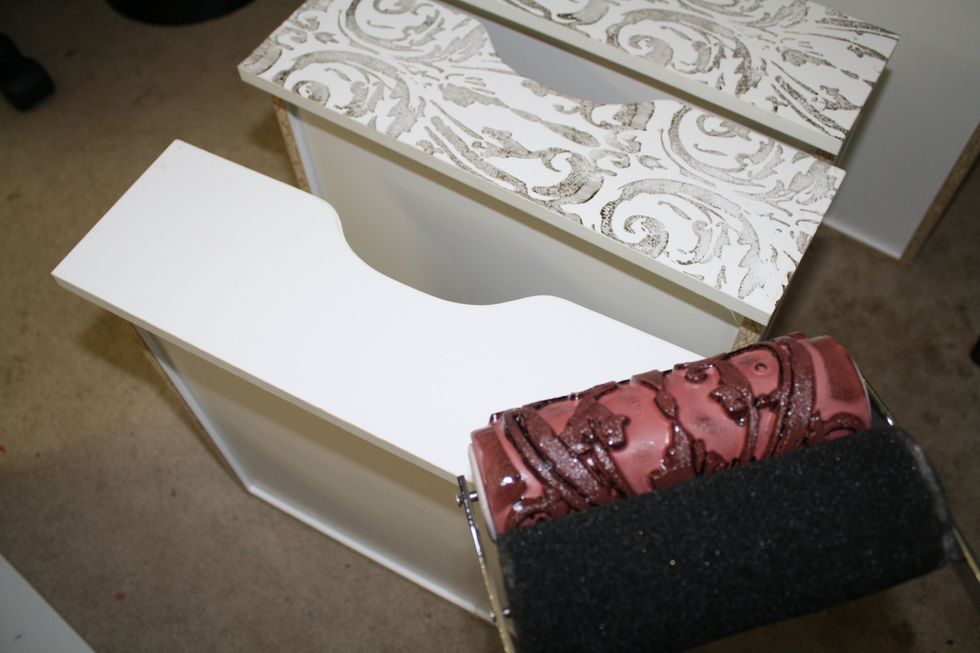
After rolling the rubber part with my fingers a few times, it's ready to roll! Start at the bottom & roll upward. Apply firm, even pressure. (Test on paper first. Then do each drawer separately.)
Apply the roller design to the back & sides next. Make sure to line up the roller with the previous pass using the indicator on the roller. Some overlapping may occur. It looks completely natural!
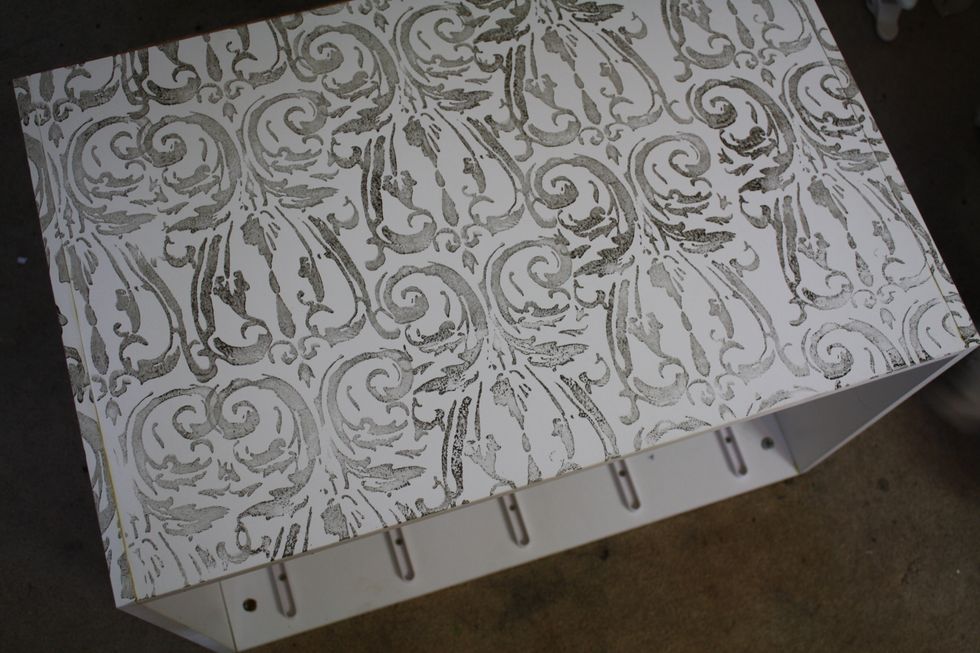
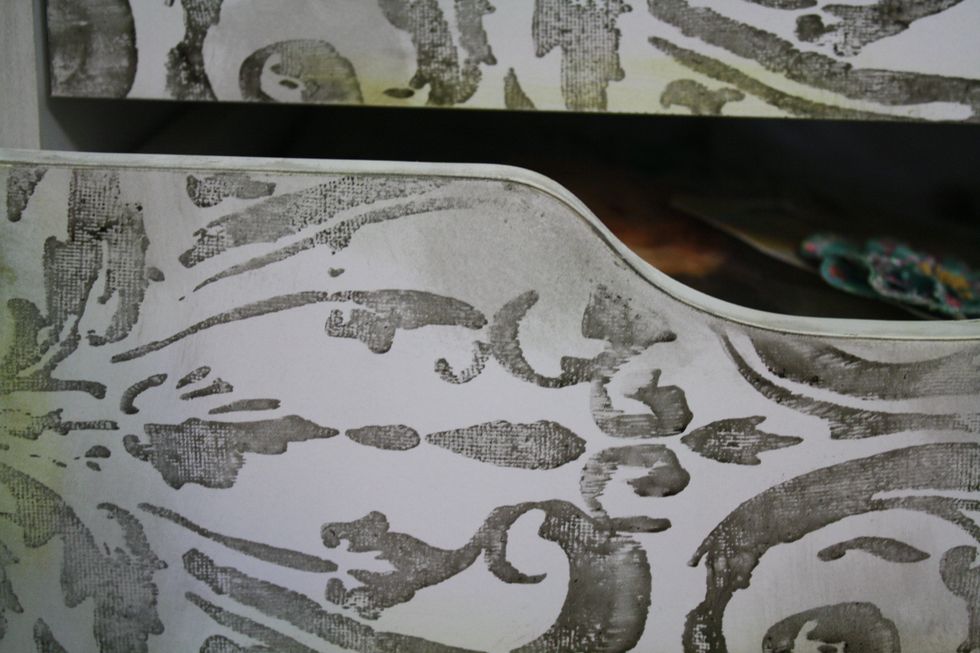
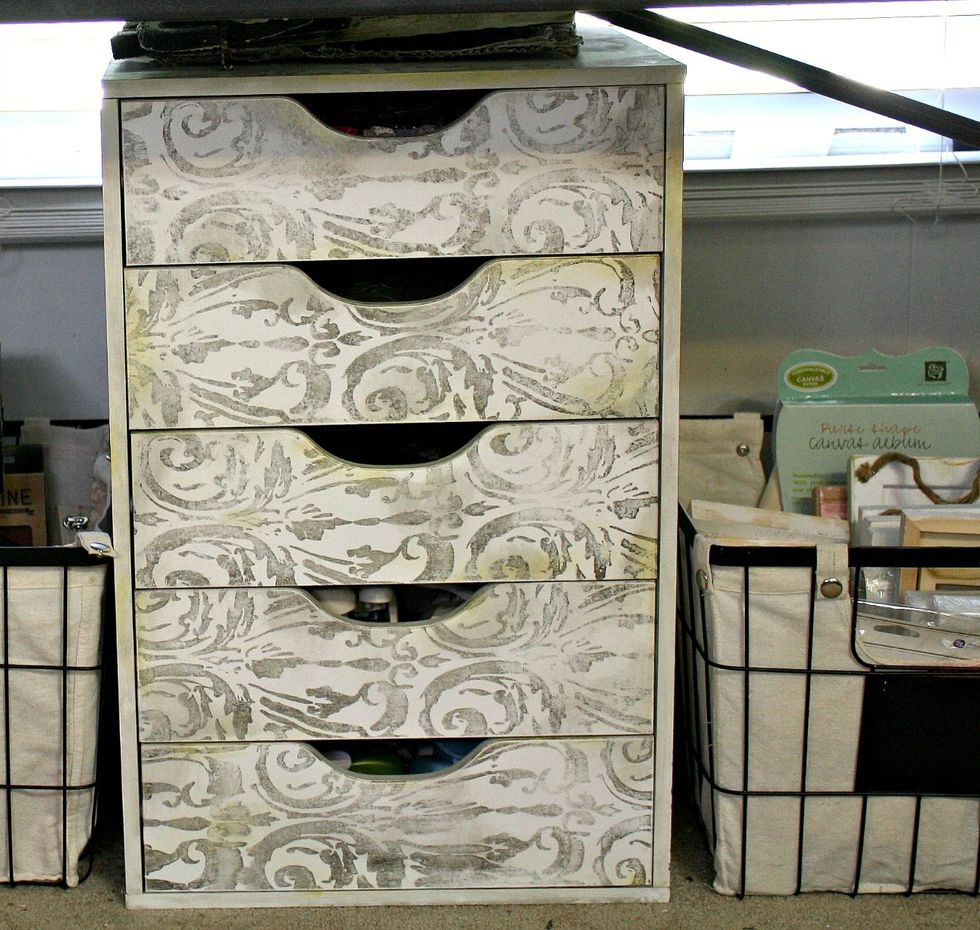
This is one side completed! You can see here how GORGEOUS this looks! If you like bold, simple, or clean looks, feel free to stop here! I like to distress things...so I proceeded! :)
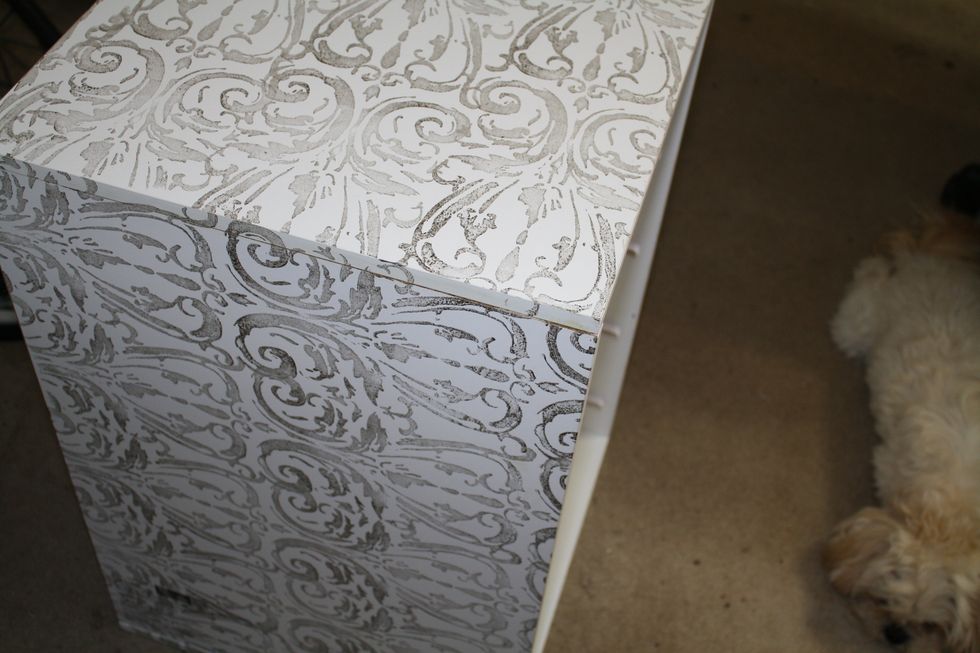
Here is a shot of the top and side so you can see just how nicely it looks. :)
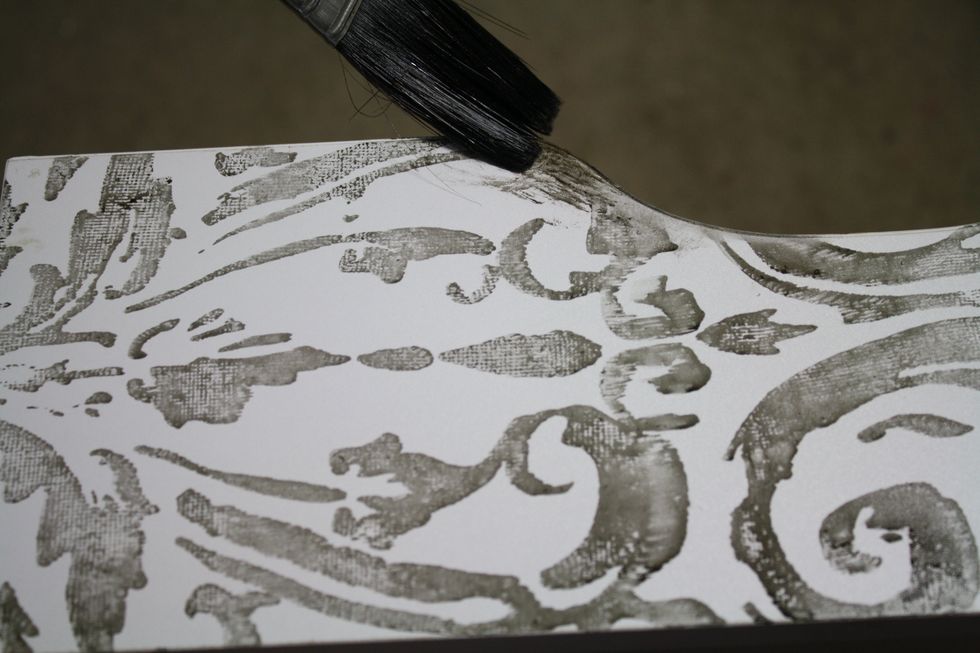
To start distressing, i just used a paintbrush to dab on more Warm Gray Decor Ink in random areas on my piece. On the edges mostly. But also randomly in the center. Don't overthink it!
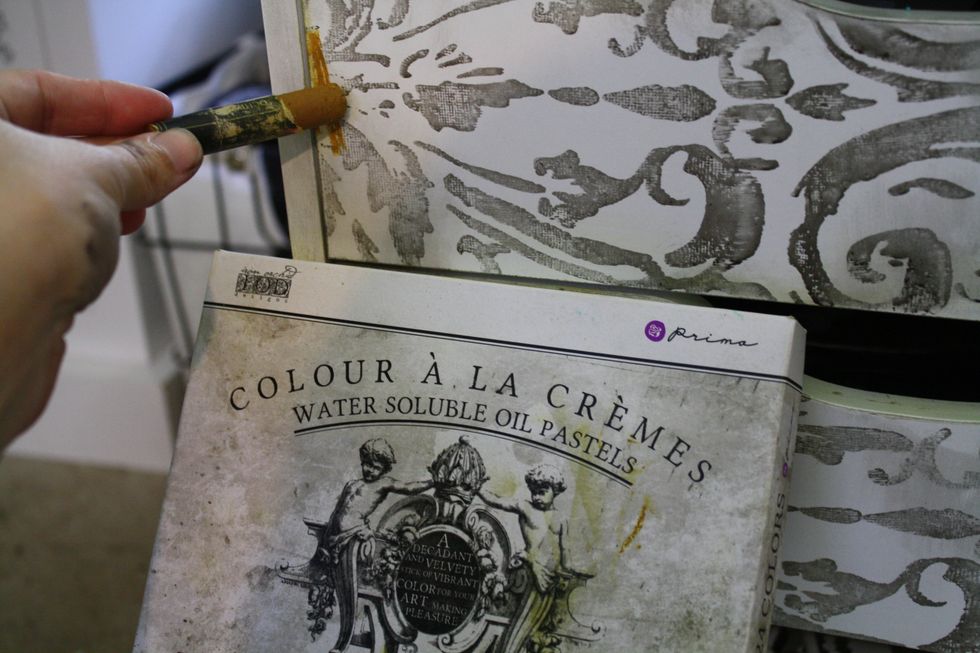
I busted out my oil pastels for added color depth, adding them directly to the piece.
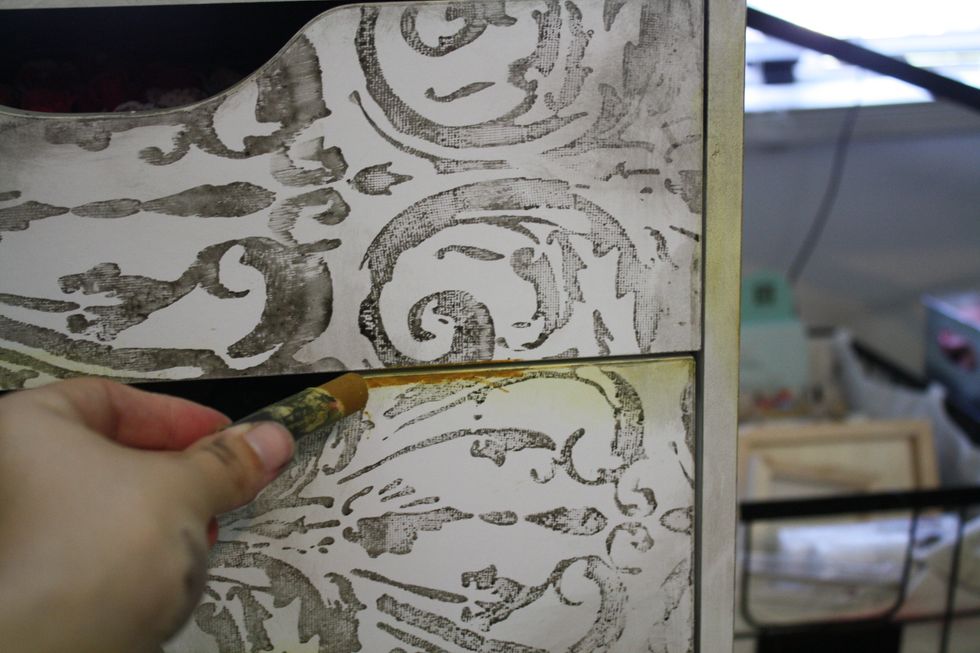
I'm using the Ochre pastel all over. Just rubbing it on ( it glides so effortlessly) and leaving it to blend when I am ready.
Using my finger to buff out that oil pastel. So easy to do , and the color payoff is great!
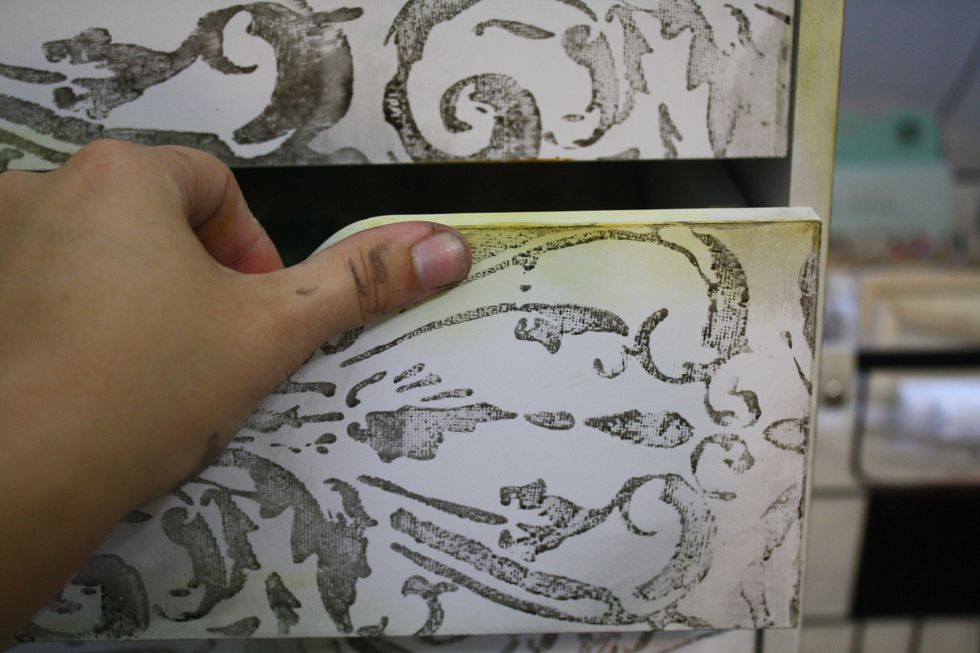
You can see the decor ink to the left, and the oil pastel to the right. Lovely tones together!
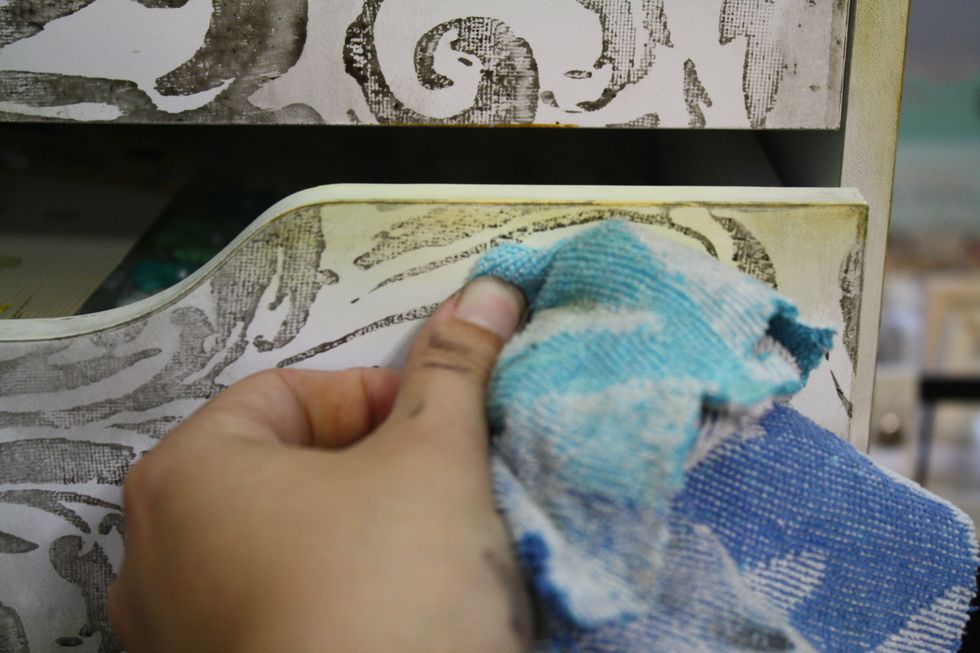
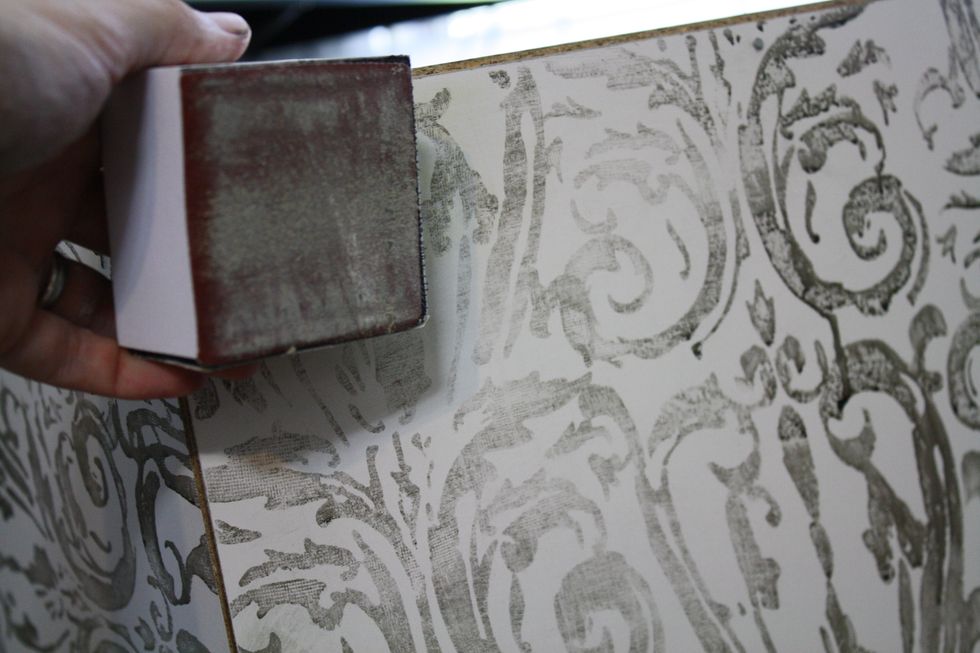
I decided I had a little too much color, so I just used a rag to buff off these areas.
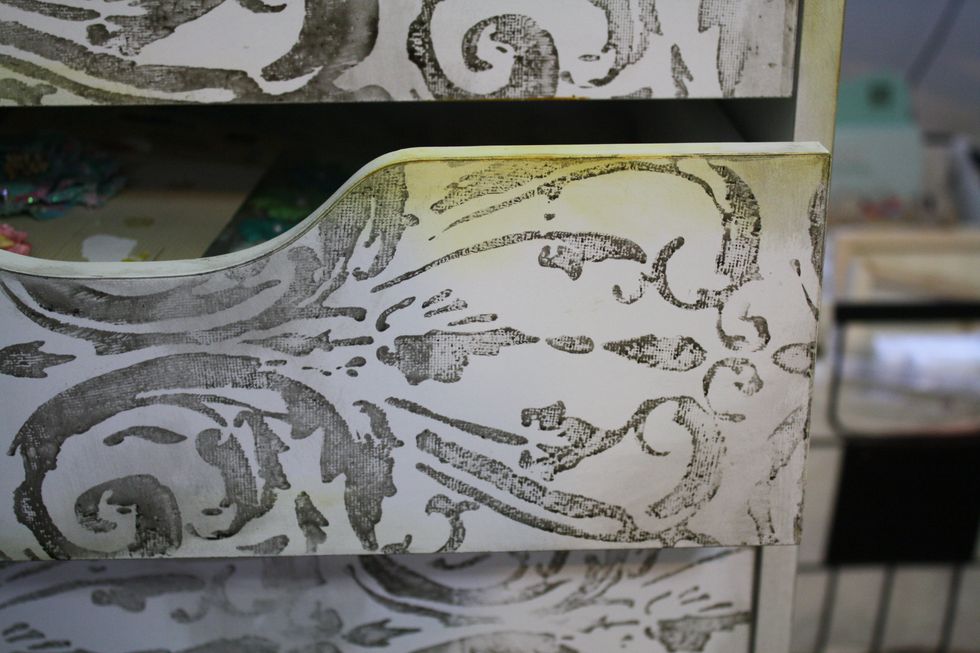
I buffed all over until my desired look was achieved.
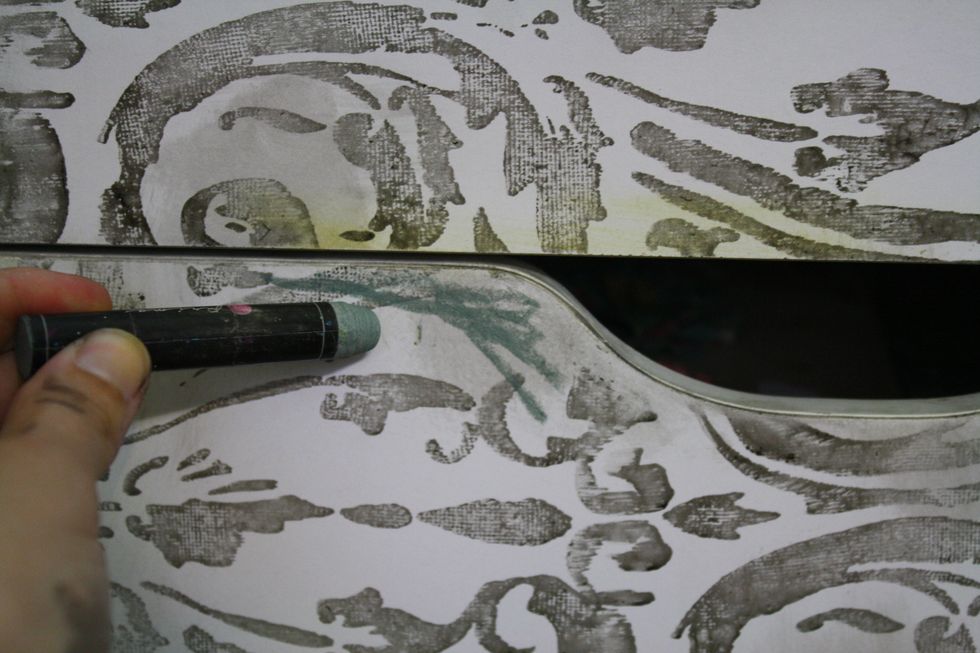
Time for the last color with a gray oil pastel! It is a different tone than the Decor Ink, so they go together well. Again just using it like it's a crayon! hehe! So easy to do!
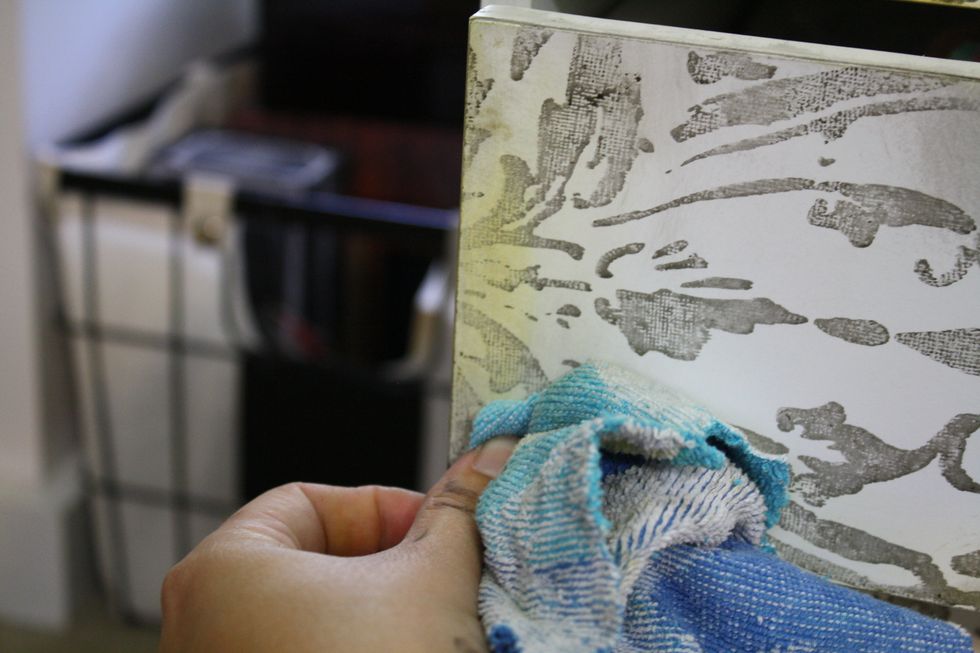
And again, blending with my fingers and buffing off any excess with a rag.
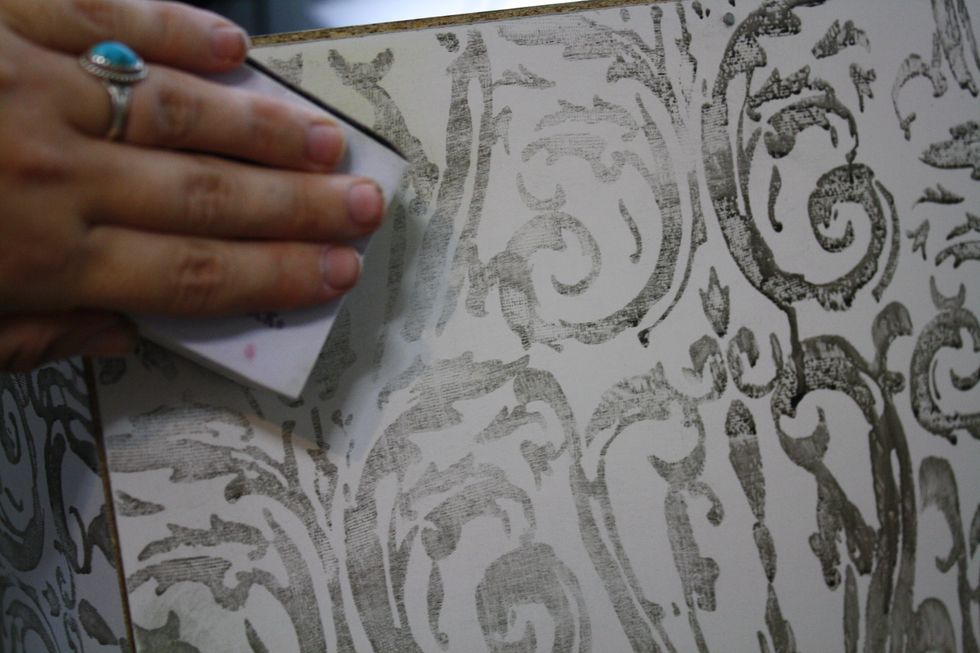
When I was done adding my color, it was time to sand! You can see such a difference between the left & right sides! It was far too intense for me pre-sanding! Use a fine grit sandpaper and go to town
Just keep sanding all of your sides, until you are content with the look!
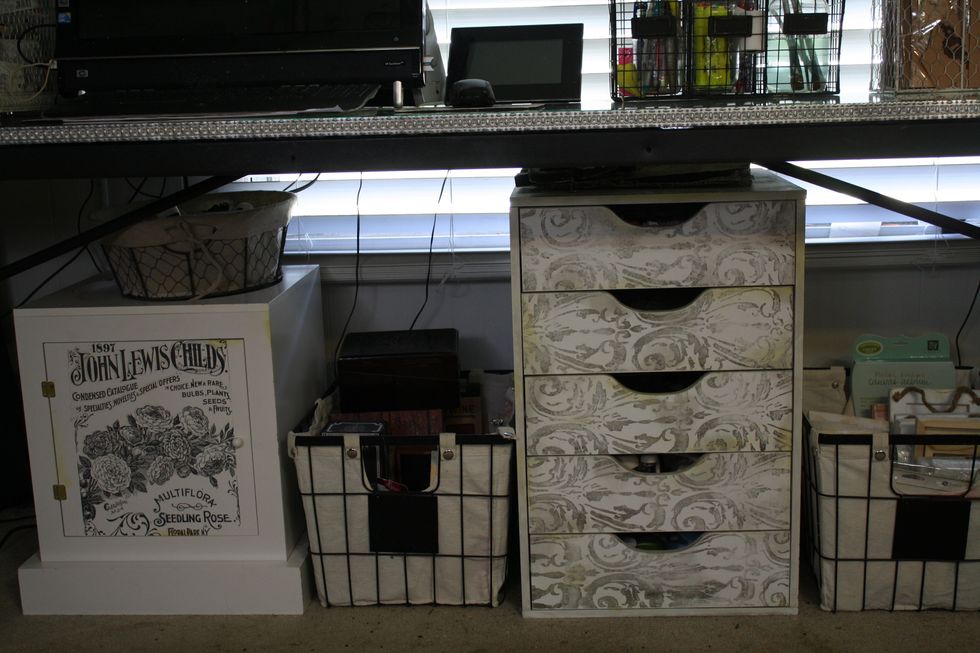
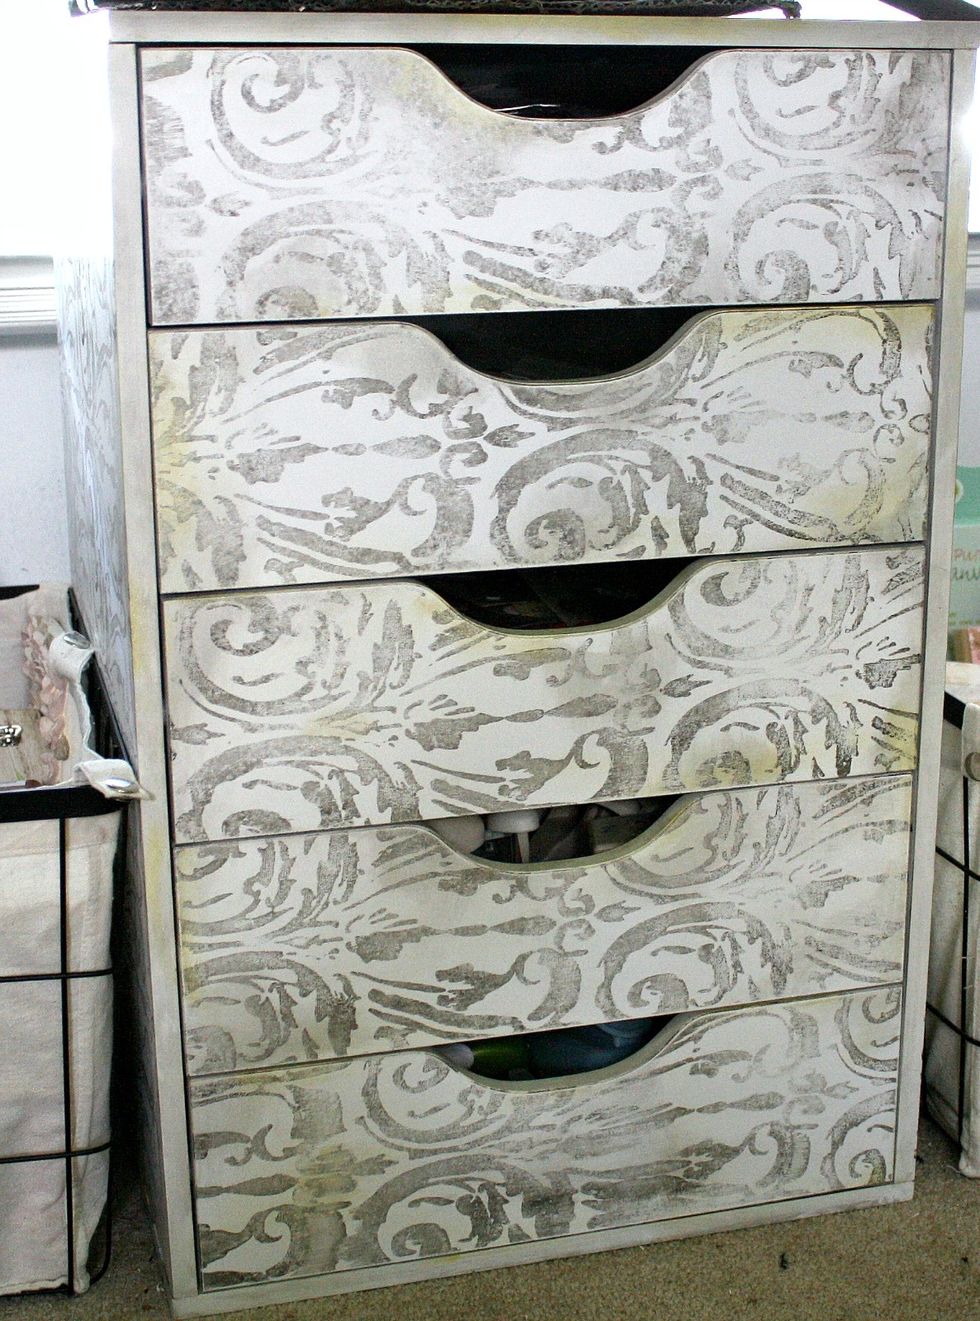
Here it is in it's home! I am so happy with the results!
It's a large unit, and I store lots of Prima flowers in there! Now it is as pretty as the product it holds! This whole process took less than an hour! I hope you like my refurbished piece. :)