The Conversation (0)
Sign Up
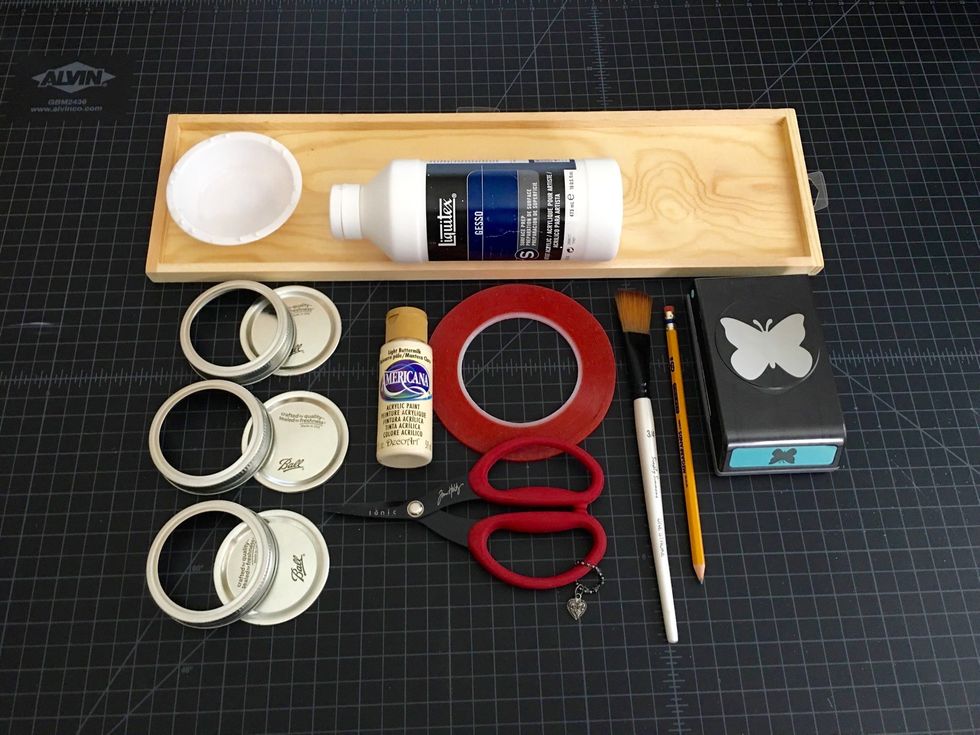
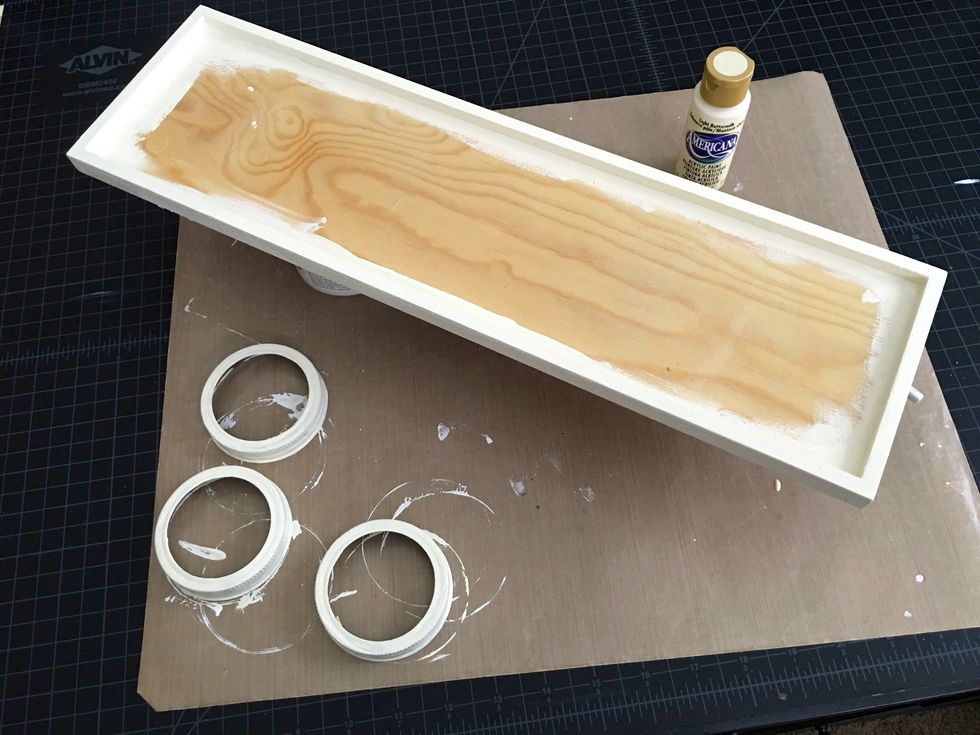
Here is a photo of some of the supplies you'll need, but be sure to check my supply list included with this tutorial...
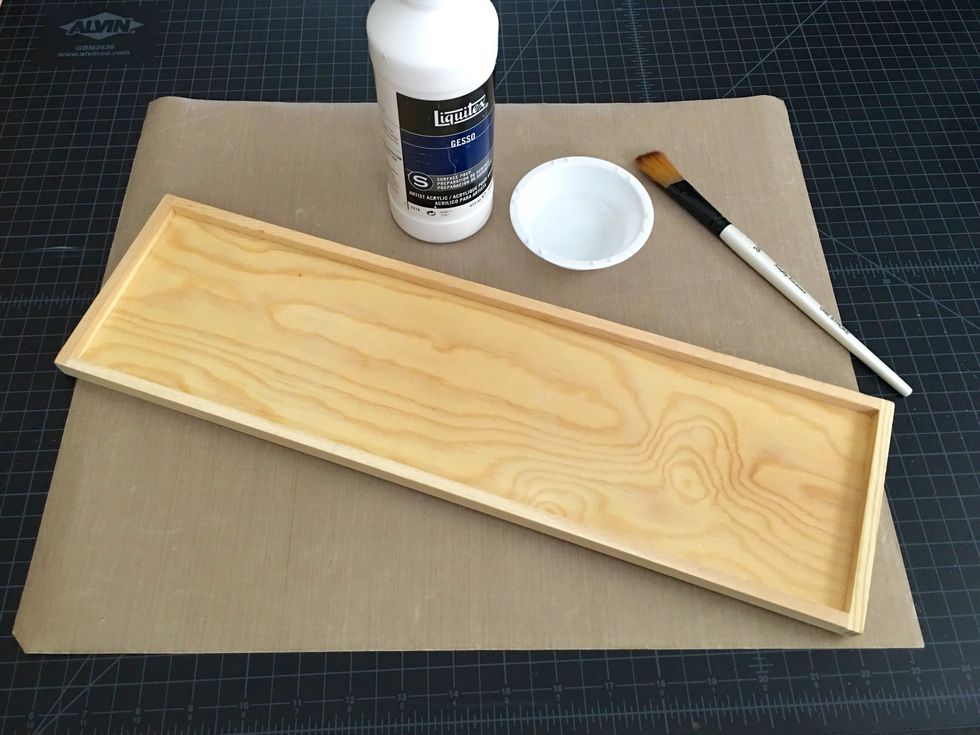
First up... you'll need Gesso, a paint dish, paint bush and your raw wood sign (be sure to sand the sign first to smooth out any rough edges). Gesso will prime/prep the surface for the acrylic paint.
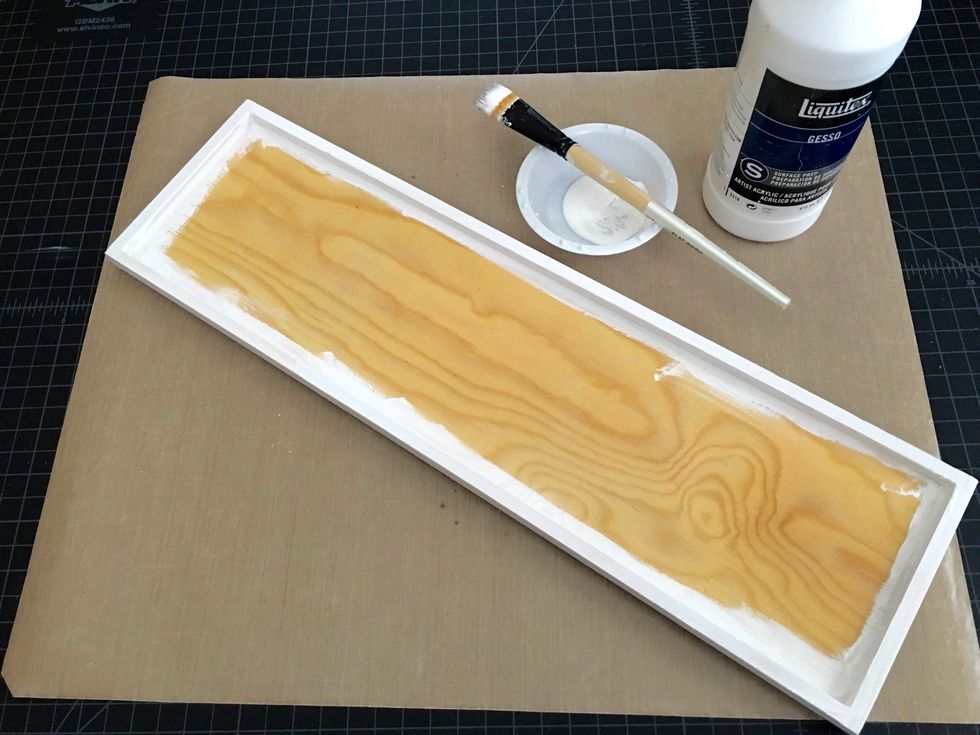
Use the paint brush to cover the edges and sides of the wood sign with Gesso. Do 2 coats and allow to air dry.
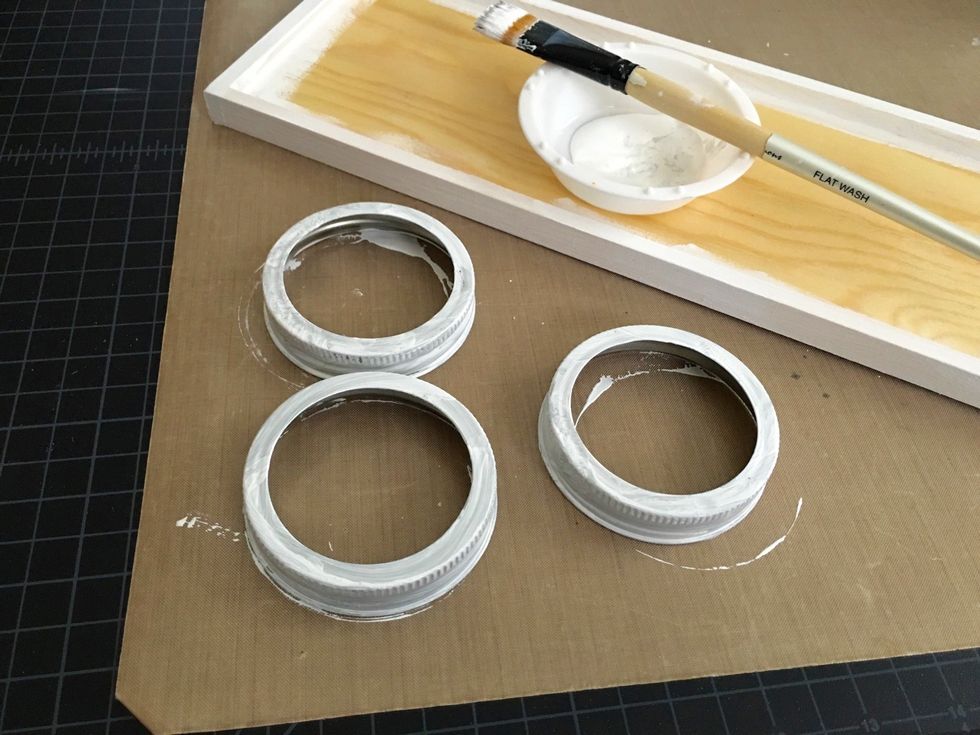
While you have the Gesso going... take your mason jar lids, pop the centers out and gesso the rings as shown...
Then use acrylic paint to cover over the gesso on both the sign and the mason jar lid "rings". 1-2 coats, and allow to air dry.
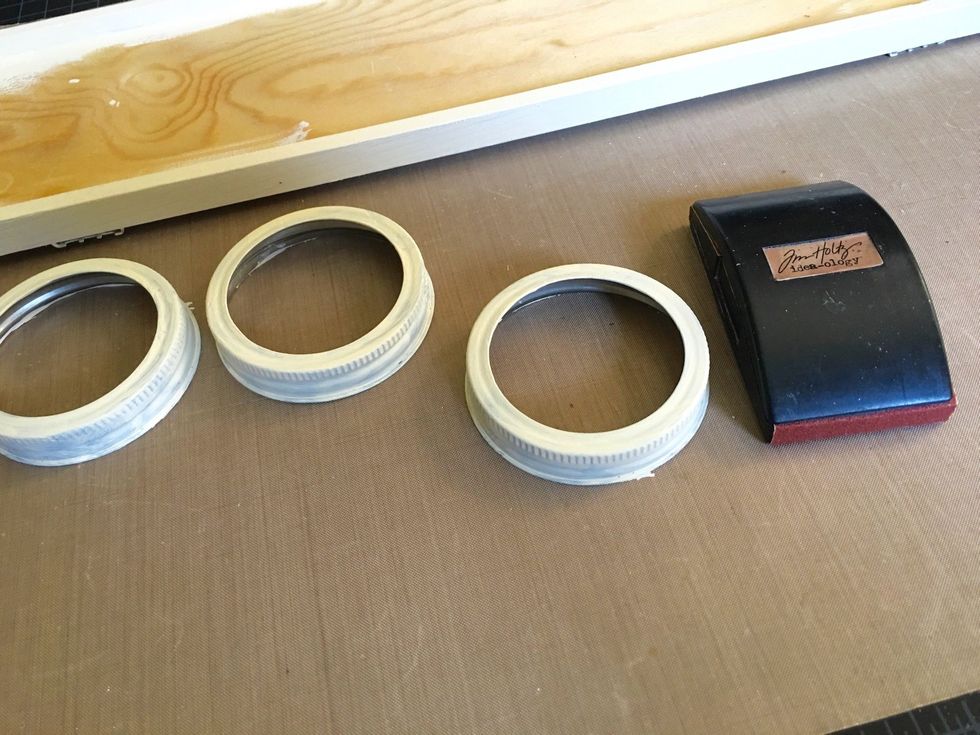
Once the paint has completely dried, use a sanding block to distress the mason jar lid "rings". Be gentle! You only want to distress slightly and don't want to remove all the paint. :-)
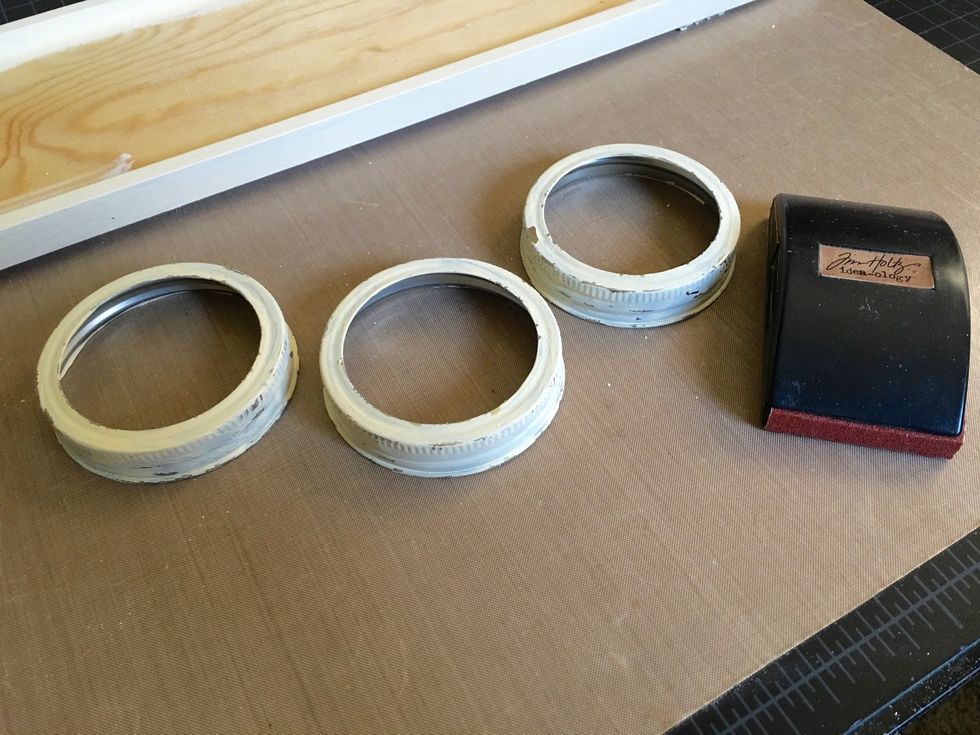
After distressing with a sanding block, your mason jar lid "rings" should look something like this.
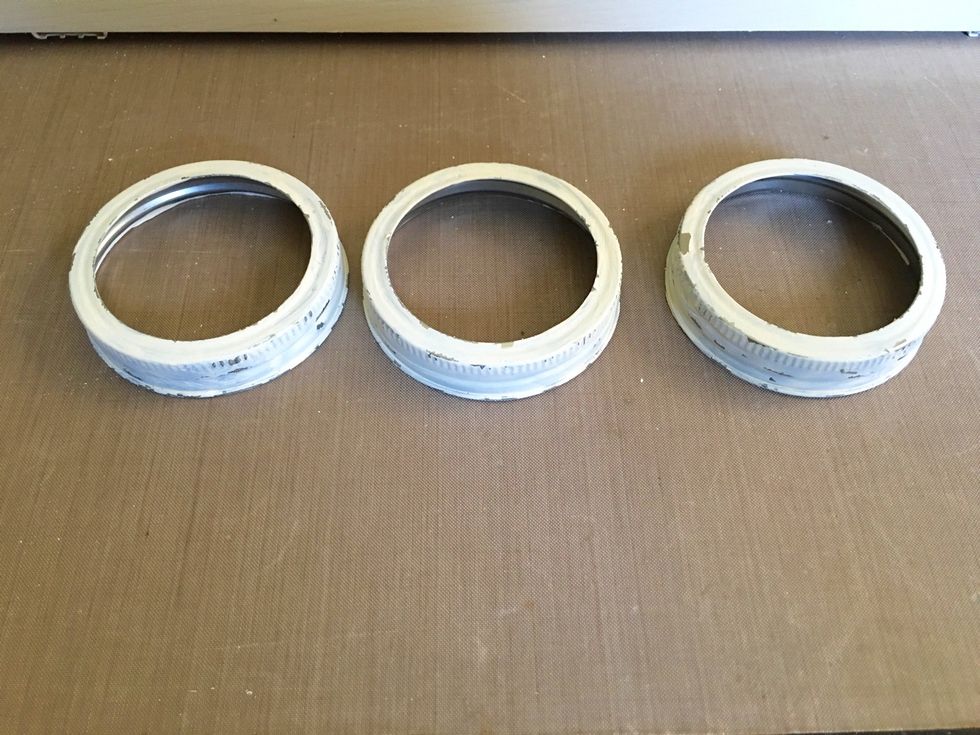
Here is a closer look at the distressed lids...
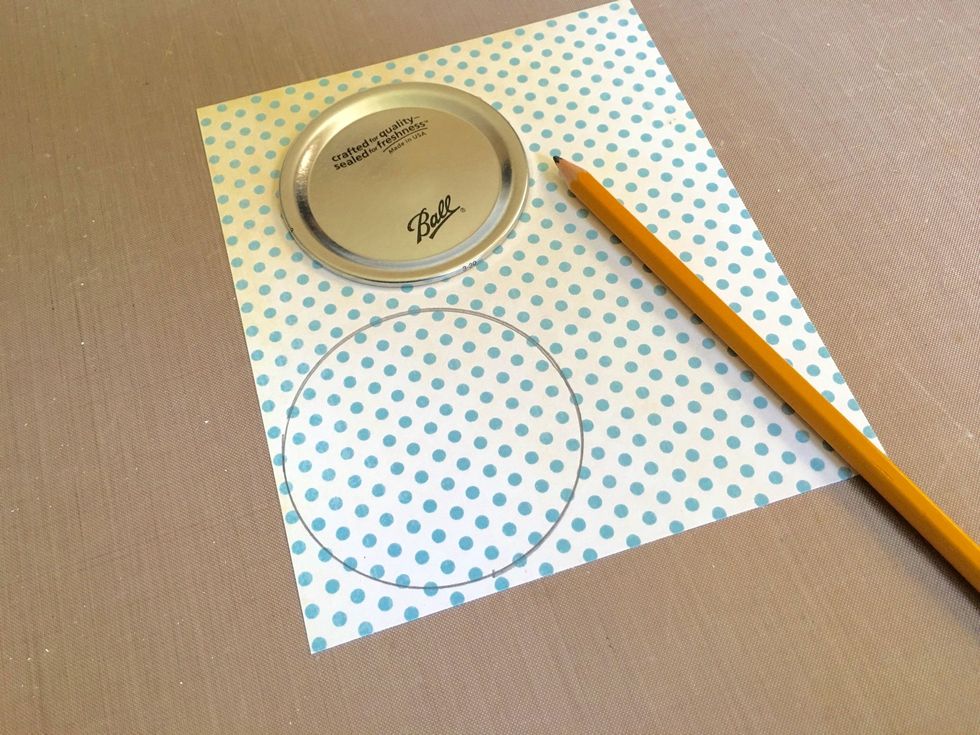
Take some G45 Botanical Tea paper and the center of the mason jar lid and use a pencil to trace it onto the design paper. We'll be cutting these circles out and inserting them back into the lids.
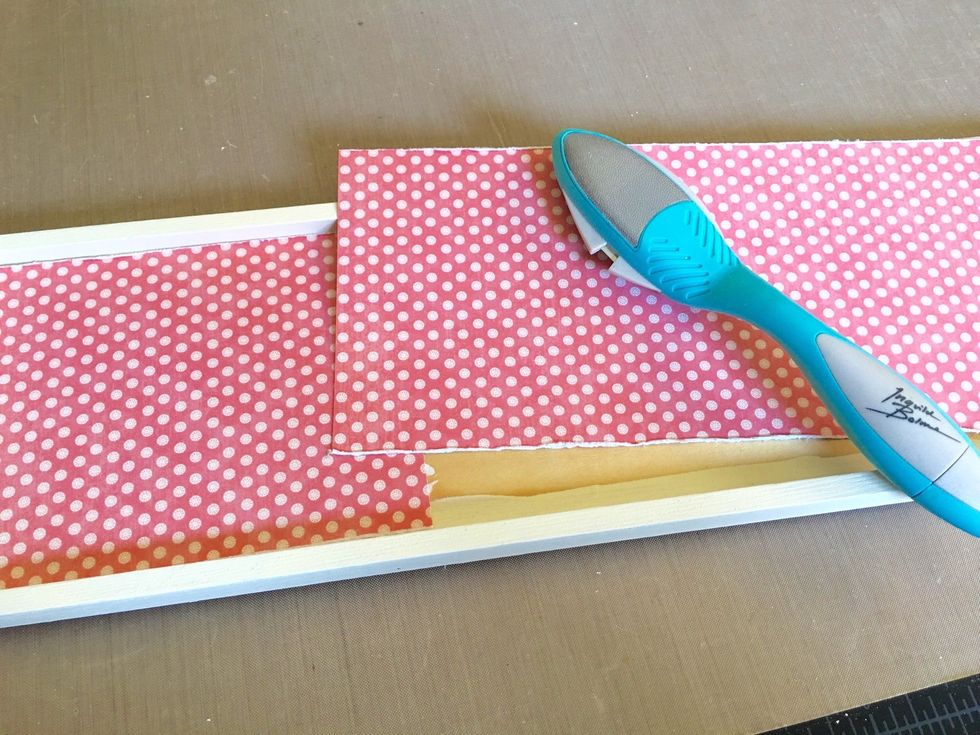
Now we want to cover the background of the sign with design paper. Measure and distress the edges with a distress tool.
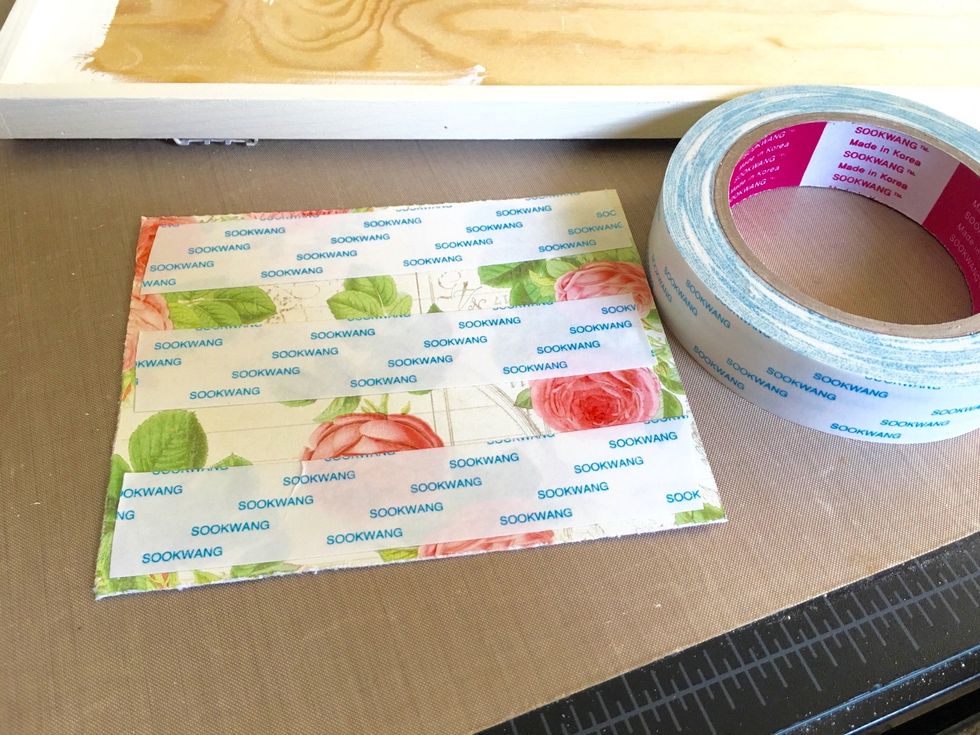
Use a strong adhesive to apply the design paper to the wood sign. I'm using ScorTape.
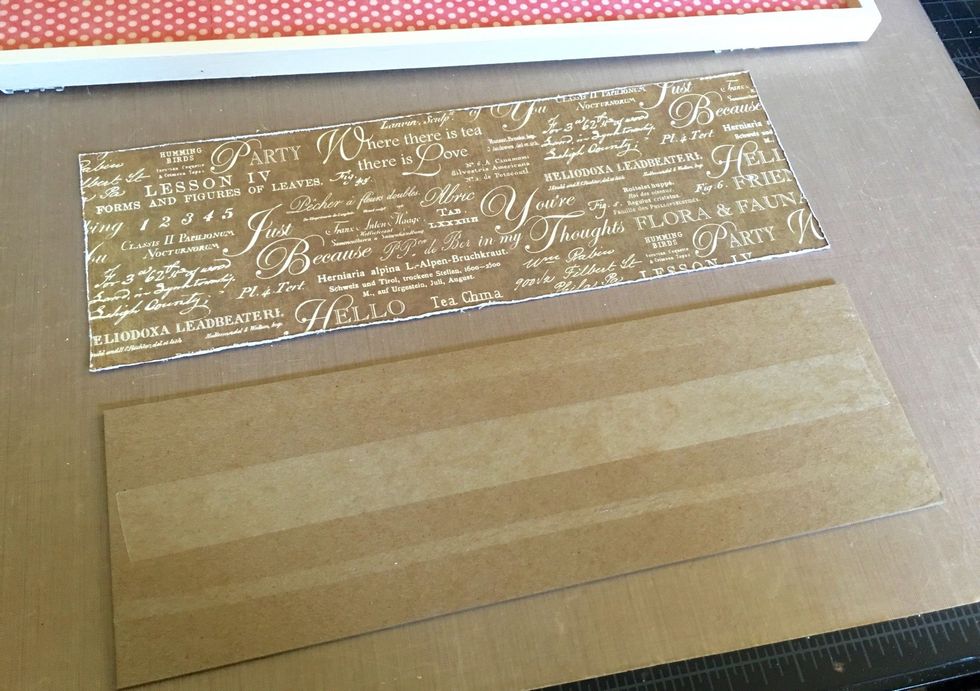
I am adding 2 layers of medium chipboard behind the 2nd layer of design paper for my sign. This will add dimension and stability to the section I will be adhering the mason jar lids to.

You can see the back side here and the dimension the chipboard will create...
Here is a closer look at how the chipboard "bumped up" the layer of design paper...
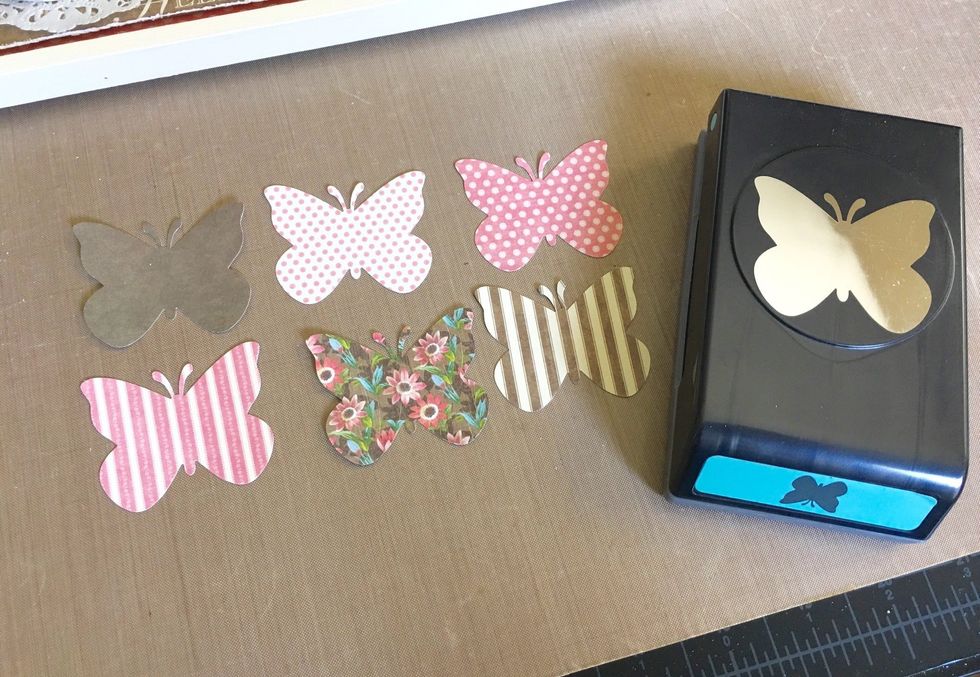
Now I want to create the dimensional butterflies for my sign. I want to make them look as if they are "fluttering". I'm using an EK success punch. Each butterfly will be 2 layers...
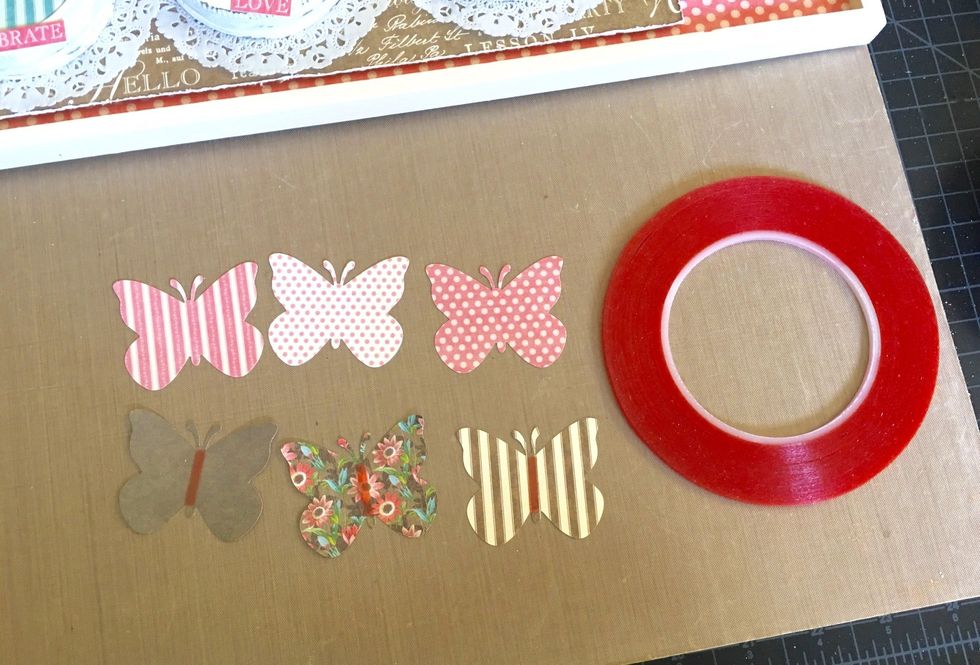
Add a strip of sticky redline tape (or ScorTape if you have it) to the center (backside) of 3 butterflies as shown above.
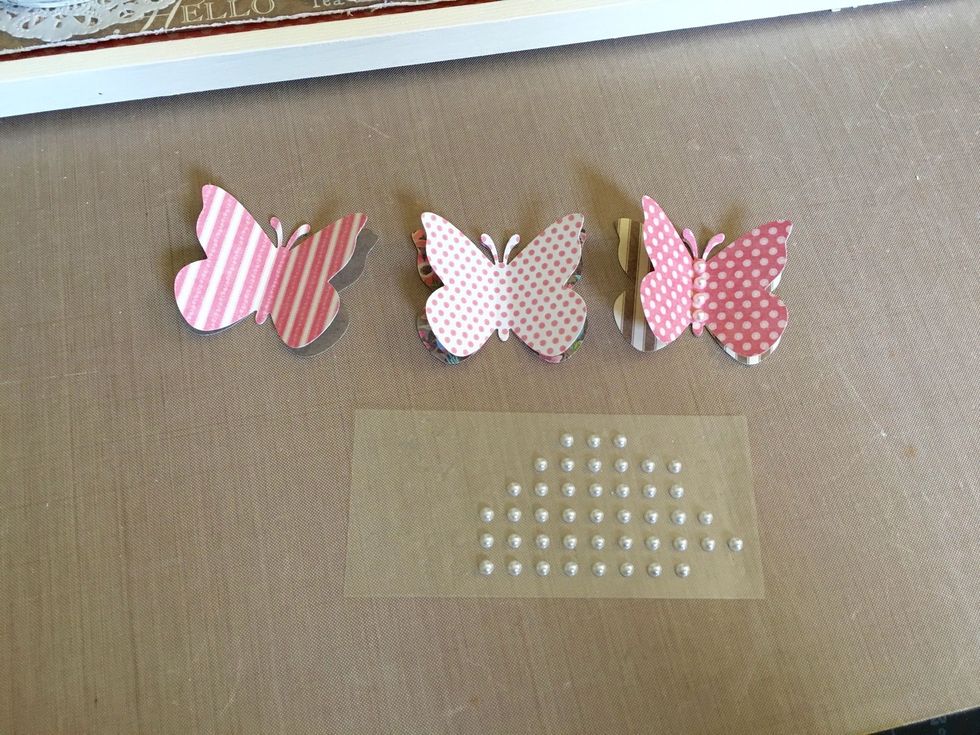
Adhere the layers together as shown and pull up the wings gently on the top layer. Add pearls to the center for the butterfly's body to accent.
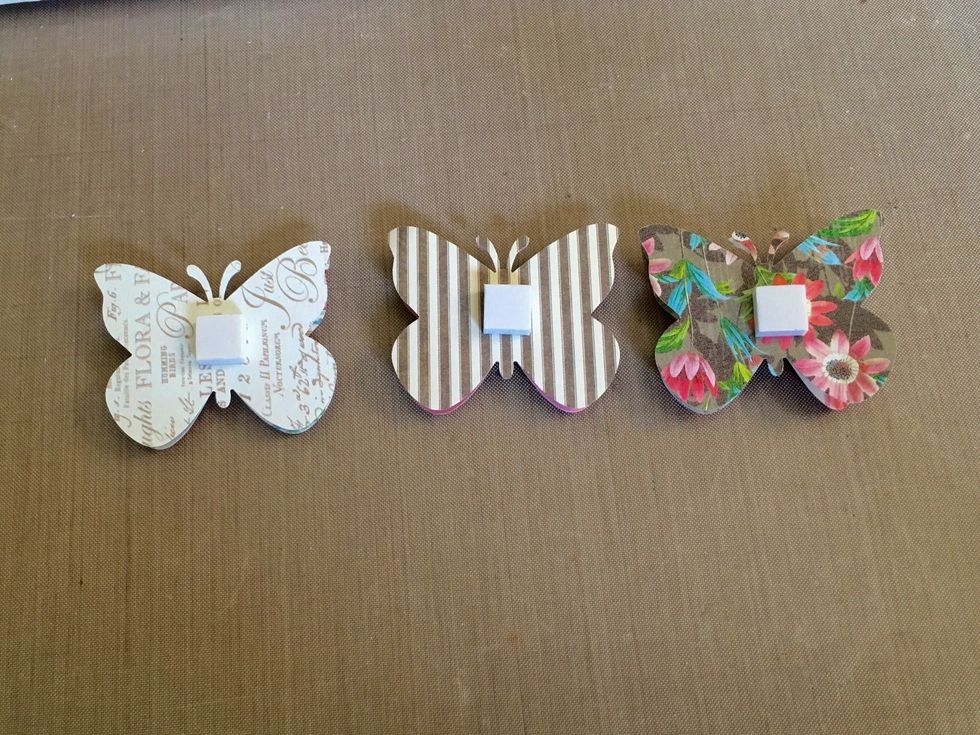
Add dimensional squares to the backside of the butterflies before you adhere them to your project.
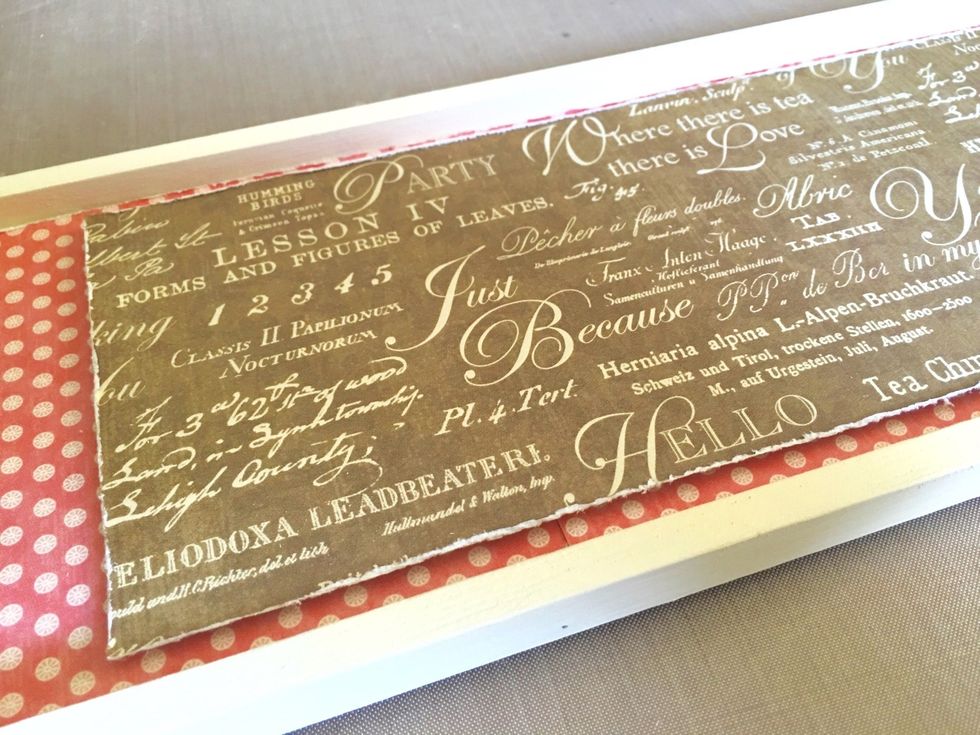
... and here is the final altered sign once I've finished embellishing it ...
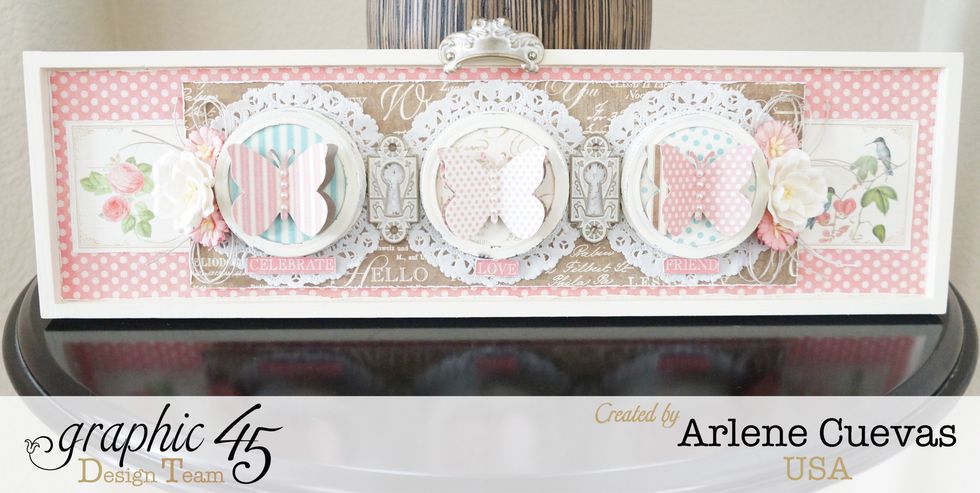
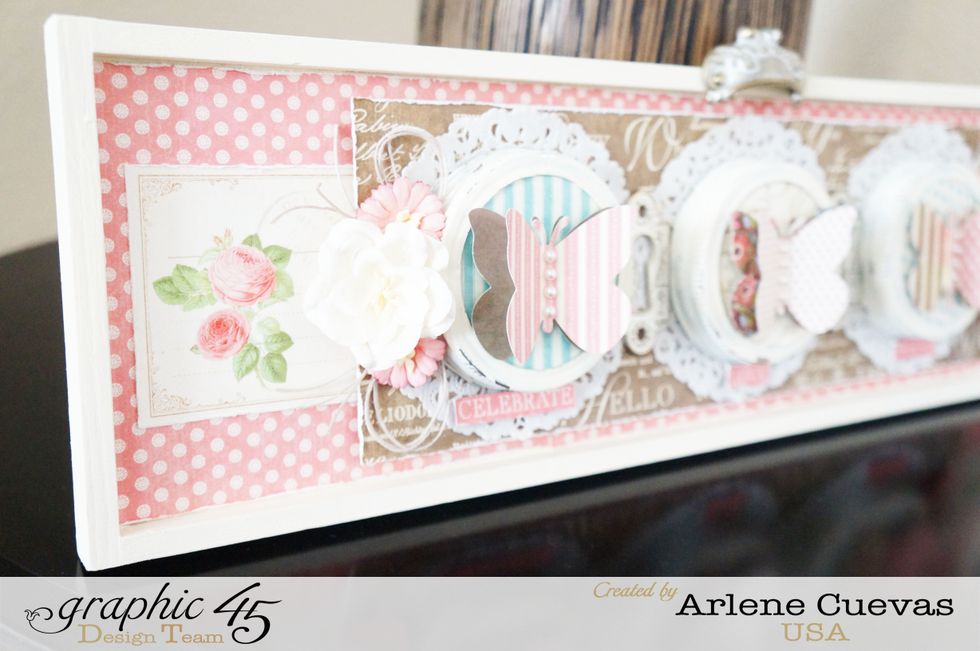
I incorporated some white doilies and Graphic 45 metal staples...
Use Glossy Accents to adhere the metal Staples to your sign...
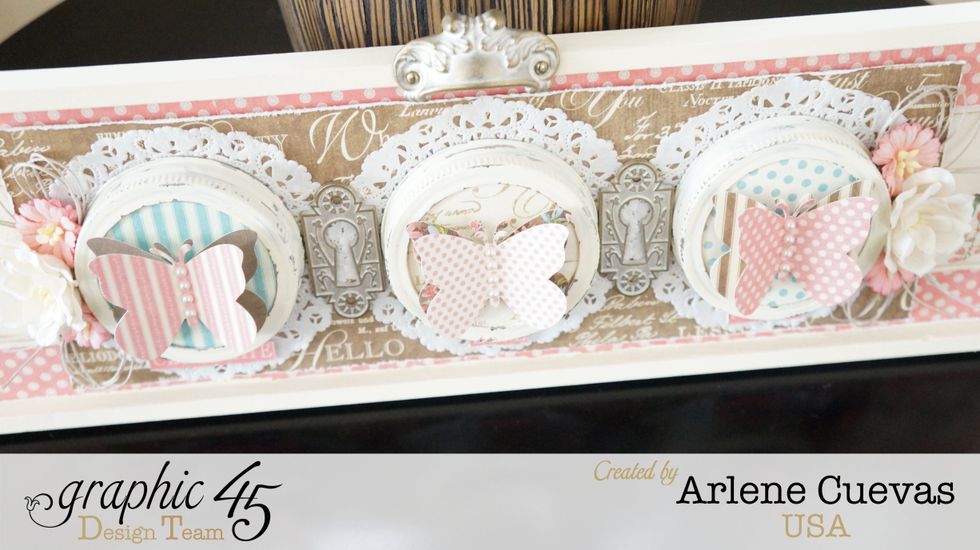
The recycled mason jar lids are such a fun touch to this sign...
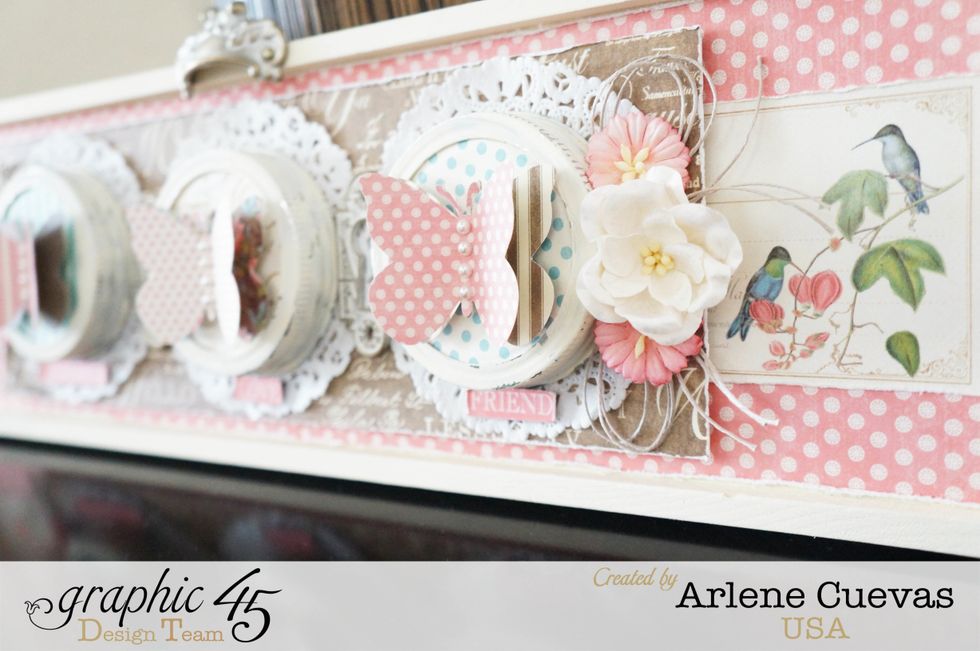
Accent with flowers and twine...
Thanks so much for joining me for this tutorial. For more information, visit the Graphic 45 blog at g45papers.typepad.com. You can find me at Arlene Butterflykisses on Facebook. :-)