The Conversation (0)
Sign Up
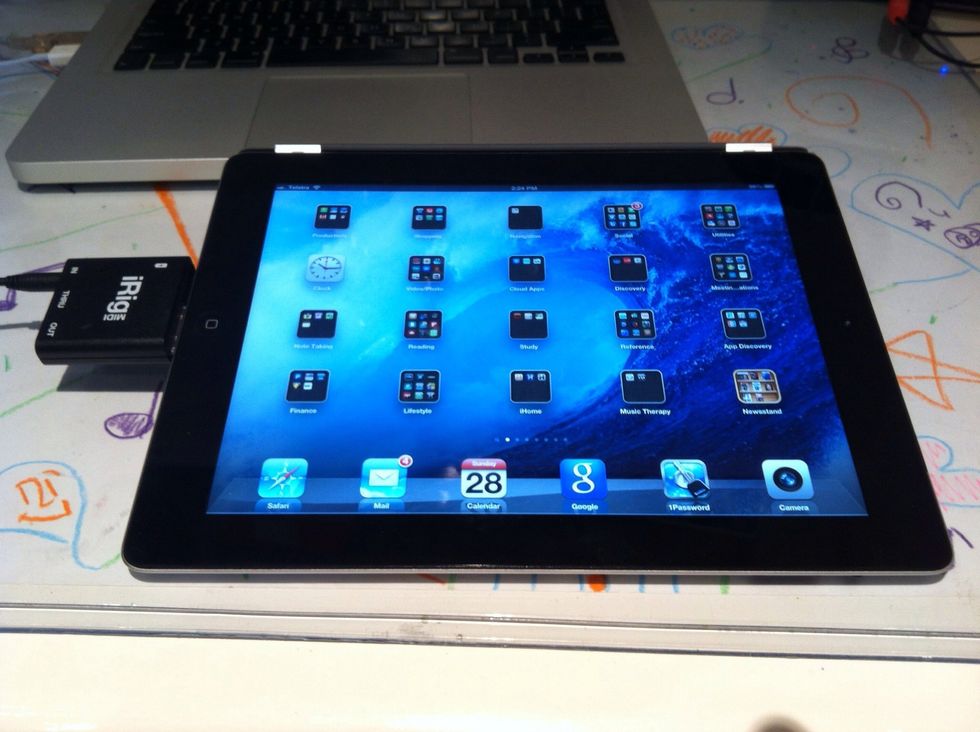
Connect the Keyboard to the iPad using the iRig MIDI.
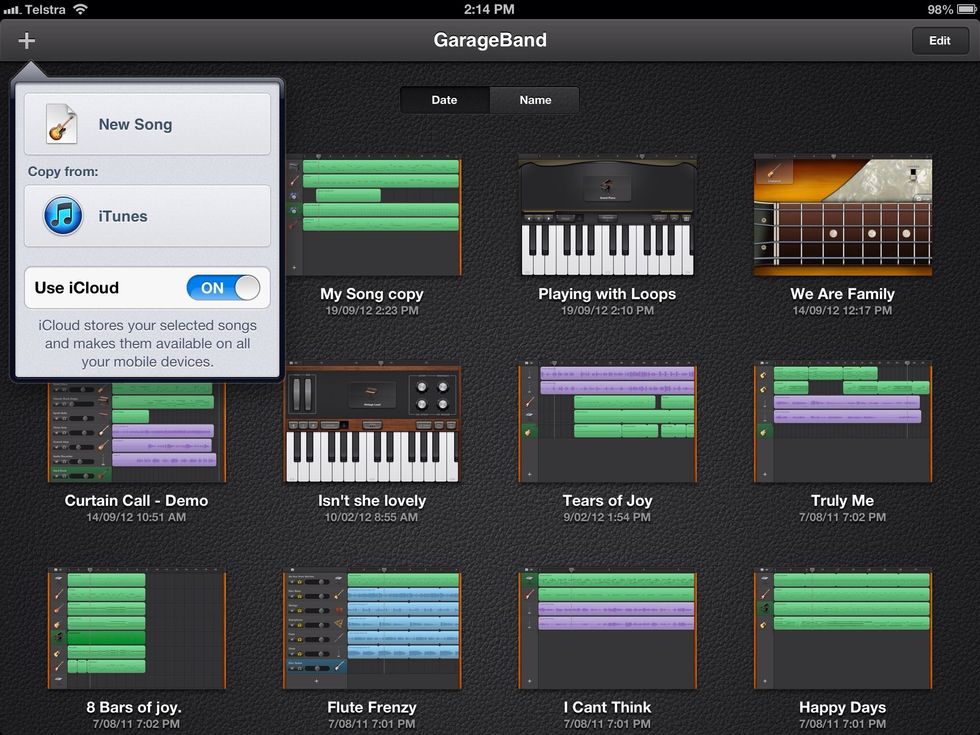
Open GarageBand, tap the + symbol in the top left and tap New Song.
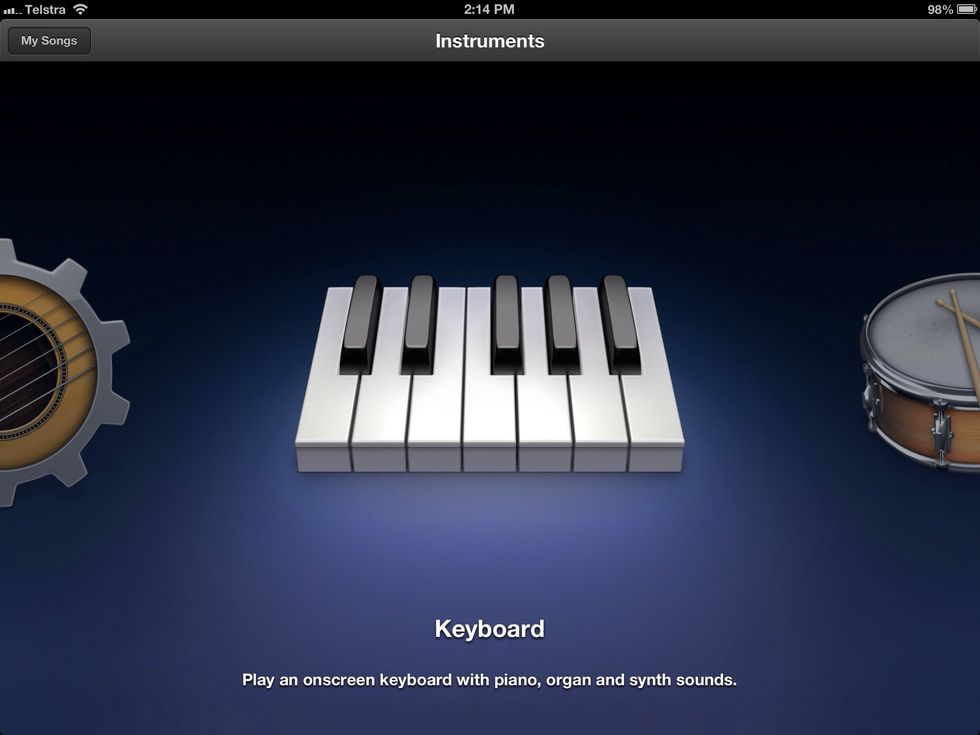
Select Keyboard.
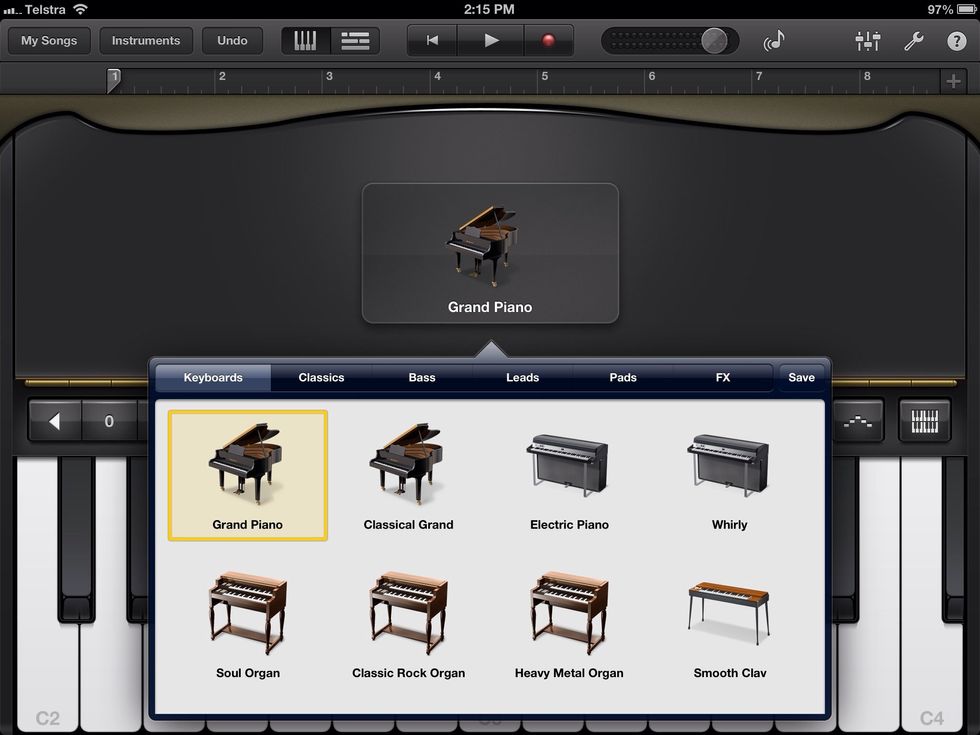
Tap and choose a keyboard. Hint: there are lots of amazing ones - give them all a try!

Tap + in the right corner to choose the number of bars for your recording.
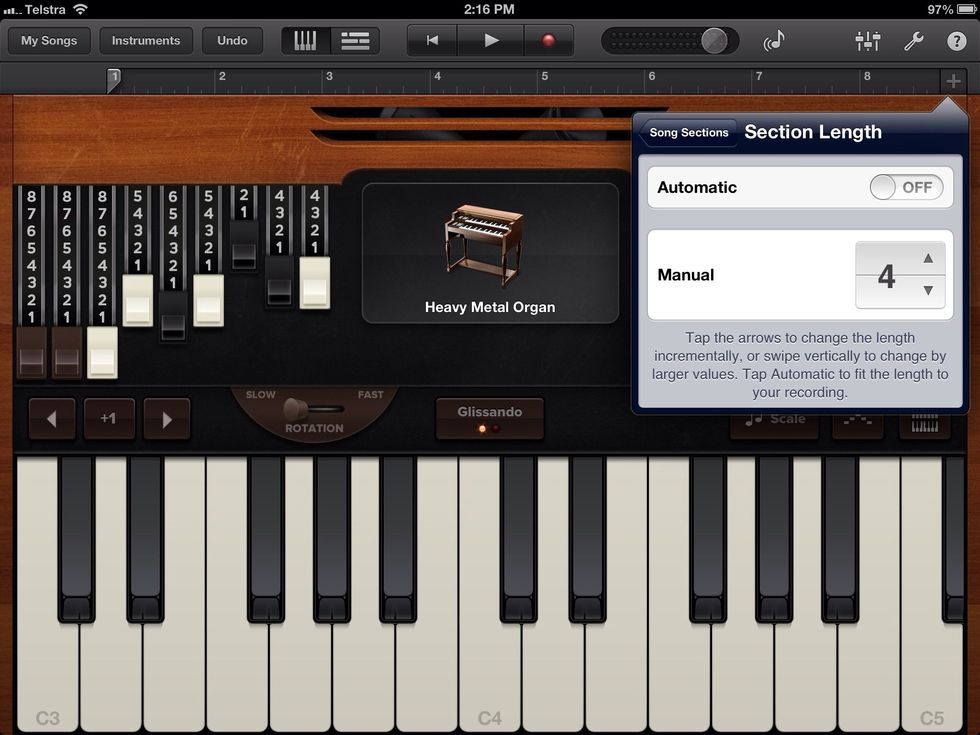
If you' not sure, go with automatic and GarageBand will add bars as you record.
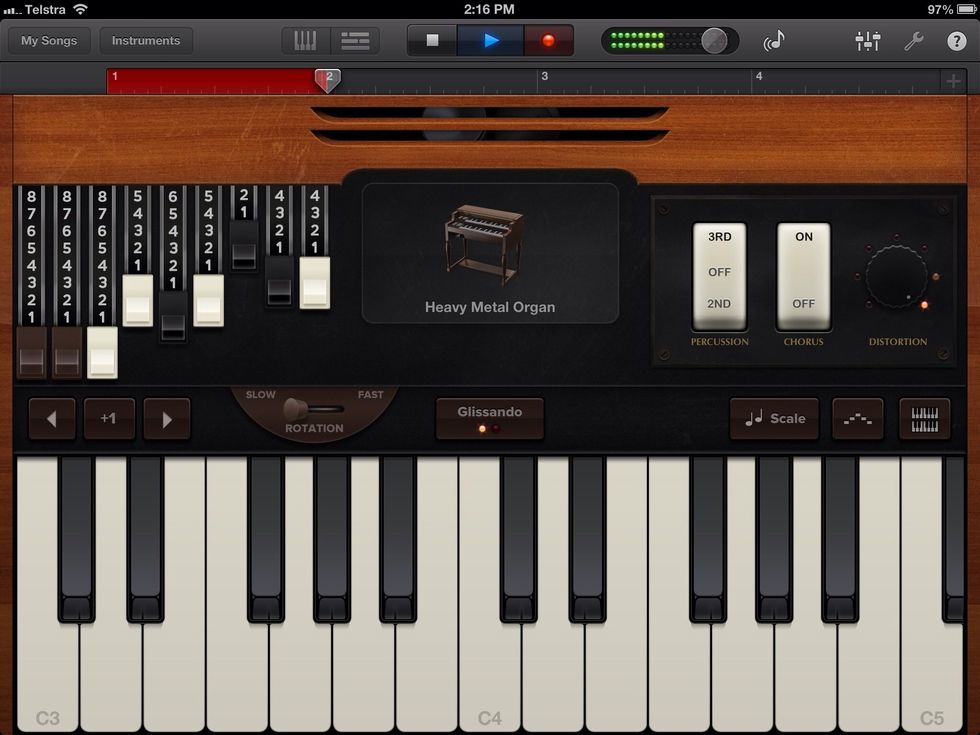
Tap the red record button and wait until the 4 beat count in plays, then go for it!
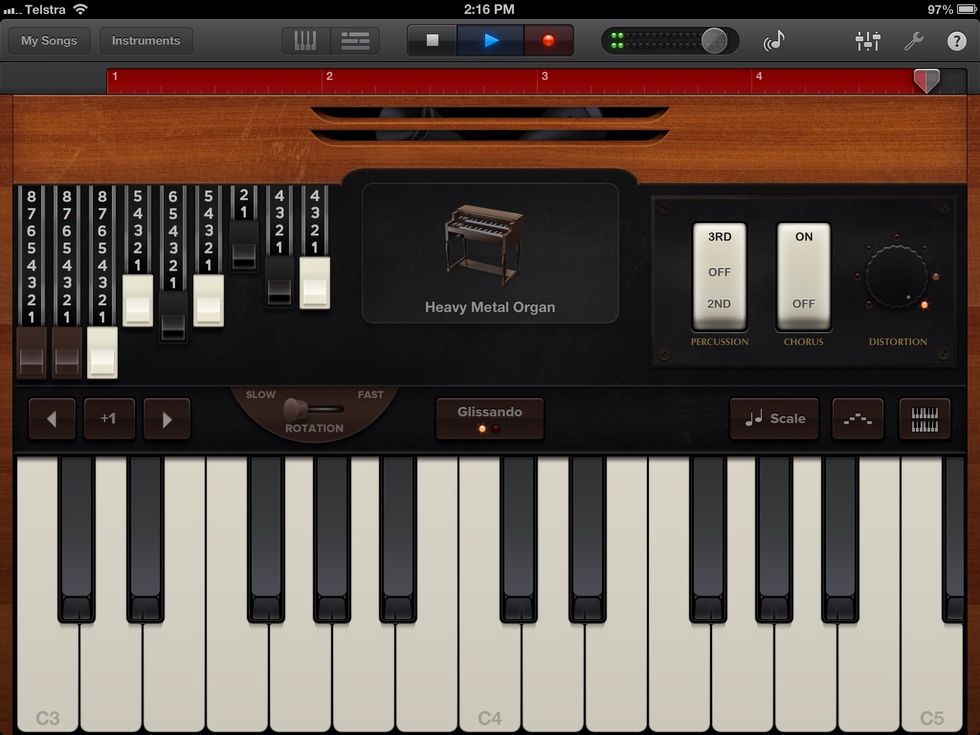
In record mode, the bar at the top glows red.
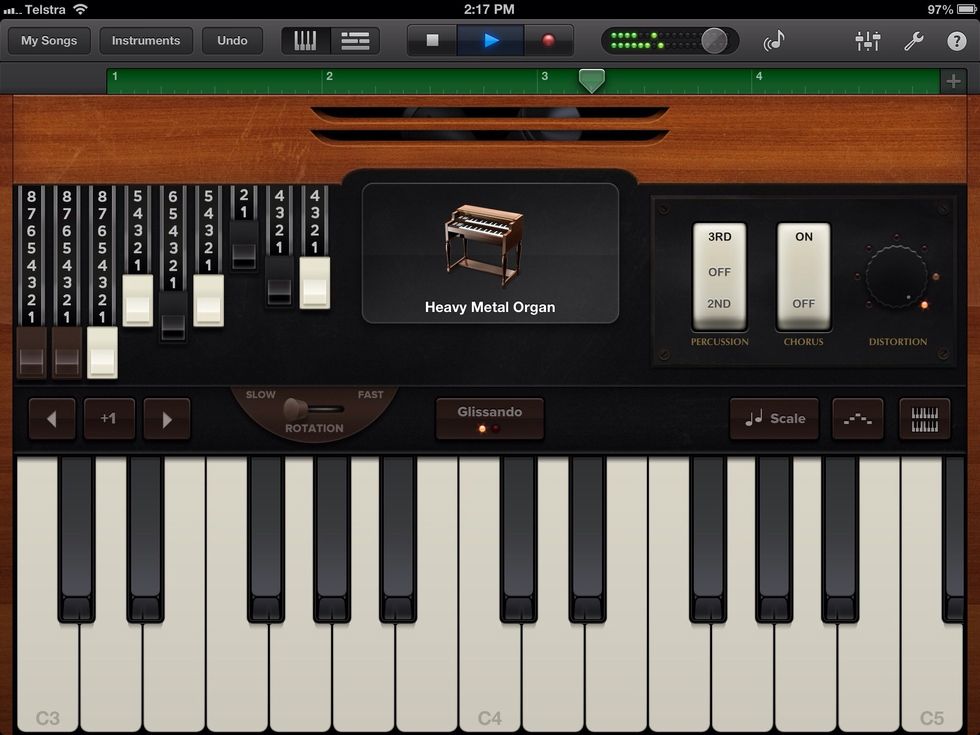
When you complete your the final bar, you automatically enter play mode. Stop playing and press stop.
Tap the track view icon (left of stop) to see your recording. You can add new instruments to the piece by clicking the + sign (bottom left) and repeating steps 3 to 9. You can record up to 8 tracks.
And that's external MIDI keyboard recording with garageBand for iOS.