The Conversation (0)
Sign Up
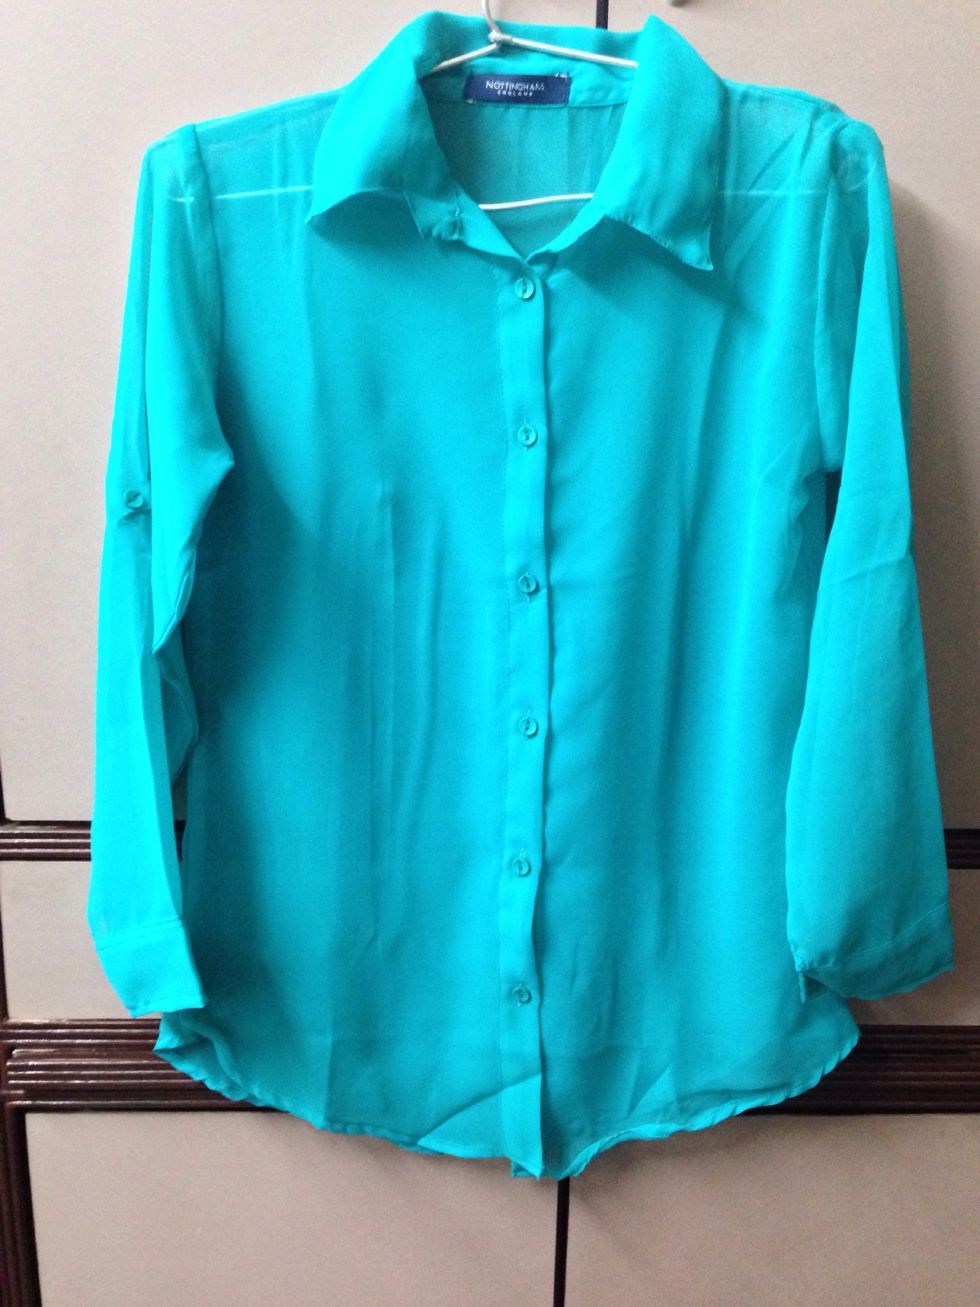
Let's reconstruct this shirt.
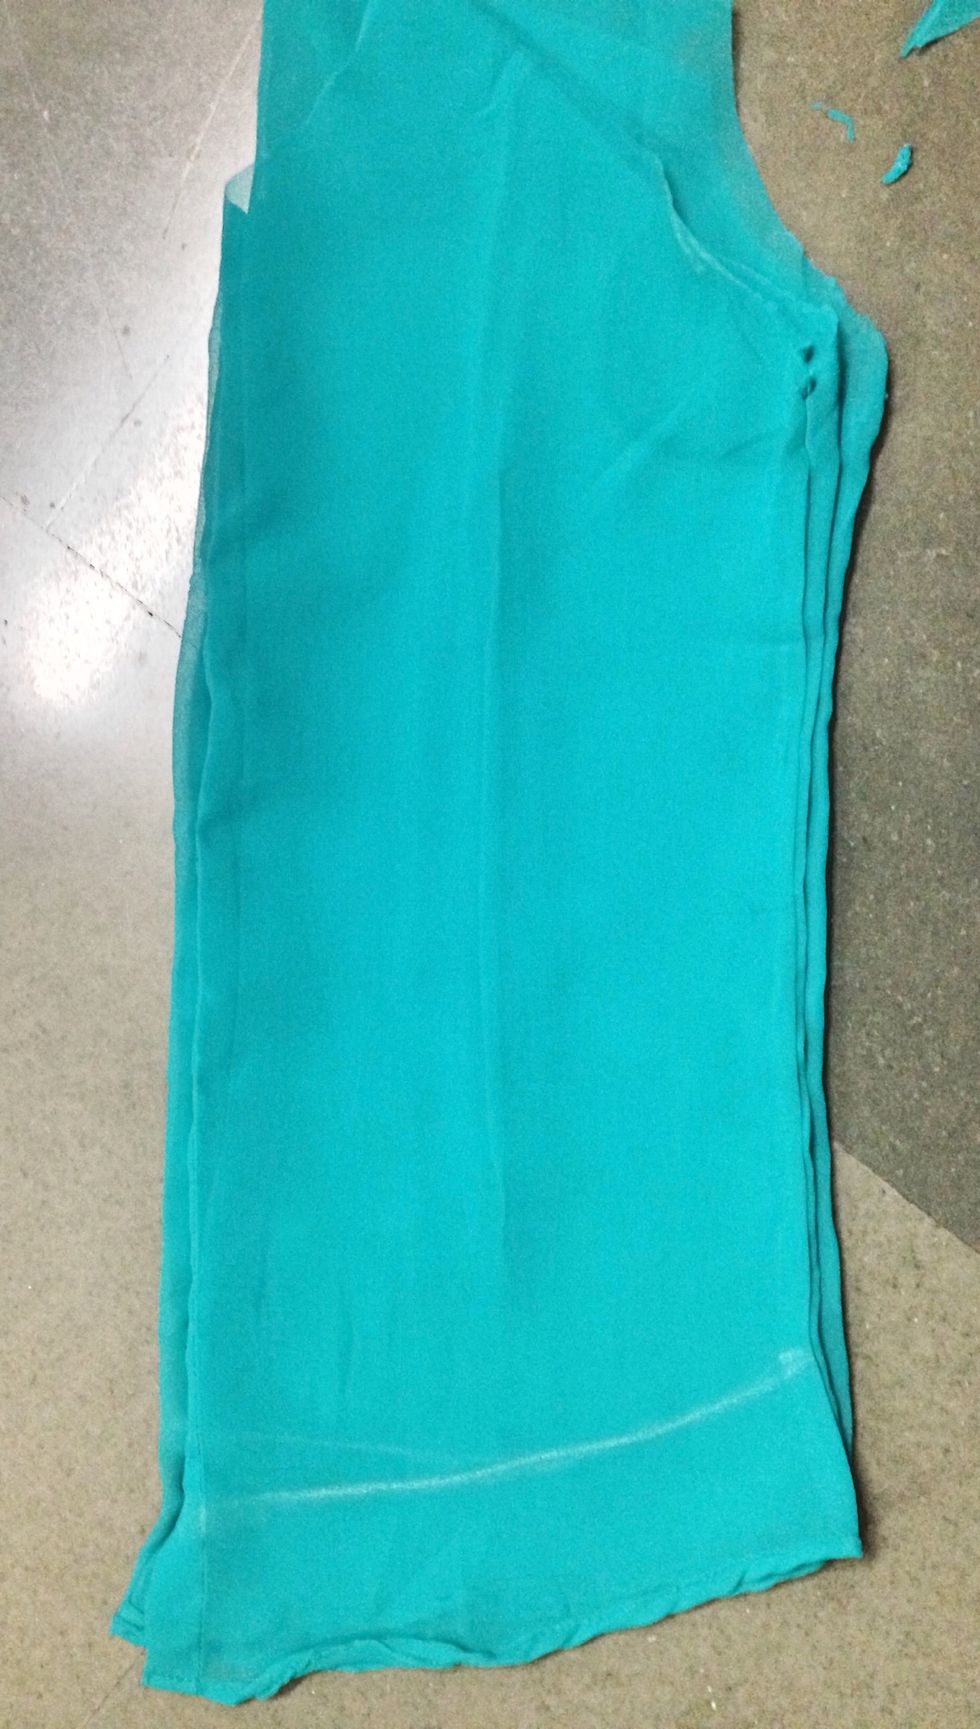
First up - Get rid of the sleeves and the collar.
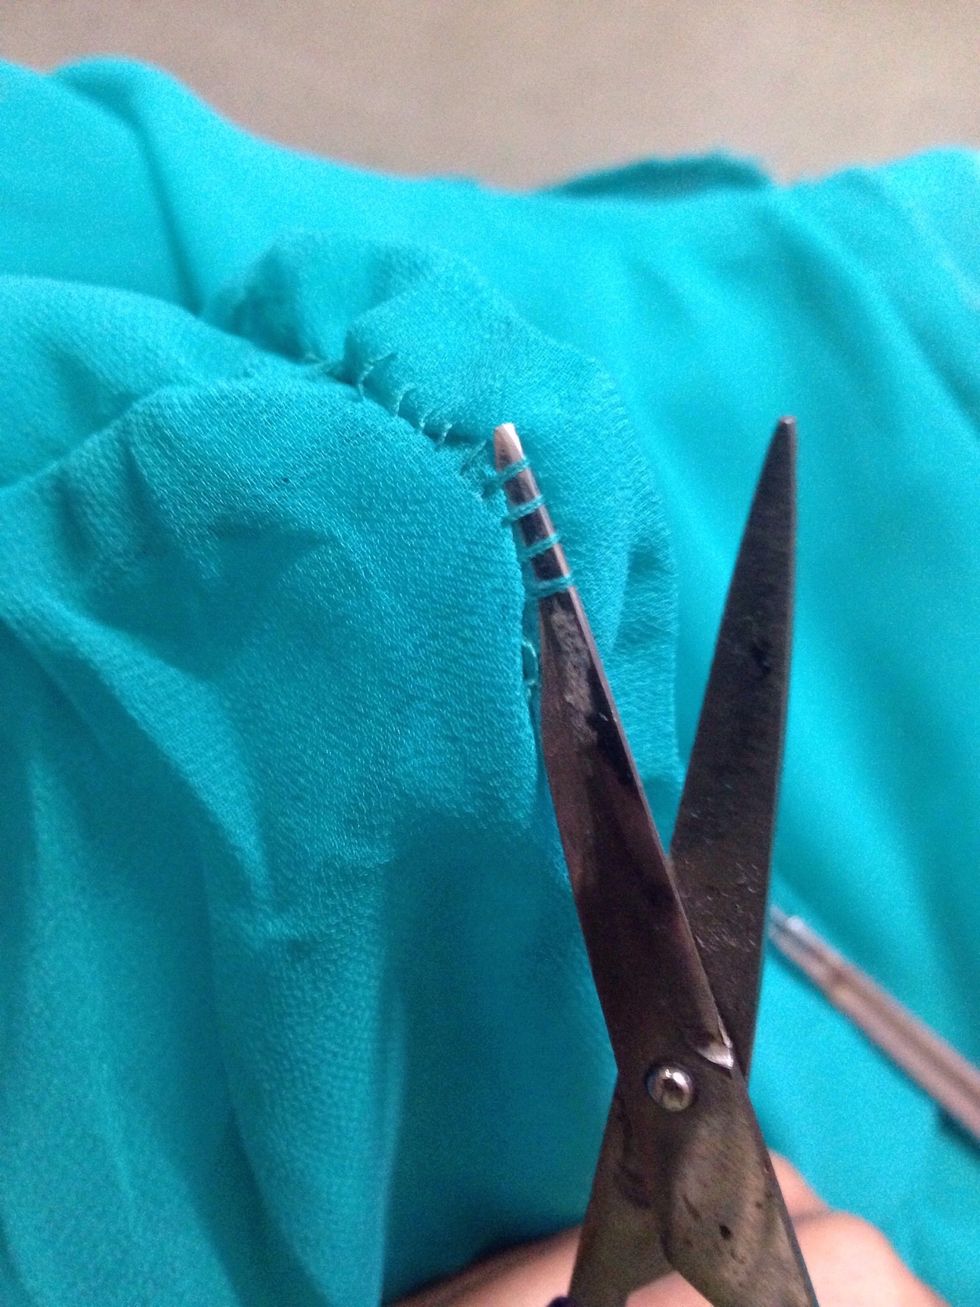
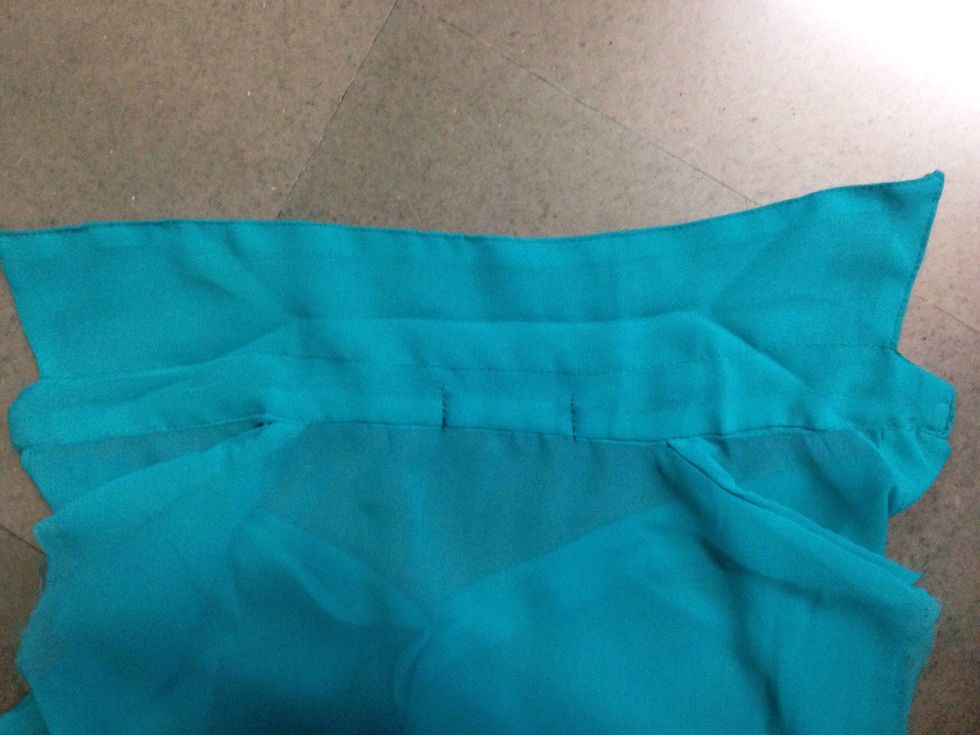
Flip the shirt inside out, and snippity snip snip the seams. You could even just cut them off.

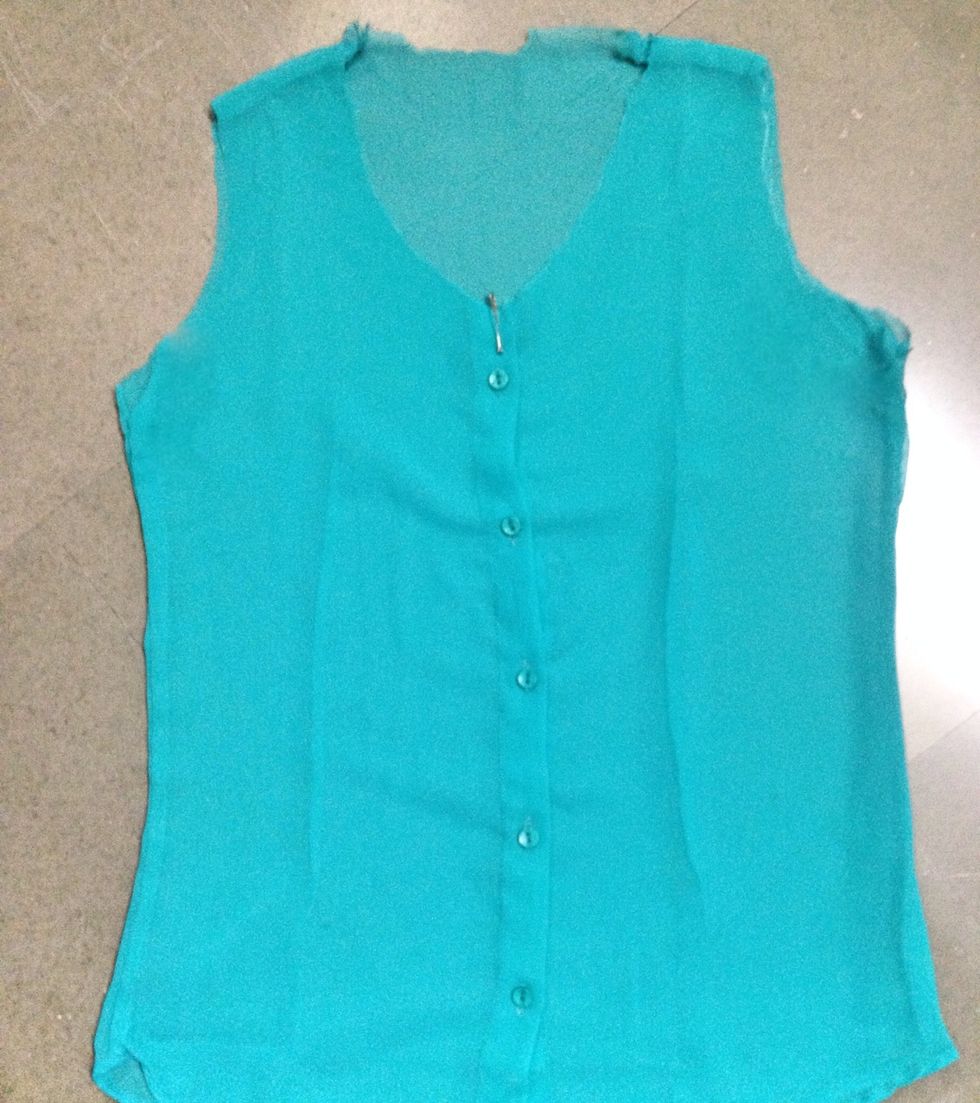
The sleeveless design looks pretty decent too!
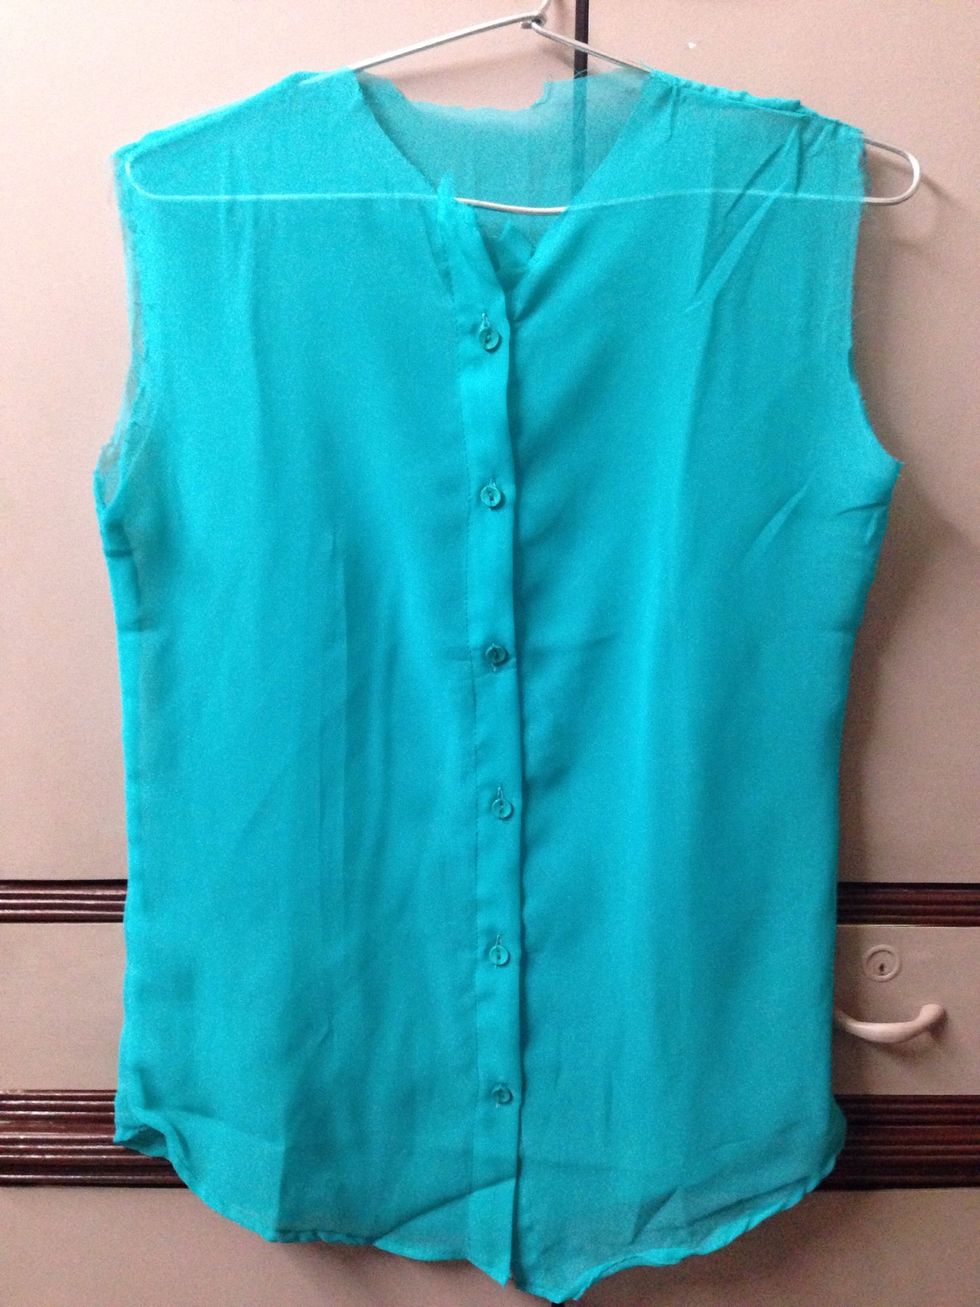
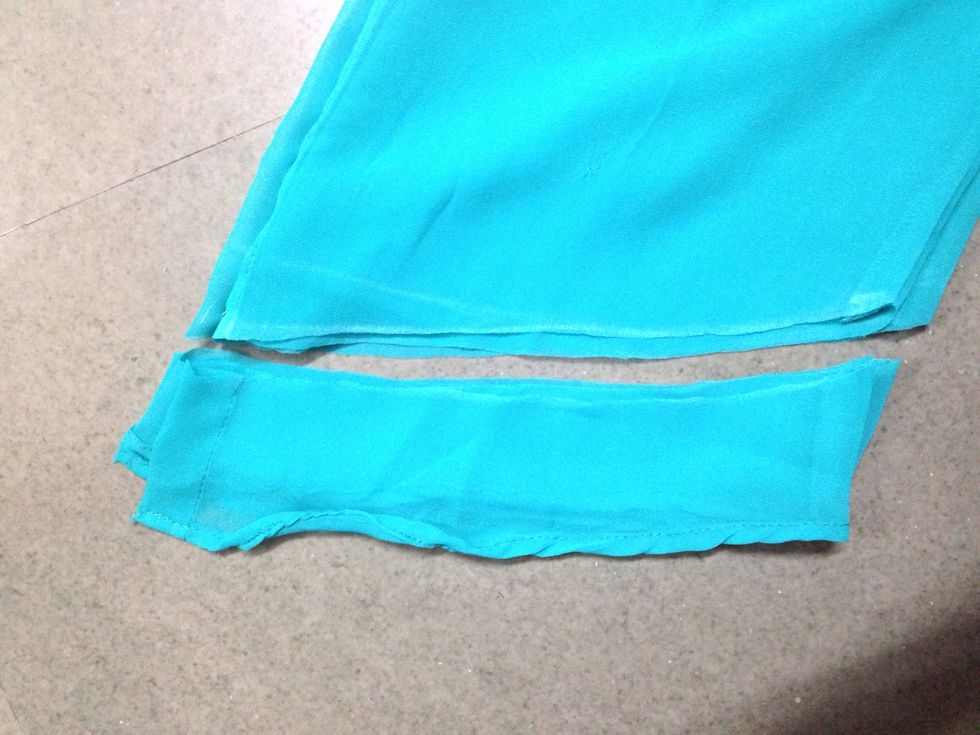
Now the collar.

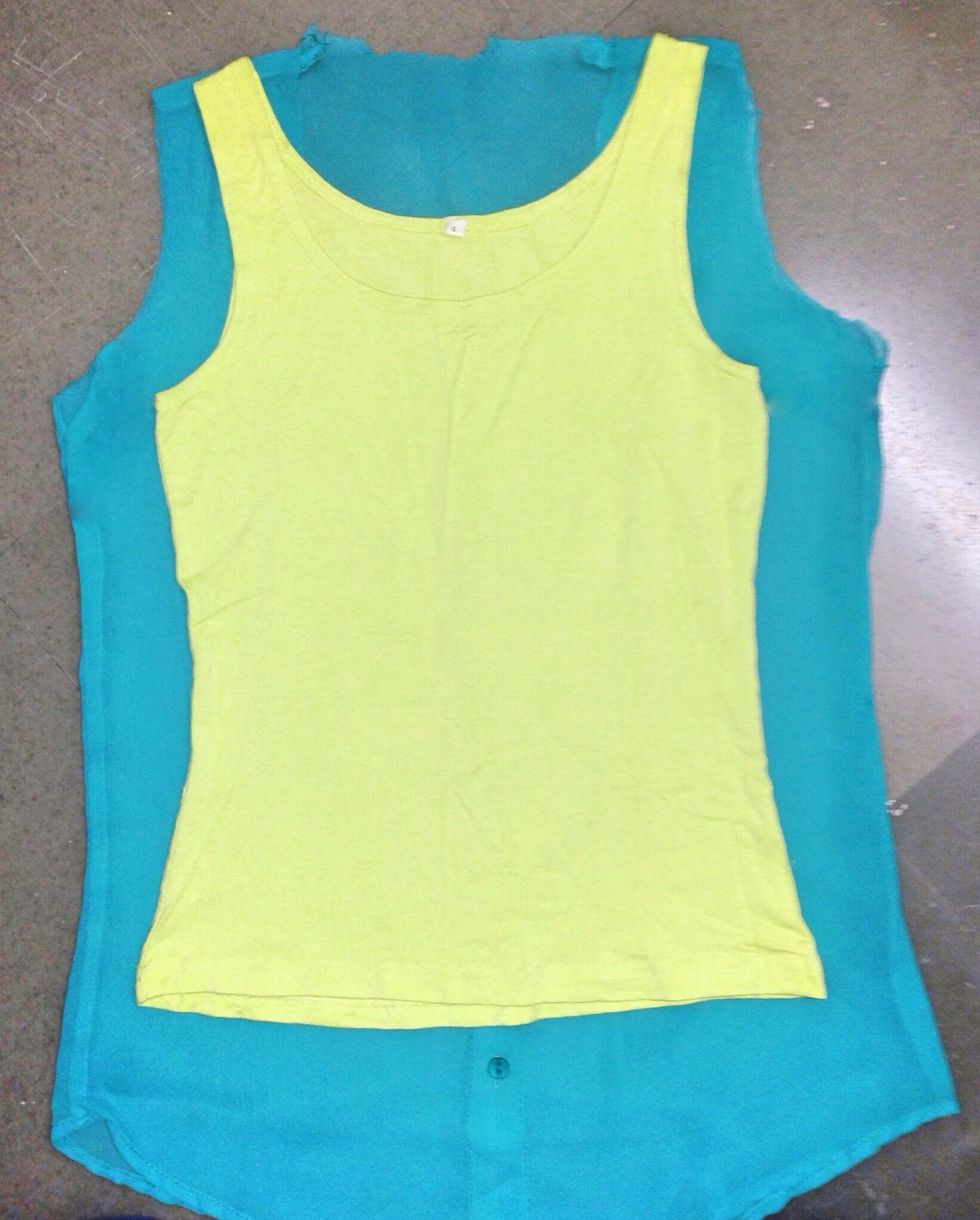
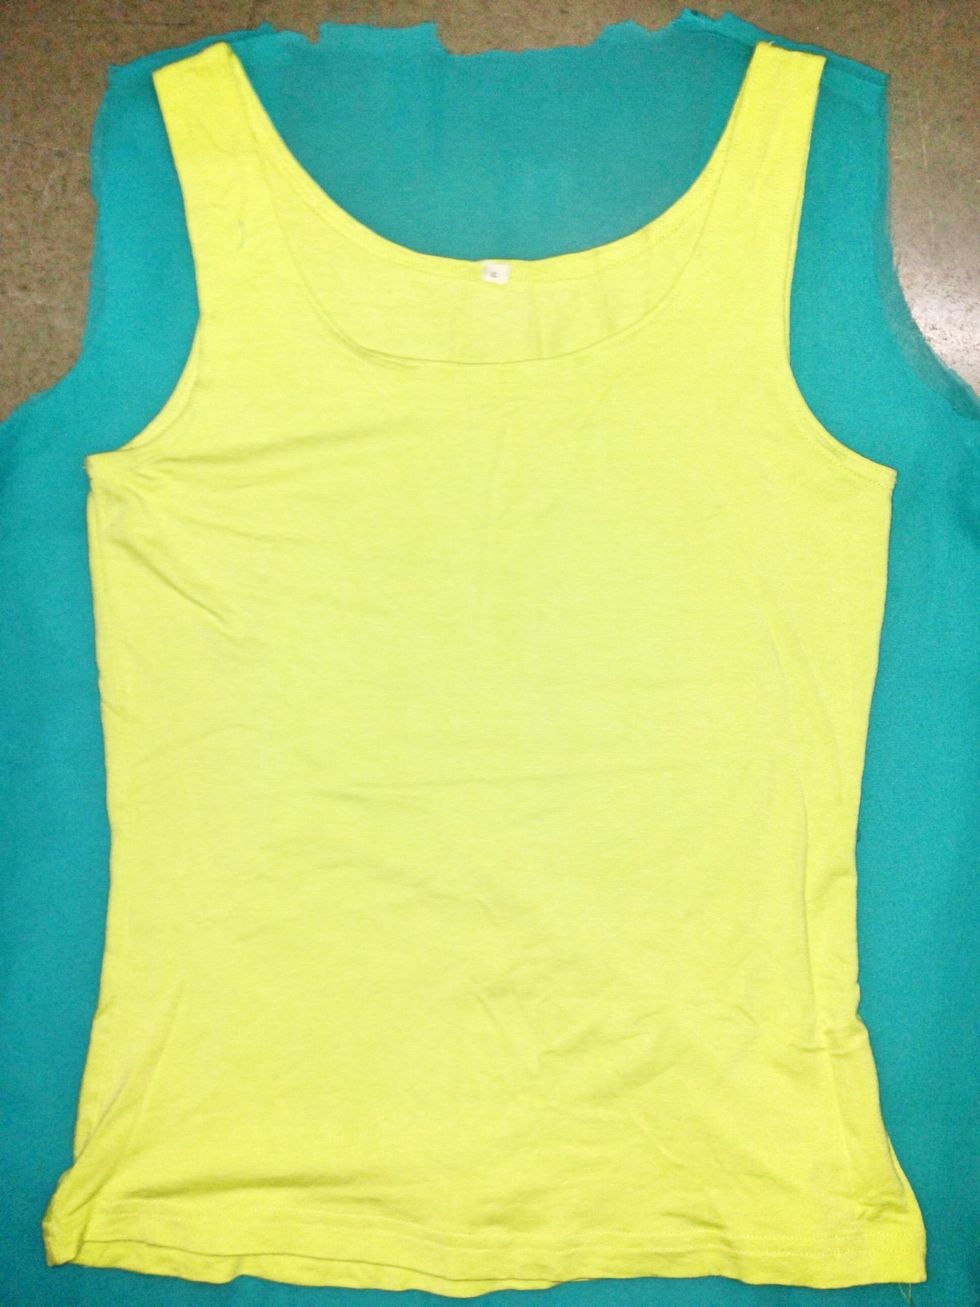
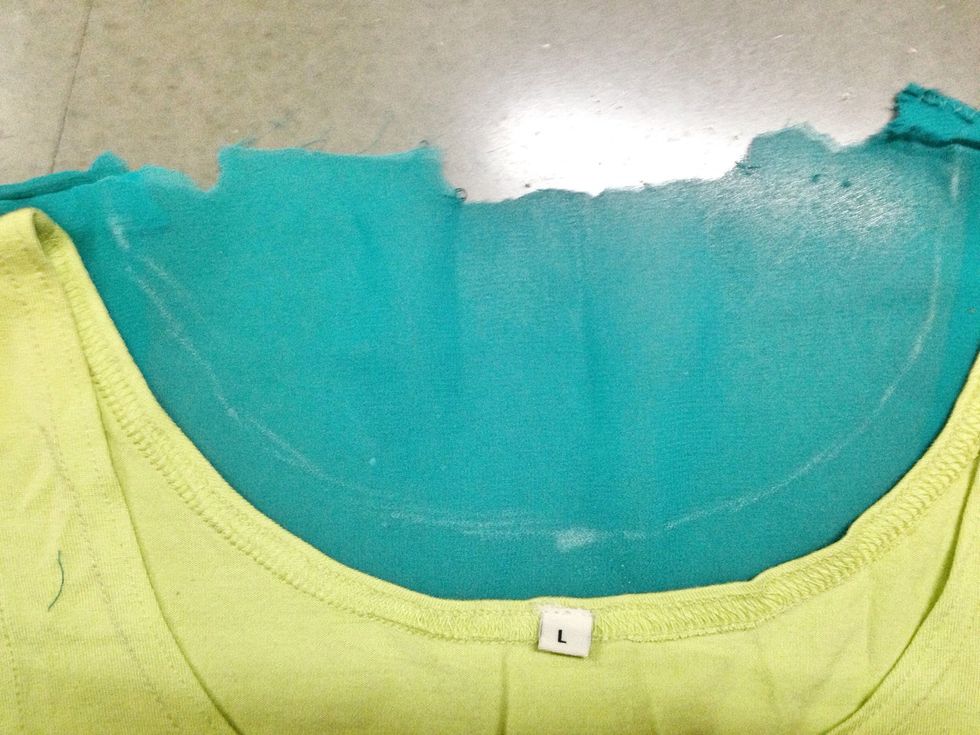
Take a top for reference to cut the desired shoulder width and sleeve length. This white top serves as a guideline for the sleeves.
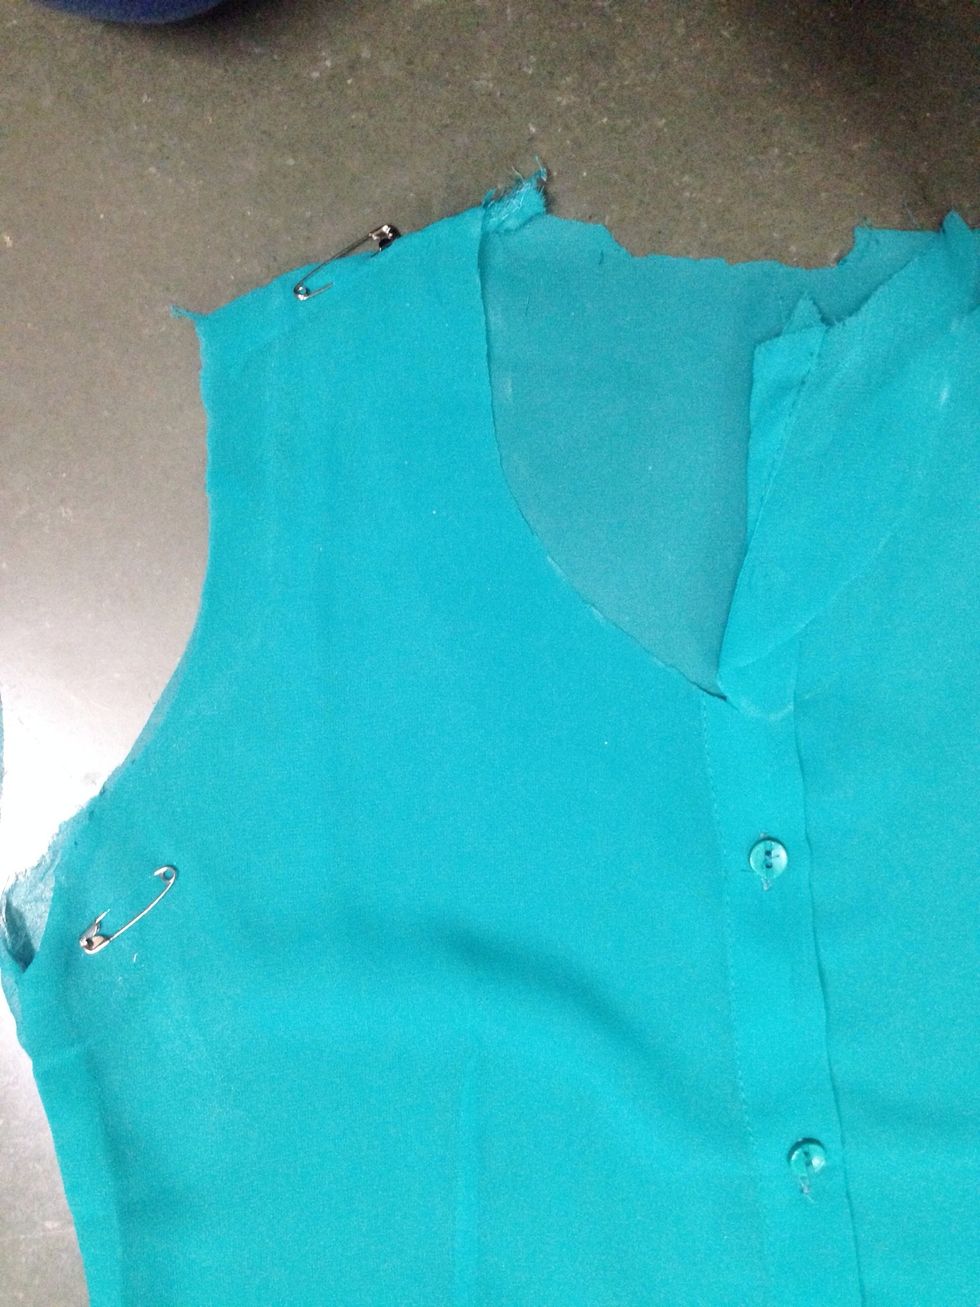
Keeping atleast 1/2 an inch of seam allowance on both sides mark along the shape you want with a chalk, and cut along it.
Repeat on the right side. For better symmetry, fold the shirt in half, so that the cut outs of the left side become guidelines for the right side.
Next, take a longer top, to decide the length. Place it over the shirt ..

.. and mark the sides and the centre length, including the seam allowance.
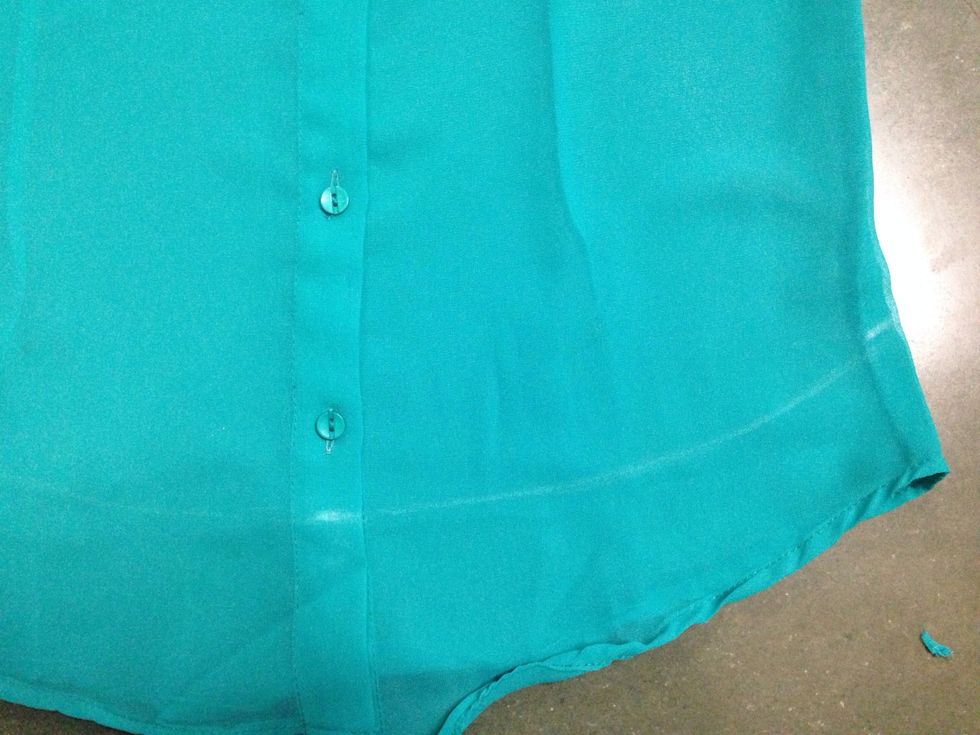
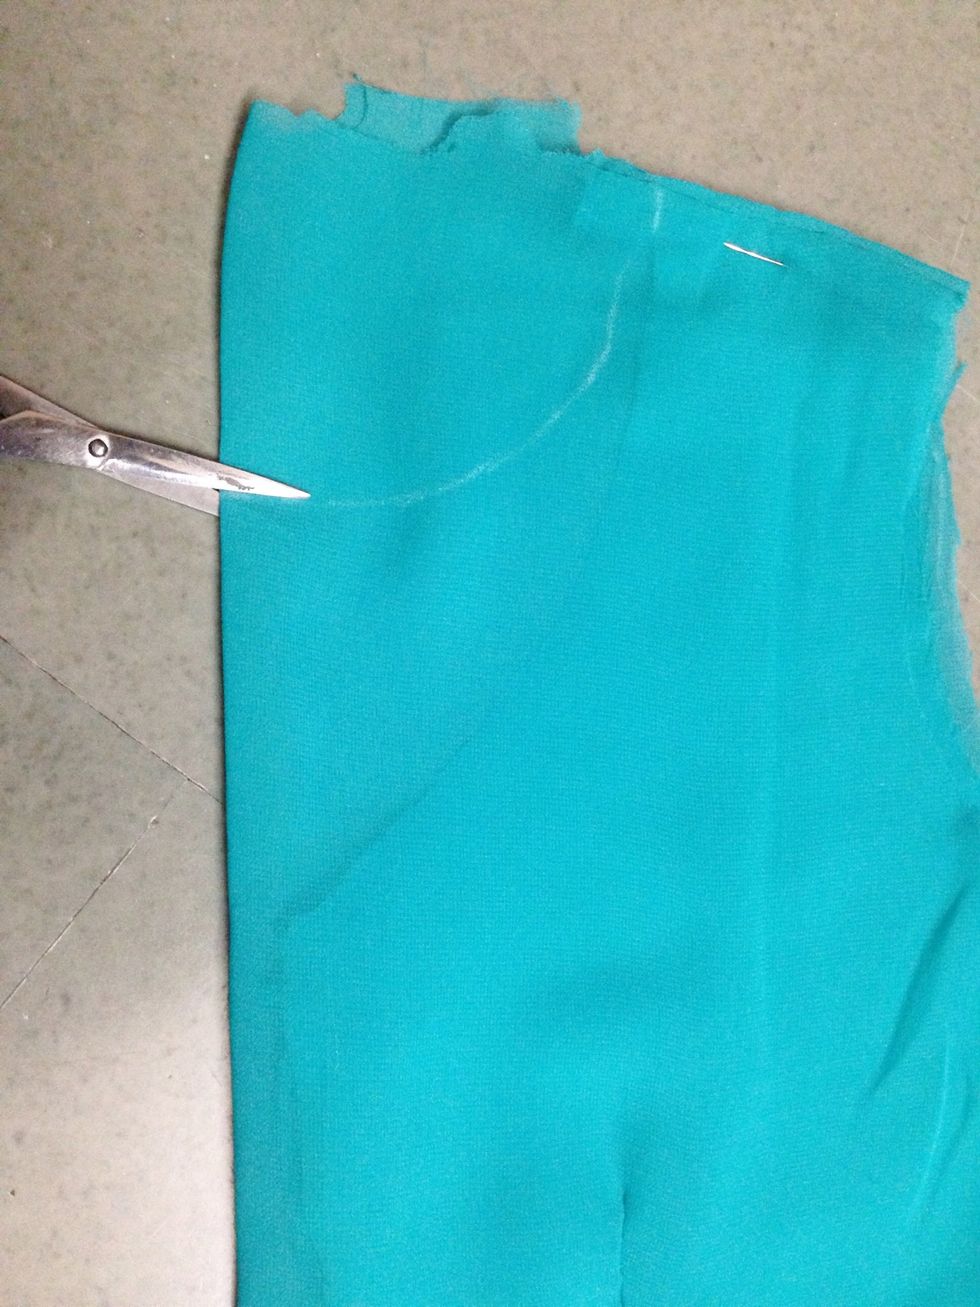
Join the markings forming a curve.
Fold the shirt in half, so that both sides are cut evenly.
Cut along the curve.
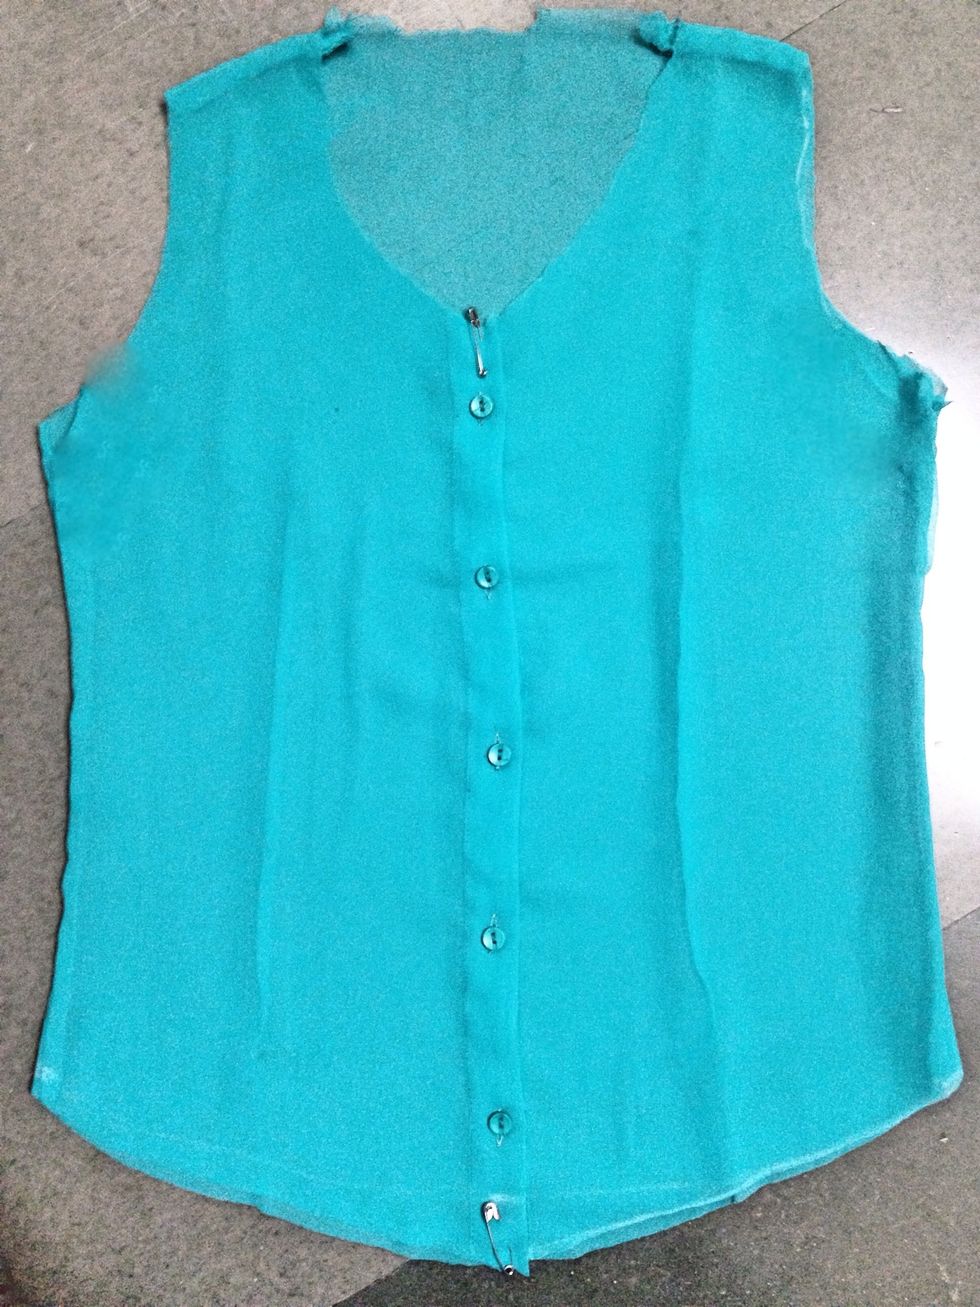
This is how it should look. I've put pins to keep the shirt in place.
Now for the back neck, place the top on the back of the shirt.
Mark the depth and shape of the back.
Fold the shirt again, and cut along it.
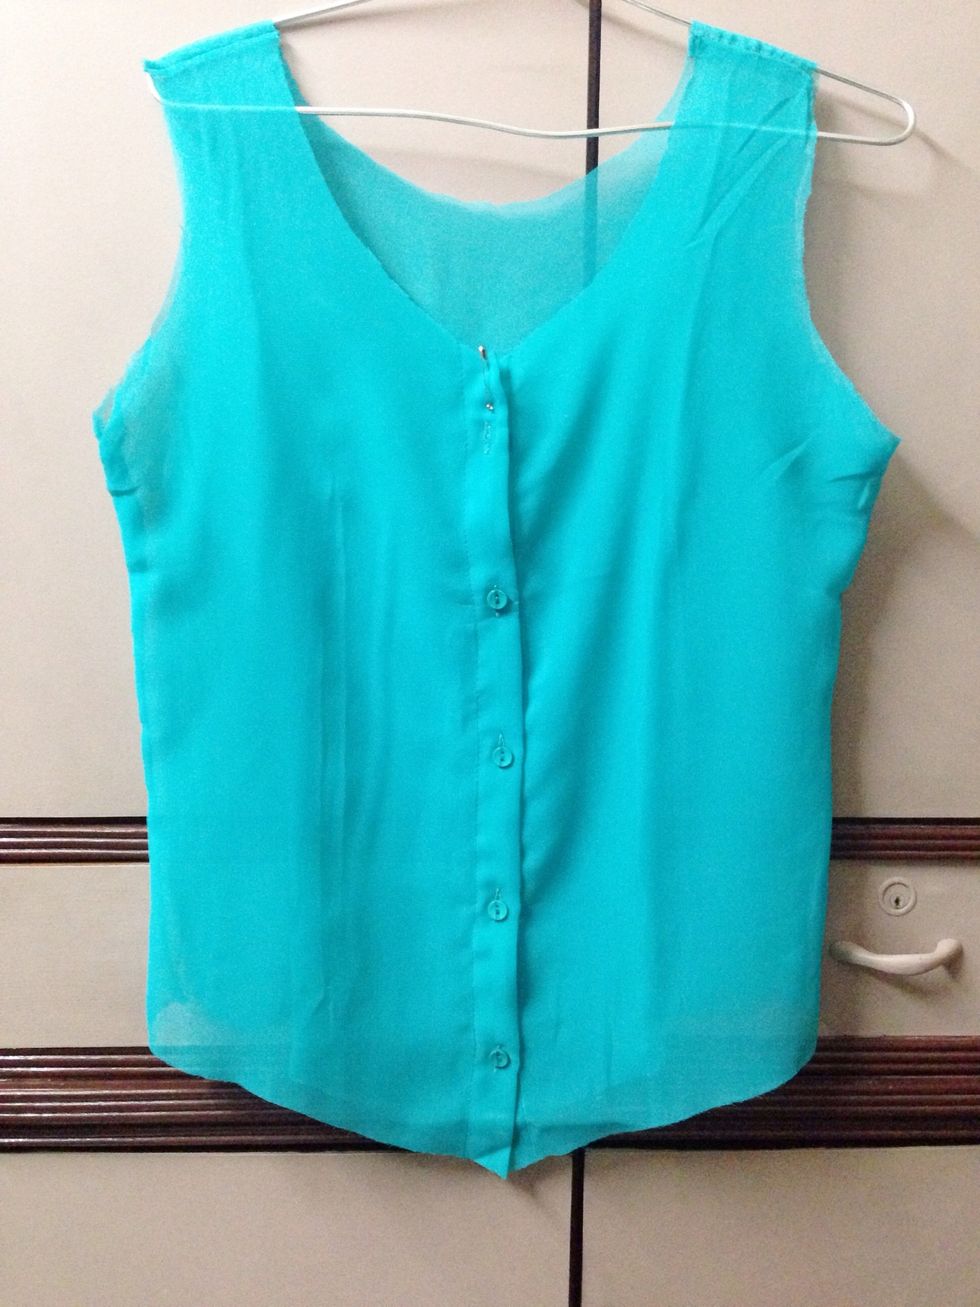
This is the final shirt-top. All that's left, is to sew along the cut ends.
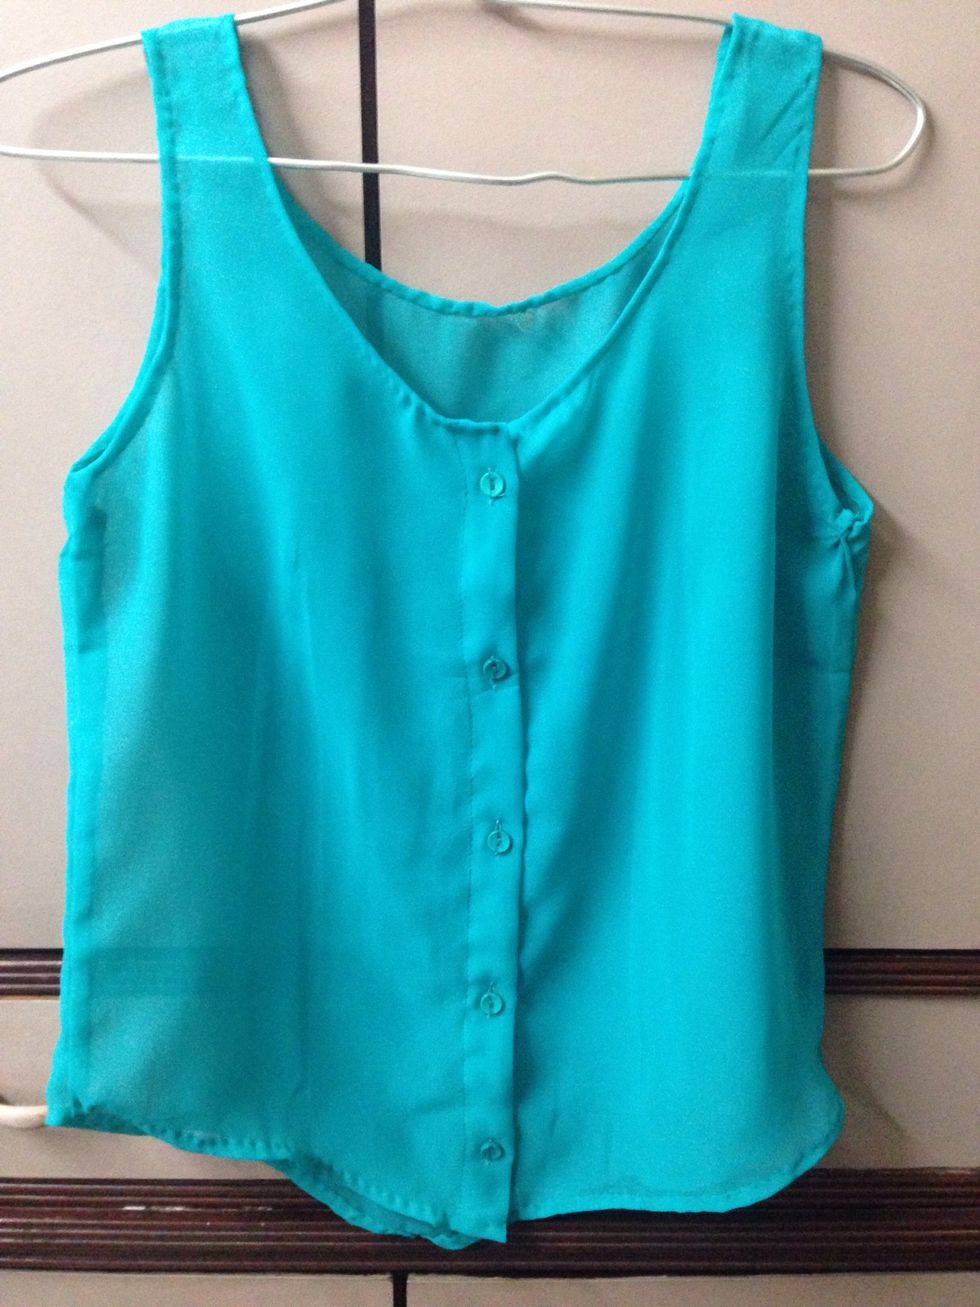
The top after sewing.
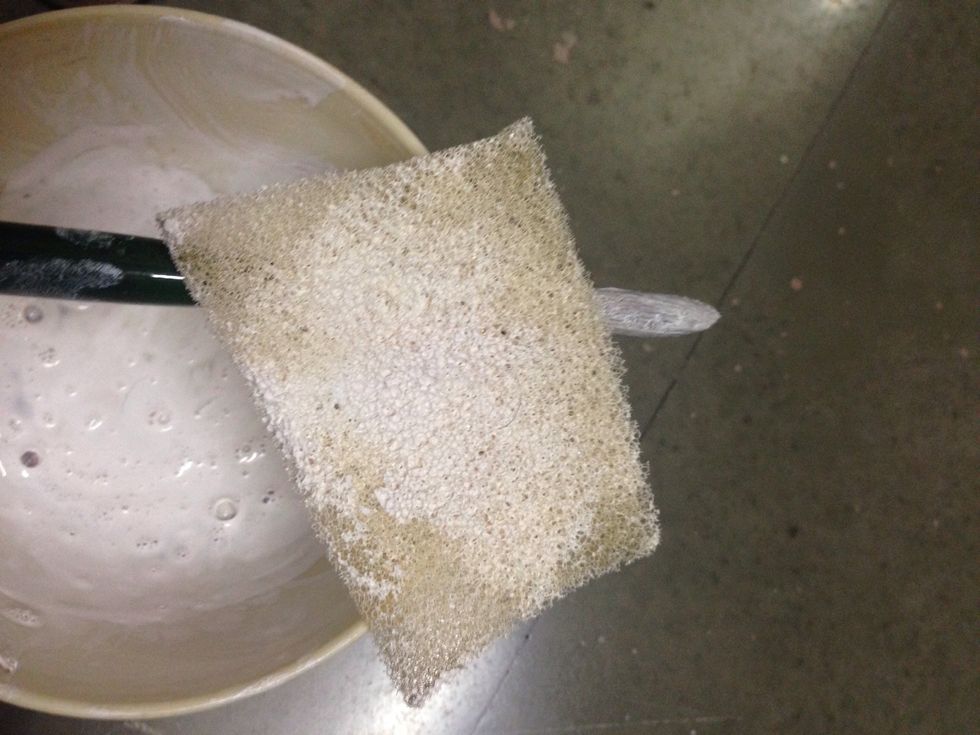
Dip a sponge into white Acrylic/ Fabric paint.
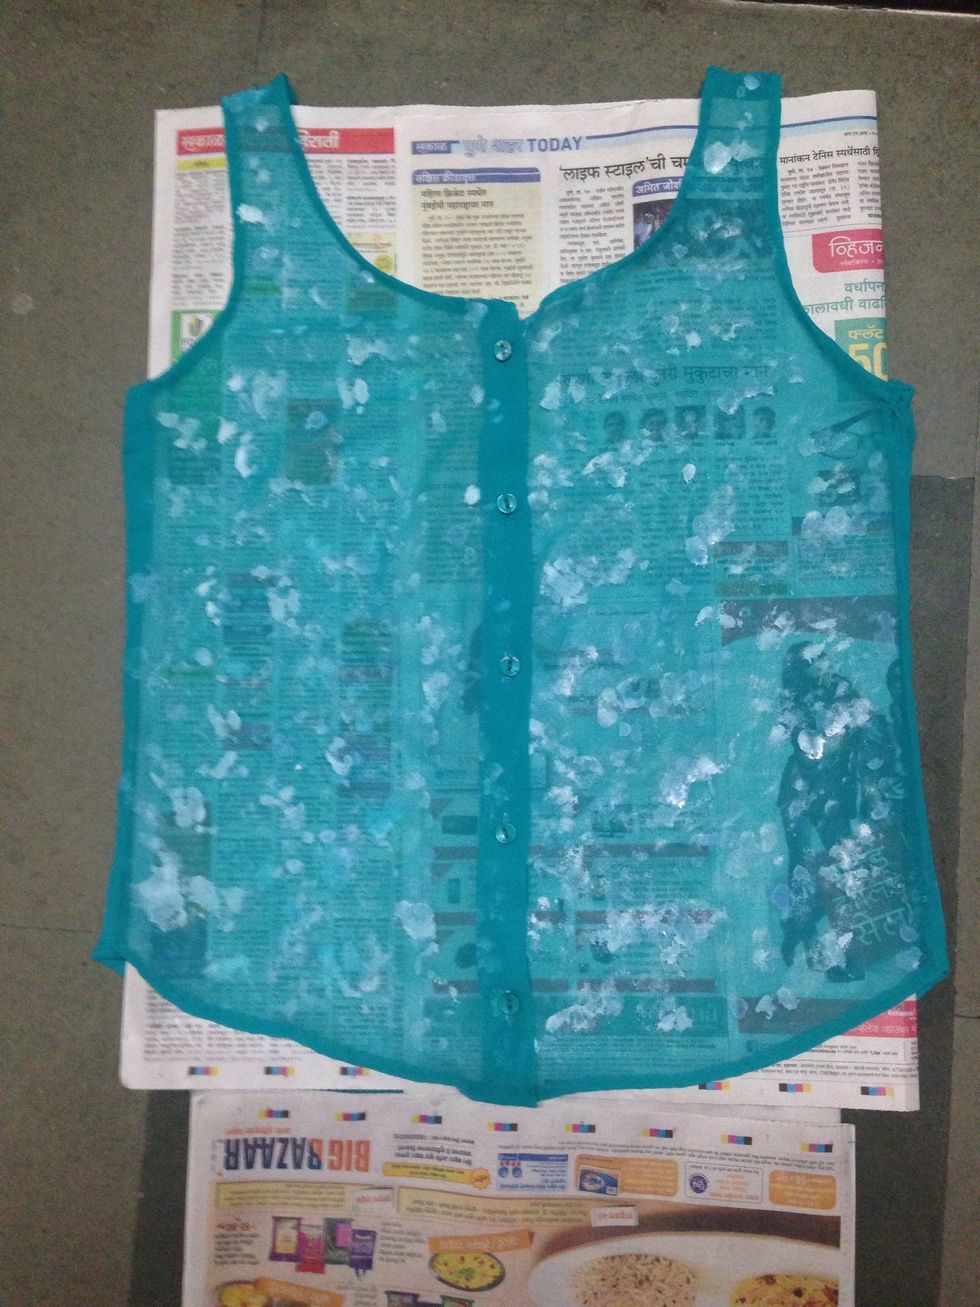
Place some newspaper/ cardboard/ plastic sheet between the front and back of the top to avoid paint leakage. Dab the paint soaked sponge all over the front of the top.

Next, dip the sponge into more paint each time, and drag it on the top to make a stroke.

Let it dry for a good 15-20 minutes. I left the back as it is.

Pretty legit don't you think? ;)