The Conversation (0)
Sign Up
Make sure you get good parts. This is something that requires specific tolerances and the cheap stuff will most likely cause you to do this all over again
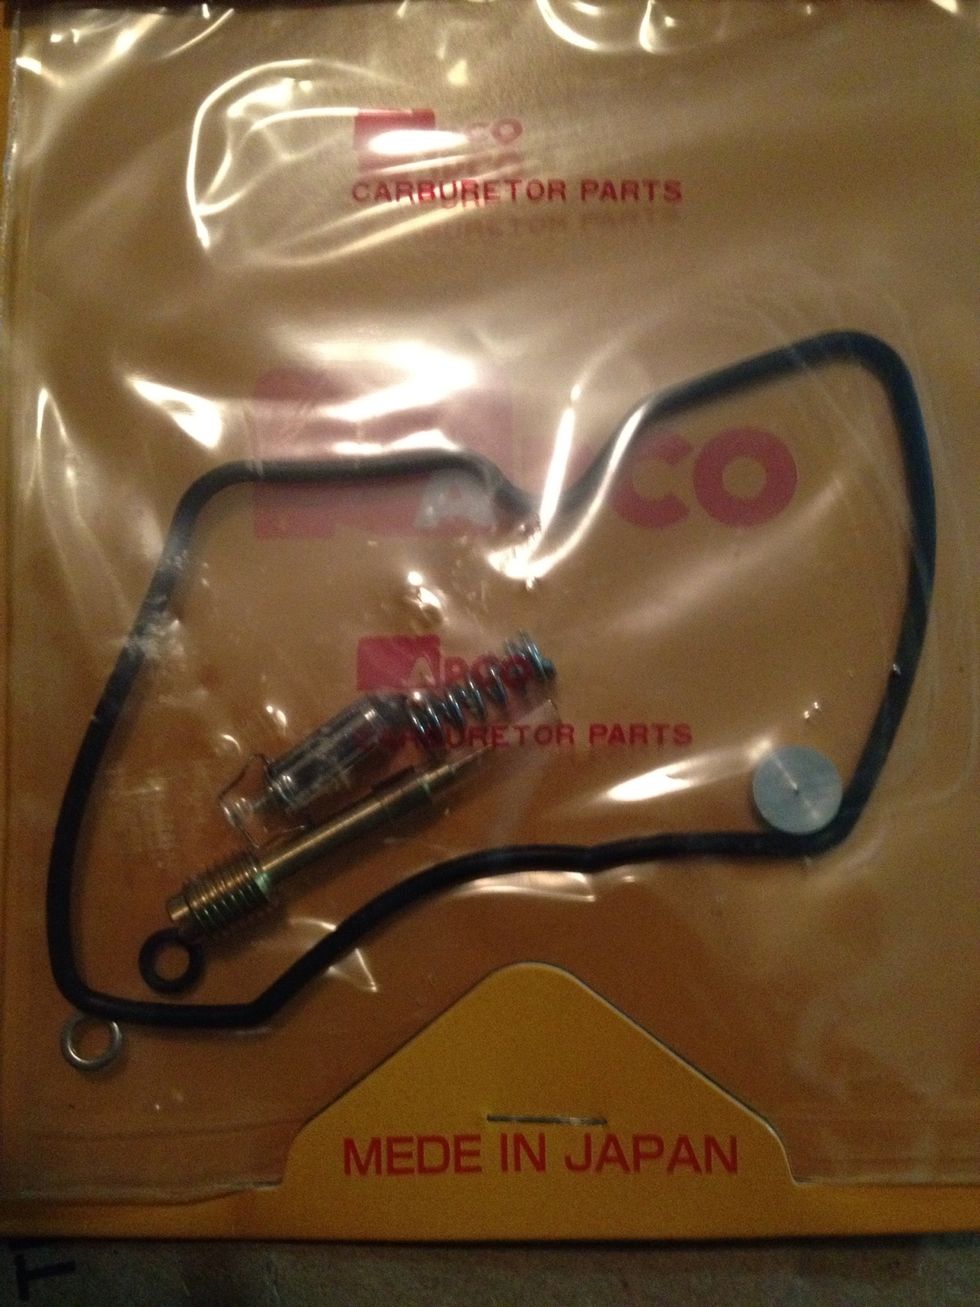
These rebuild kits come complete. I bought a four pack online. They don't include the bowls or jet needle though
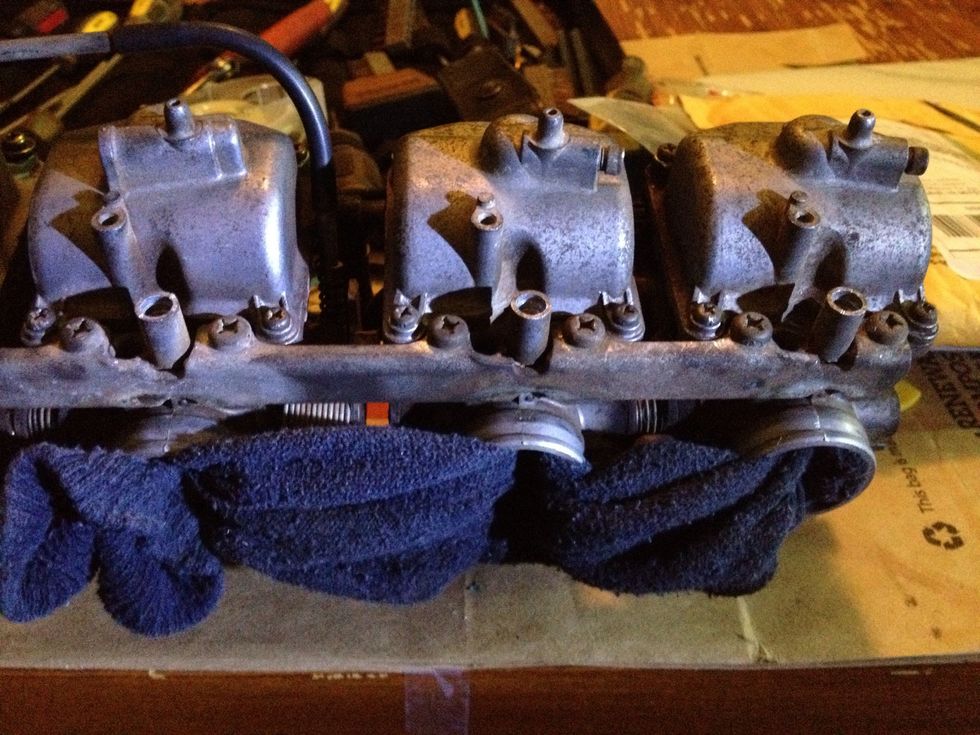
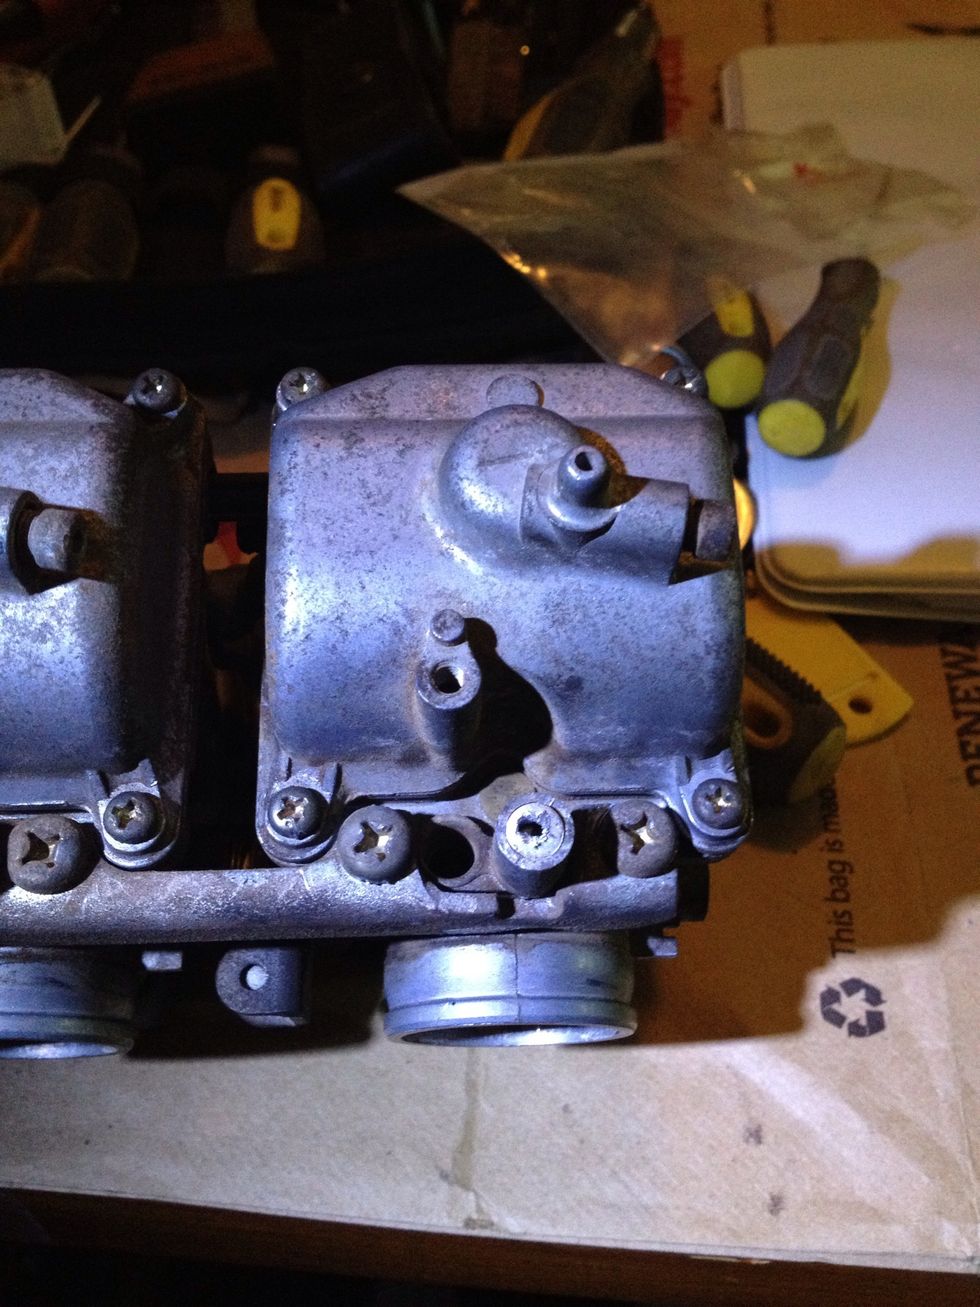
I will just show you once, but it's the same thing repeated 4 times
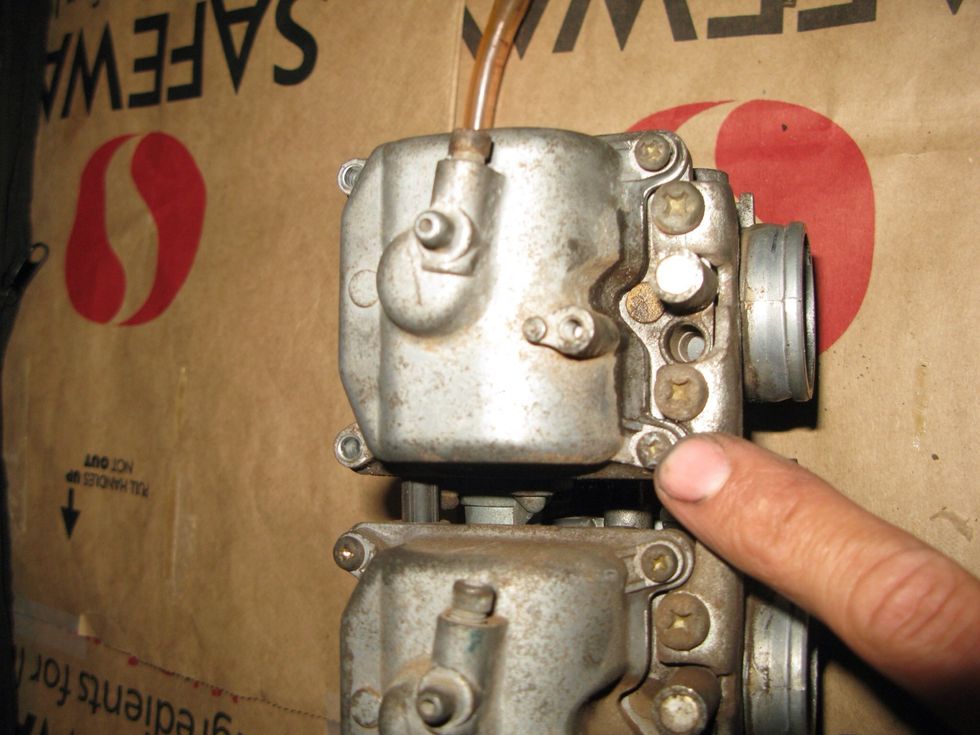
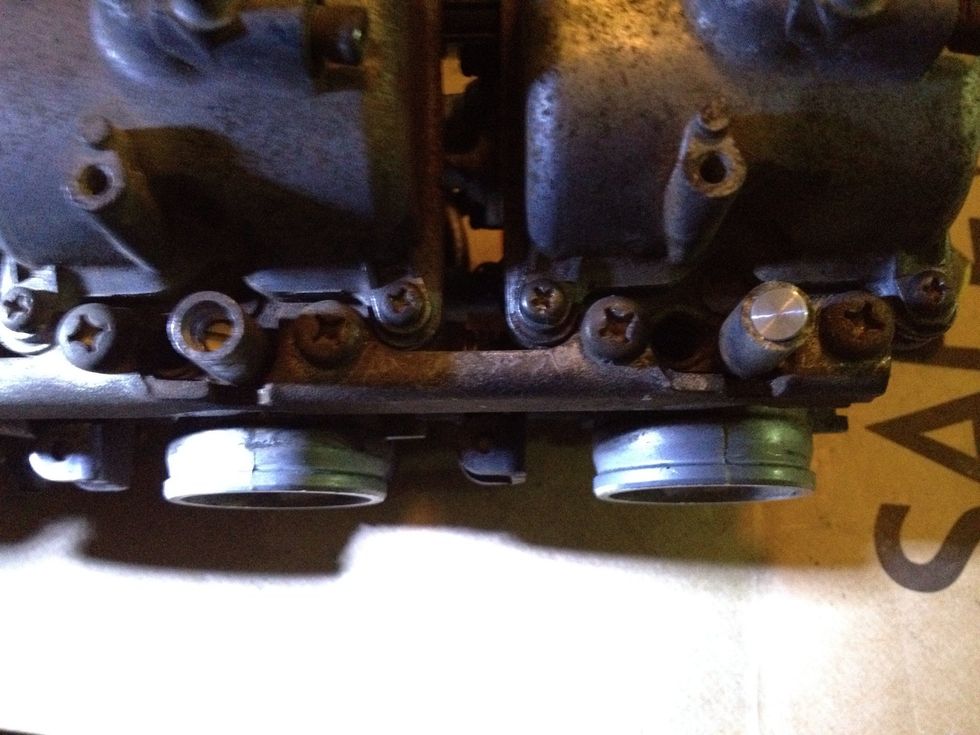
Each carb has 4 screws. They are the small ones and are on tight. Avoid stripping them by breaking them free first with vice grips.
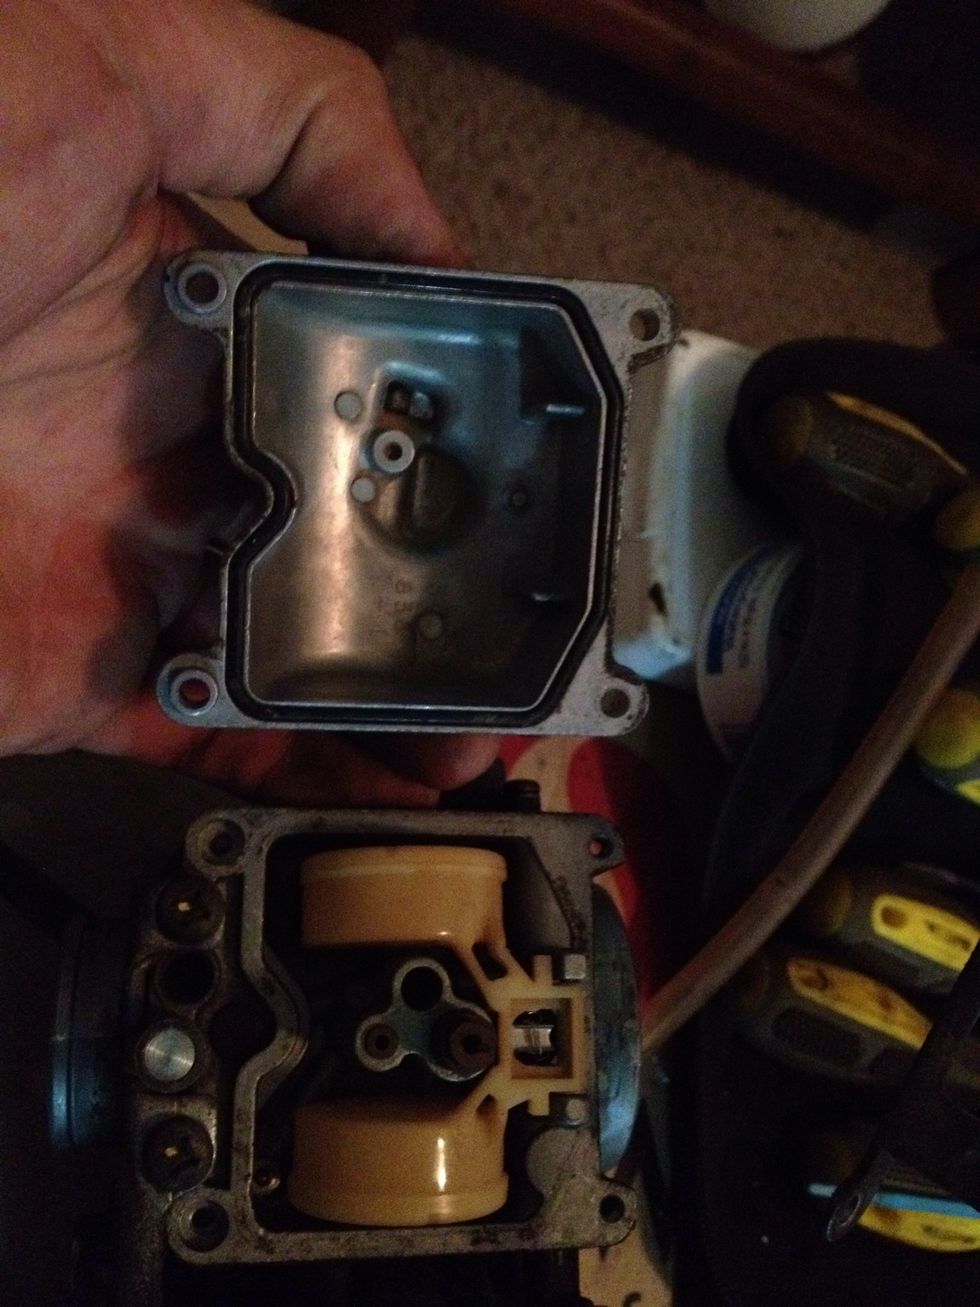
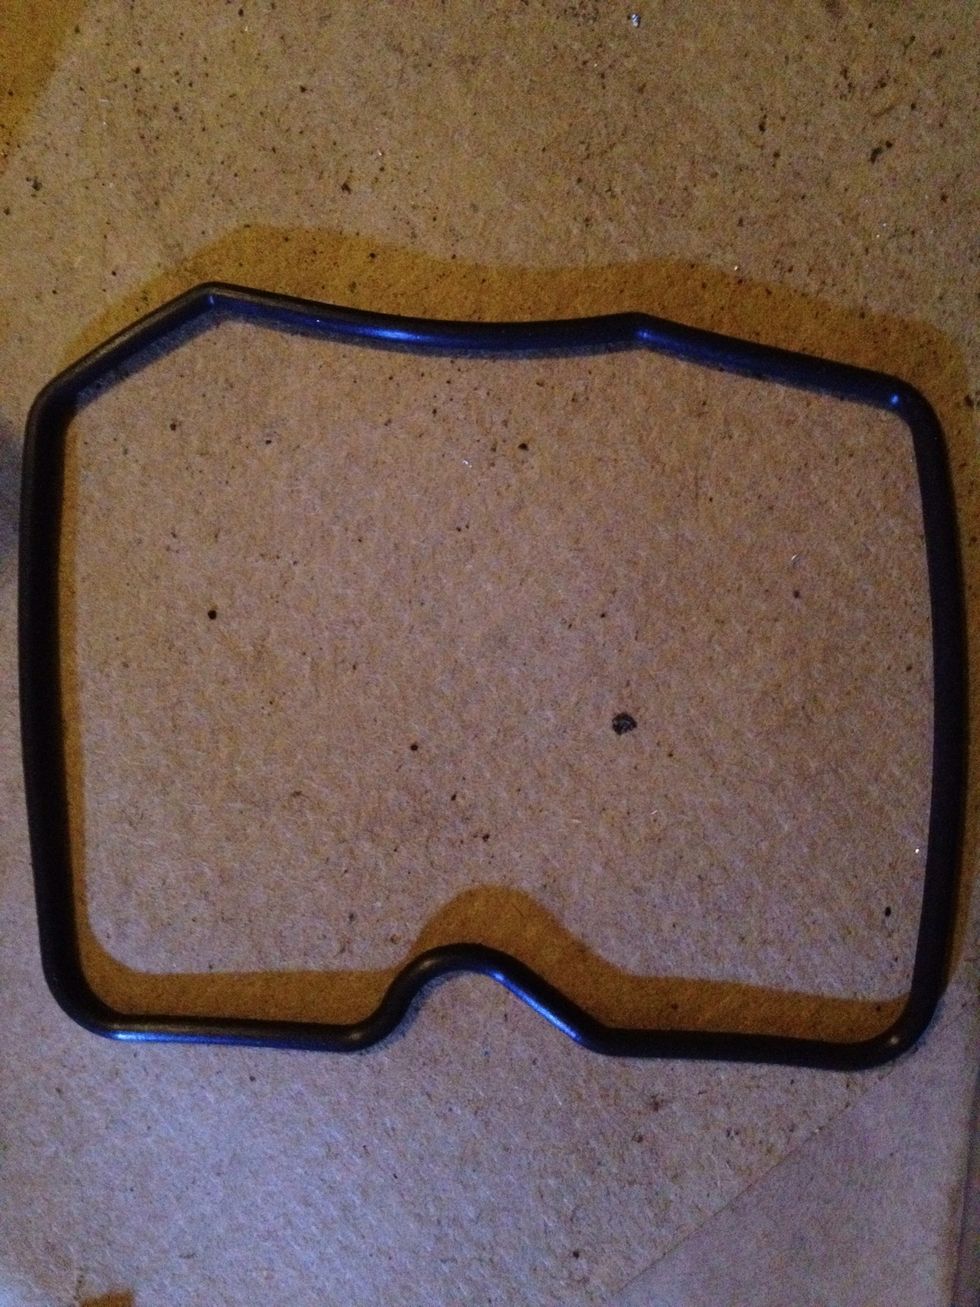
Here's what it looks like inside
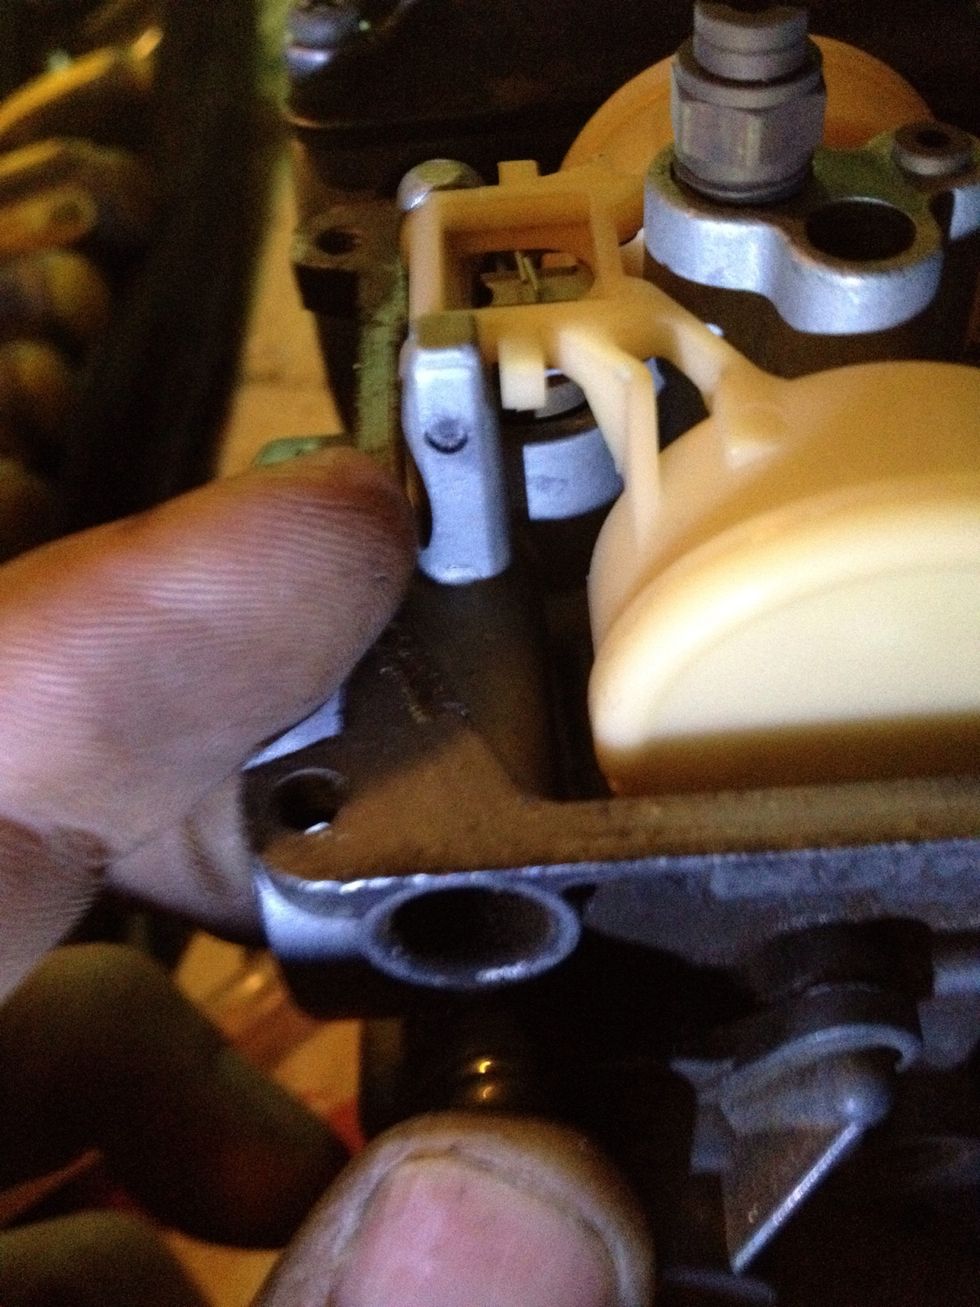
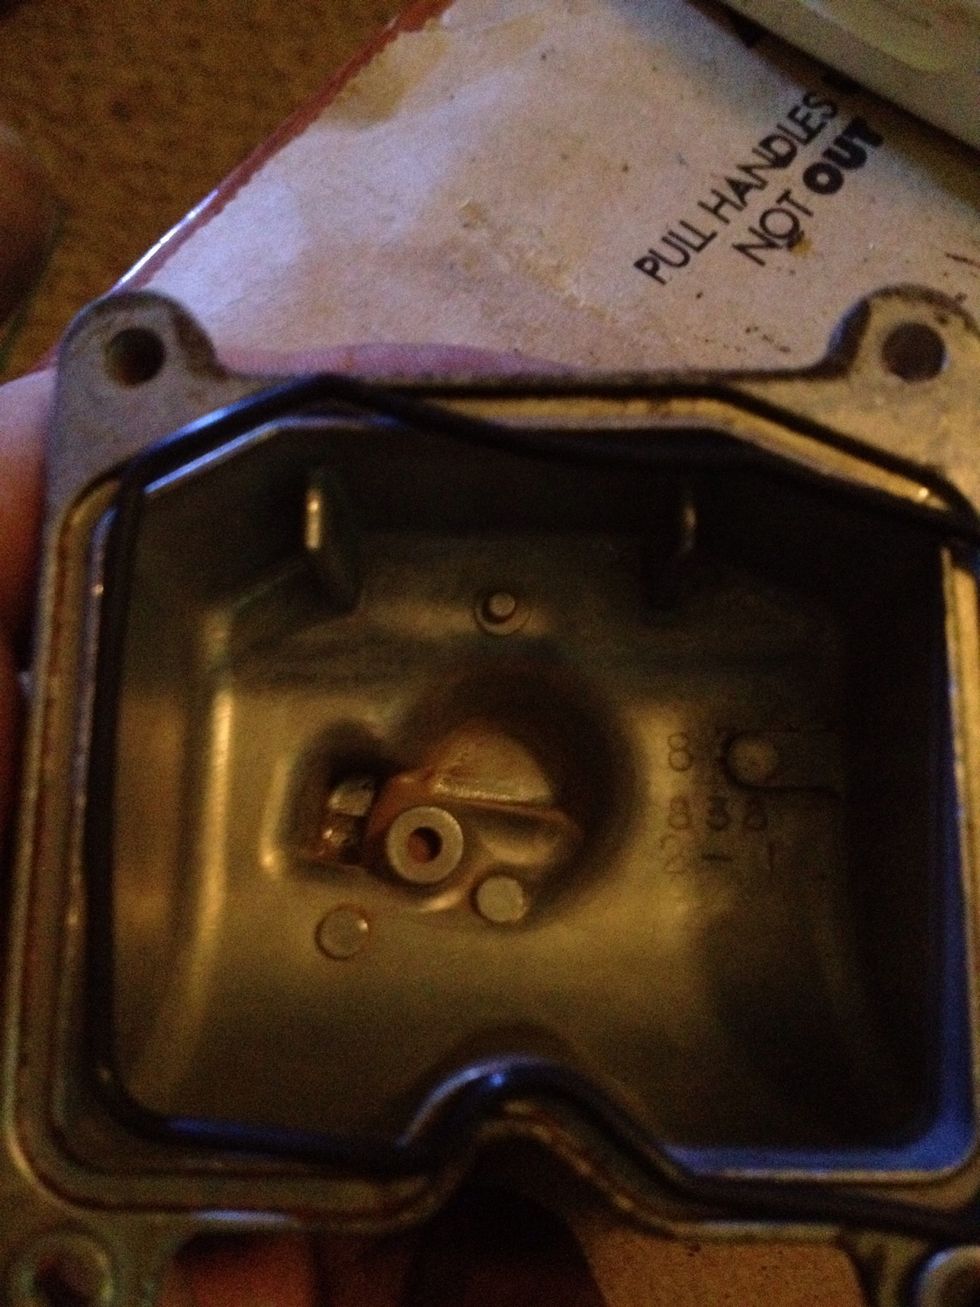
You need to push this pin out to get the float out
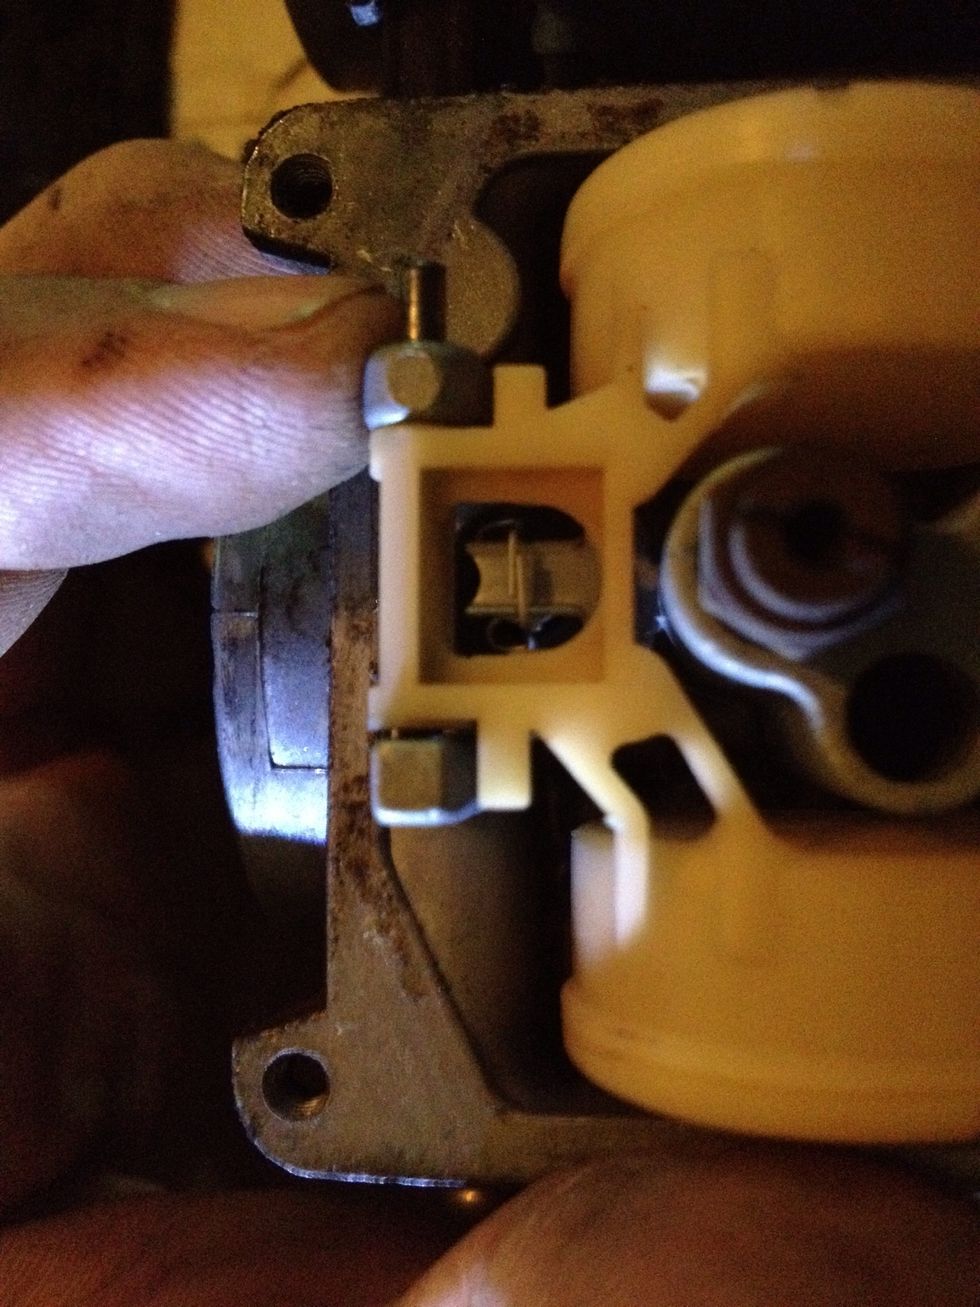
It slides out easily
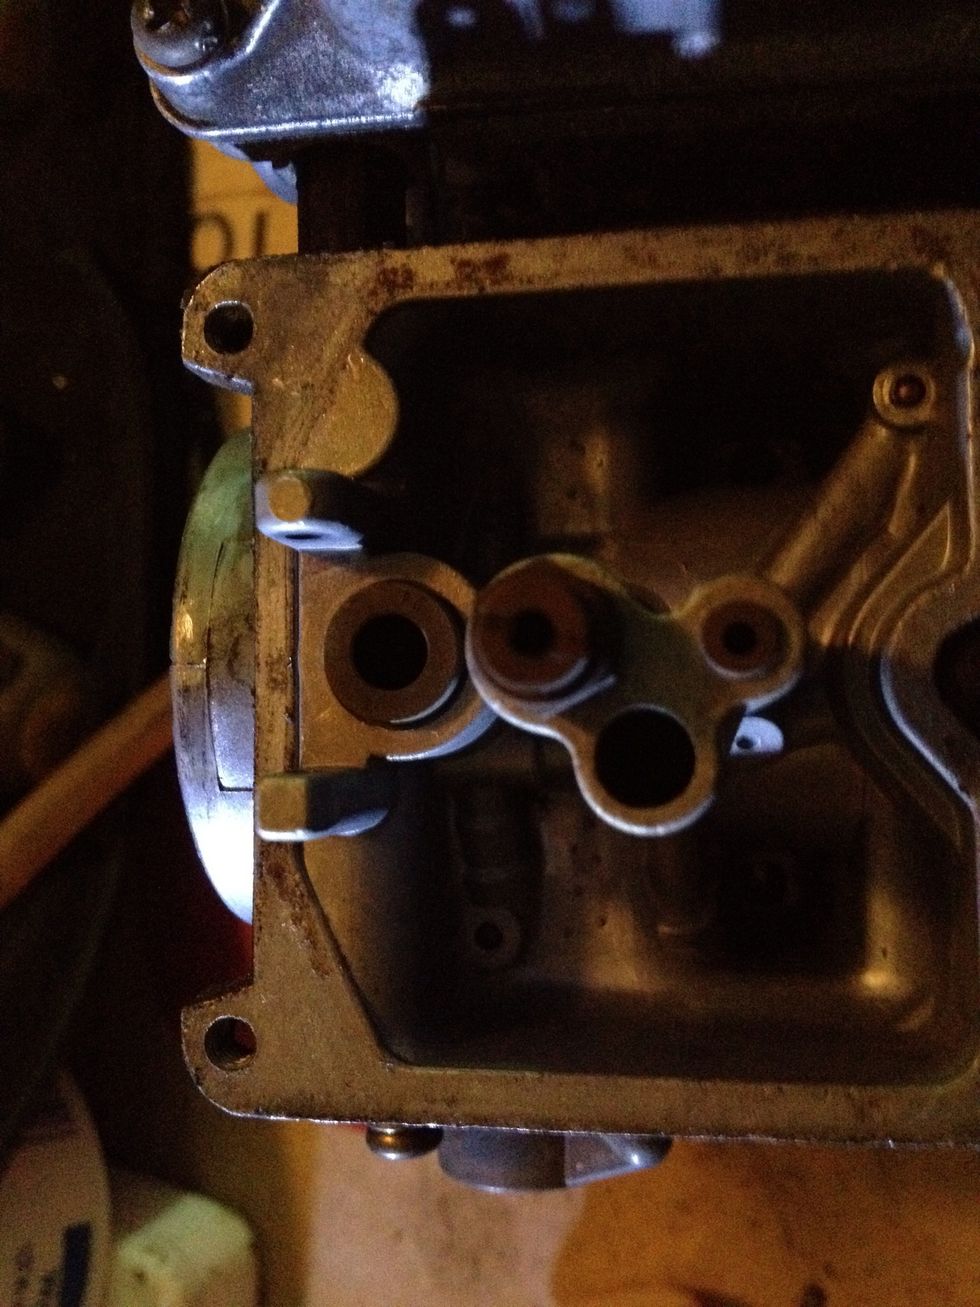
It should look like this now. Clean this out well
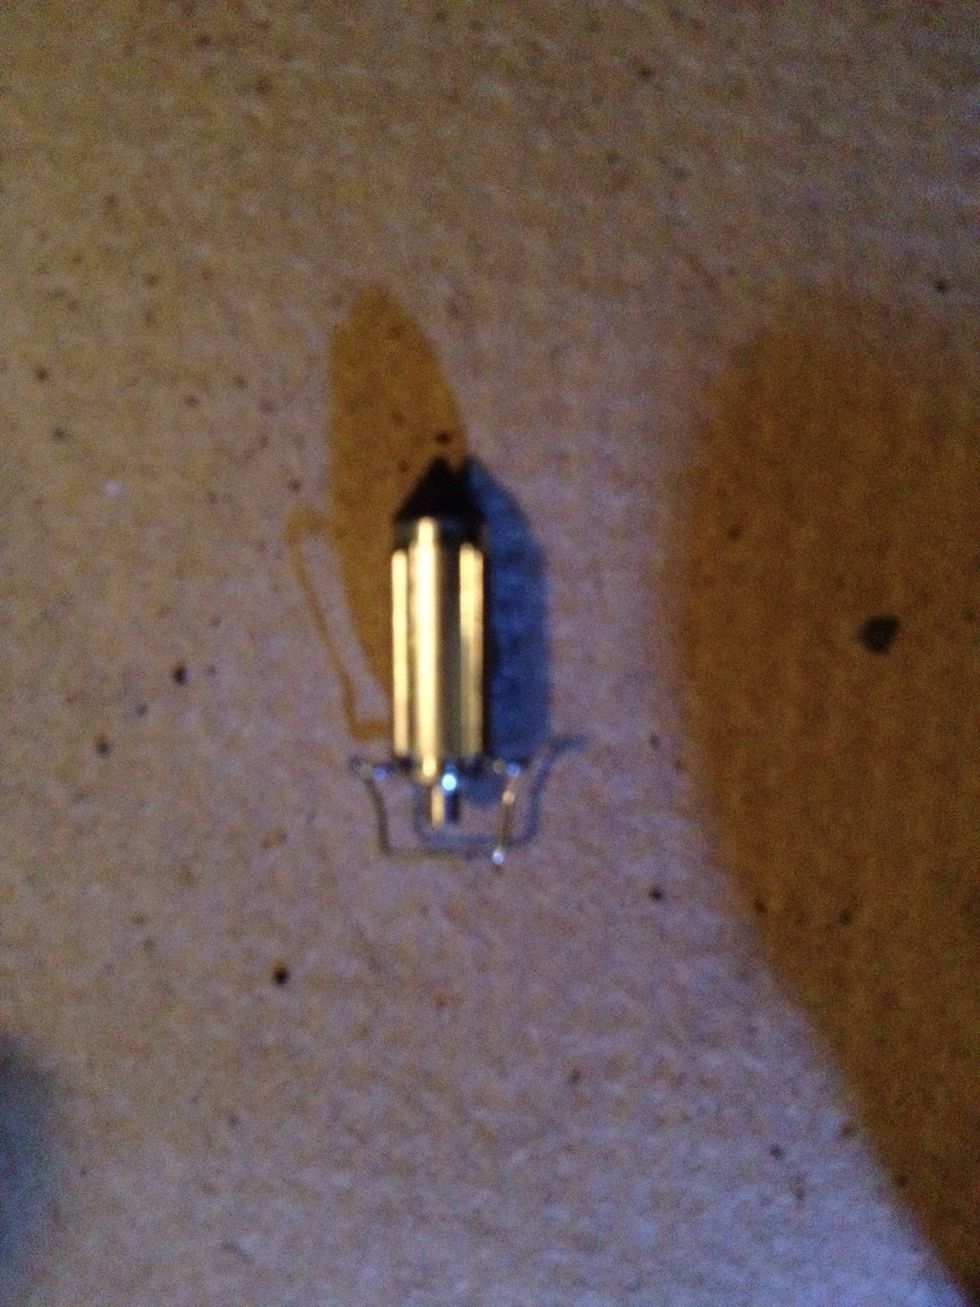
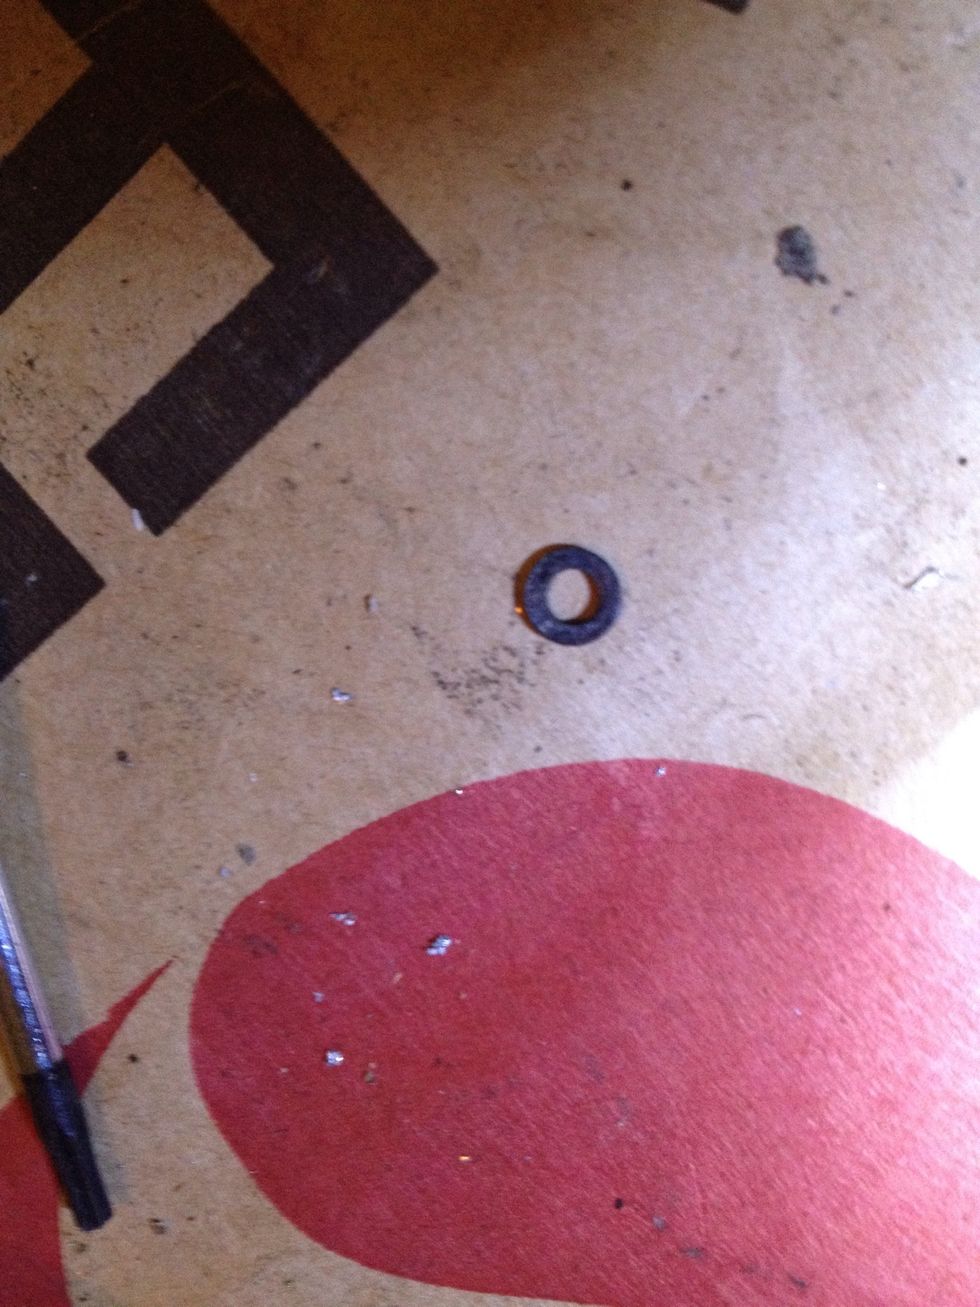
This guy will be attached to the float. Not sure what it's called. It comes off pretty easily. Remove the old one and attach the new one. Put the float and pin back in
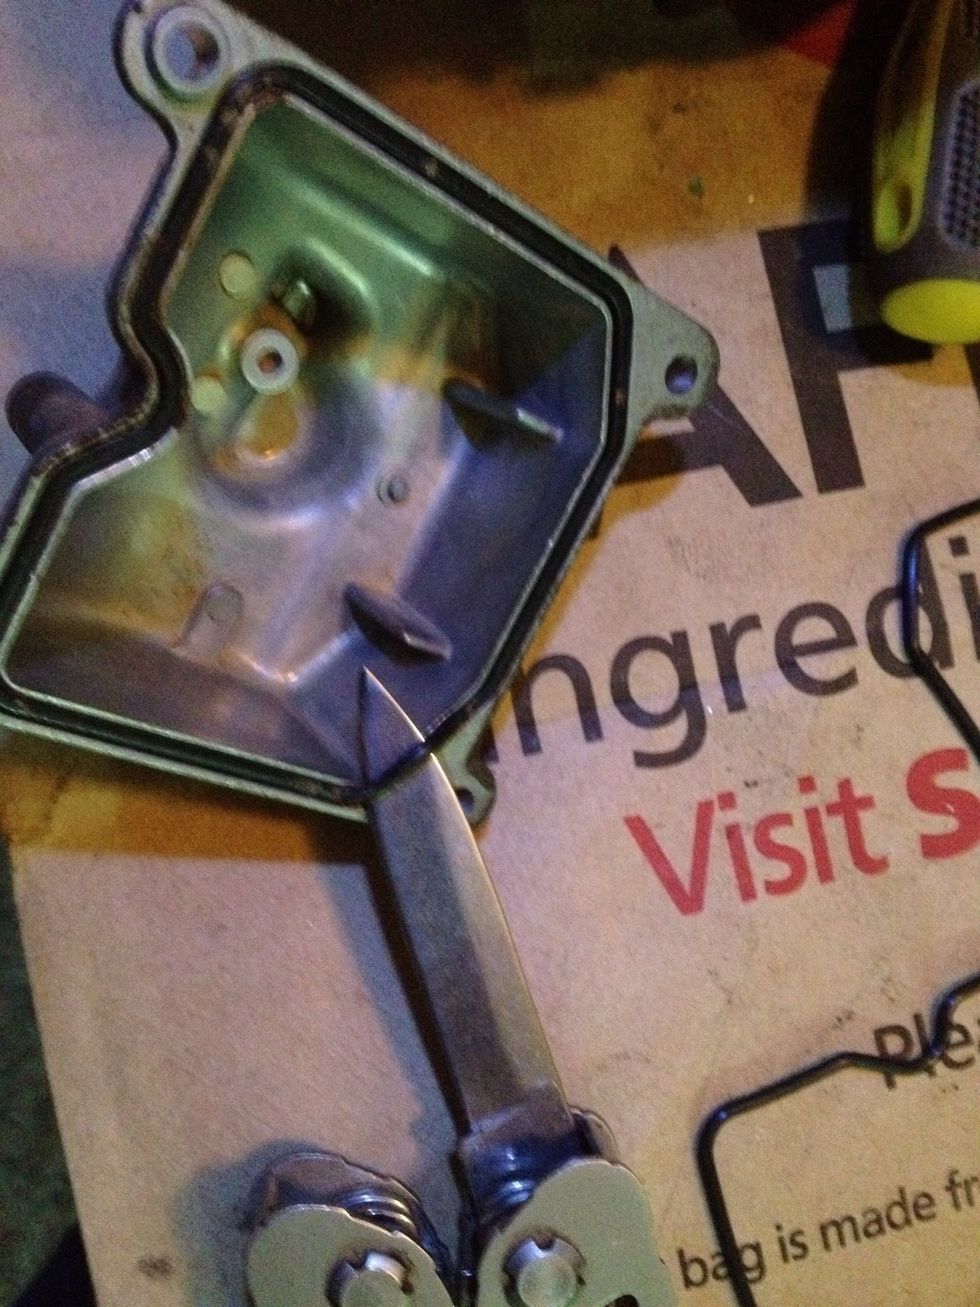
Clean The bowl out real well and remove the old gasket. I used a knife.
Here's the new gasket
Just line it up and work it in. It will want to pop out, but keep at it and it will stay in place. Put this back on and screw it back in. A bit of thread glue will ensure it doesn't vibrate loose
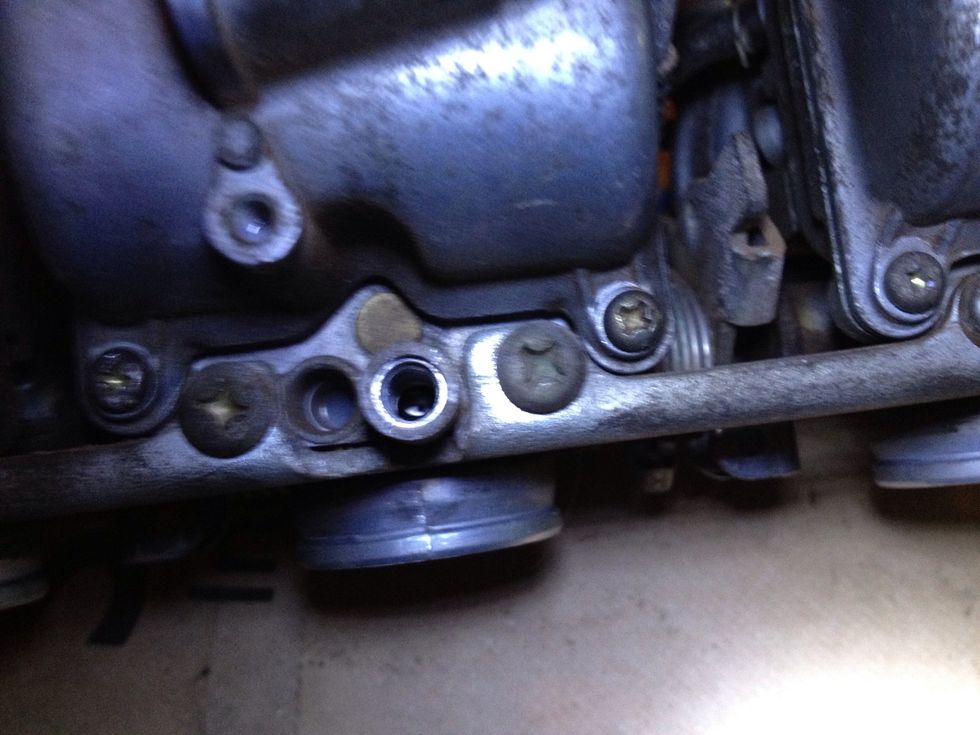
Now comes the tricky part. Not too bad but time consuming
First off plug the hole on this side to keep metal shavings from getting inside.
This is after I finished, but it makes it easer to see. The shiny pieces need to be drilled out. It's soft metal about 1/8 inch thick. Don't worry if you drill too deep your replacing the piece anyway
Use what you have to get this out. I used a small flathead screwdriver to turn it and then pry it out. It's held in by some glue
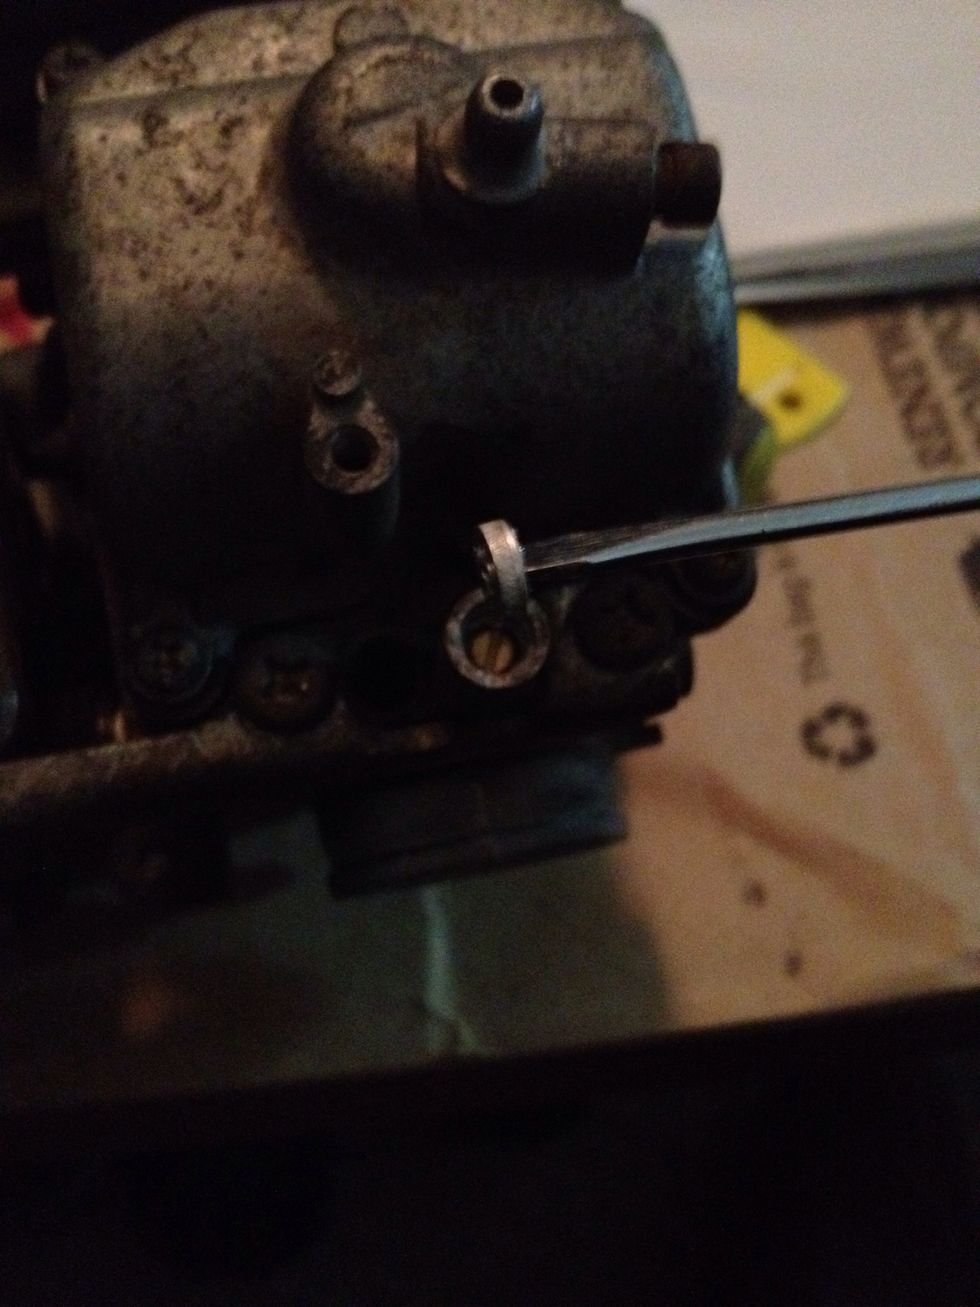
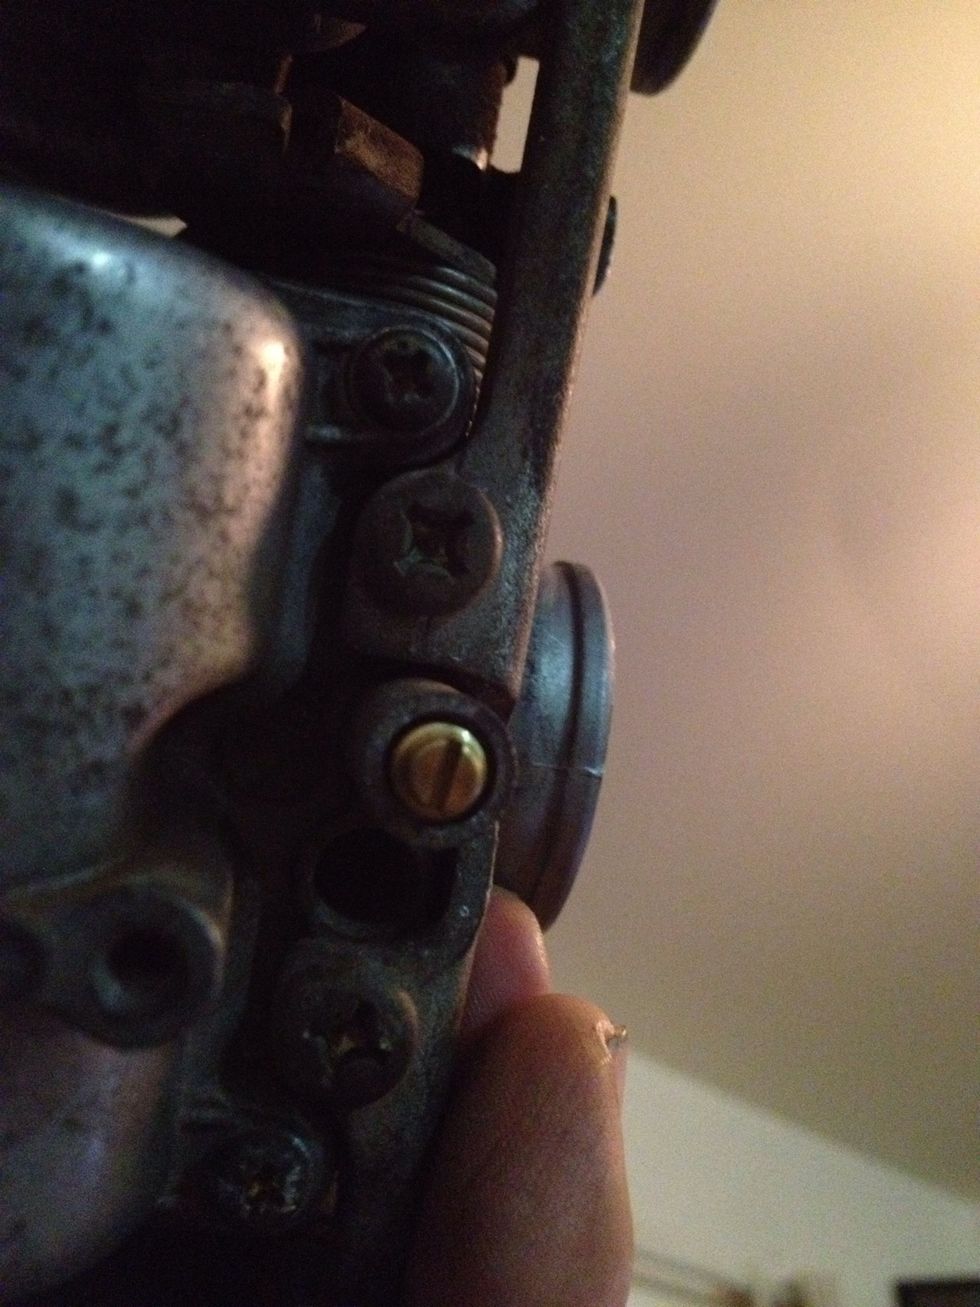
Now you can see the pilot screw
Scratch grooves on the outside in line with the screw before removing so you can put the new one in appropriately.
I then tightened the screw until tight counting turns. When you install the new one you will turn it until tight then back off the appropriate amount of turns stopping on your grooves.
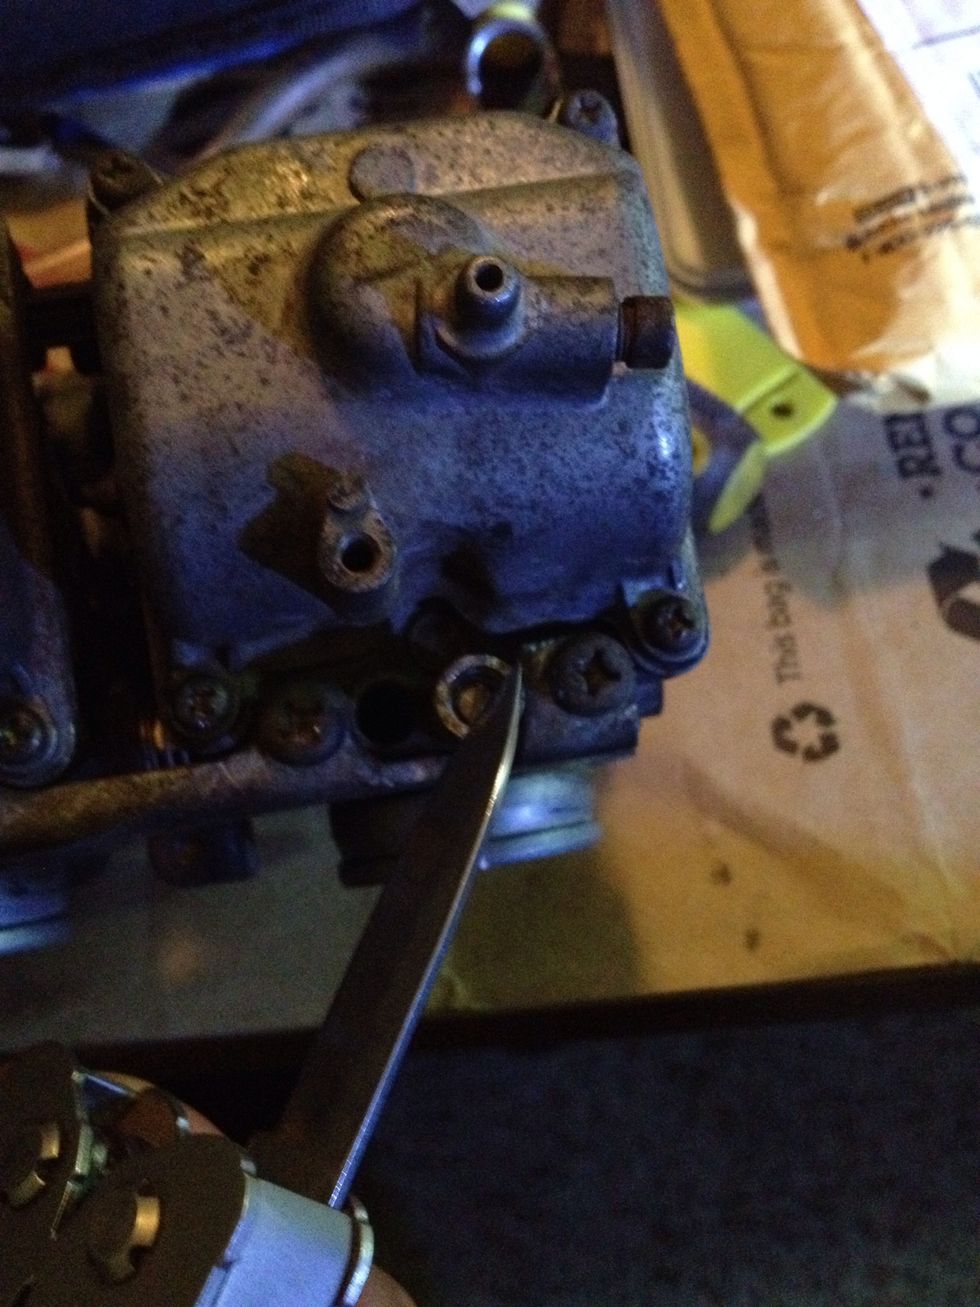
This is what will come out most likely.
This guy is usually still in there and requires some fishing. If I had dental tools they would have been perfect for the job.
Look inside to make sure it's clear of everything. Swipe your magnet over it to remove any metal shavings. Turn it upside down and blow it out. Carb cleaner would be good now.
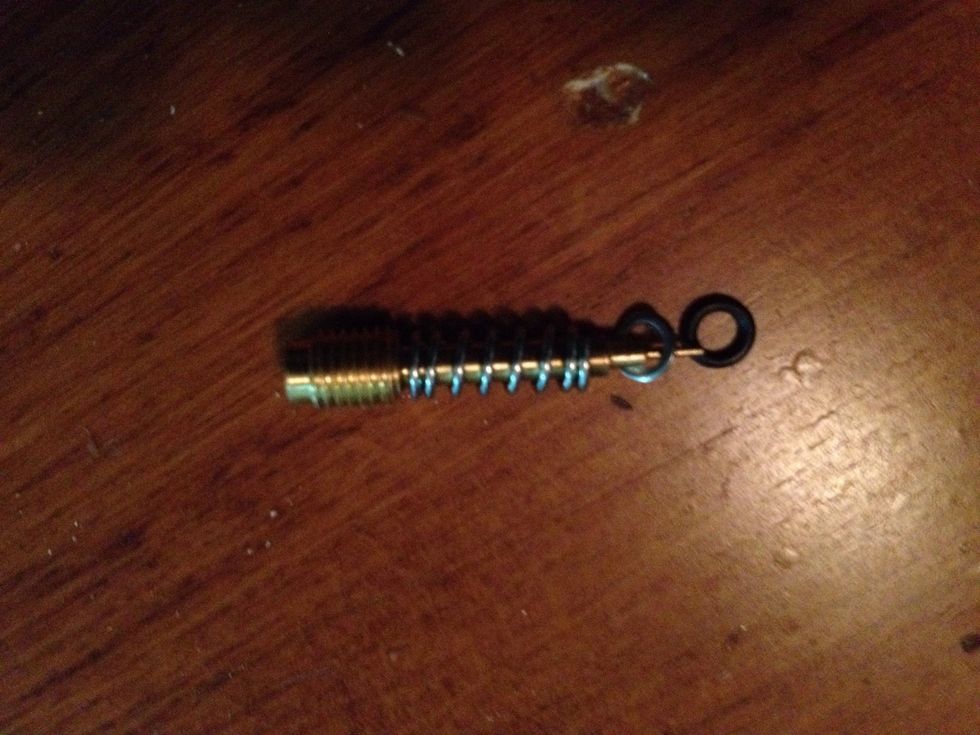
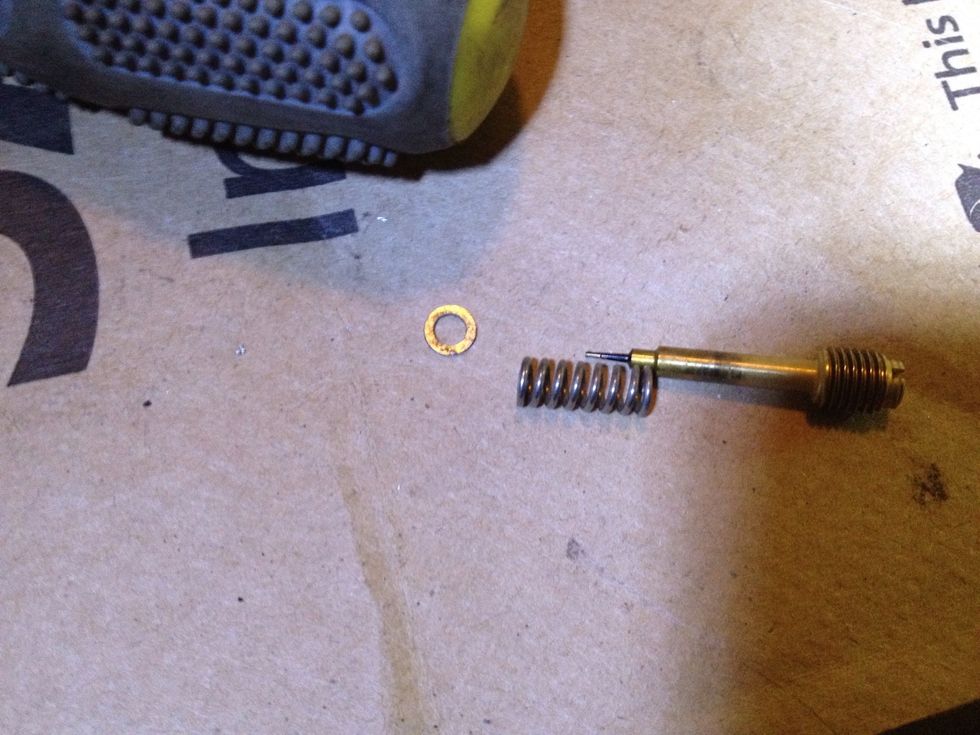
Here's the new parts. I assembled them and then held the carbs overhead as I screwed it down to keep it from coming apart inside
Screw it all the way down then back it off the amount of turns you found before removing the old one and line it up with the grooves you marked.
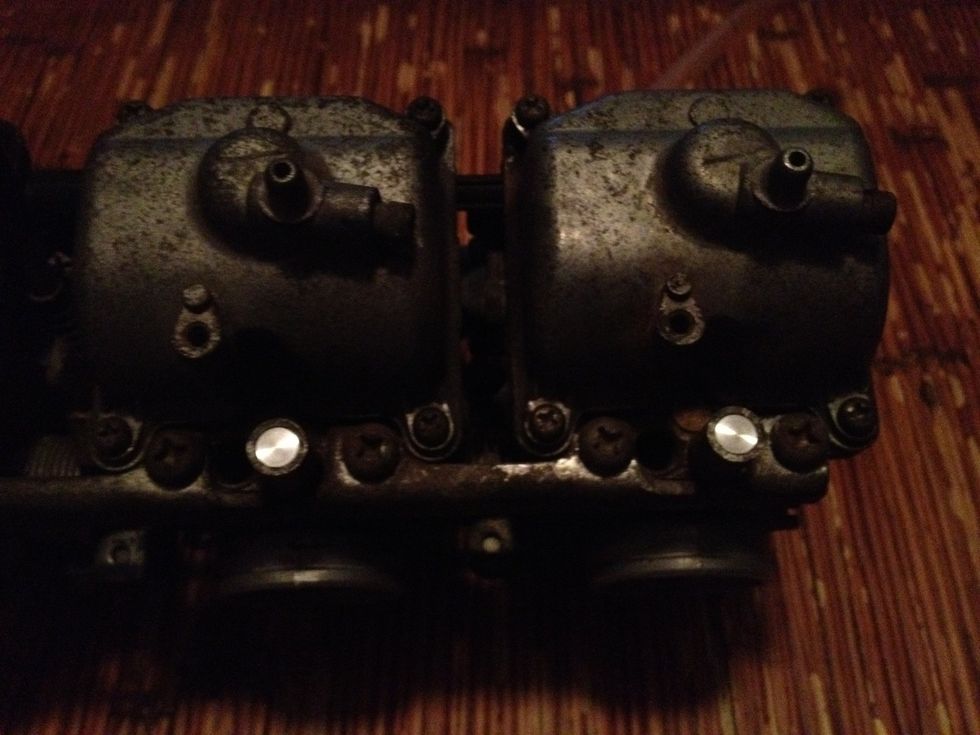
Put the new plug on and add some thread lock glue to it. Clean the whole thing up with carb cleaner and reinstall.
You shouldn't need to flow test them since you didn't separate them or adjust the butterfly at all.