The Conversation (0)
Sign Up
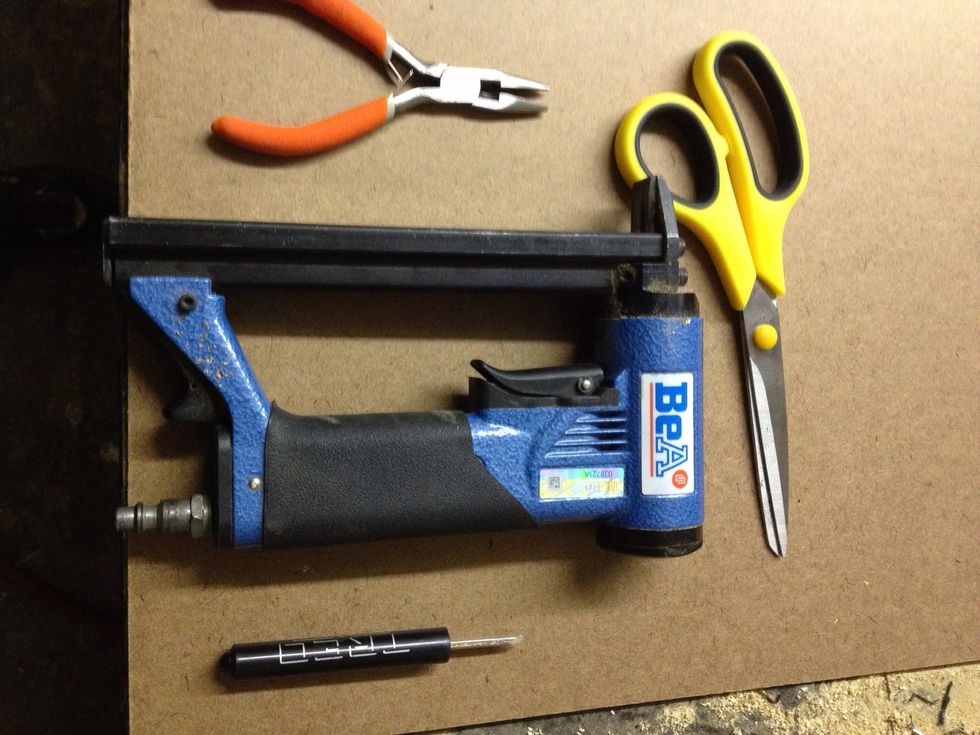
Here are my supplies. (Check the supplies list by clicking the tab at the bottom/center of your screen.
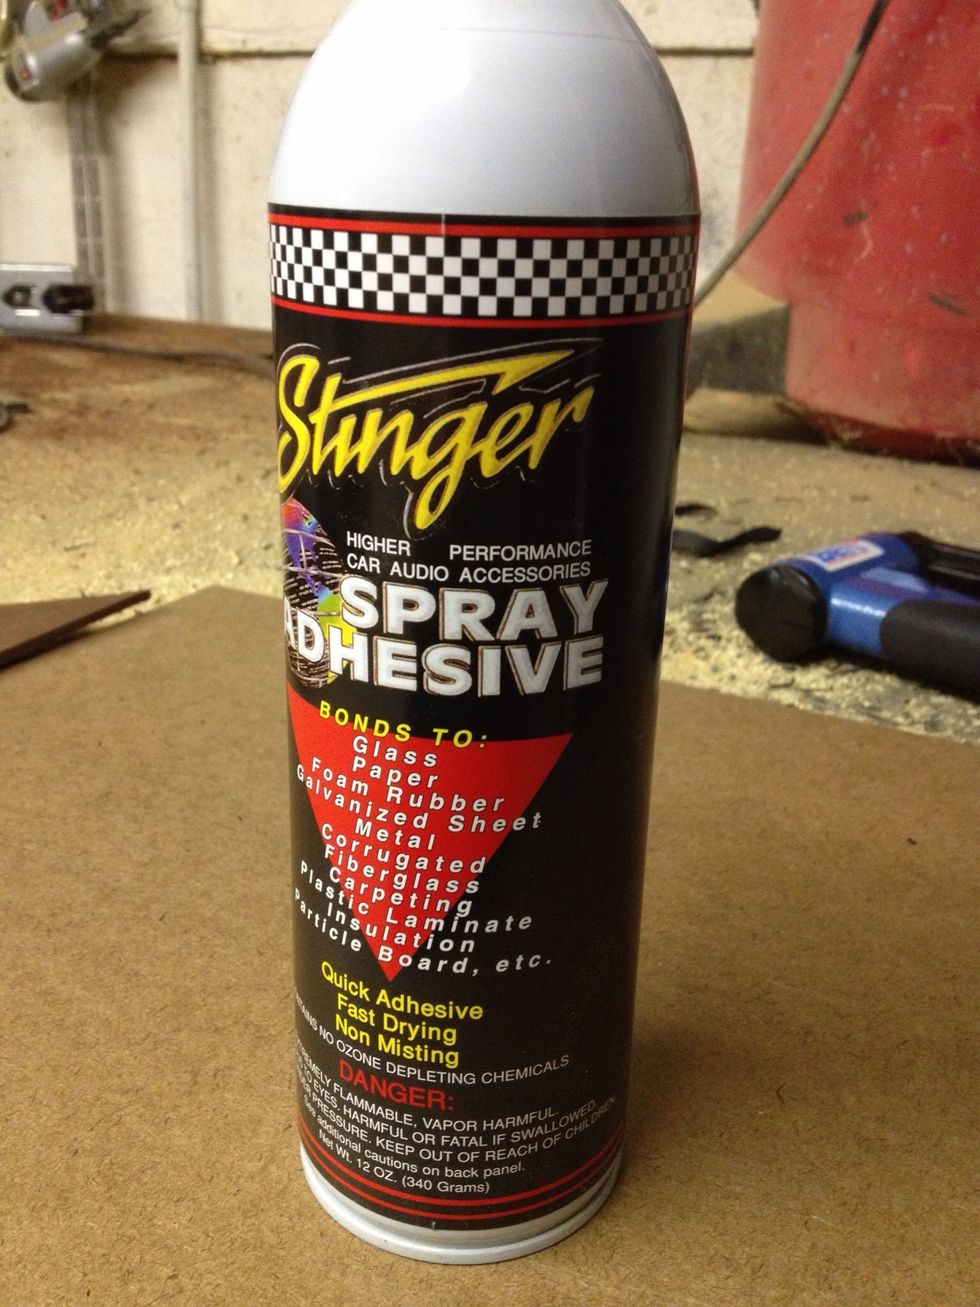
Also one of my supplies.
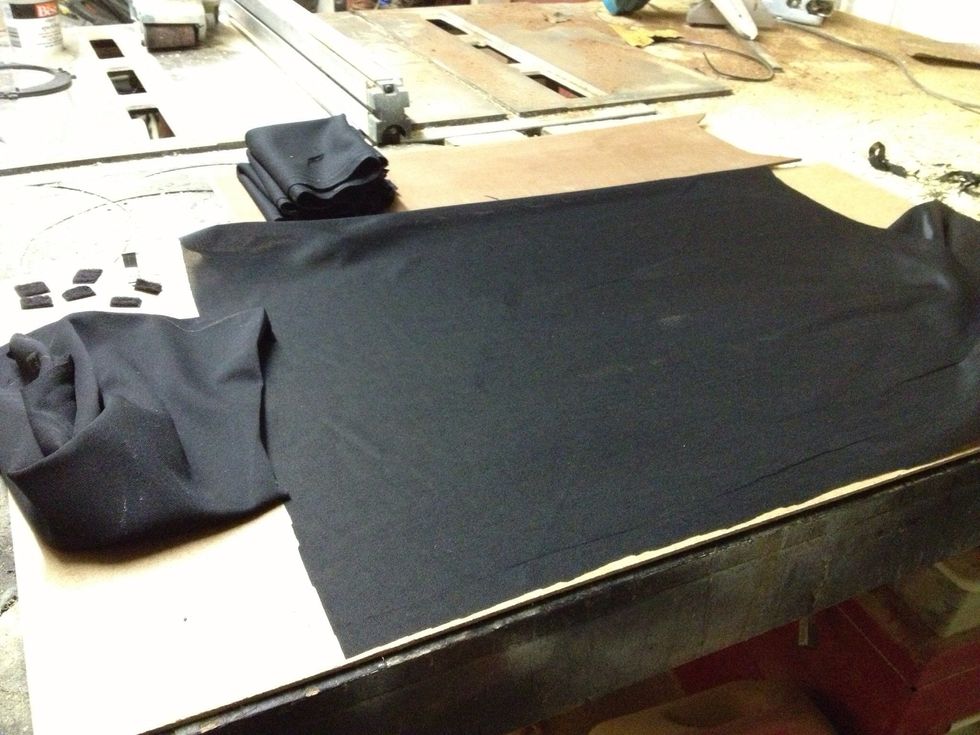
This is the material I chose to recover the panels.
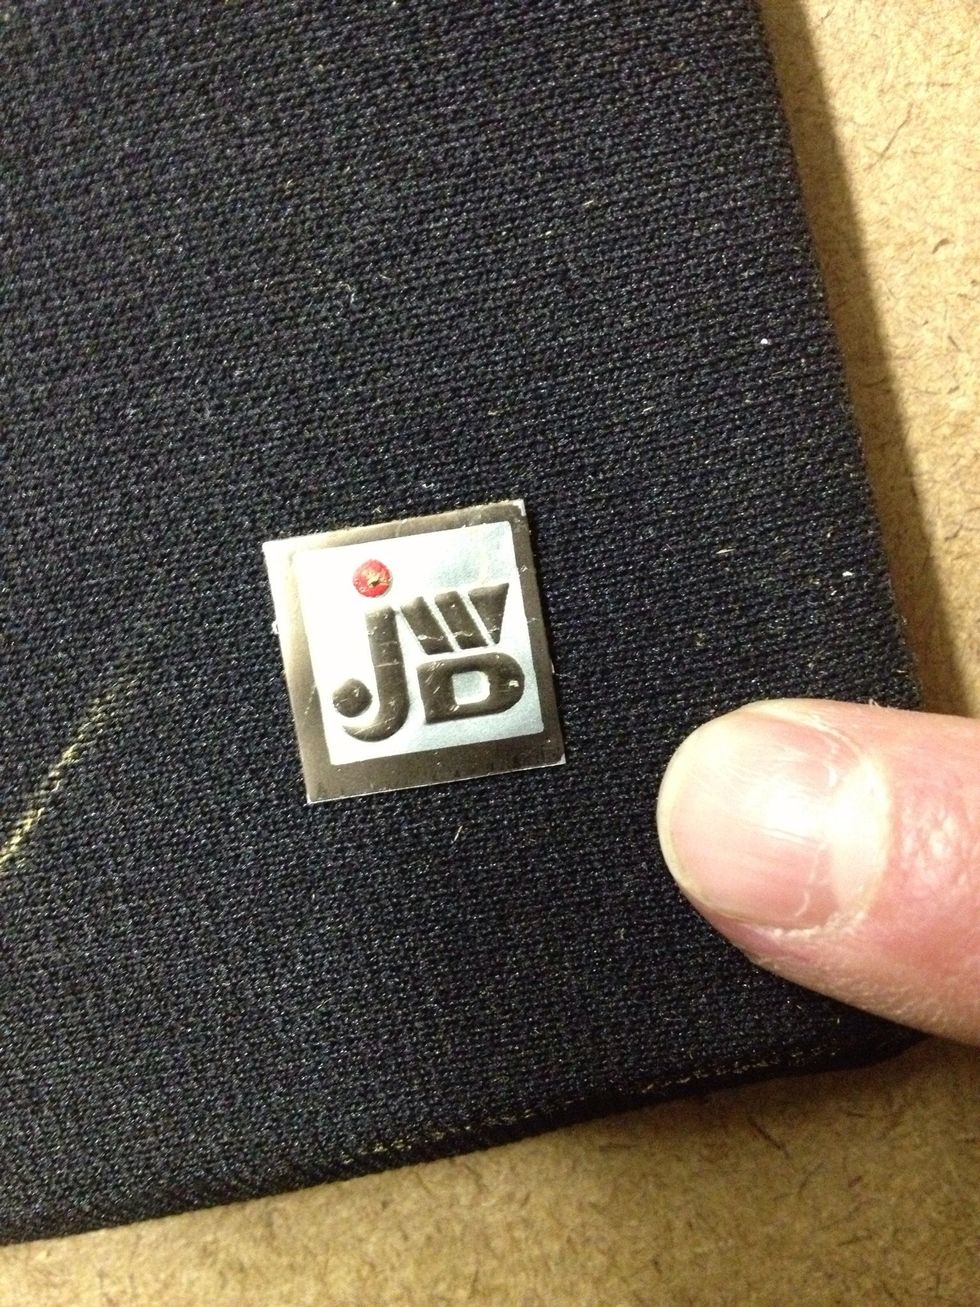
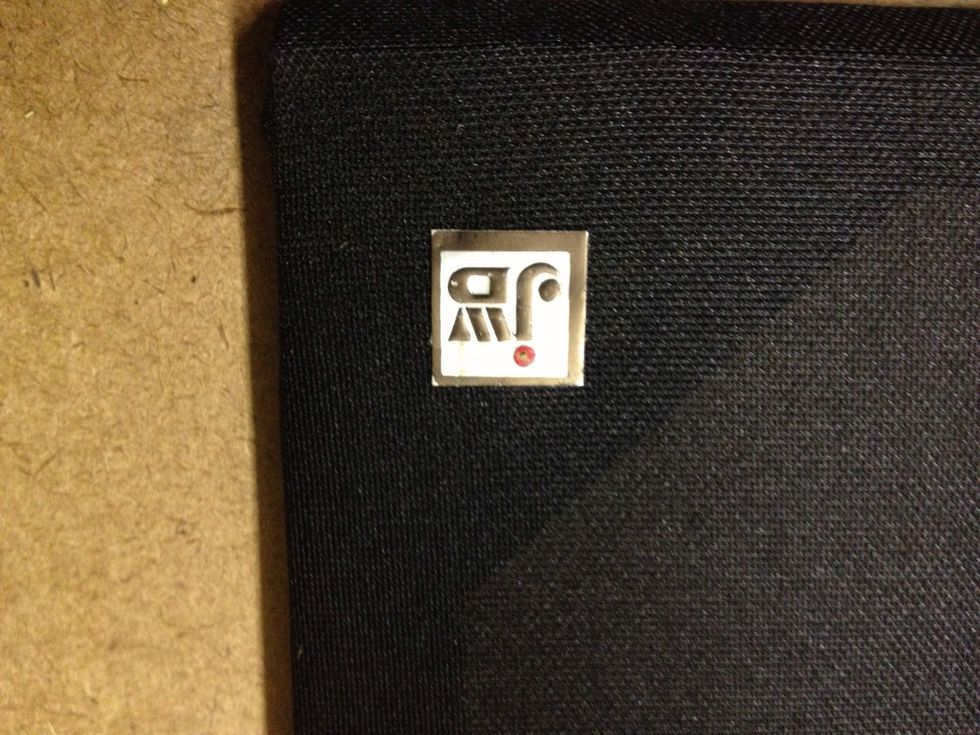
First start by carefully removing any badging that the item might have.

This particular screen is secured with Velcro to the box. I will be removing all Velcro, paying careful attention to where they were. (They will be going back to their original spot)
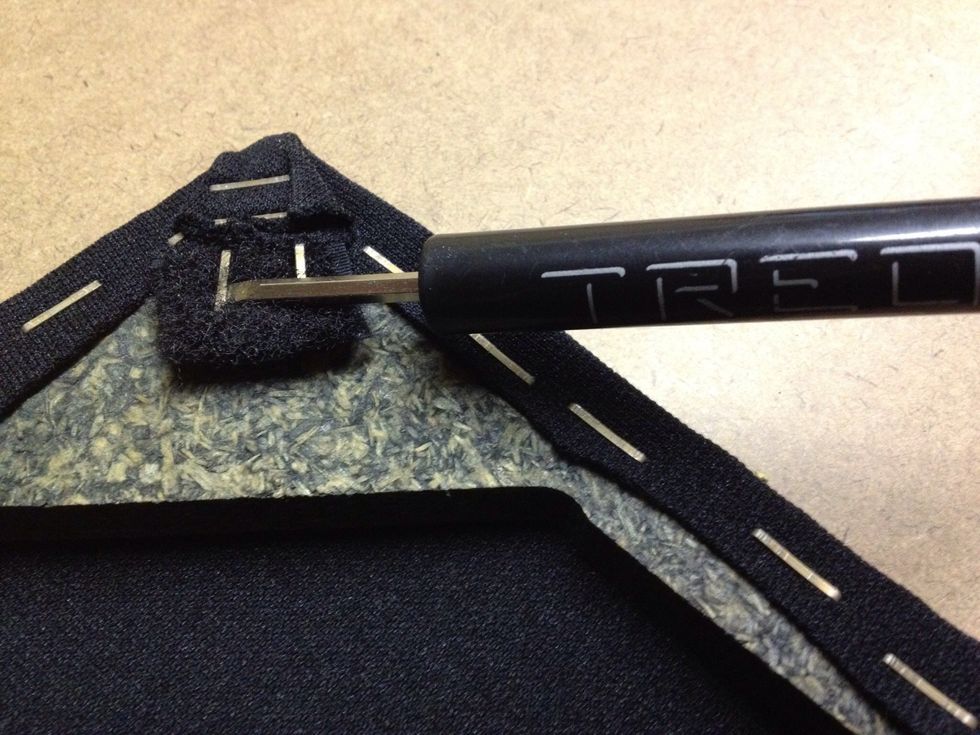
Remove by prying the staples upward with the flat head screwdriver.
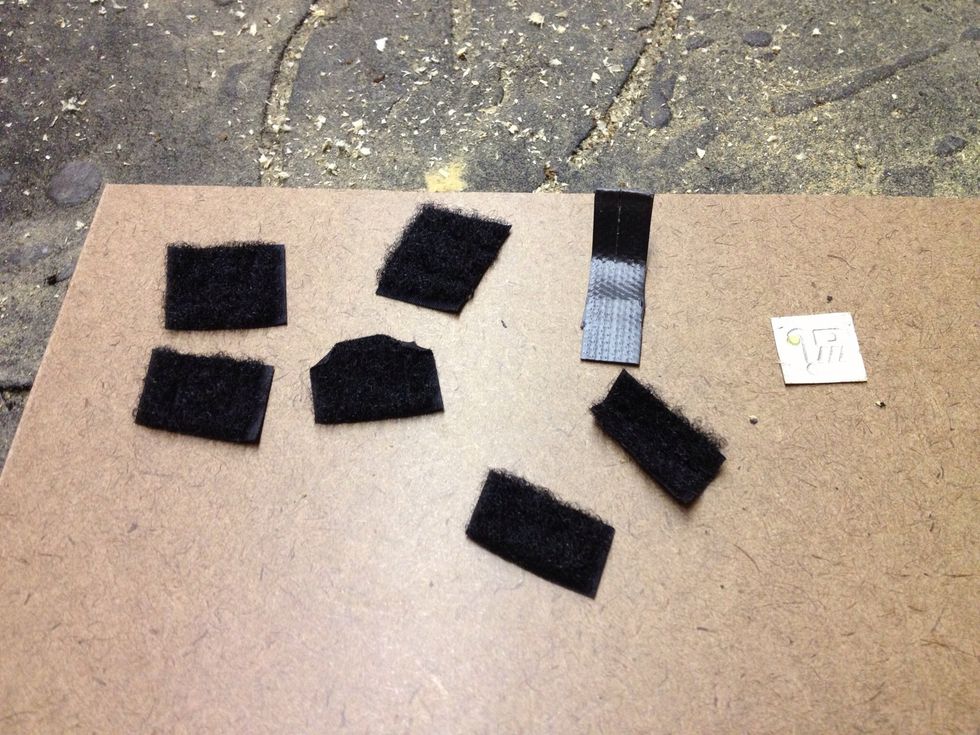
All removed and segregated.
Start removing the staples along the edges. I chose to start in the corners.
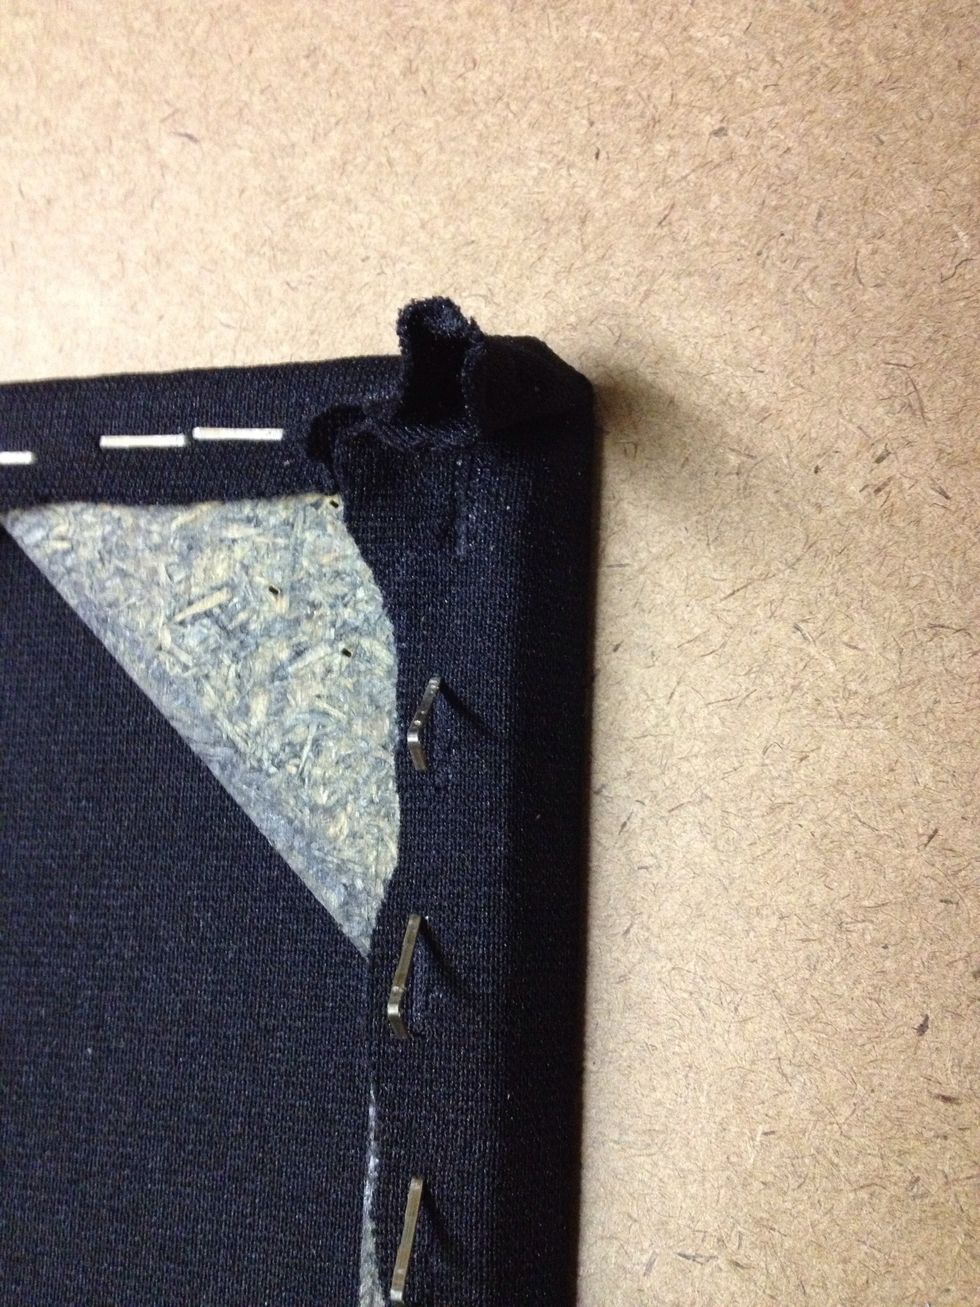
One down, many to go.
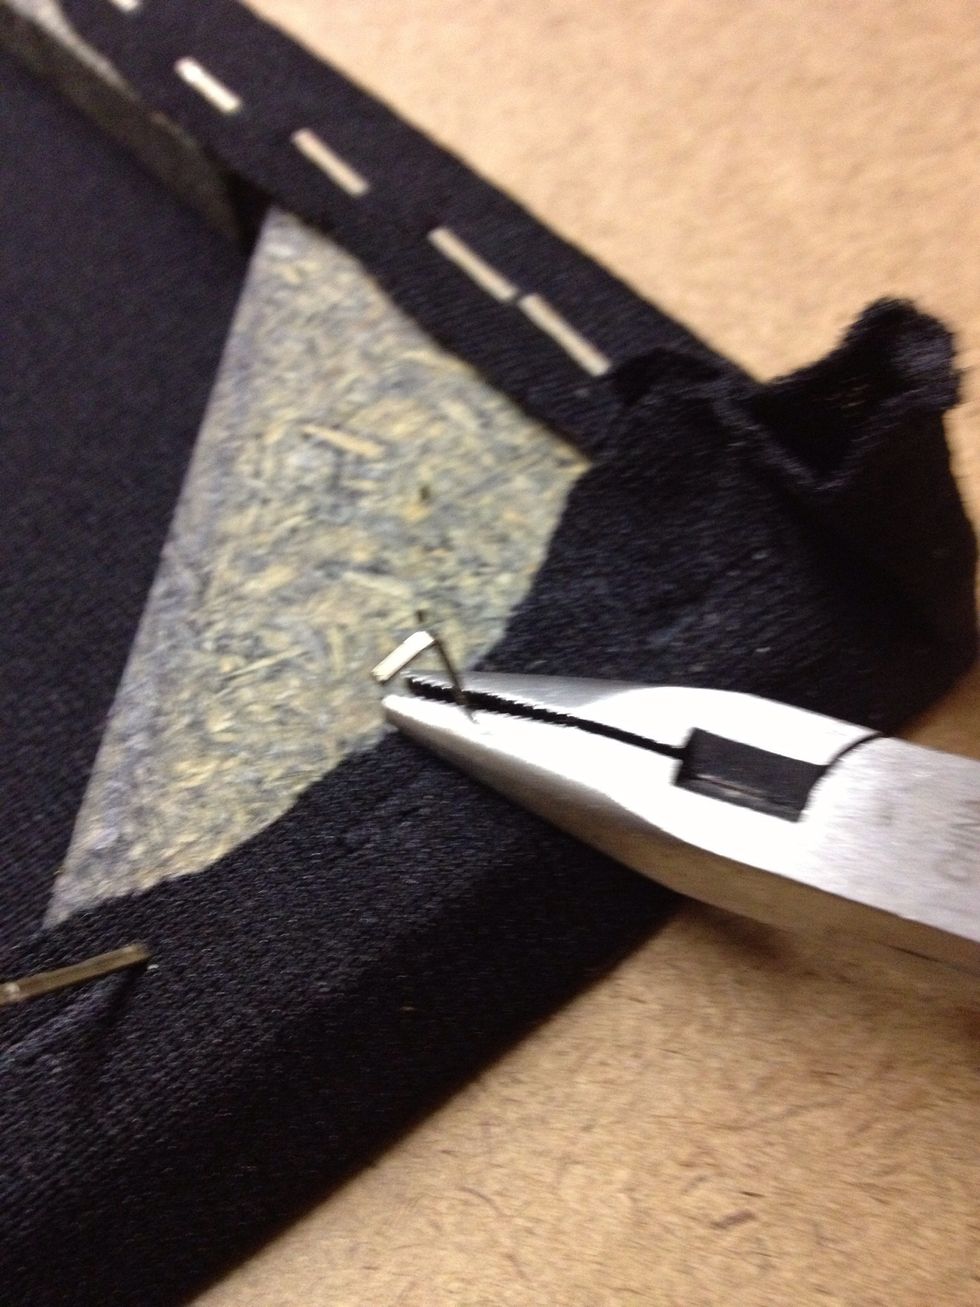
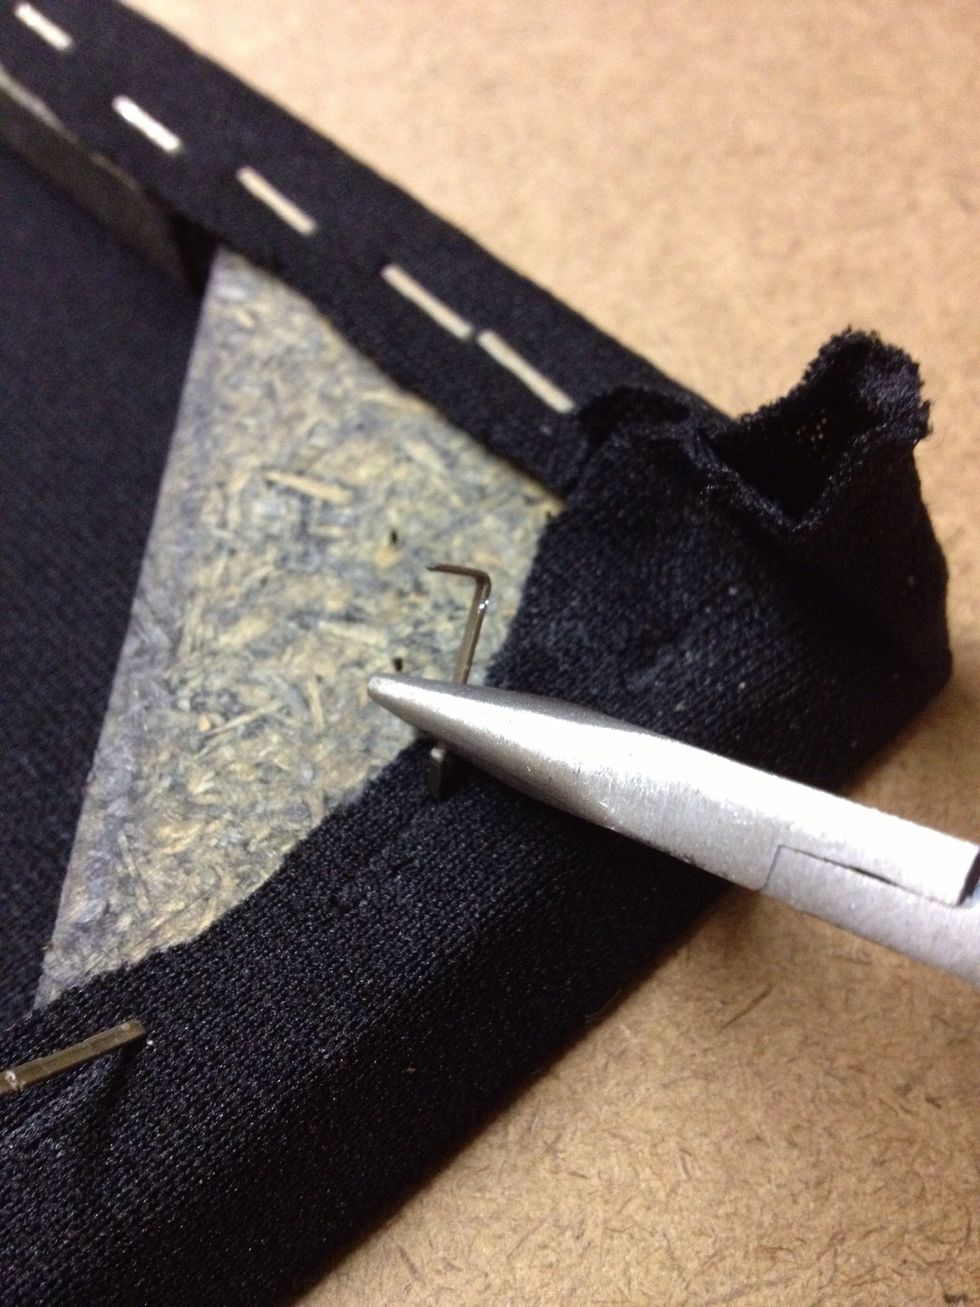
"Hint" pop one end of the staples up with the flat head. Use the pliers to bend the staples back.
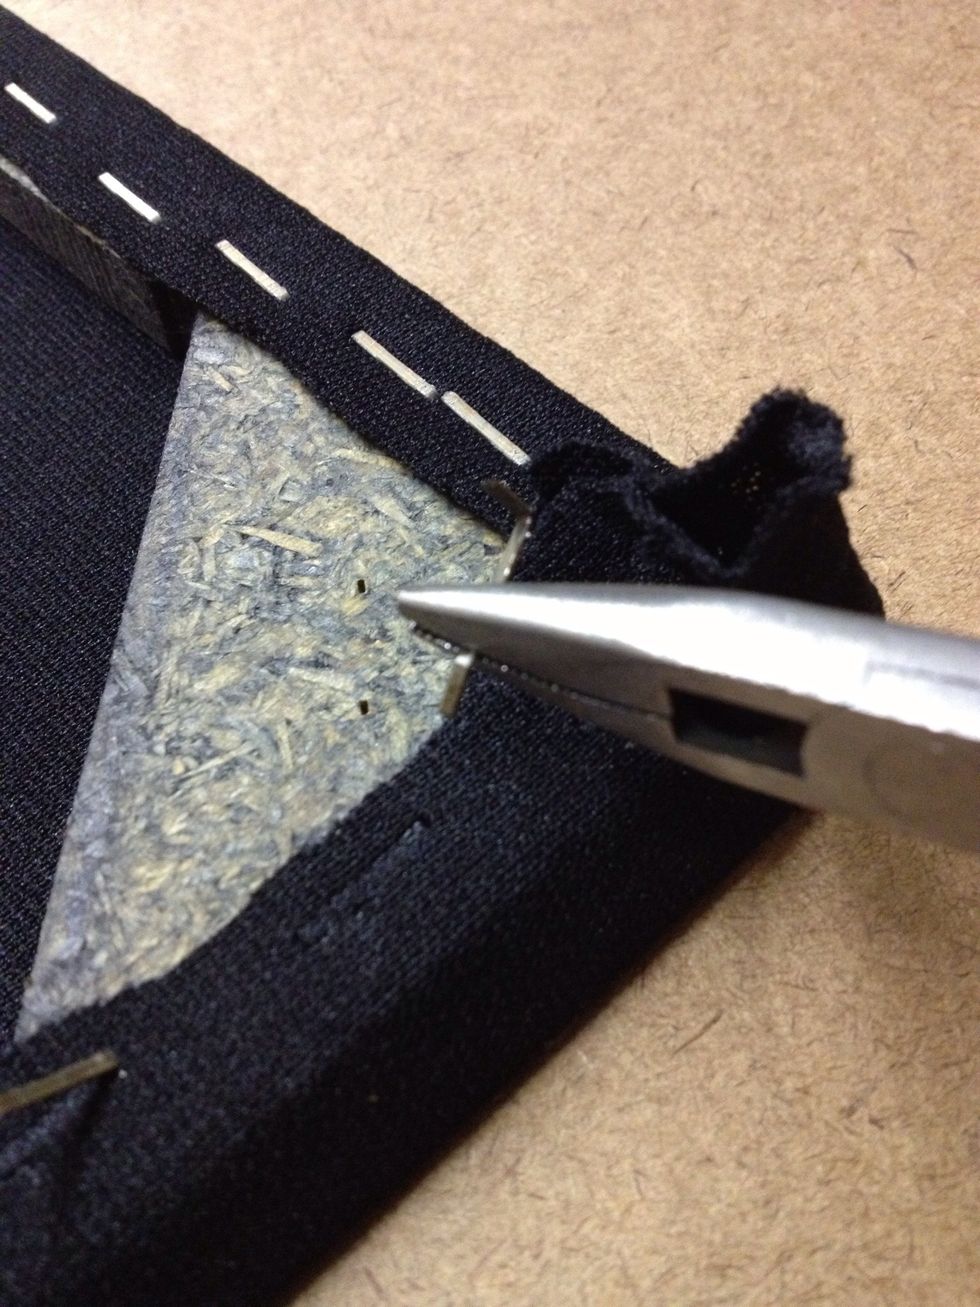
Then bend them forward again and they should pull right out.
I like to do this first.
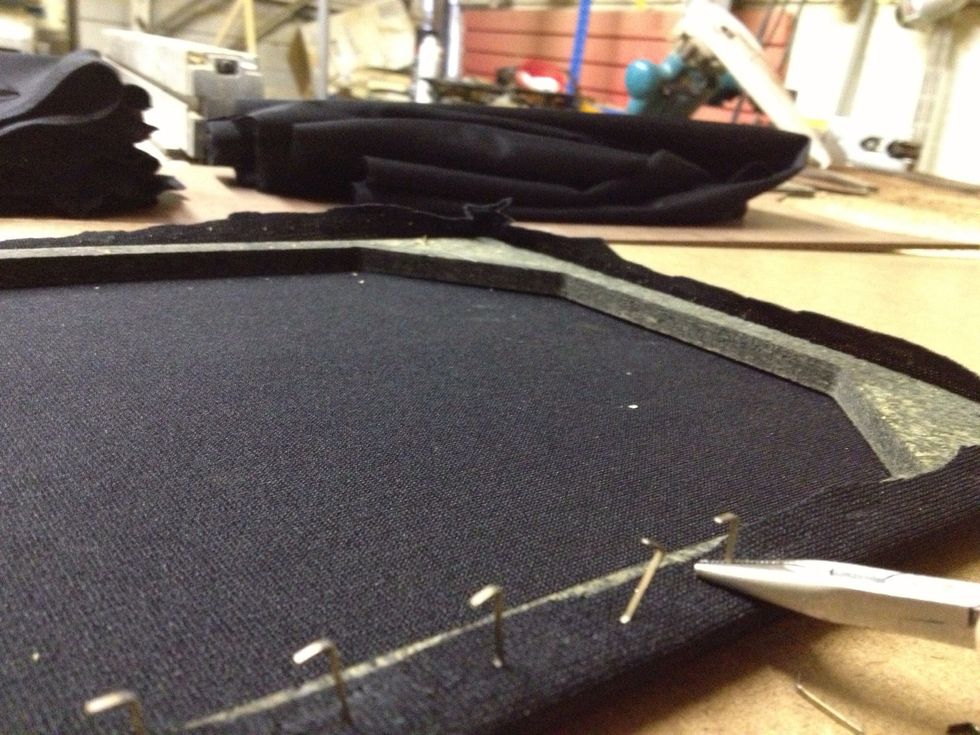
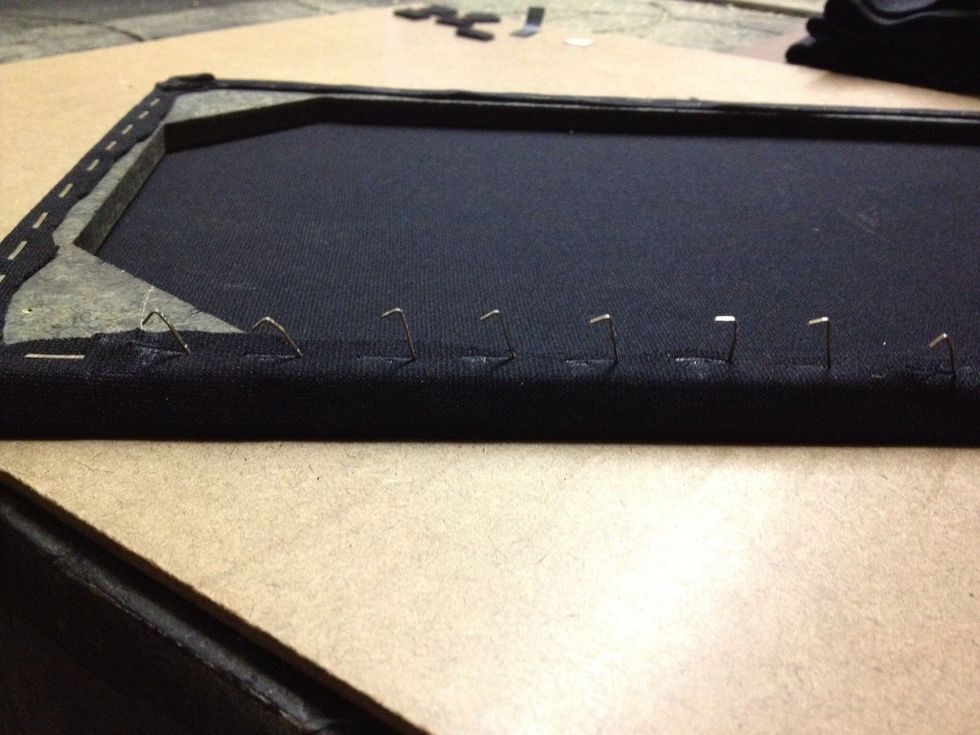
Remove all staples.
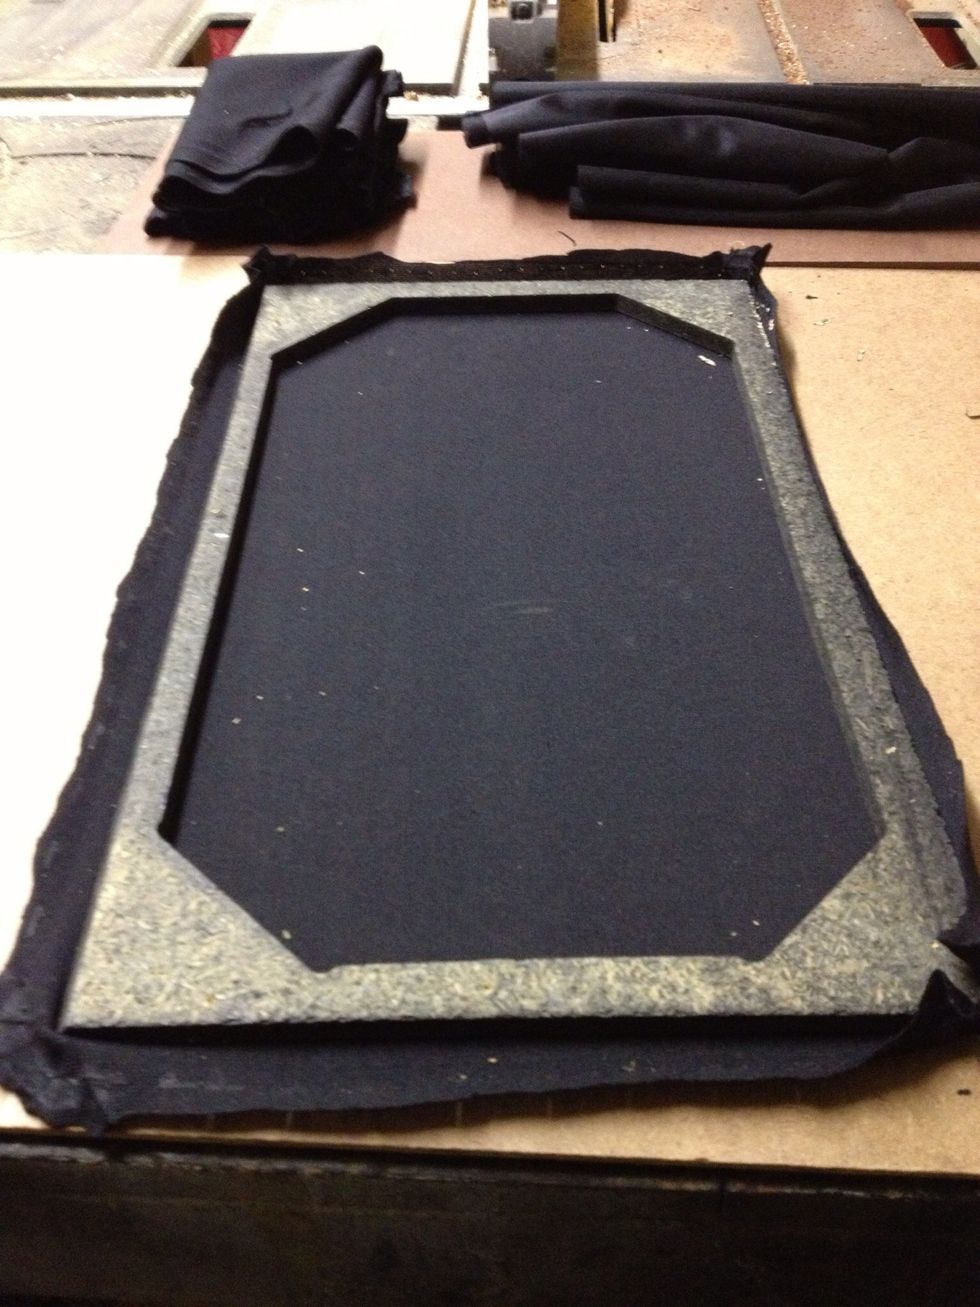
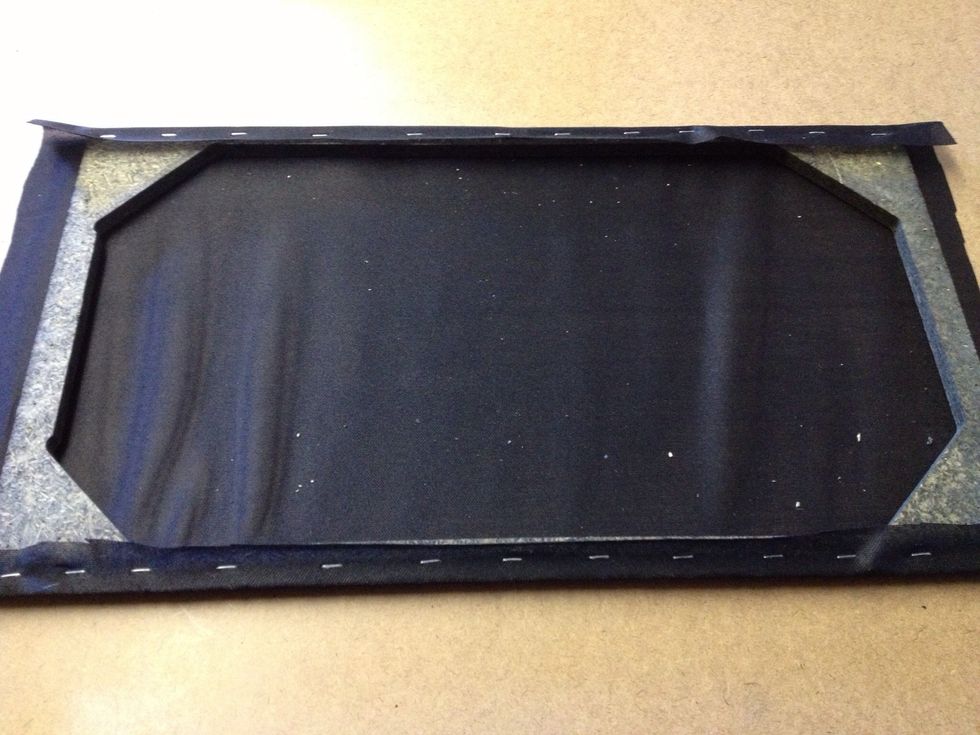
Ahh finally. Now remove the cover from the wood frame.

Spread out your new material and lay the old material flat on top of the new.

Cut out a sheet just a bit bigger then the original. Just follow the lines.
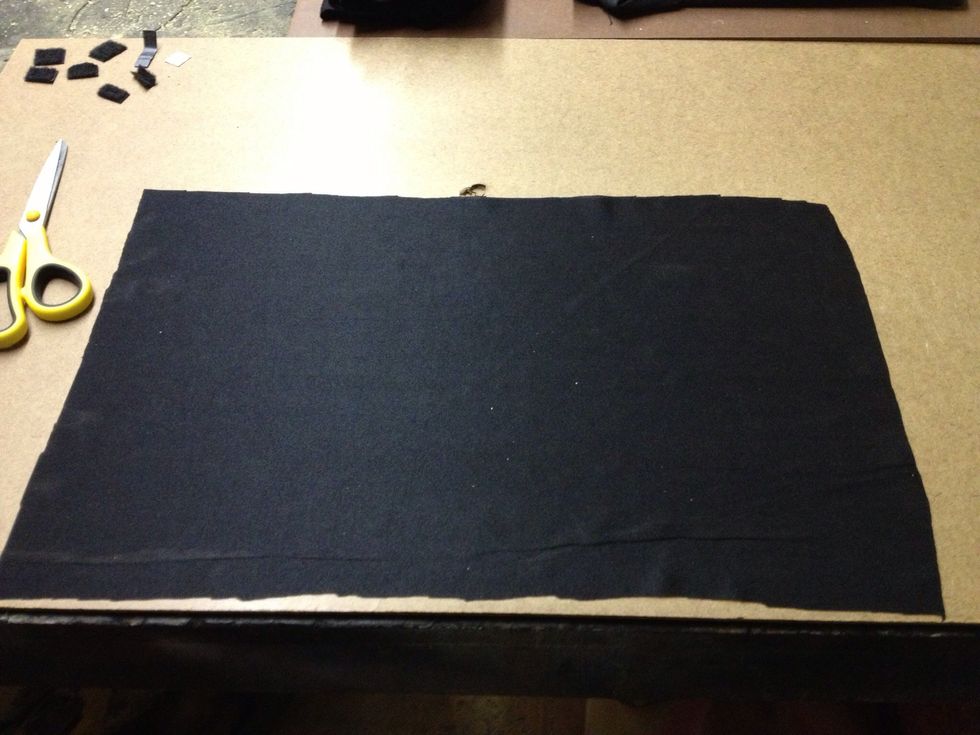
My end result. Don't worry about the messy edges. They won't be seen.

Lay the wood frame as centered as possible on the new material.
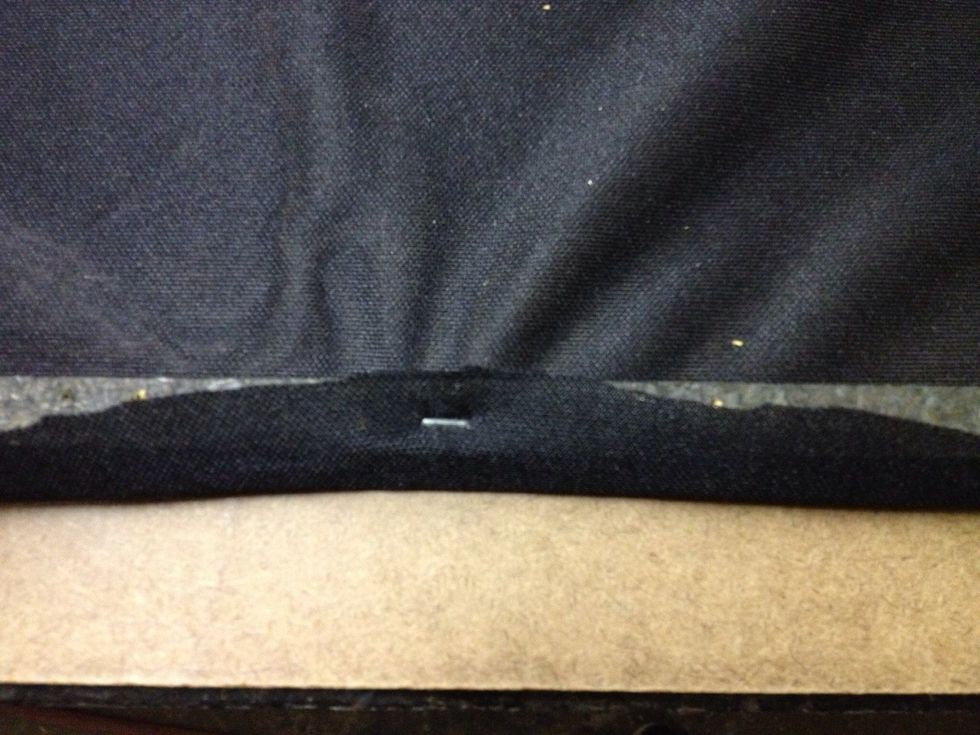
Start in the middle and fold one edge up over the frame. Put a staple in it.
Continue to staple towards one corner. Try to pull a little material towards the corner as you staple.
Pull tightly around the opposite side of the frame and staple.
There, pulled nice and tightly.
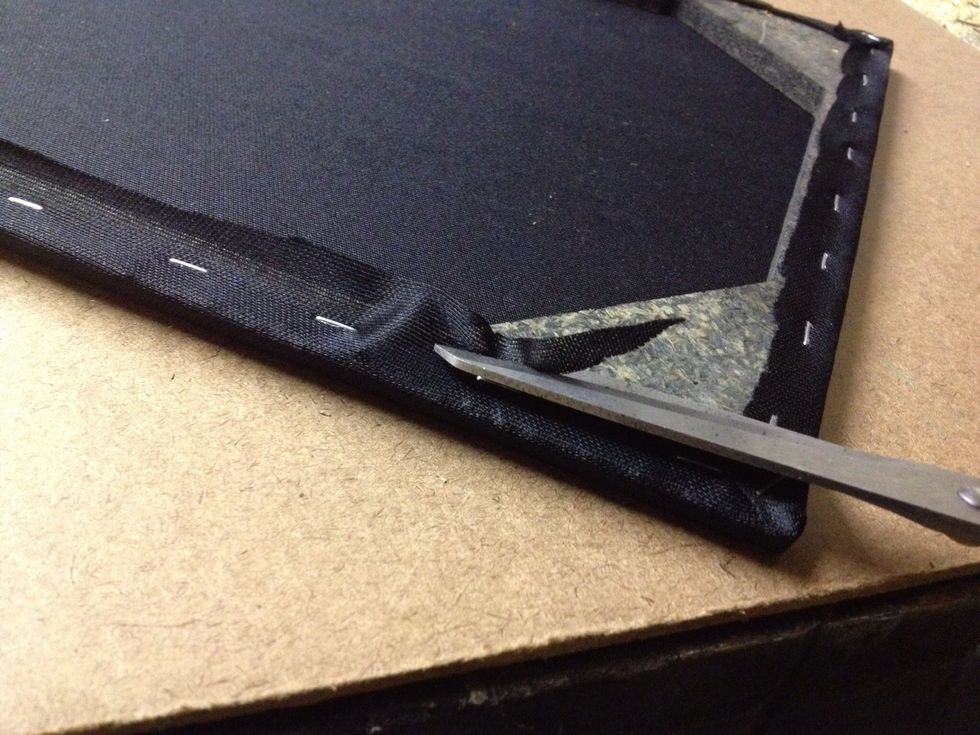
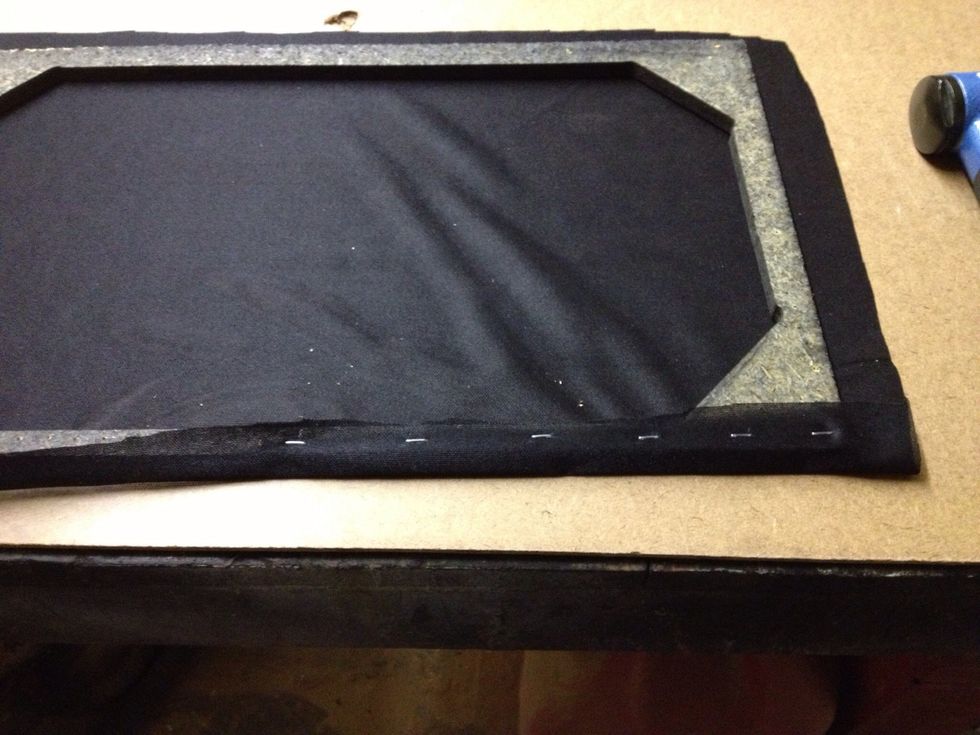
Once pulled and stapled, trim the edges like so.

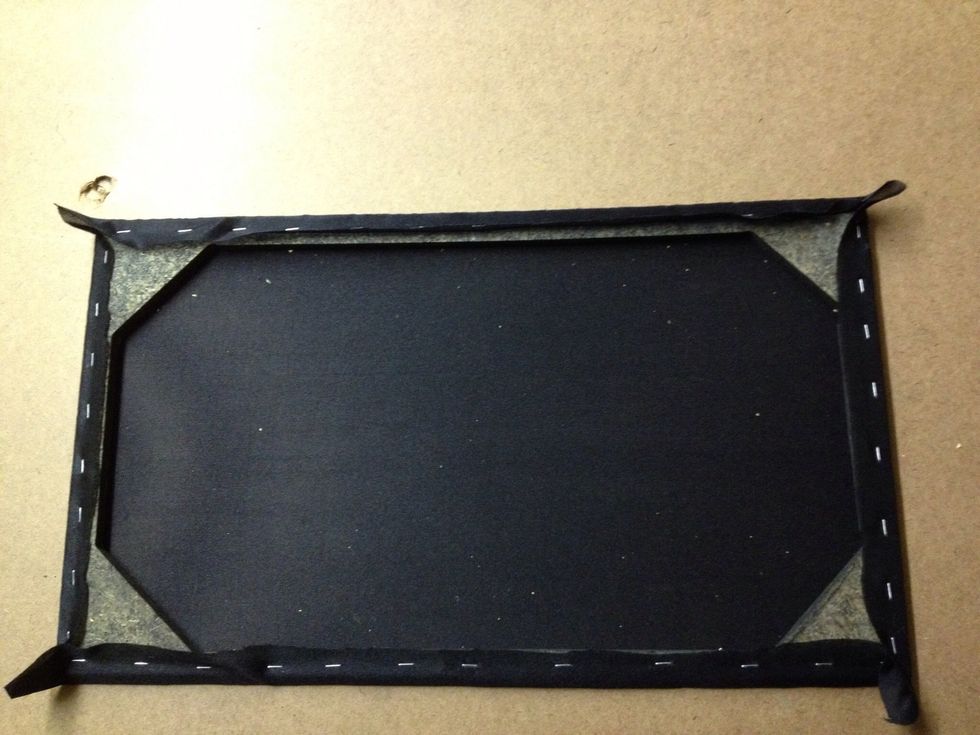
Should look like this when all edge staples are in place.
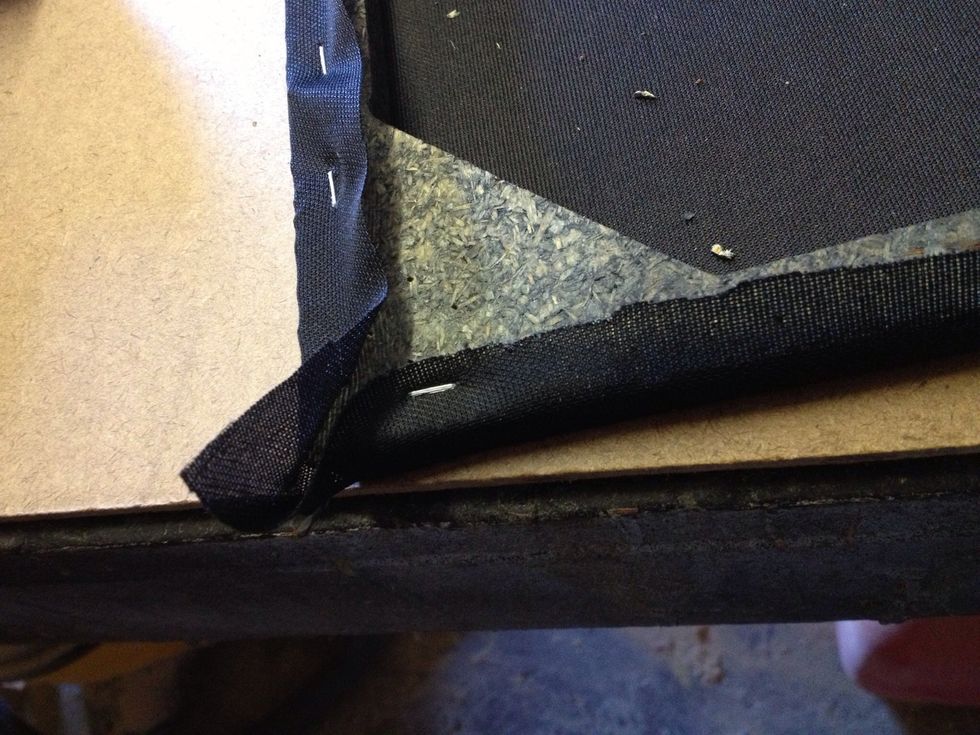
Now lets take care of these awful looking edges.
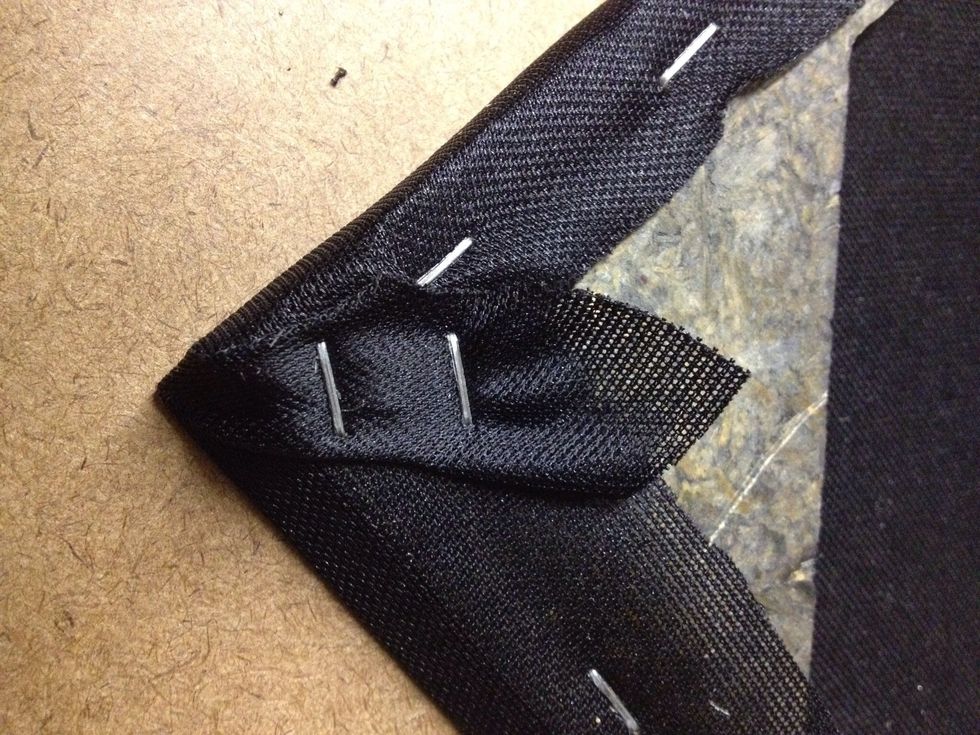
Pull the edges tightly toward the middle put a couple staples in. (Some creative folding may be required to get the right look)
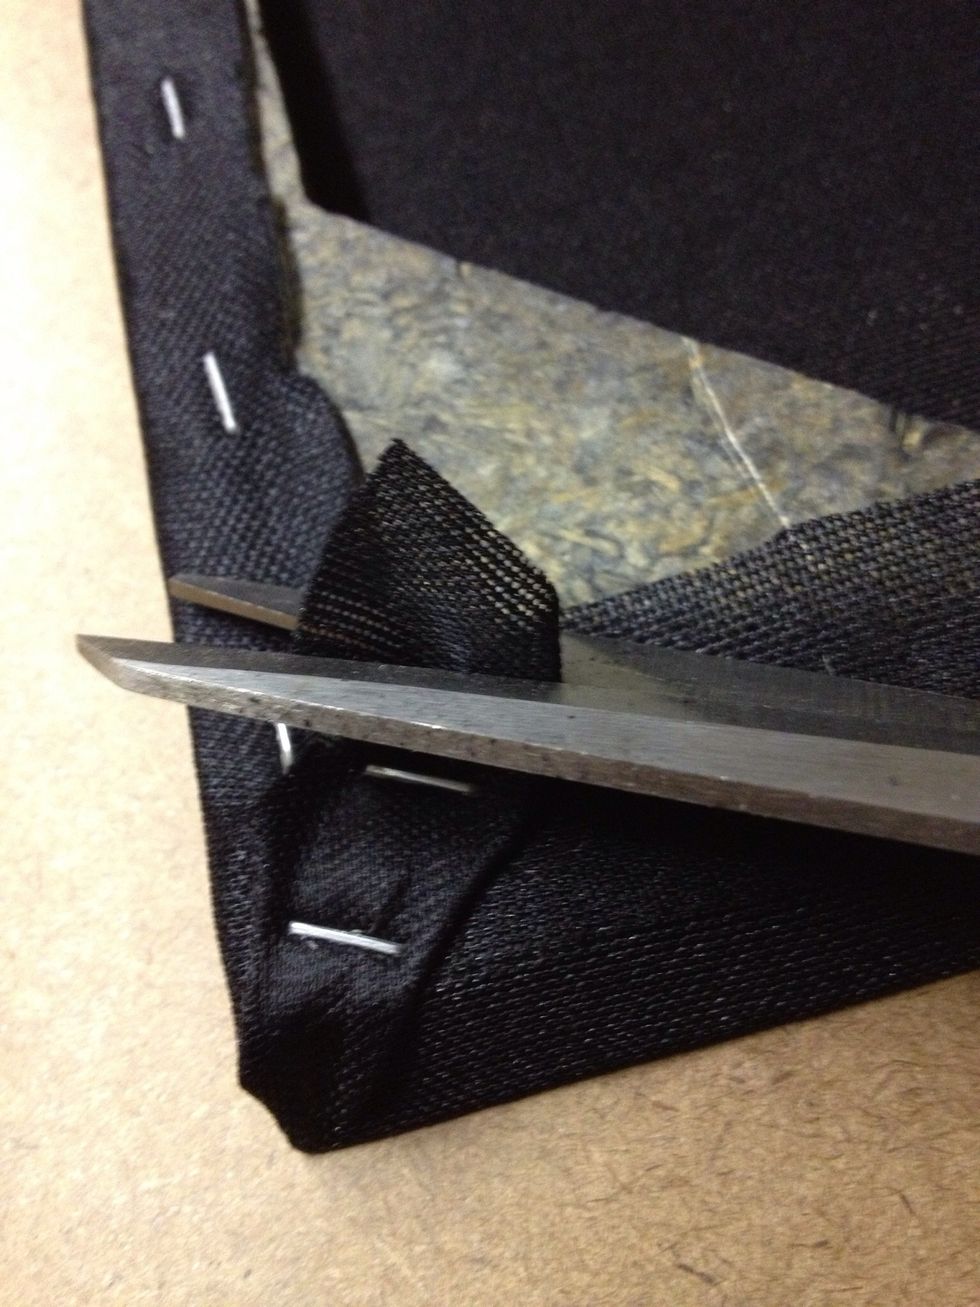
I cut the edges off like so.

To make this look. Much more clean.
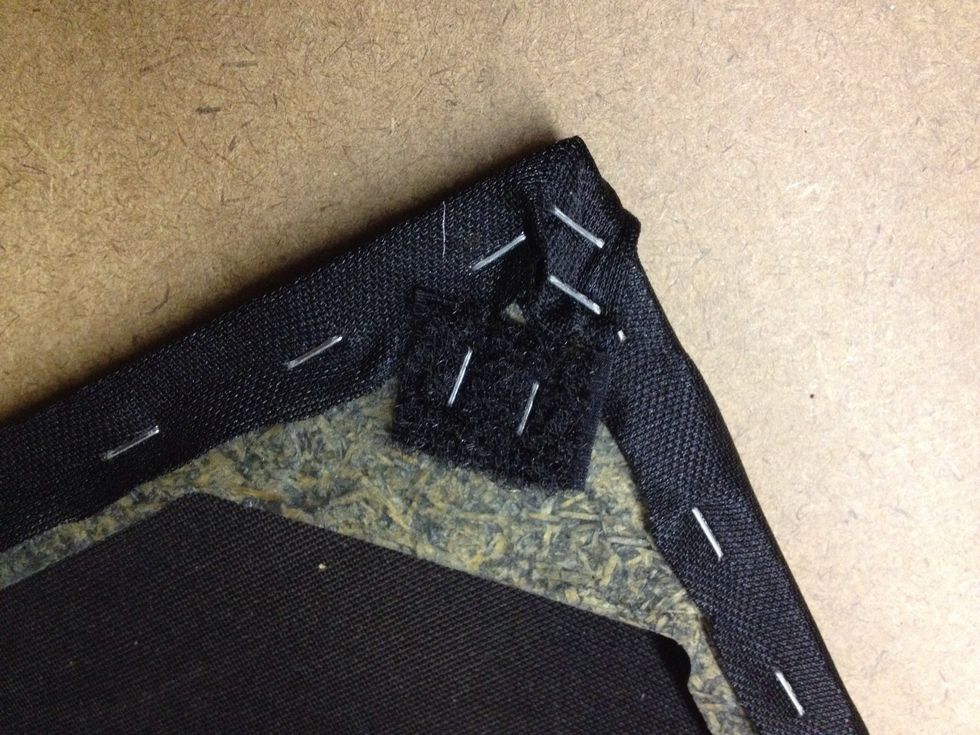
After all edges are finished, place the Velcro back in to place.
Finished with all of the Velcro.
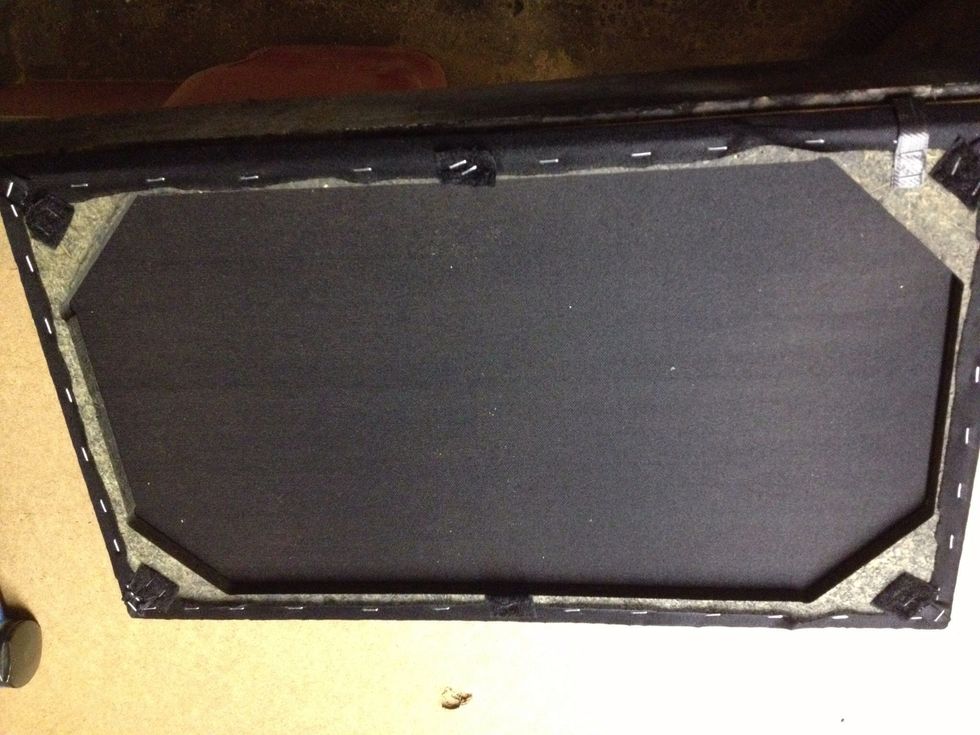
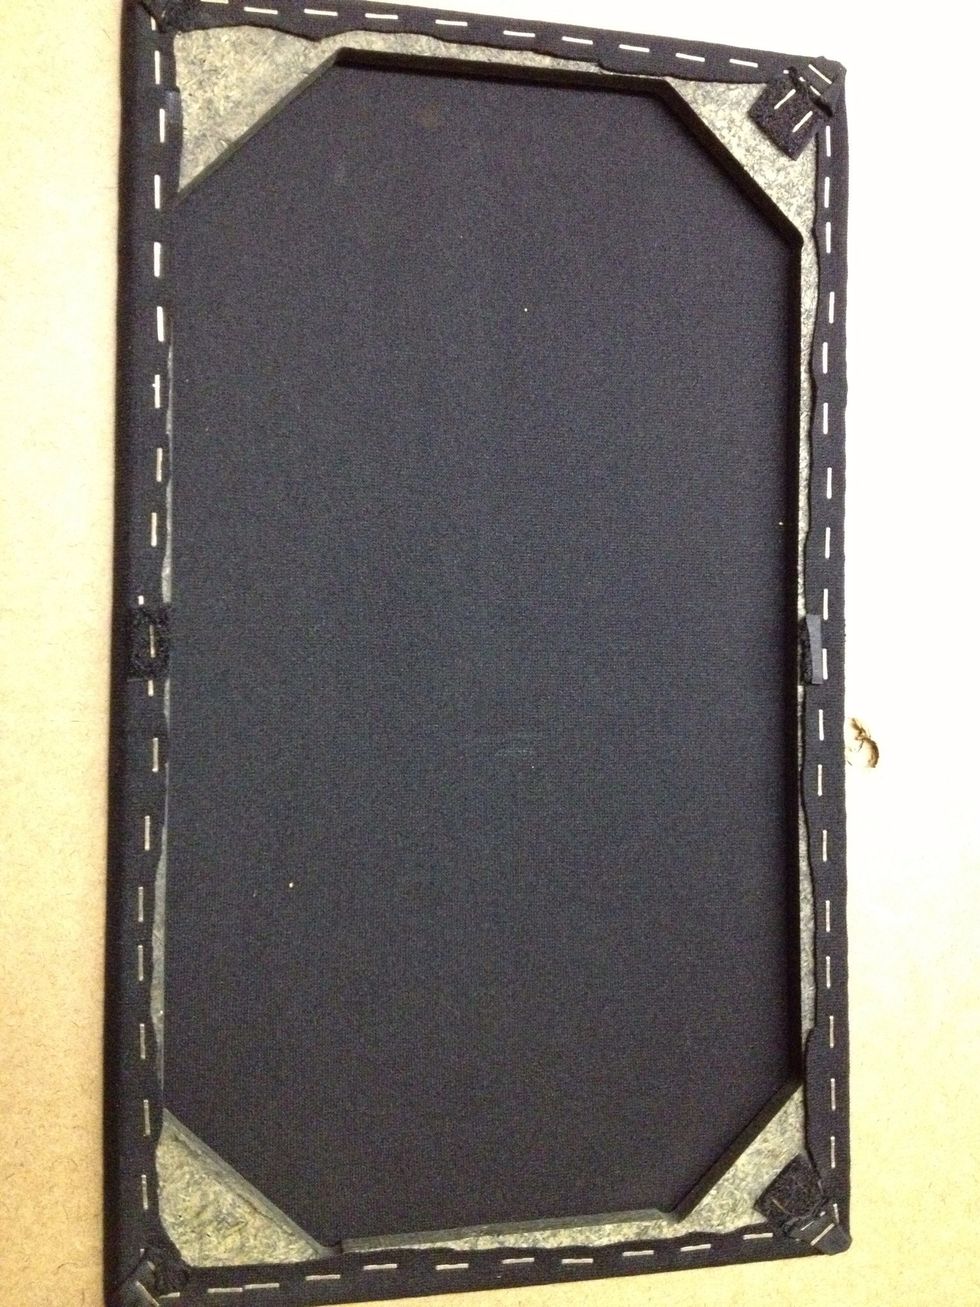
A different style shot of the finished Velcro.
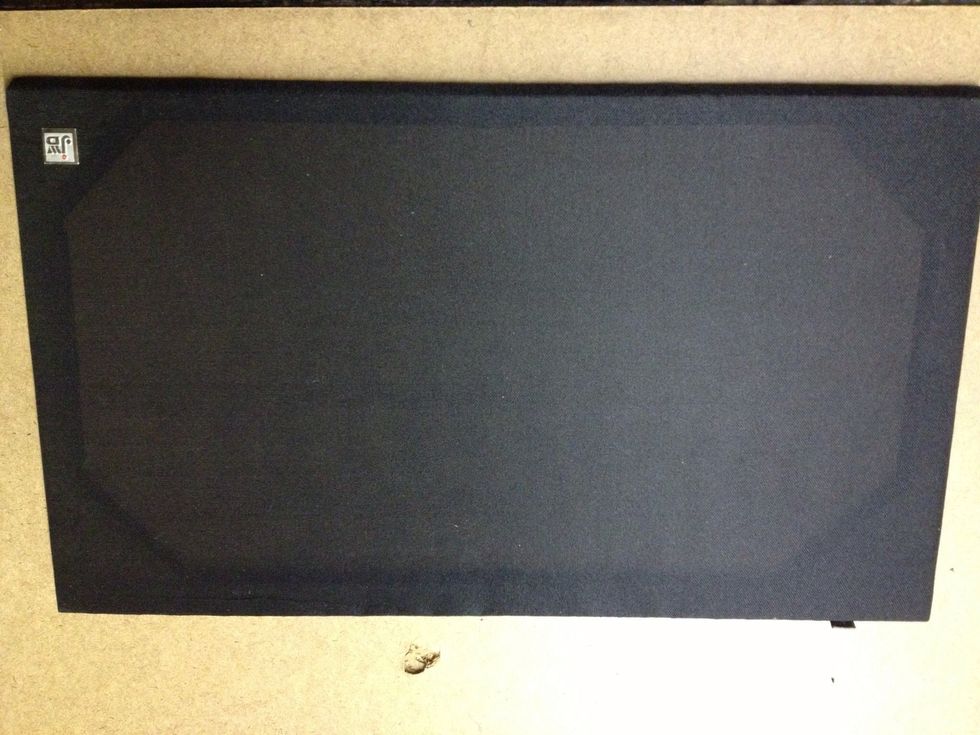
Nice clean surface.

Don't forget your label. I chose to glue mine back in to place.
Spray some of the adhesive on to a surface and use your finger or a paint brush to "scoop" some up.
Apply to the label. This is the consistency that you want when using spray adhesive.
Carefully apply the label.
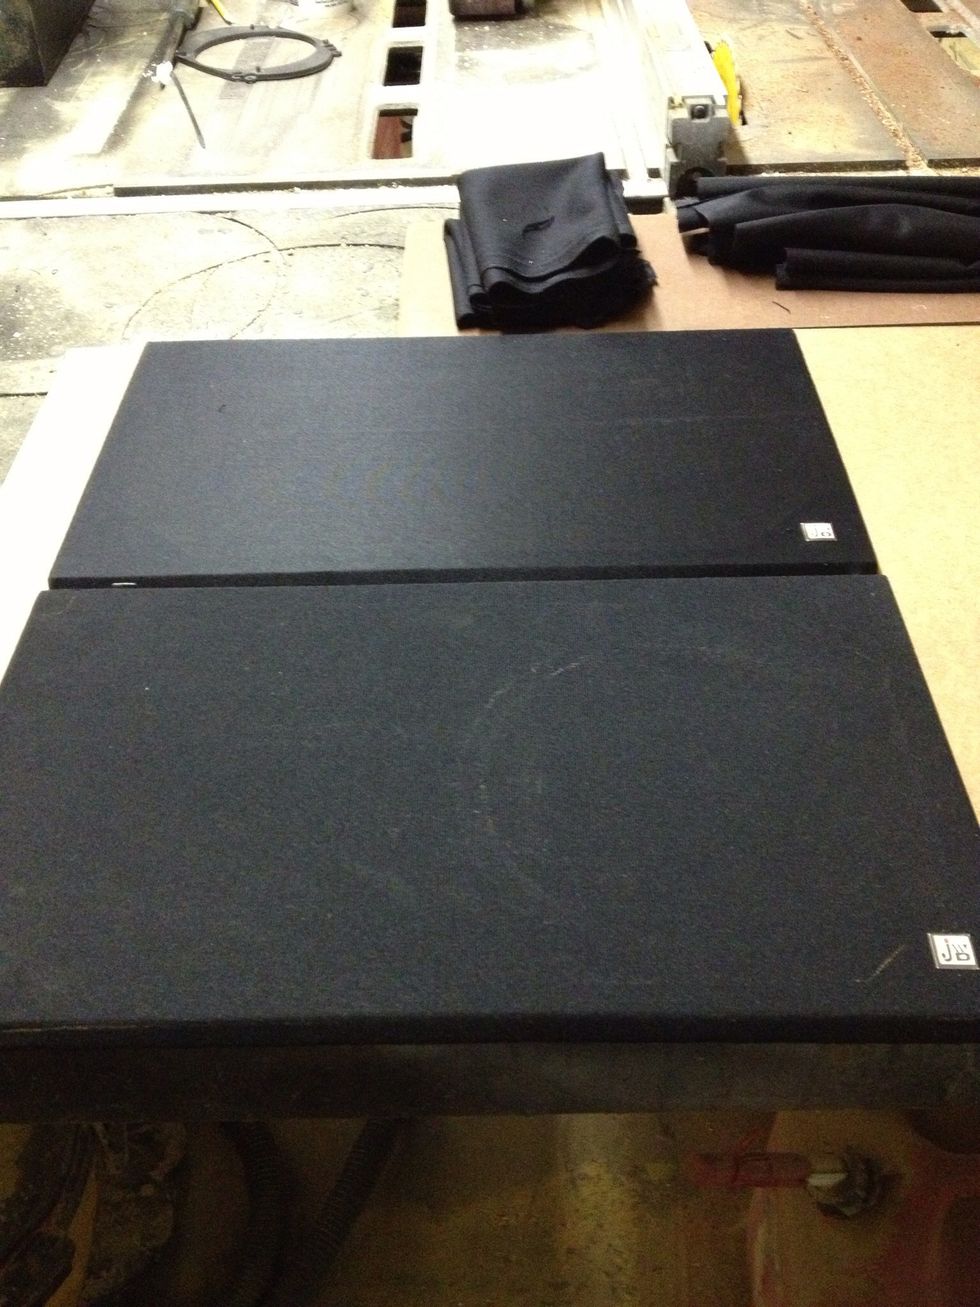
Here is my newly covered panel vs an old panel. NEW TOP, OLD BOTTOM.

Two finished products. New on top and old on bottom.
I hope you enjoyed my first guide and find it to be helpful in your upholstery adventures.