The Conversation (0)
Sign Up
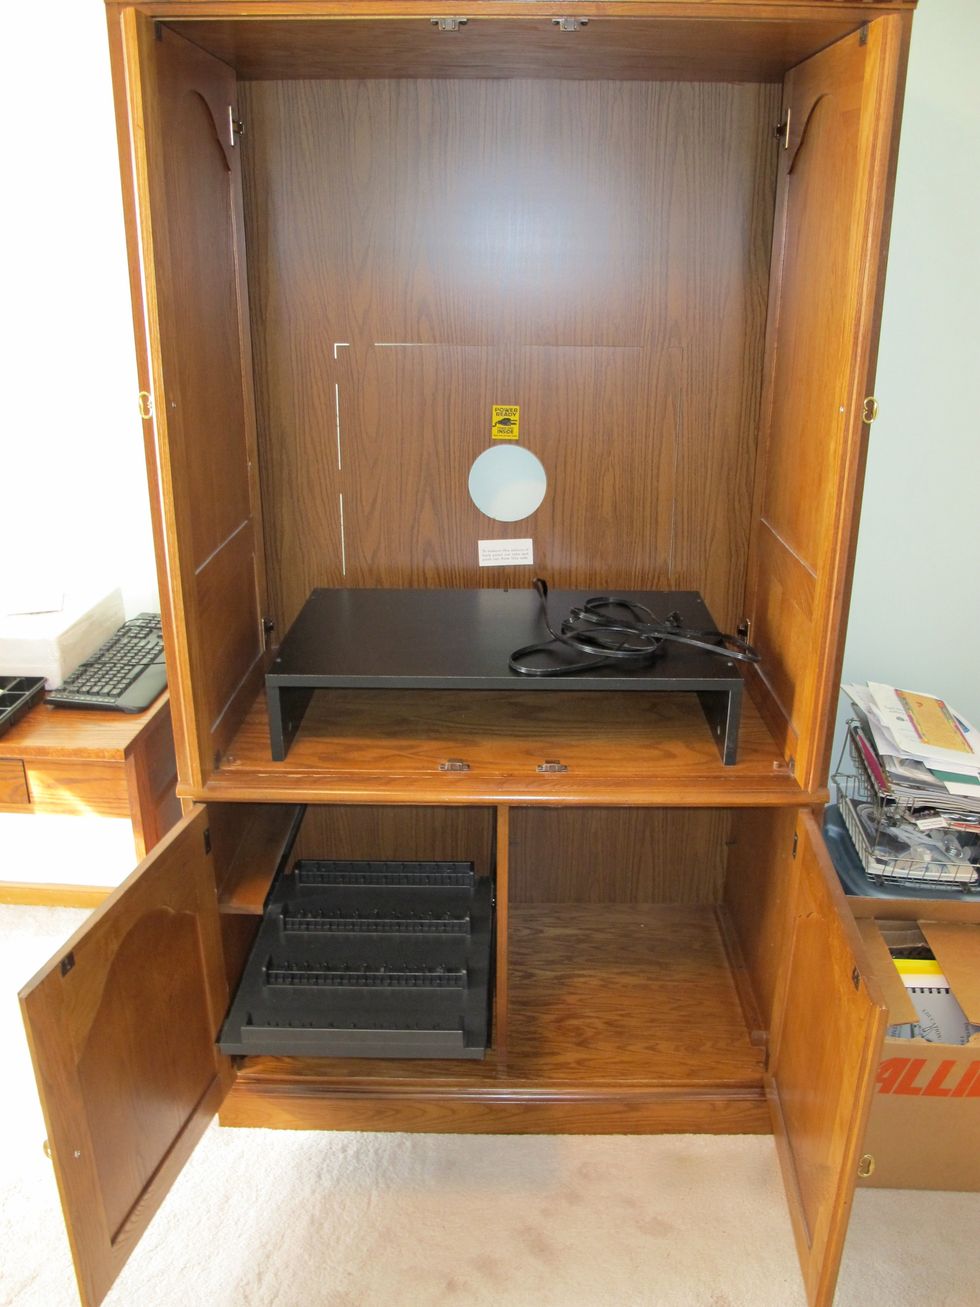
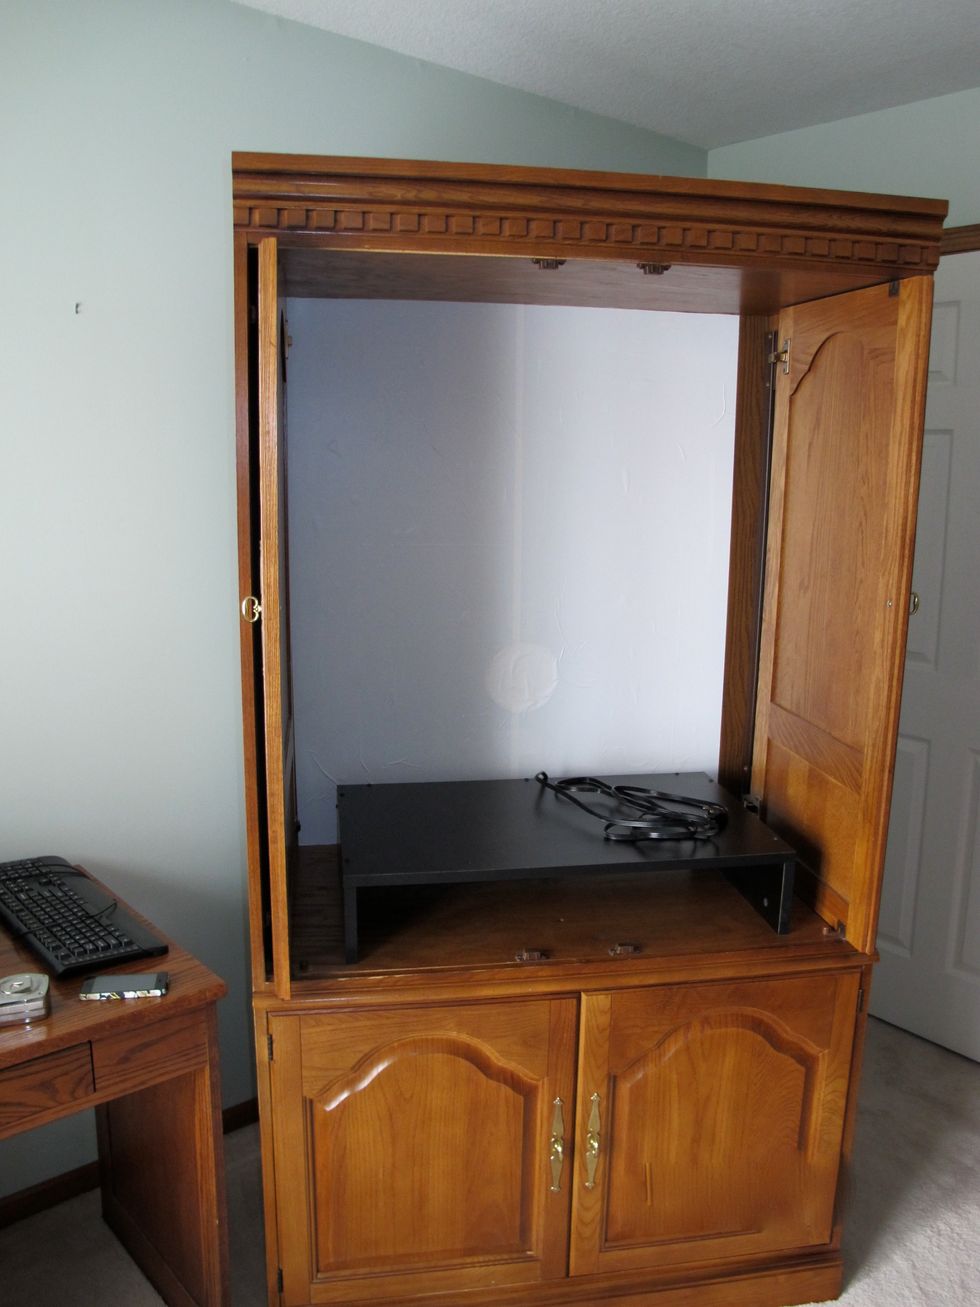
After removing all of the components, cables, and other items, thoroughly vacuum out and clean the interior of the center.
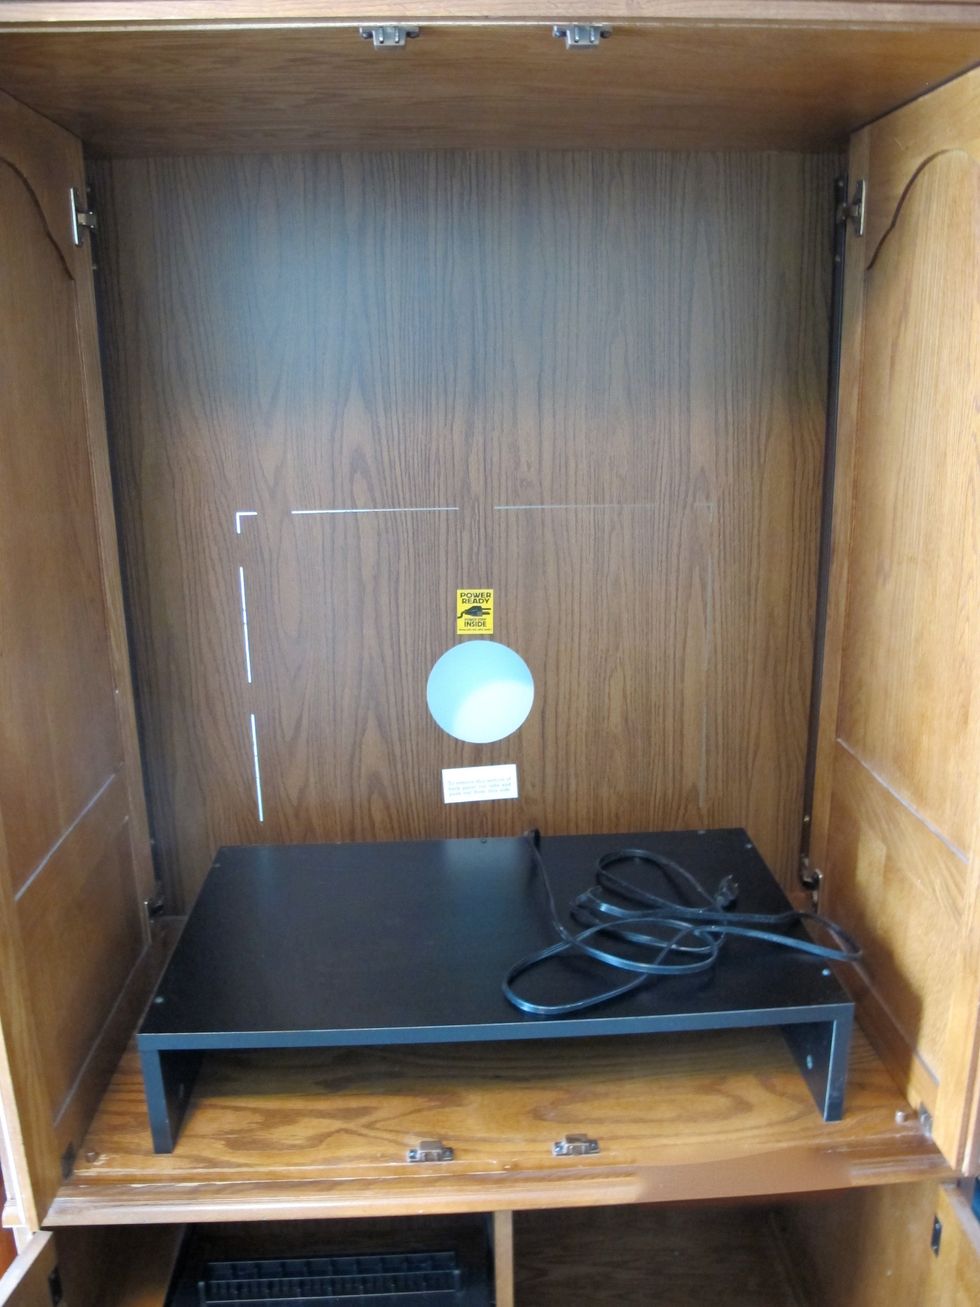
If the center has a built-in power cord and outlet, be sure to keep it all intact. You will use this for your craft devices that require power. If it does not have one, add a power strip.
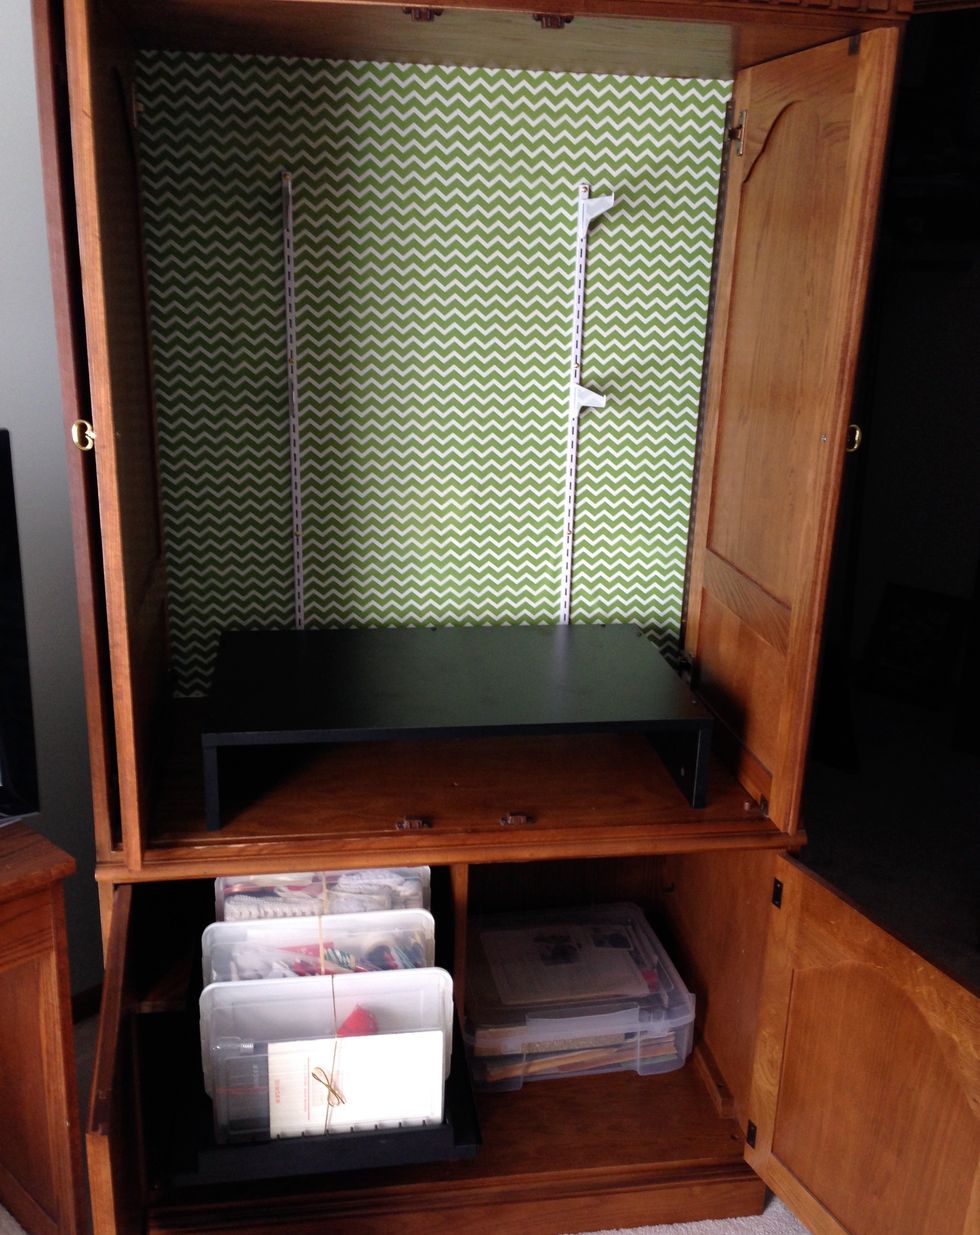
Use contact paper cut to fit the back of the center. Smooth it out carefully. This will be the base for your fabric or wall paper background.
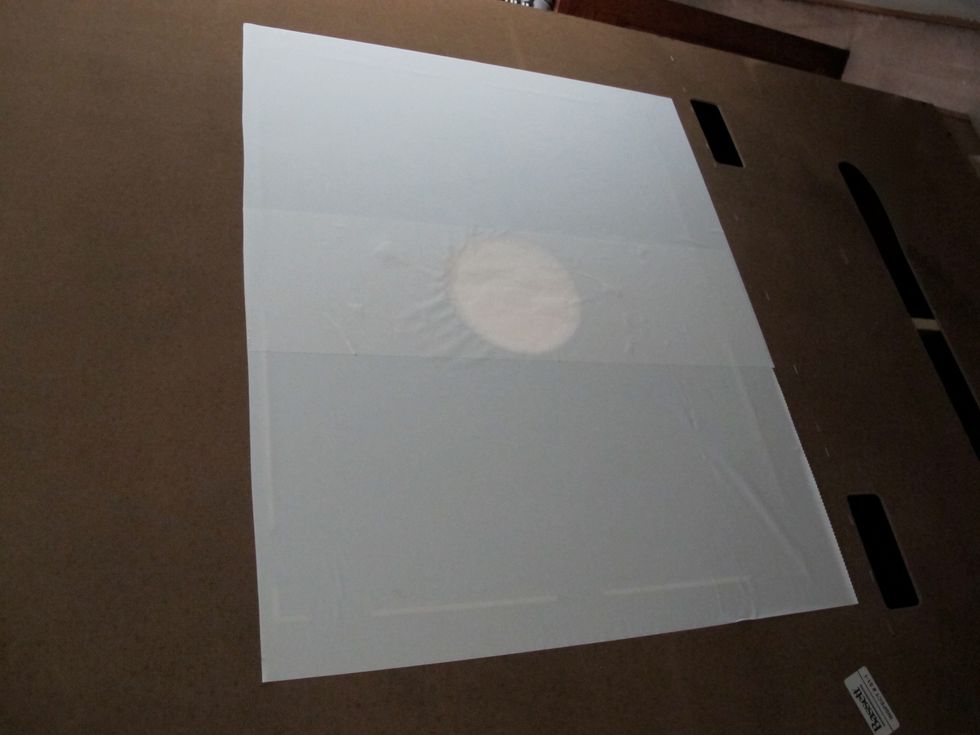
Put a piece of poster board over the hole on the back of the center. Cover it with contact paper or tape it down with duct tape.

Measure the back of the center and cut fabric or wallpaper to fit. Use one piece without seams for the best effect. Spray the contact paper with adhesive spray and press the fabric or wallpaper to it.
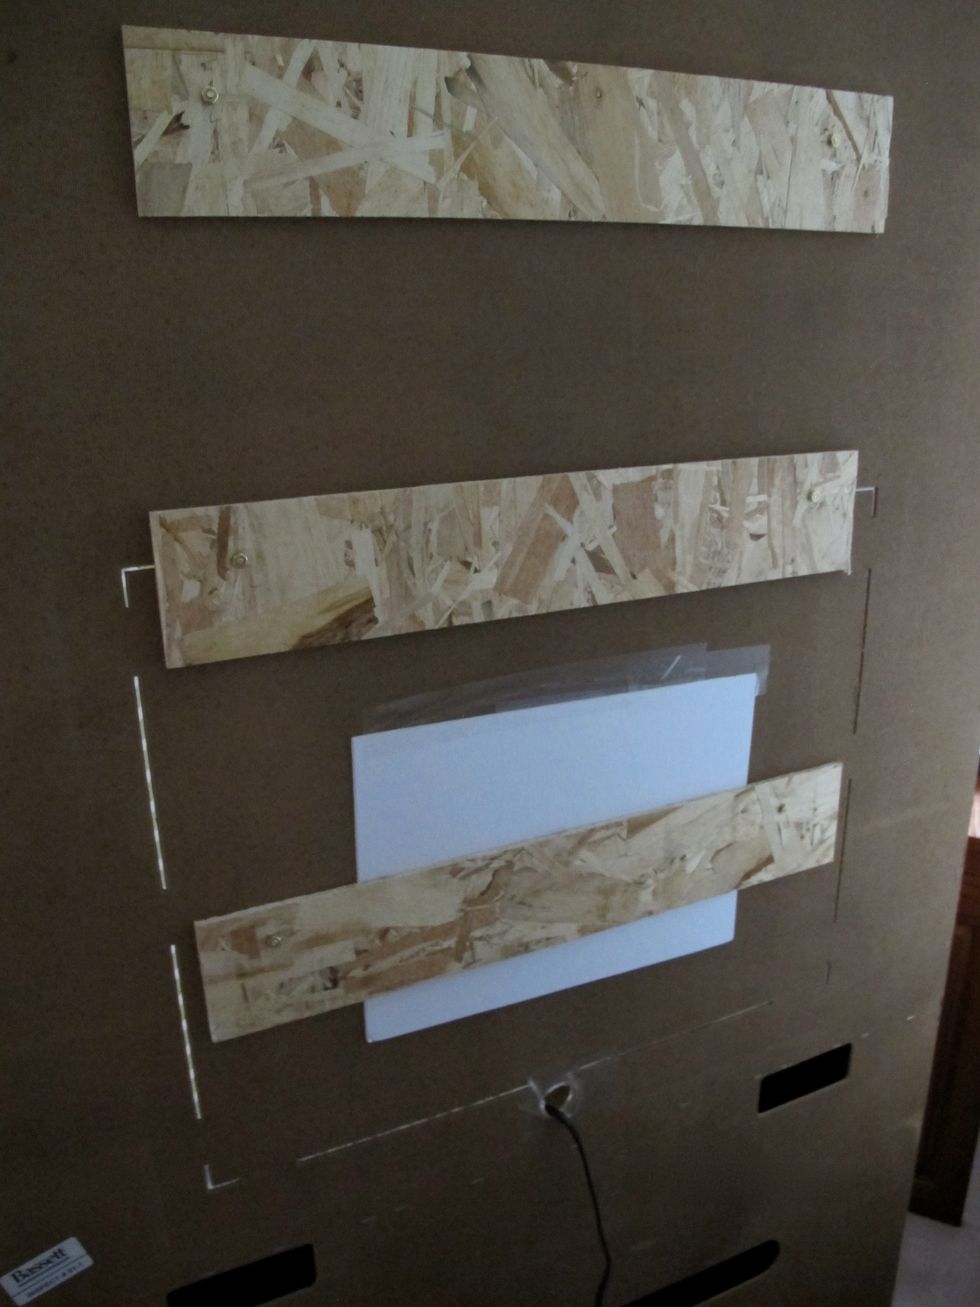
Measure where the shelving supports will go inside. Have someone help hold thin wooden strips on the back. Drill holes for the supports through the back and the wood strips. Install the supports.
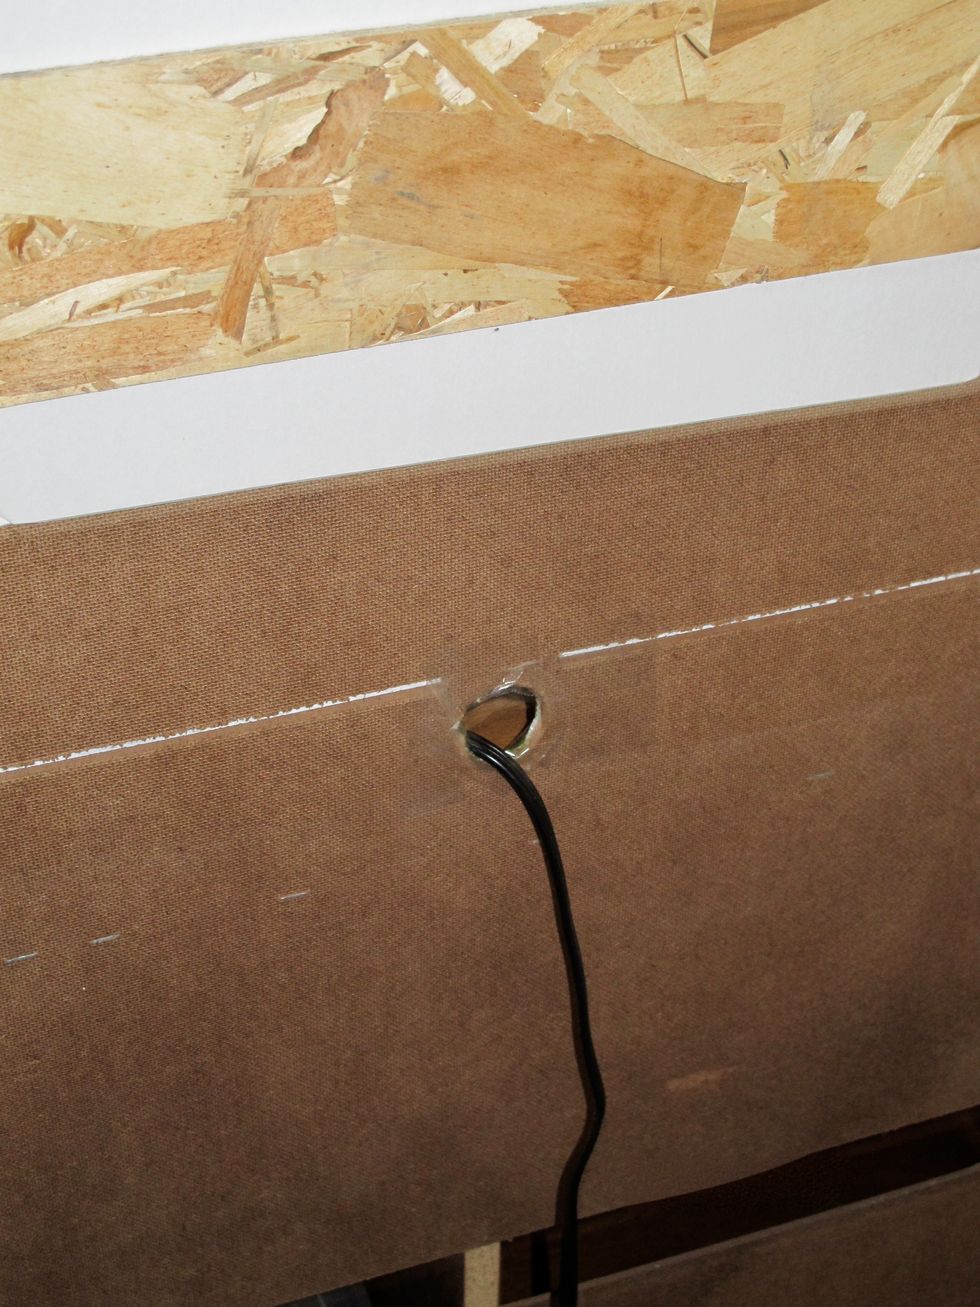
Use a dremel tool or small keyhole saw to cut a hole for the electrical cord (or power strip cord) to pass through the back of the center.
If the center has a pull-out shelf for CD's, shoe-sized storage boxes turned on their sides fit perfectly. Put ribbons, sewing accessories, etc. in them and use recycled stretchy bands to close.
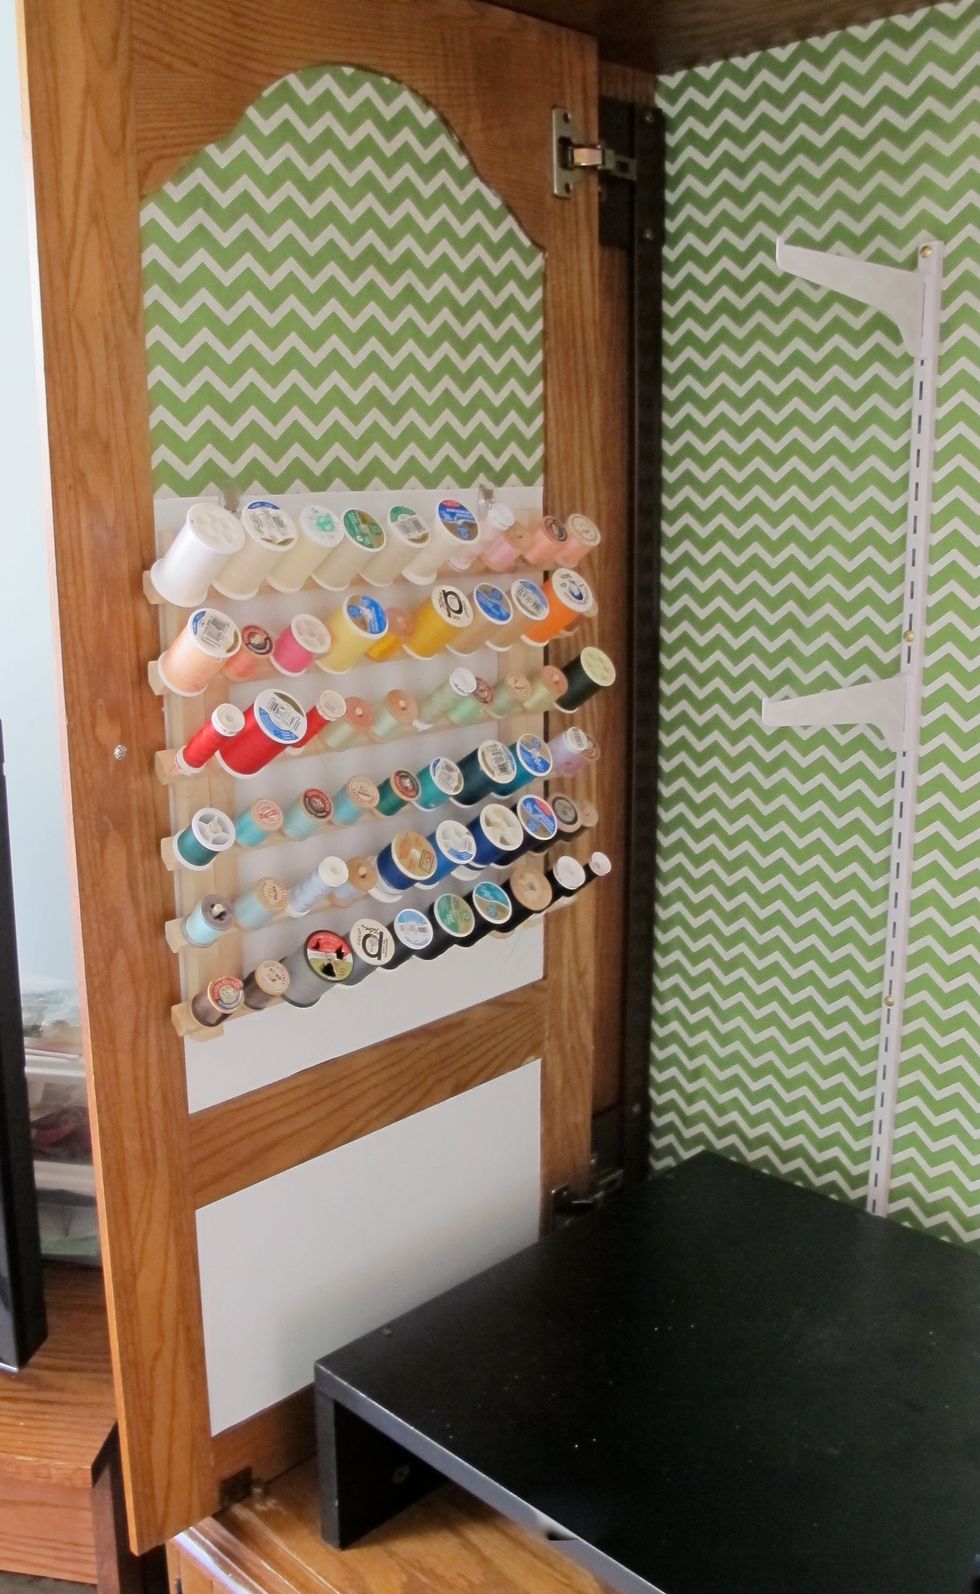
Measure and cut fabric or wallpaper to fit door panels. Attach using spray adhesive. Add a thread rack or other craft storage items by hanging them from adhesive hooks attached to door panel.
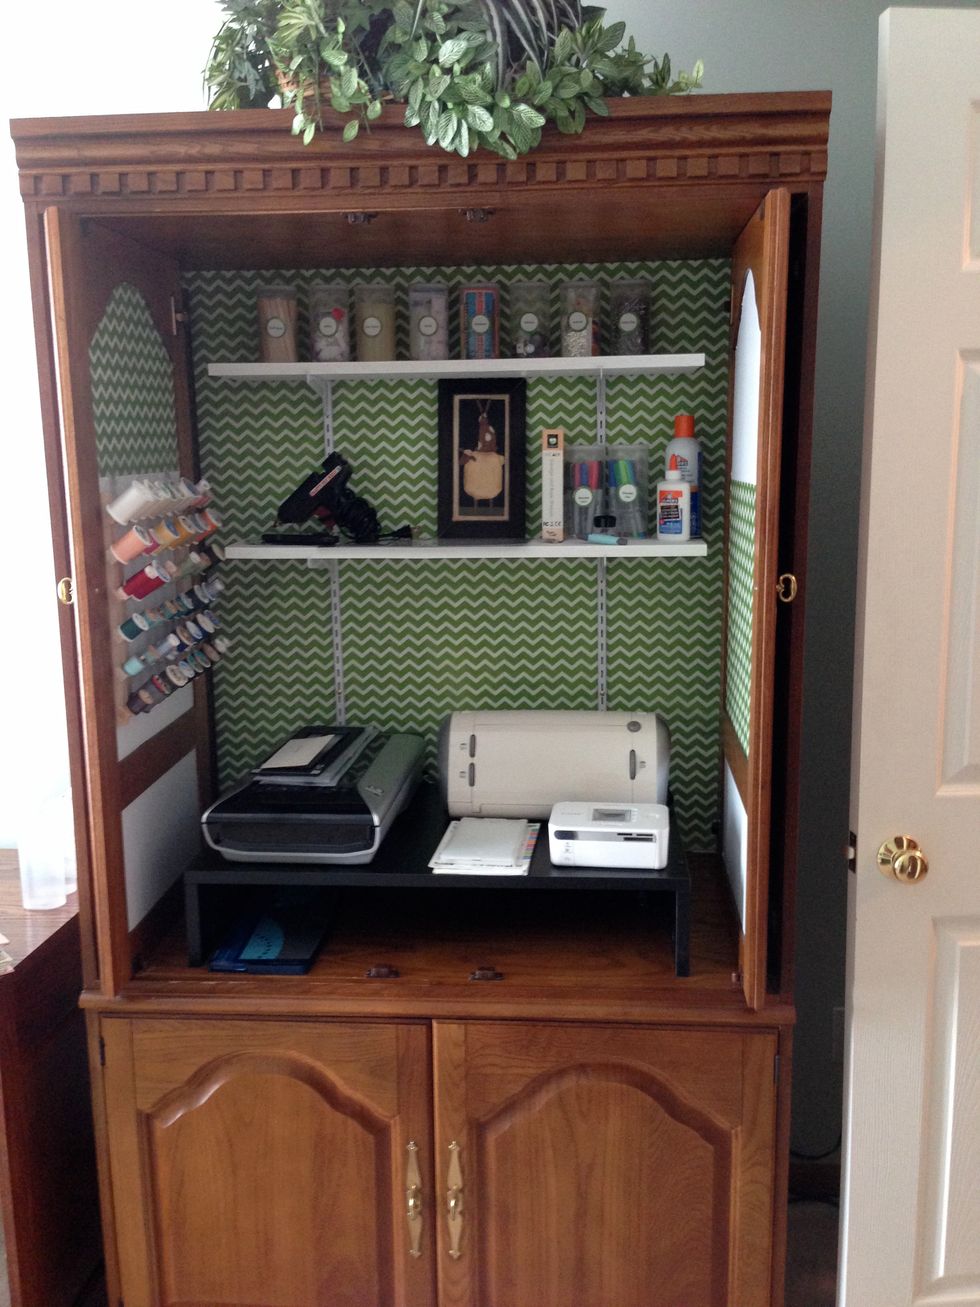
Paint and add your shelves. Use re-purposed "light" drink containers to hold safety pins, buttons, etc (top shelf). Plug in your craft devices and enjoy!