The Conversation (0)
Sign Up
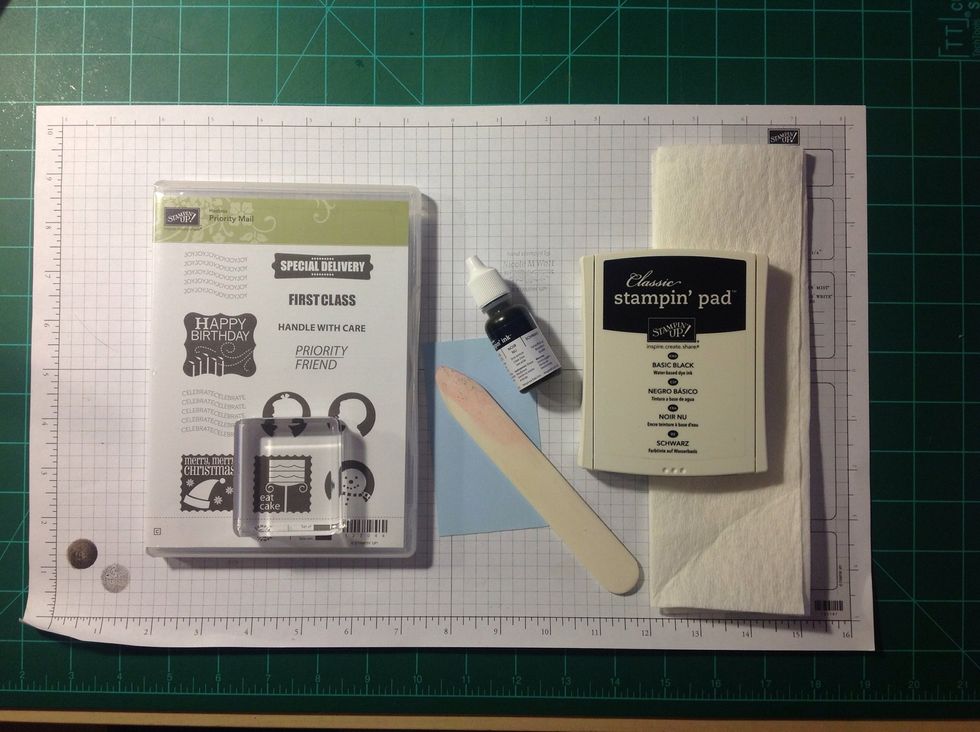
Here's all your supplies.

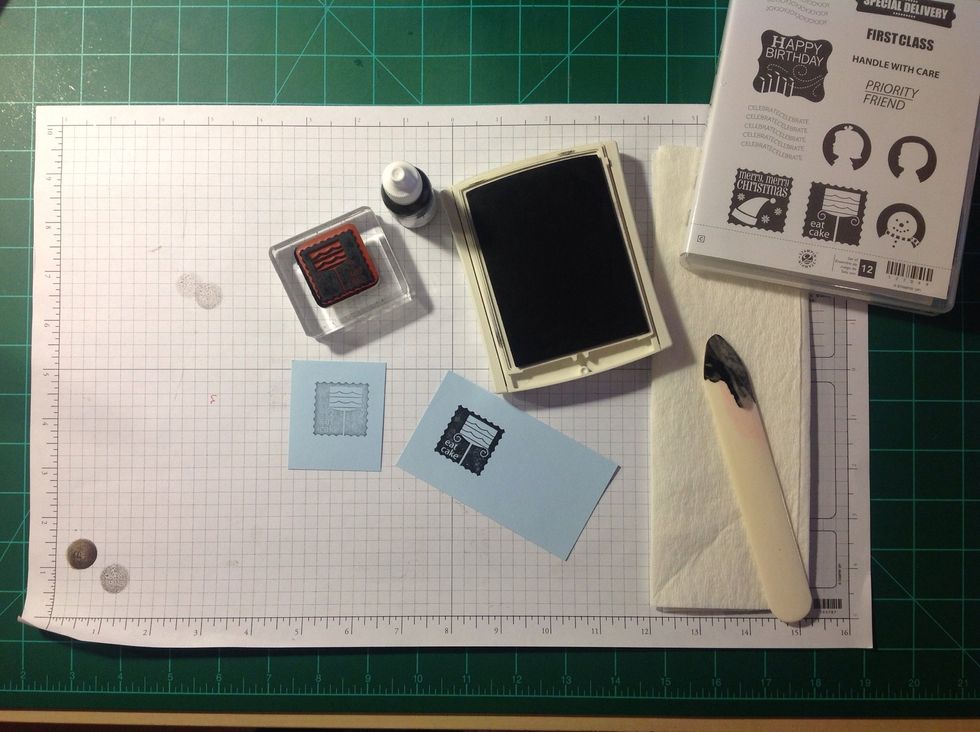
First, test out your stamp. If the color doesn't appear as dark as it should, it's probably time to re-ink.

Take the re-inker and apply ink in a zig-zag pattern across the whole pad. Start again from the opposite corner and apply more ink in the opposite direction.

Then, use your bone folder to help spread the ink evenly across the entire pad. The bone folder will discolor, so you might want to only use the folder for re-inking.
When you think there's enough new ink spread on the pad, give it another test. You might need to add some more, but probably not.
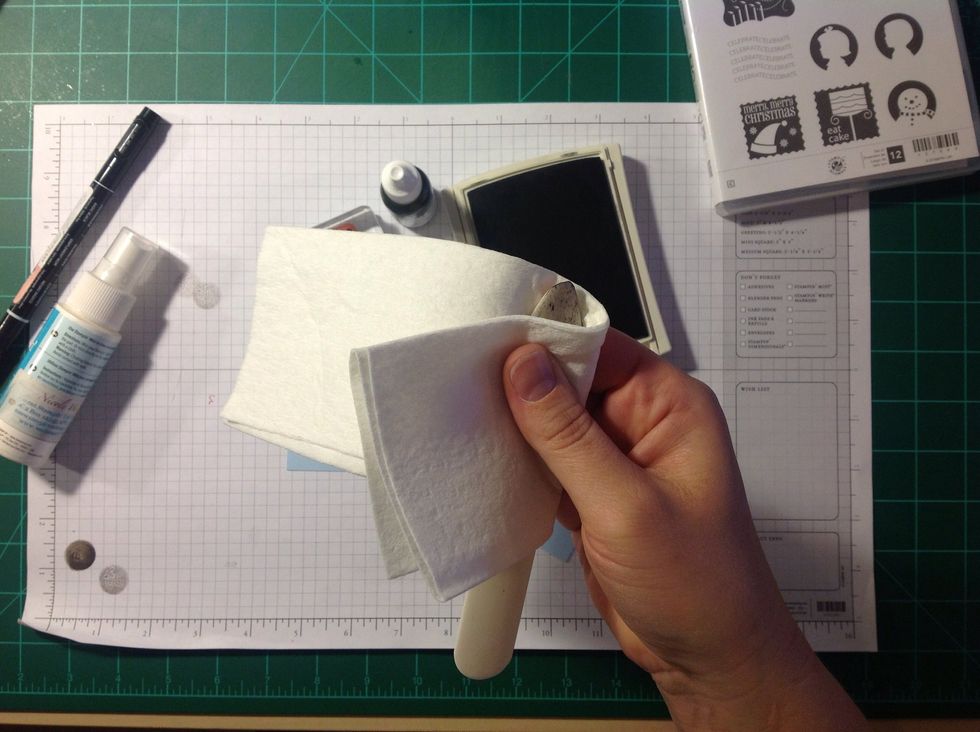
Then use the paper towel to clean off the bone folder.
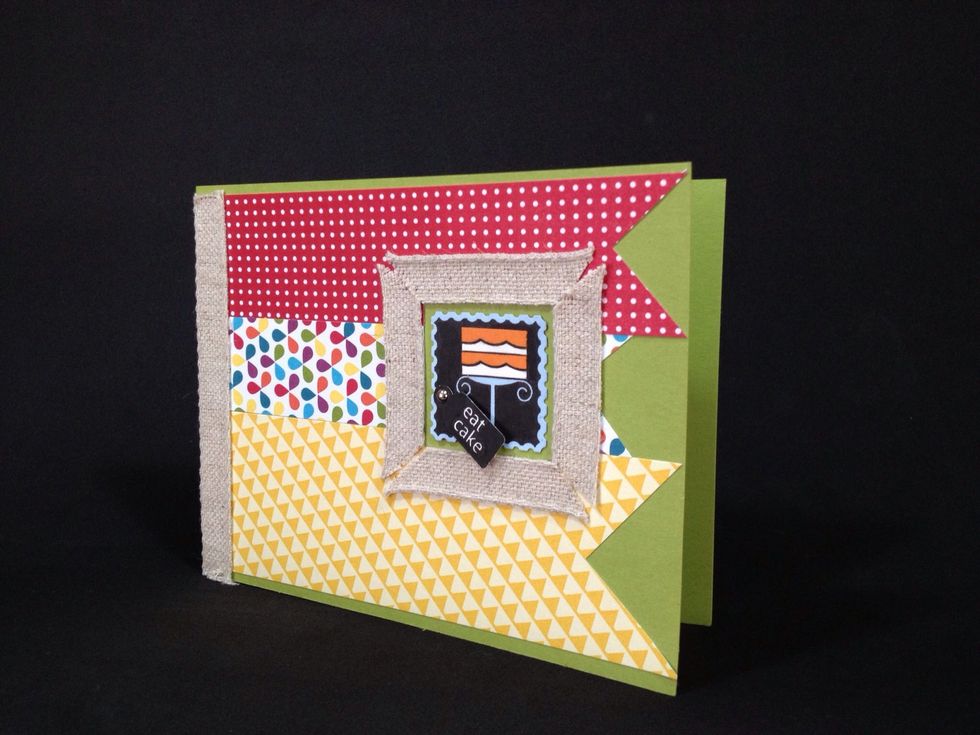
That's it! Now, on to some stamping!!
To purchase the supplies in this guide, check out my blog at: PixelMavensRetreat.com