The Conversation (0)
Sign Up

Start with your frame and remove glass and backings from picture slots. Clean surface. Apply white gesso to entire surface and let dry.
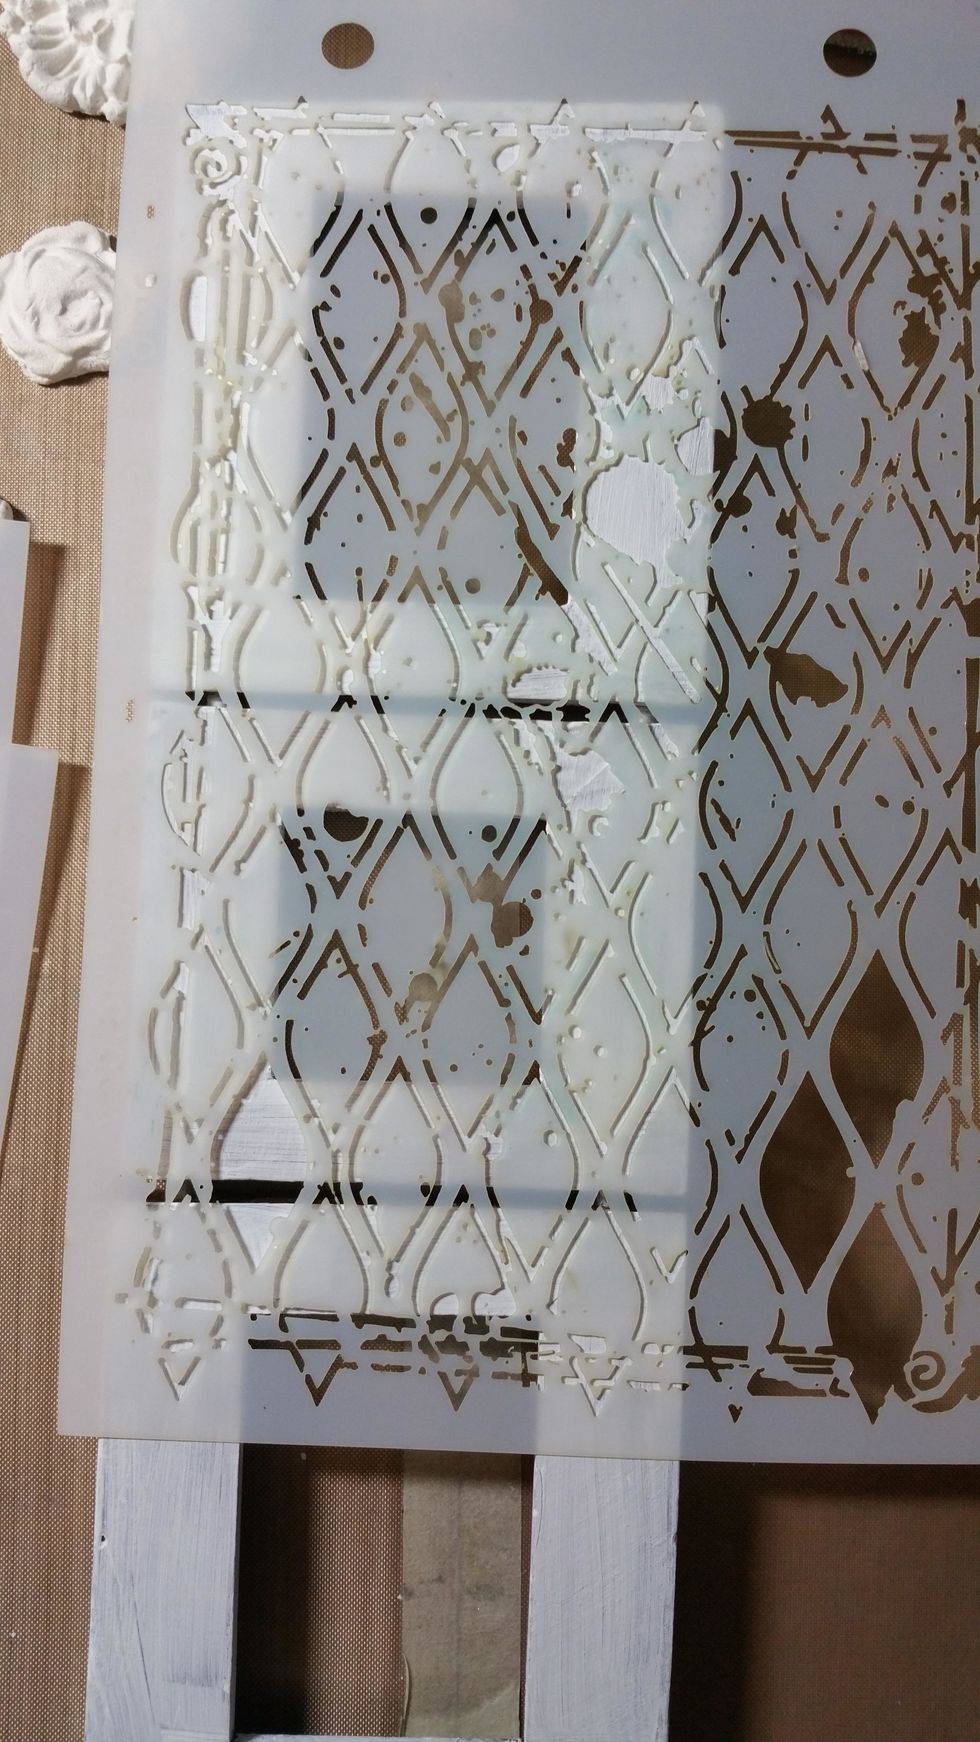
Next place stencil where you like on frame and apply texture paste through it with palette knife. You will need to do in two steps so make sure you line up. Let dry.
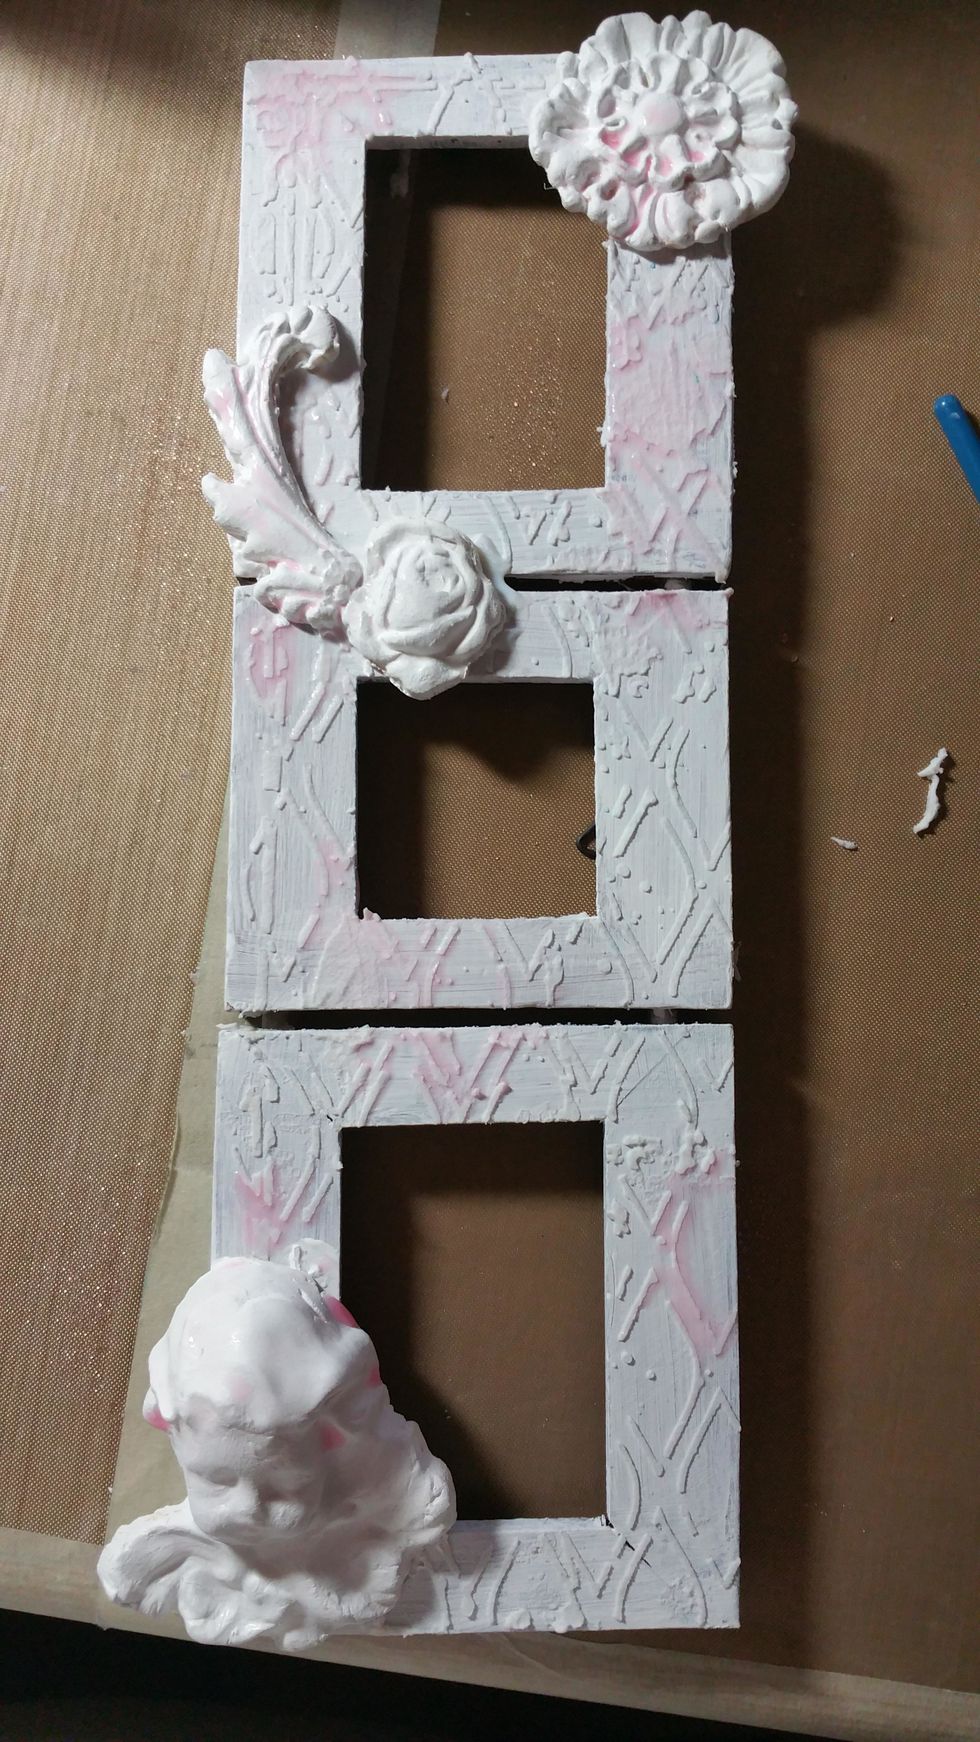
Add Molded embellishments and begin spraying color. In picture I started with a light pink but removed. Dry each color in between. Start by spraying light to dark. Allow to dry completely.

I brushed a bit of Kona velvet randomly which will pick up gold embossing later.
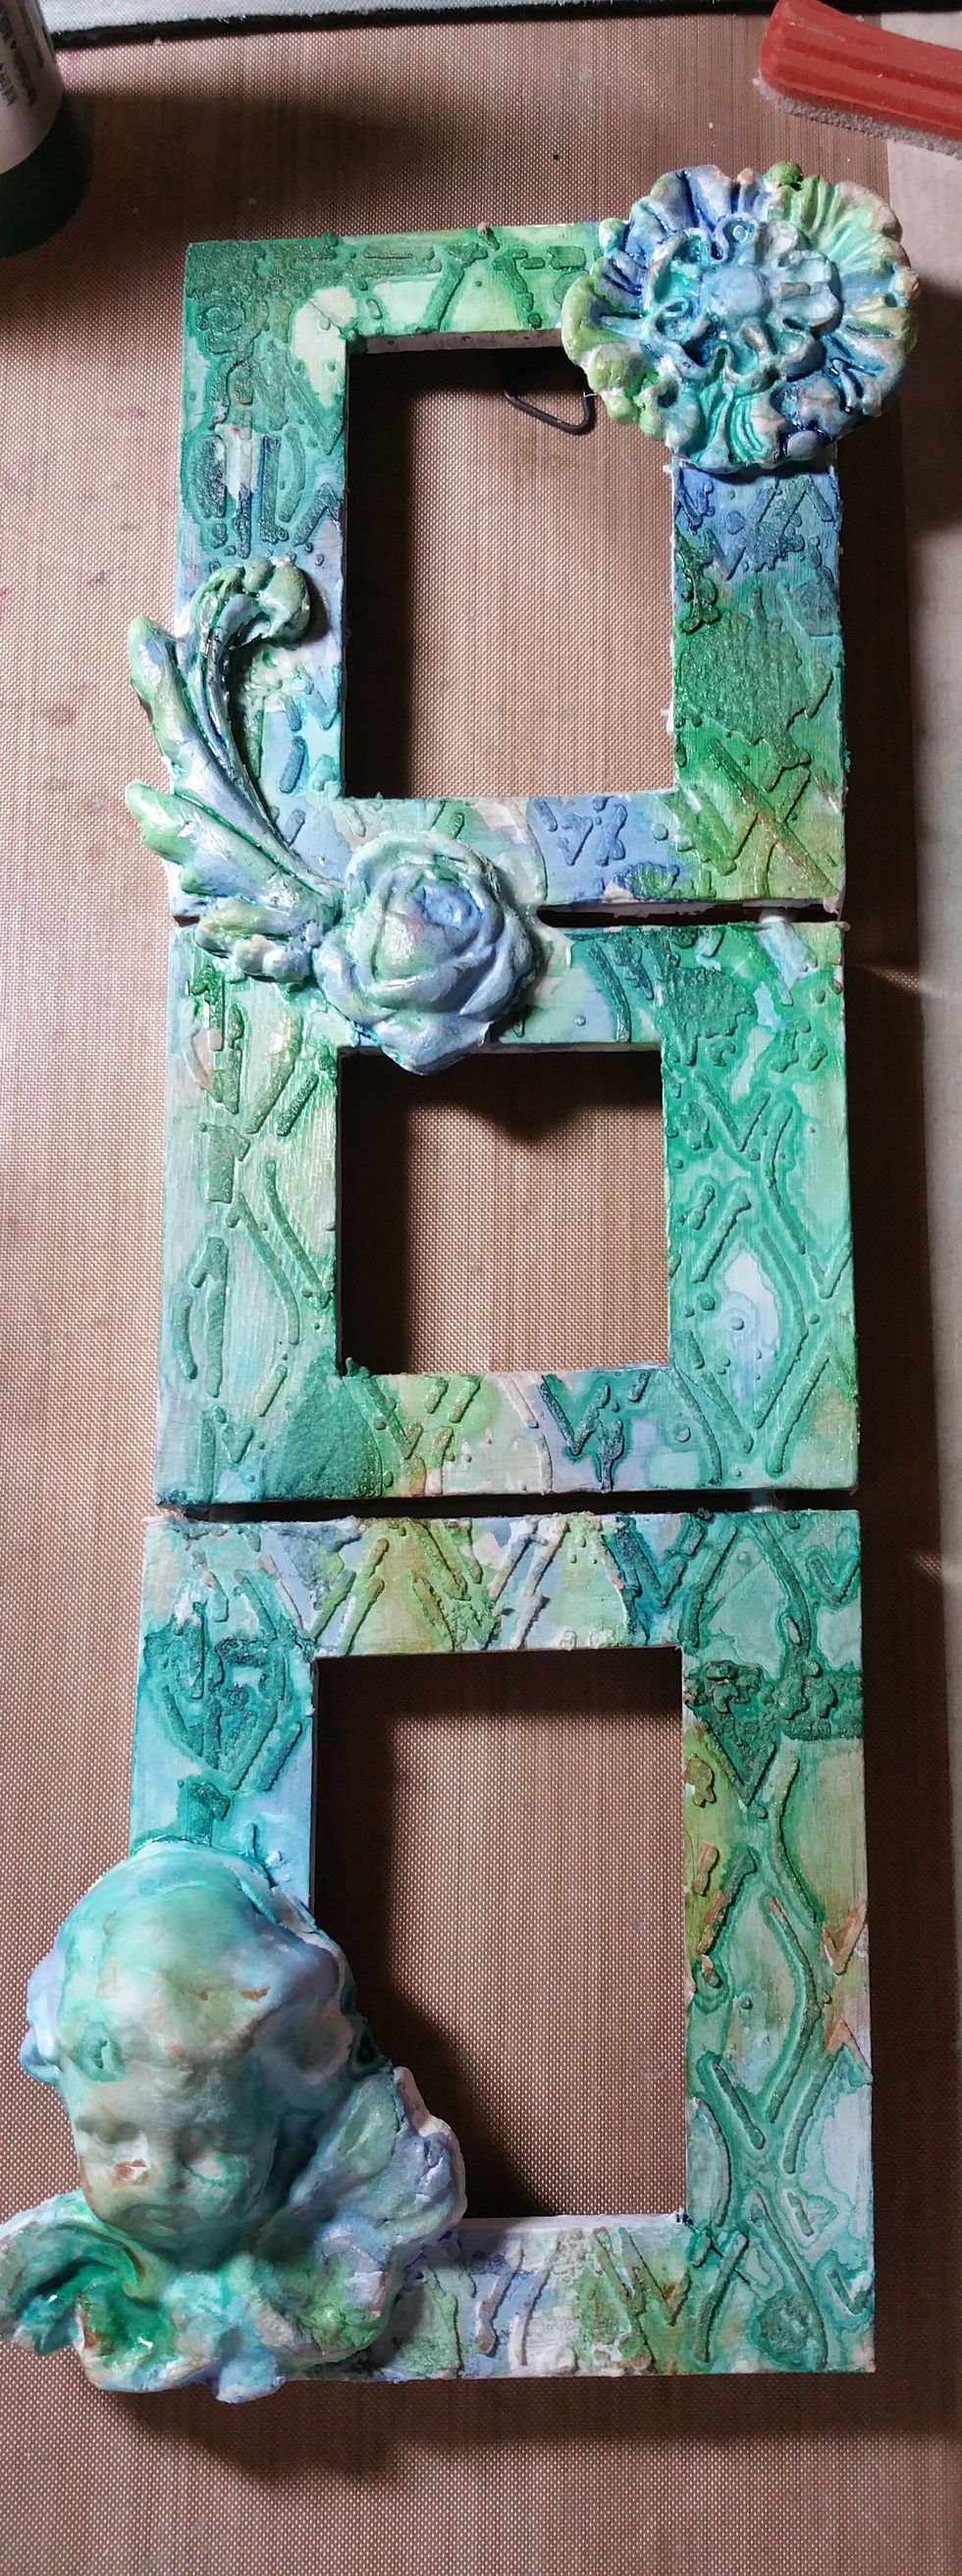
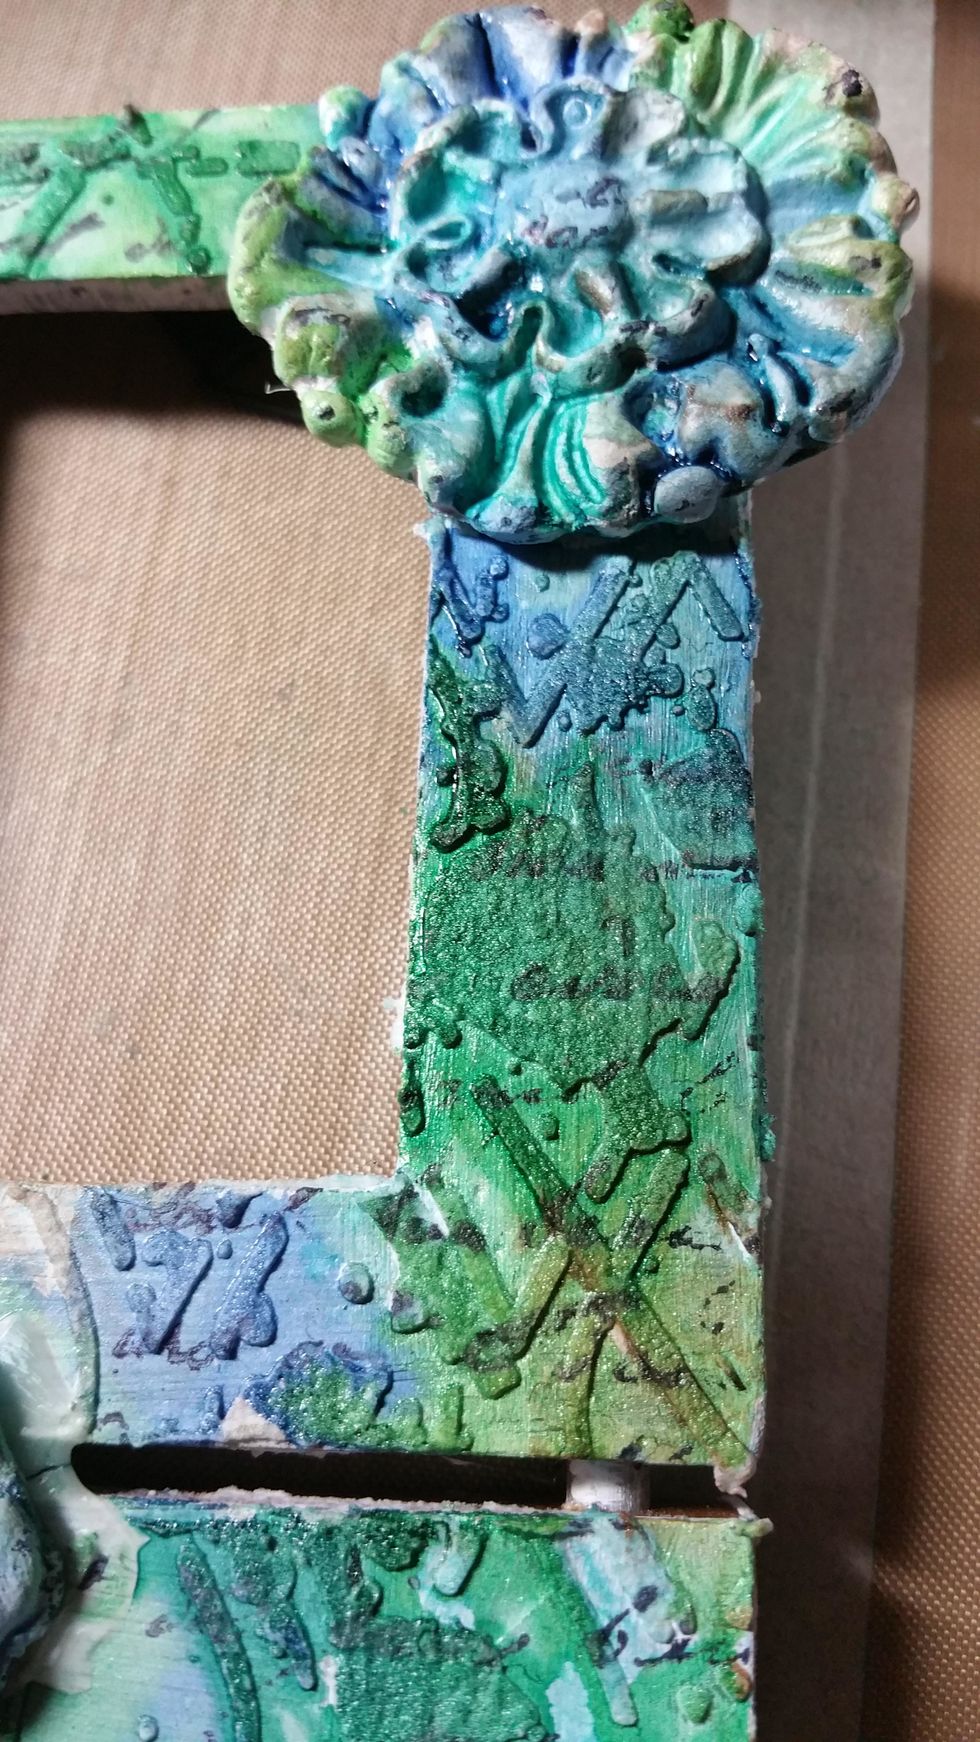
Once I achieved the color variations seen here I used a script stamp and black Archival ink and stamped all over including sides as well as top and bottom.

In this photo you can see the script stamping.
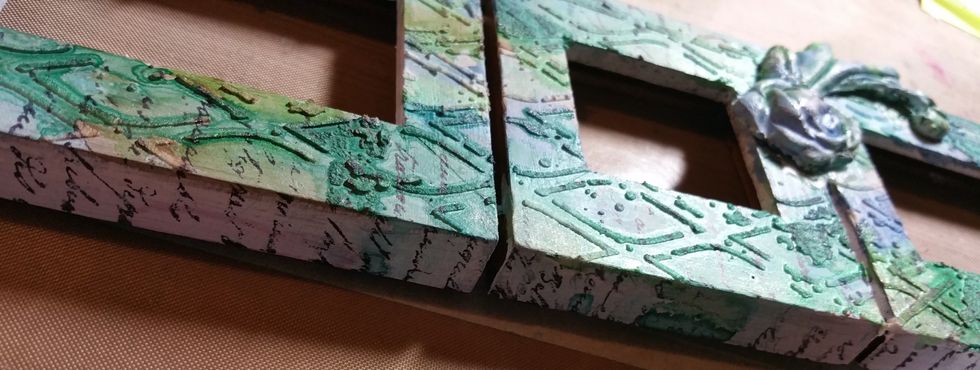
Be sure to stamp all around sides and top and bottom portions of your frame. Apply some light sprays of water and move frame around to allow color to drip and run down sides.
Using white cardstock stamp face images (or whatever stamp you like) and cut to fit your frame openings. Place back into frame under glass.

Next I applied Minx Ink in Stargazer to tiny paper flowers to darken them. Let these dry.
While your flowers are drying sprinkle some irridescent embossing powders and heat activate until they begin to bubble. Be careful to do this in slow steps so you do not burn the wood or texture paste

Add your died flowers. To add a bit more sparkle I used a paint brush dipped into minx colors Bankroll, Panache, Stargazer, and Gold Dust and applied in various areas. Let dry.
Finally, Apply a good layer of clear sealant to entire frame when dry. Do not worry if some of your color begins to blend. It is part of the end result.
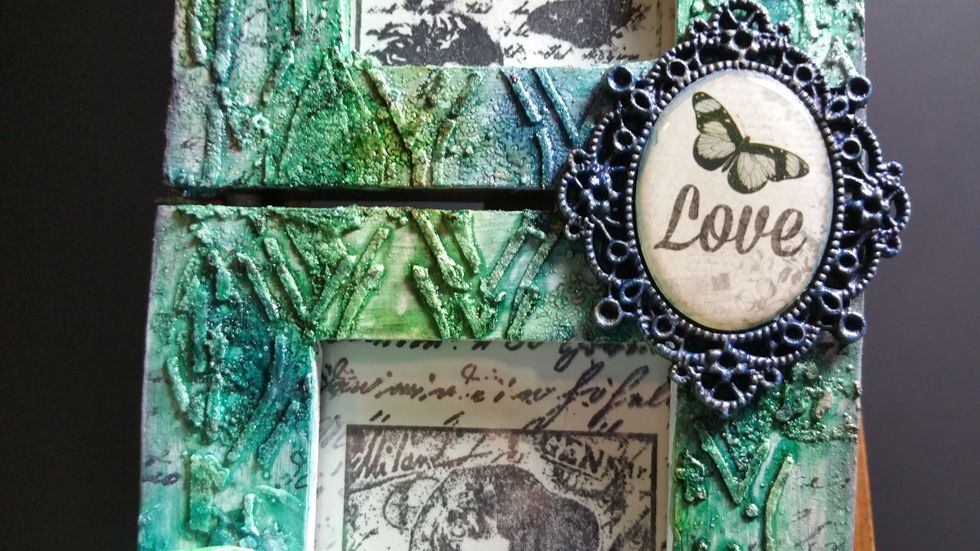
I added a cameo embellishment that I painted the metal edge with Gemstone Blue Topaz.
I hope you enjoyed my tutorial! All of the Art Anthology Products used can be found at www.artanthology.net and please share yours with us on Facebook https://www.facebook.com/groups/741057632686564/