The Conversation (0)
Sign Up
Recalibrate Baratza grinders listed above. This guide shows re-calibration to a finer grind.
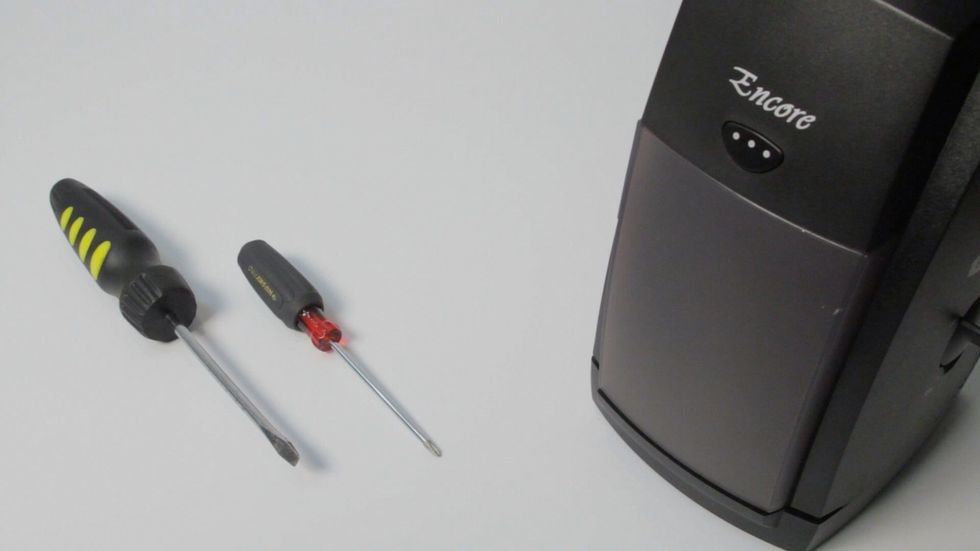
You will need a standard flat head srewdriver and a fine point Phillips head.

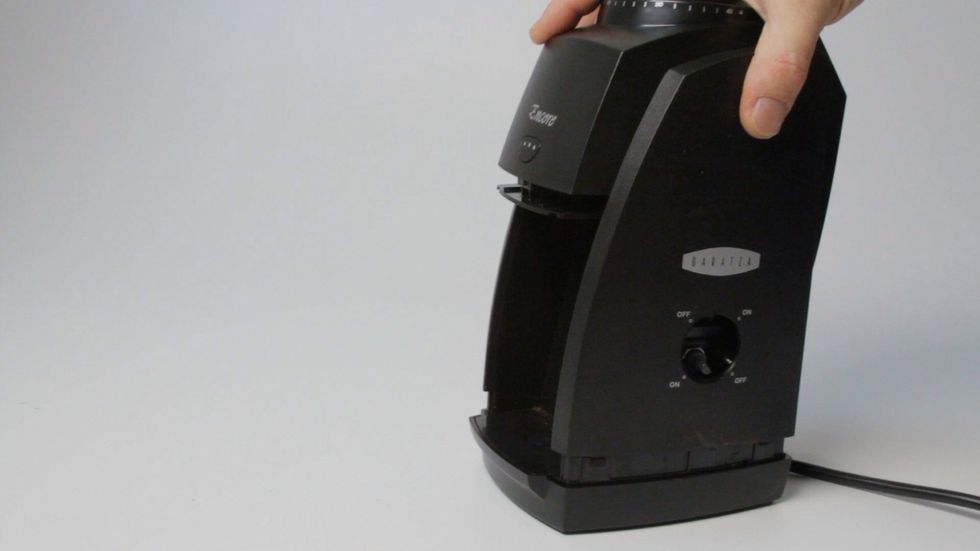
Remove the outer case: start with screw driver placed vertically into the gap.
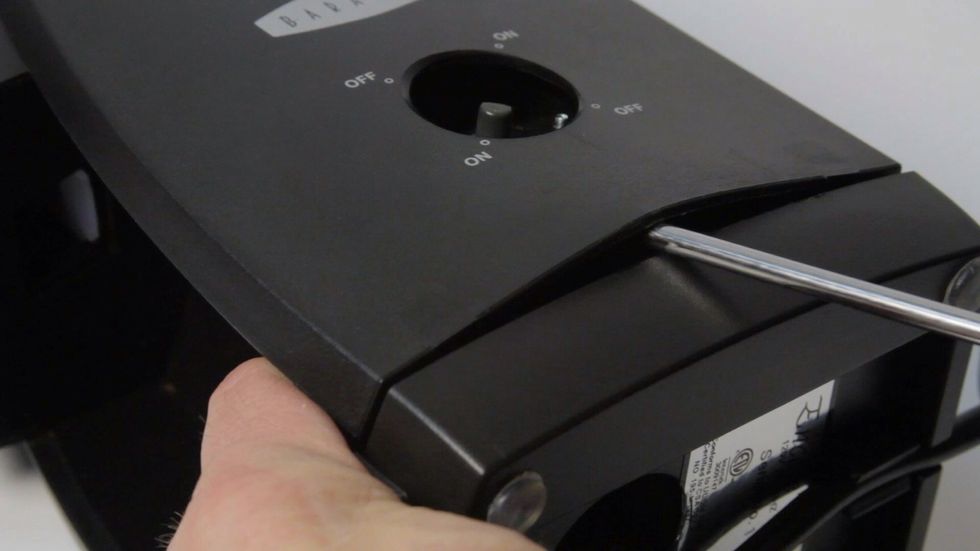
Lever down and push screwdriver in and up about half an inch. Wiggle side to side and pull up on case to release clips holding case in place.

Clips are at the bottom edges of the case. 2 on opposing sides of the case for a total of 4 clips. With clips on first side released, flip grinder over and repeat on the other side.
With the 4 clips released, stand grinder upright and slide case up to remove. You may need to pull case slightly to clear the shaft of on/off knob.
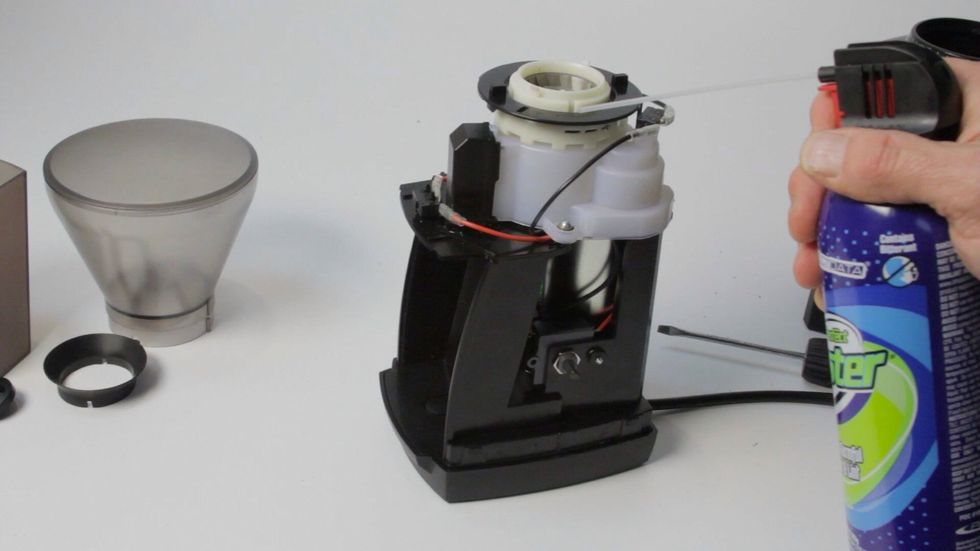
With the case off remove any debri inside the grinder housing. Canned air works well for this.
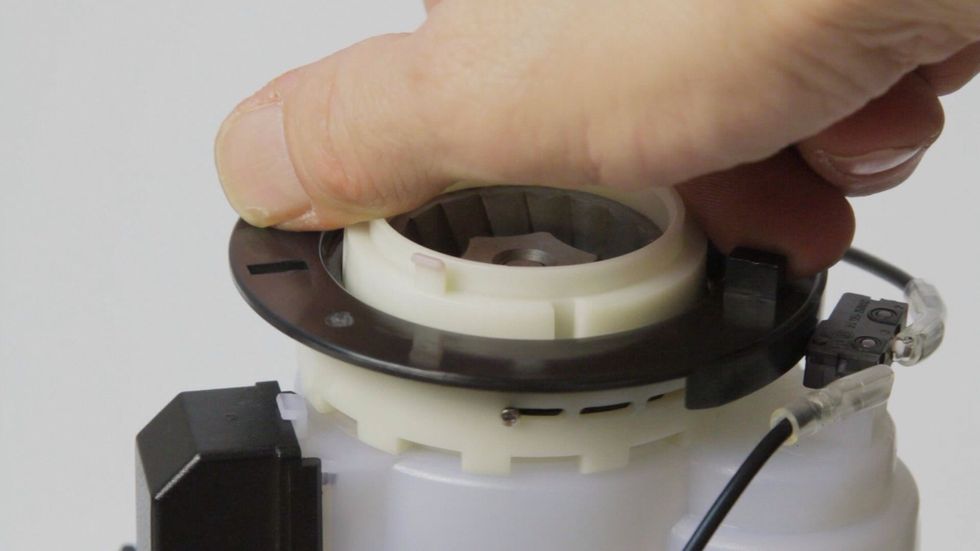
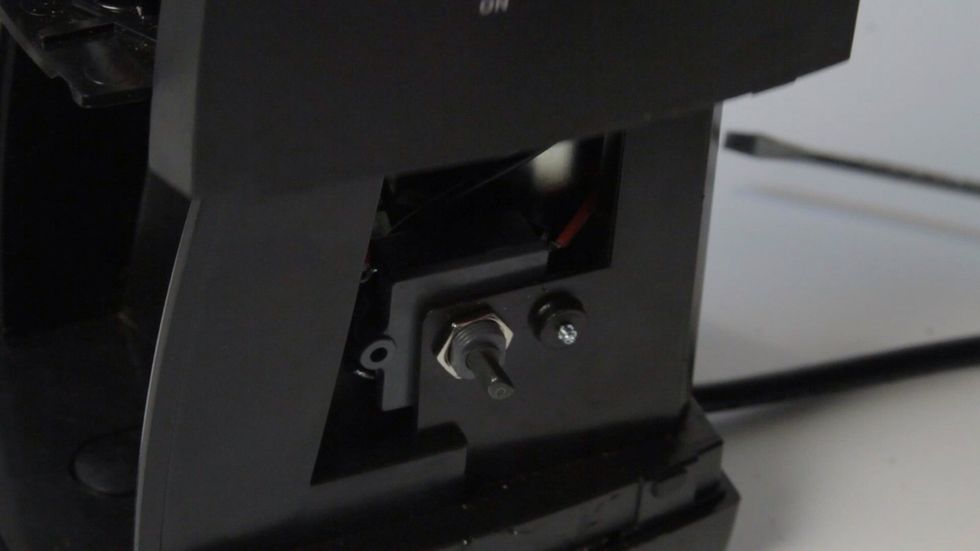
Rotate the black ring clockwise to fully expose the 3 adjustment windows in the white ring. There's a small screw in one of the windows. It's in the left window in this photo.
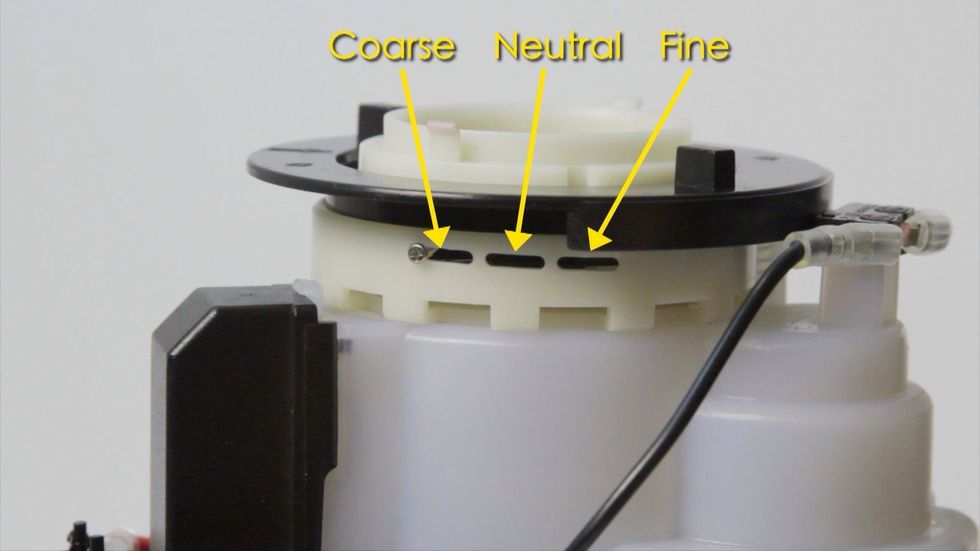
To get a finer grind we'll be moving the screw from the coarse window to the fine window.
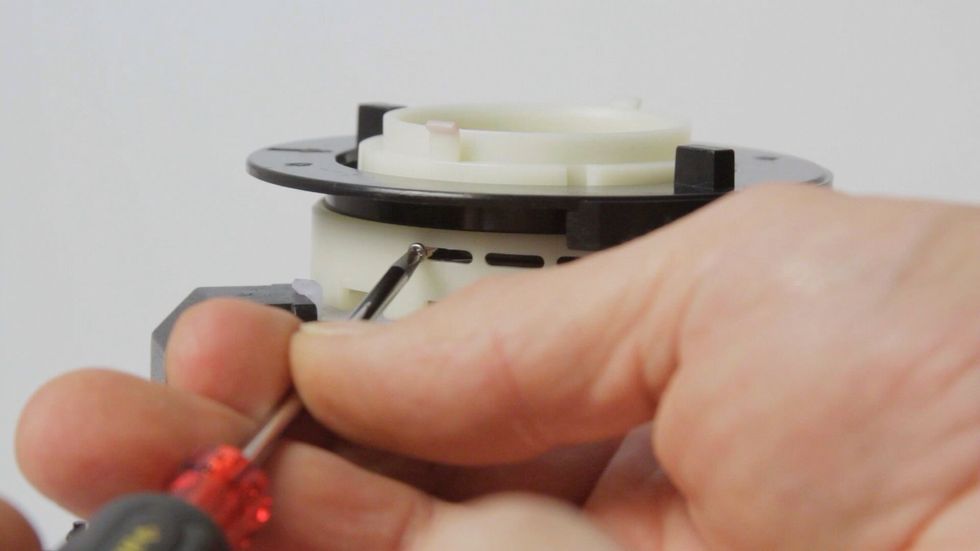
Remove the screw.
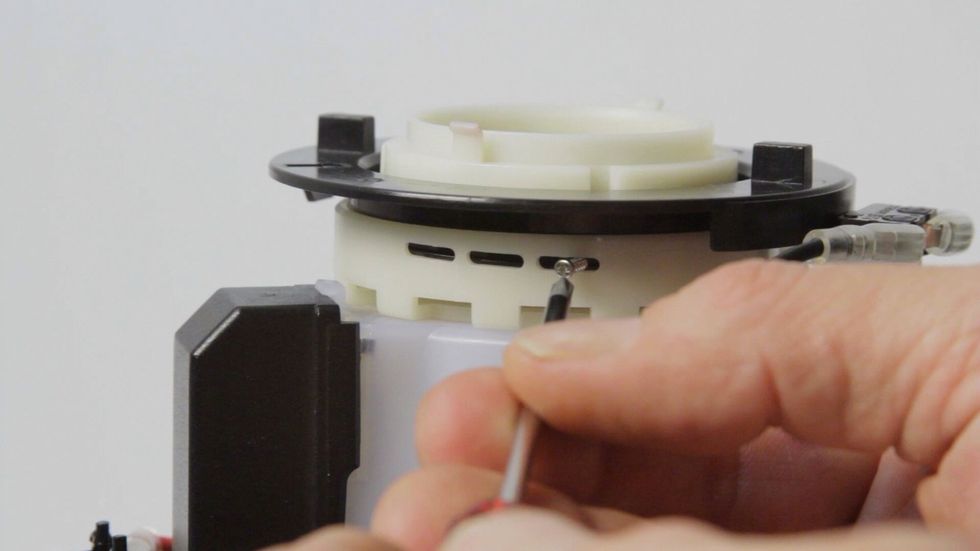
Holding the upper white ring, I turned the black ring to move the screw holes (there are 2 available) to line up behind the fine window. I then replaced the screw.
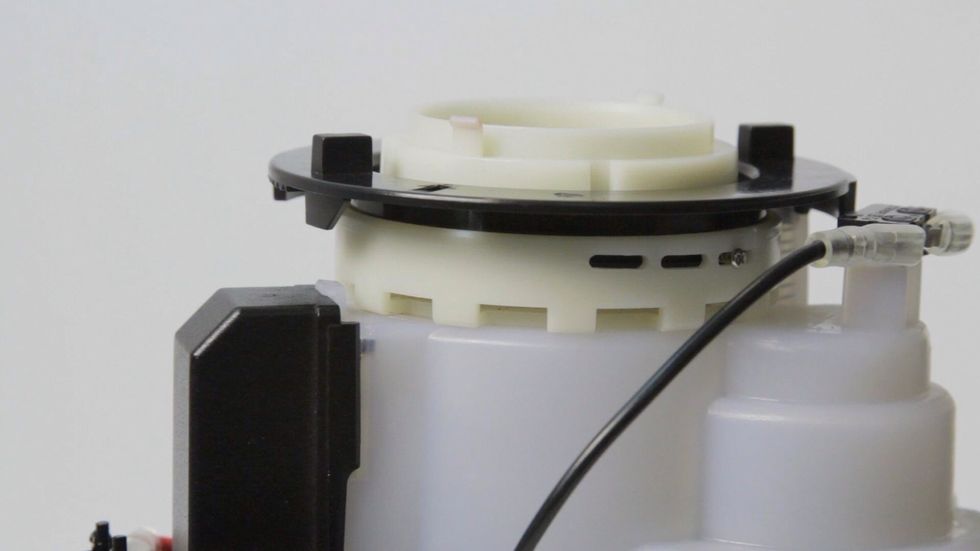
After replacing the screw, turn the black ring fully counter-clockwise. This makes it easier to line up the bean hopper later.

Replace the silicone dust skirt.
Slide the case back over the top. Push down firmly to re-engage the case clips.
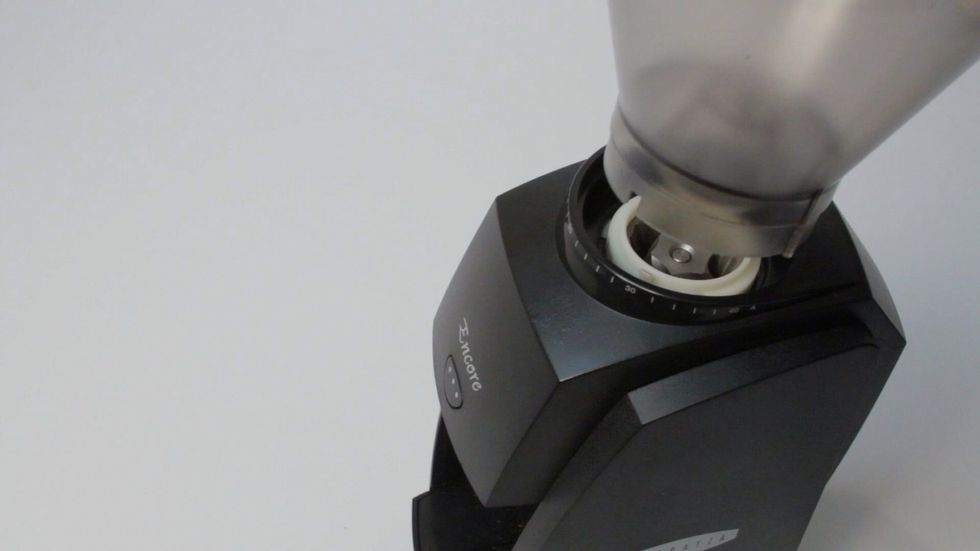
Replace the bean hopper by lining up the key to the 40 mark. Replace the on/off knob onto the keyed shaft. That's it your grinder is now set to a slightly finer base grinding adjustment!