The Conversation (0)
Sign Up
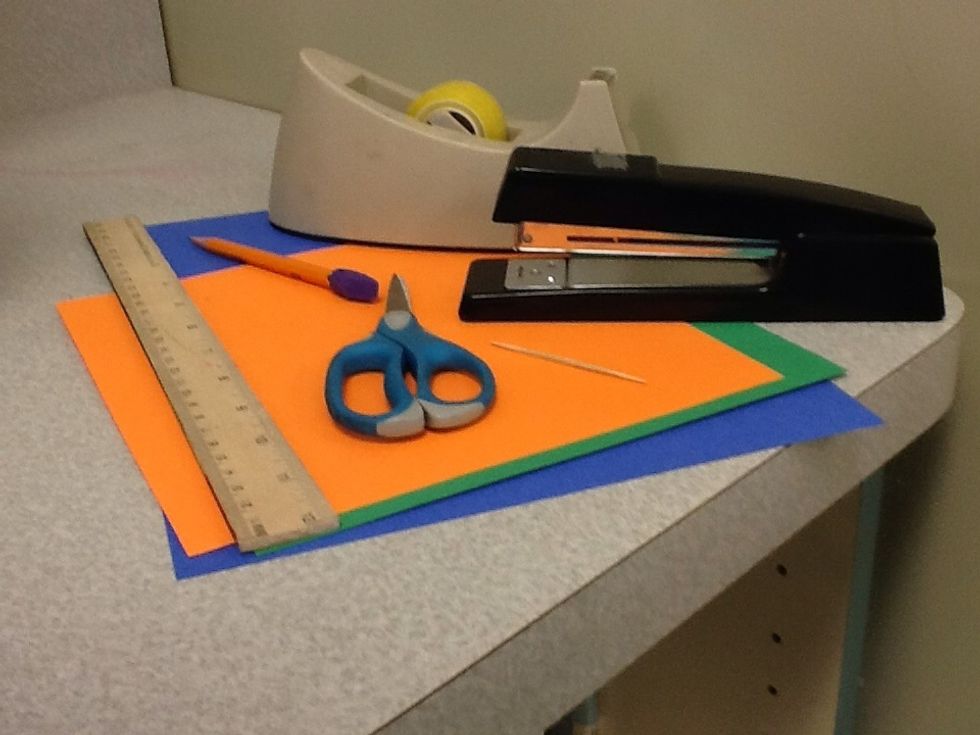
Gather Materials
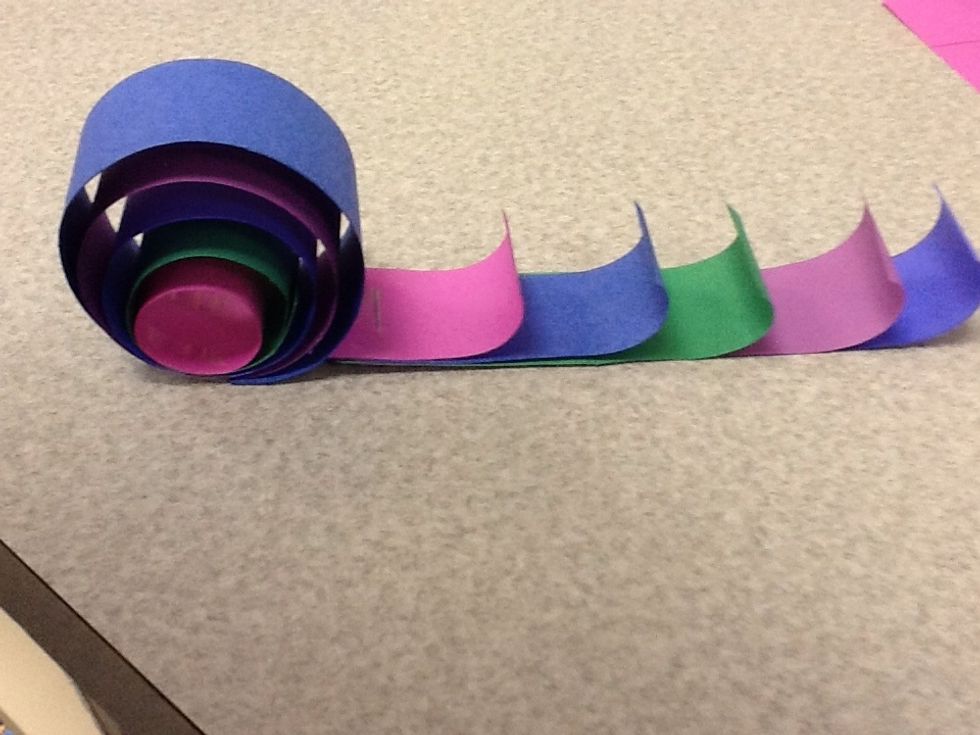
Measure and cut out the card stock, body: 5 ( 1-inch-wide) strips, 3,4,5,6,& 7 inches long
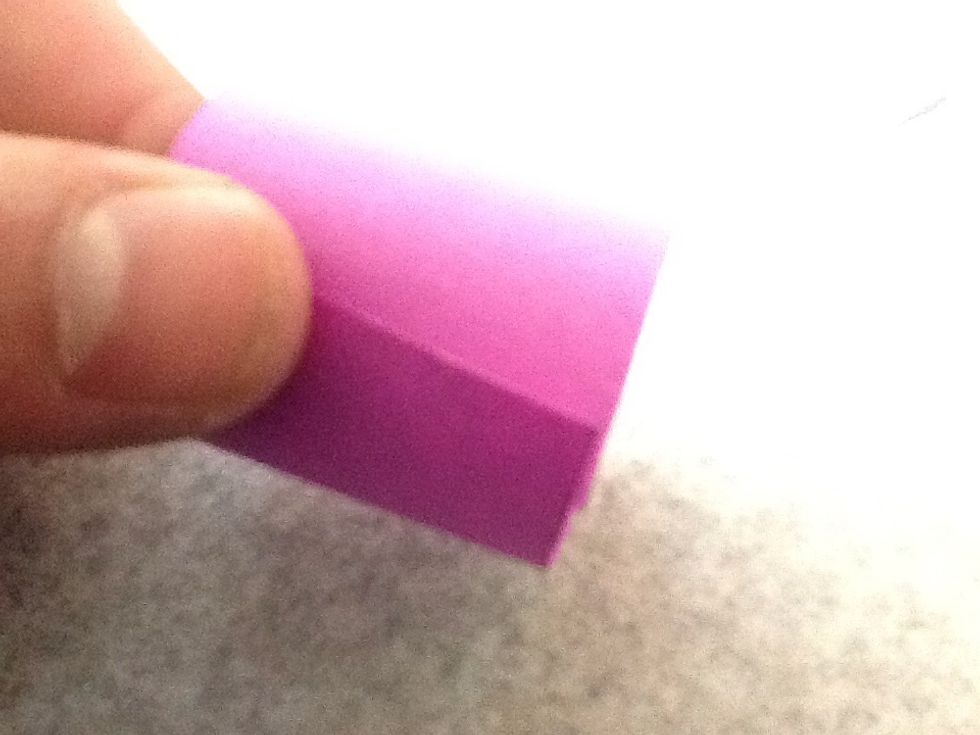
Roll the body parts into circles, overlap their ends about 1/4 an inch
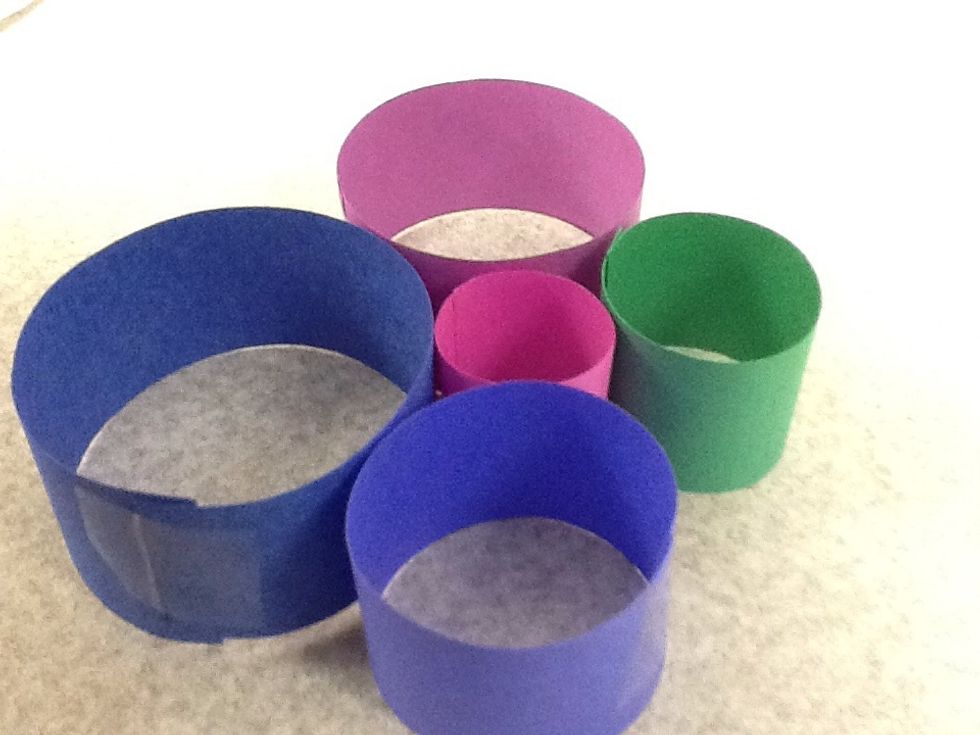
Secure with tape
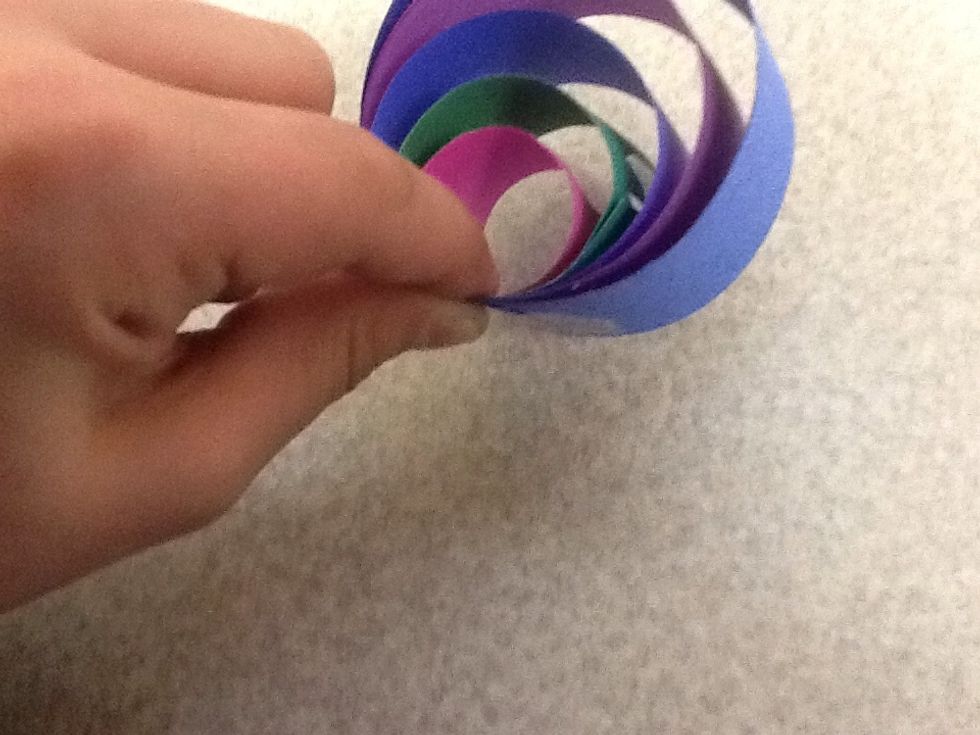
Pinch together
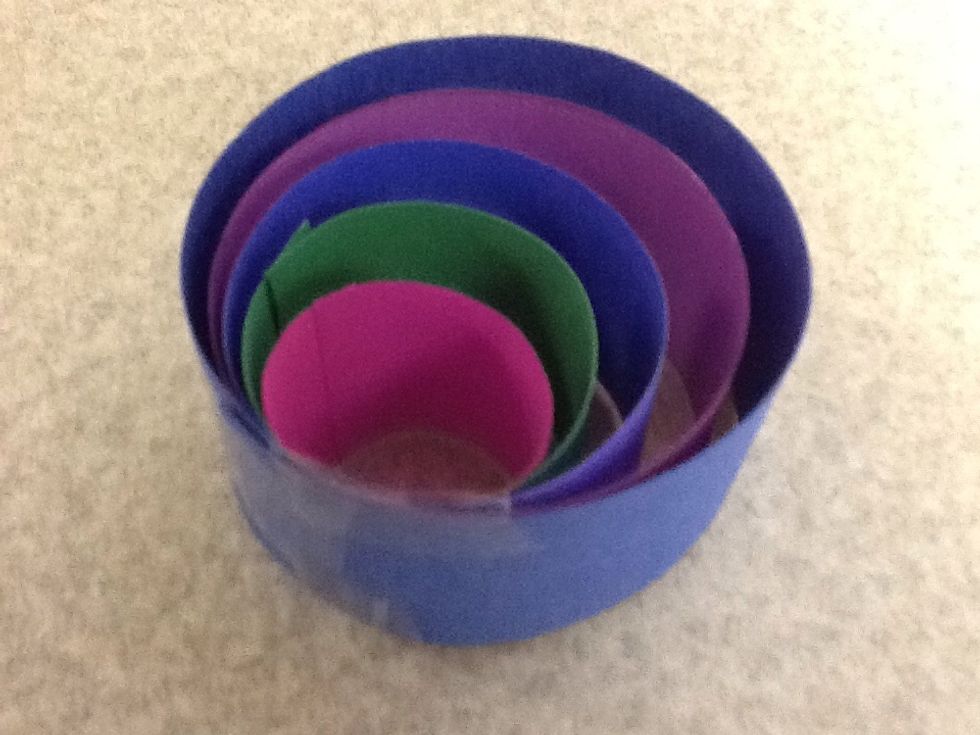
Secure with tape
Head: 2 ( 1- inch- wide) strips, 2 1/2 and 3 1/2 inches long
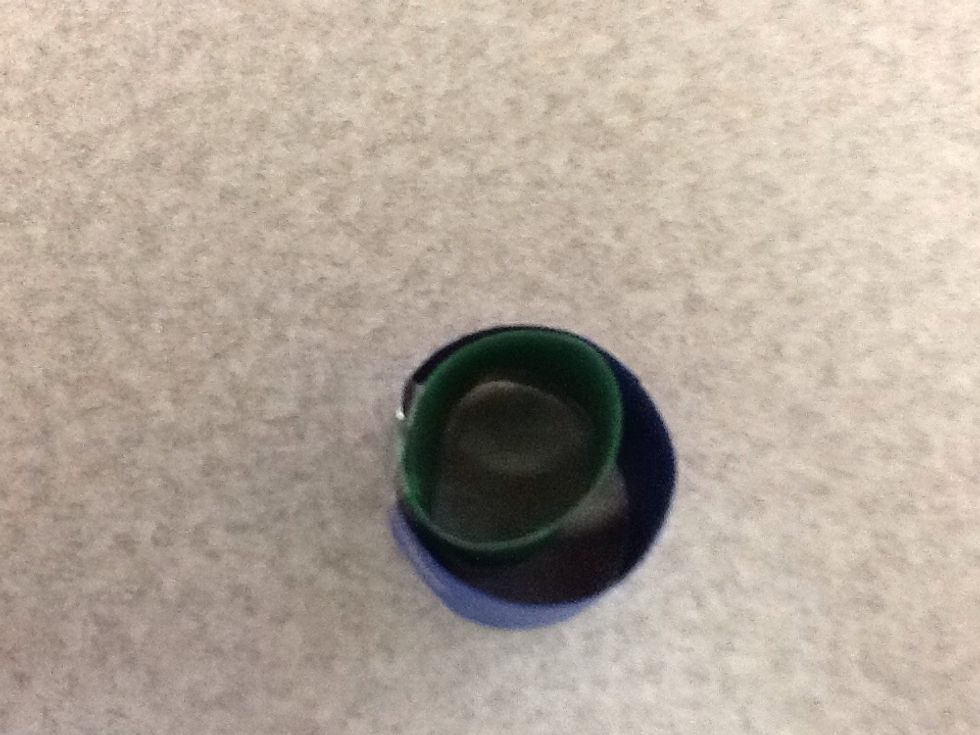
Do the same as the head: roll, tape, pinch, & tape, again.
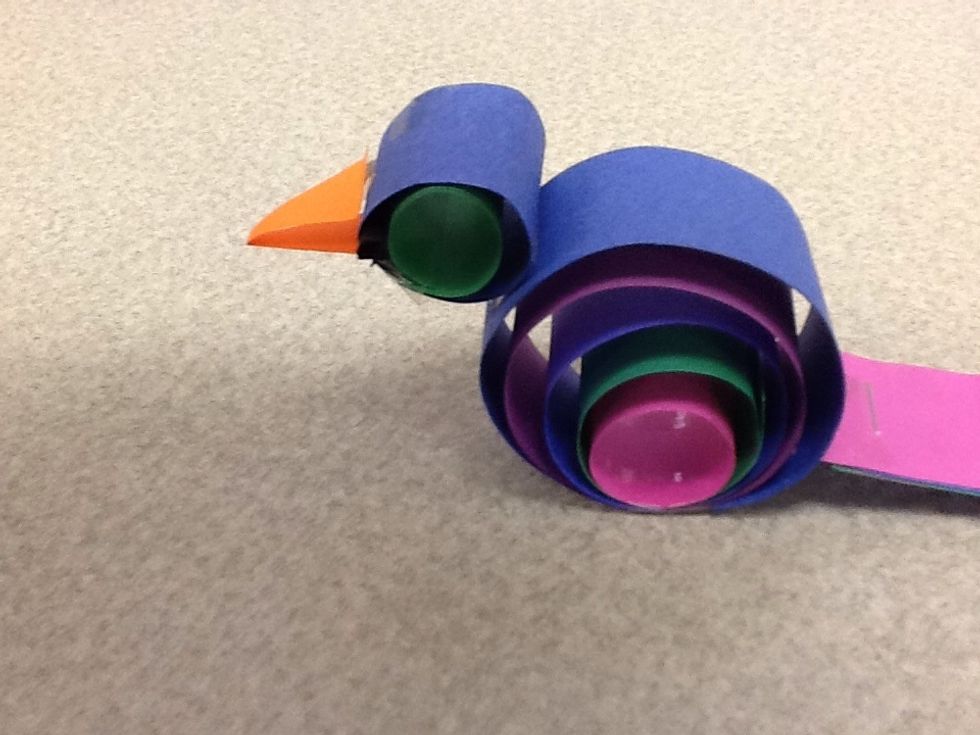
Tail: 5 (1 1/2- inch-wide) strips, 2,3,4,5 & 6 inches long
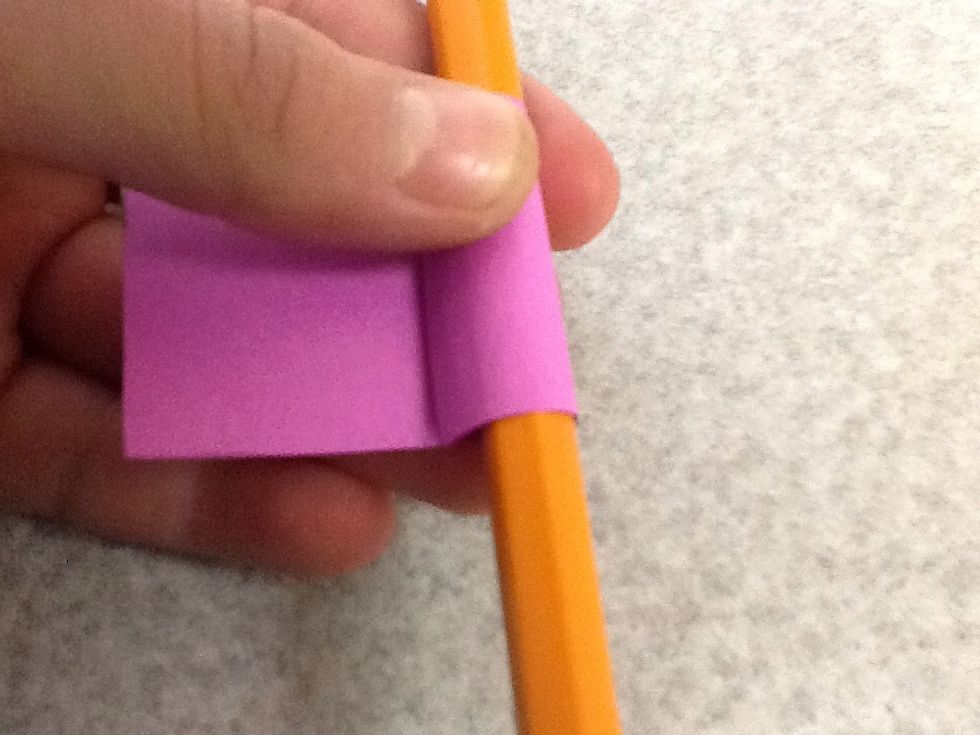
Curl the ends of the tail pieces with a pencil
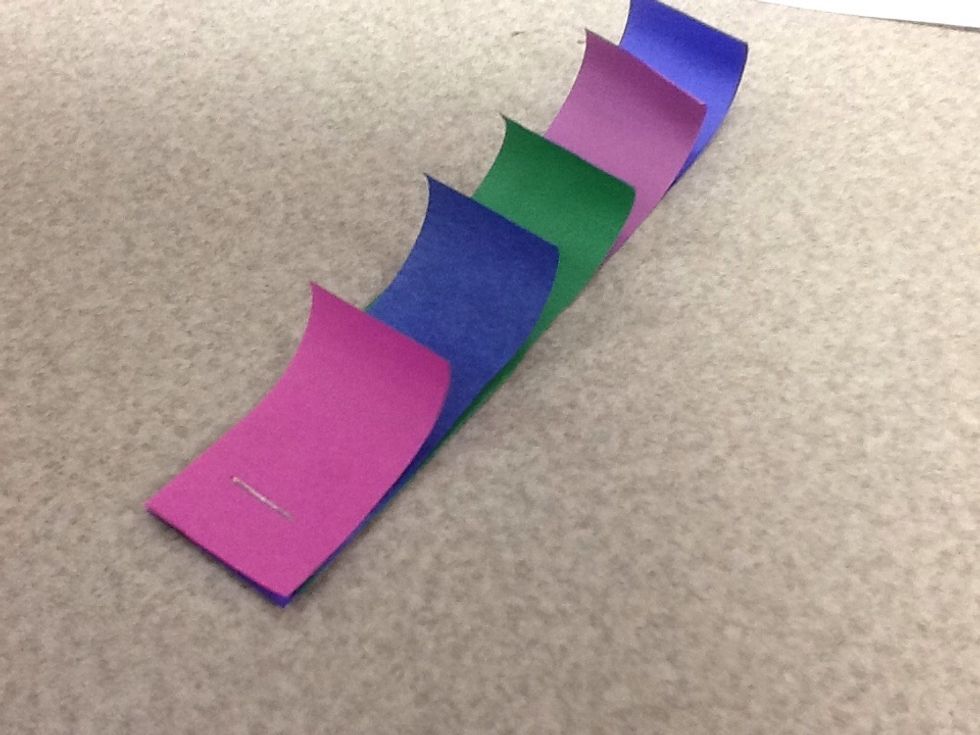
Lay them together and staple
Tape/glue the body to the tail. TIP: If it's to flimsy, add extra glue/tape
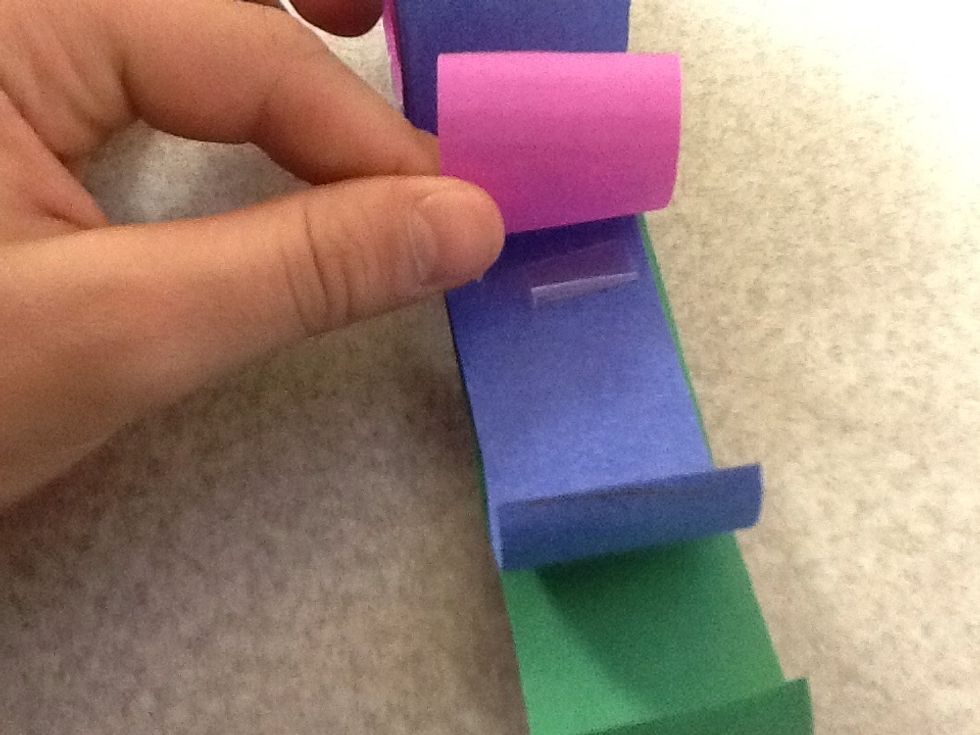
Under the tail pieces use little tape pockets to make it less flimsy
Beak: 1( 1 - by 2- inch) strip
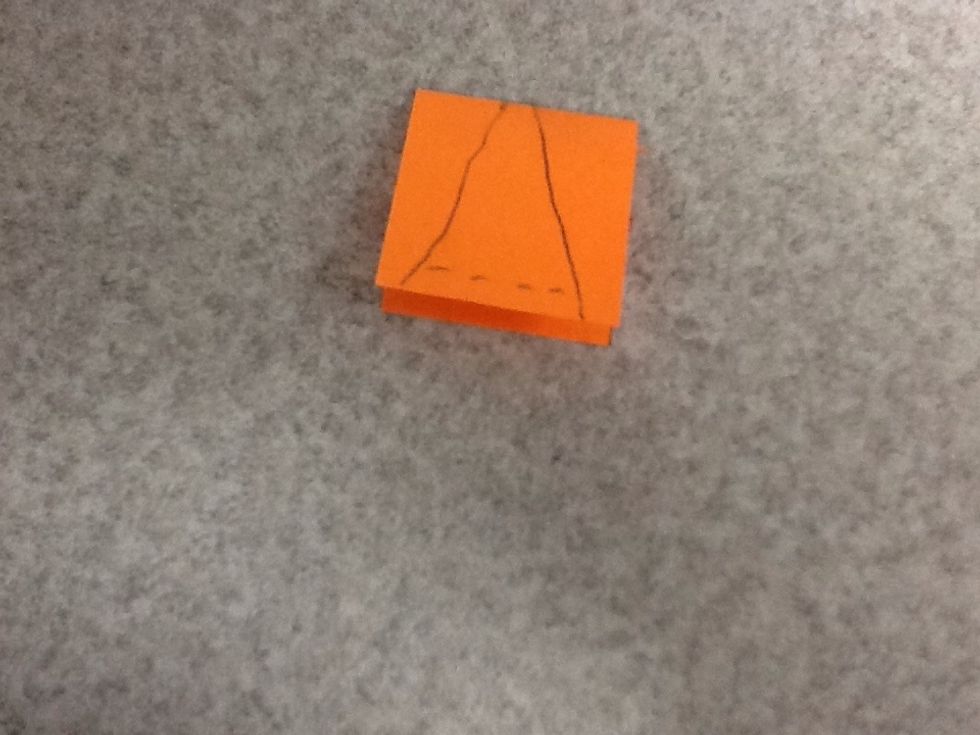
Fold the beak part in half and draw a beak on it as shown
Cut out the beak
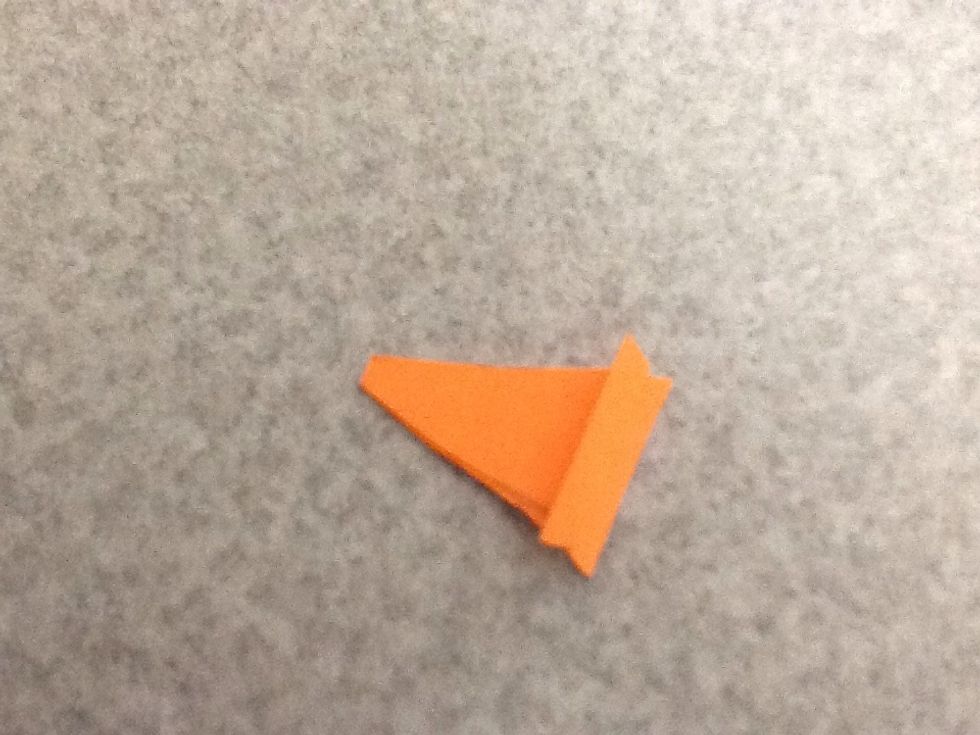
Fold back the tabs
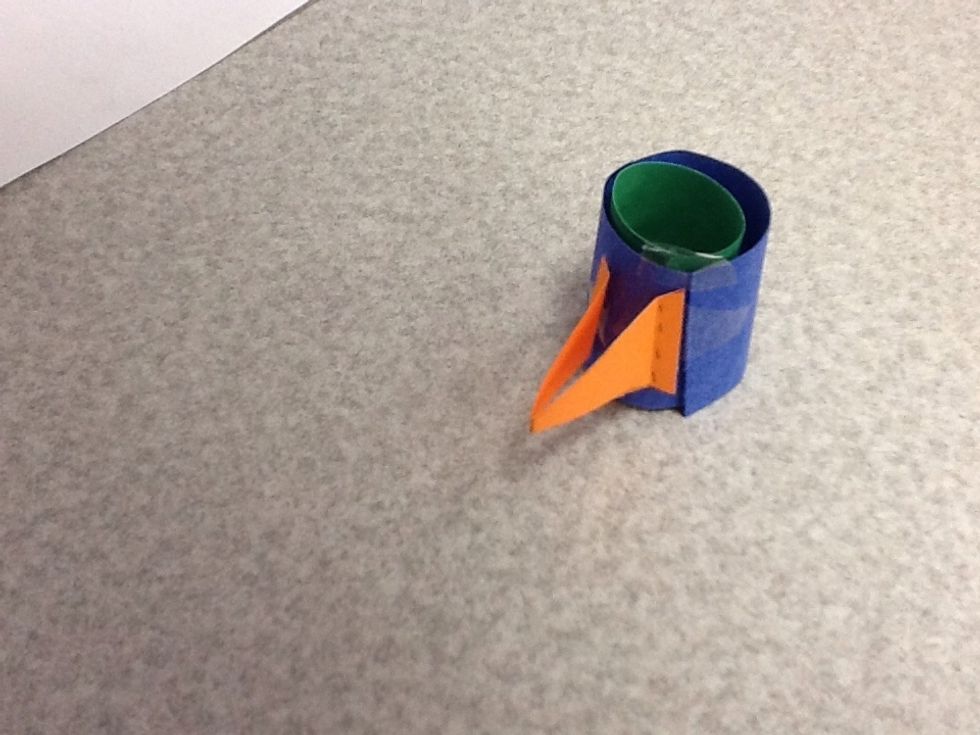
Attach the beak to the head with little tape pockets
Eyes: 1 by 1 1/2 inch strip
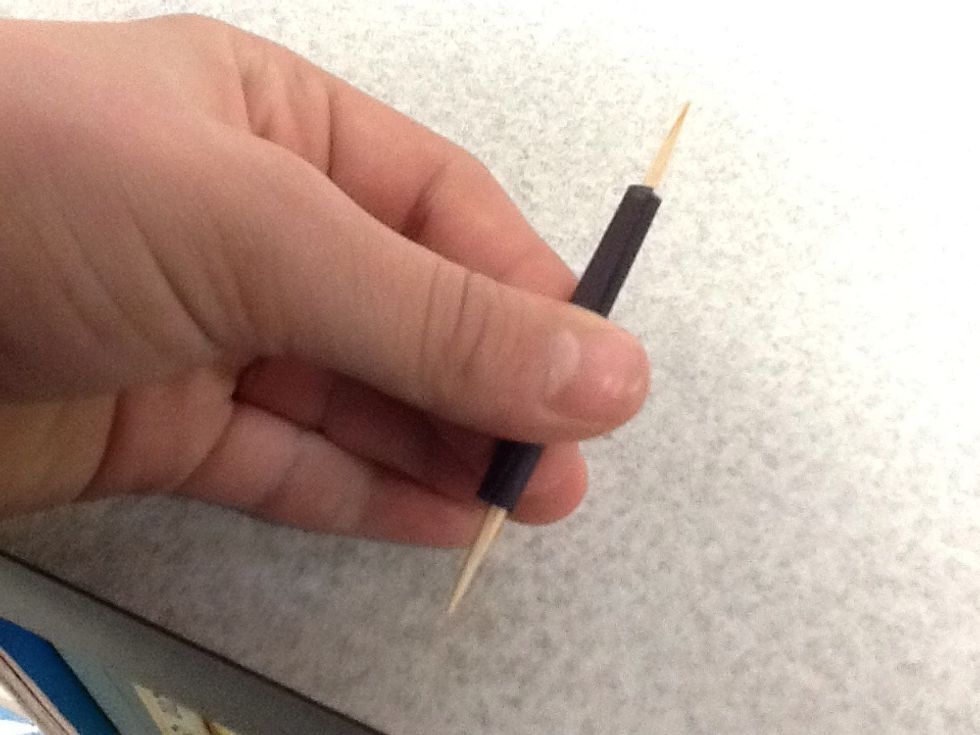
Roll the eye piece on the toothpick, then secure it with tape
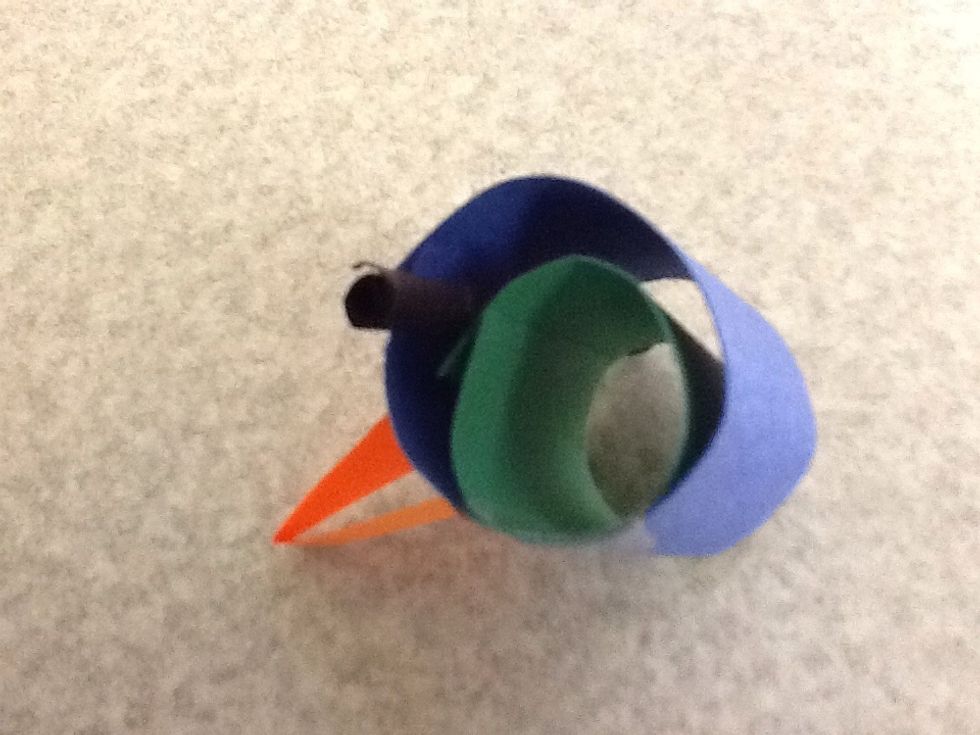
Shove the black piece in between the two head circles with a tape pocket on it
If you want to make the eye pieces smaller, trim it
Tape the head on