The Conversation (0)
Sign Up
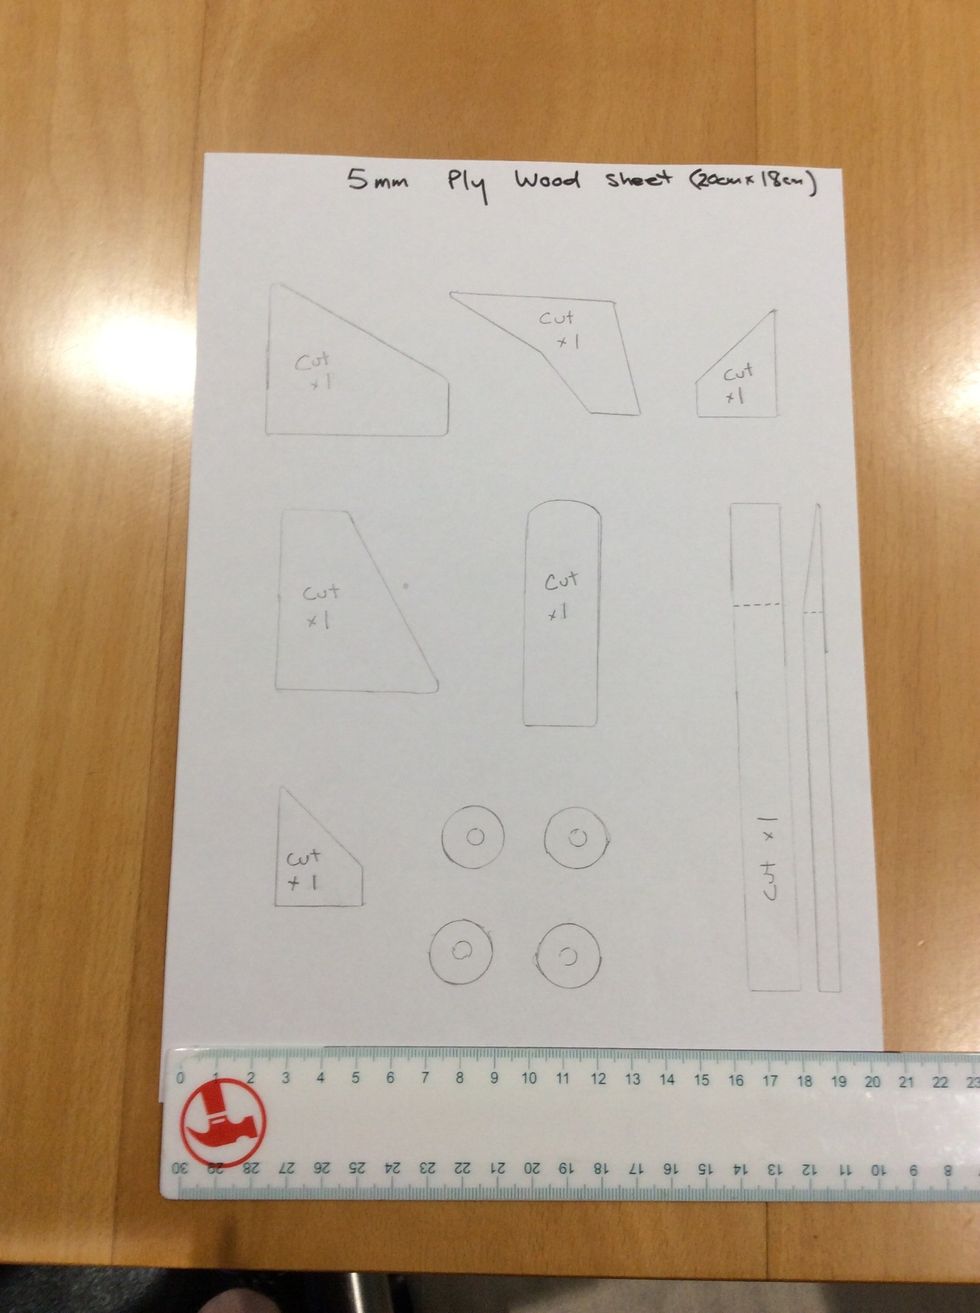
Step 1. Use the template to cut out the pieces for the plane using a small jigsaw.

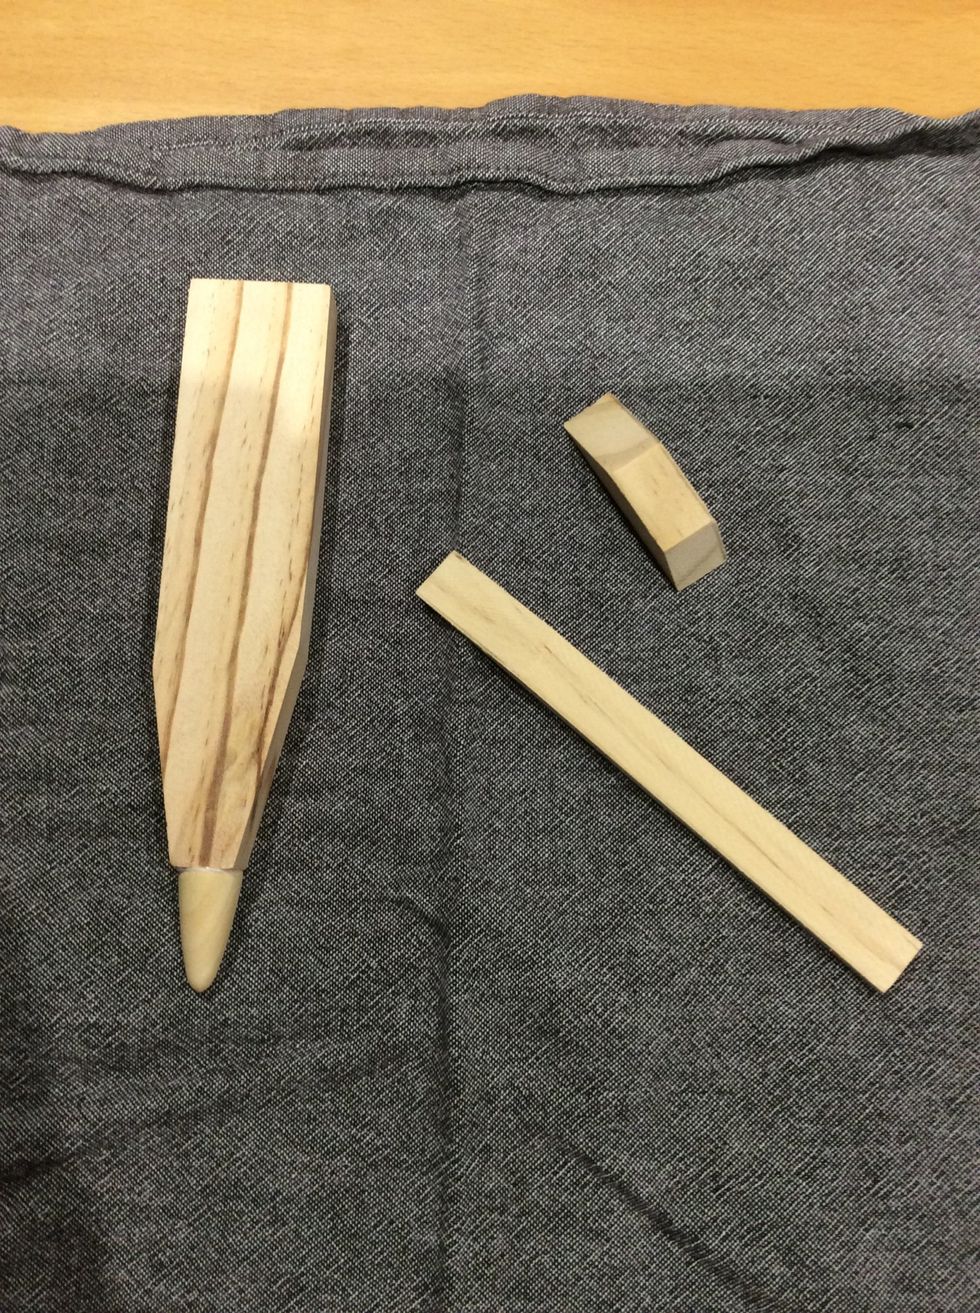
Step 2. Get the template for the main body and four other pieces. Cut out the pieces.

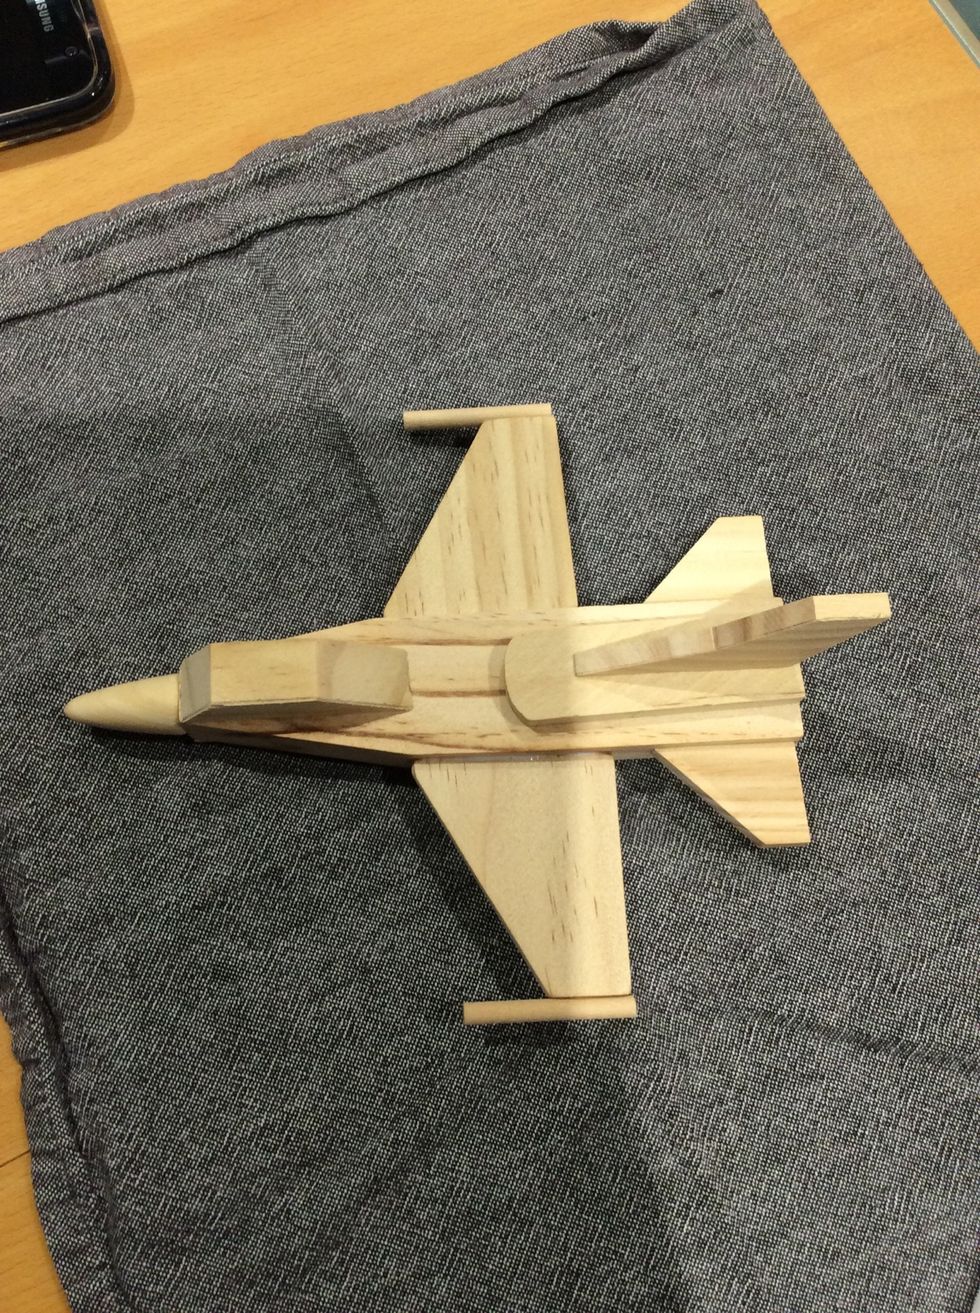
Step 3. Use this parts guide when putting the plane together
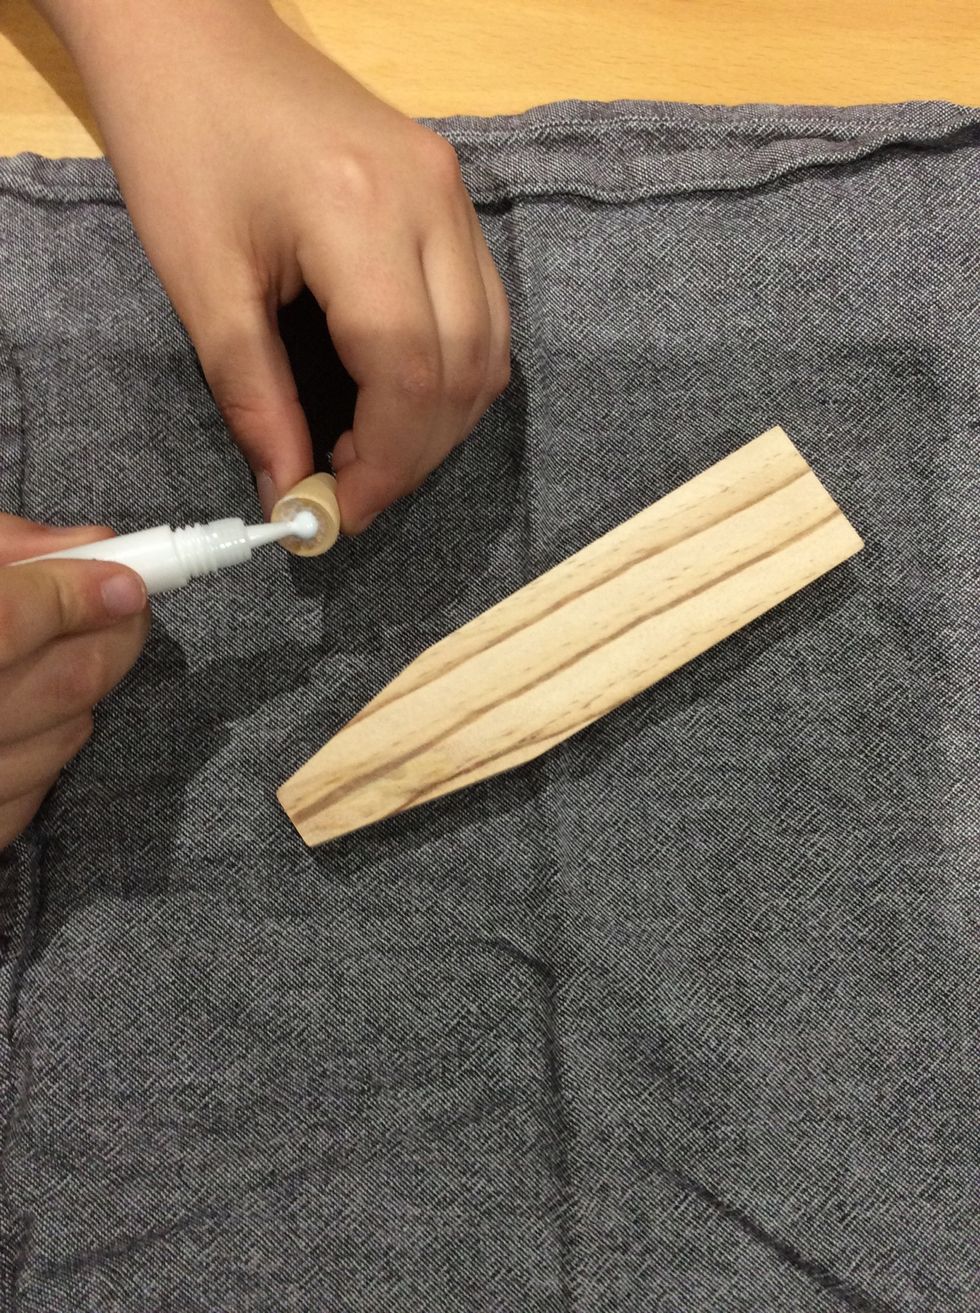
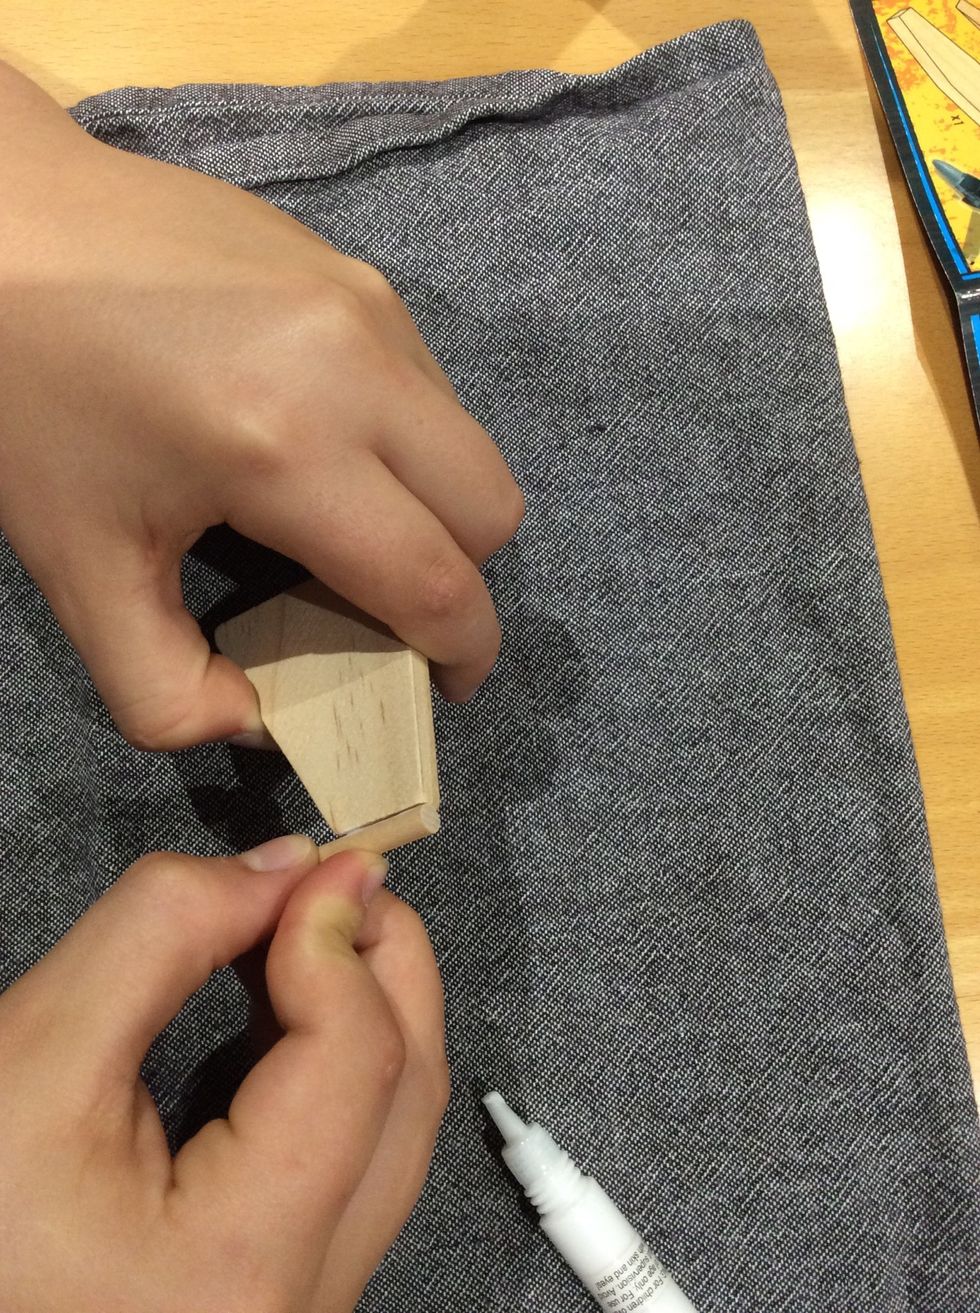
Step 4. Join part A - the main plane body and part B the cone tip together, applying glue to the base of the cone. Hold firmly together for 10 seconds.
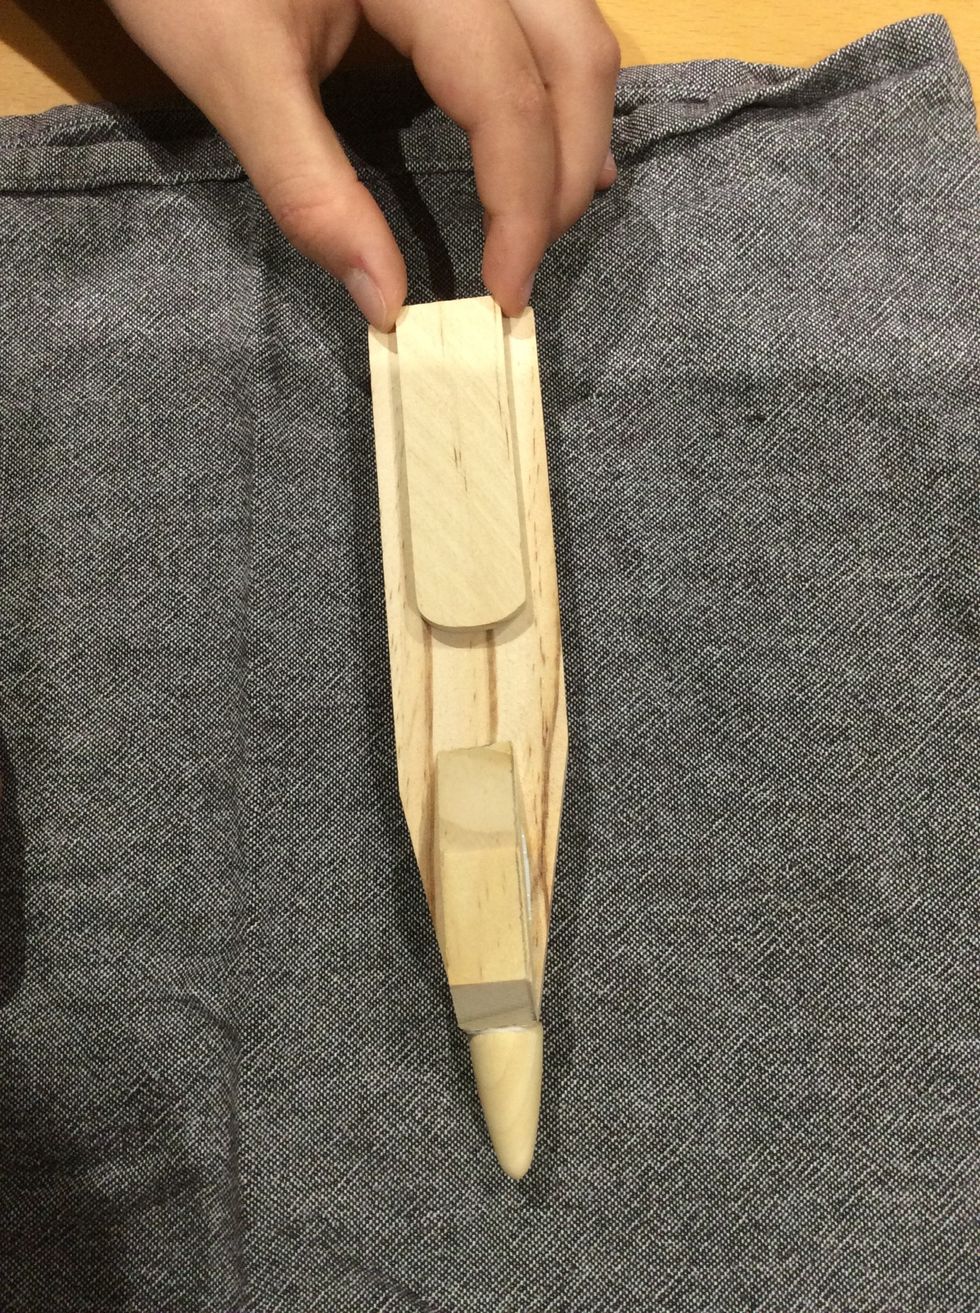
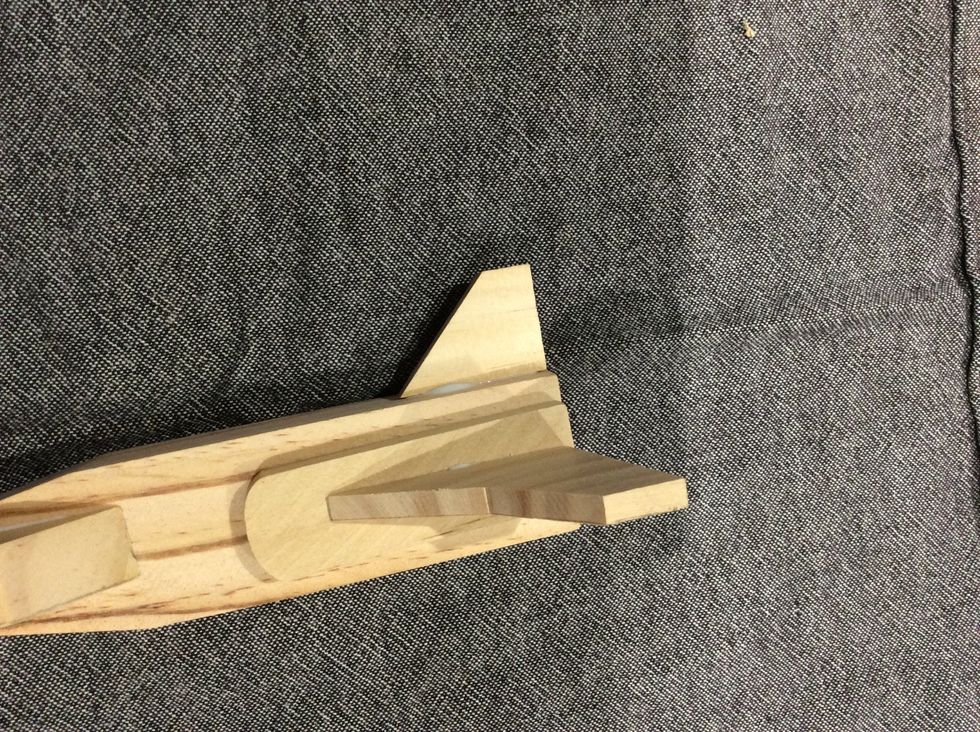
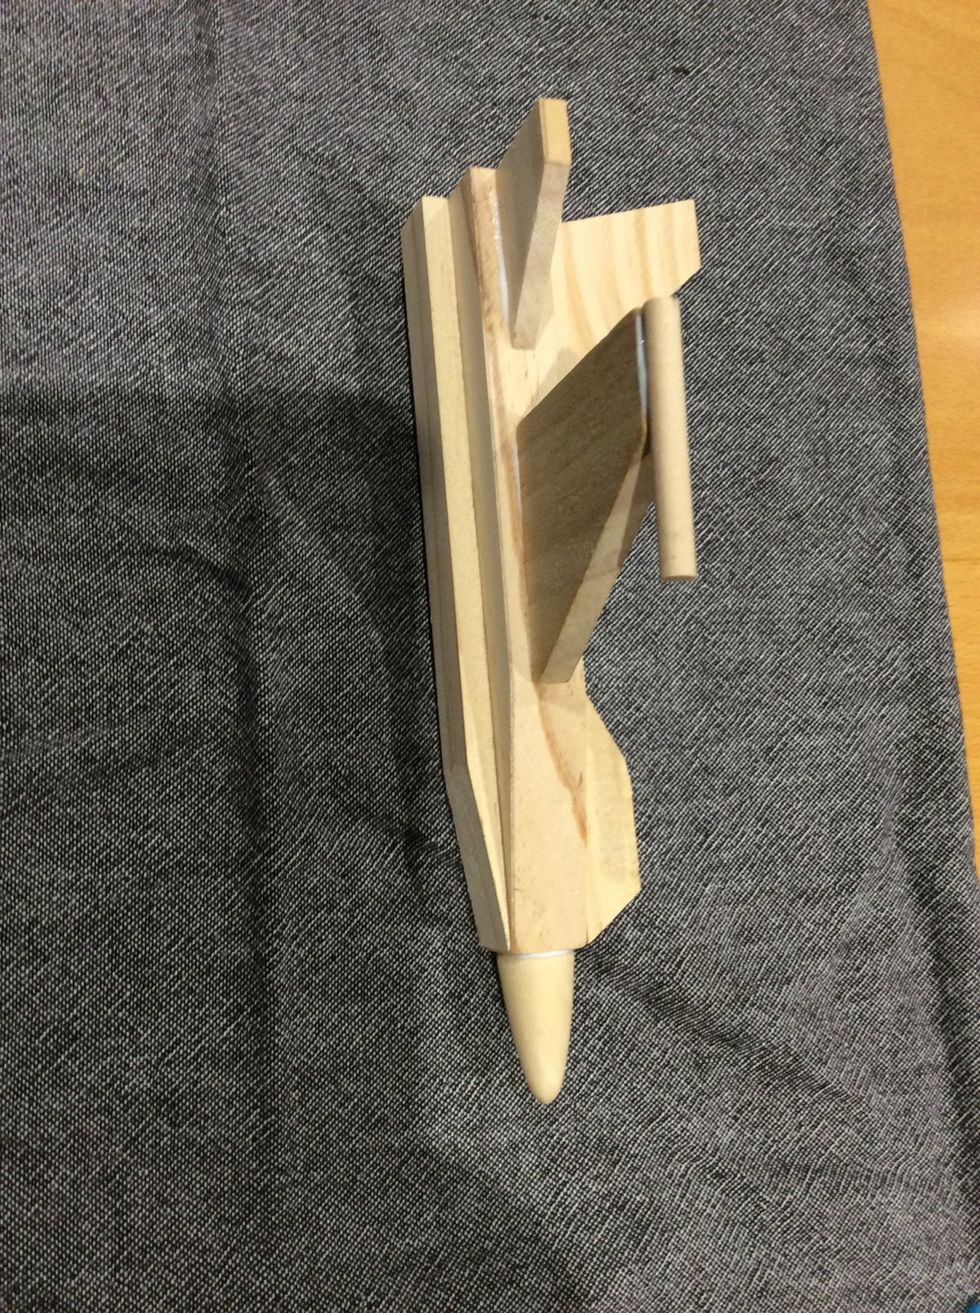
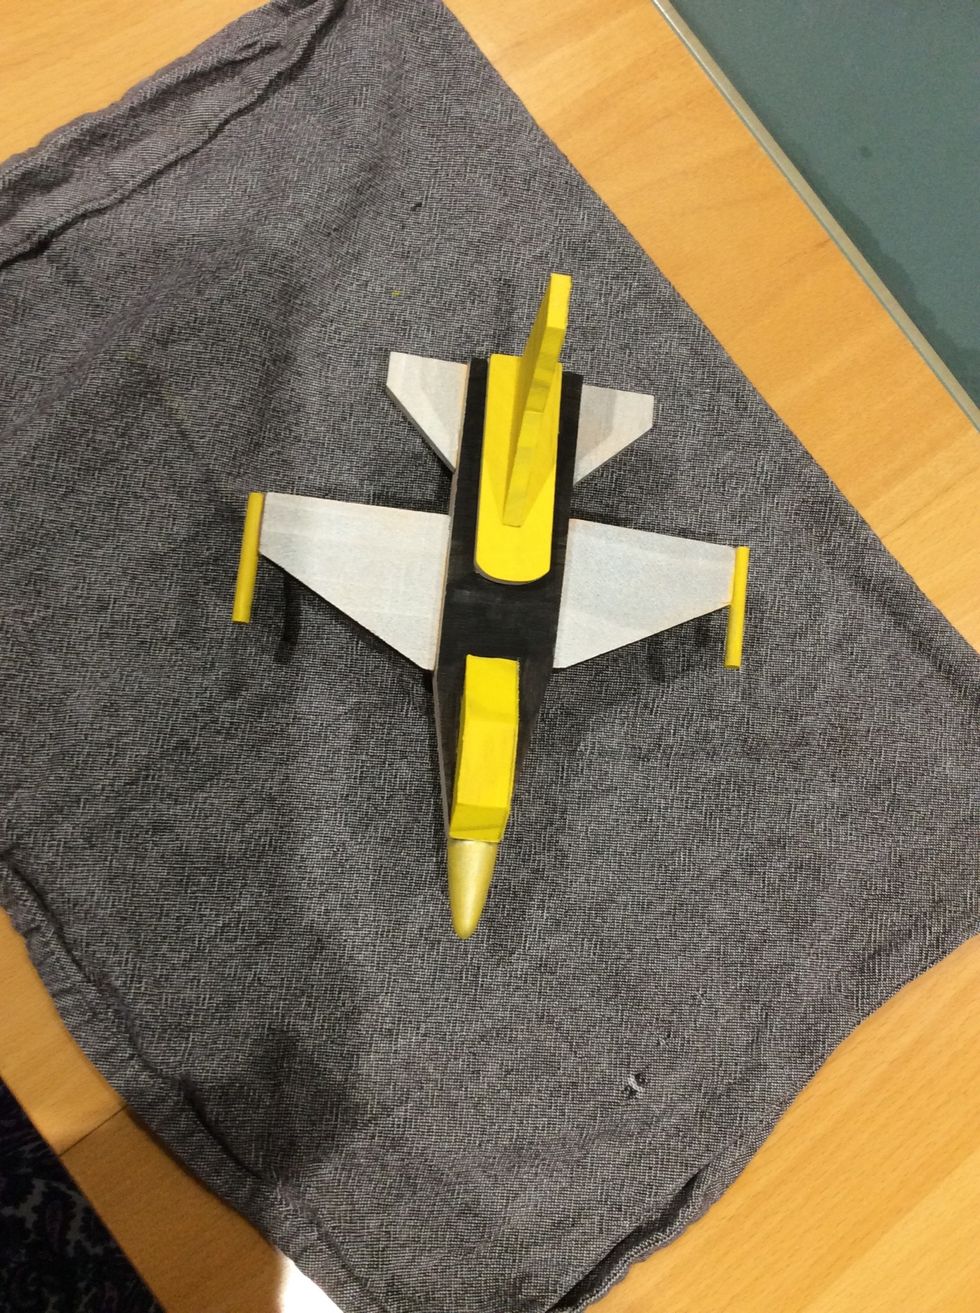
Step 5. Glue part E and part L to the wide flat sides and at the front of part A. (Hint: the narrow tip is the front)

This picture shows what step 5 should look like.
Step 6. Glue part F to the top rear of the plane.
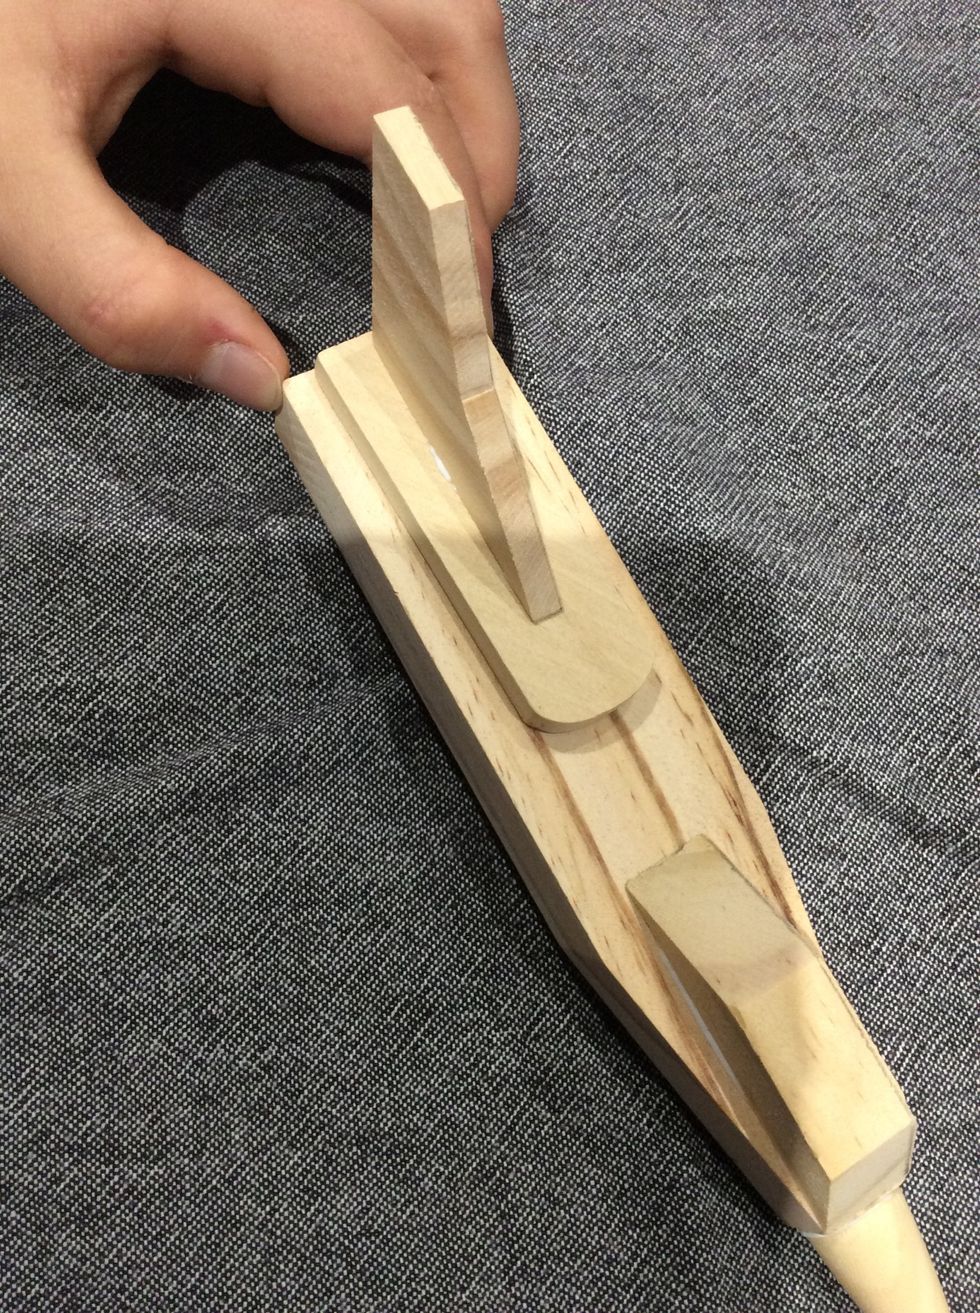
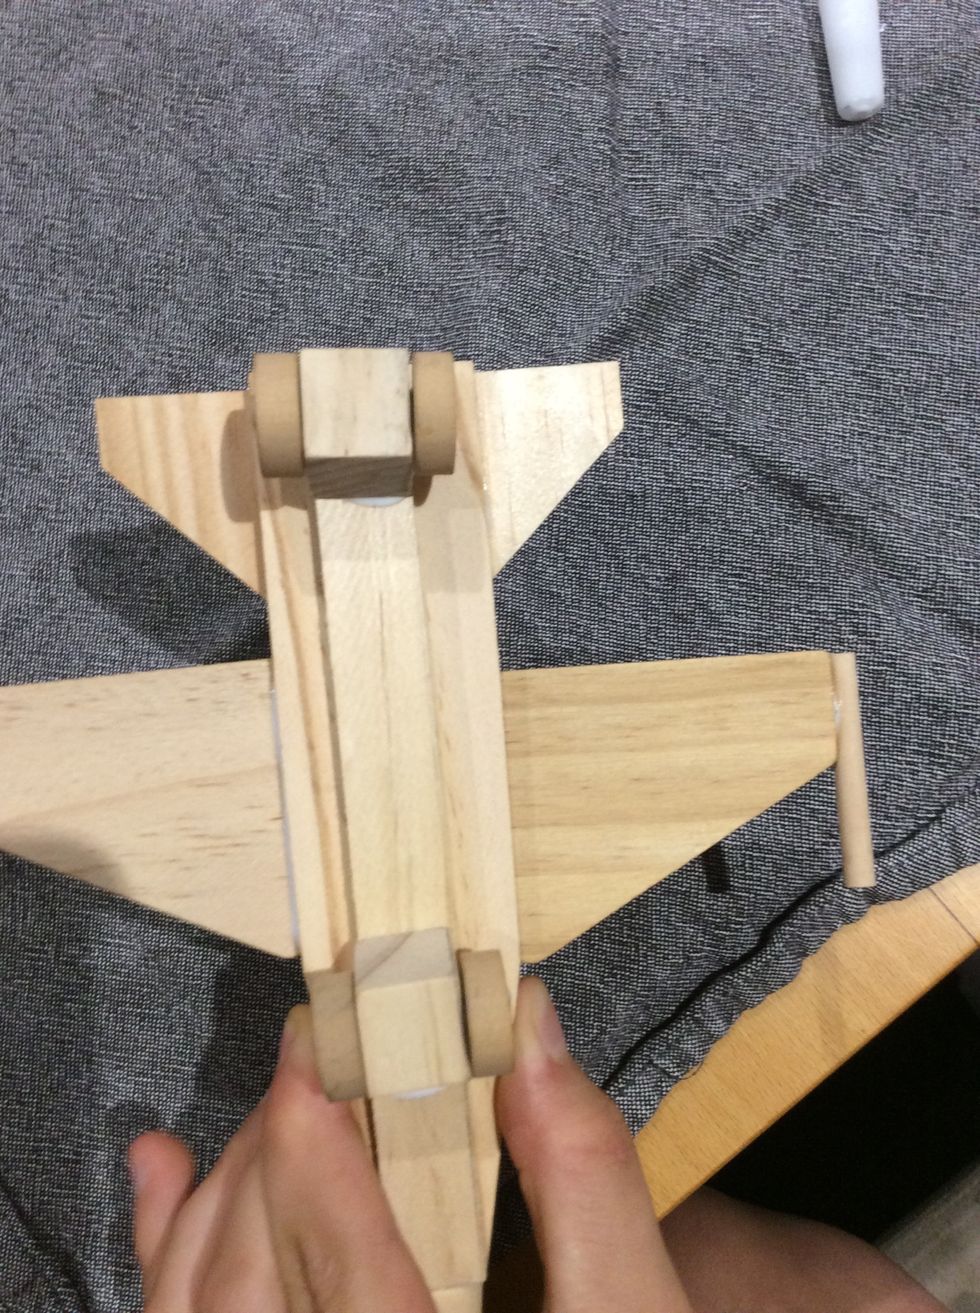
Step 7. You now need to attach the large dowel part J to part C onto the smallest part of the wing.

This picture shows what step 7 should look like.
Step 8. Attach the tail part D to the rear of the plane onto the top of part F.
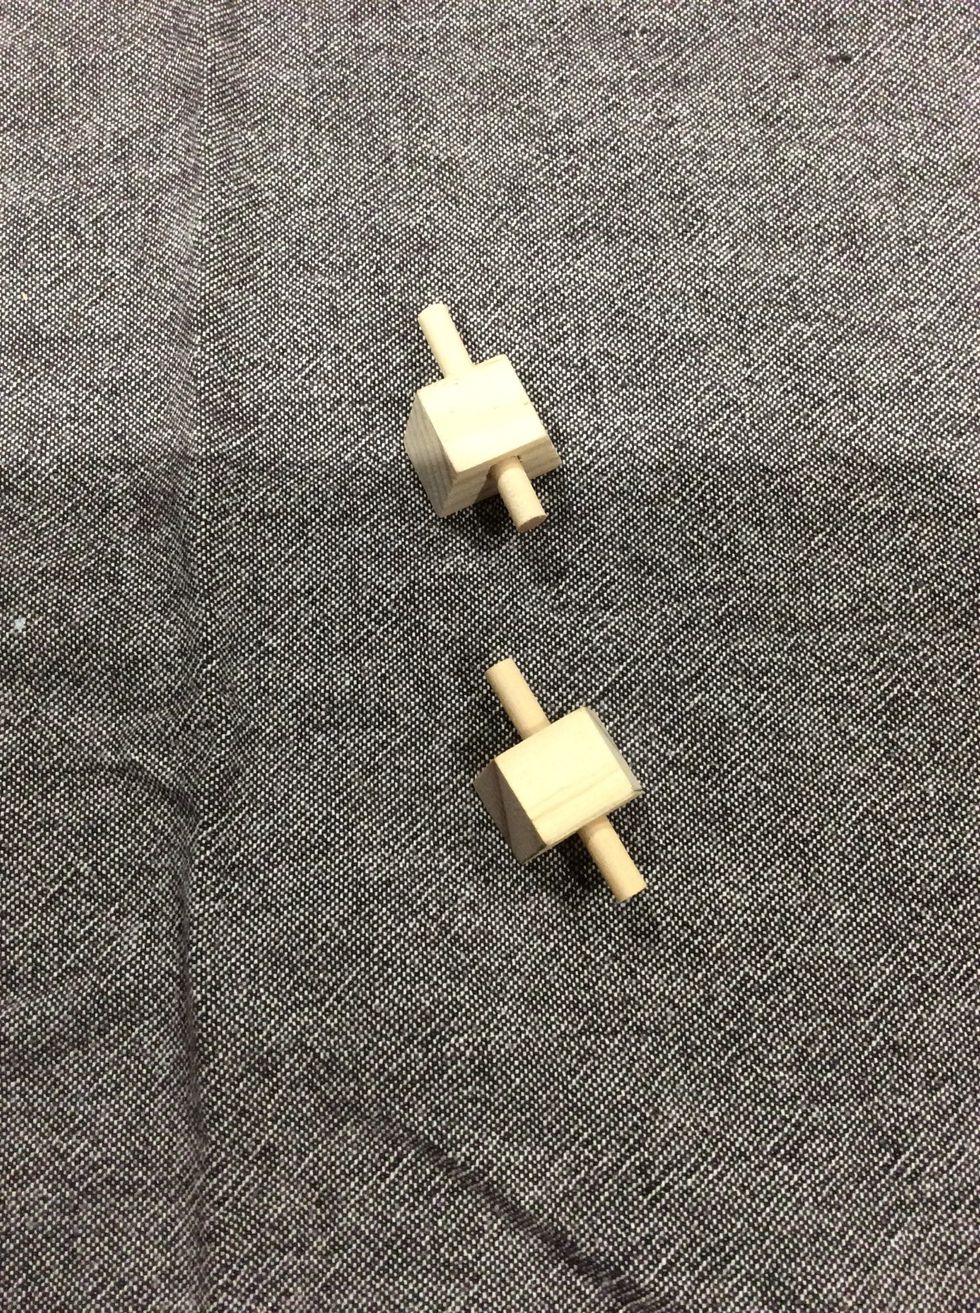
Step 9. Join part H and part K together.

Step 10. Put part L onto each side of the dowel part K. Apply a small blob of glue onto the ends of the dowel to hold the wheels on.
Step 11. Attach part G onto the side of part A.
Step 12. Attach part C that has had the dowel attached onto the same side of the plane as step 11.
Step 13. Glue the wings to the other side of the plane. You will need to leave the plane for at least 30 minutes to allow the glue to dry.
Step 14. Glue the wheels to the base of the plane at the front and back.
Step 15. It is best to leave the plane for about an hour to give the glue more time to dry before you start painting.
Step 16. Paint the plane however you would like. Placing stickers you have on parts of the plane.