The Conversation (0)
Sign Up
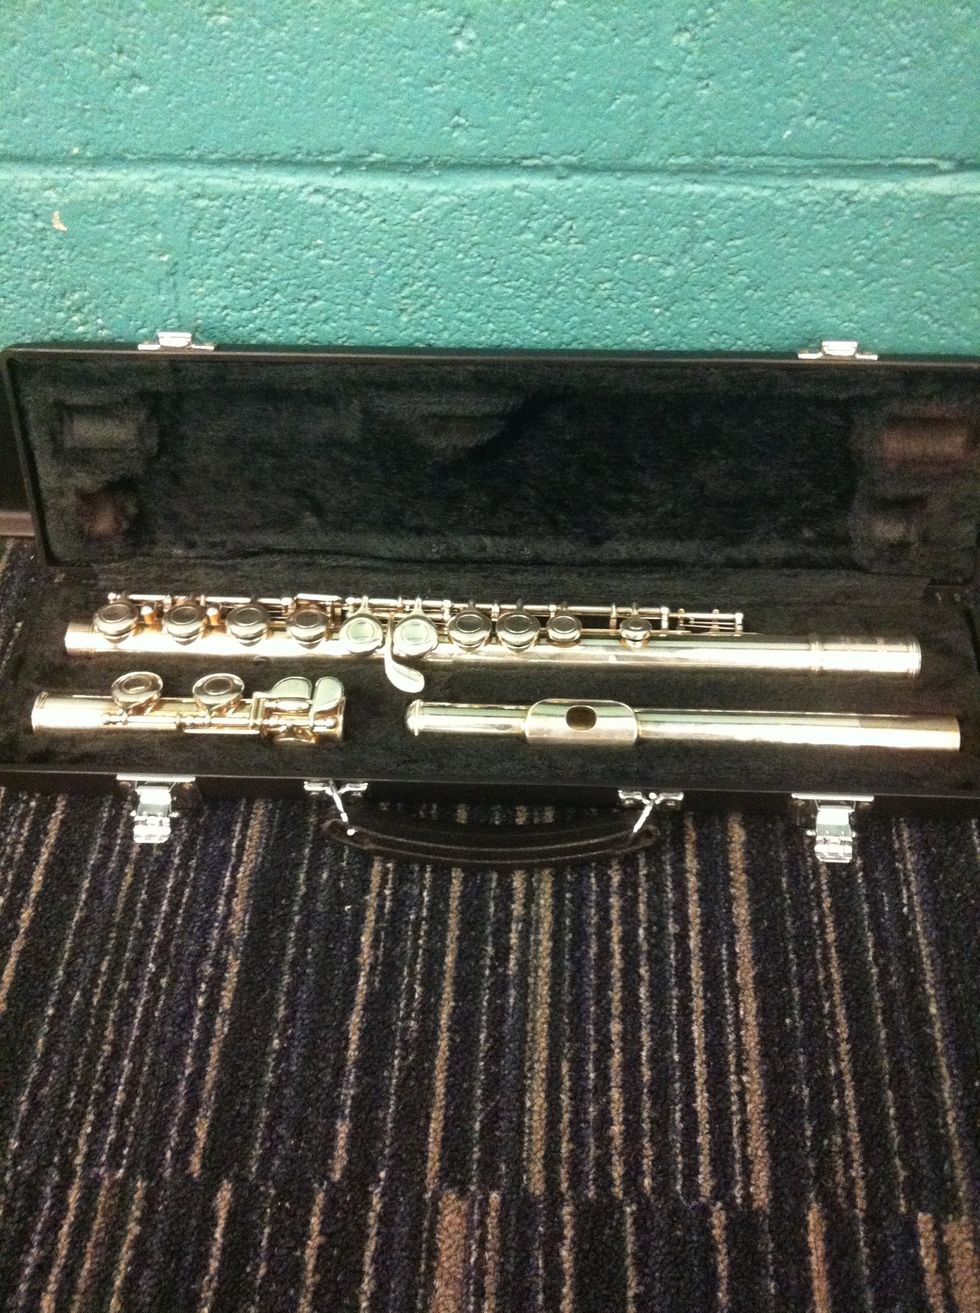
Open the flute case. To start there should be three pieces: head joint (lower right), midsection (top), and the foot joint (lower left).
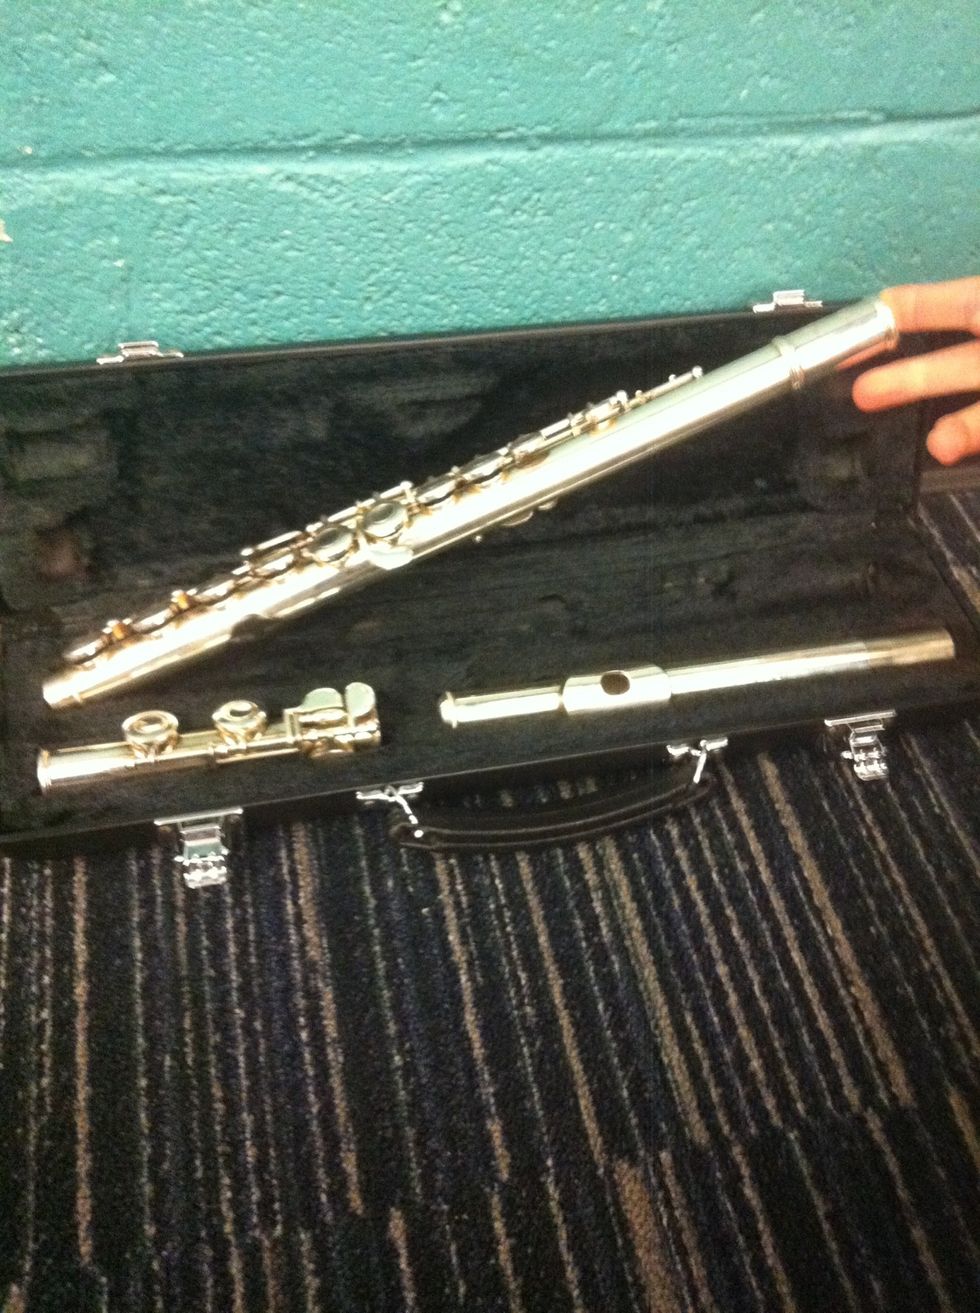
First take out the midsection.
Second, take out the head joint. The oval attachment with the hole is the mouth piece

Put the head joint into the midsection with the mouth piece and the keys on the same side.
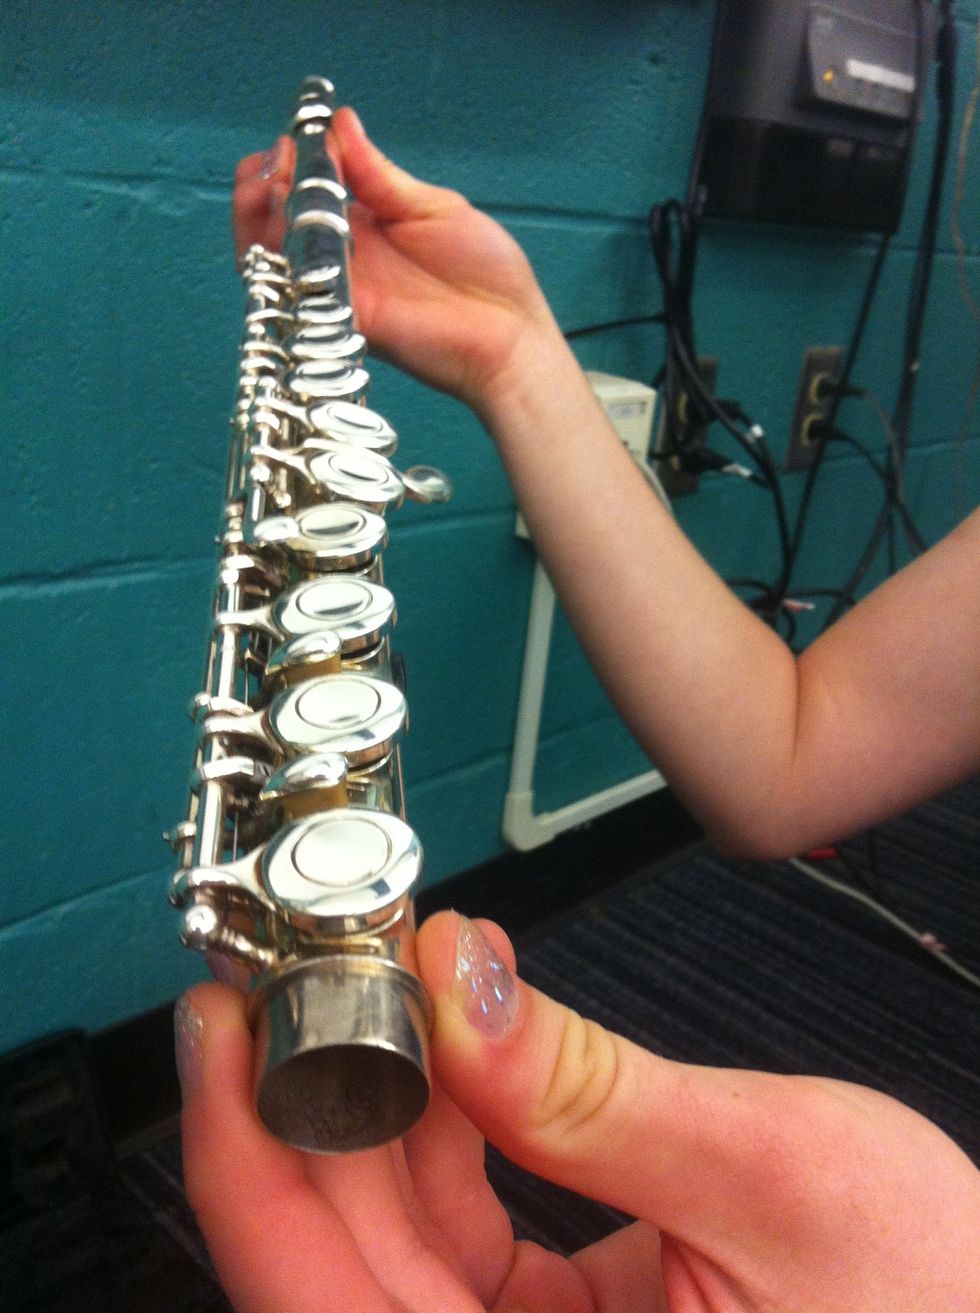
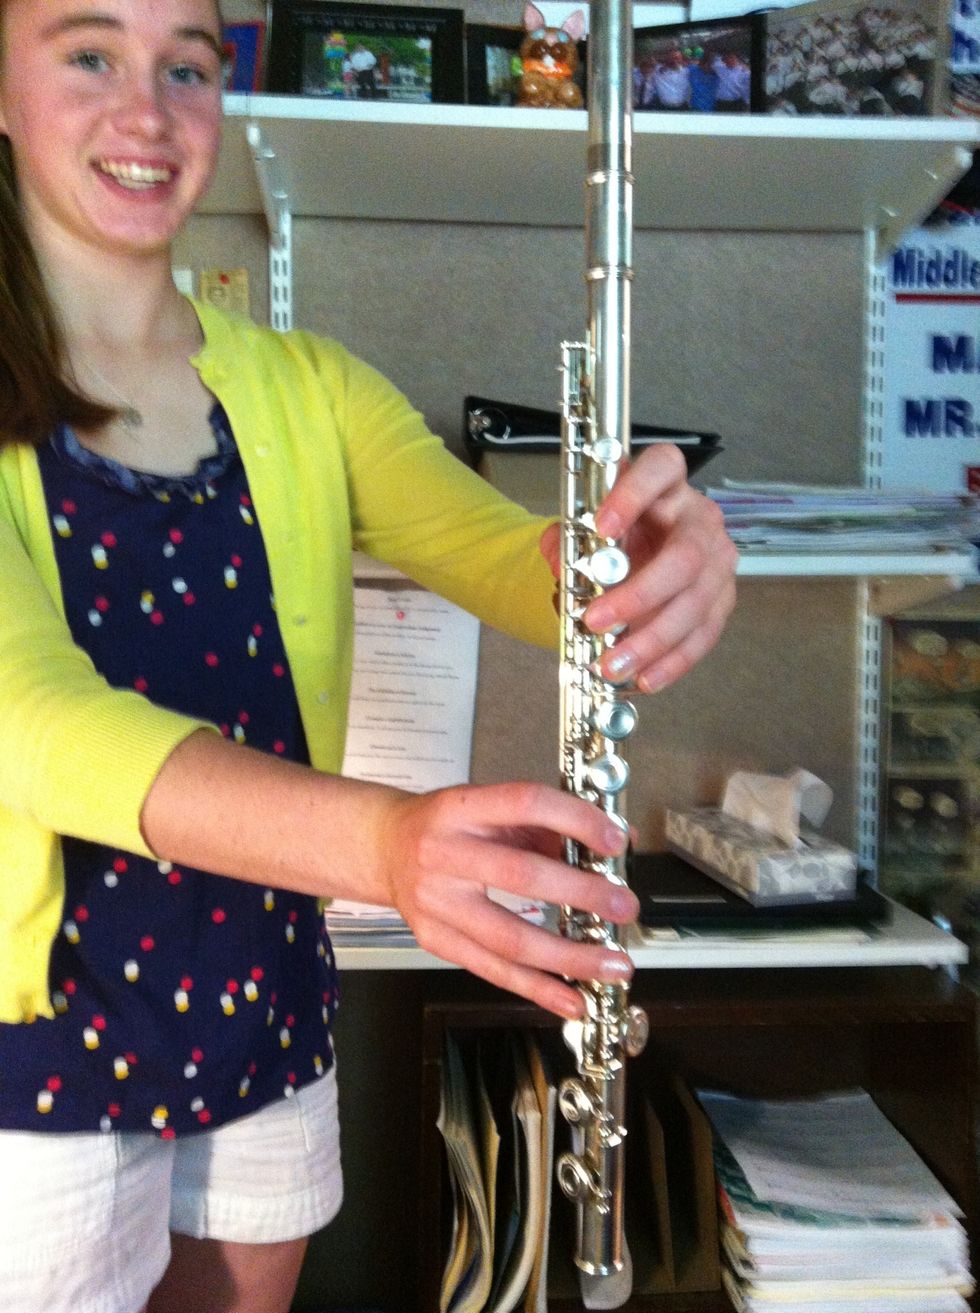
Line the keys up with the head joint holding it out at eye level, as shown above, is helpful. The mouthpiece is the farthest away (click on picture for better view)

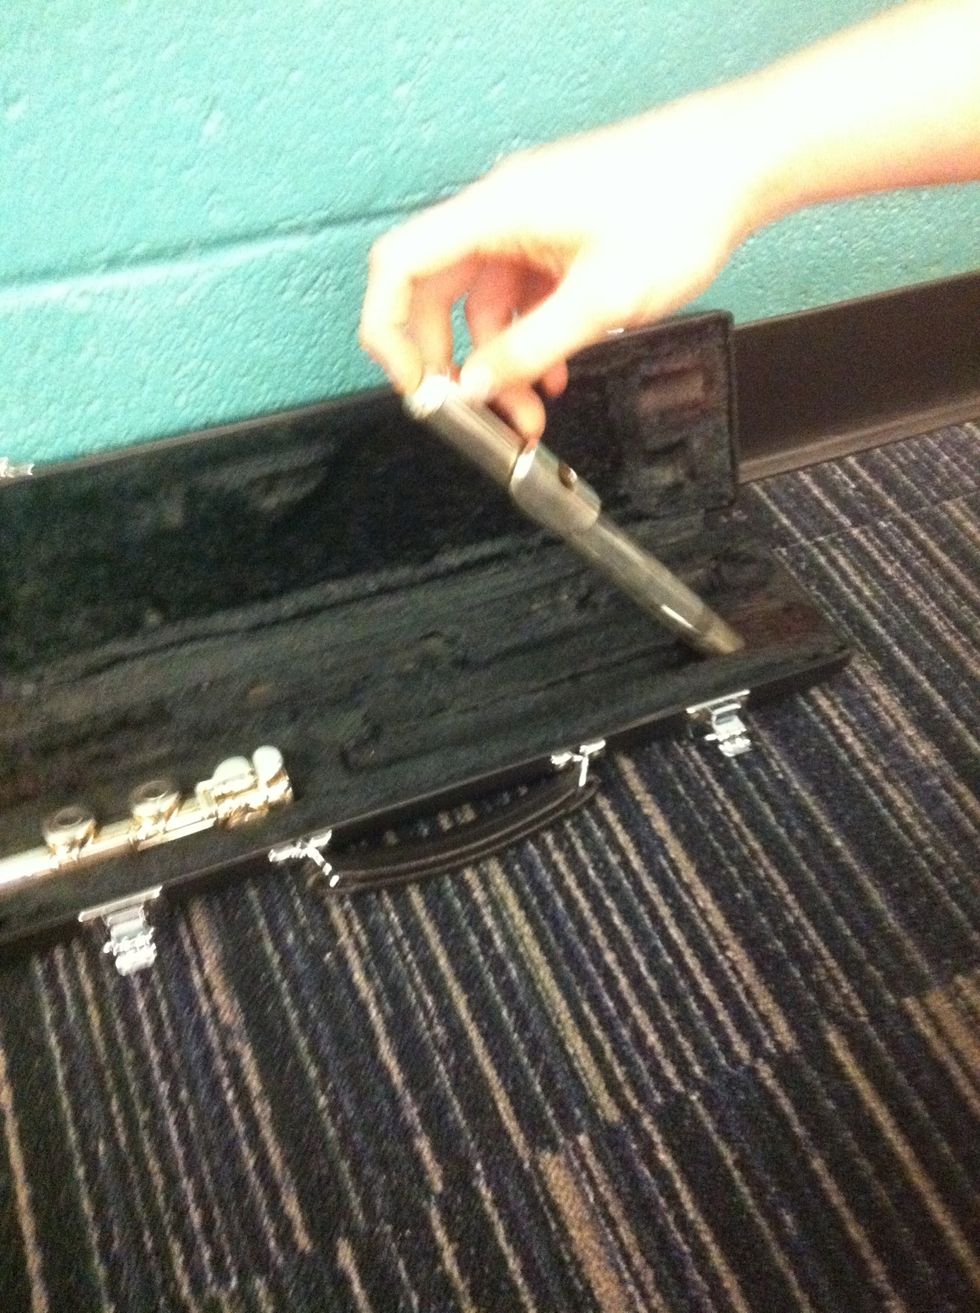
Take out the foot joint and slide it into the other side of the midsection. Some flutes have arrows that match up.
If not, the foot joint needs to be slightly off line so your pinky finger can comfortably fit on the keys.
Posture
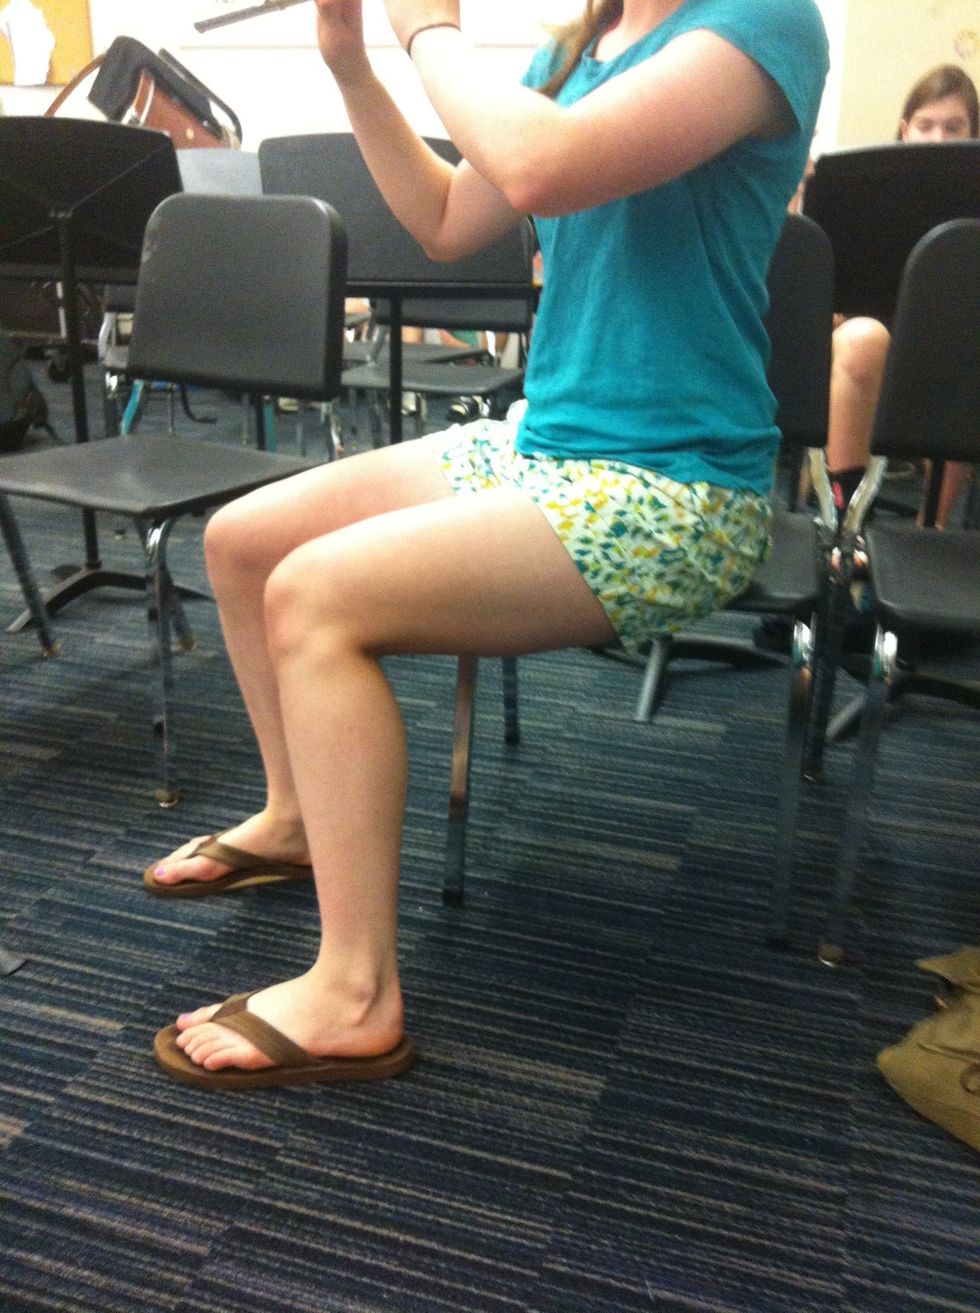
Posture: sit on the edge of the chair with feet flat on the ground. Because your flute is positioned to the right, people often sit slanted to the right so the can see the music as shown above.

The flute should be held pointed slightly to the ground but close to parallel.
Fingering
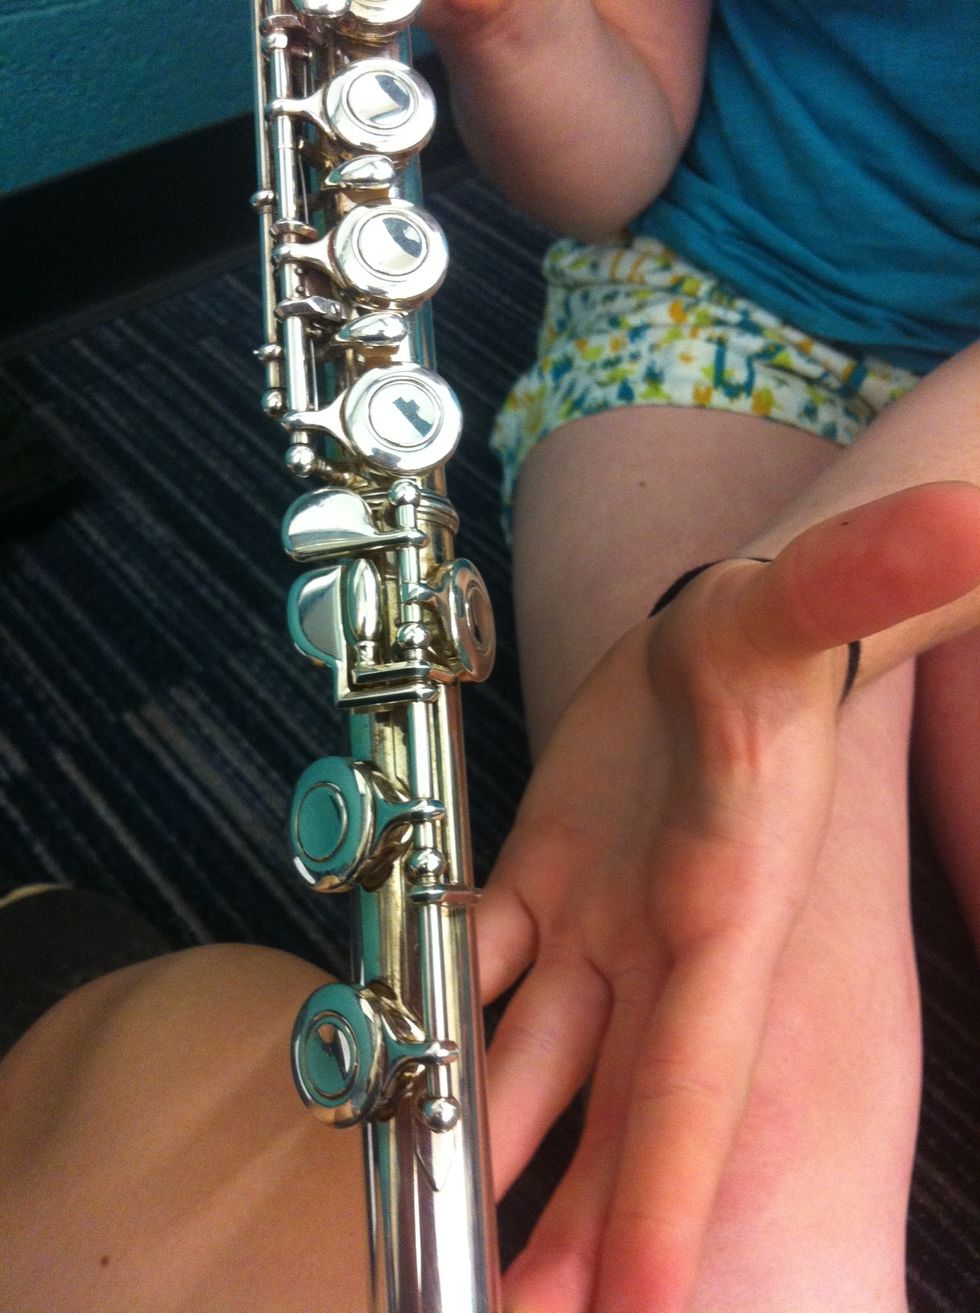
Place your pointer finger on the small circular key. Skip the first big one and place the next two on the following two keys and your pinky on the key that curves off the flute
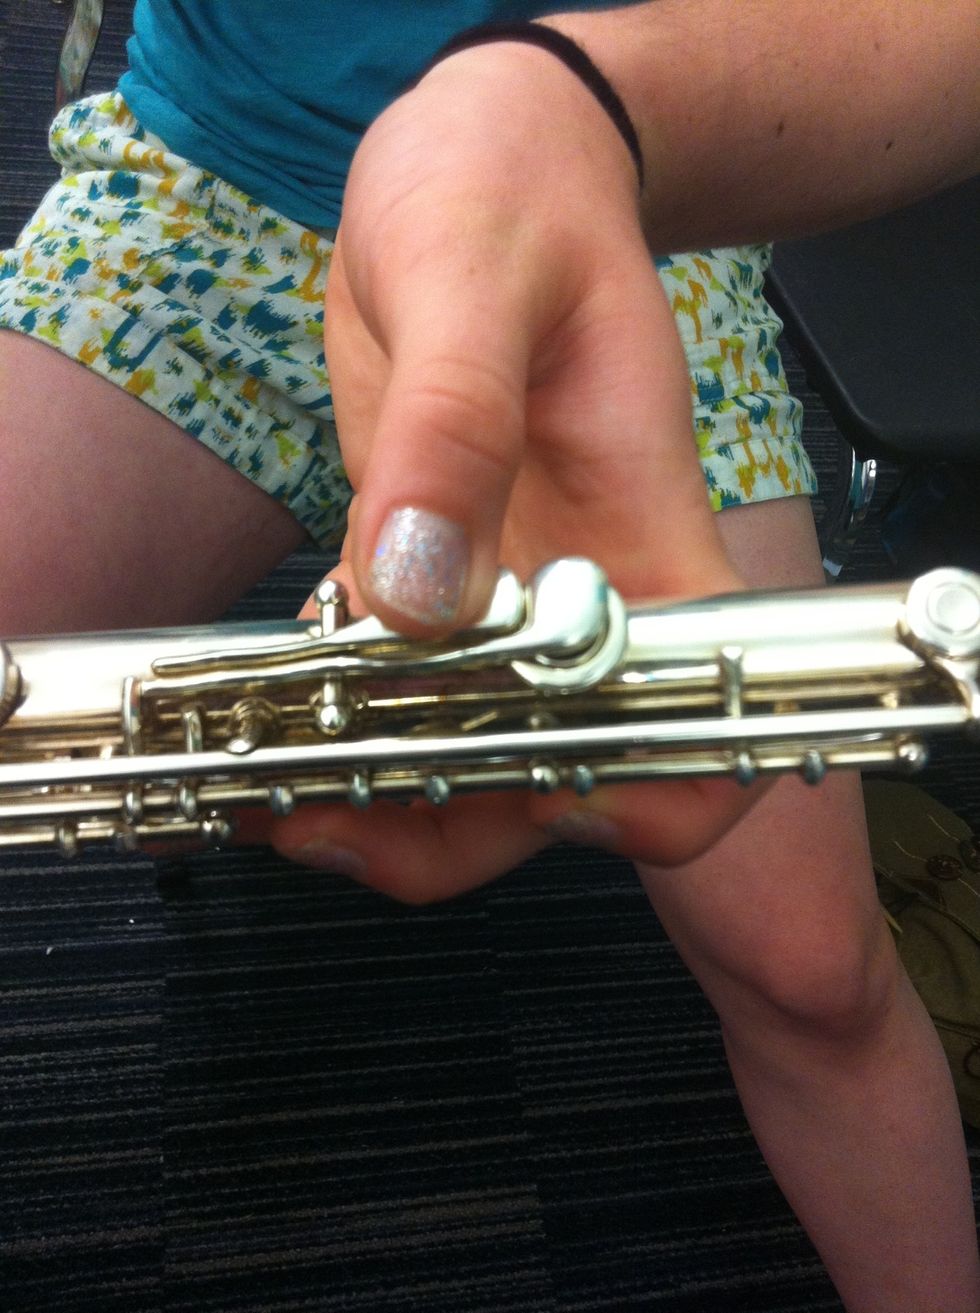
Your left thumb should be on the key on the back (the one shown above)
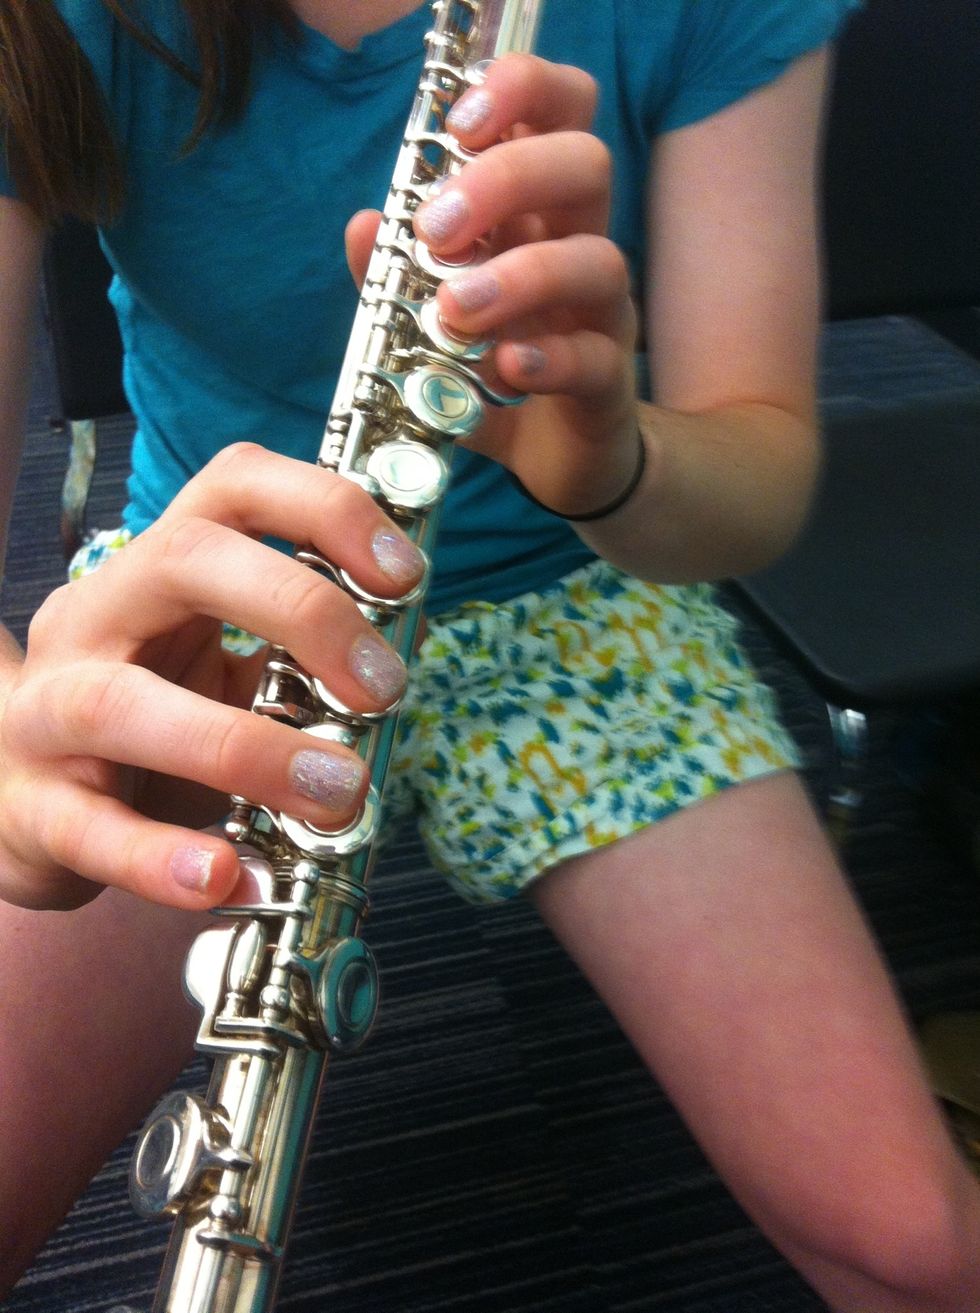
Your right hand should have the last three circular keys covered and your pinky on the tear shaped key.
Good Luck! Play well!