The Conversation (0)
Sign Up
Disclaimer: I'm not associated with Typic, the app is just nice. It's almost like Instagram, without the social networking part. It is a free app.
Disclaimer: This is for iPhones and iPods only.
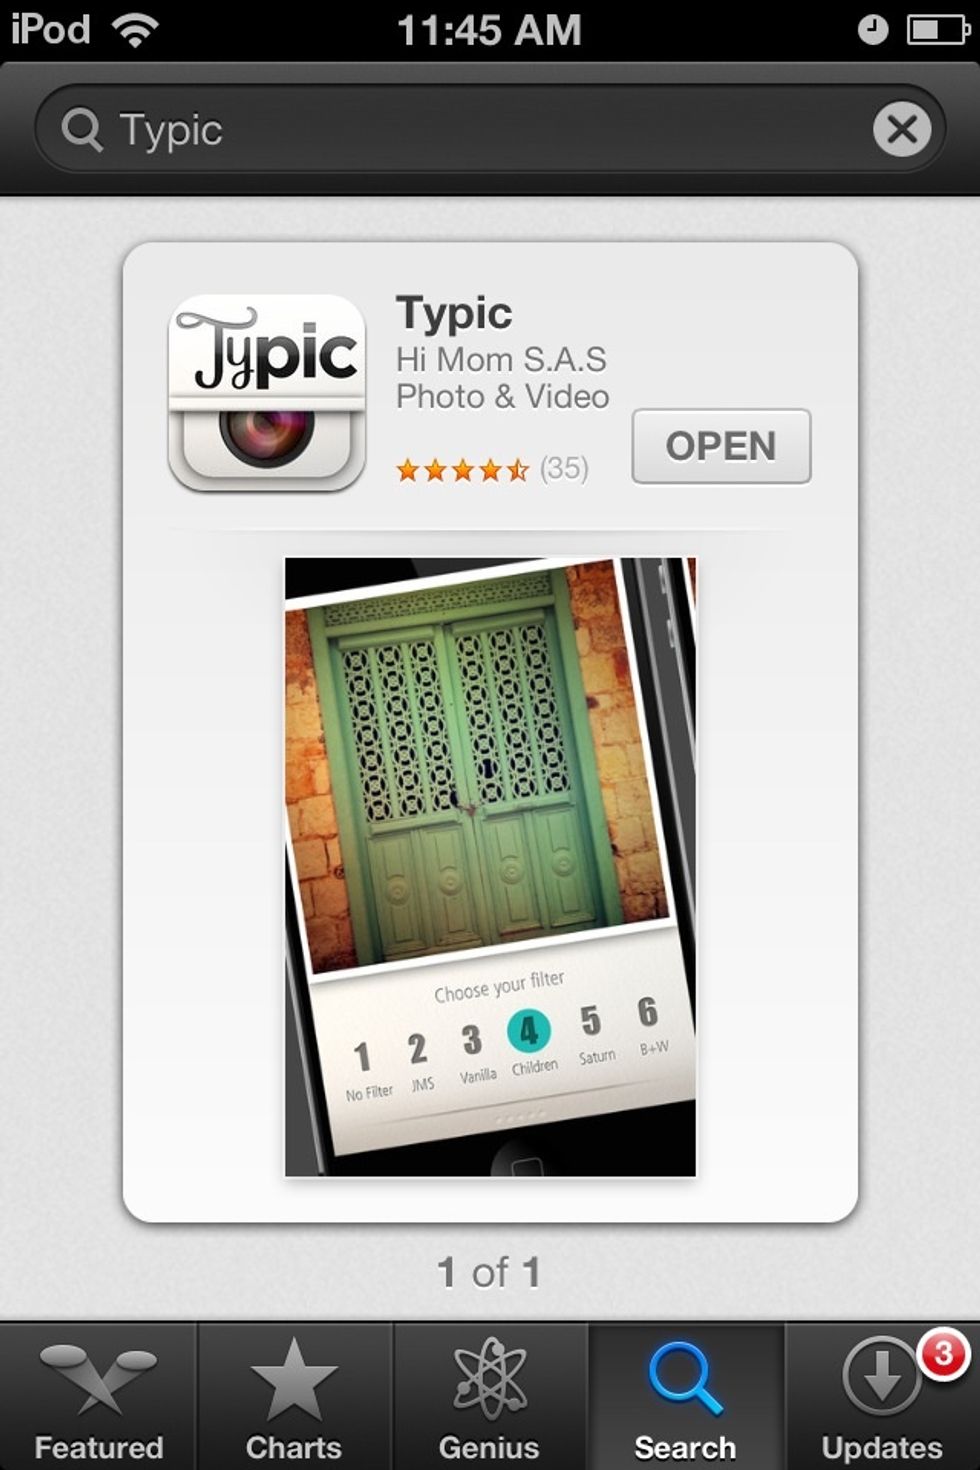
This is the app we'll be using.
Loading...
Press the camera. Pictures are placed in a square box like Instagram.

Here's a picture loaded...familiar? Let's go through the filters. If you don't want to...skip to step 11.
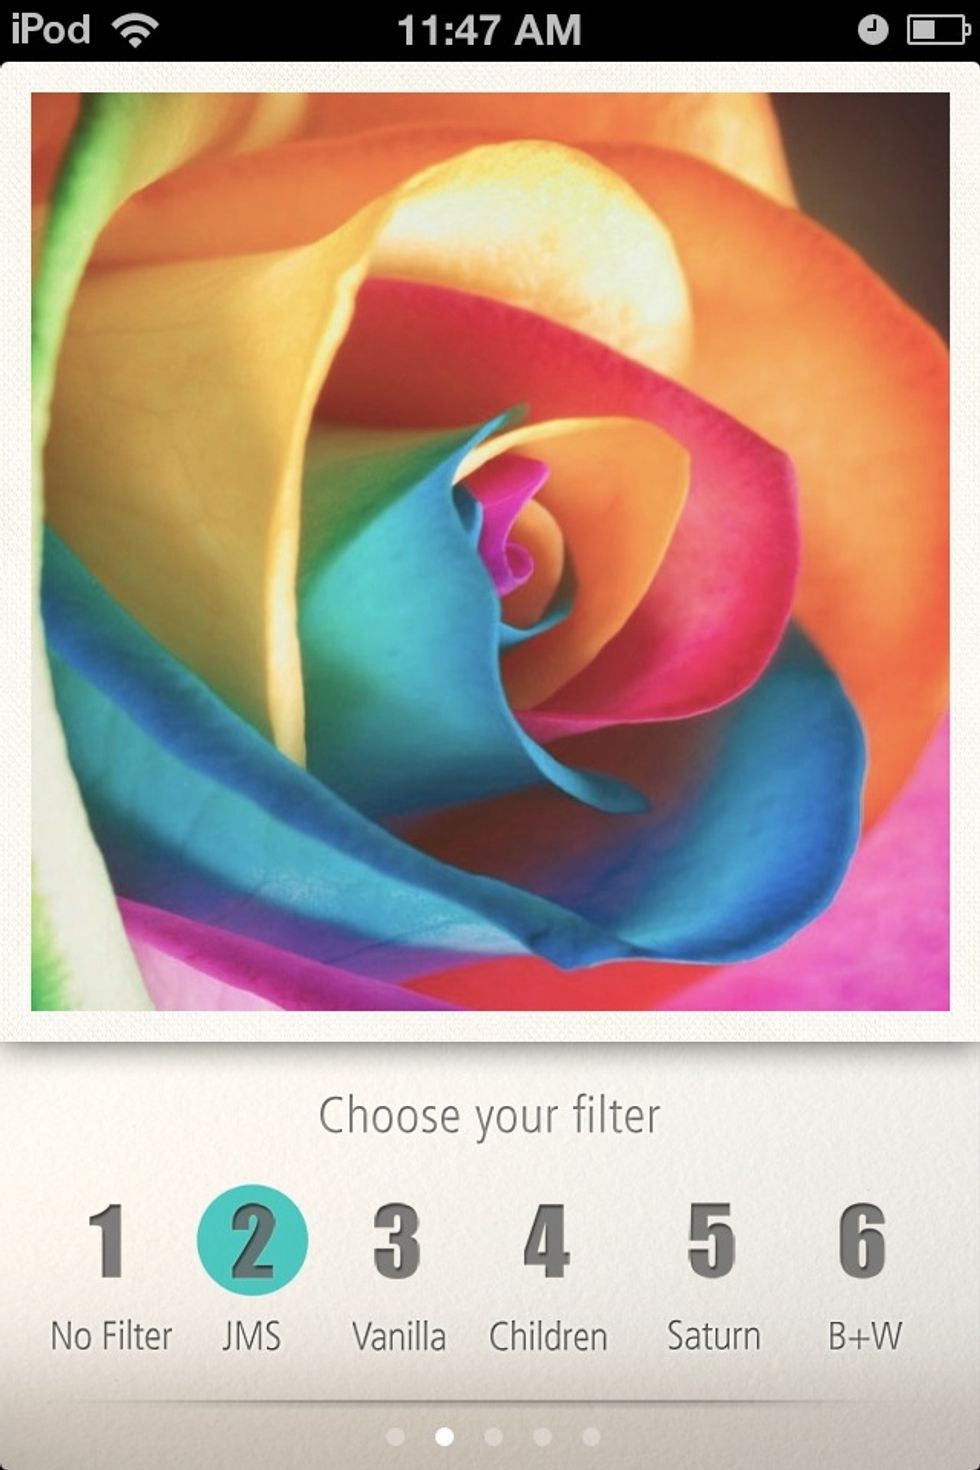
Filter: JMS.
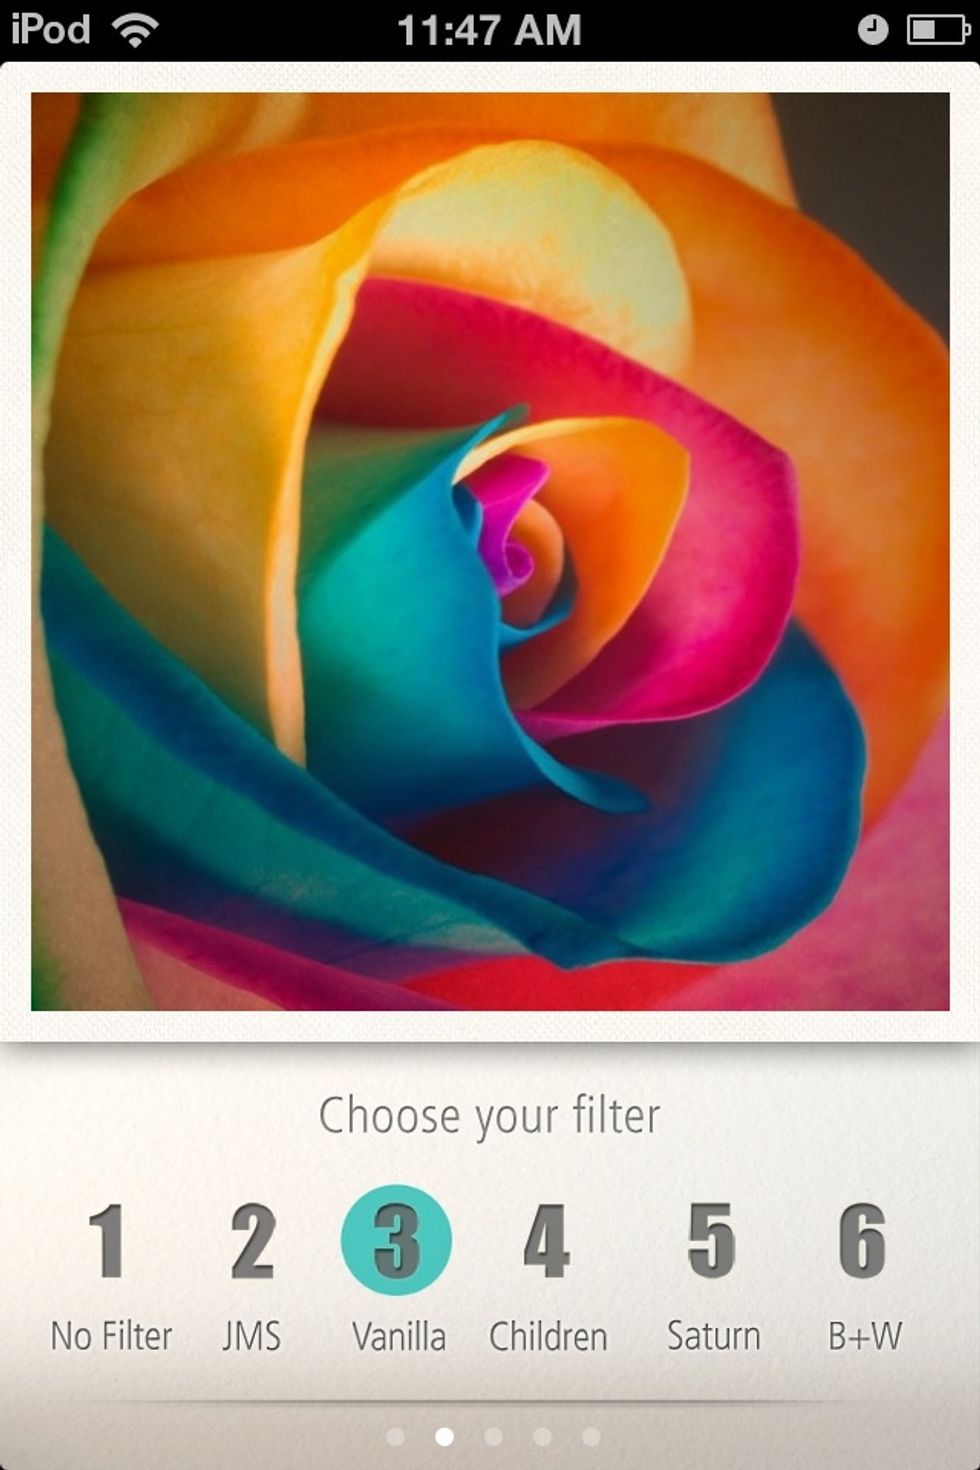
Filter: Vanilla.

Filter: Children.

Filter: Saturn.
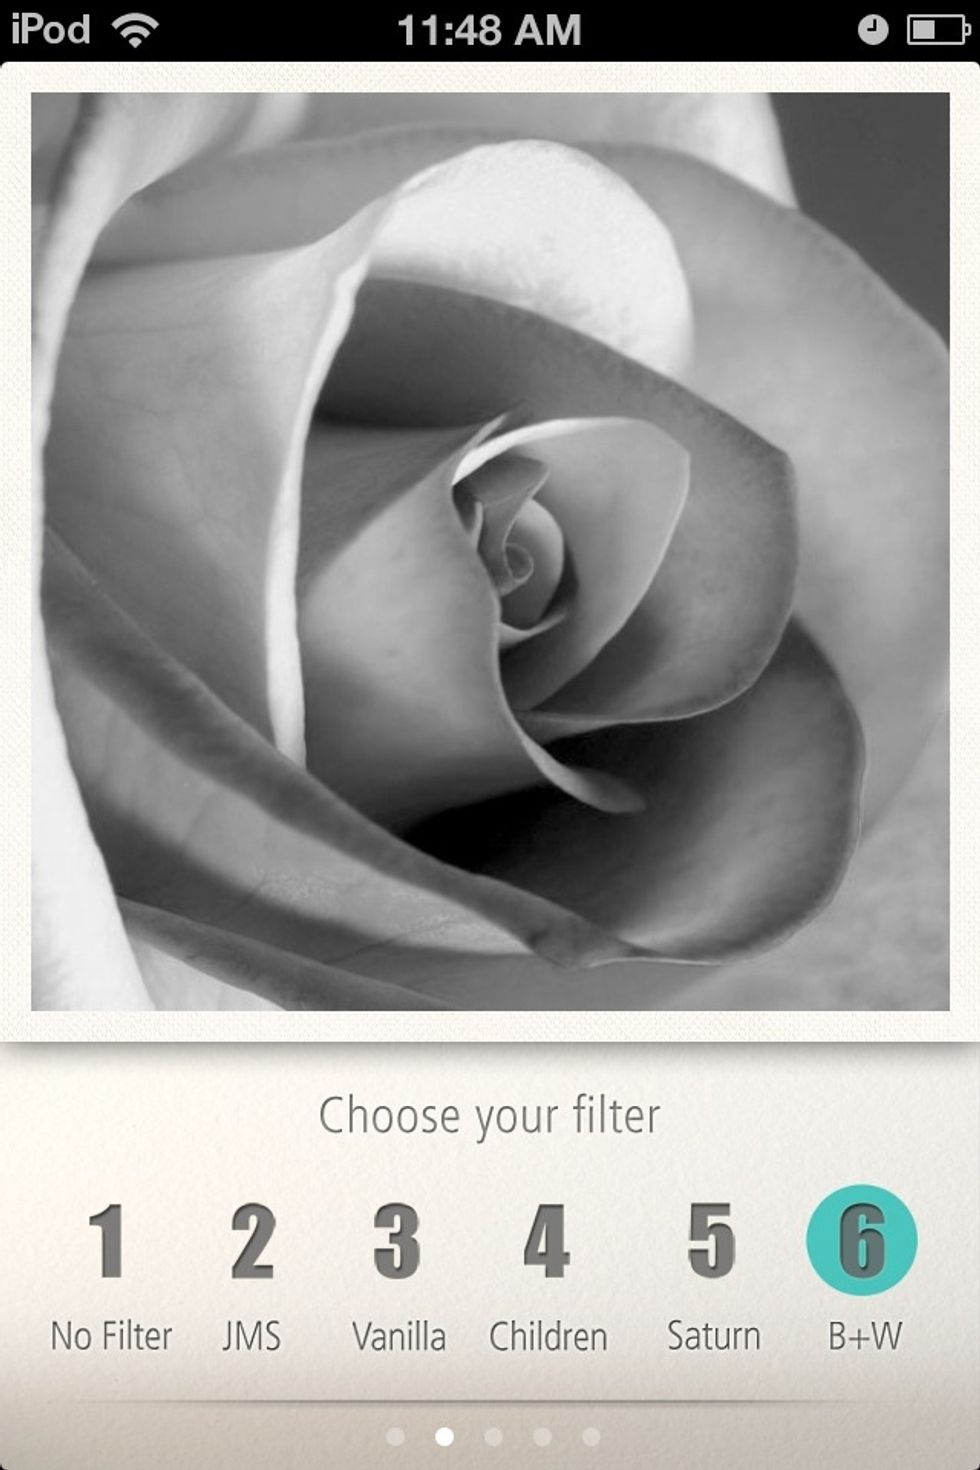
Filter: B + W.

Here's where you write your text...if you don't want to, skip to step 22.
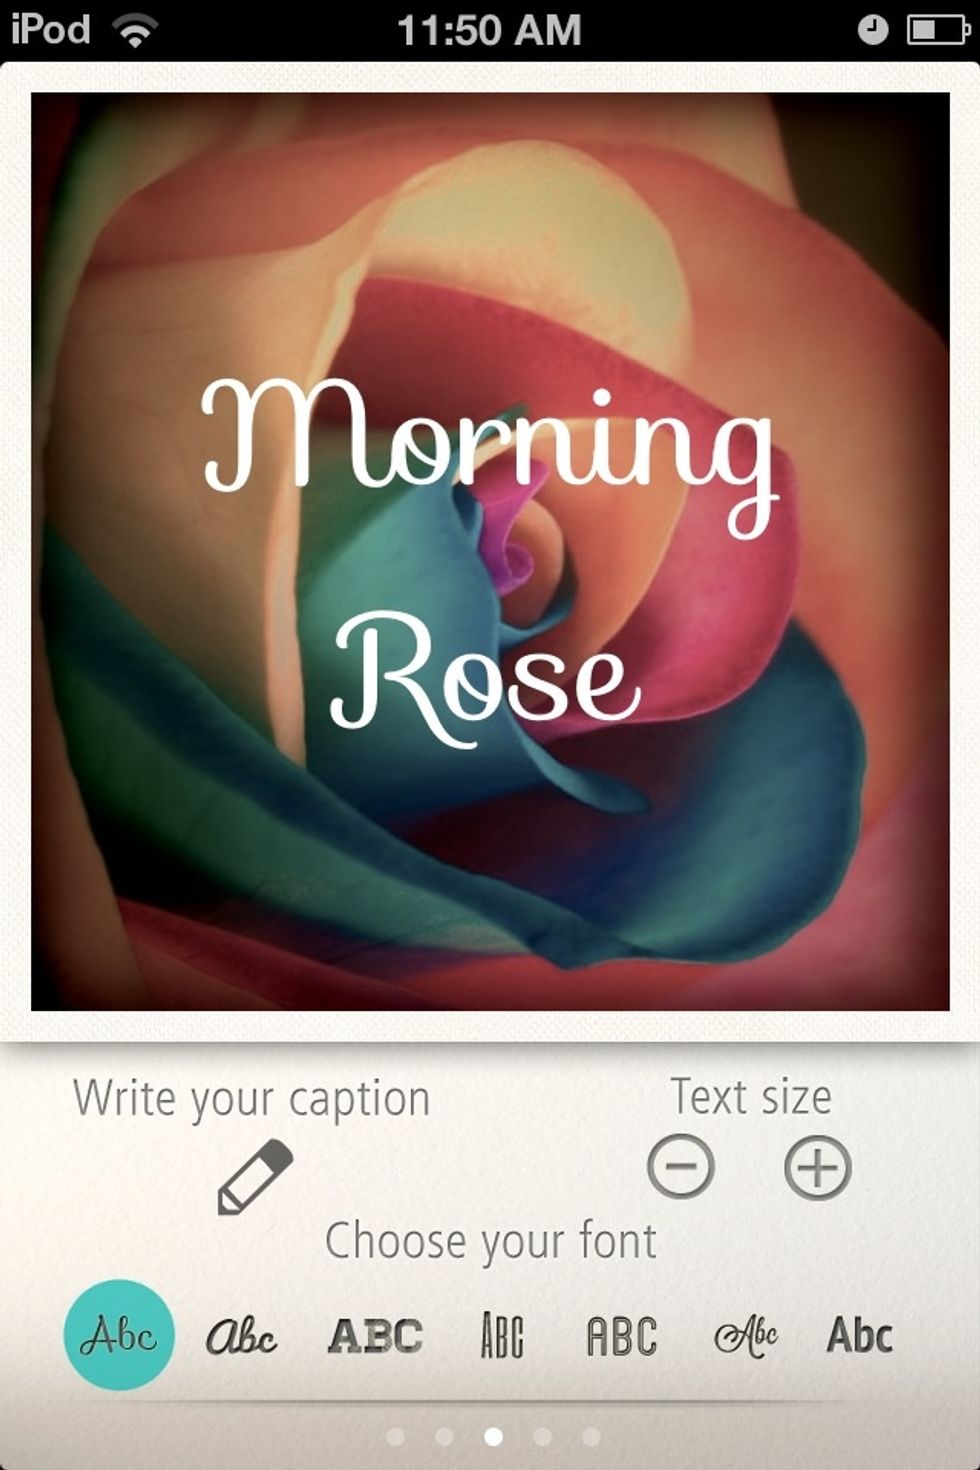
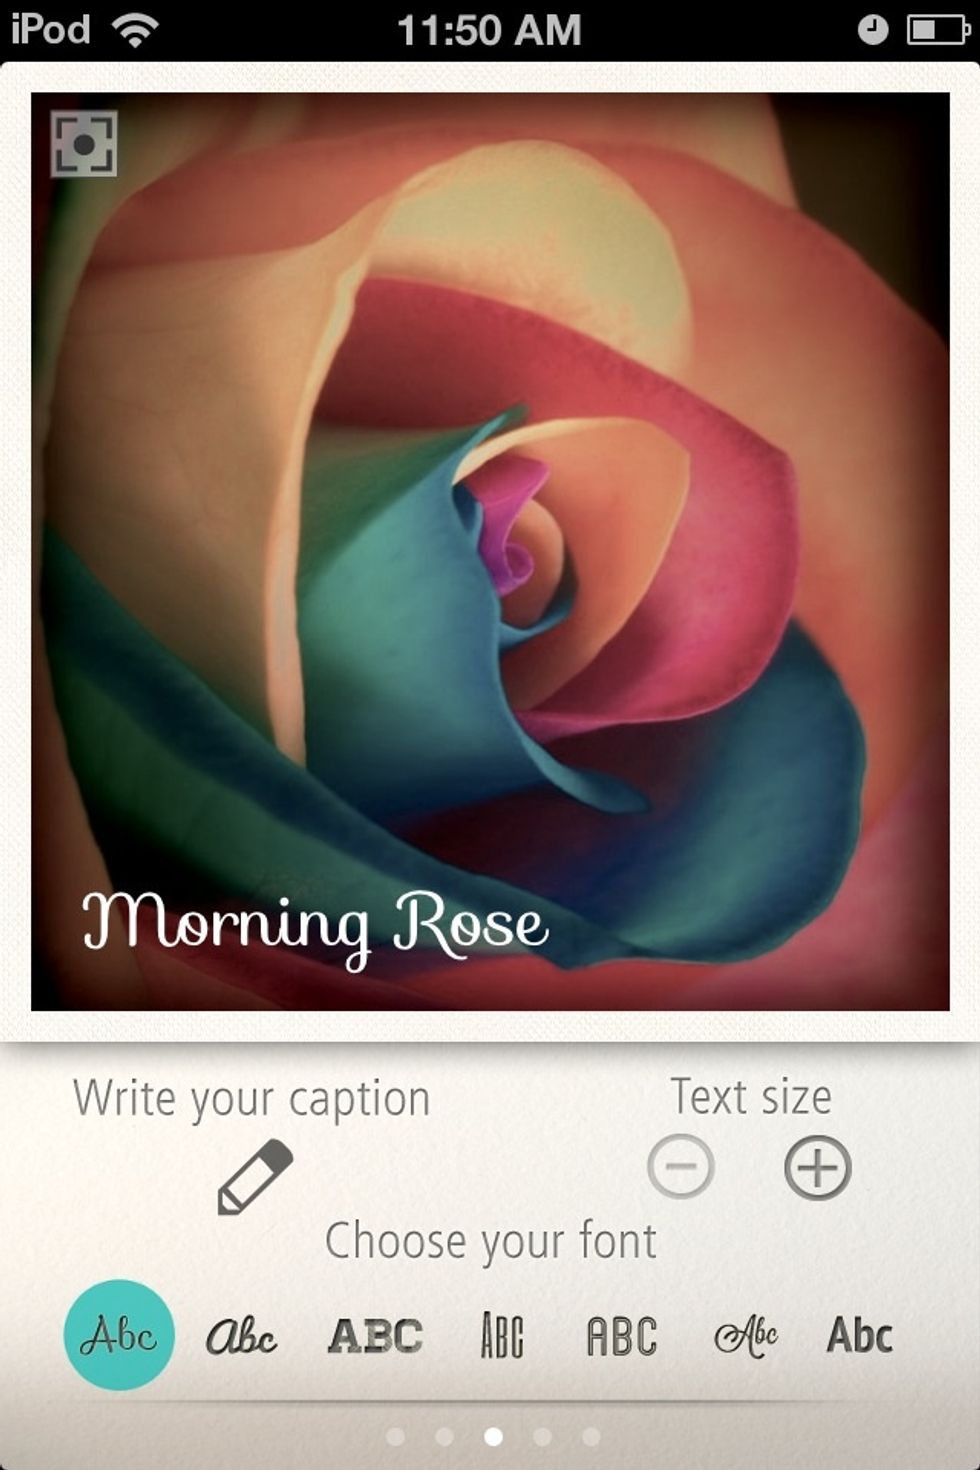
Press Write Your Caption. Then, just type it in. I don't believe it's limited to two lines of text, this is just what I wrote.
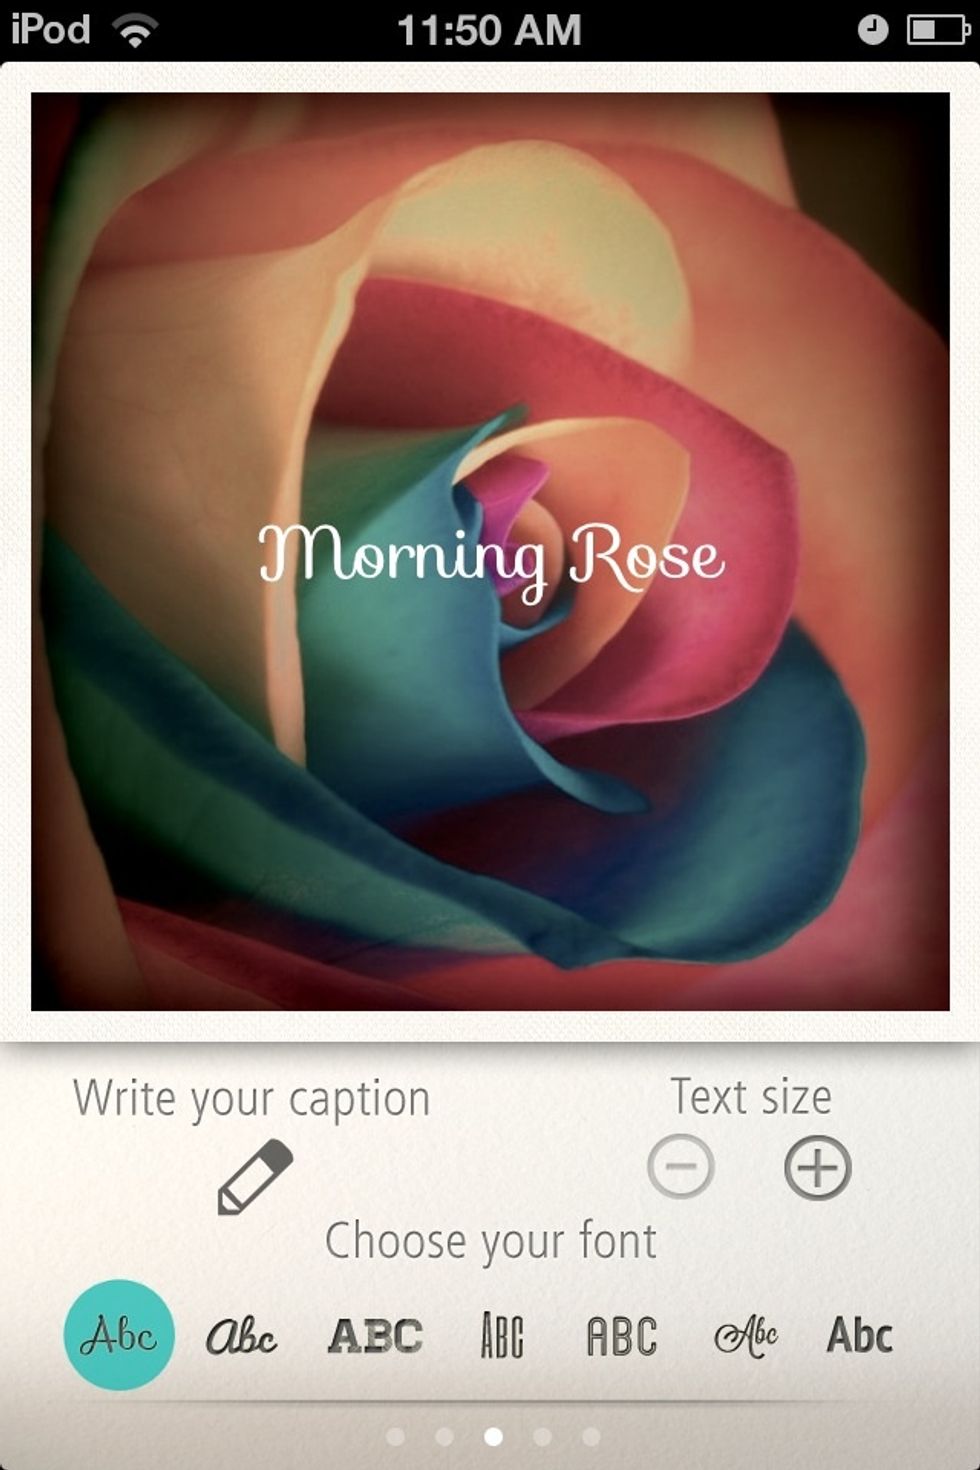
You can make the caption smaller with the text size buttons.
You can move the text around with your fingers. It doesn't "snap" to the picture; it freely moves.
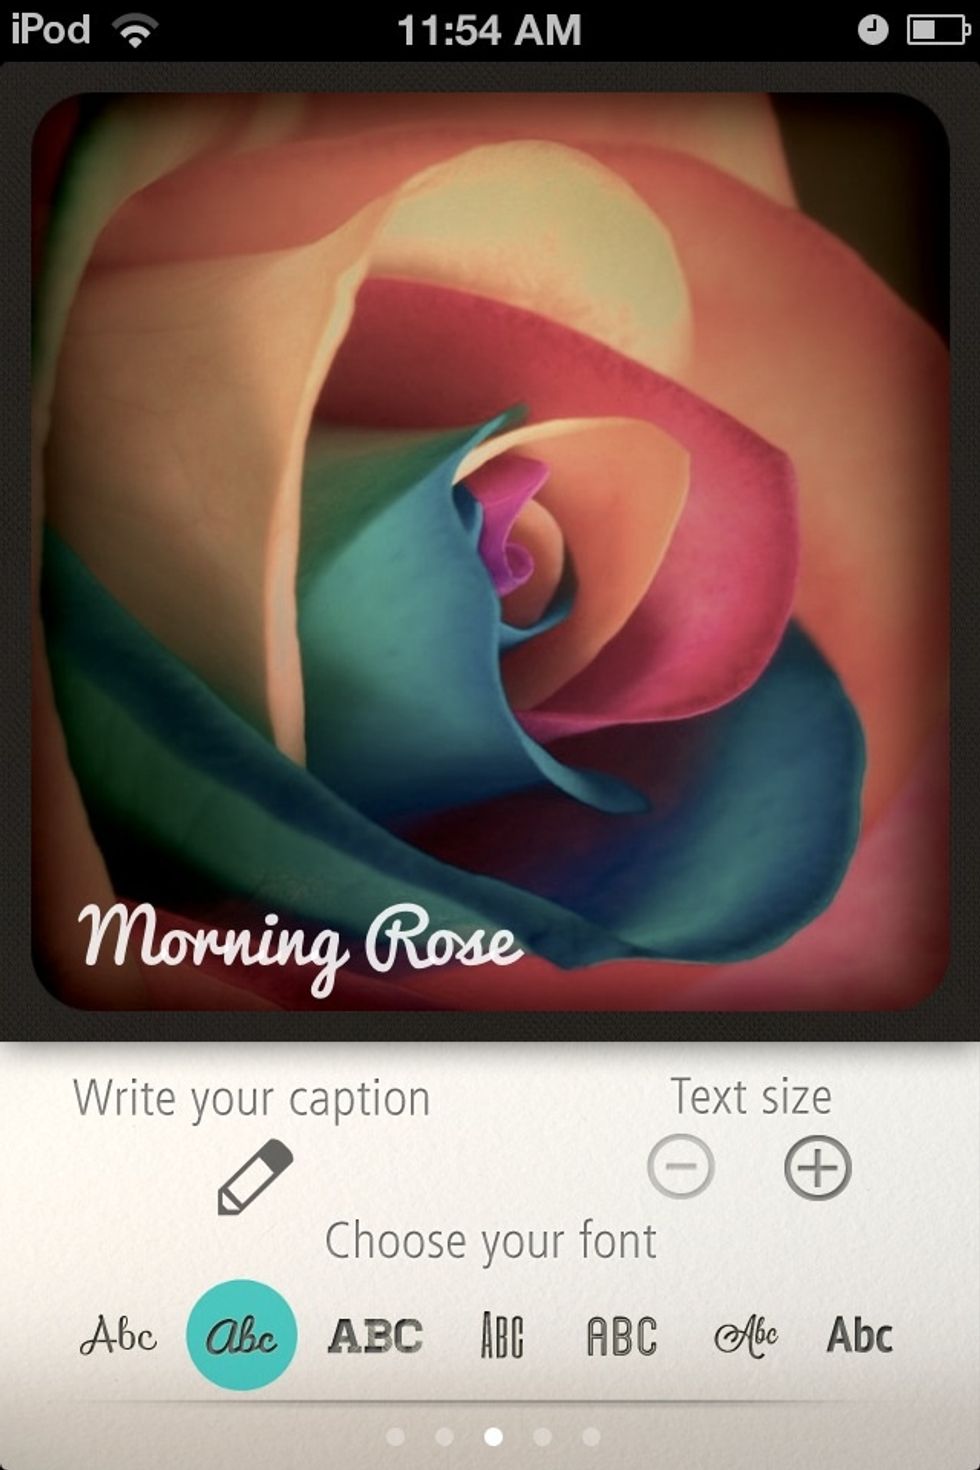
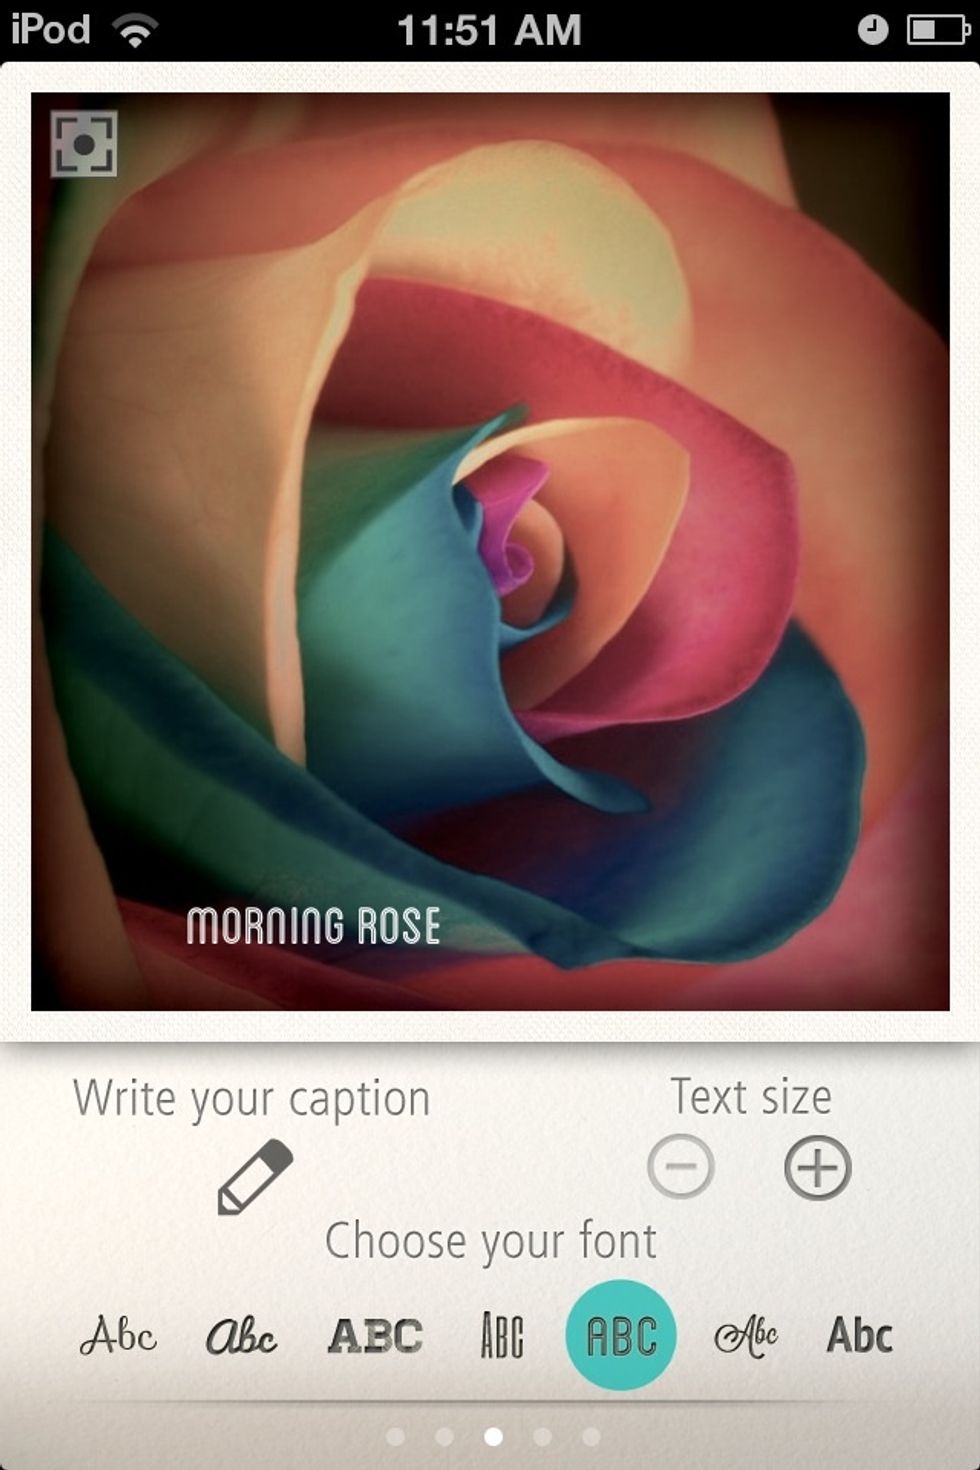
Here's the second font at the bottom of the picture. The first one is in the previous steps.
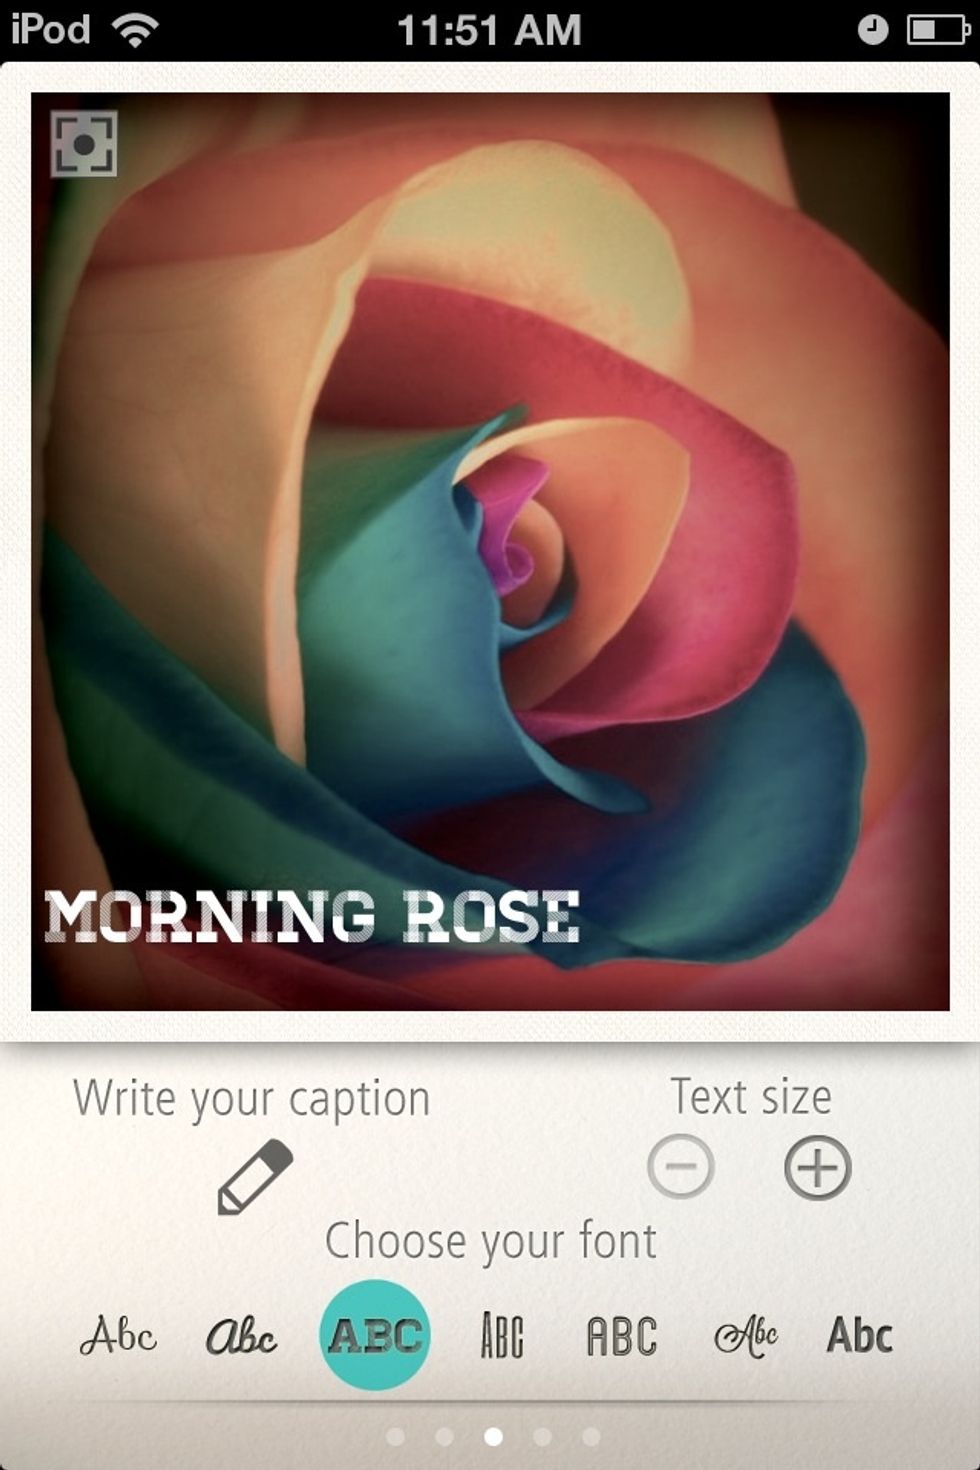
Third font.
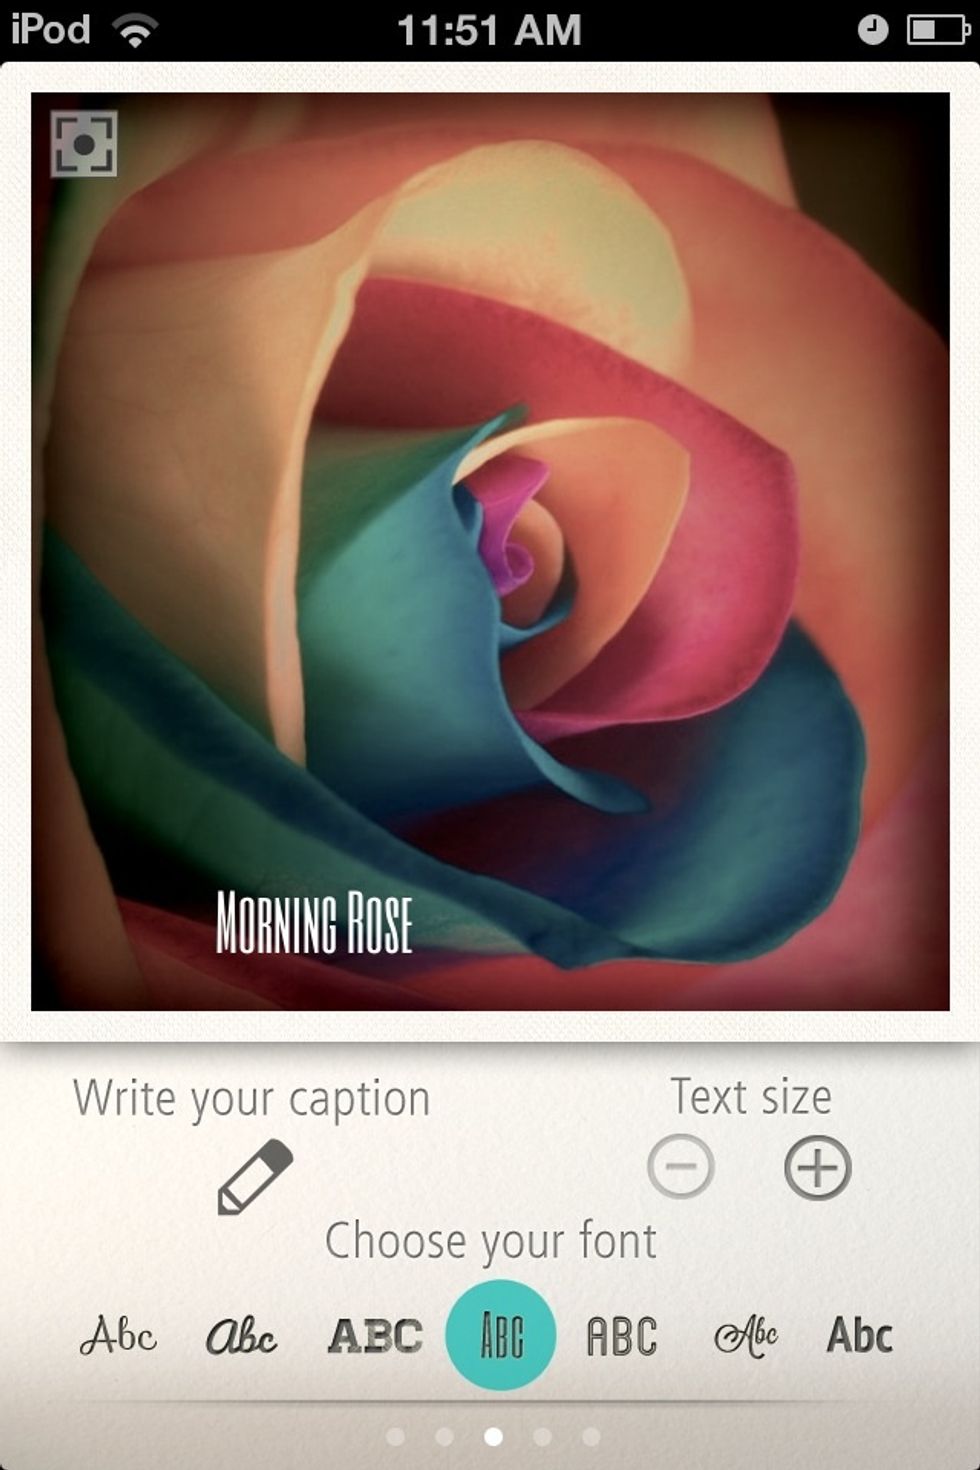
Fourth font.
Fifth font.
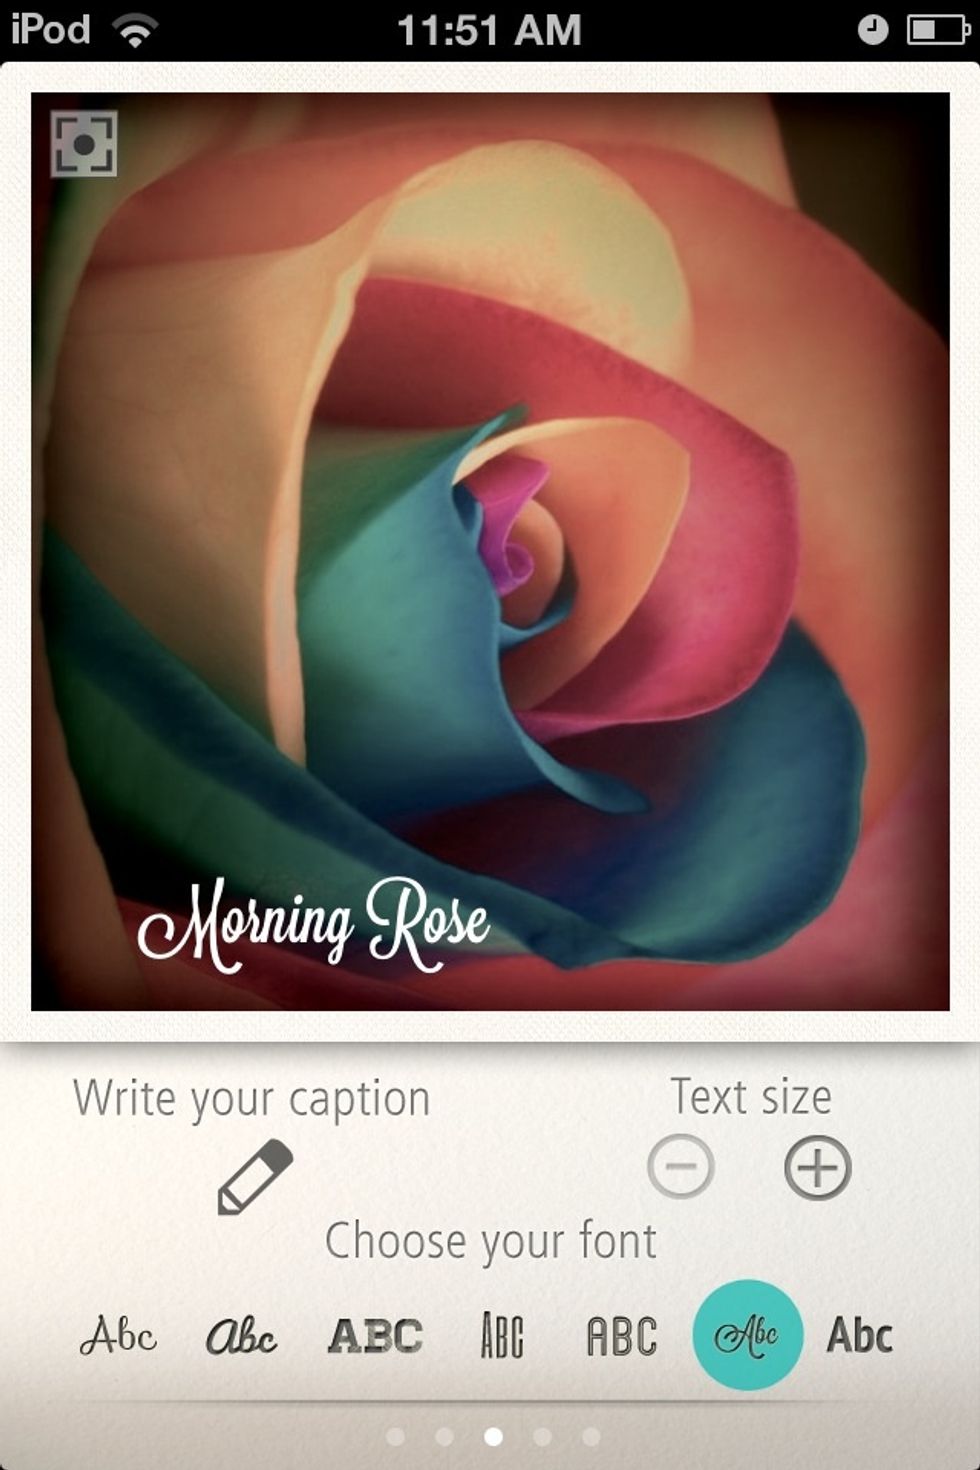
Sixth font.
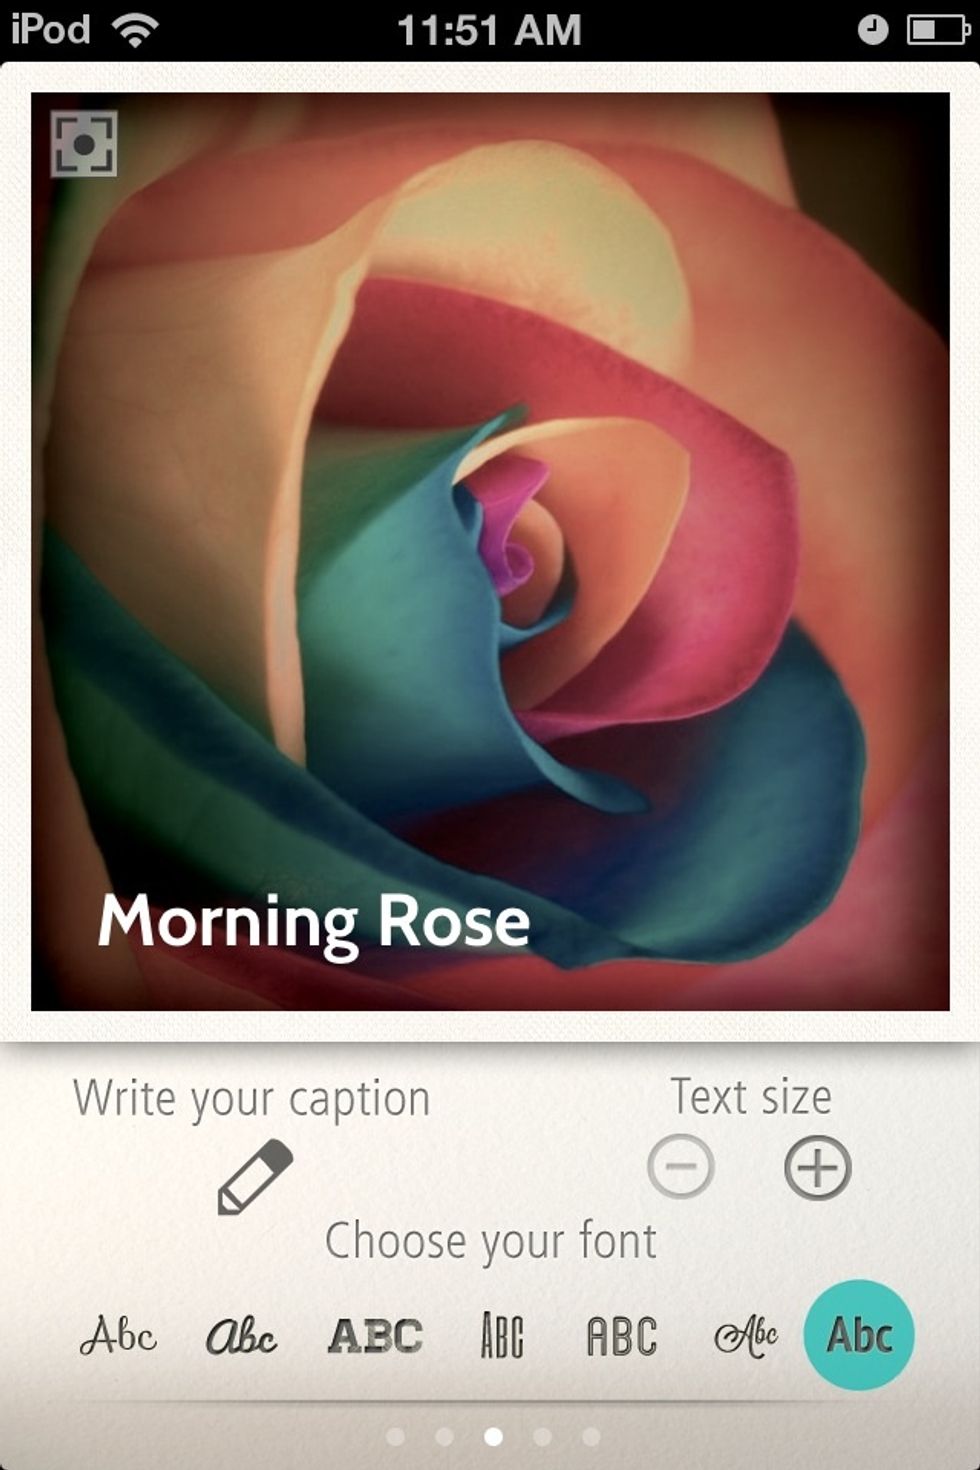
Seventh font.
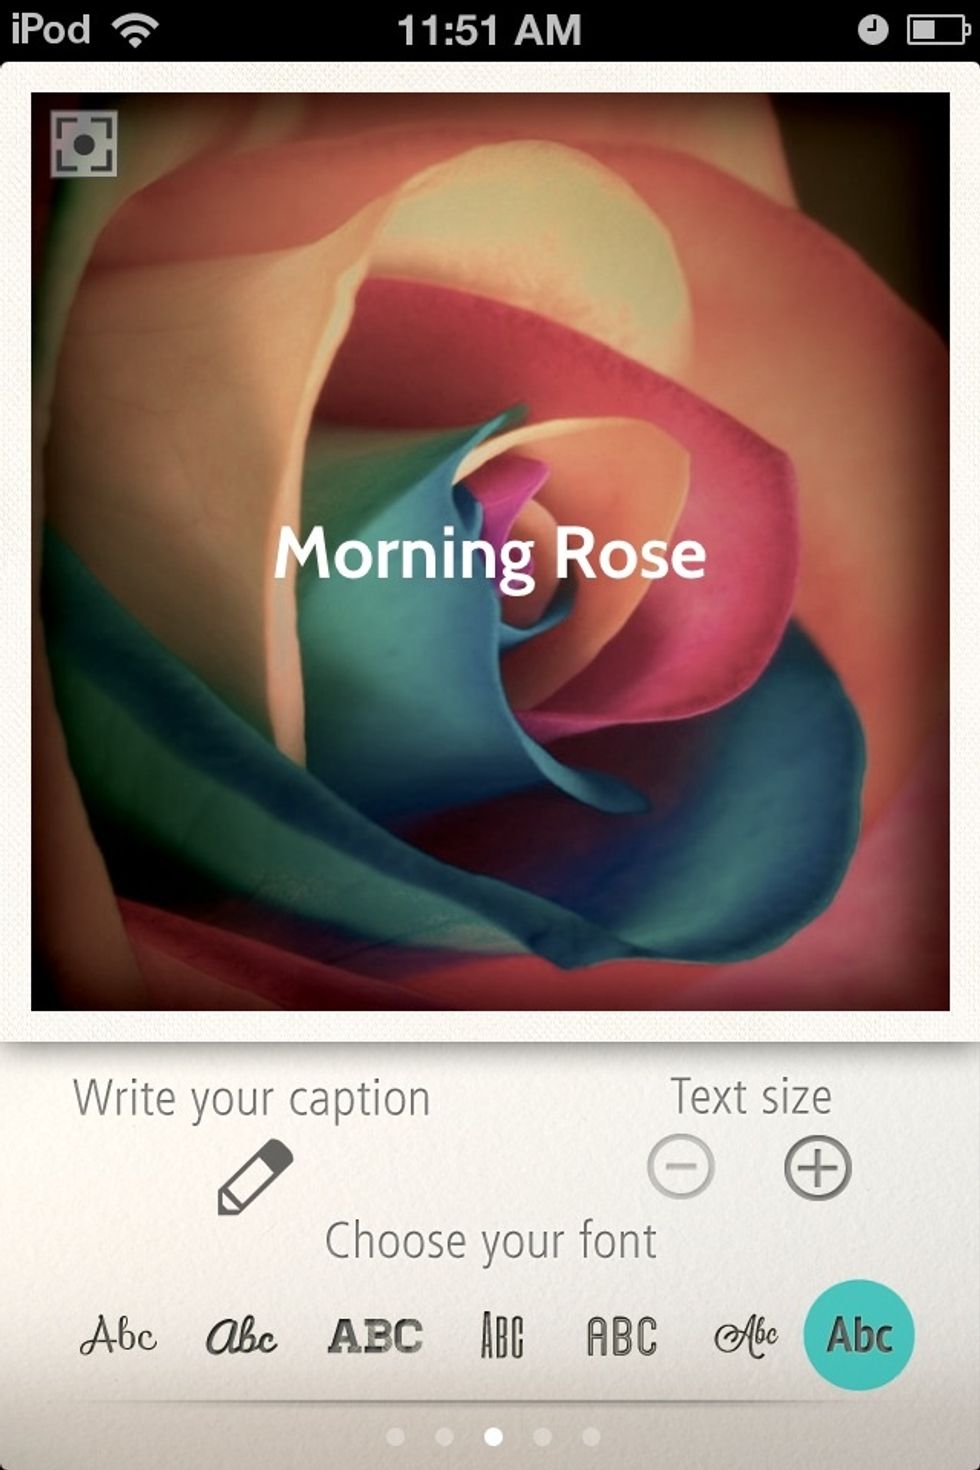
Press the square in the upper left corner to center the caption.
Next screen. If you don't want to do this either...go to step End.
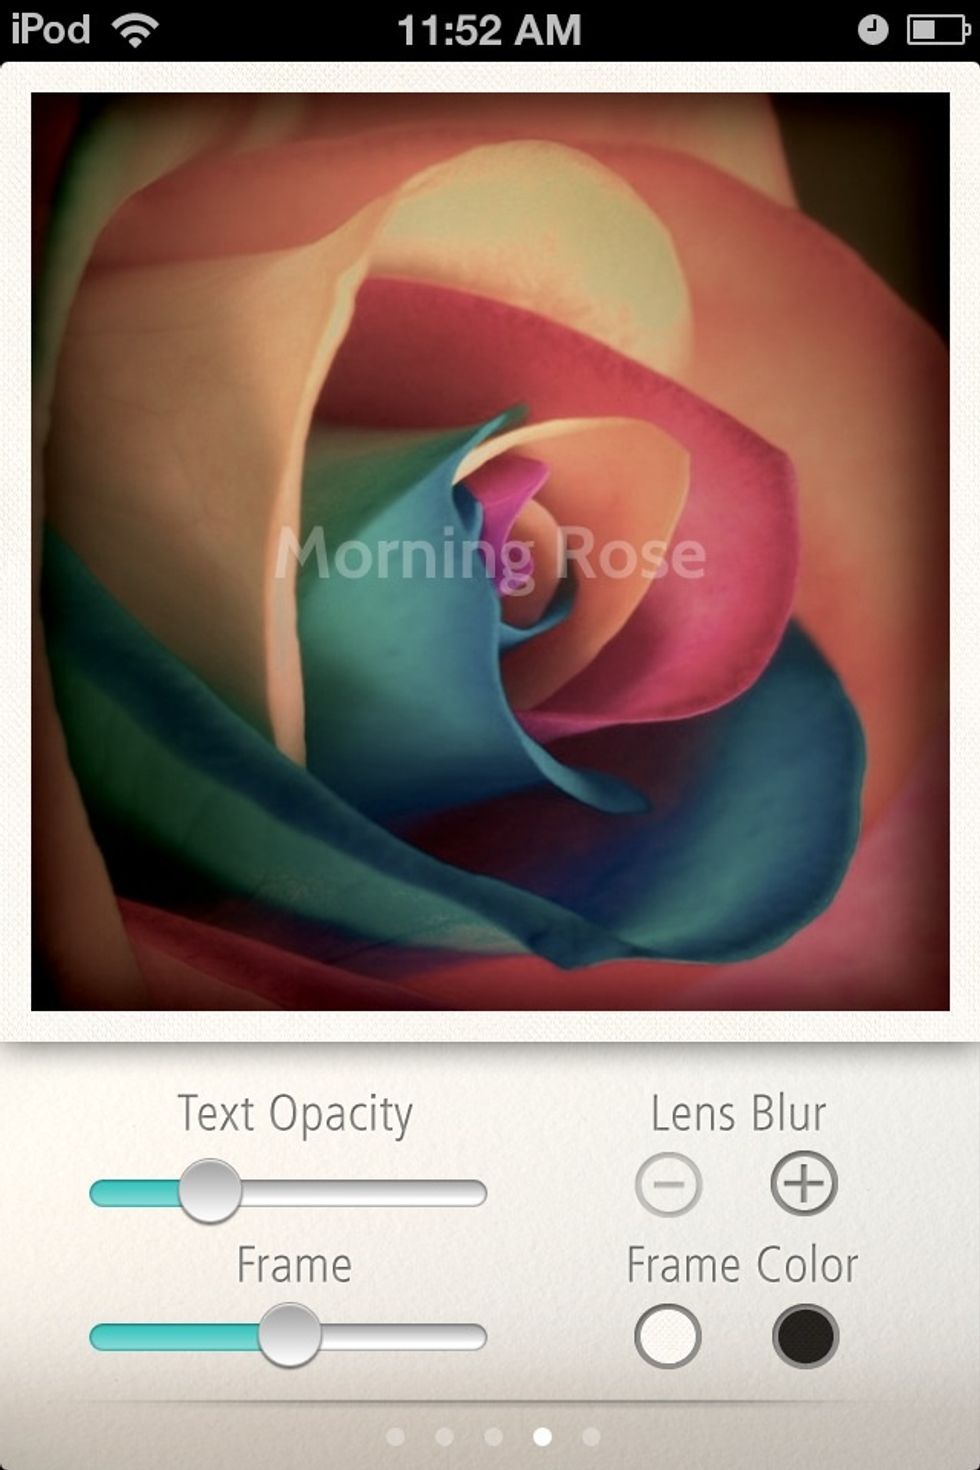
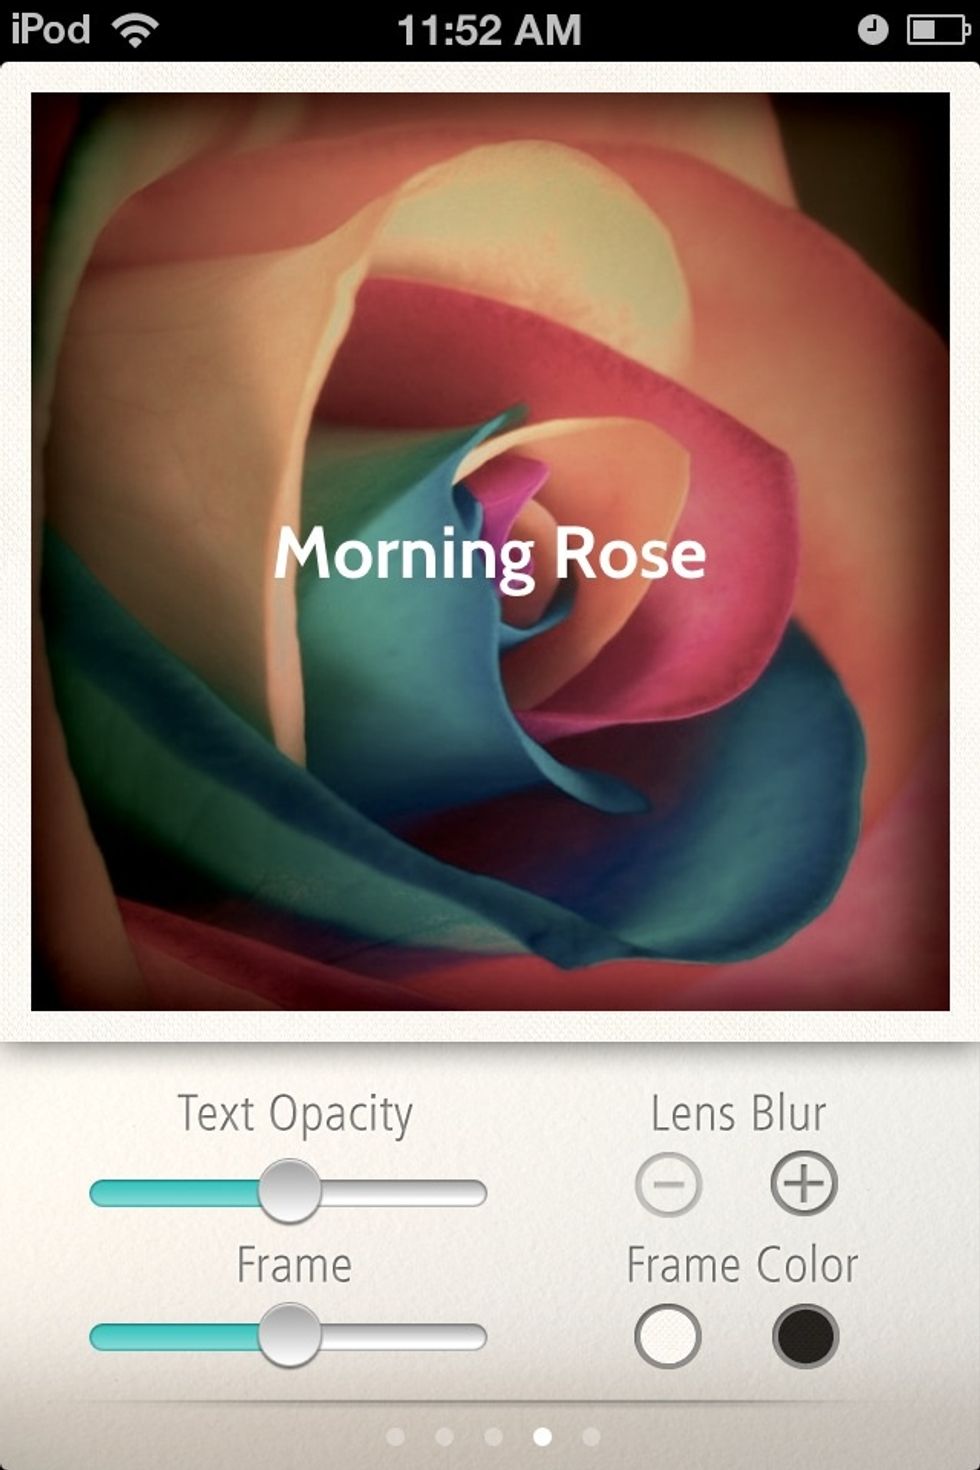
Text Opacity makes the text less visible, an fades it out or in. This is helpful if you want a watermark on your photo.

The frame slider rounds out the edges.
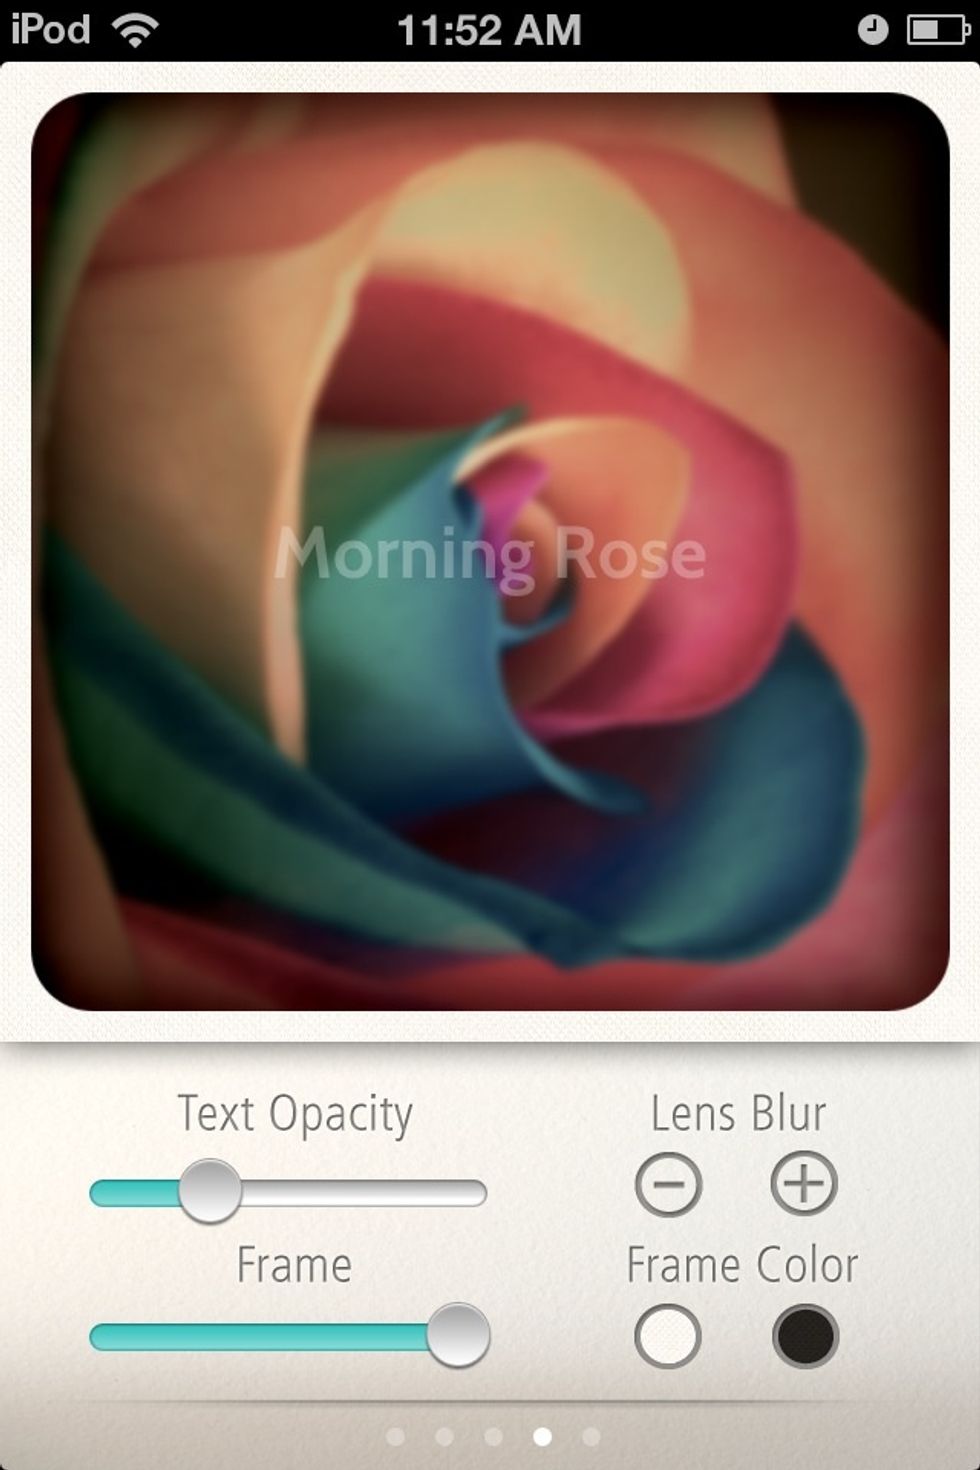
Lens Blur blurs the picture for a nice effect.
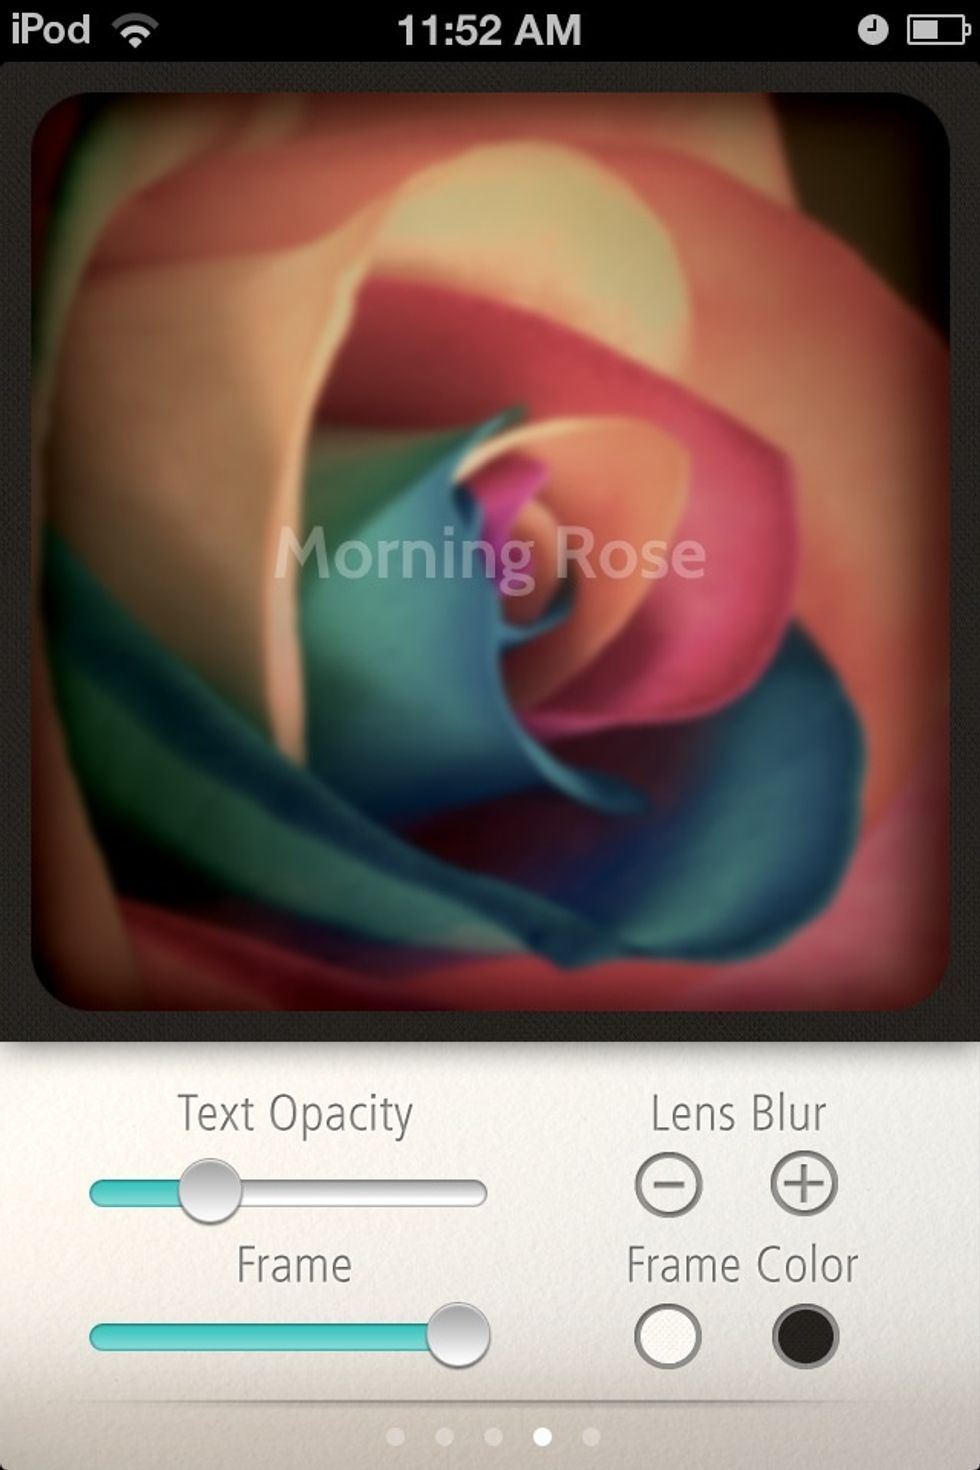
Frame color changes it from white to black or vice versa.

You can save it, email it, Facebook it, tweet it, and even Instagram it.

The final photo.
I call it, "Instagram without the...gram or insta part" and "Snapseed for true novices".