How to put a screen protector on without any bubbles
How many screen protectors have you ruined by letting bubbles get in the way? I'll show you how to apply them with no bubbles at all!
10601
STEPS
TOOLS
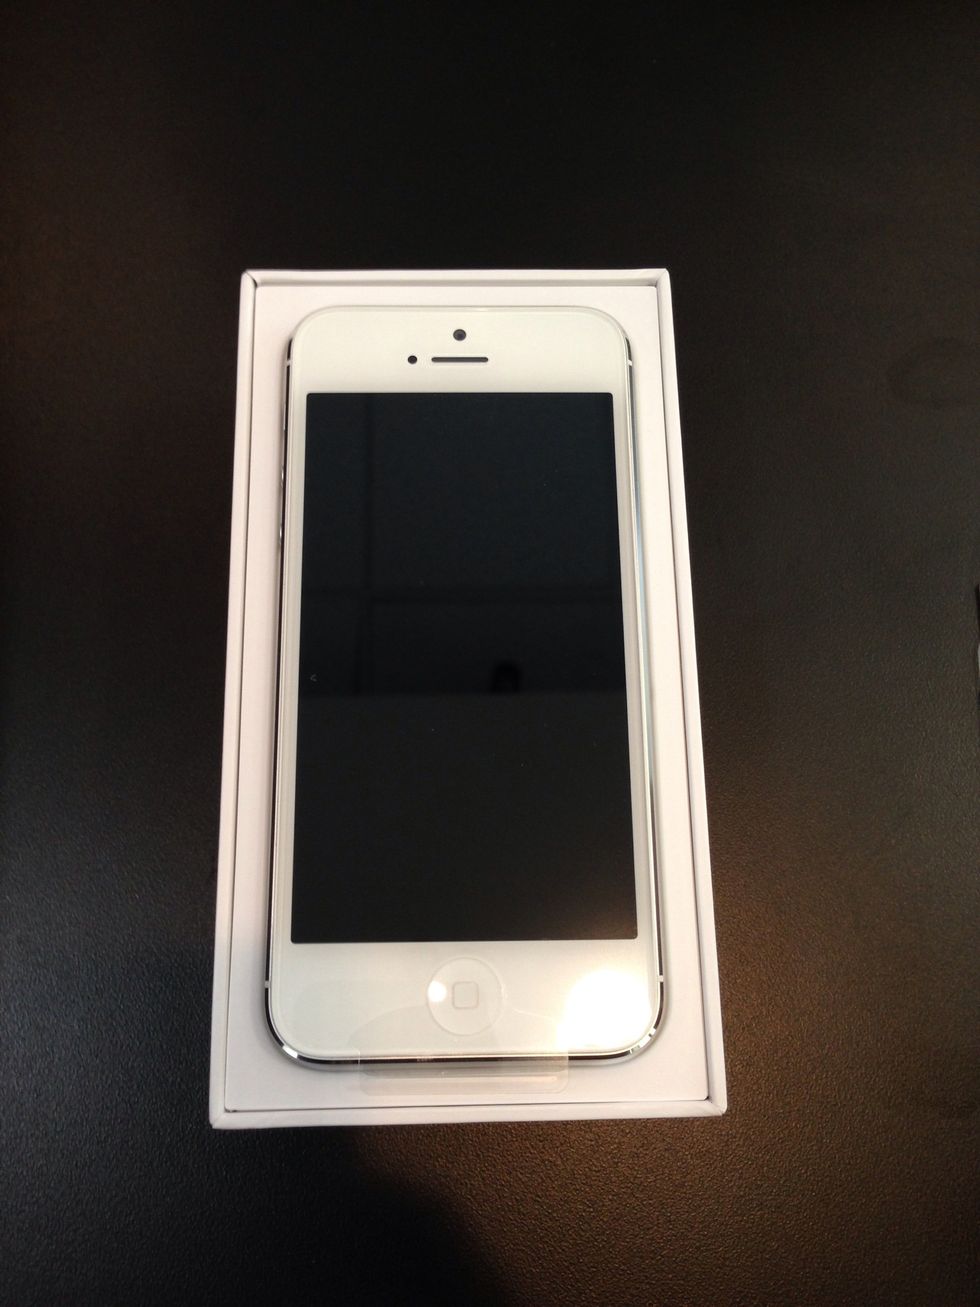
Take the stock screen protector off the iPhone.
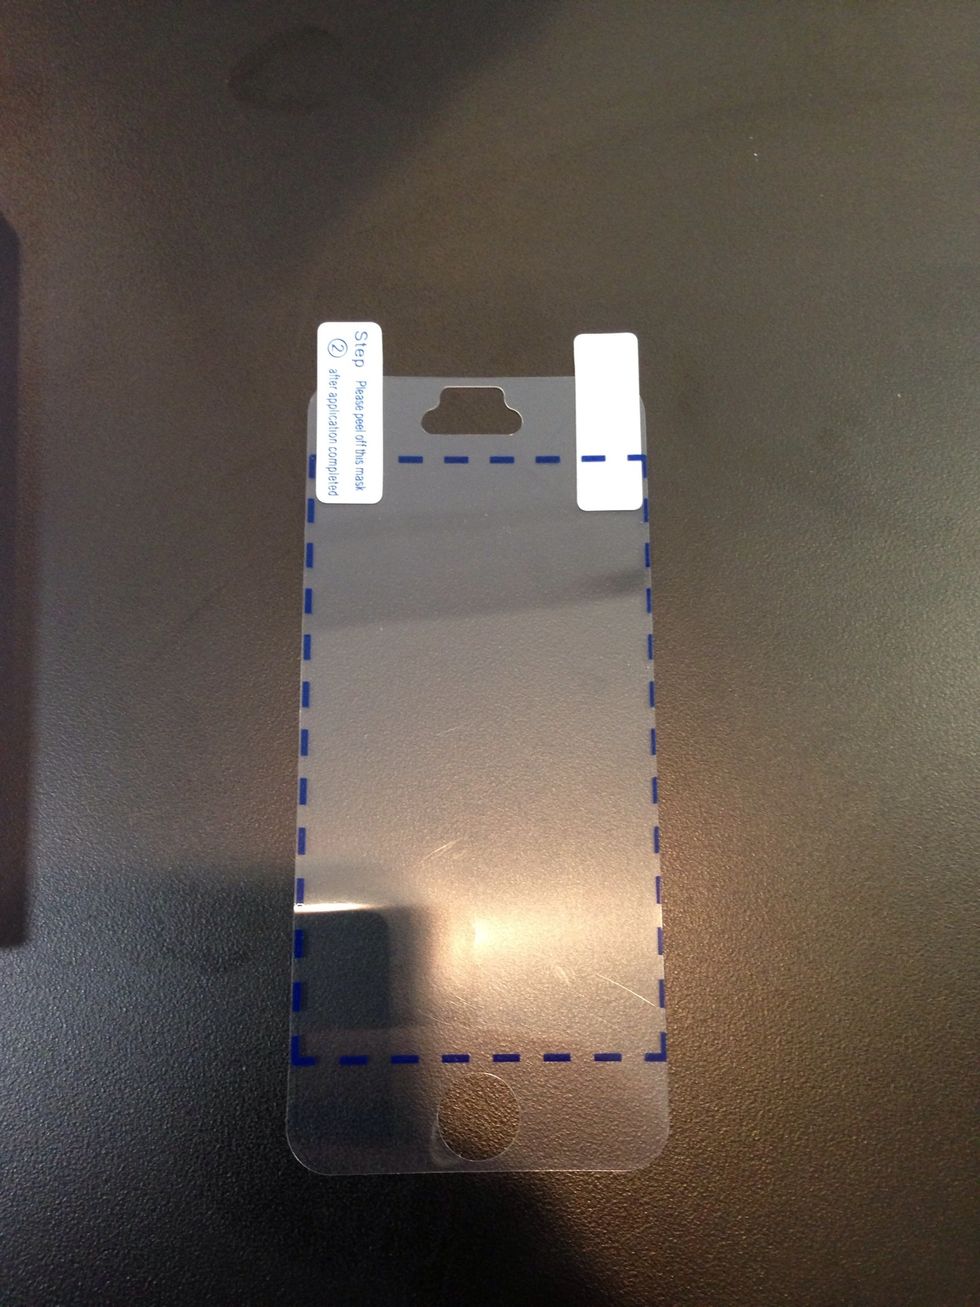
Screen protector. Do not bend.
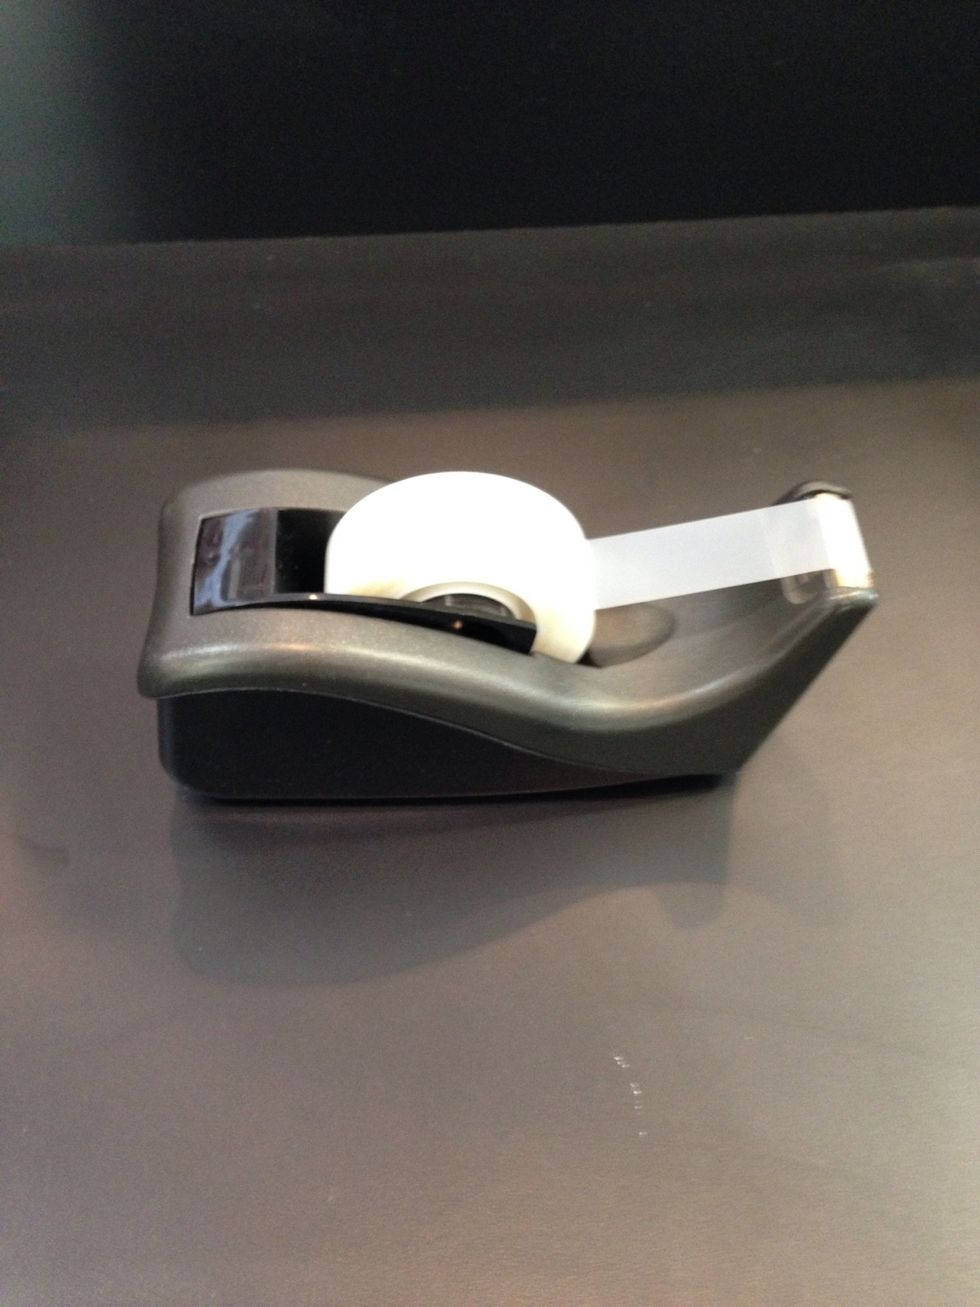
Grab some scotch tape.
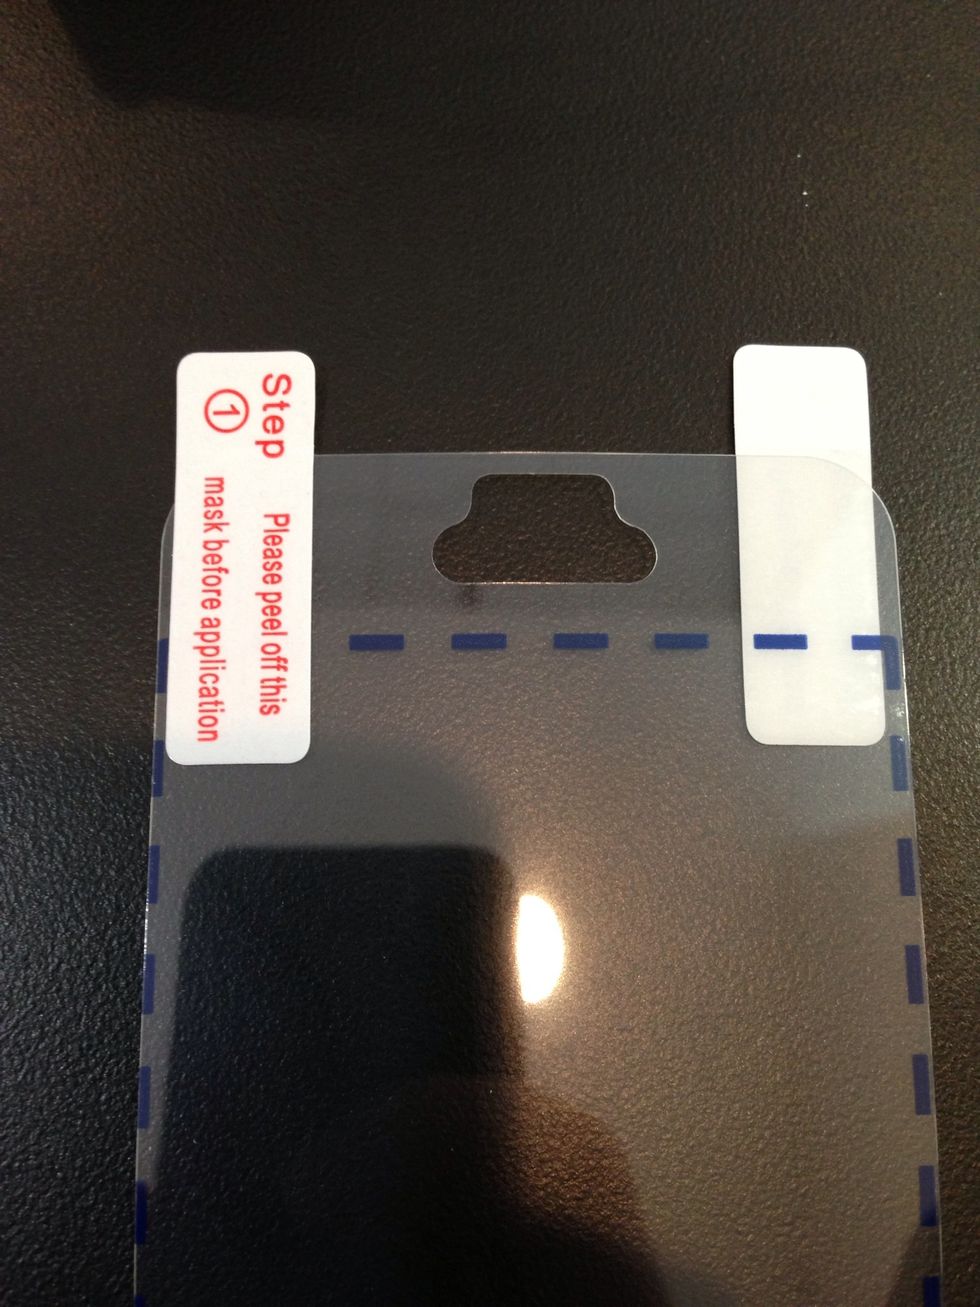
The screen protector is labeled 1 and 2. The side that has 1 on it will be peeled first.
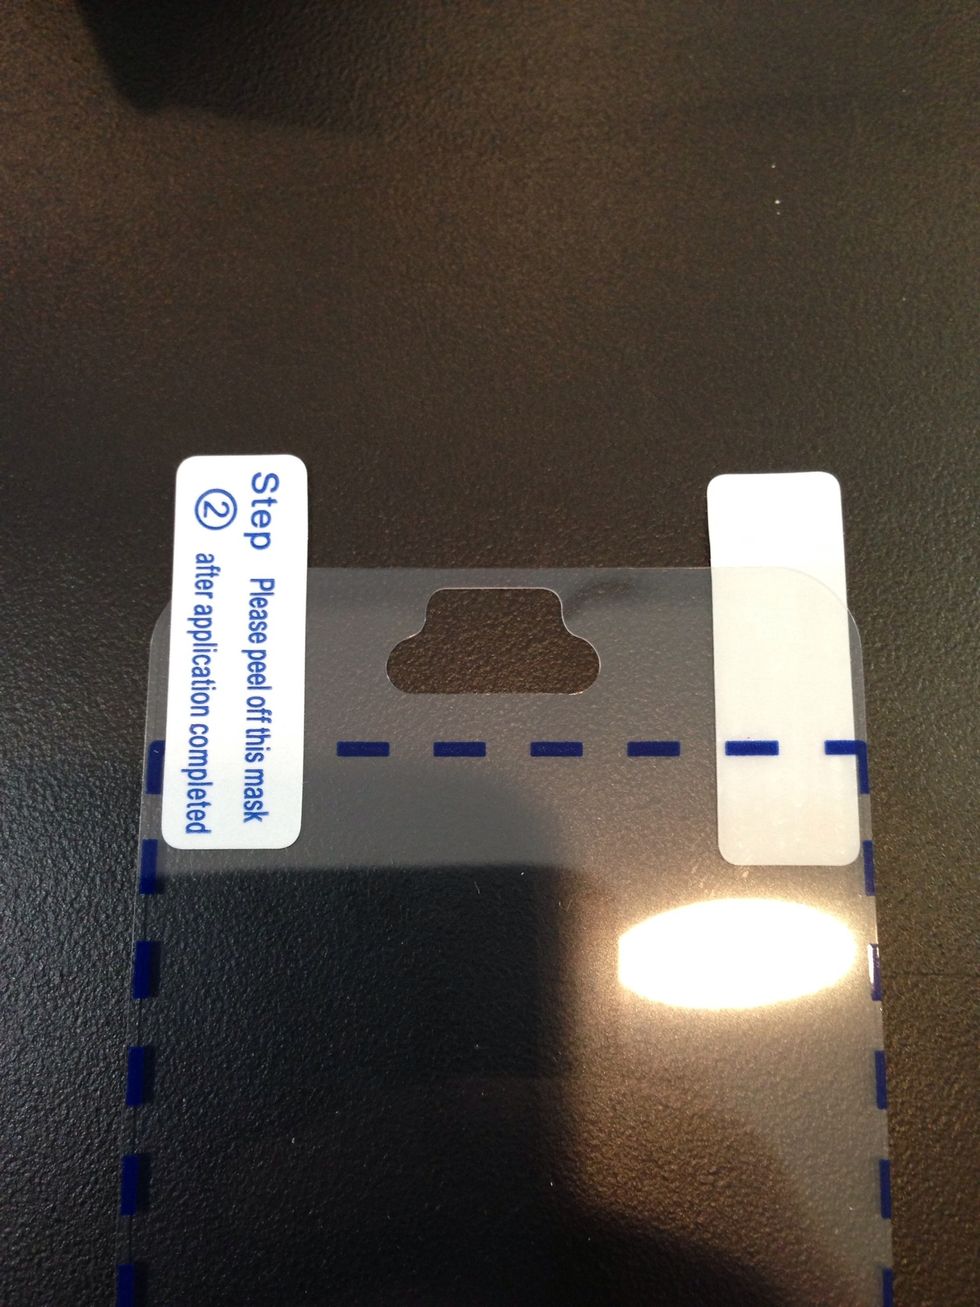
Side 2 will be peeled second. After you have laid side 1 on the phone.

Grab a piece of tape.

Use the sticky side of the tape to pick up any dust particles that could cause bubbles under the screen protector.
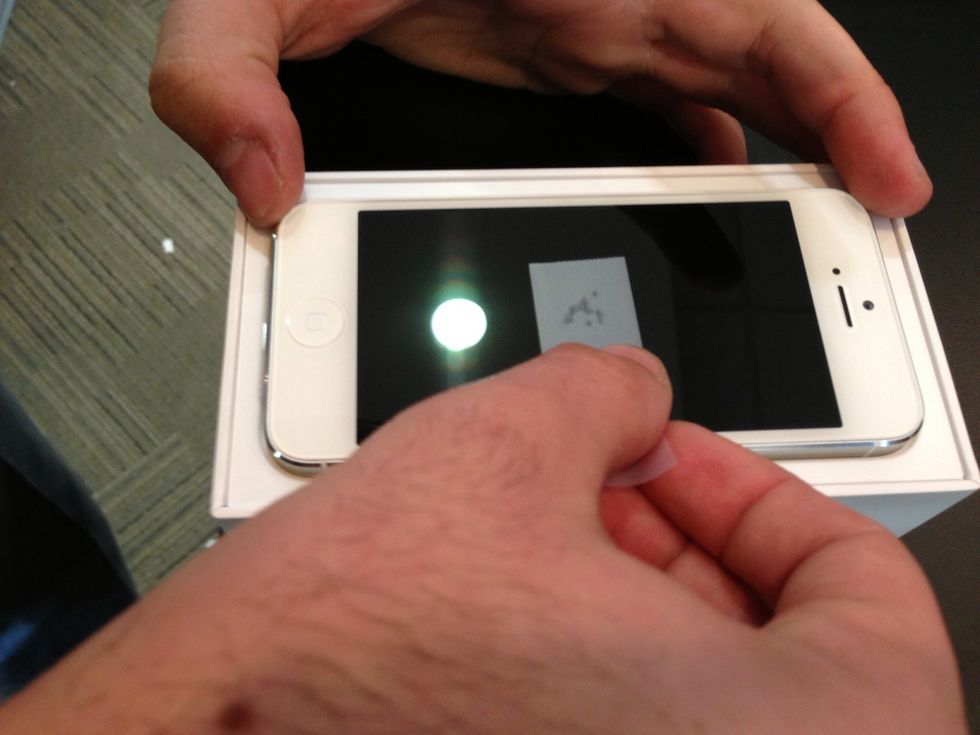
Make sure to get every piece. Take your time on it.
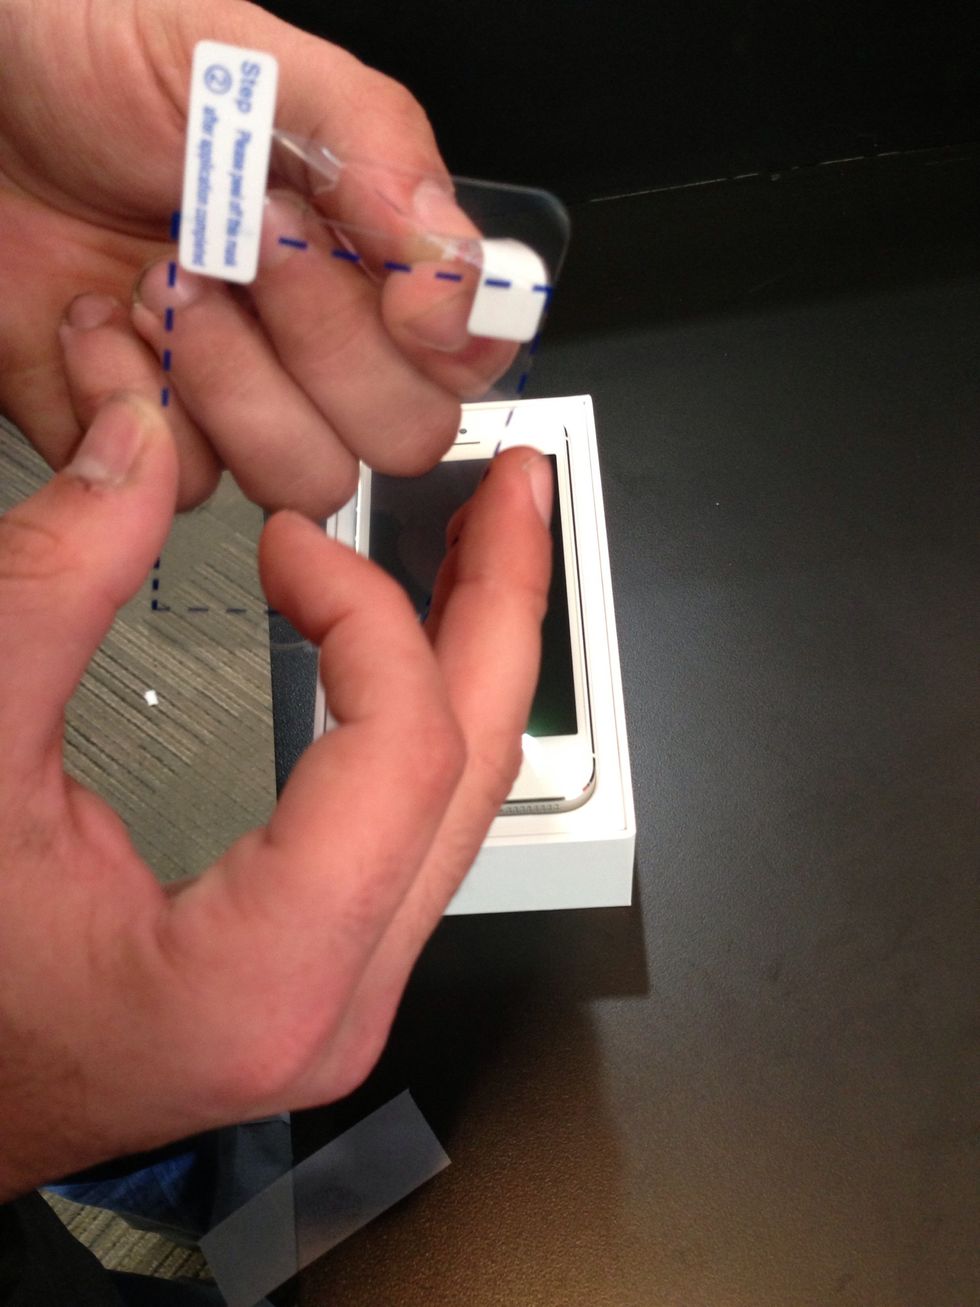
Once cleaned, start peeling side 1.
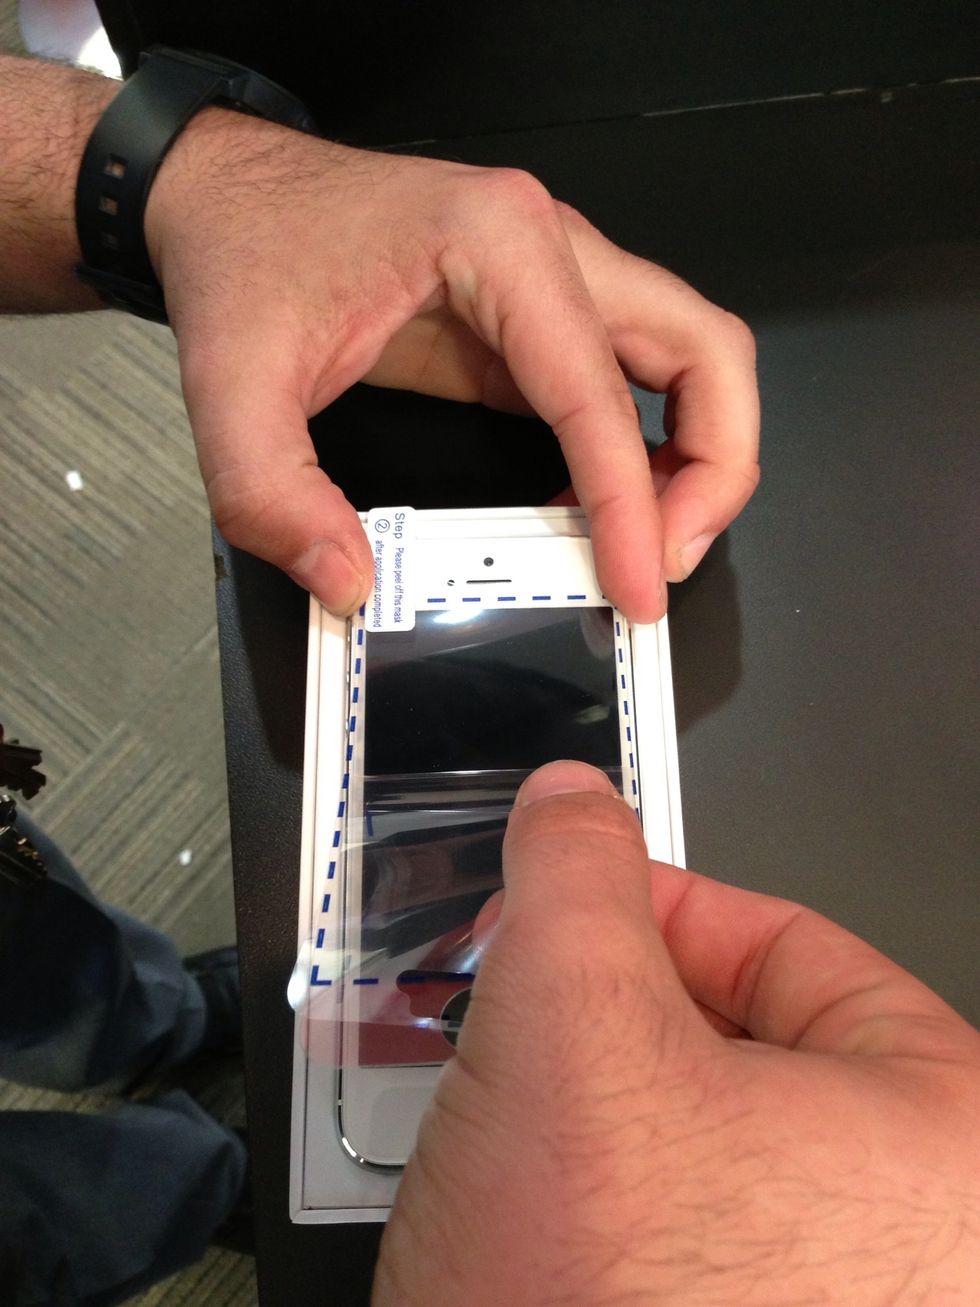
Align the blue lines with the lcd screen of the iPhone. Lay it down slowly and carefully.
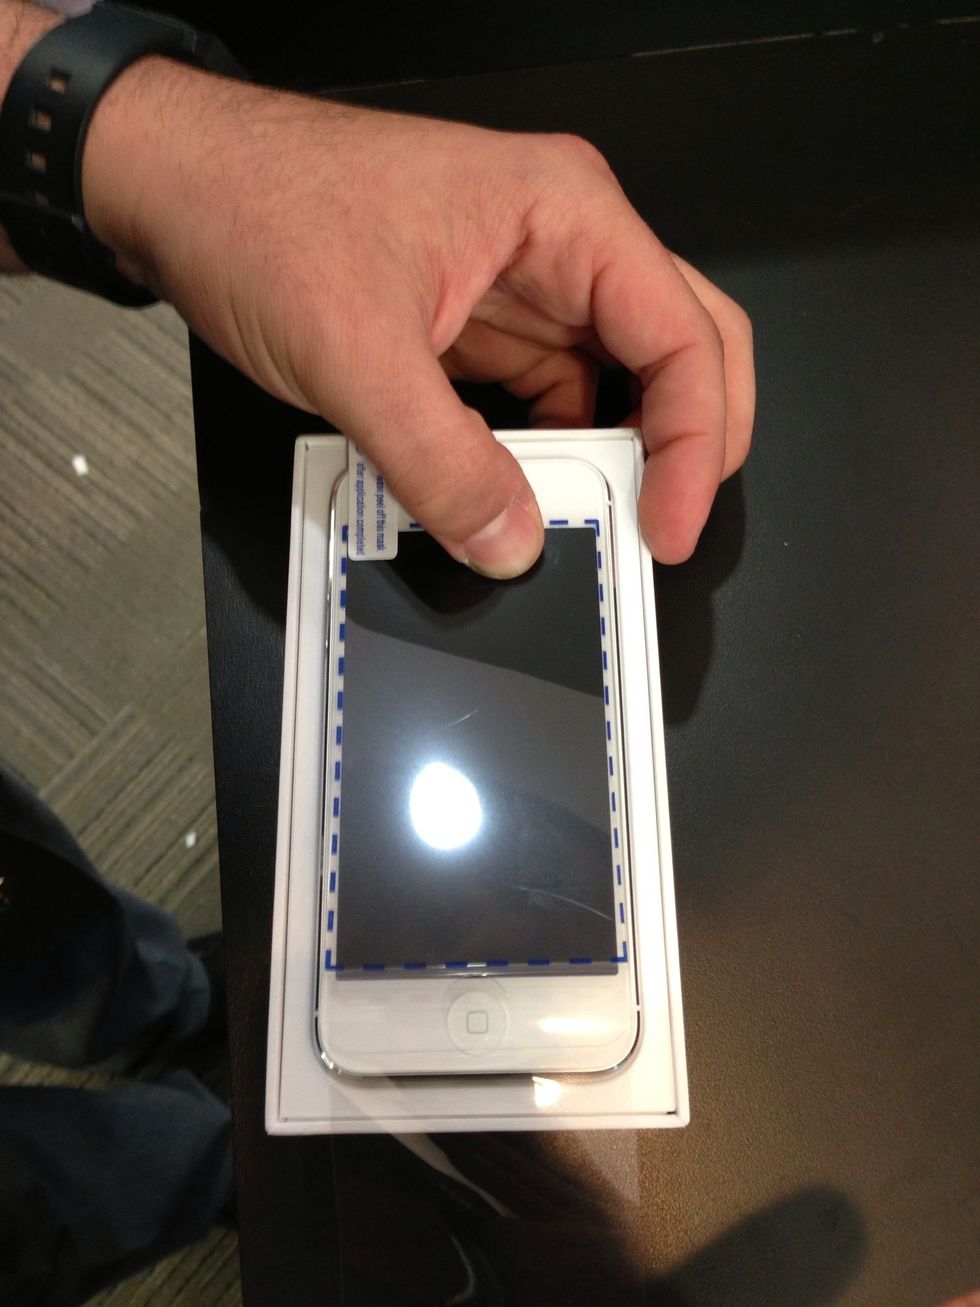
Allow it to lay down on its own. DO NOT USE A CREDIT CARD. IT WILL SCRATCH THE SCREEN PROTECTOR.
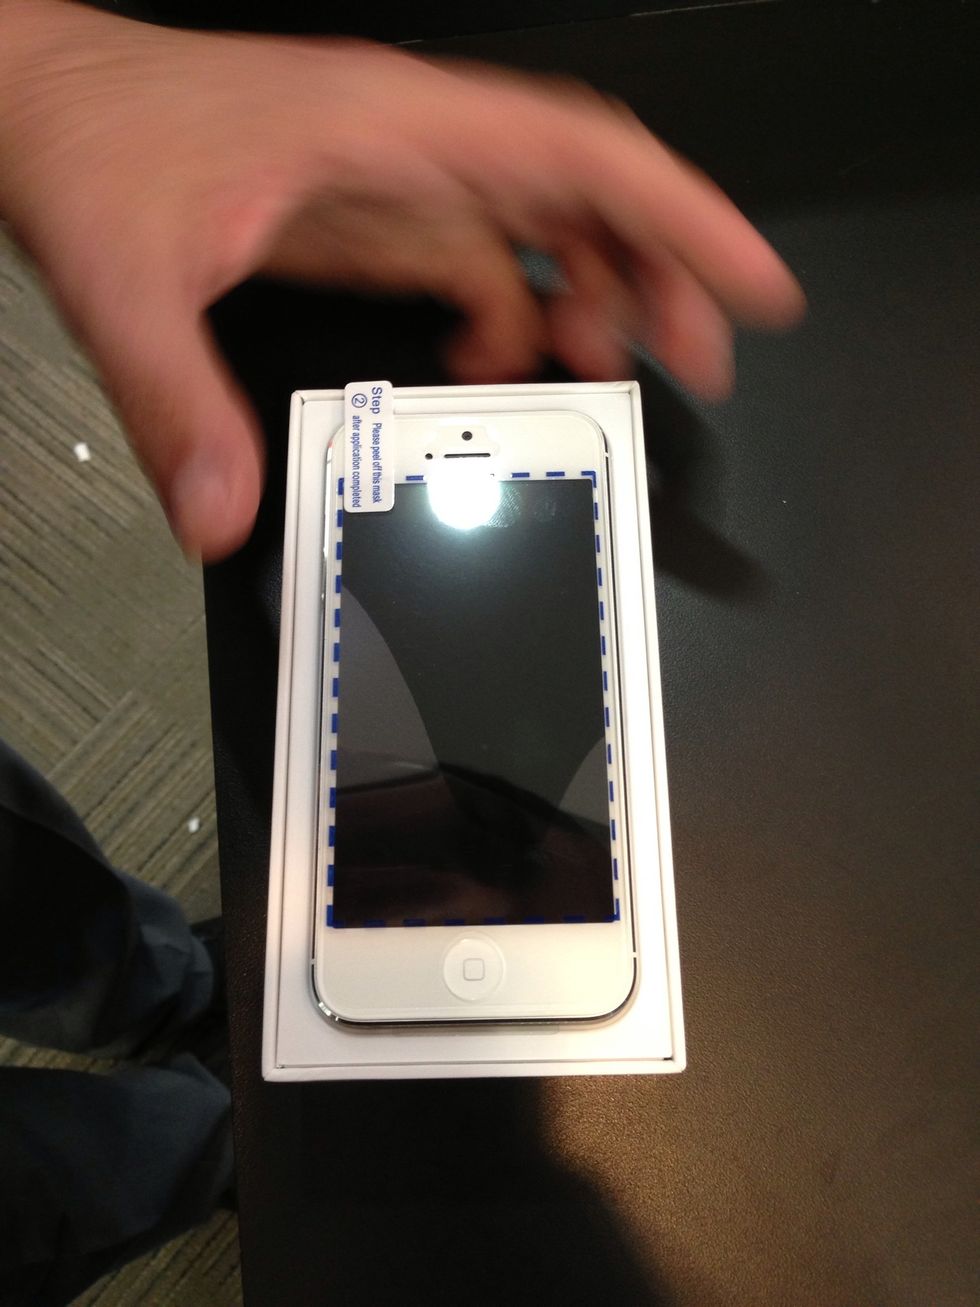
There may be a few air bubbles. Don't worry though!
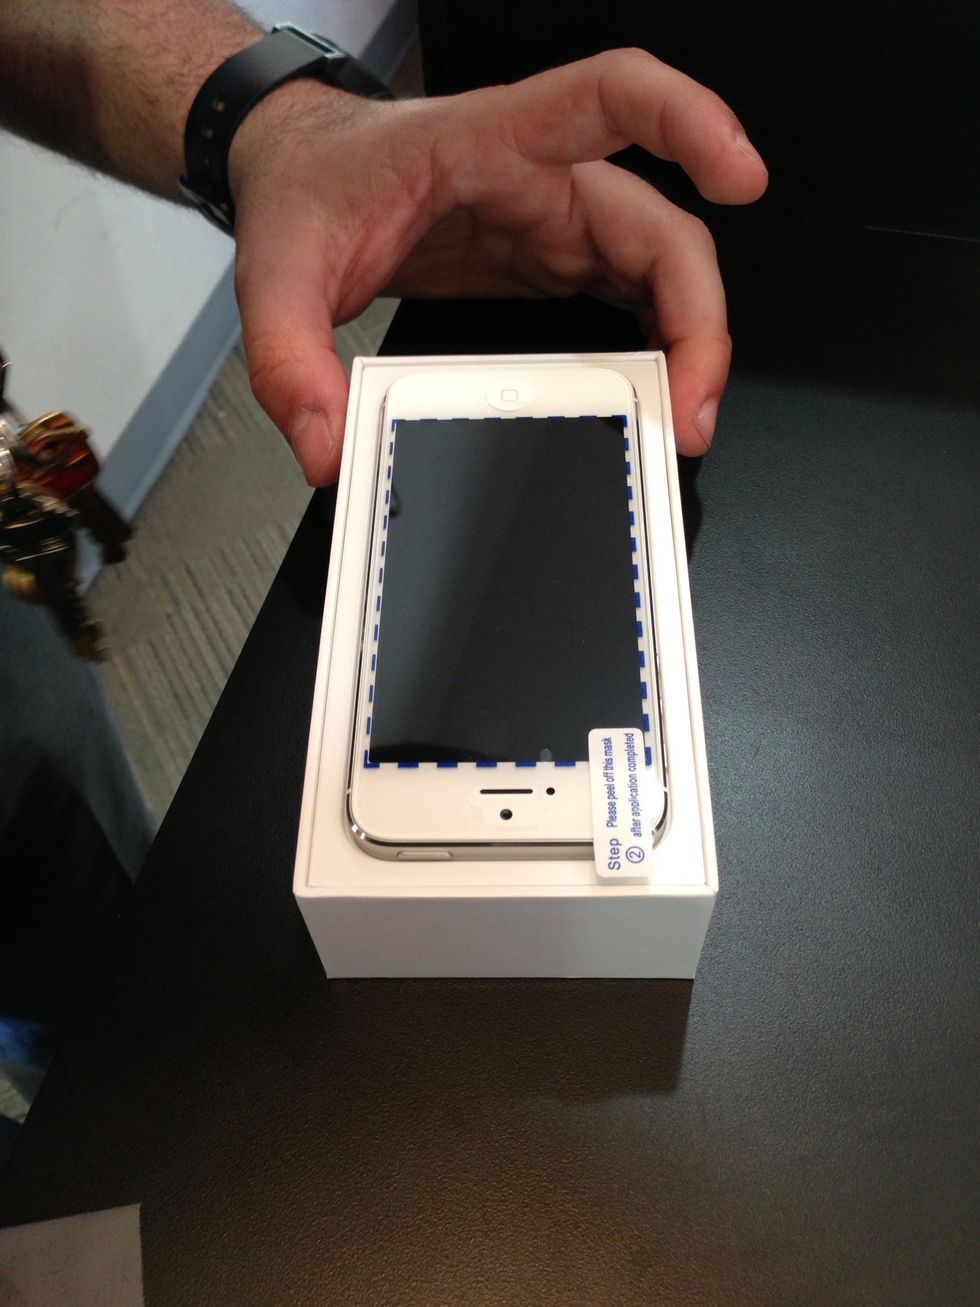
You can smooth out the bigger bubbles with your fingers.
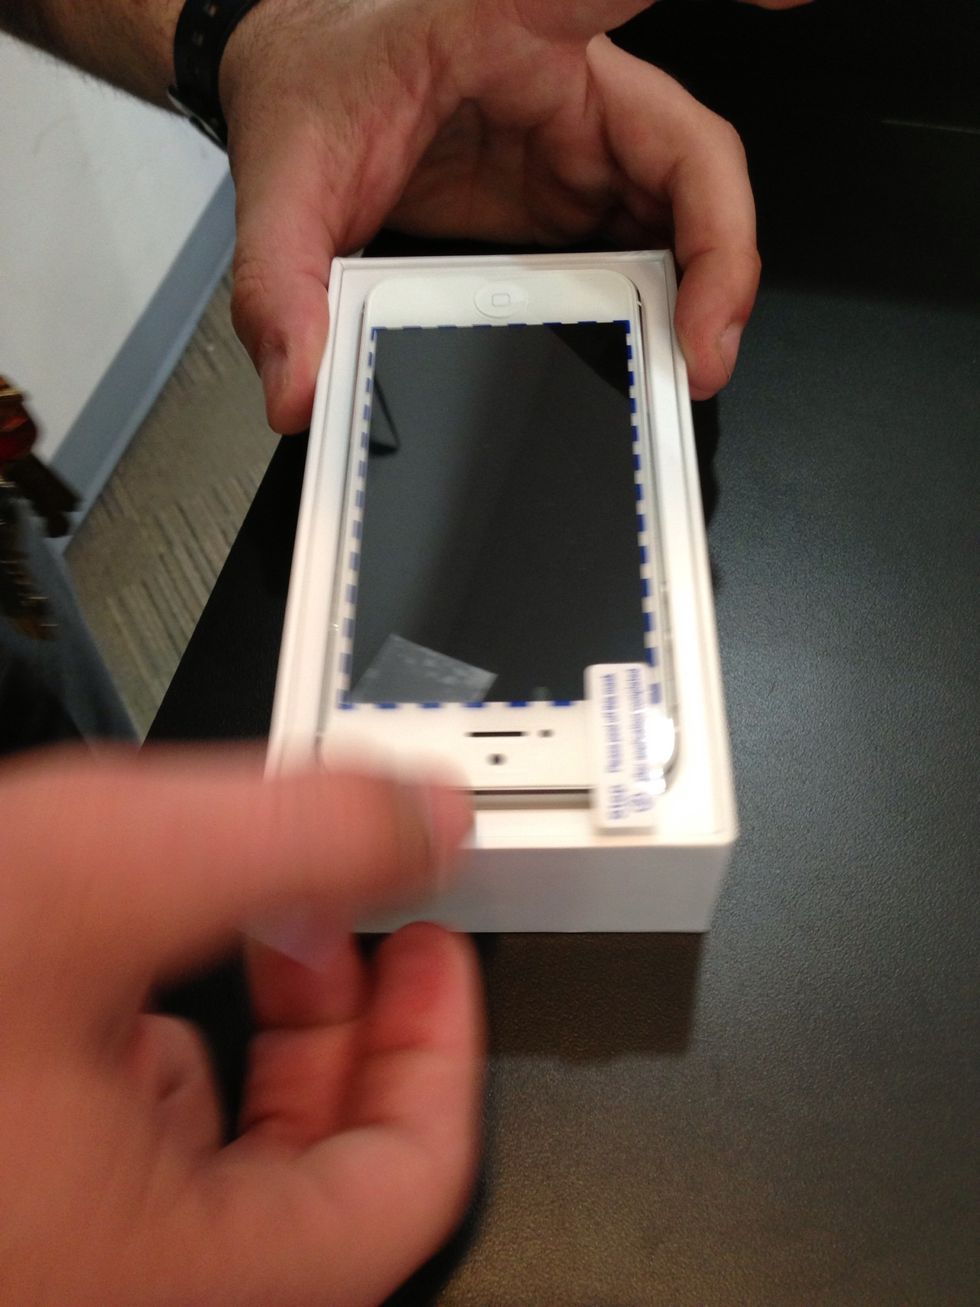
Don't peel side 2 yet. Use a piece of tape to re-align the screen protector in case it didn't get placed right the first time.
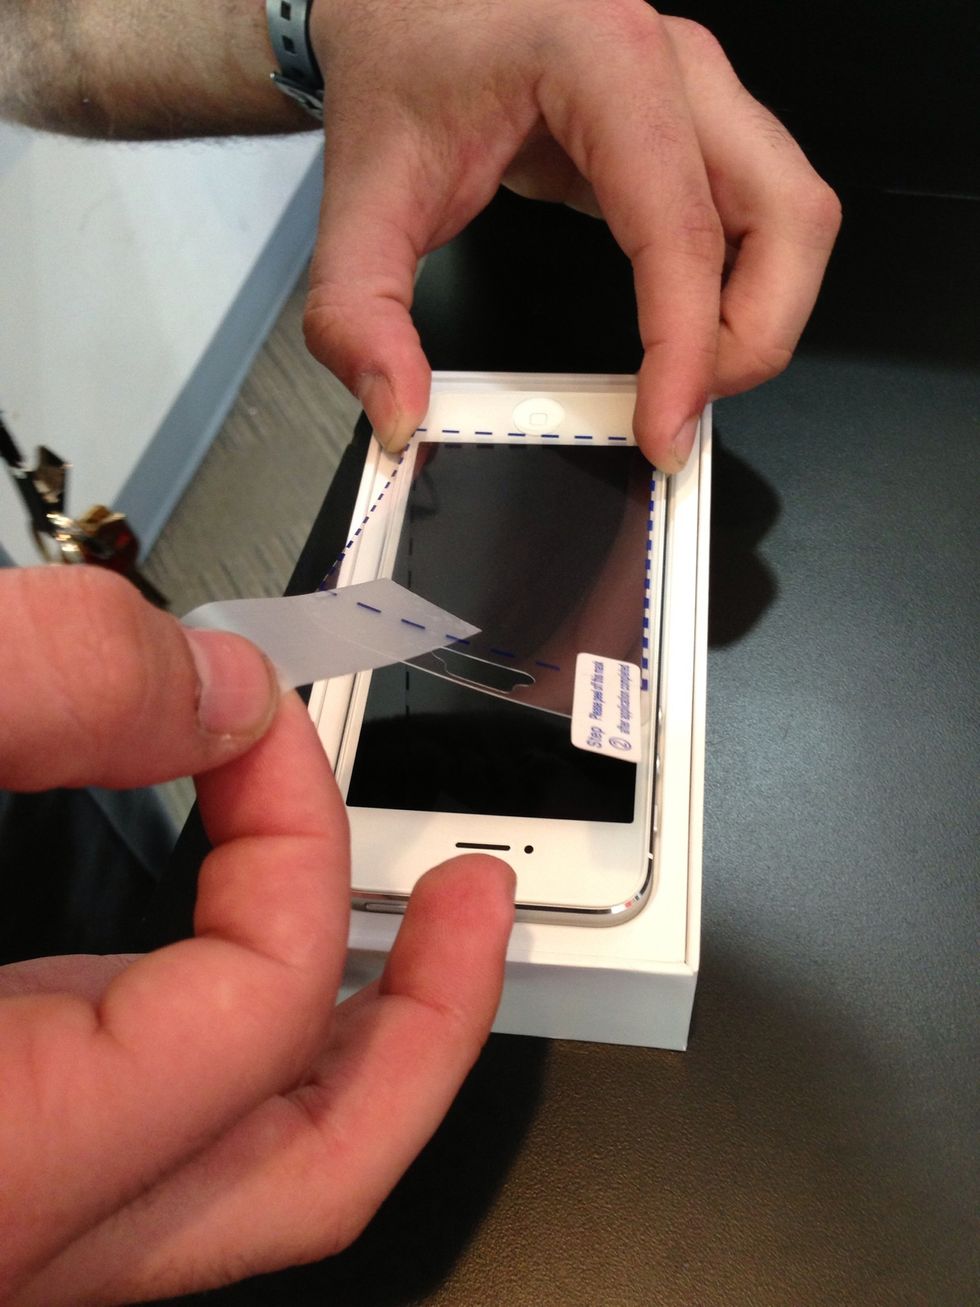
Keep aligning until you get it right.
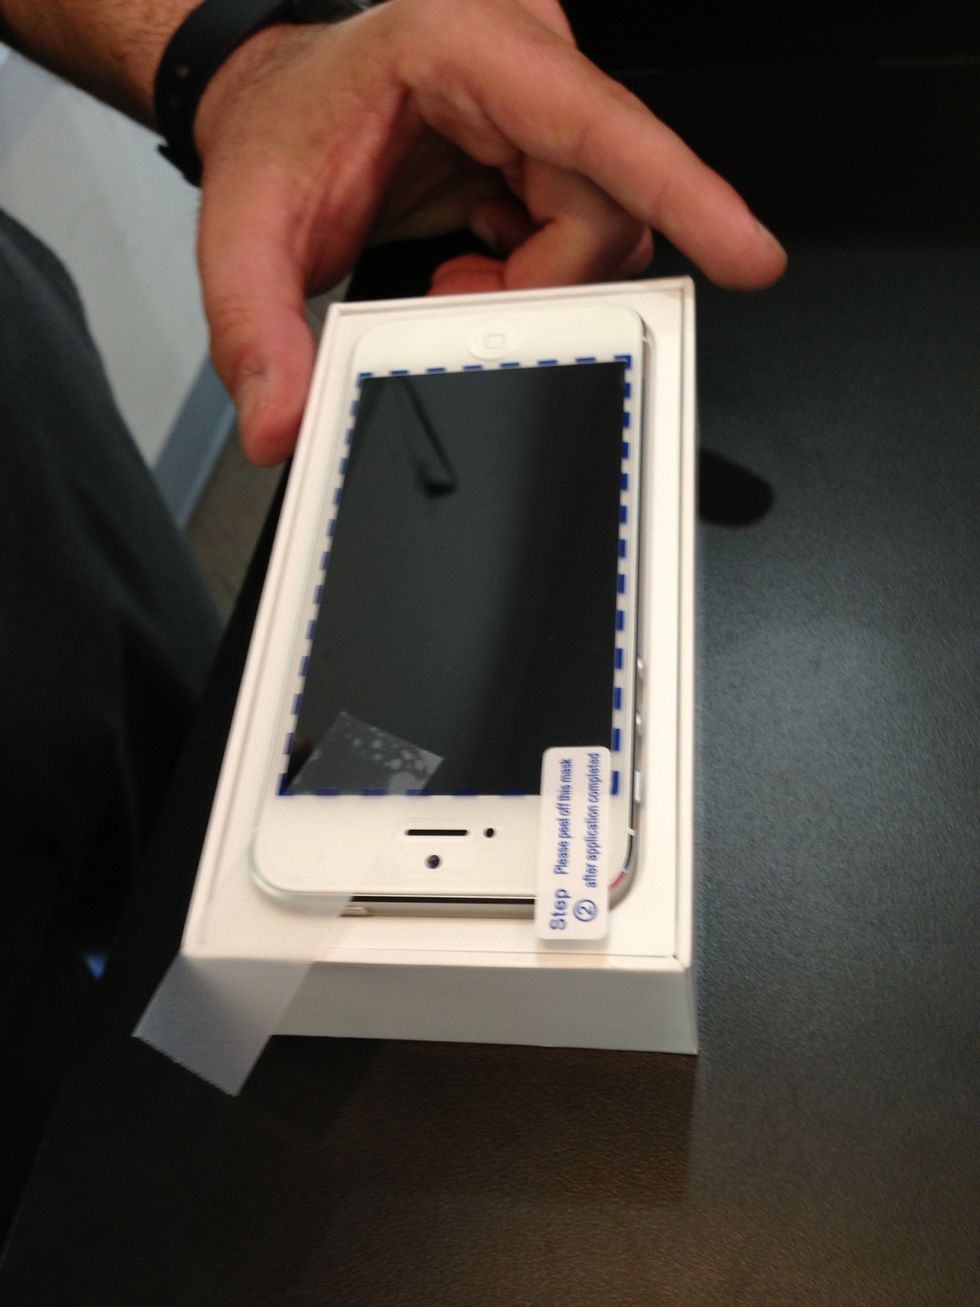
Once it is laid down, remove the piece of tape.
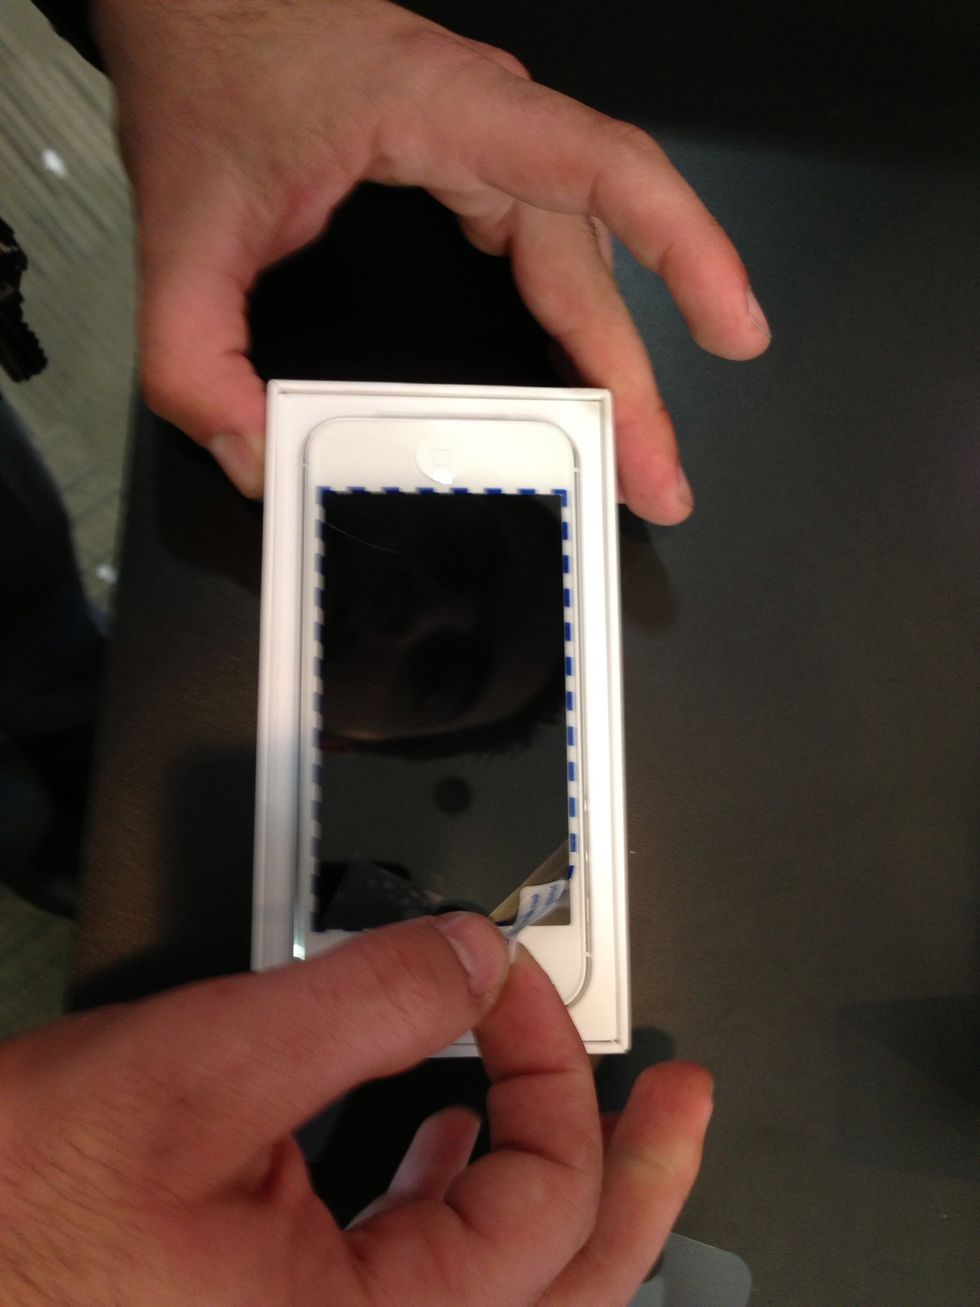
Now you can peel side 2!
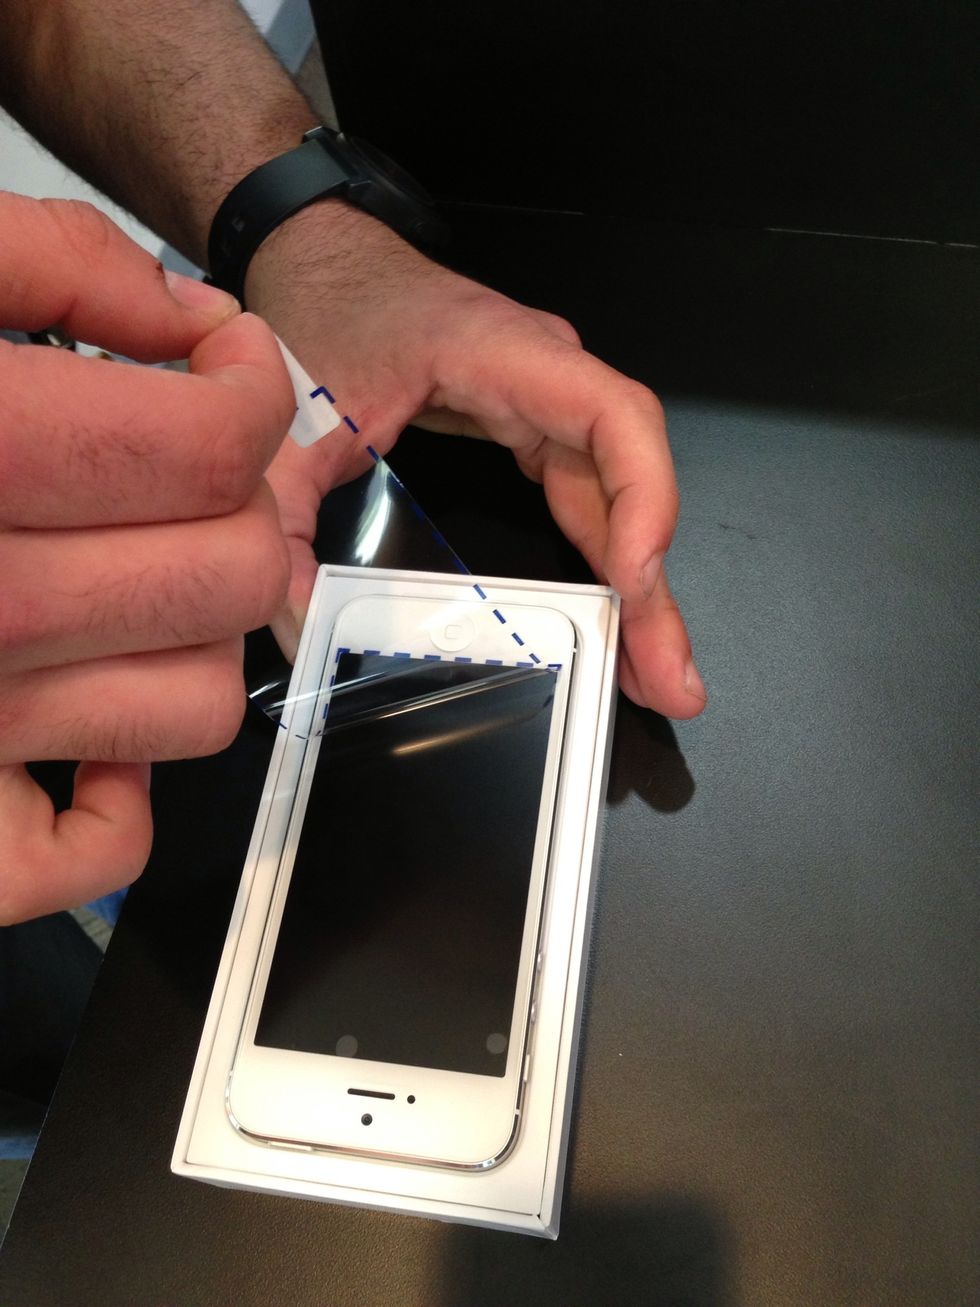
You can see a few bubbles here and there.

Take the cleaning cloth and slowly push them to the edge of the phone.
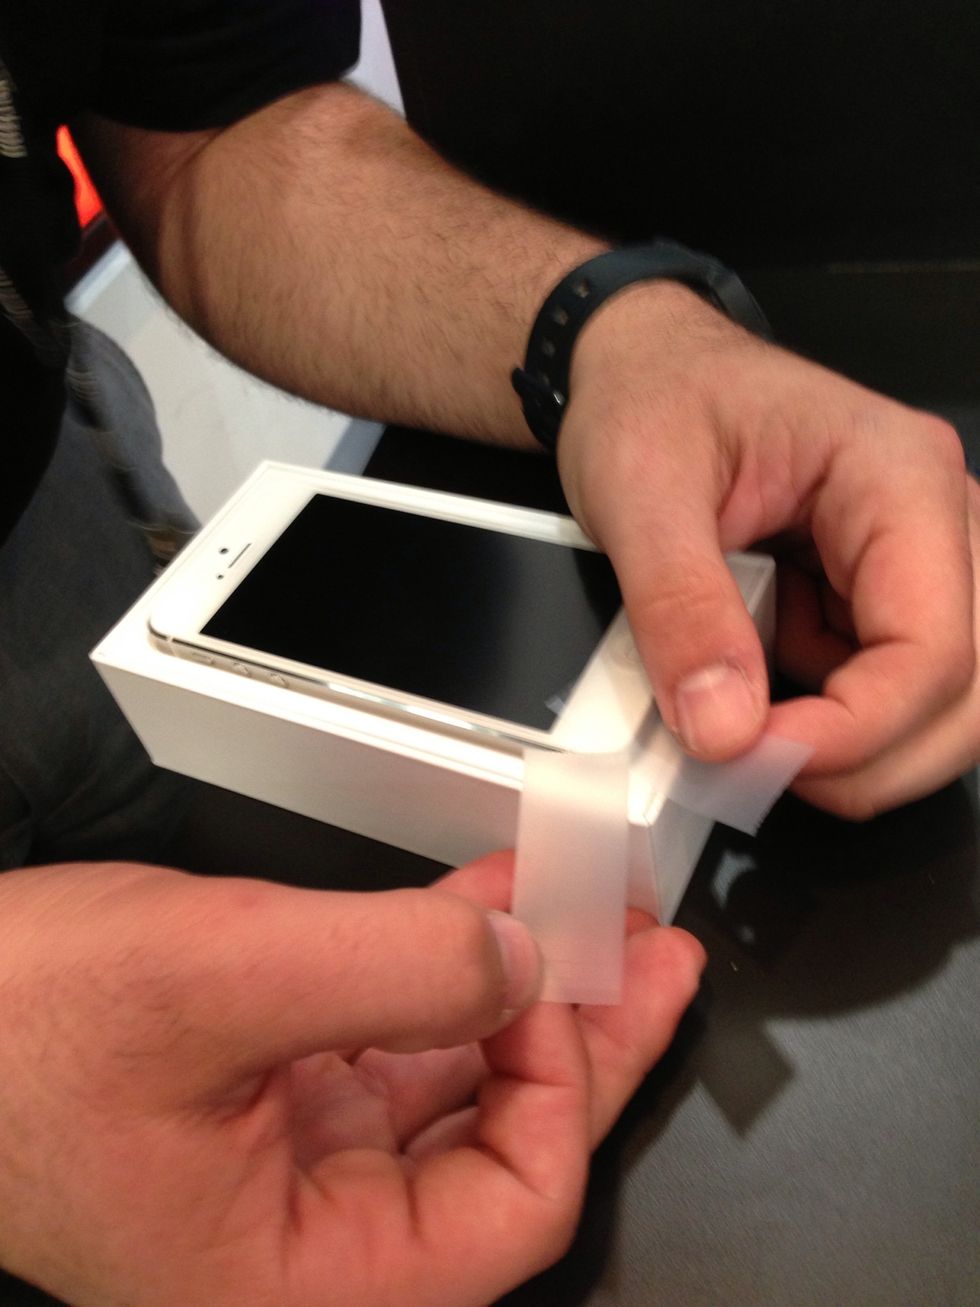
⚠Tricky⚠If any dust particles are visible under the protector, use a piece of tape to lift the screen protector and take another one to grab the piece of dust that got stuck.
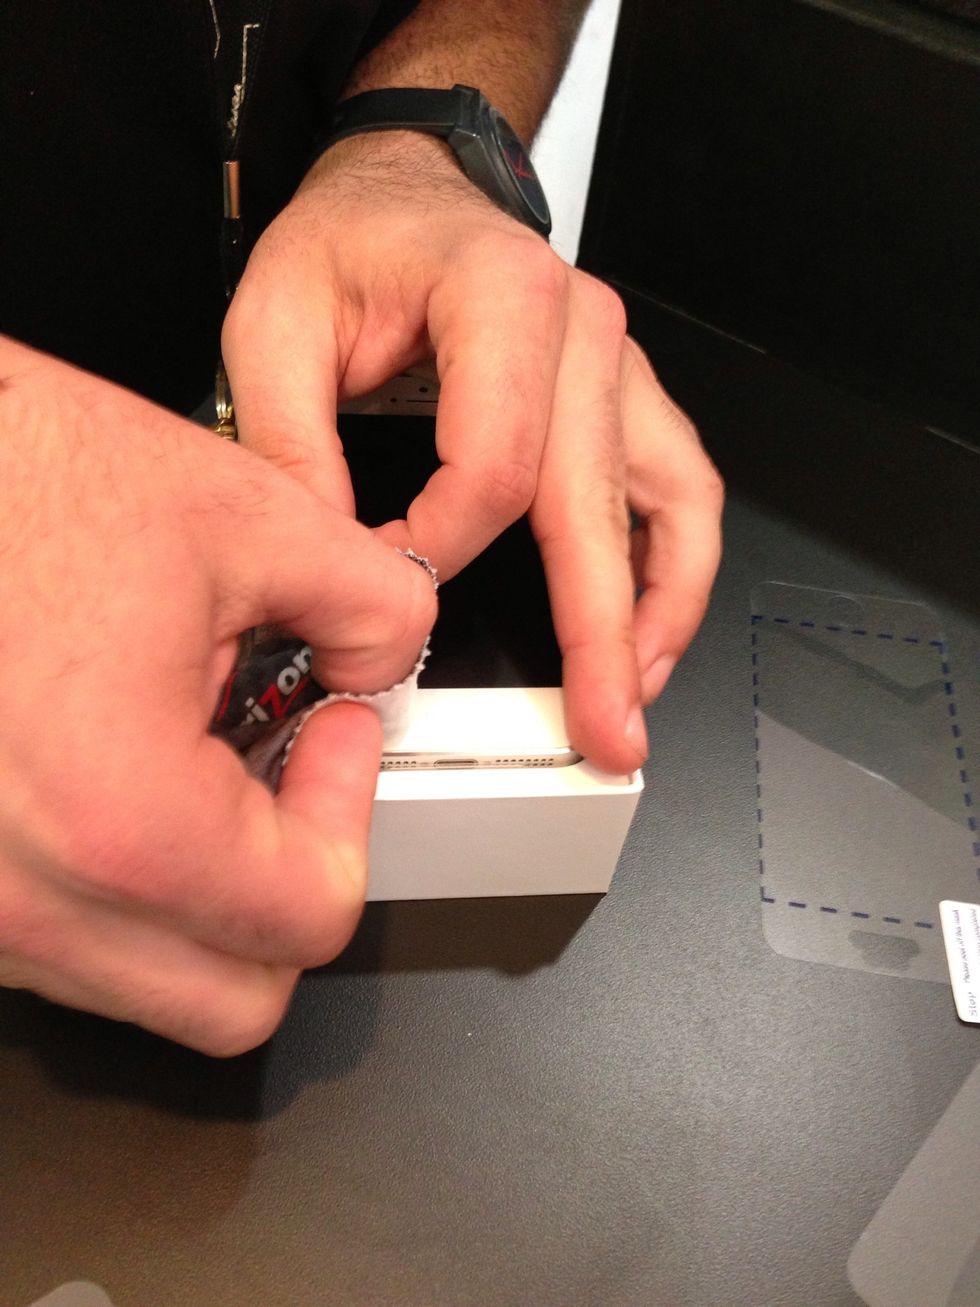
Work the last few bubbles out...
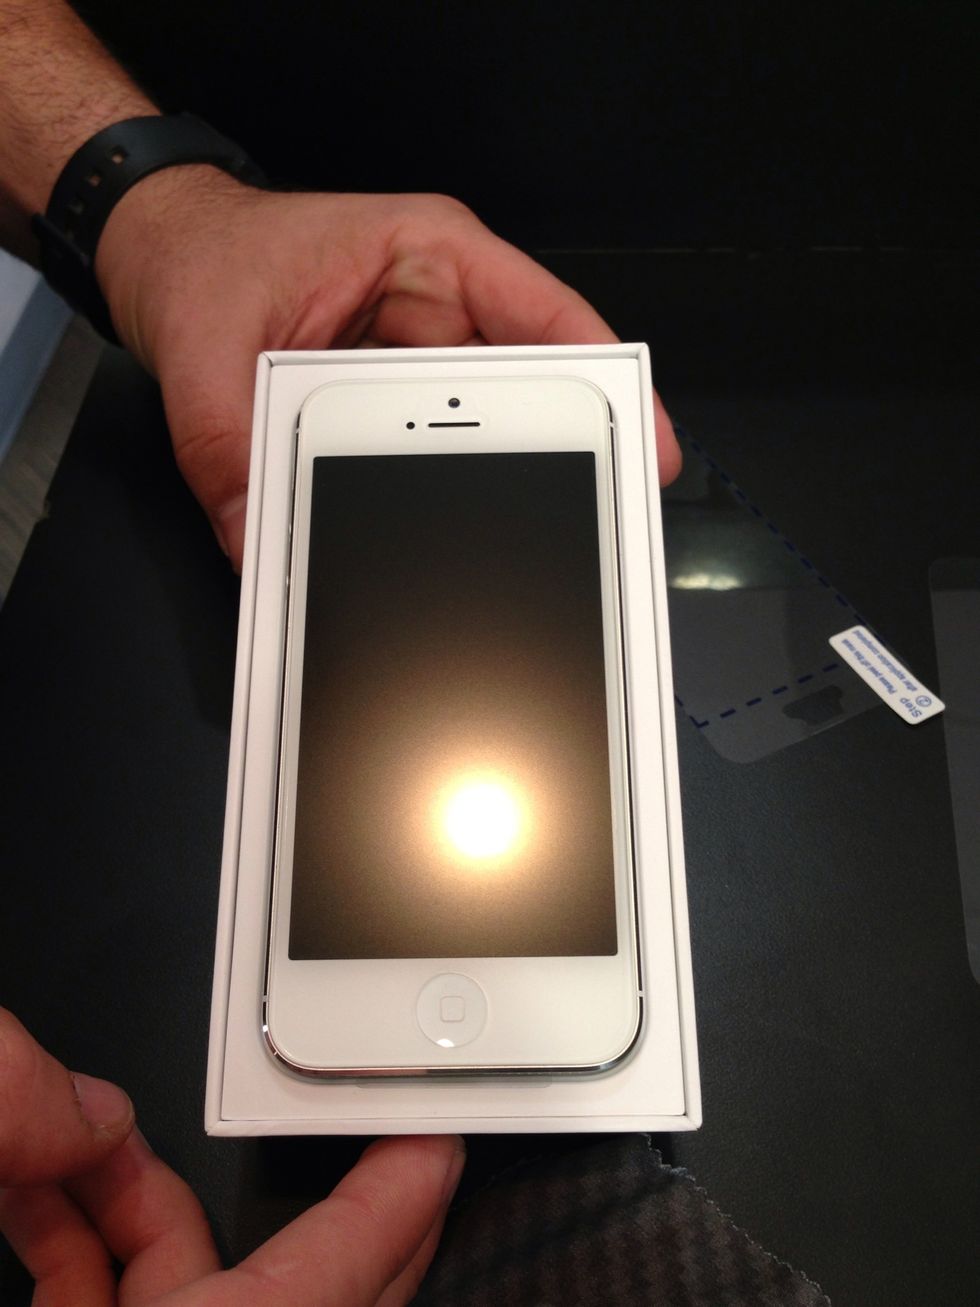
Check it under a light.
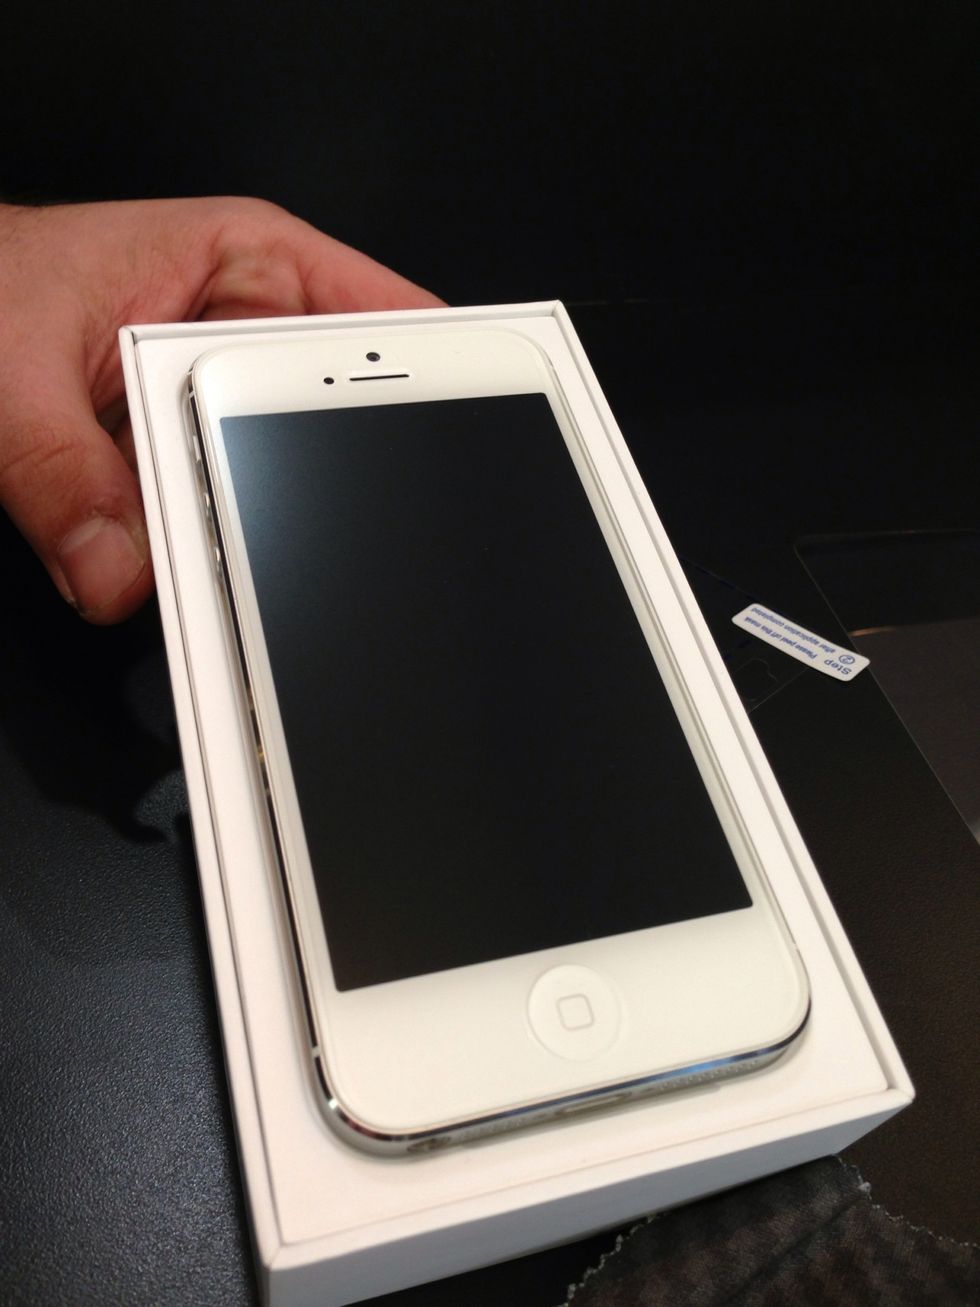
AND YOU ARE DONE!
- Screen Protector
- Scotch Tape
- Cleaning Wipe