The Conversation (0)
Sign Up
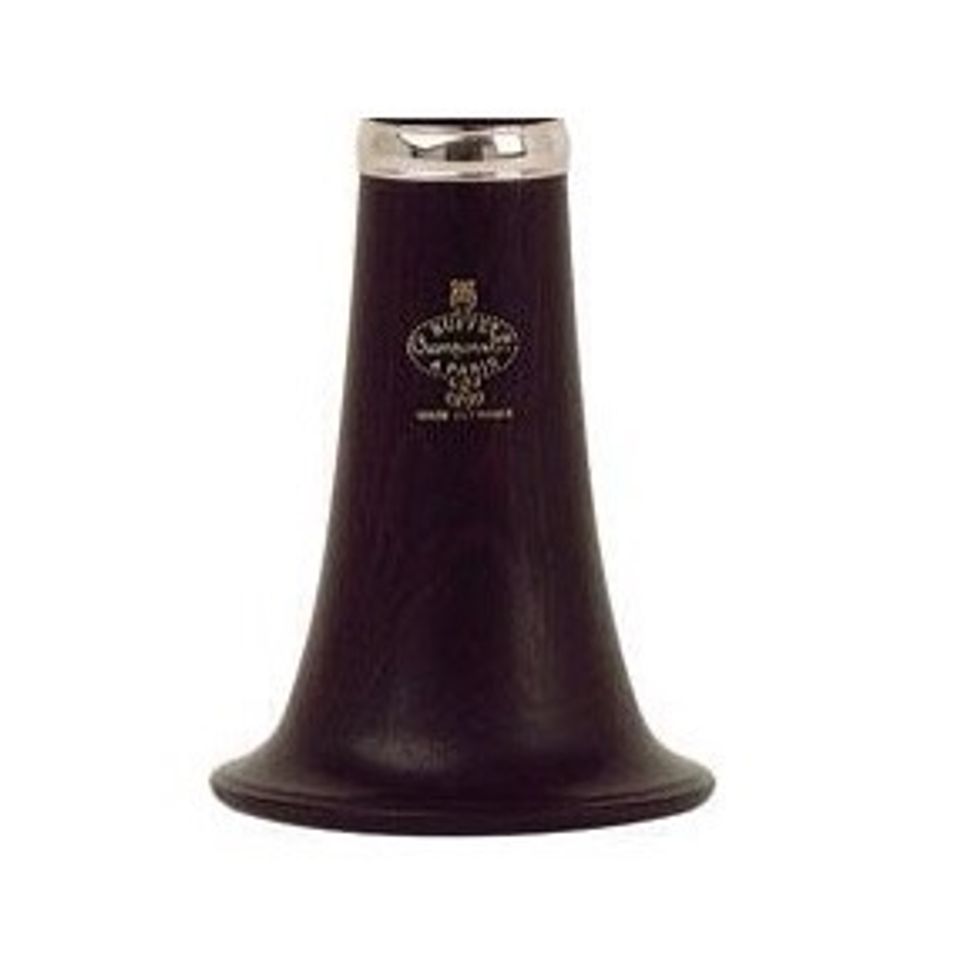
Step 1 get the piece that looks like this. This piece is called a bell
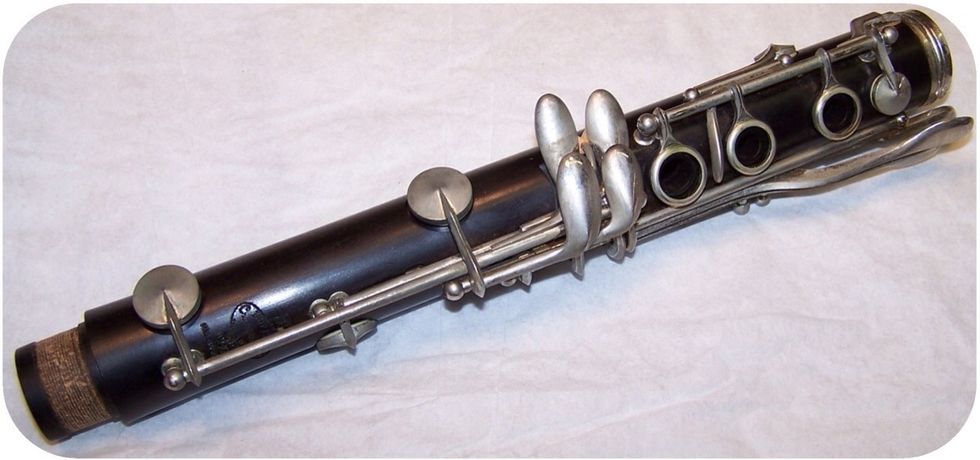
Step 2 find the second piece that looks like this. This piece is called the lower joint
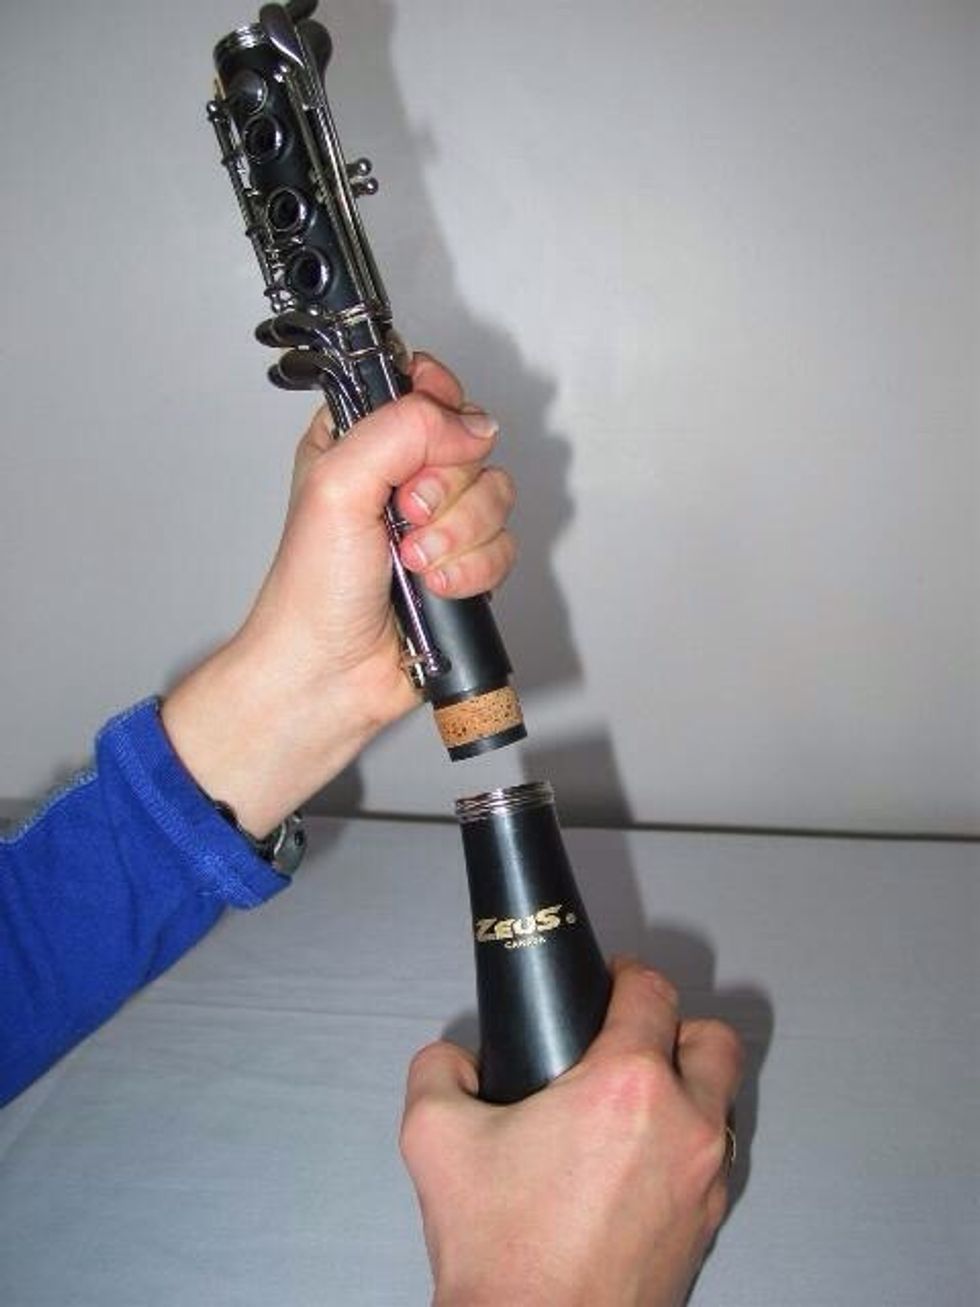
Put them together so they are connected
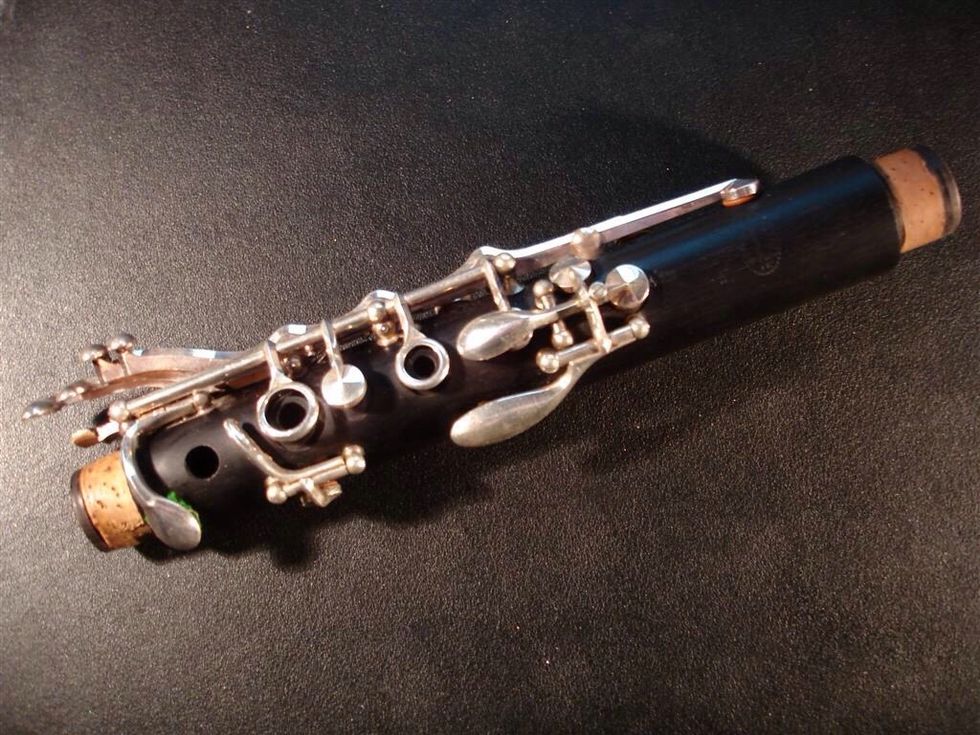
This next piece is called the upper joint. Put it on top of the lower joint.
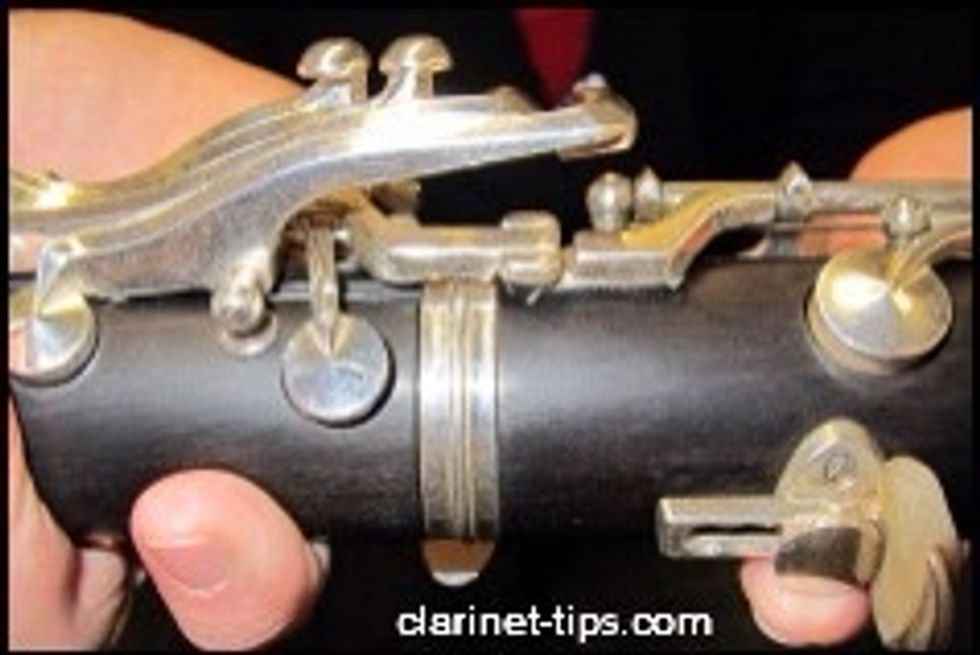
Make sure the bridge is together
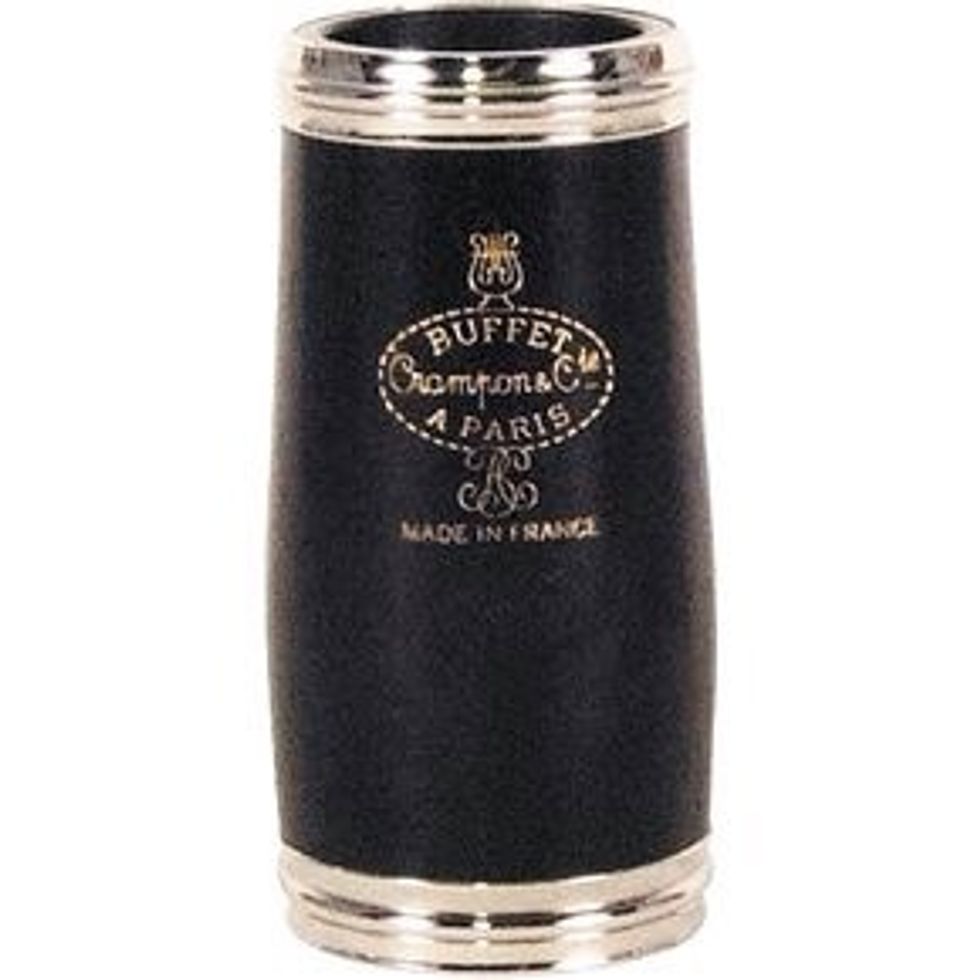
Then get the next piece which is called a barrel, and put it on top of the upper joint
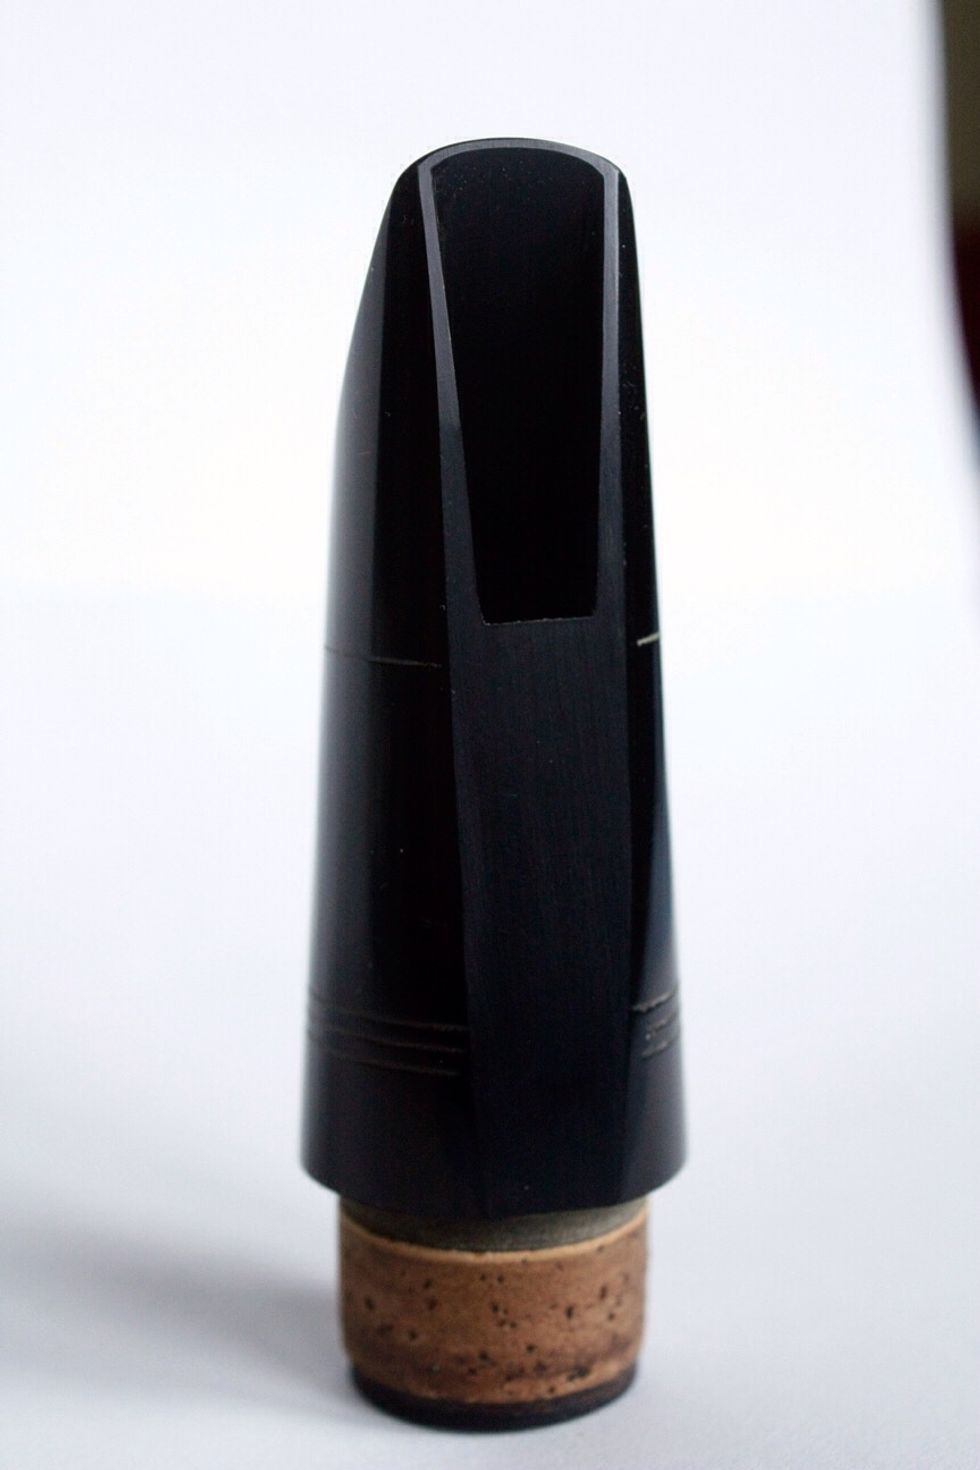
Then get the piece that looks like this. It's called a mouthpiece, make sure to put it on top of the barrel
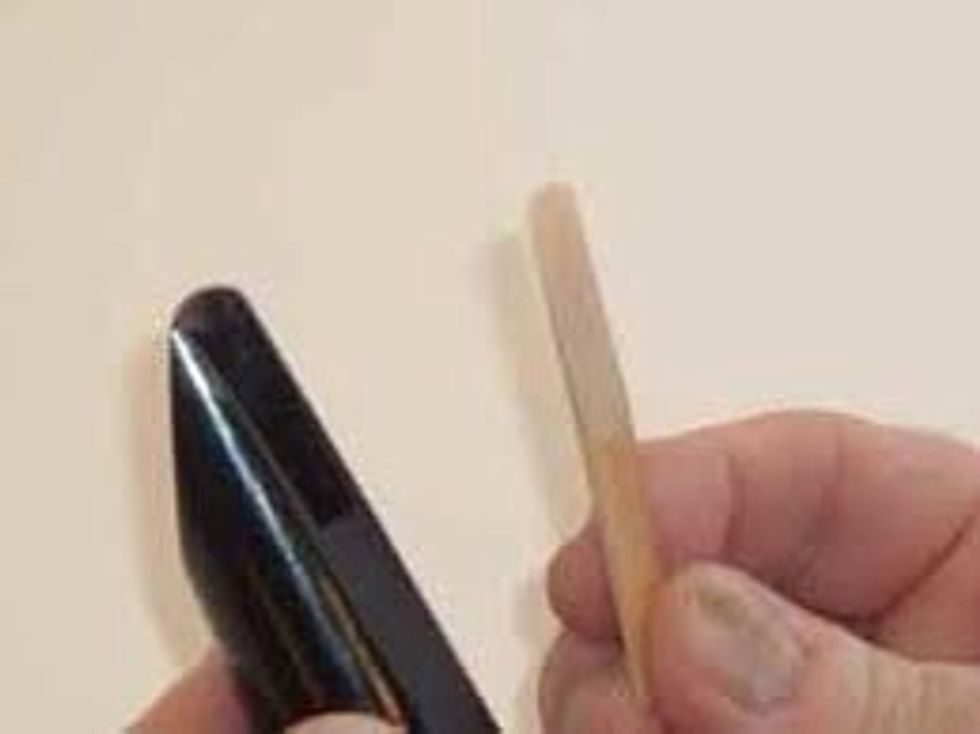
Then put the piece that looks like wood, it's called a reed. You want to put it on top of the hole that is on top of the mouthpiece
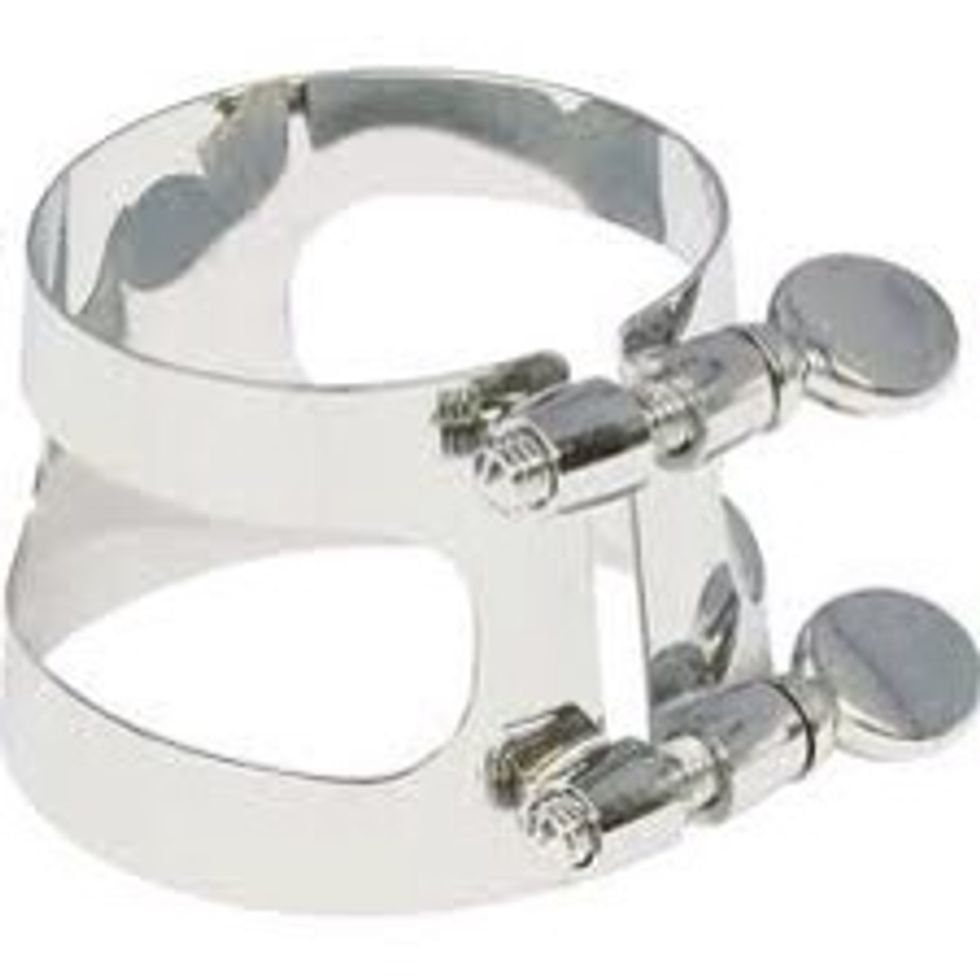
Then get the final piece that looks like this. It's called a ligature, and you want to put the mouthpiece and the reed through it then tighten the ligature.
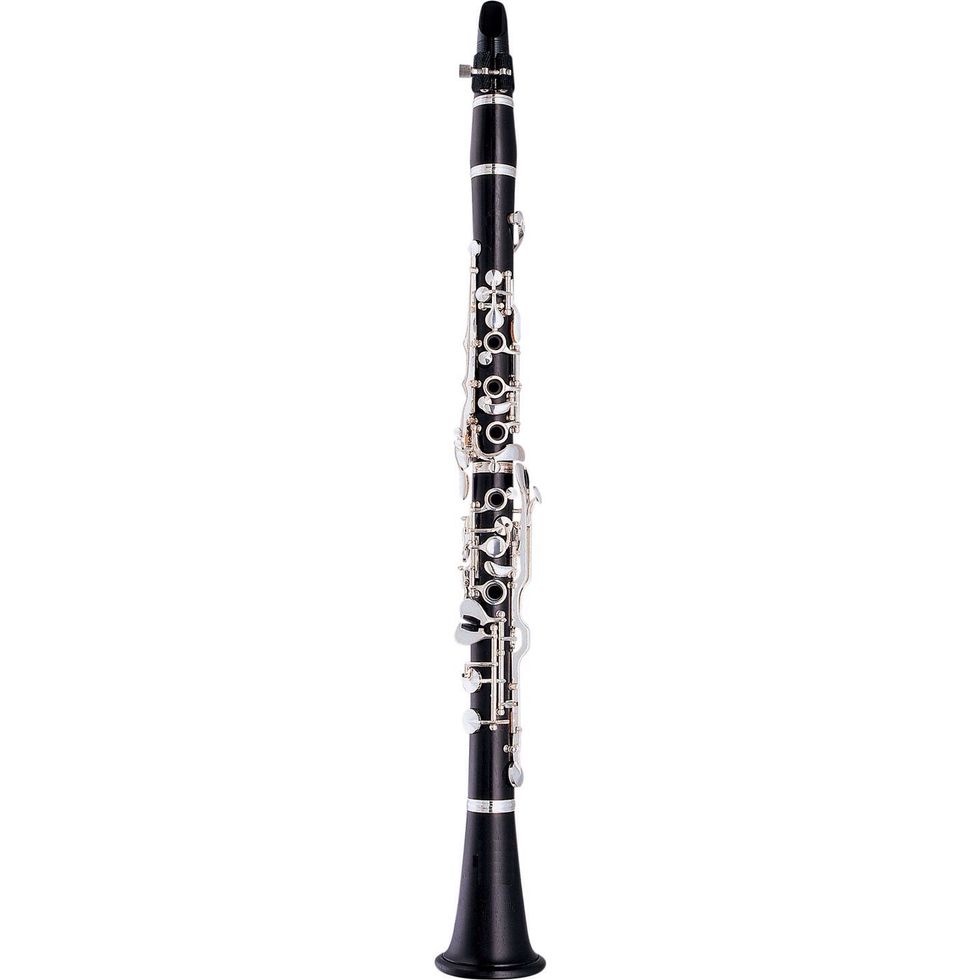
And this is what your clarinet should look like.