The Conversation (0)
Sign Up
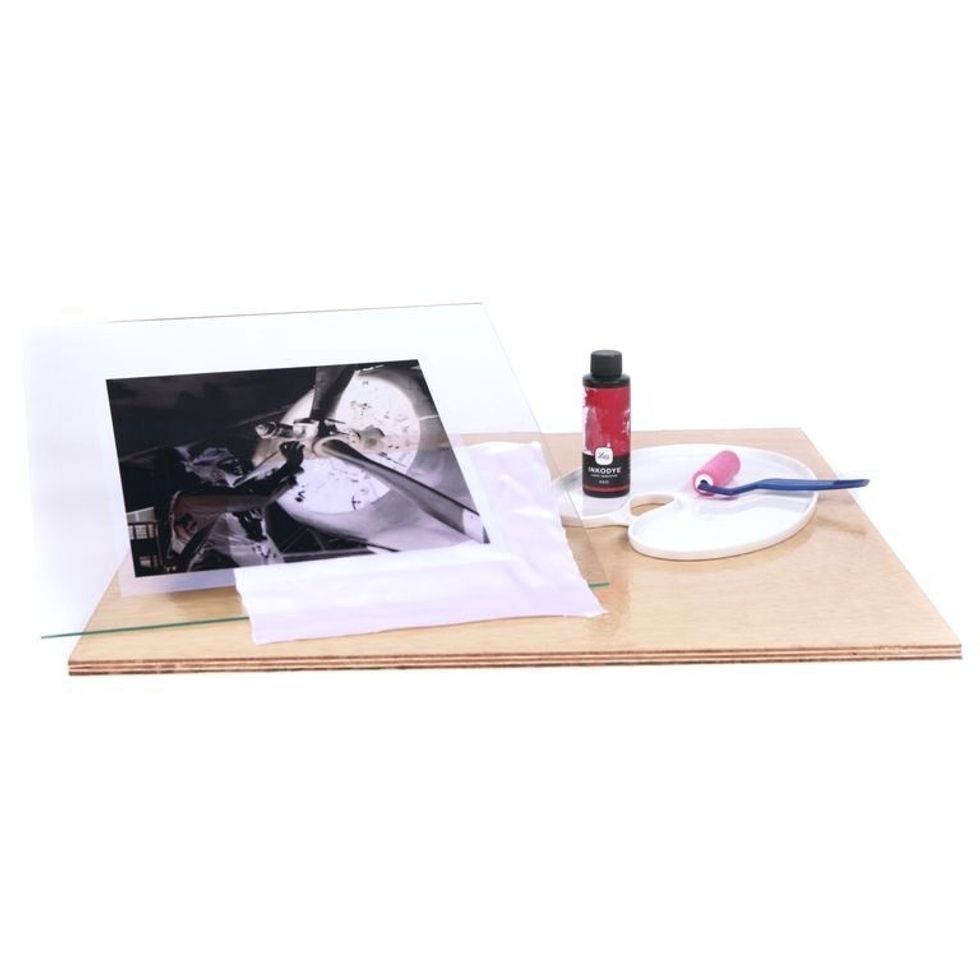
Gather materials for your project. We like using a lacquered piece of plywood as our work surface - it's portable & easily cleaned with a wet paper towel once the project is finished.
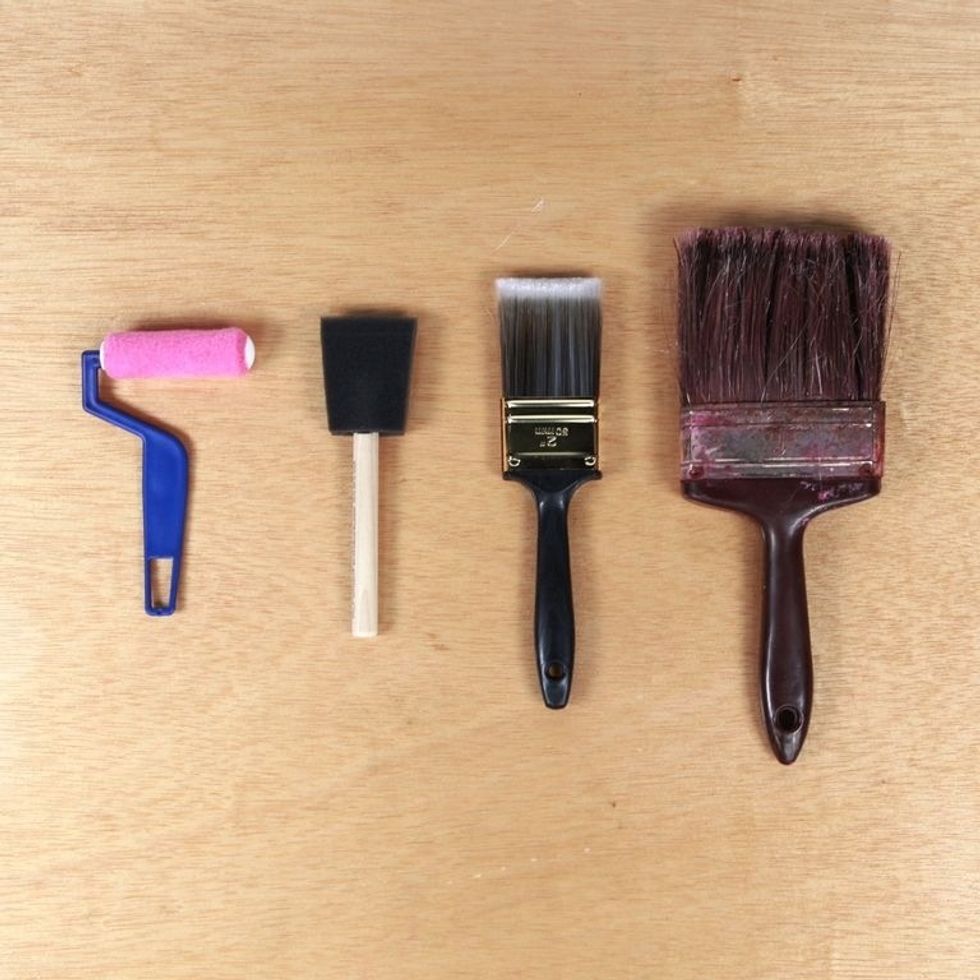
Choose a brush you'd like to work with. We find that a roller lays down a nice even coat of Inkodye without soaking the material or snagging the silk. But a foam brush or paint brush will also work.
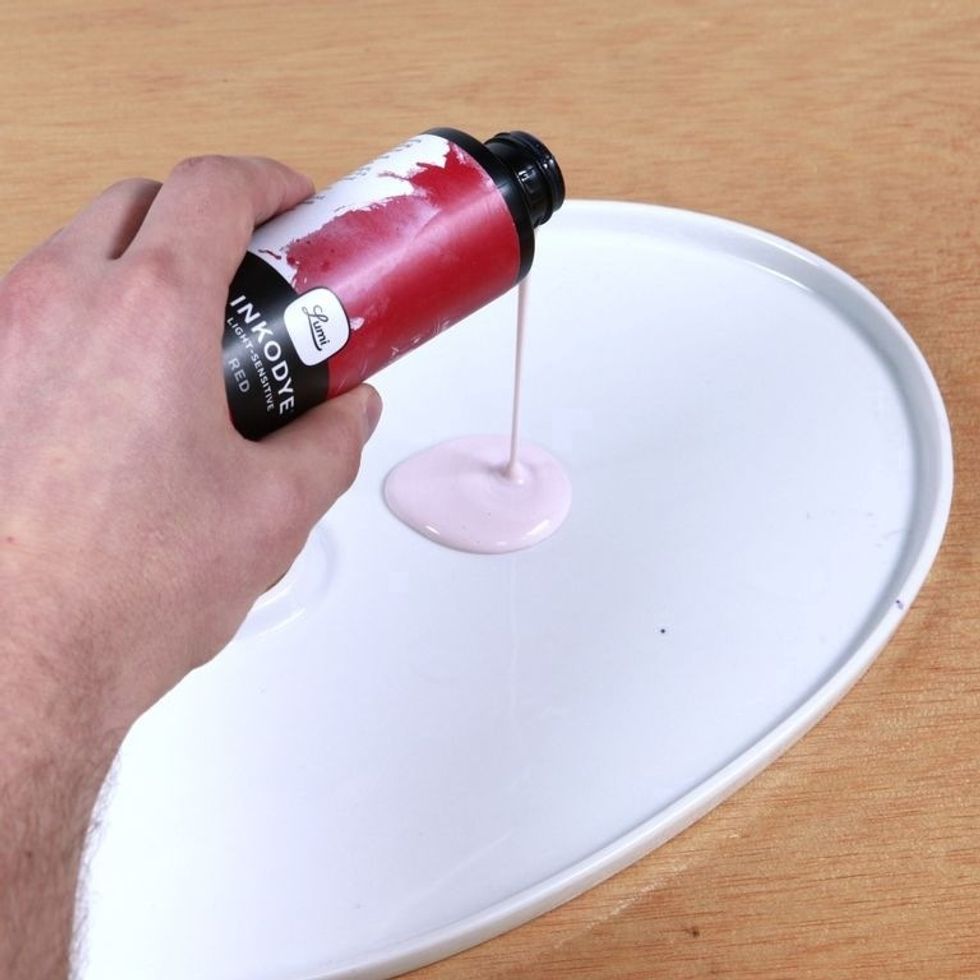
Shake bottle well. Pour Inkodye in a bowl or flat, non-absorbent surface. Do steps 3-9, 12 &15 in a room with subdued lighting-exposure to lots of natural light will begin Inkodye's color development
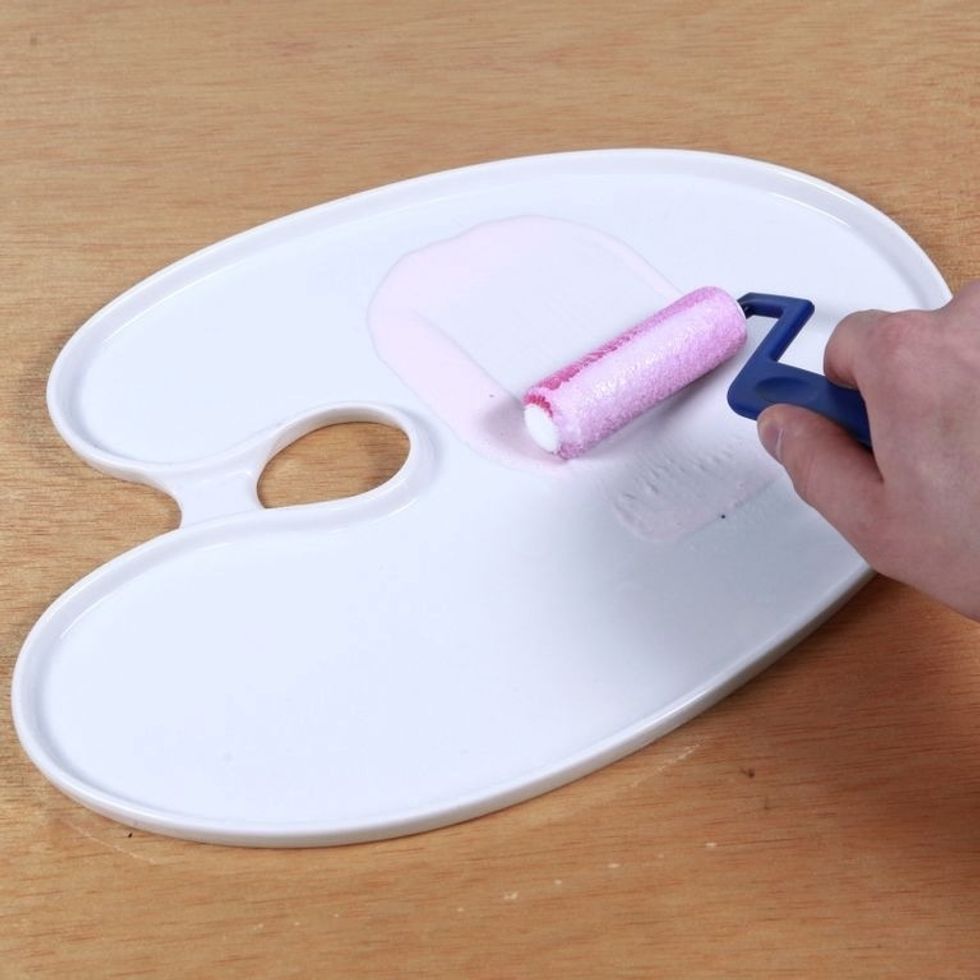
Coat your brush or roller with Inkodye. 1 tablespoon will coat a 10x10" silk square.
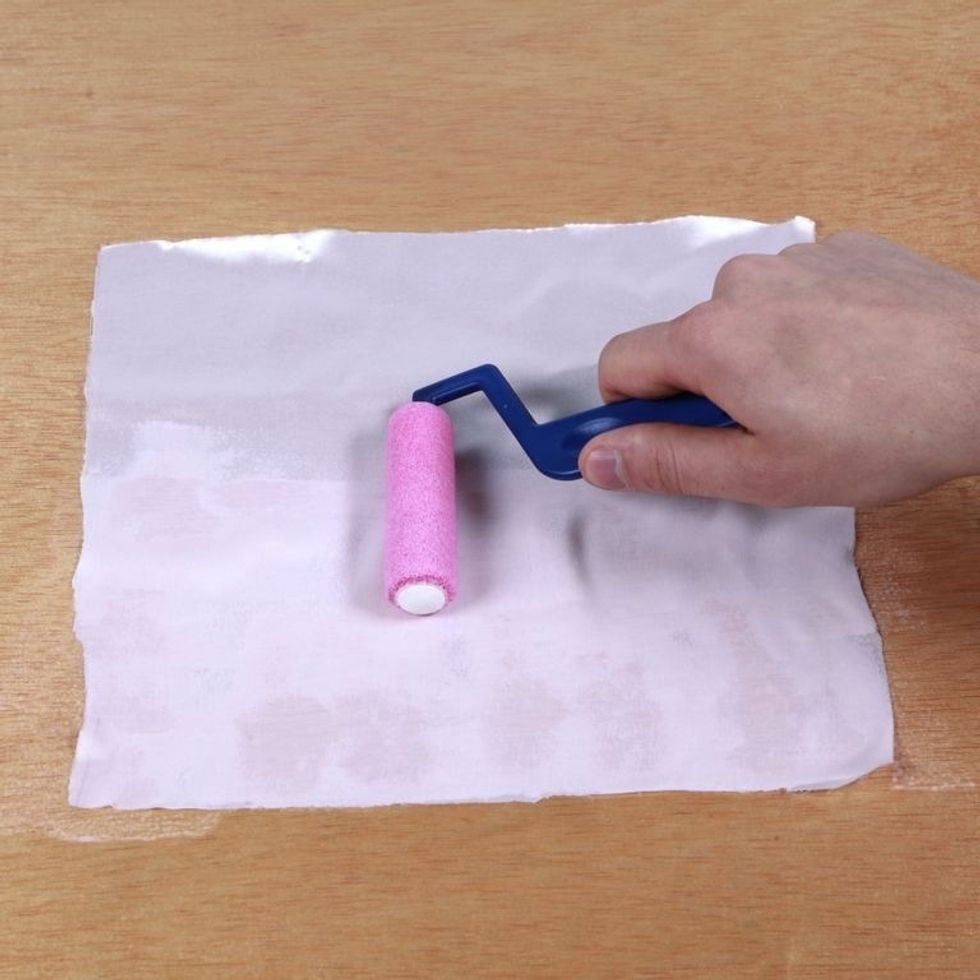
Coat your material evenly with Inkodye. It can be hard to see since Inkodye comes out of the bottle colorless, but you don't need to soak the material. A thin, even coat will do.
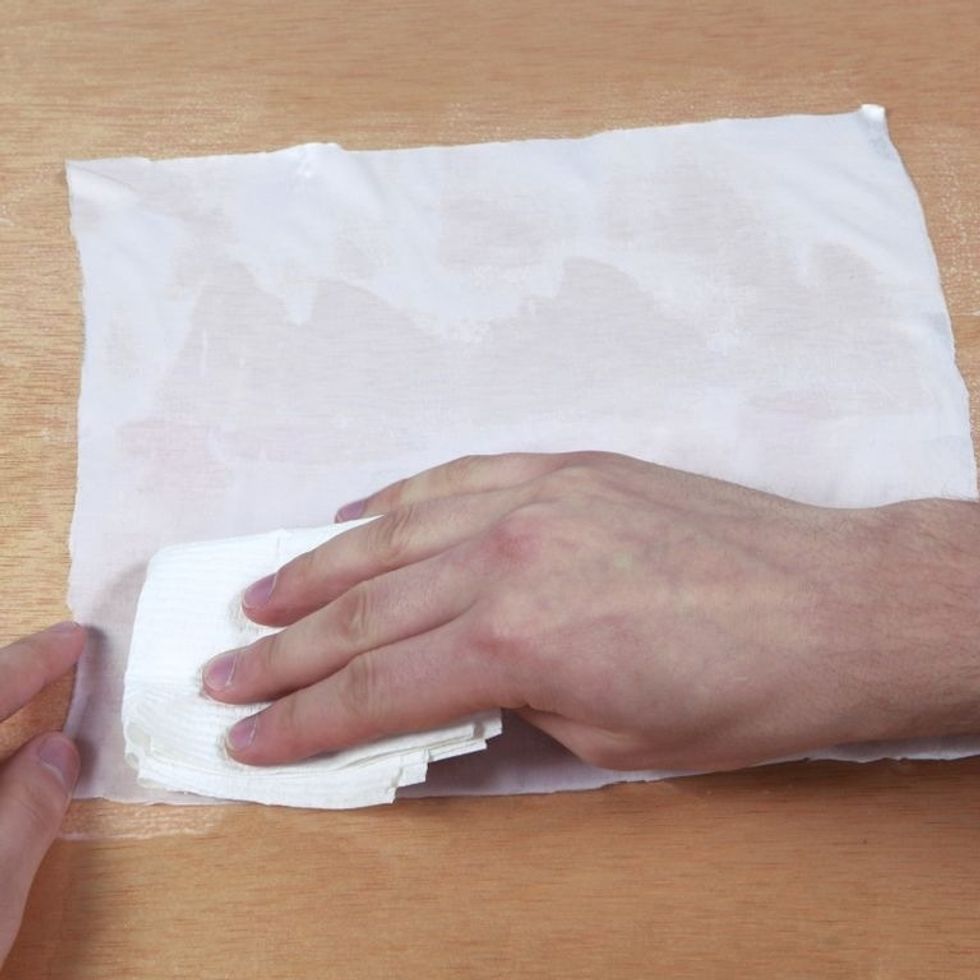
Using a paper towel, blot material to soak up excess dye. Tip: Less is more! Material should be fully coated but excess moisture can cause imperfections in prints. Material should be damp, not soaked.
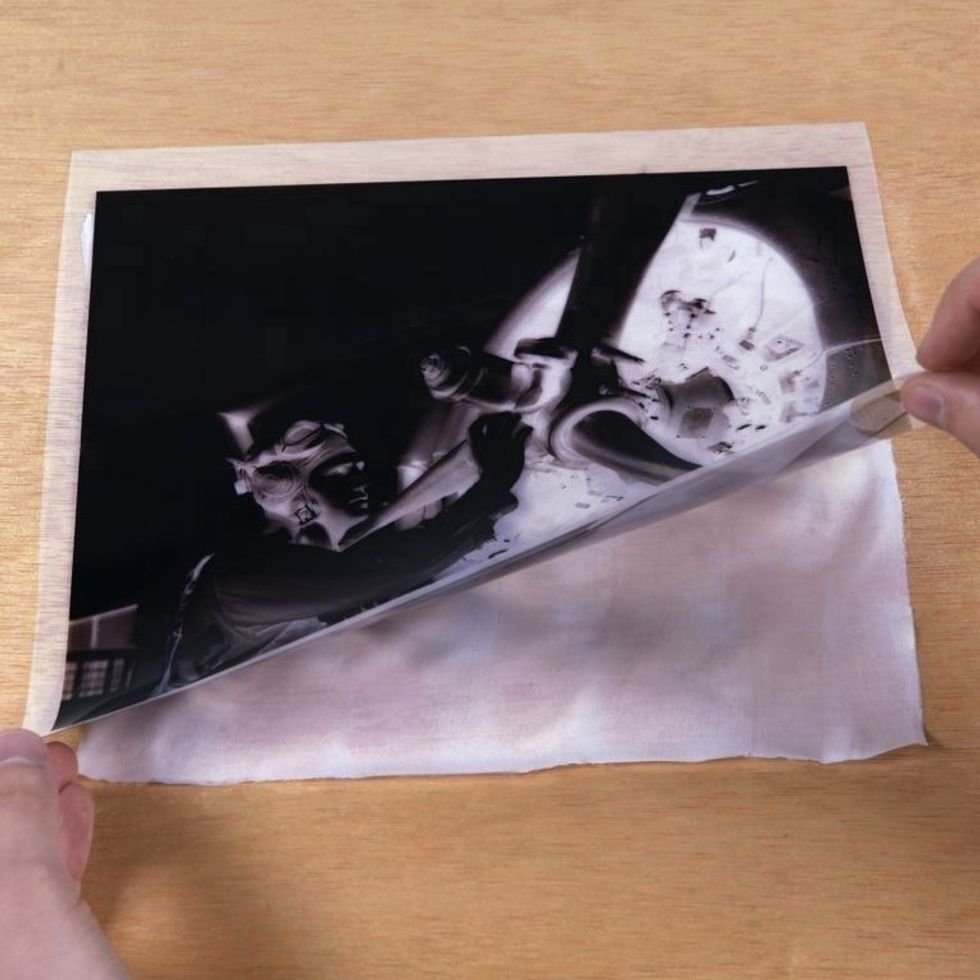
Place your negative on top of the coated silk. If you're using an inkjet negative, place the waterproof side down (printed side up) so the printed ink doesn't transfer to your coated material.
Tip: If you're using a traditional or special negative, you may want to put a clear transparency between the coated silk & negative to prevent direct contact of your negative with Inkodye.
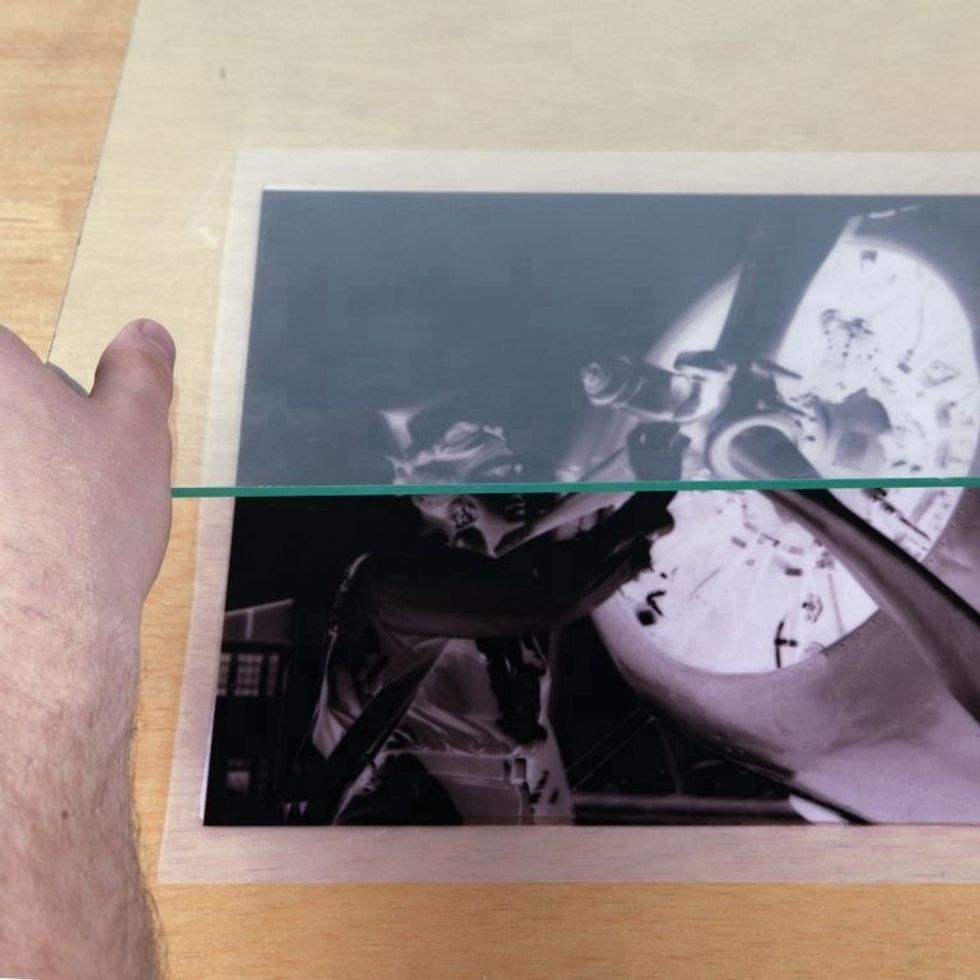
Place a piece of glass on top of silk & negative. This will hold the negative down during exposure and yield the sharpest prints. Note: Glass blocks some UV rays so exposure time may increase.

Expose your print in direct sunlight for 10-12 mins. You may want to expose for up to 15 mins if you are using glass to hold your negative down. It can take about 30 mins if done on a cloudy day.
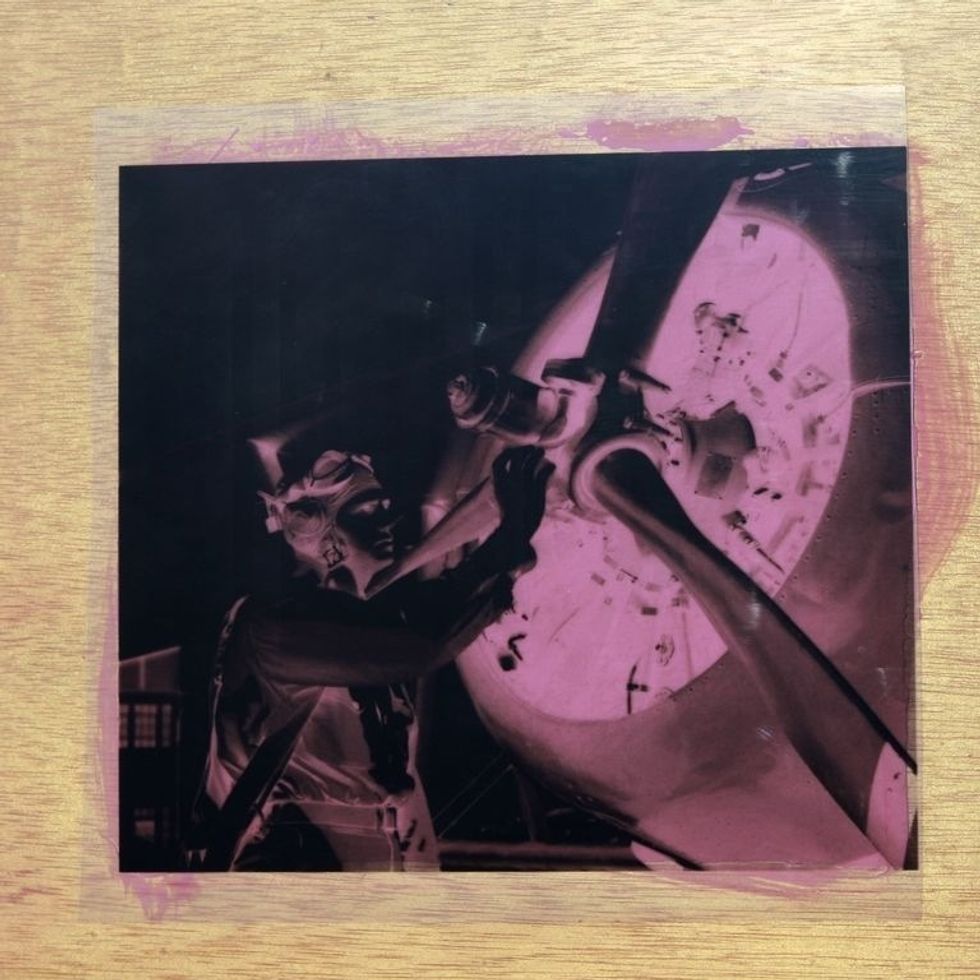
You will begin to see color development within the first minute of sun exposure! It may appear to get to its darkest potential after 5 mins, but try to be patient during the entire exposure period :)
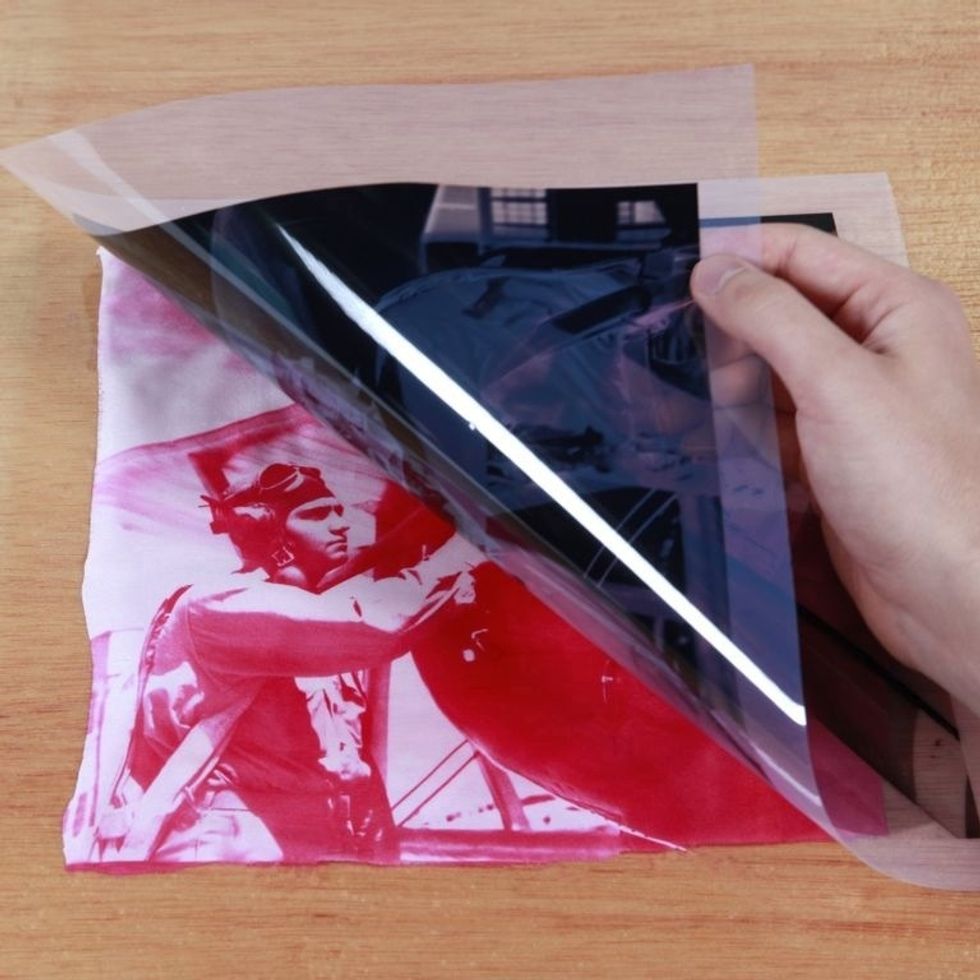
Take your print back indoors and remove the negative in subdued lighting.
Tip: You can clean the waterproof side of your inkjet negative with some water and a paper towel to remove any Inkodye residue. Be careful not to get the printed side wet- it can ruin your negative.
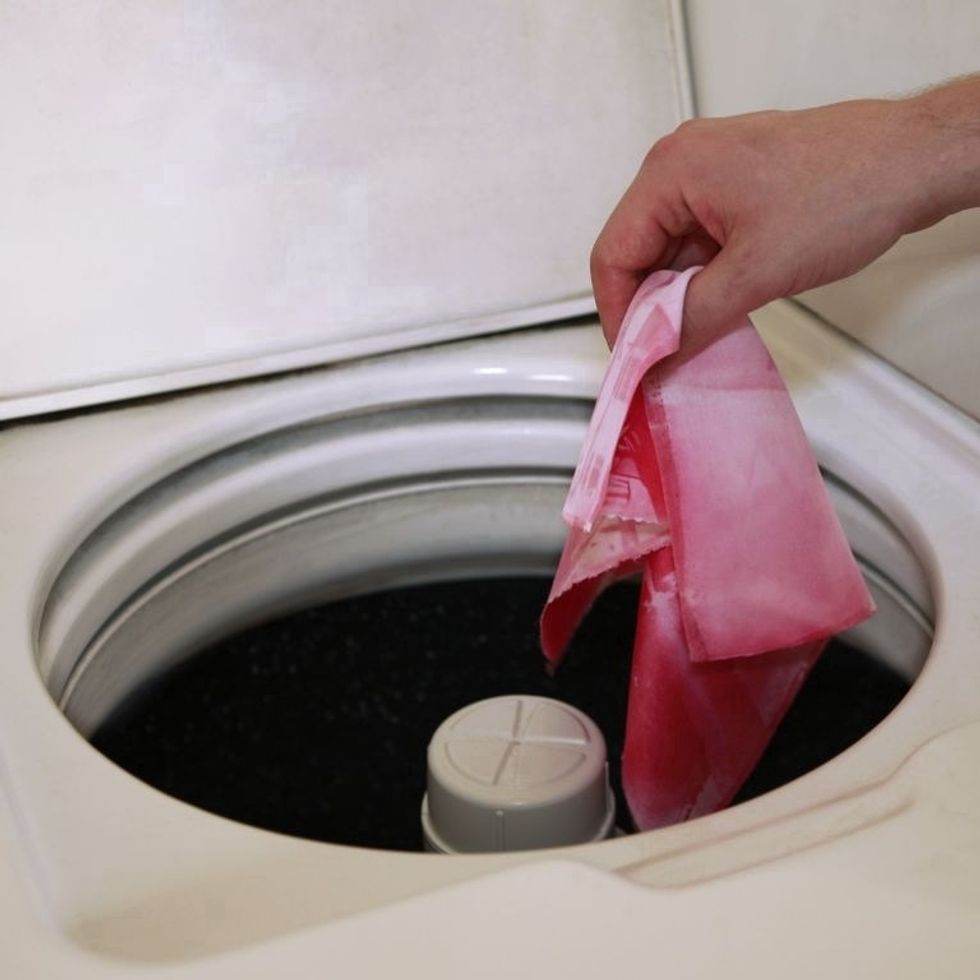
Wash your print with detergent to remove unexposed dye. We recommend washing the print twice in the wash machine on the HOT cycle. If you have hard water, using washing soda or Borax will help.
Tip: If you feel that your silk is too delicate for the wash machine, wash it by hand with hot water & detergent for at least 10 minutes. You may want to use rubber dish gloves since the water is hot.
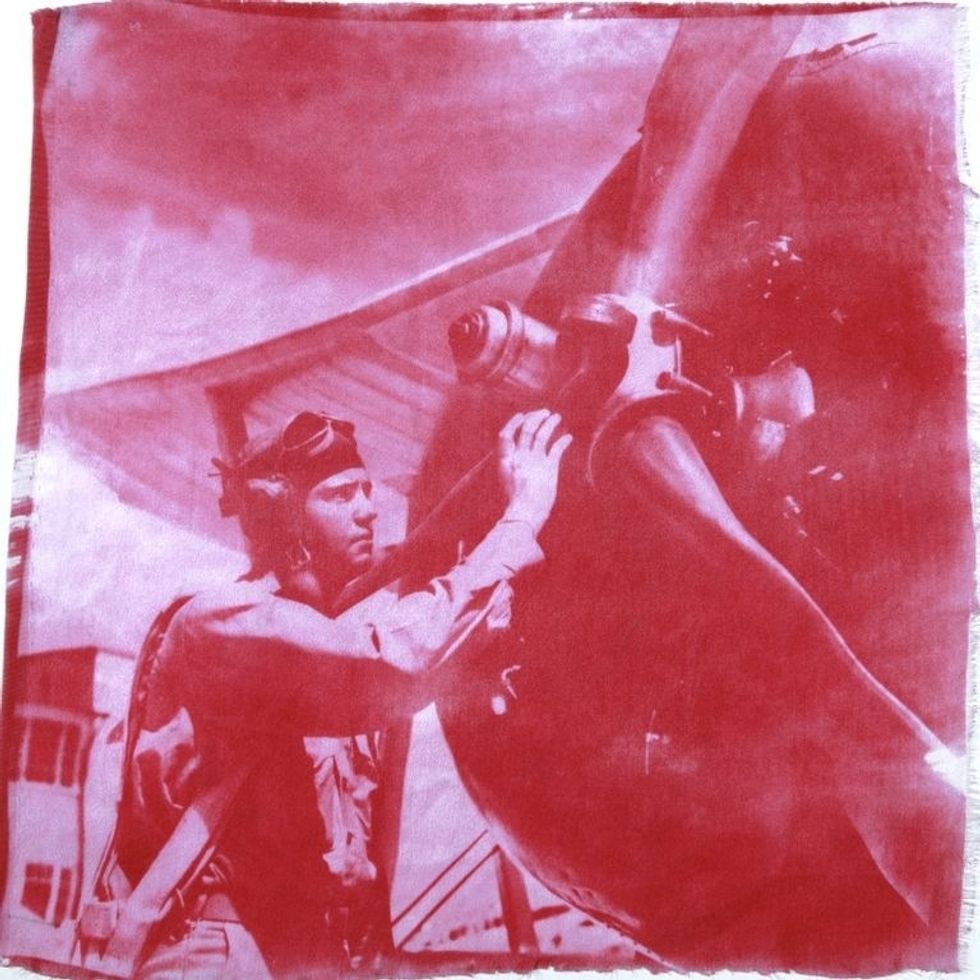
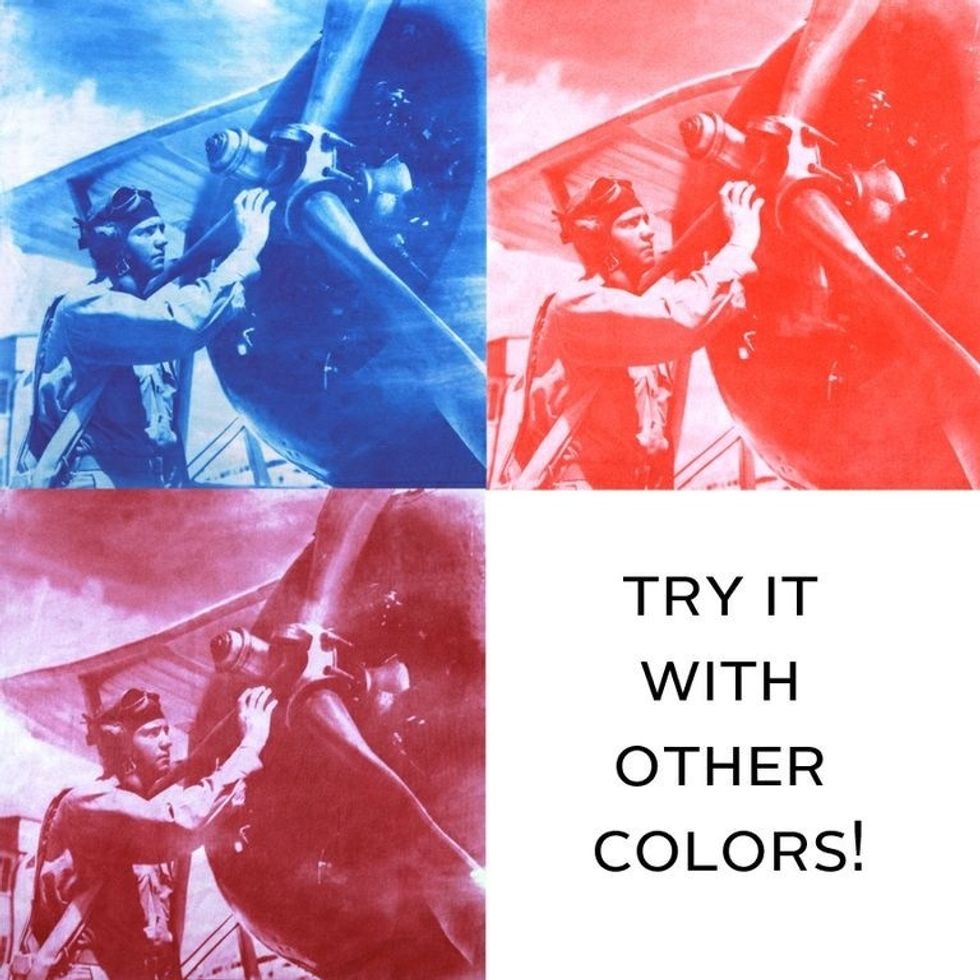
Now you have a beautiful, permanent Inkodye print on silk!