The Conversation (0)
Sign Up
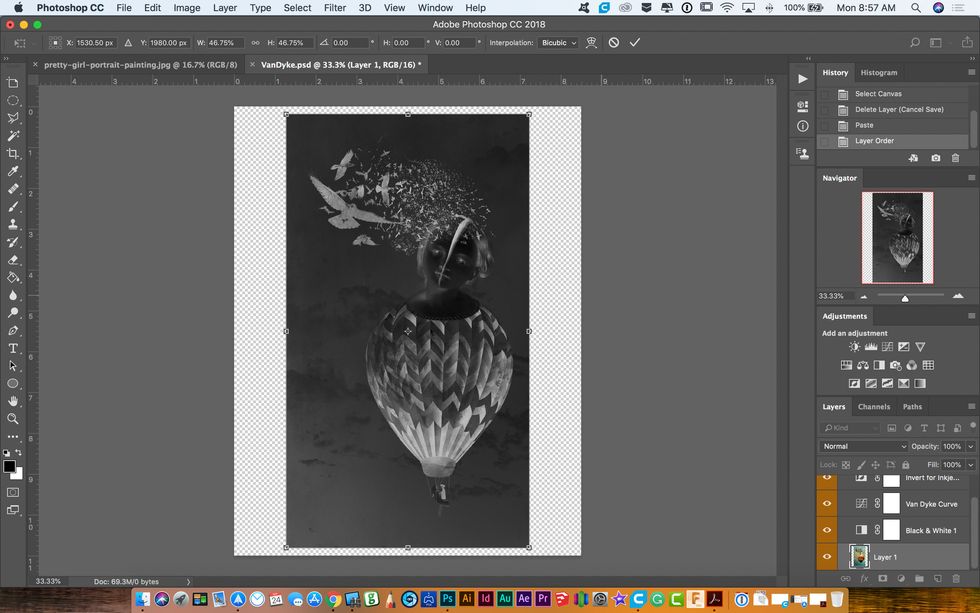
Open your image that you saved as a negative.
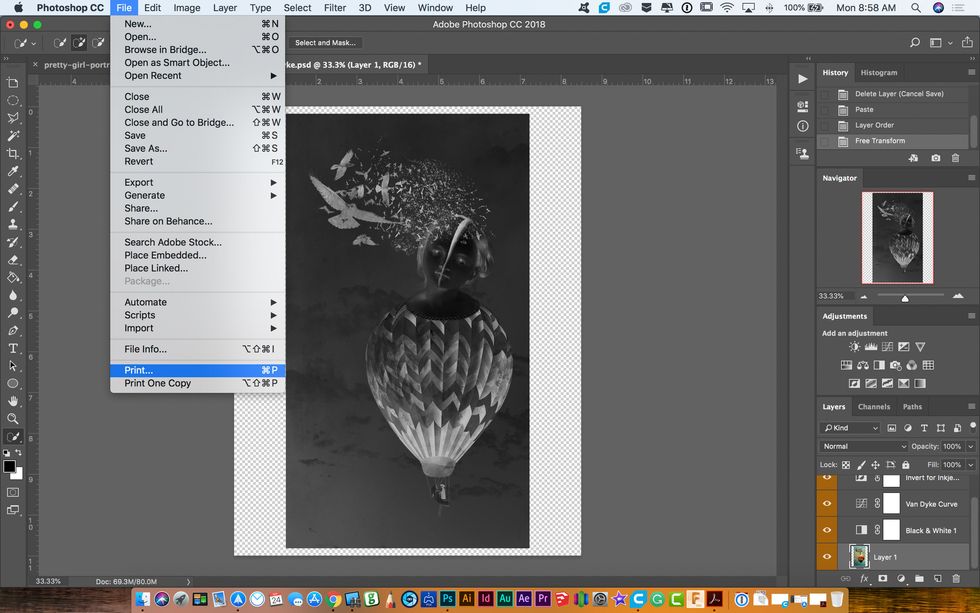
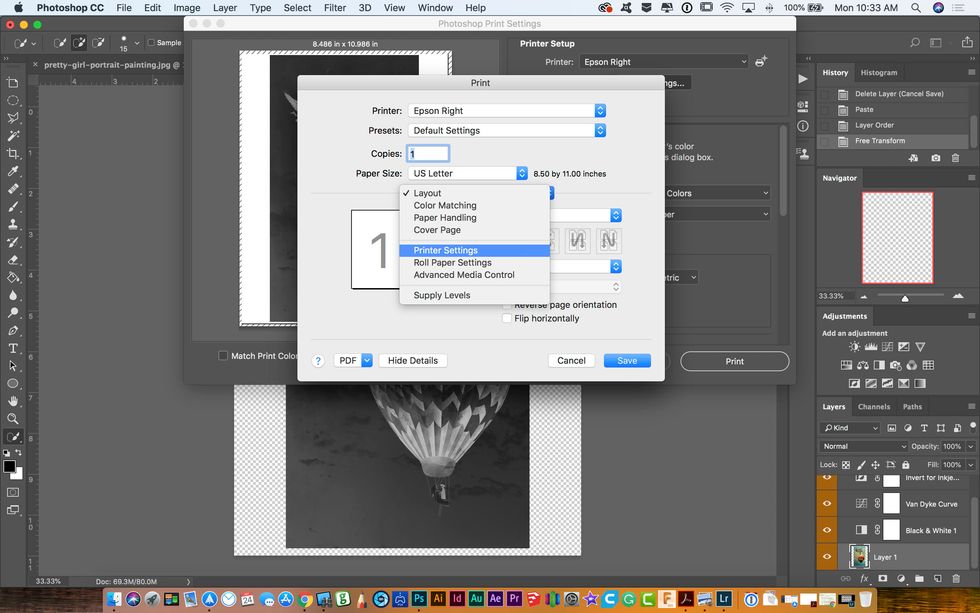
Go to the file menu and click print.

The print dialog box will open.
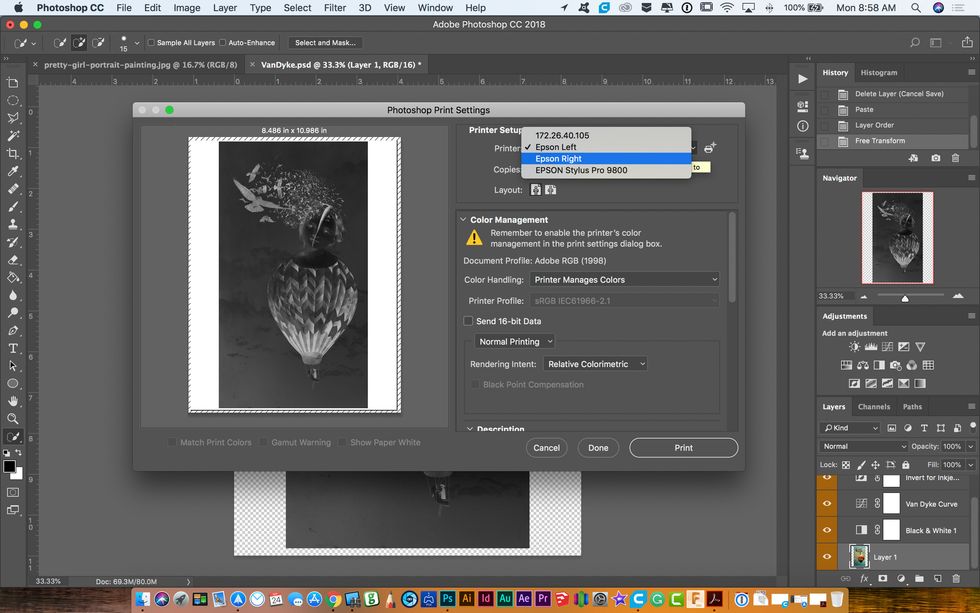
Under printer select either of the Epson printers left or right.

Click on Print Settings.
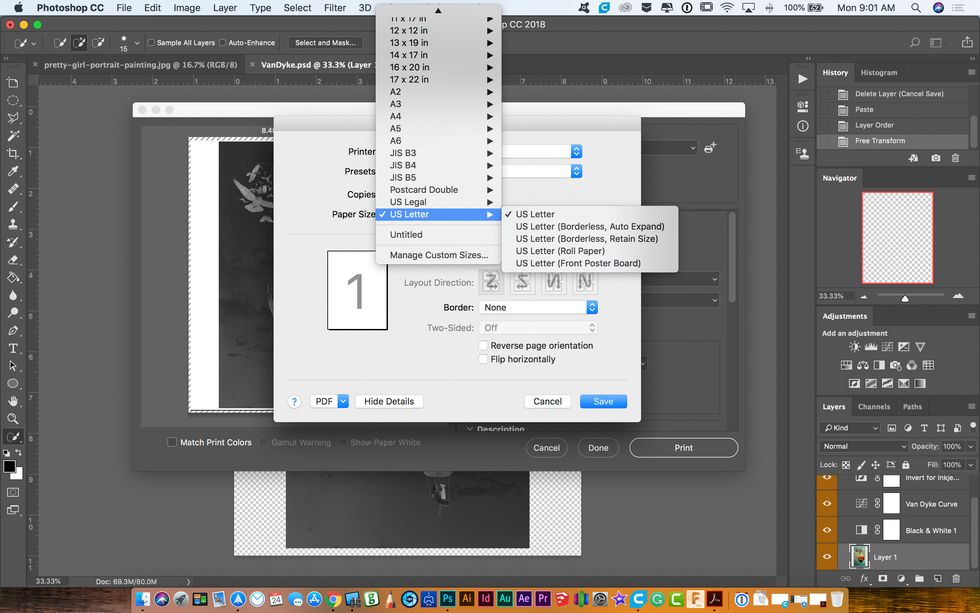
The Printer Settings dialog box will come up. Under Paper Size select US Letter.
Click on the pulldown menu that says Layout. Go to Printer Settings.
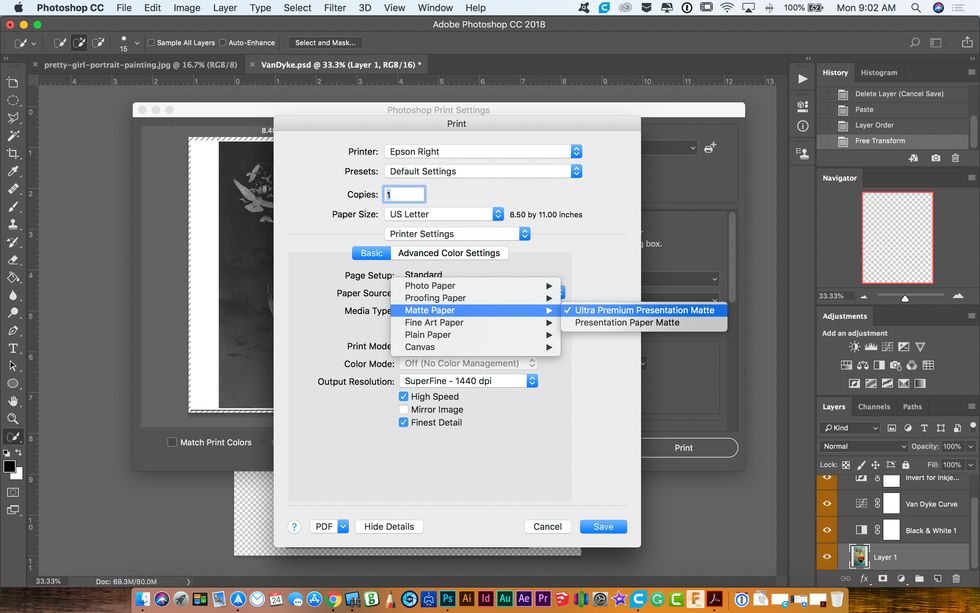
In the Printer Setting dialog box click on the Media Type pulldown menu. Go to Matte Paper and select "Ultra Premium Presentation Matte."
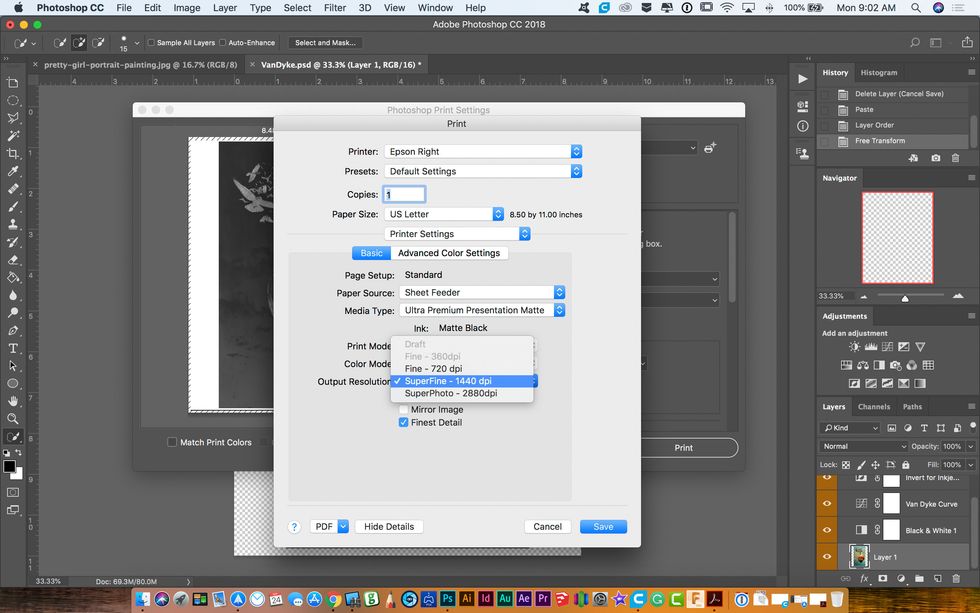
Under the Output Resolution pulldown select "SuperFine-1440 dpi."
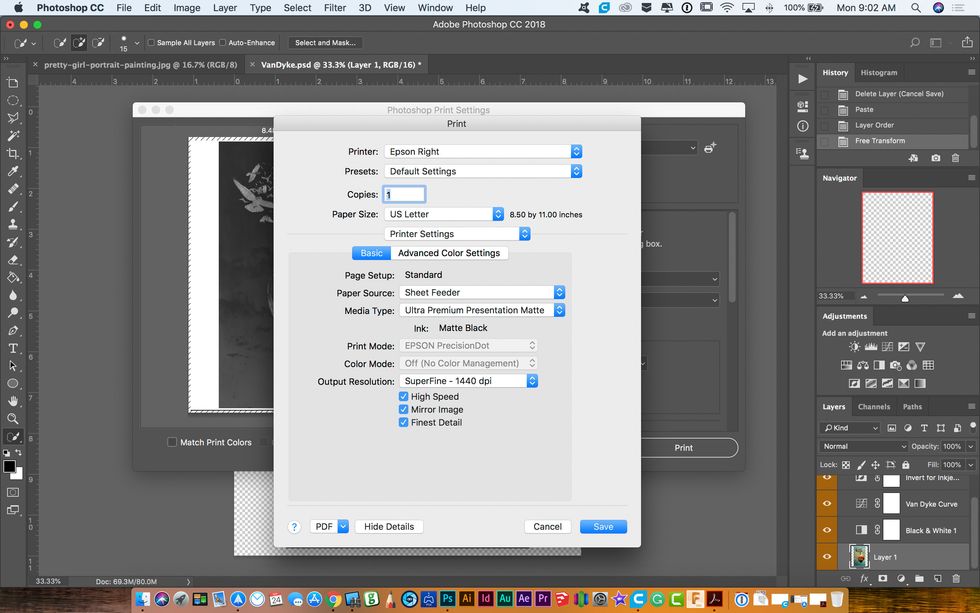
Make sure all the boxes at the bottom of the dialog box are ticked and click "Save."
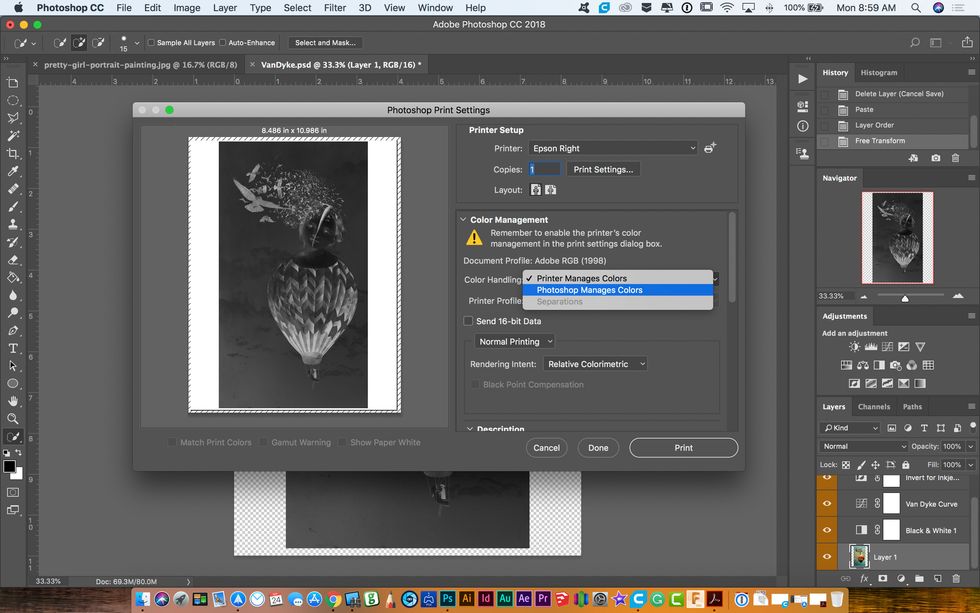
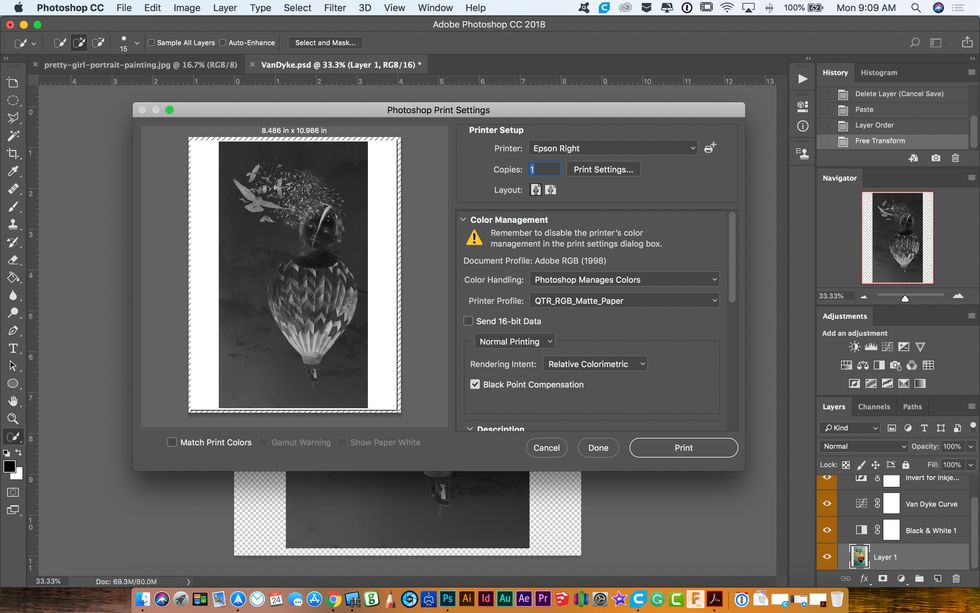
Back in the PhotoShop Print Settings dialog go down to Color Handling and select Photoshop "Manages Colors."

In the Printer Profile menu right under Color Handling select QTR_RGB_Matte_Paper.
Finally, Click print.