The Conversation (0)
Sign Up
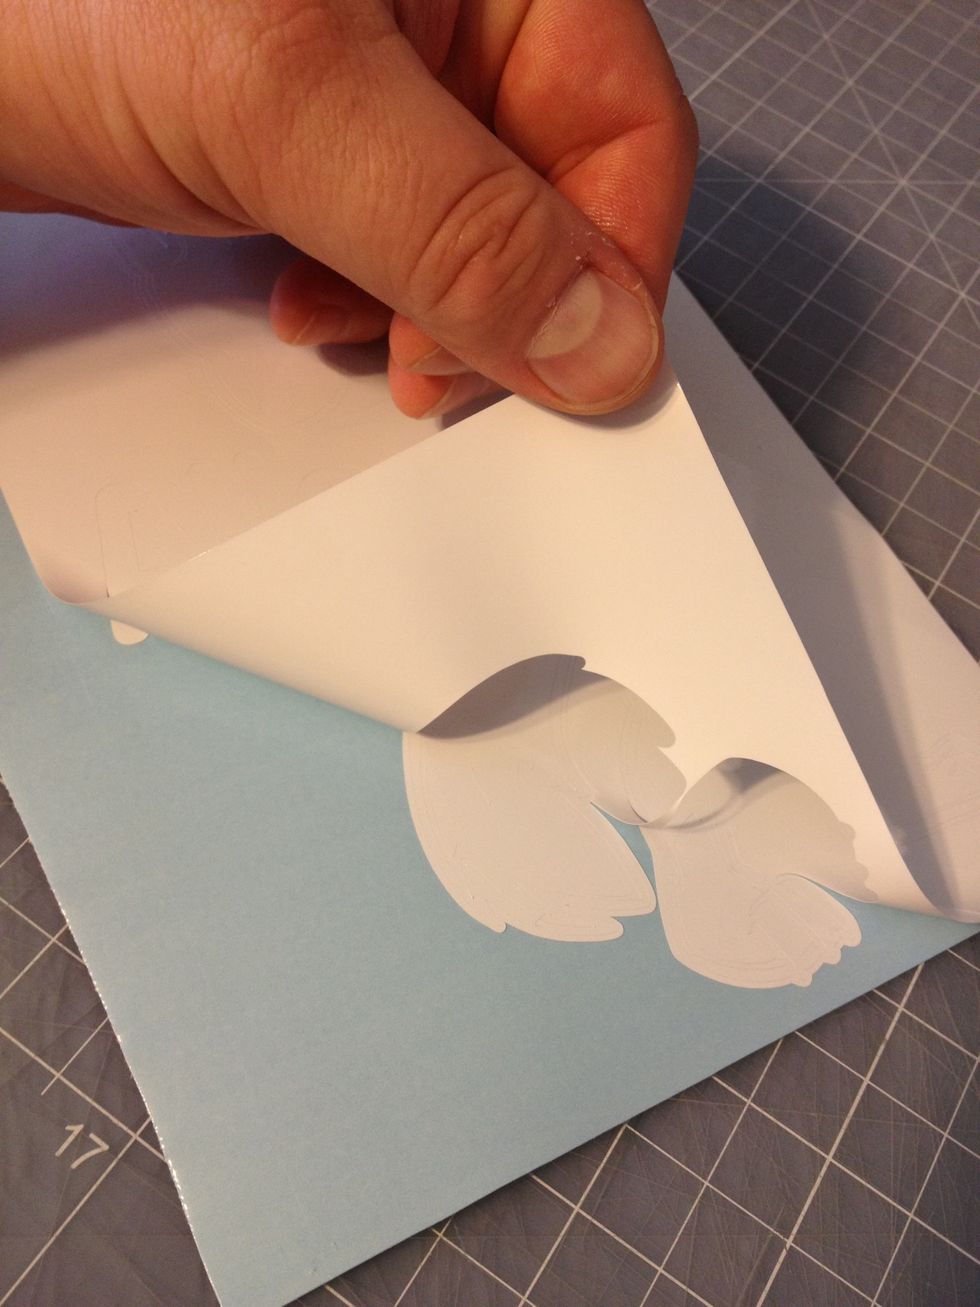
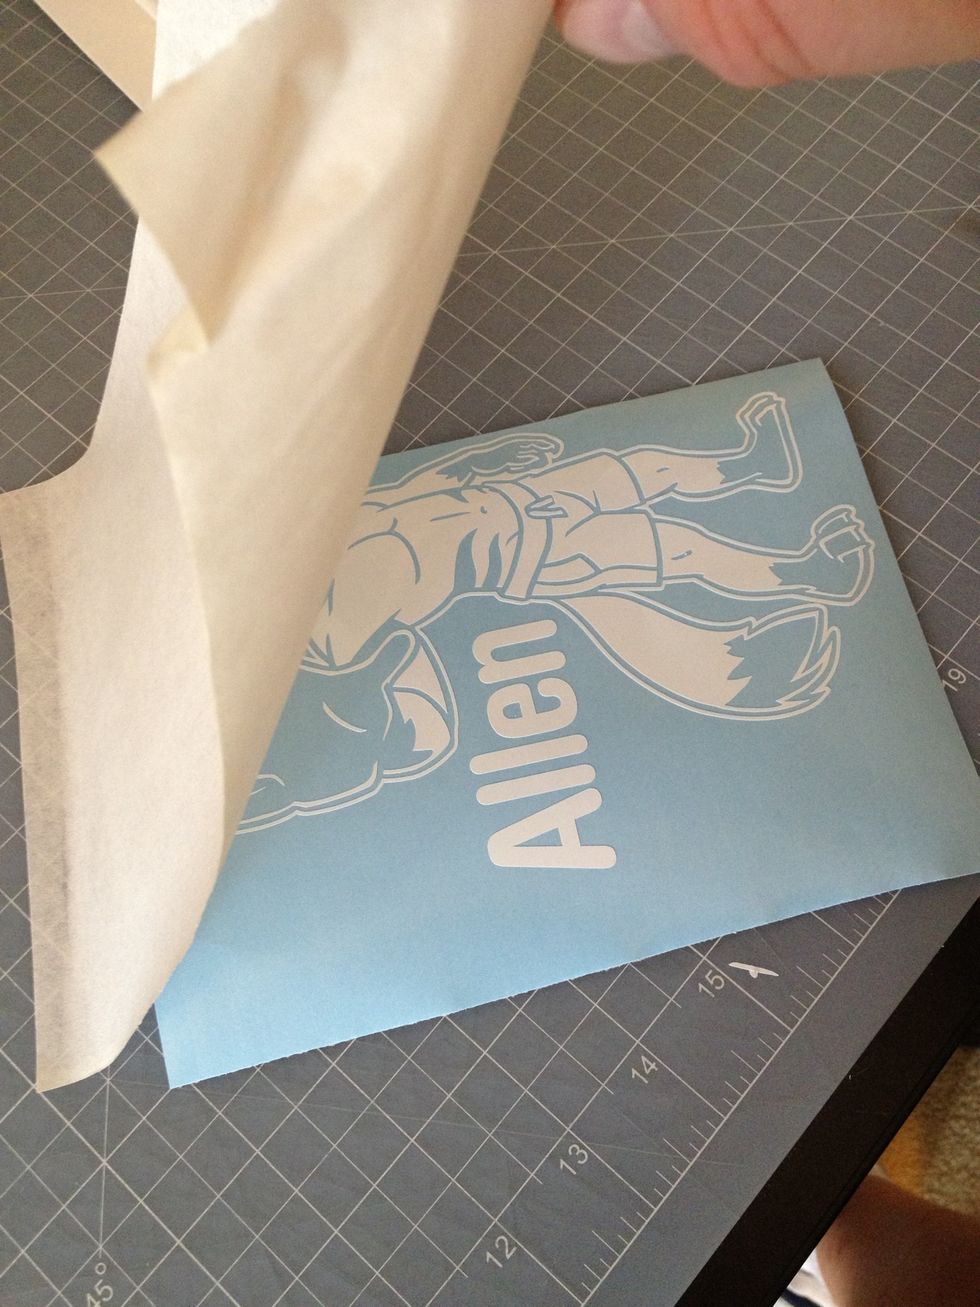
Start by peeling away the excess vinyl - the largest parts of the design that you won't be applying to the finished piece.
Continue peeling until you have removed all of the areas that can be safely cleared without accidentally peeling up small details in the process.
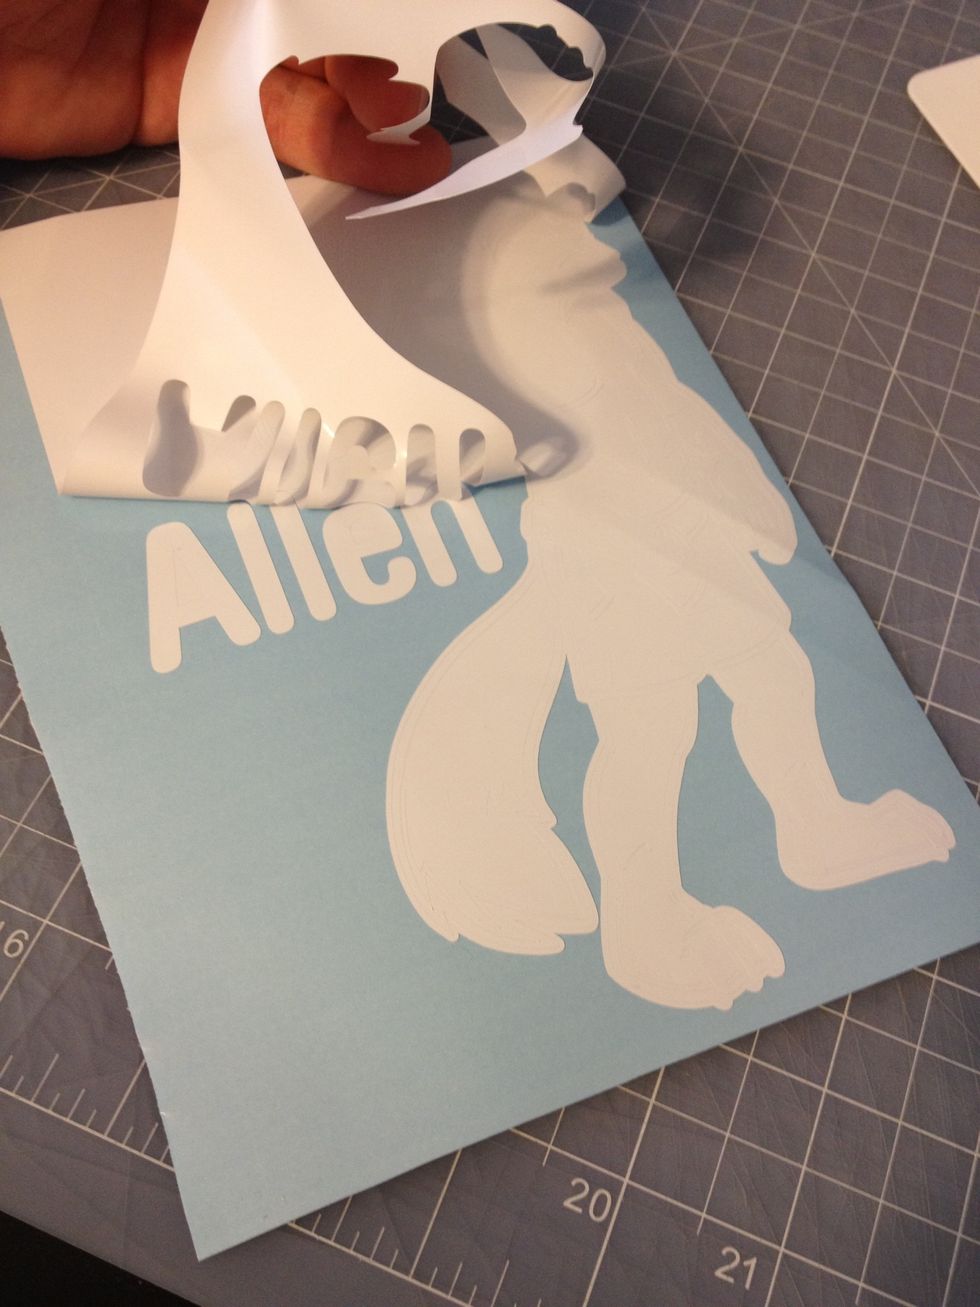
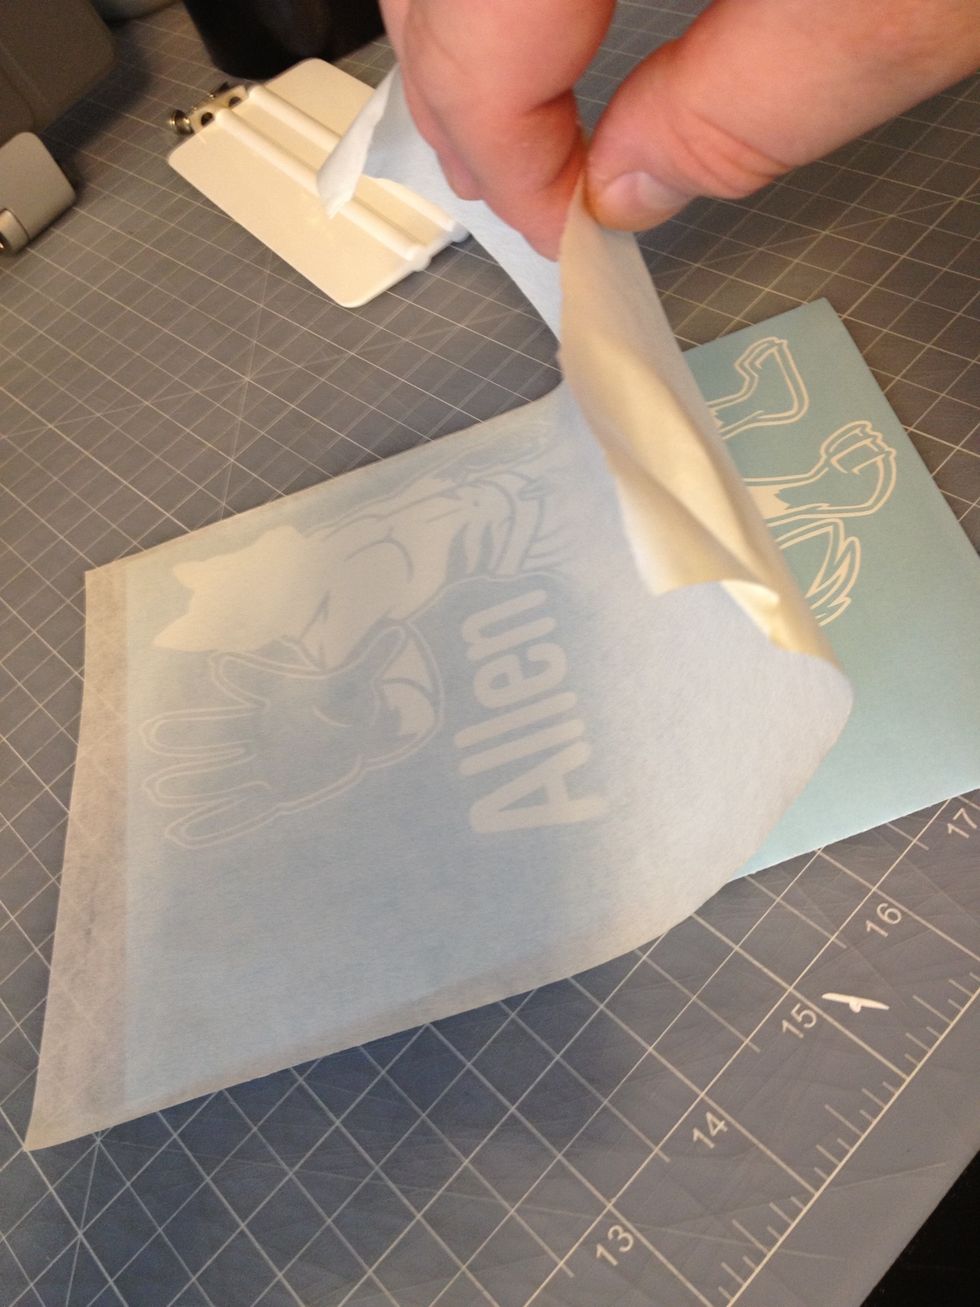
Be sure to remove the areas in the centers of letters, and throughout the design.
Then begin working to remove the finer details - the ones thick enough to remove safely, but fine enough to require extra care.

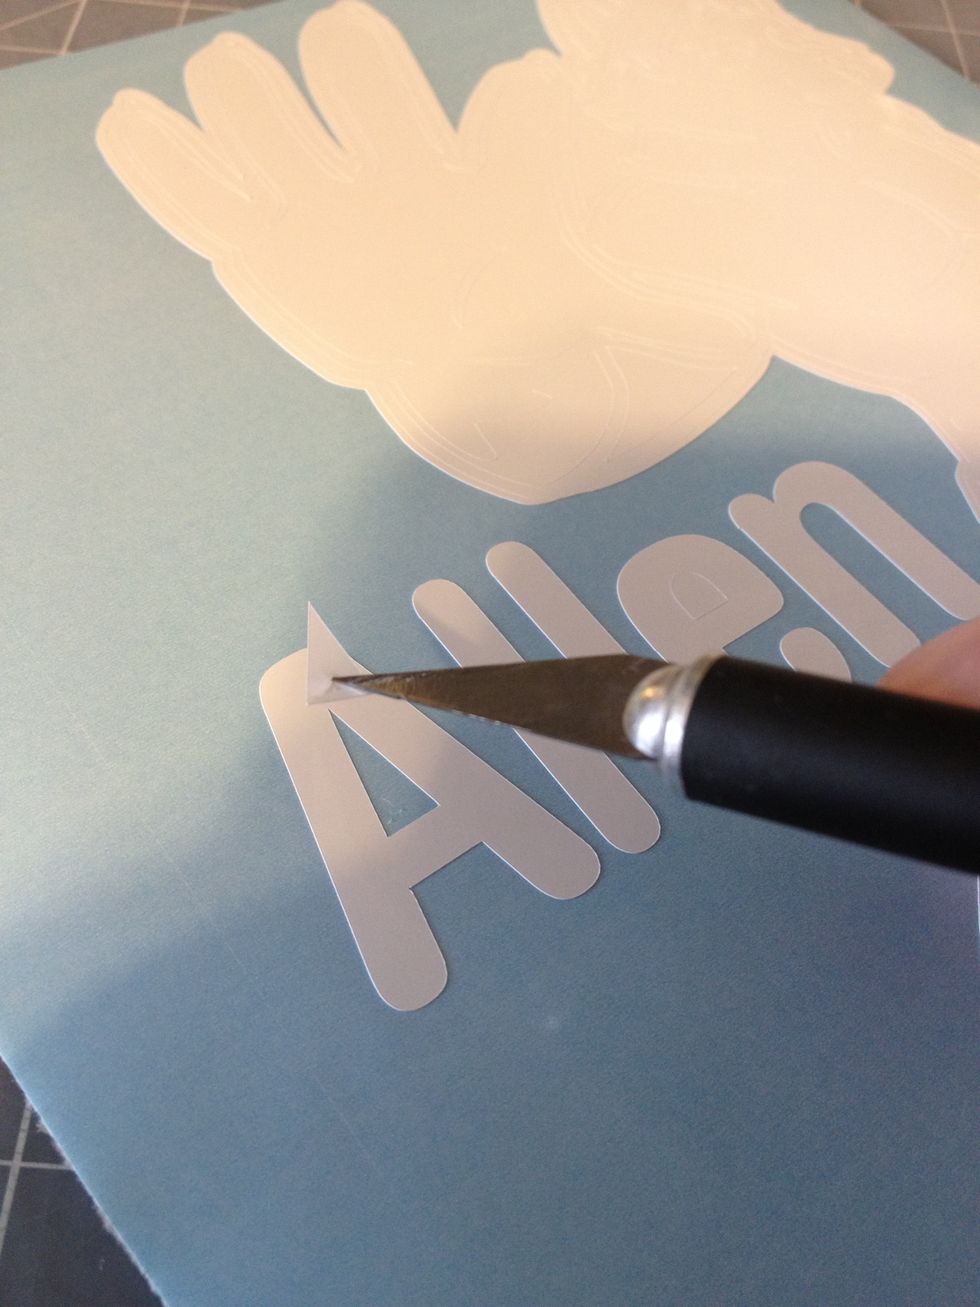
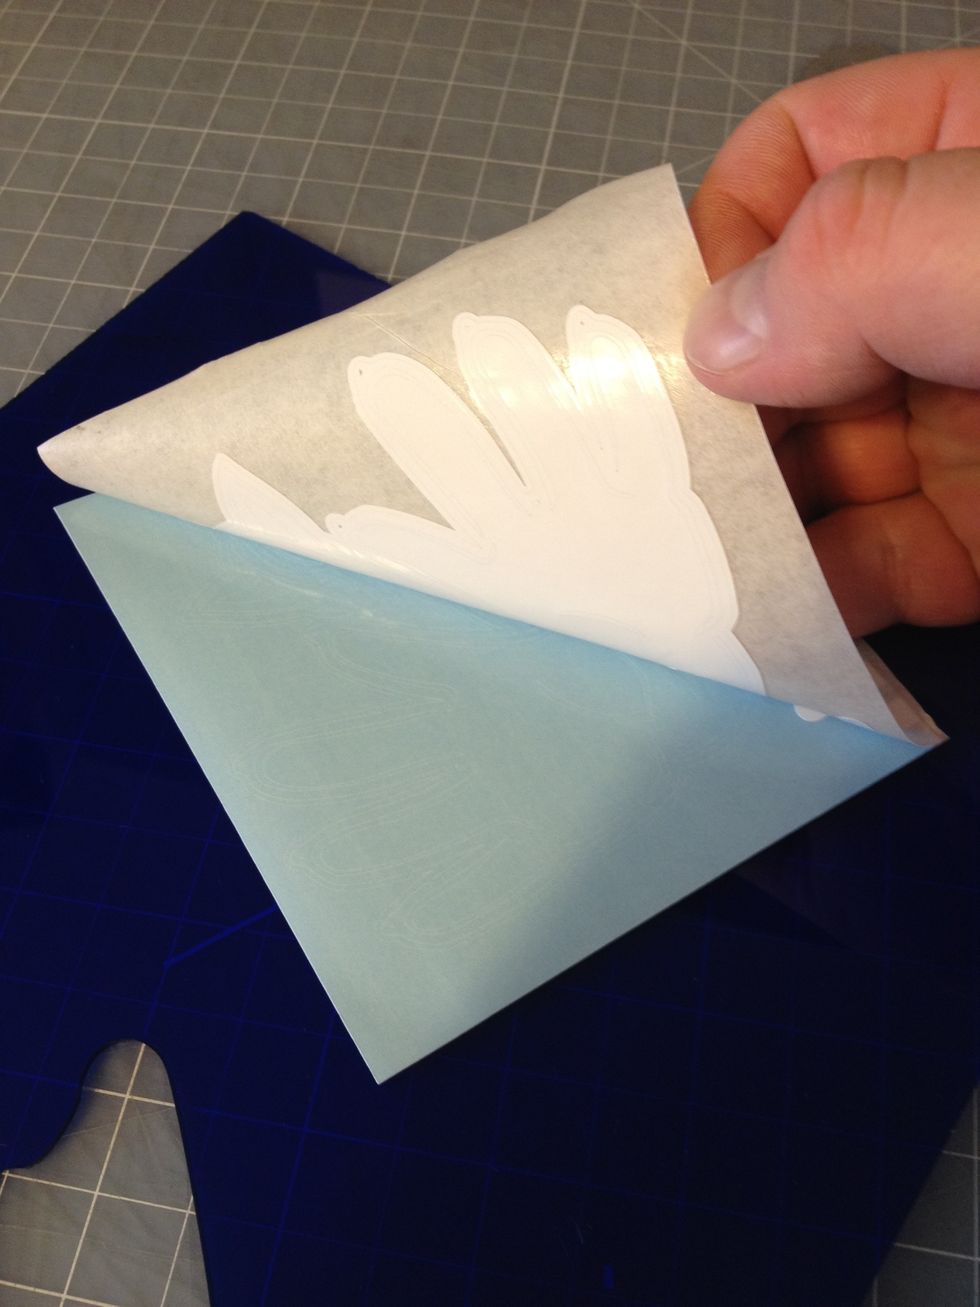
Stop when you reach high detail areas that may be damaged by your attempts to weed them. Leave those details behind, and remove them after the design has been applied to the receiving surface.

Continue weeding until the entire design is clear except for your fine detail areas.
Prepare a generously-sized piece of application masking tape, and anchor the edge of it to your work surface so that you can avoid losing control and sticking down prematurely and damaging your design
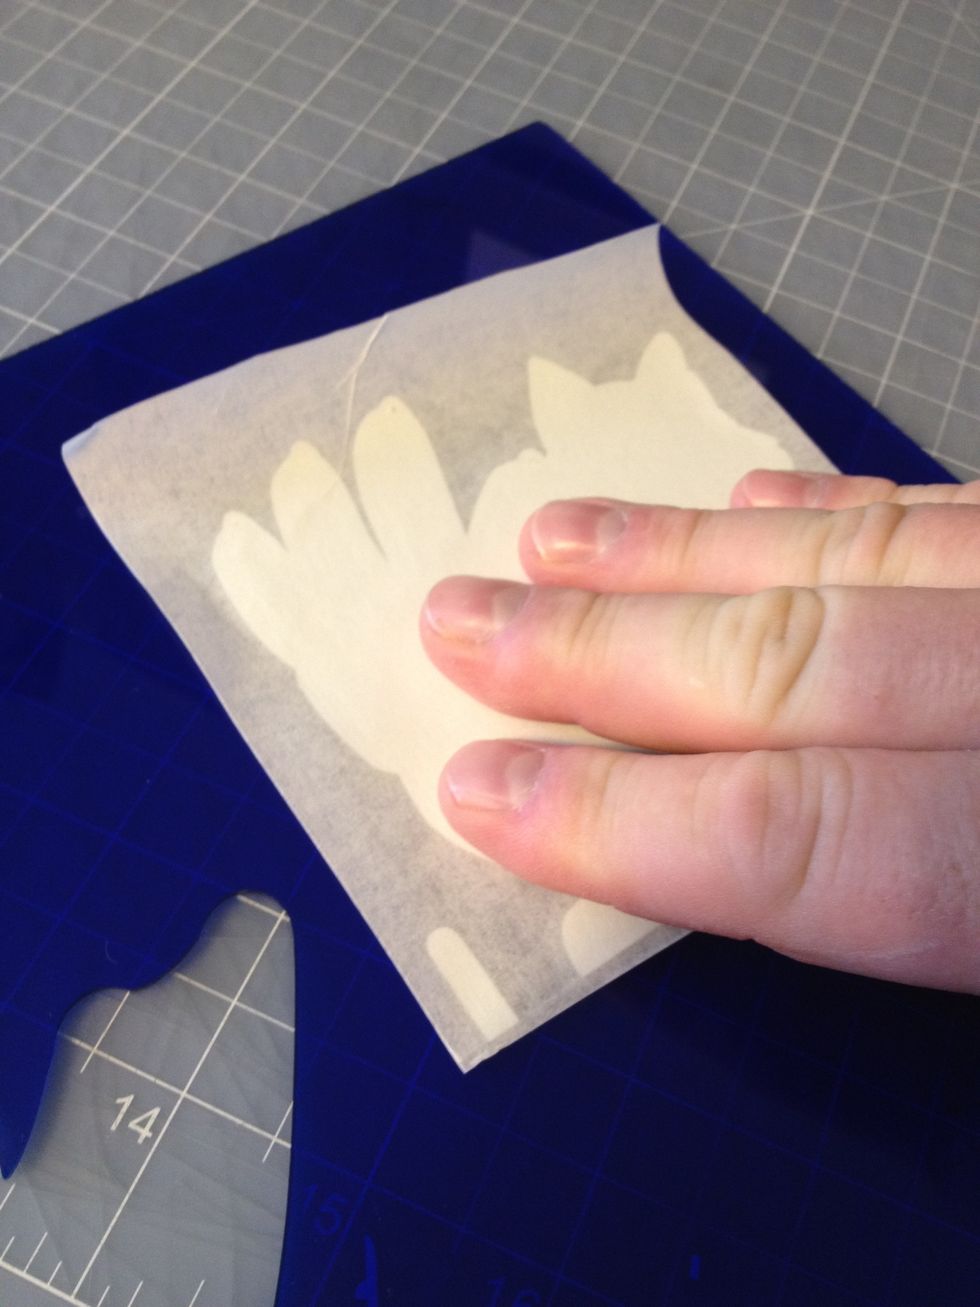
Gently smooth down the application mask avoiding large wrinkles or bubbles. Don't press too hard at this stage... just smooth it out.
When you're ready to apply the vinyl, use the application tape to carefully peel your design off the backing. Don't let it stick to itself!
Lay a corner of the vinyl gently on your receiving surface and smooth the design into position. Use gentle pressure to work gradually across your design from a corner.
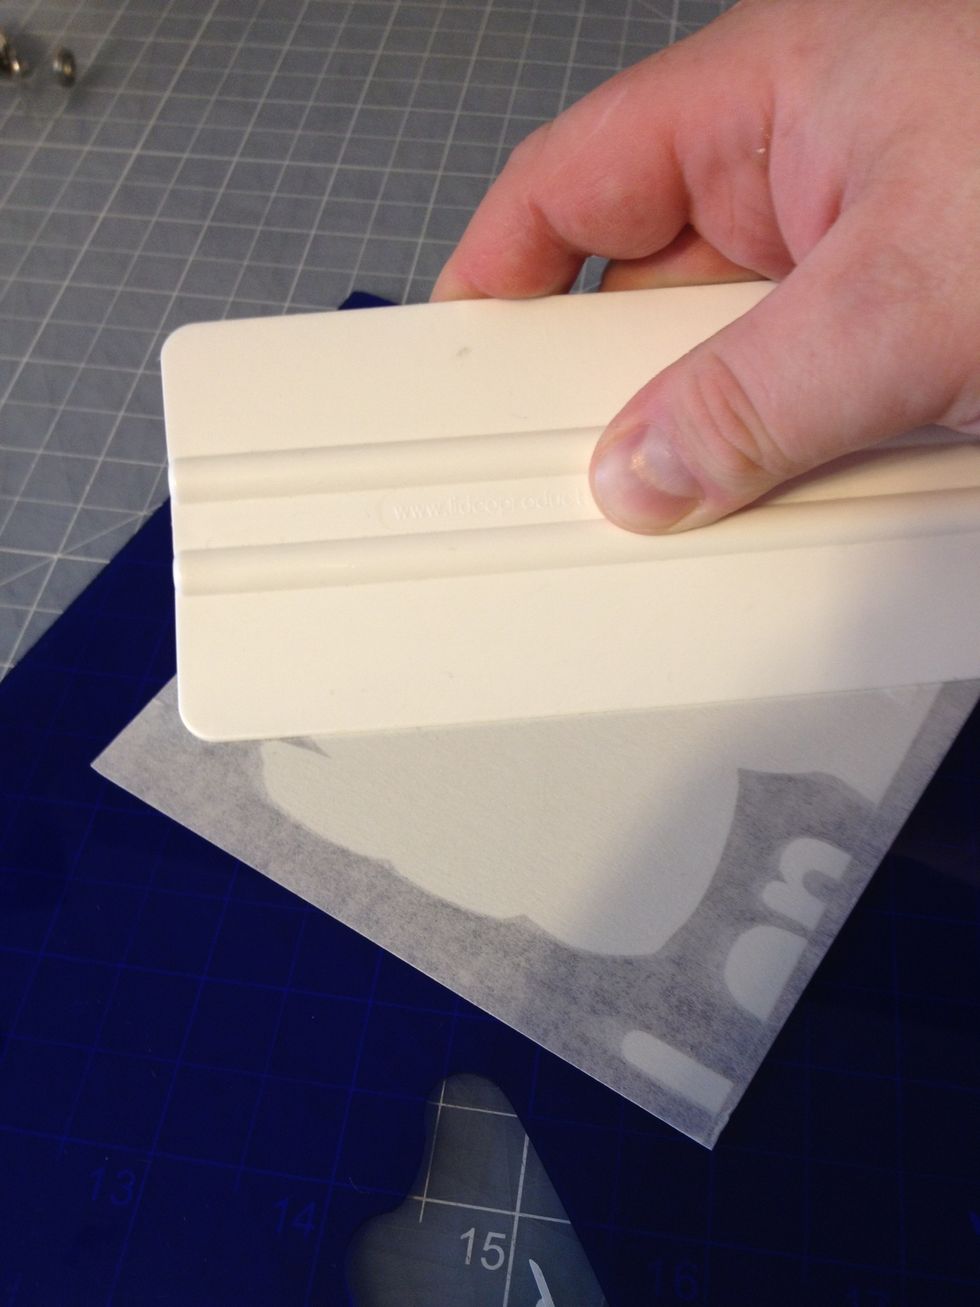
When the design is in place, use your hard edge to bond the vinyl firmly to the receiving surface. Slow, firm strokes working across the design work best to eliminate bubbles.

When the design is in place, gradually peel the application tape off, leaving the design on your receiving surface.
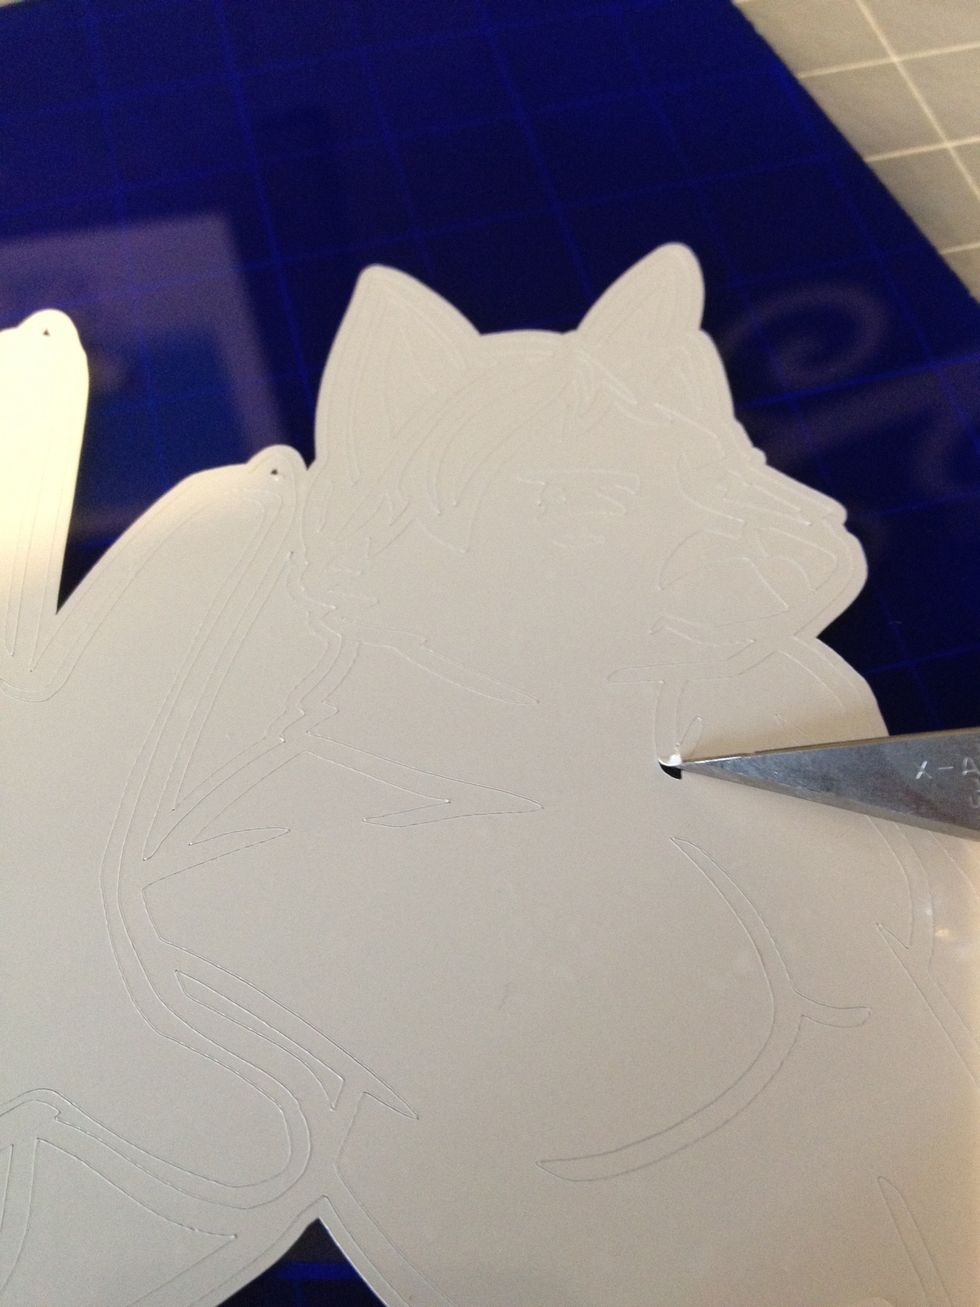
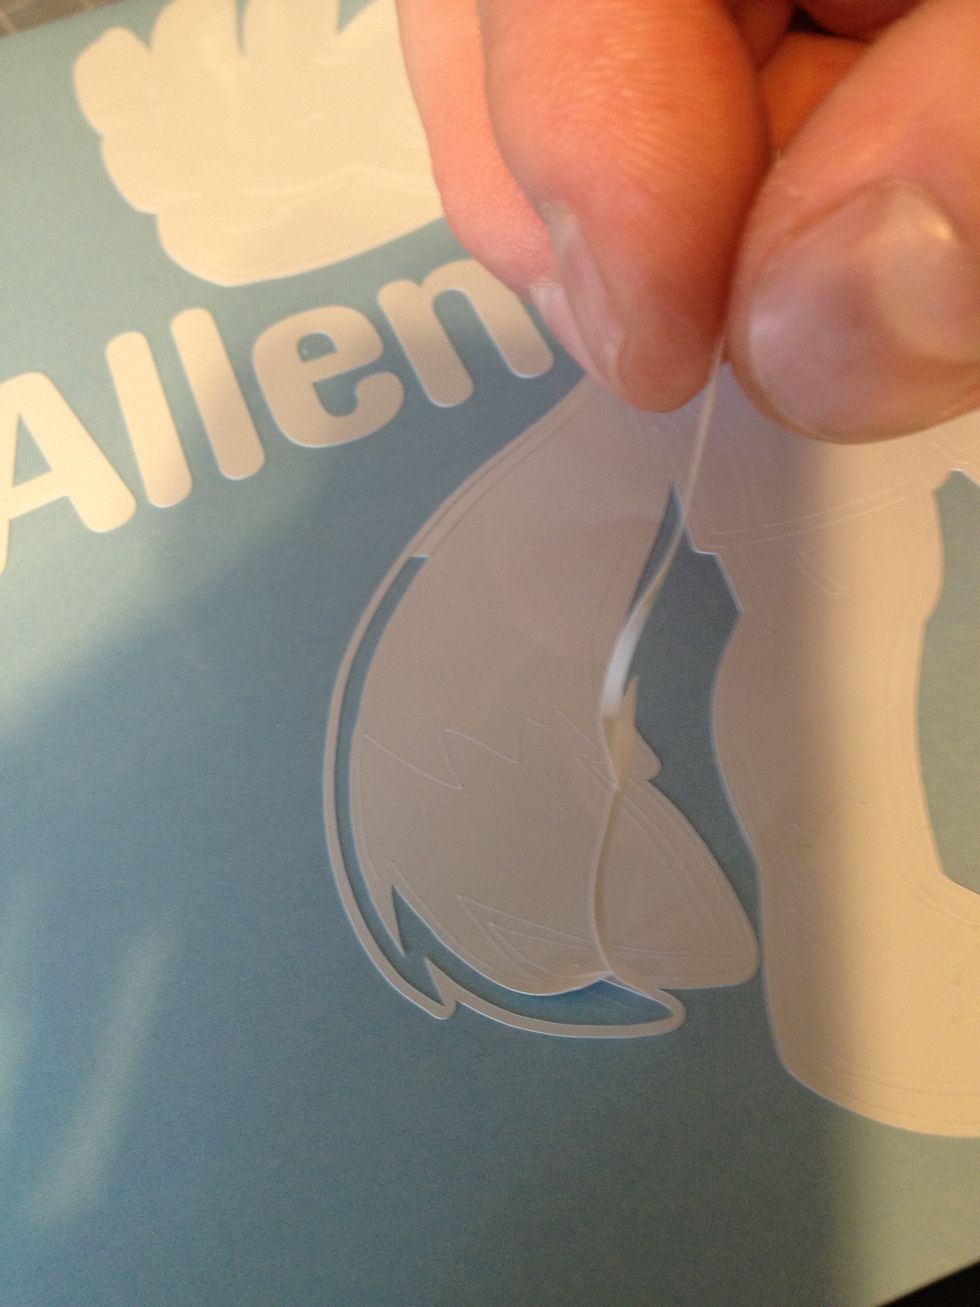
Next, weed any details that need to be done on the receiving surface. Use an exacto knife or pin to pick the edges of details that need to be removed, and pull them up gently with tweezers.
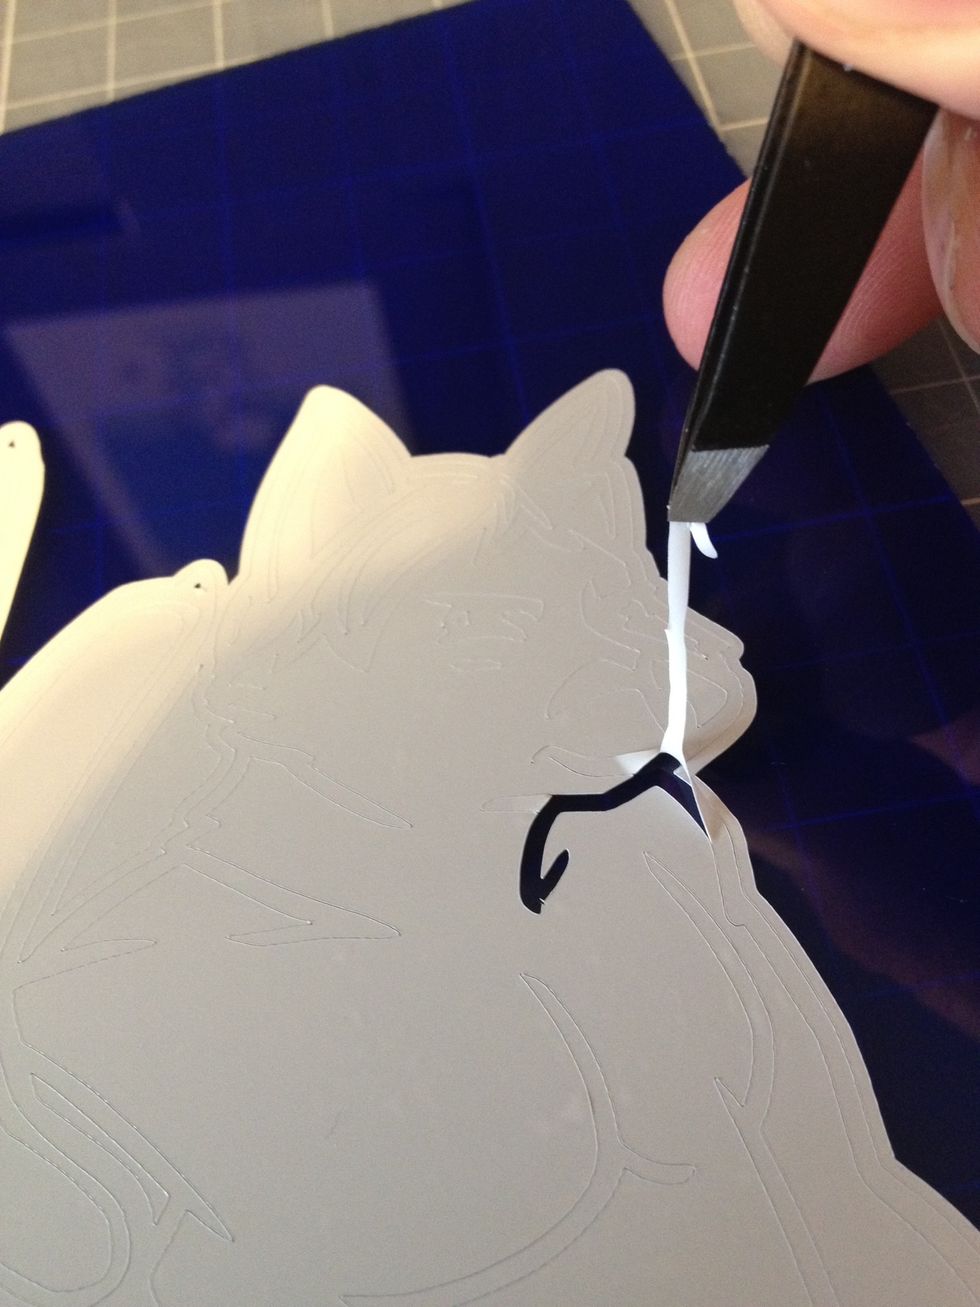
Continue working to gradually remove any fine detail.

Your finished design should look crisp and bubble-free. Poke any bubbles trapped in the vinyl firmly with your knife tip or a pin, and then smooth them down through a sheet of paper.