The Conversation (0)
Sign Up
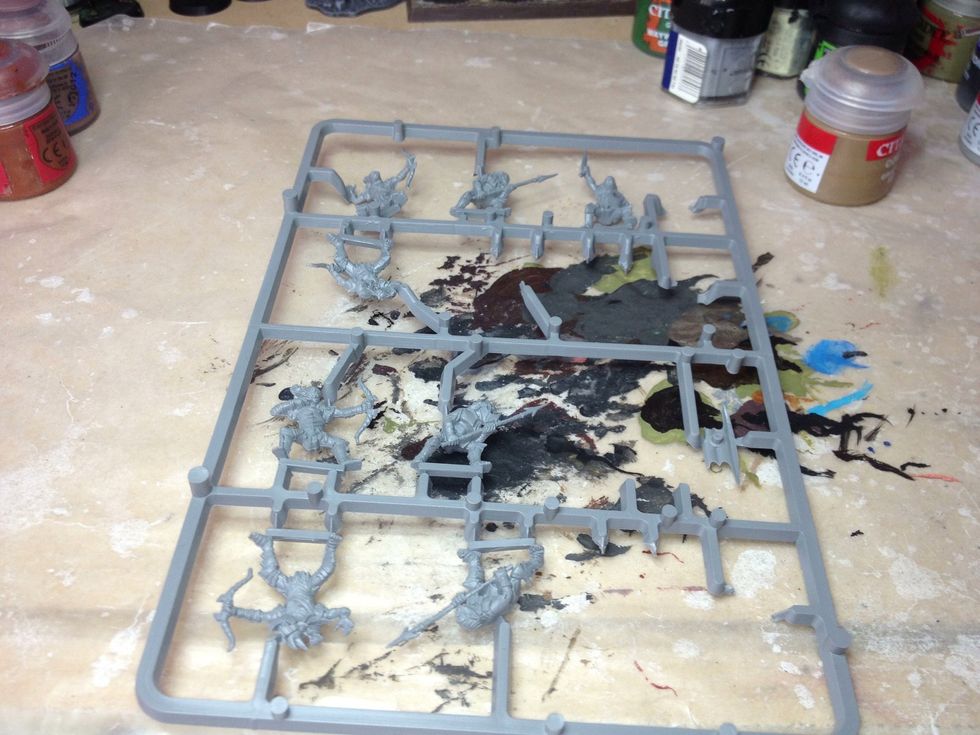
This is a standard plastic sprue. Select the miniature you want to paint next. I've chosen to use a sprue of Moria Goblins for this guide, but you can use anything.
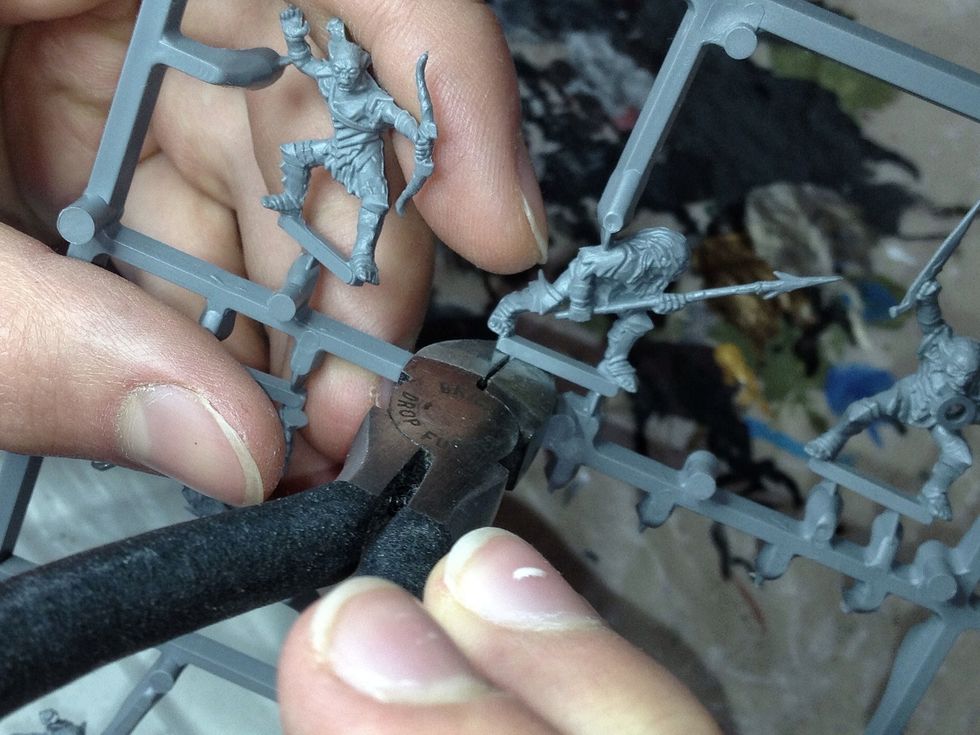
Use a pair of wire cutters to remove the model from the sprue. Be very careful when doing this, however. You wouldn't want to damage the miniature in the process.
Be sure to cut from this direction - not the flat underside of the sprue - so as not to damage the model.
You'll usually have to cut near the actual miniature at some point so be extra careful here.
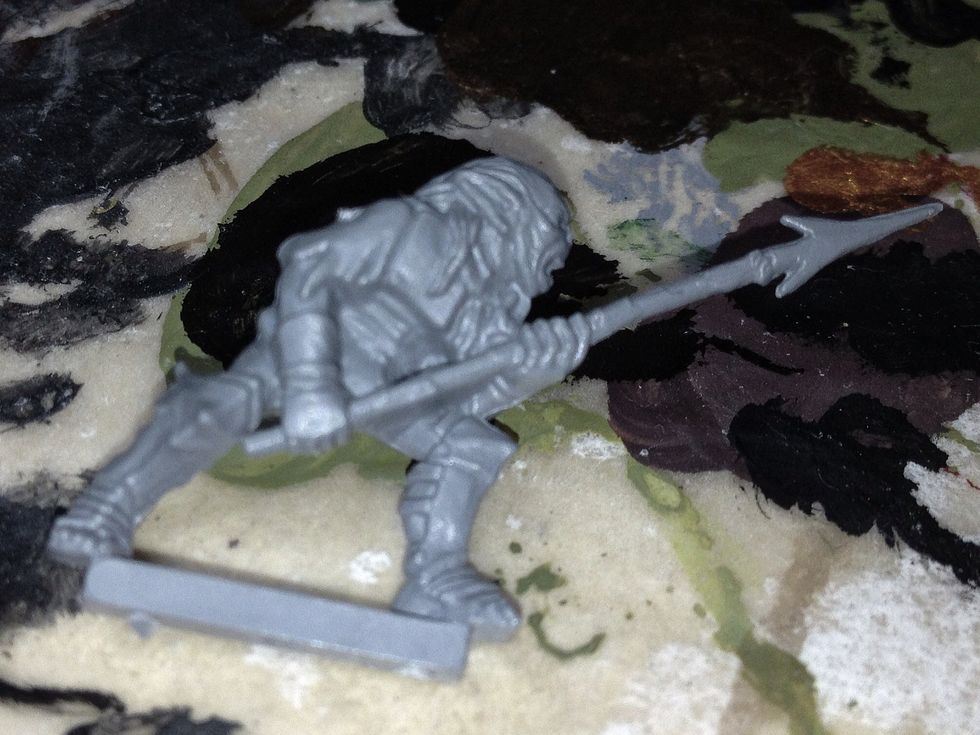
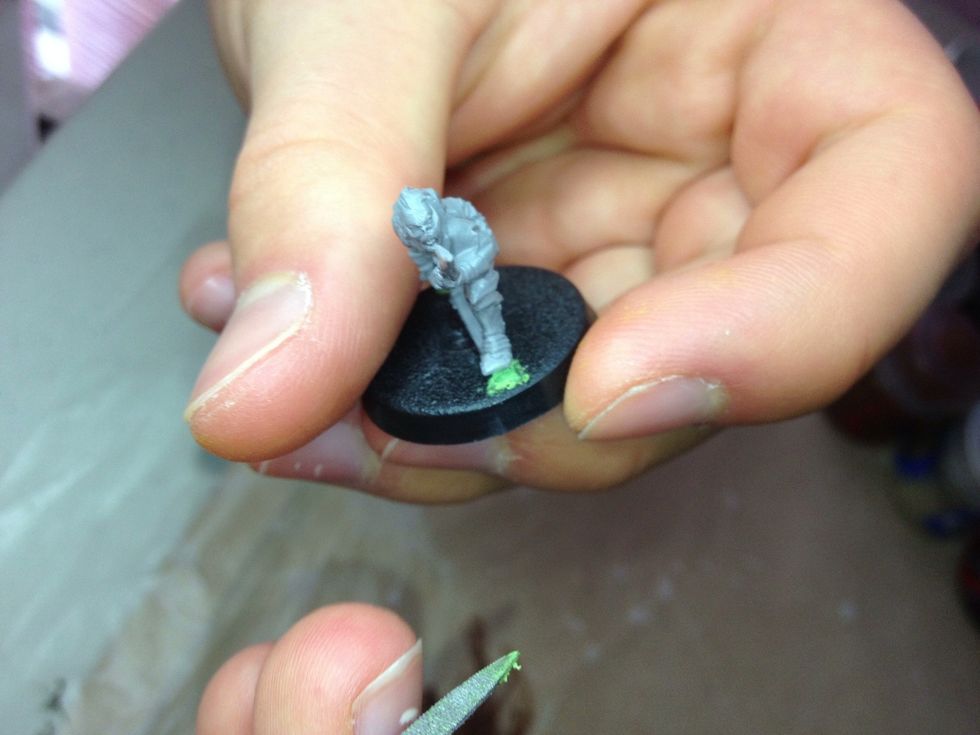
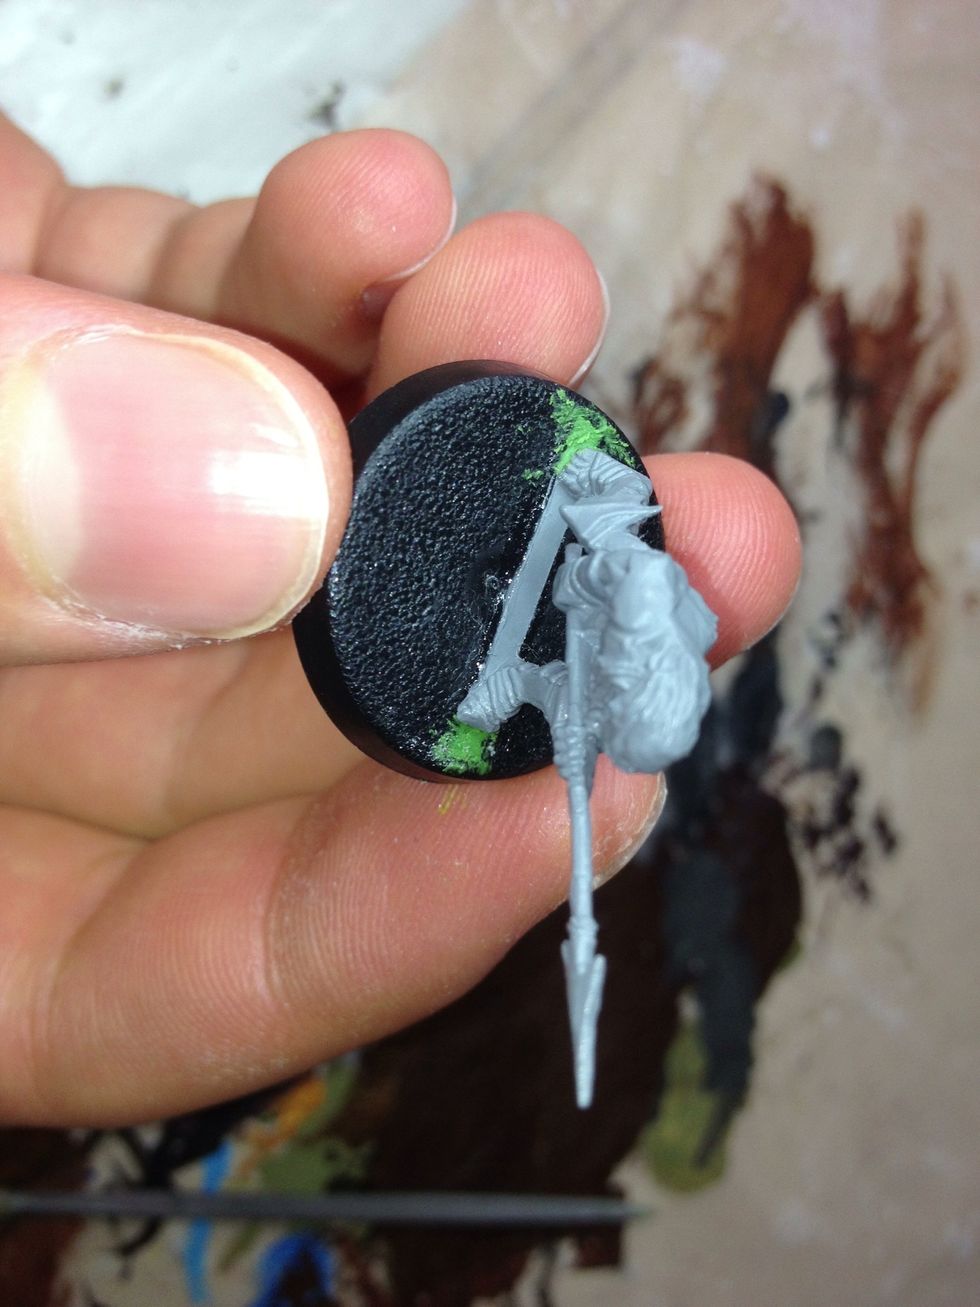
Now that the miniature is detached from the sprue, it should look something like this. There are still mould-lines to file off, and then it'll be ready to attach to its round slotta-base.
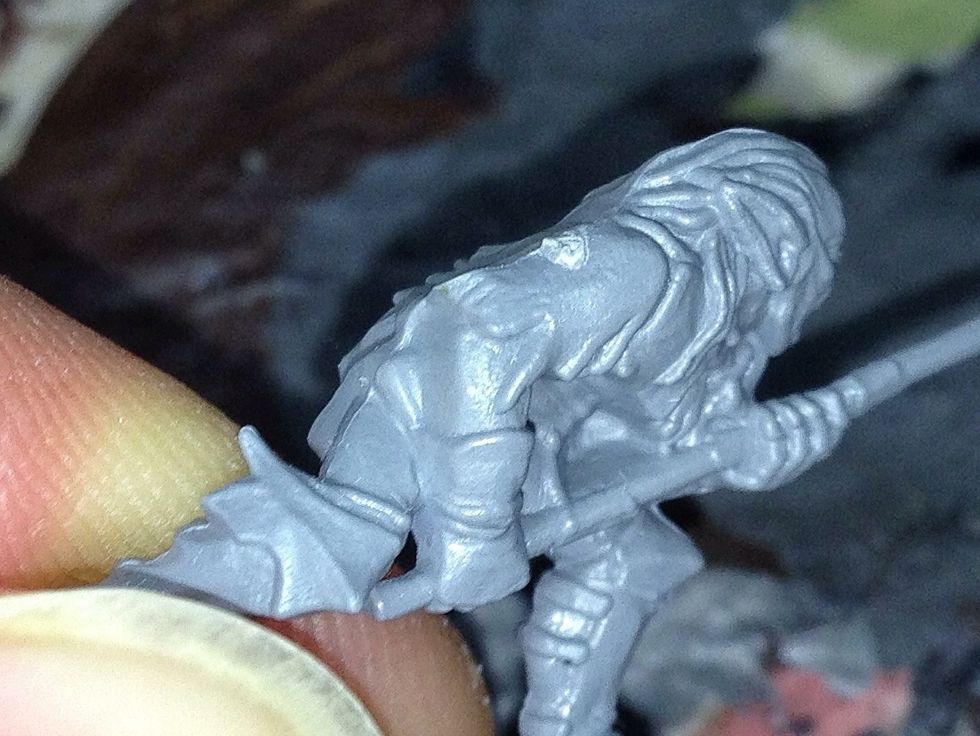
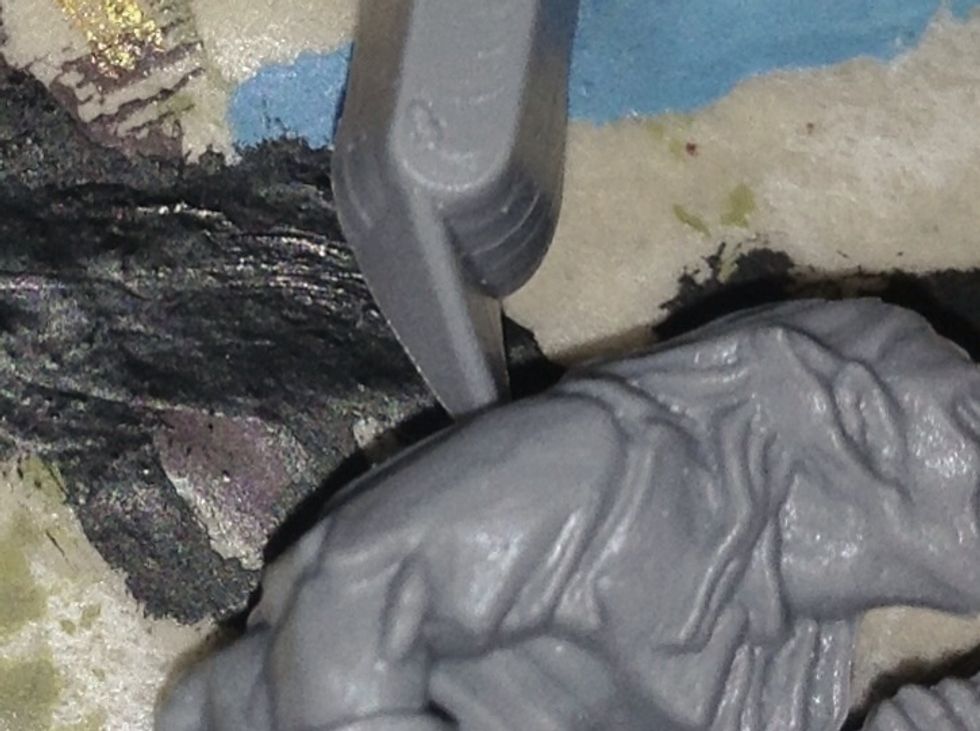
If you look at this model, you'll notice a number of things. First come the mould-lines. These are easy to trim, but the place where you severed it from the sprue is the first thing you must soften.
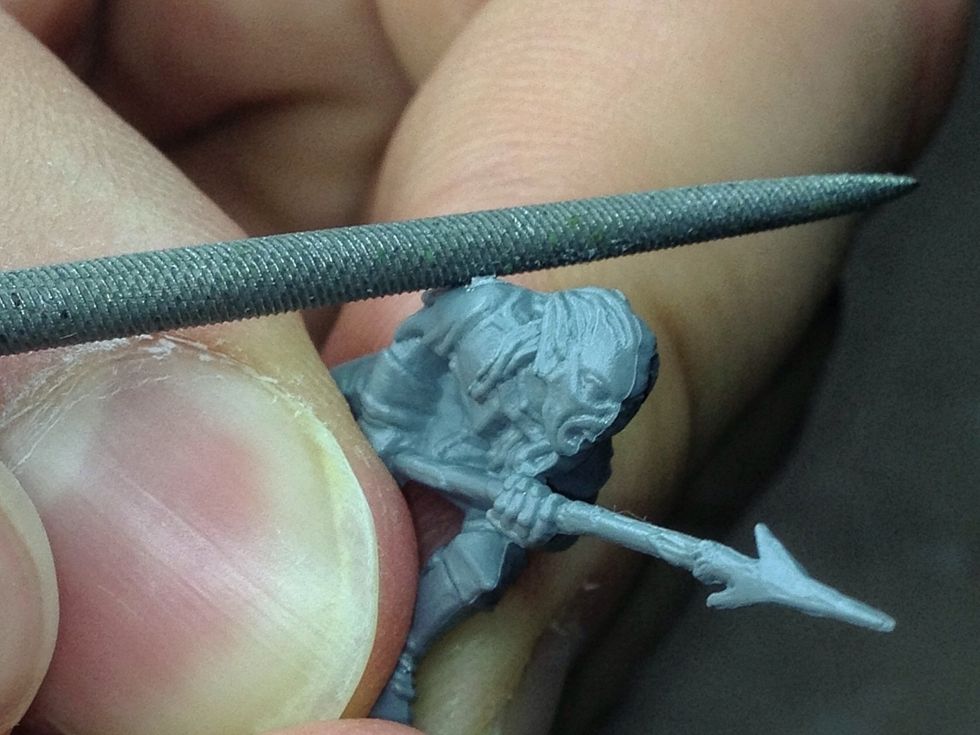
Gently file this blemish until it is gone using the round file. Be careful not to damage the details on the model when doing this.

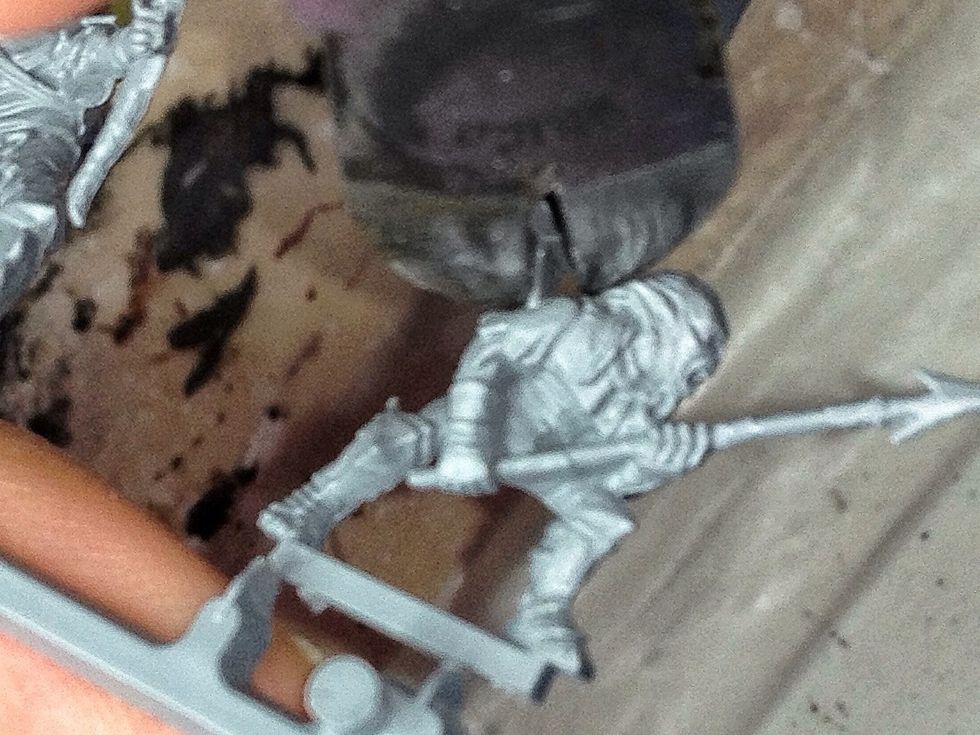
Here I have softened the mould line on the coat arm but not yet the hair.
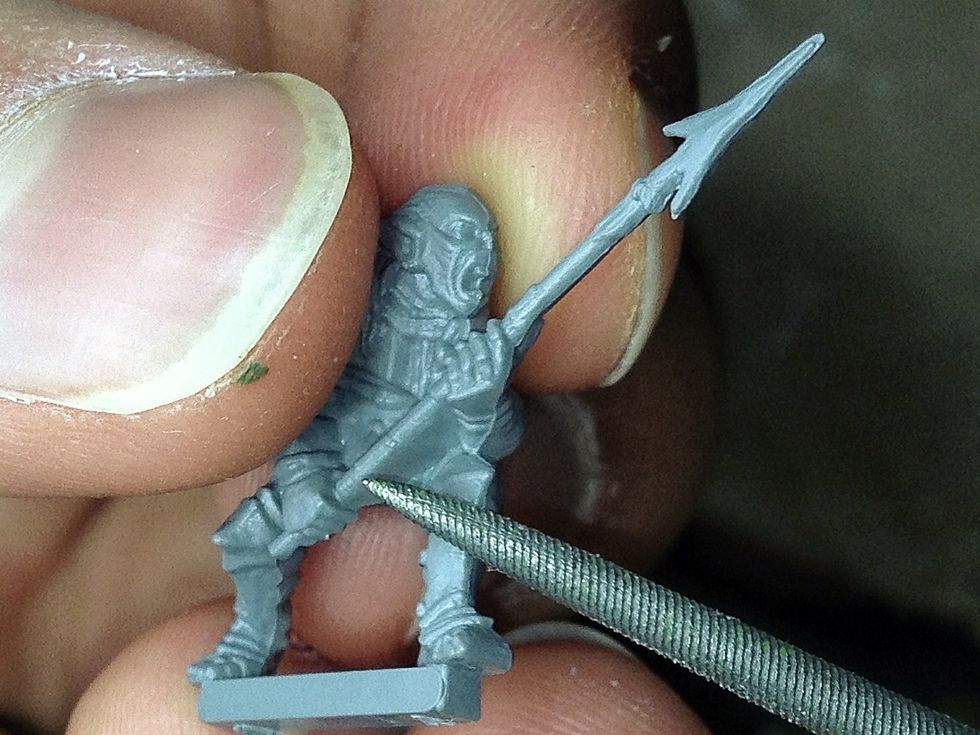
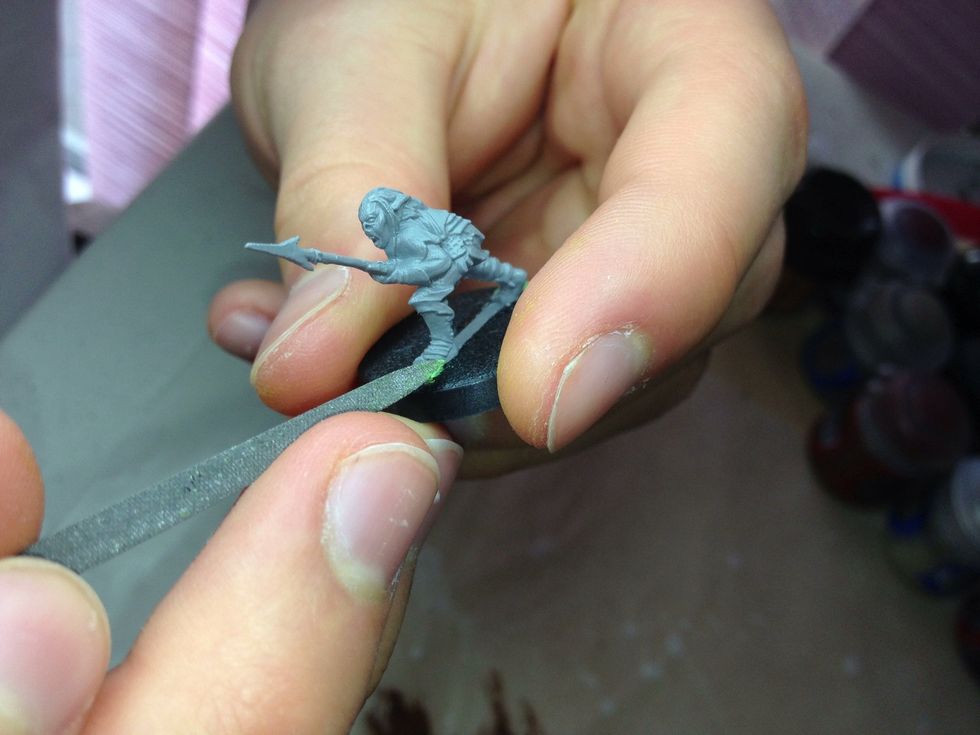
File the mould-lines on the rest of the miniature until they can be neither seen nor felt. A file like the one shown here works well for this job.
All plastic miniatures have some sort of releasing agent to help them slide out of the mould. It will also have a small amount of oil from your skin.
Wash the model with soap in lukewarm water to remove all oils. Rinse it well before letting it dry.
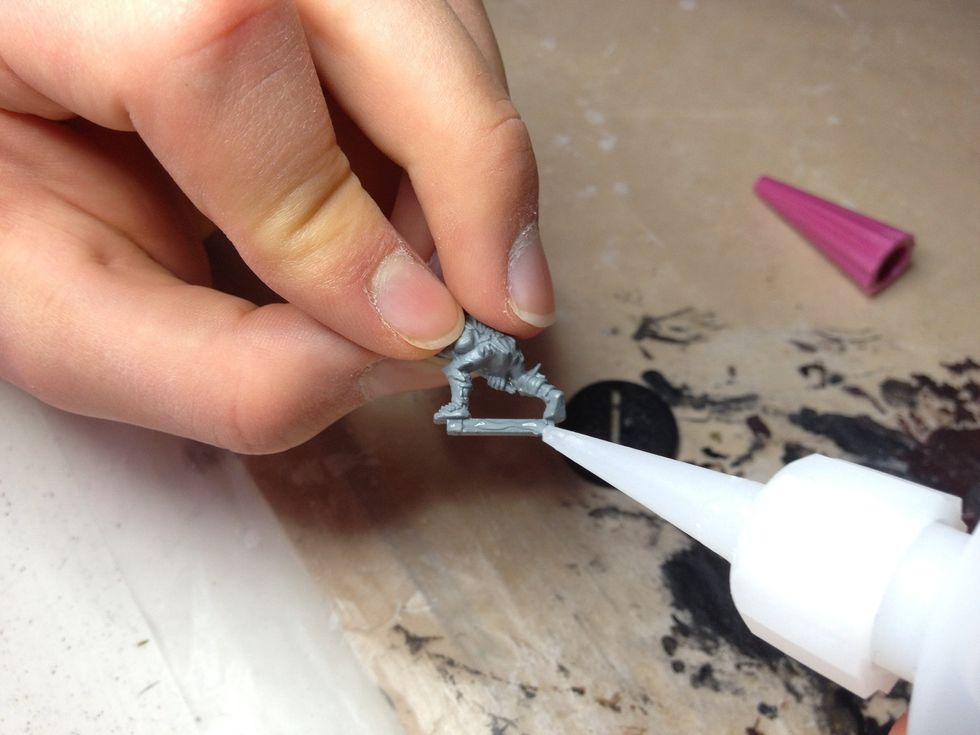
Don't get any on the model itself and be quick. If the glue bonds before you've glued it to its base, it'll be a lot more difficult to do so.
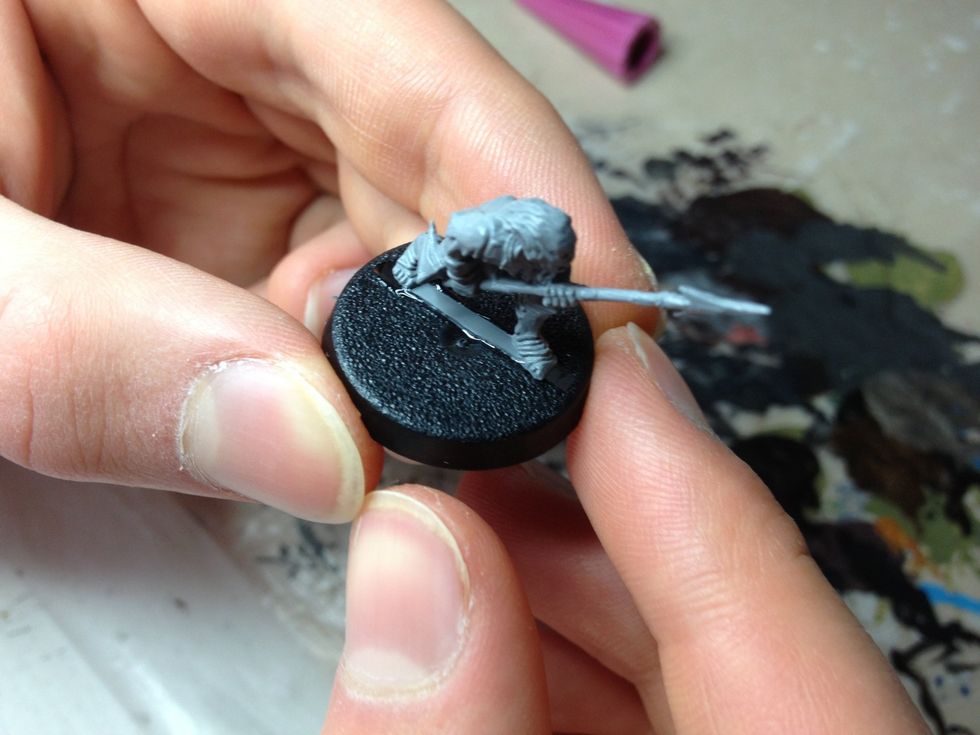
Slide the model into the slotta-base. Hold it for a minute and let it dry. This will take around two hours.
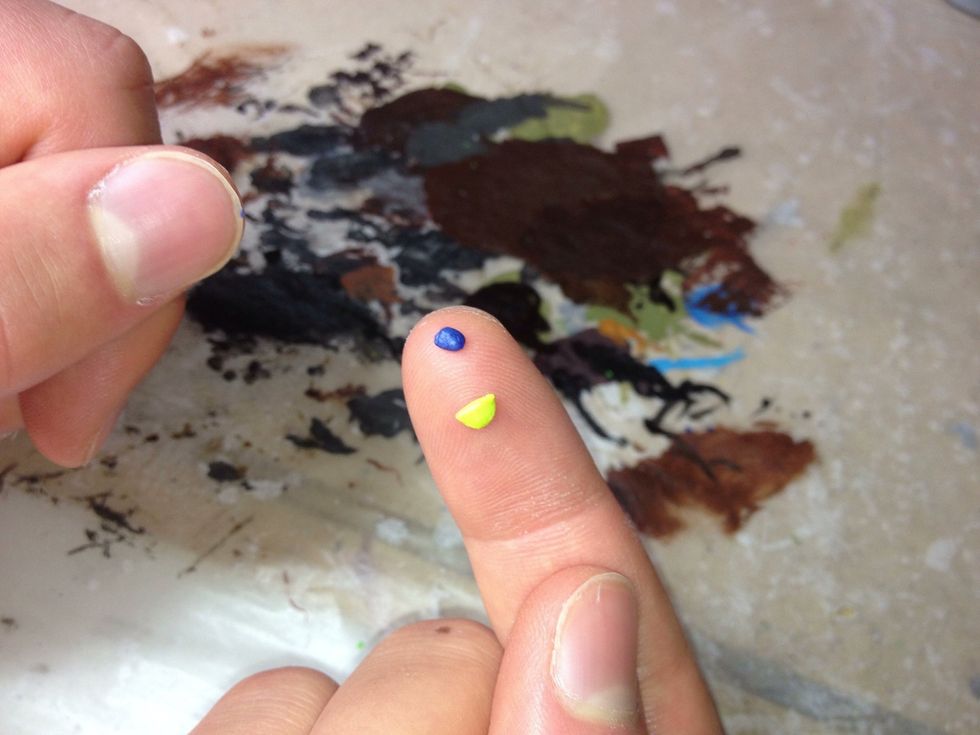
Mix a ball of Green Stuff (modelling putty) and mix it until it is a solid green.
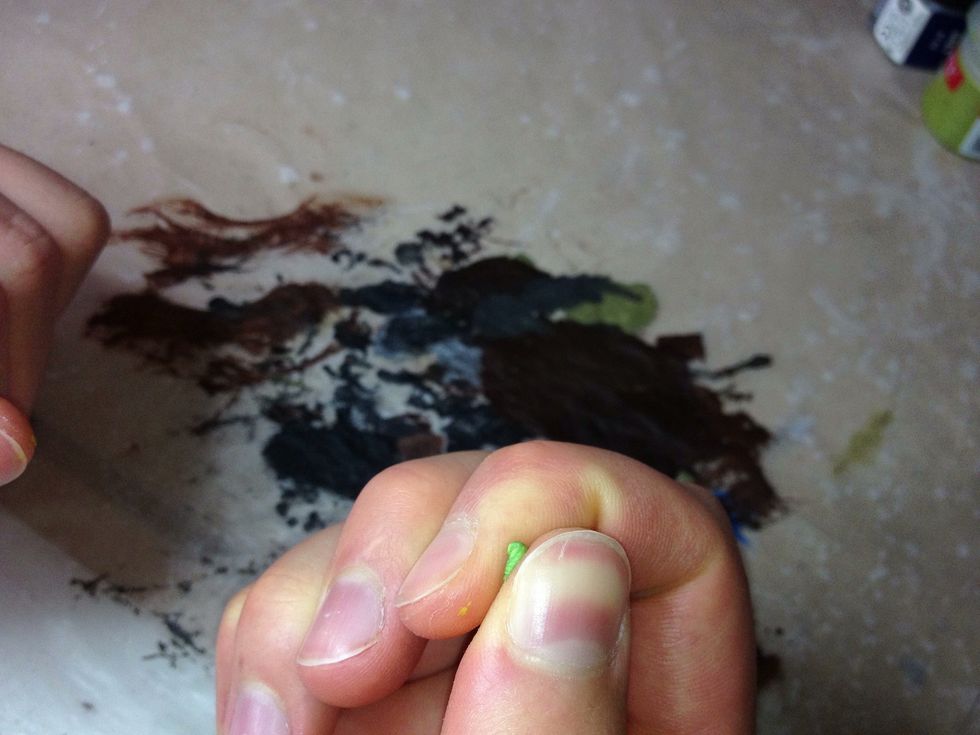
Rolling...

Green and ready for action
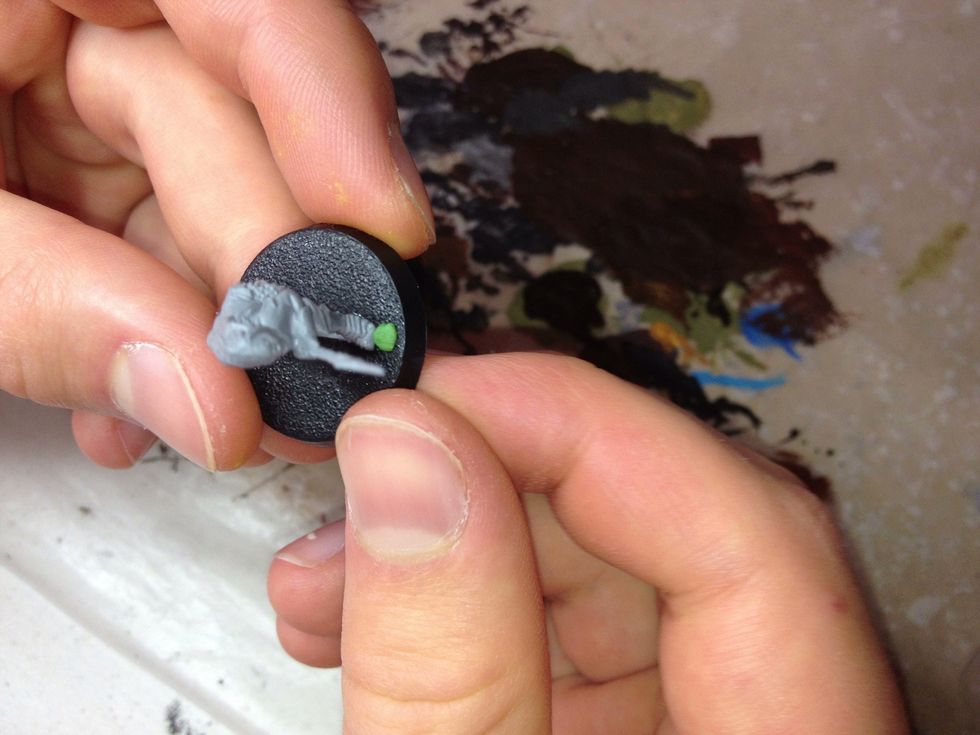
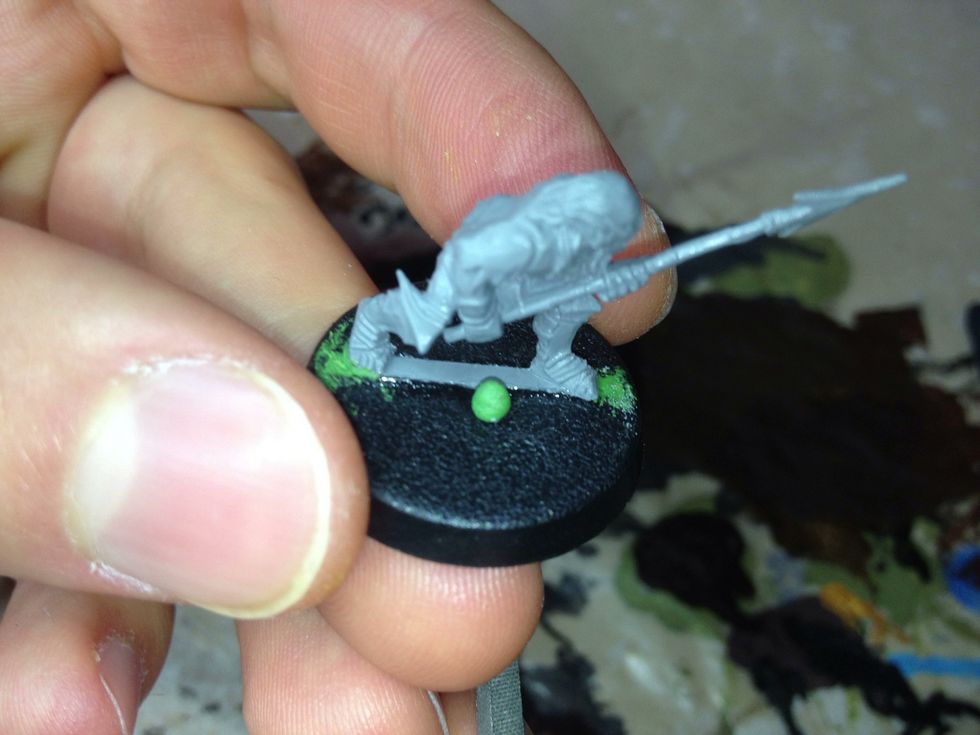
Use the Green Stuff to fill the gaps in the model's base.
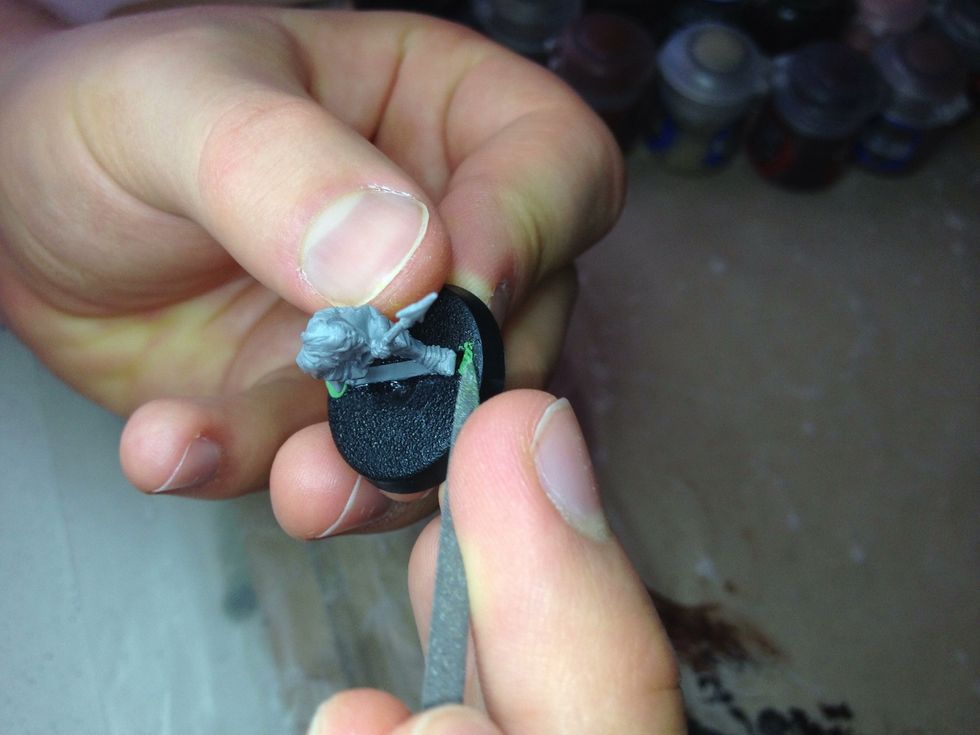
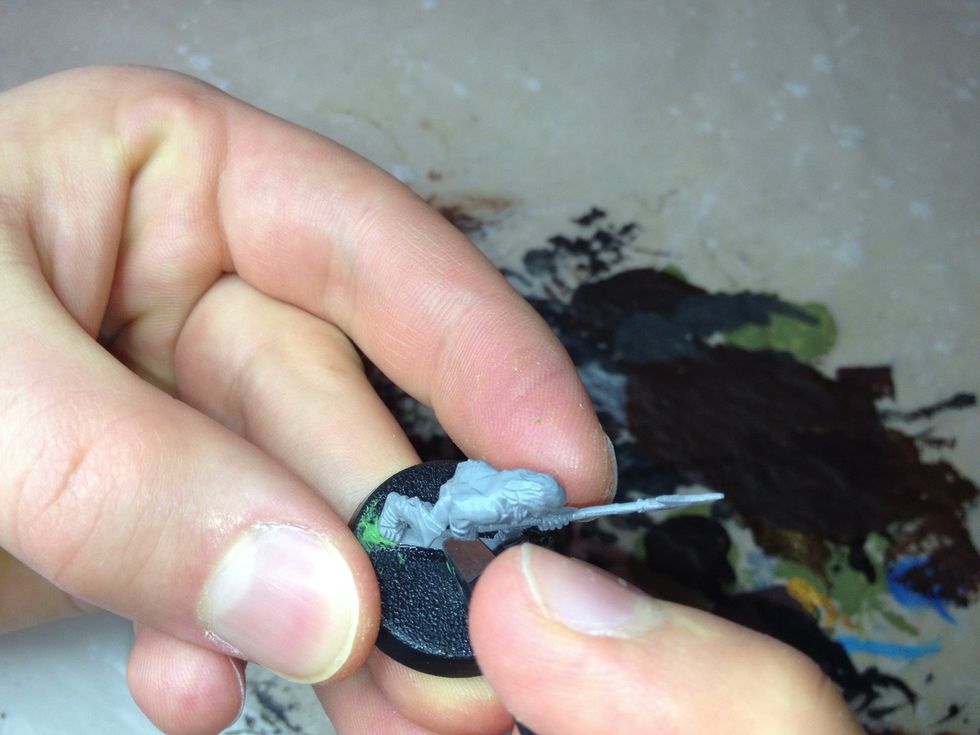
Use a file to flatten the green stuff. Make sure you clean the file afterwards.
More of the same.
Notice the dip in the centre of the base. Fill it as you did the gaps.
I'm using a pair of flat tweezers to flatten the putty even further, but it doesn't really need to be perfectly smooth.
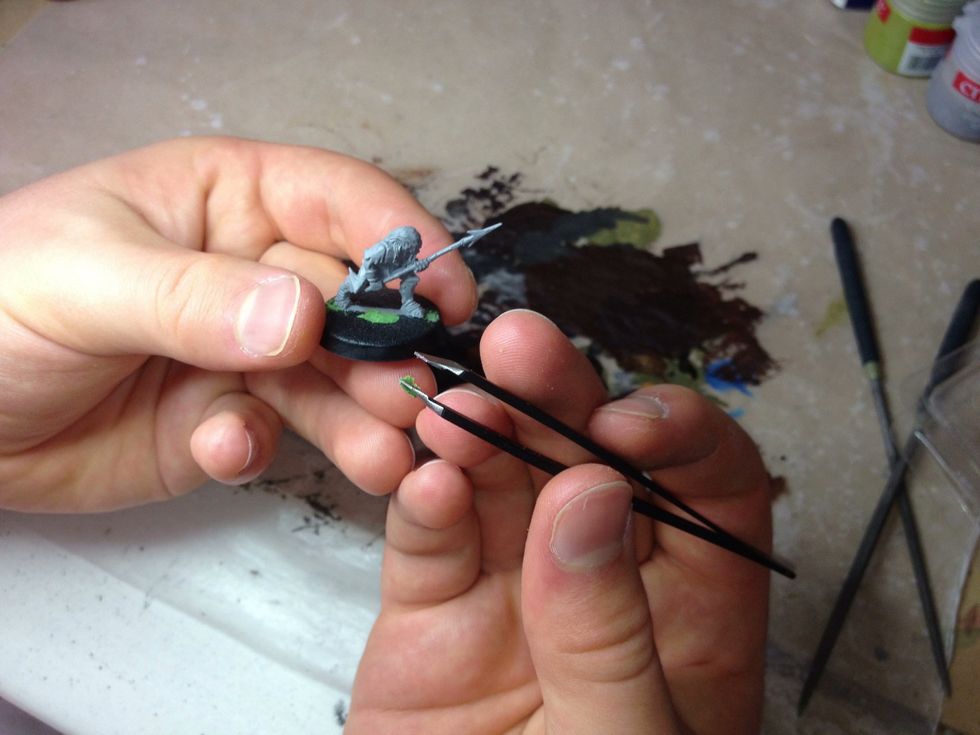
Again, clean the tweezers. Leave the green stuff to harden overnight.
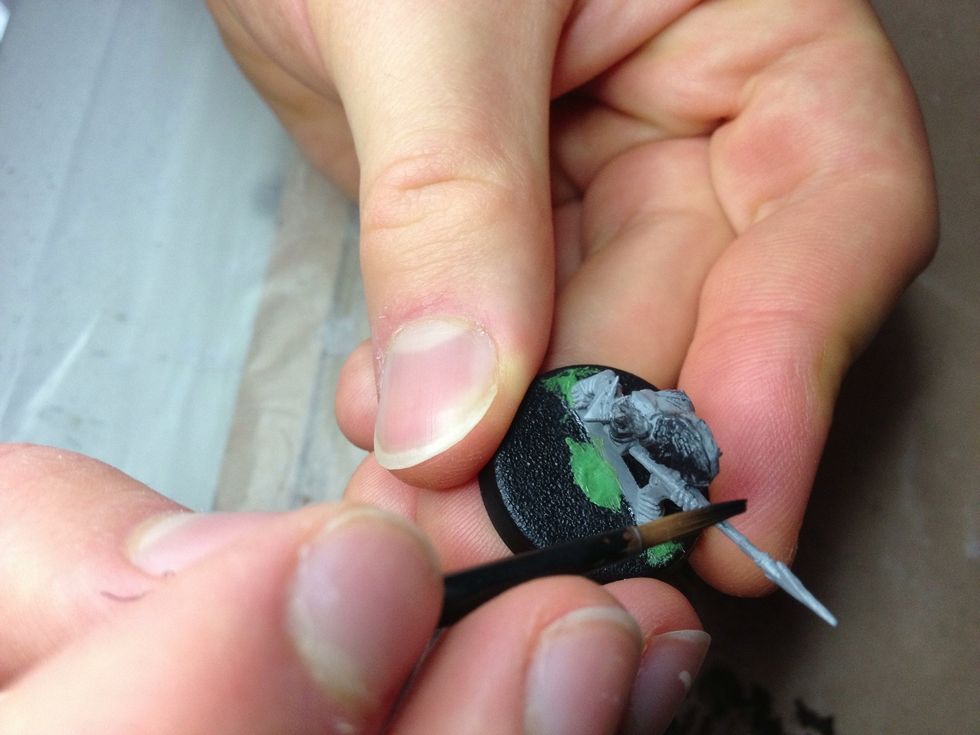
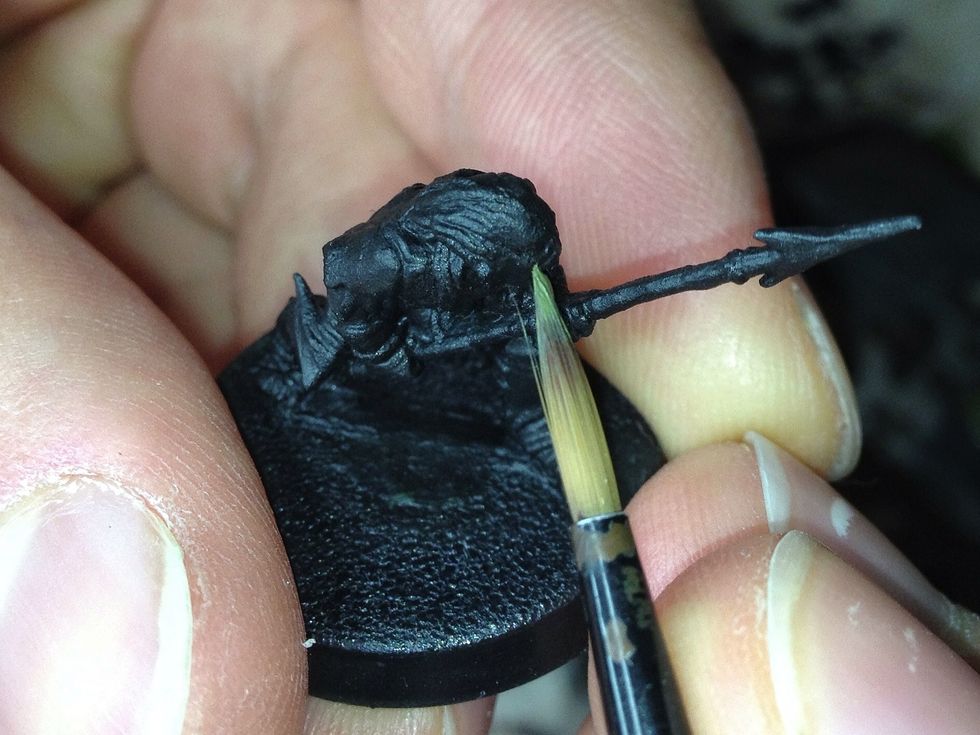
Paint the model with a black primer. I use a Behr premium plus ultra interior and exterior beluga black primer, although you could just use the one from the Citadel range.
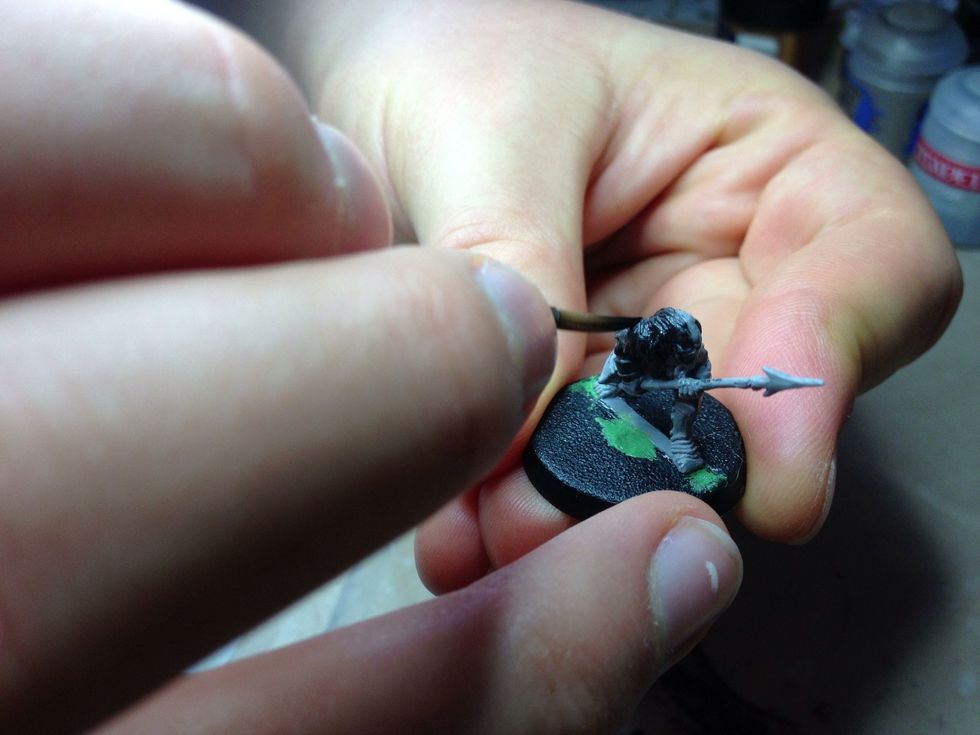
Apply several thin coats to the model until it is a solid black.
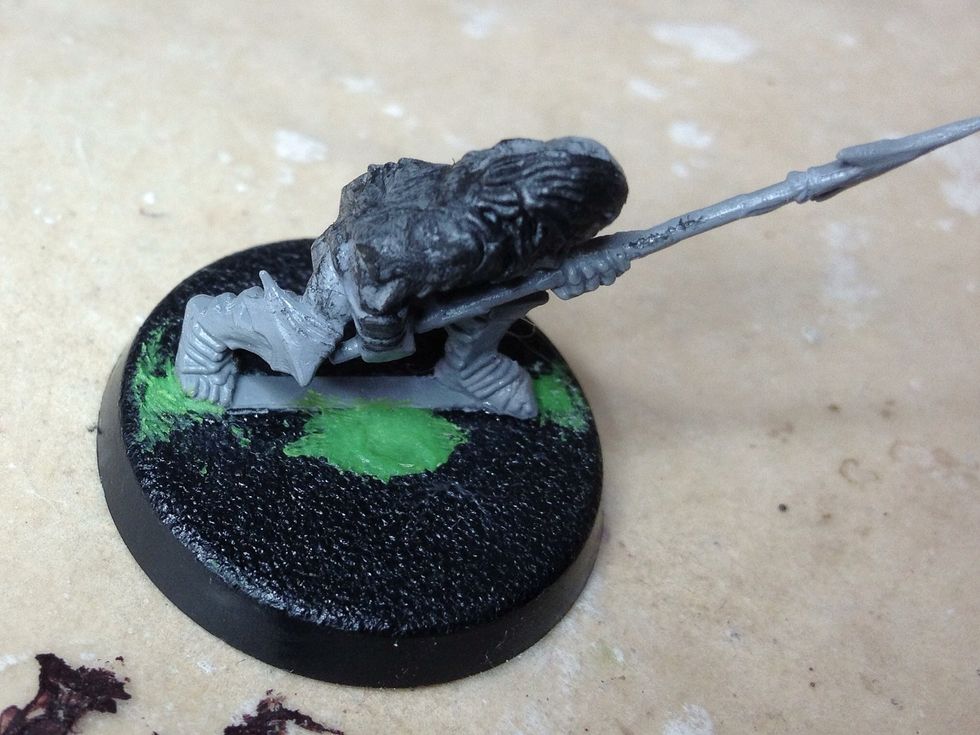
Keep working on priming the miniature until no grey remains. Make sure you don't give it too thick a coat or it might lessen the detail.

Once you've finished priming the model, leave it to dry. This should take at least 5 hours before you begin painting, and it's best to leave it overnight.
Once it's done, start painting the model. For tips on how to do this, please see my blog at http://lordoftheringsfigures.blogspot.ca/?m=1