The Conversation (0)
Sign Up
In order to make it easier for you to understand where to place your fingers, I will first tell you the note names of strings in case you didn't already know them.
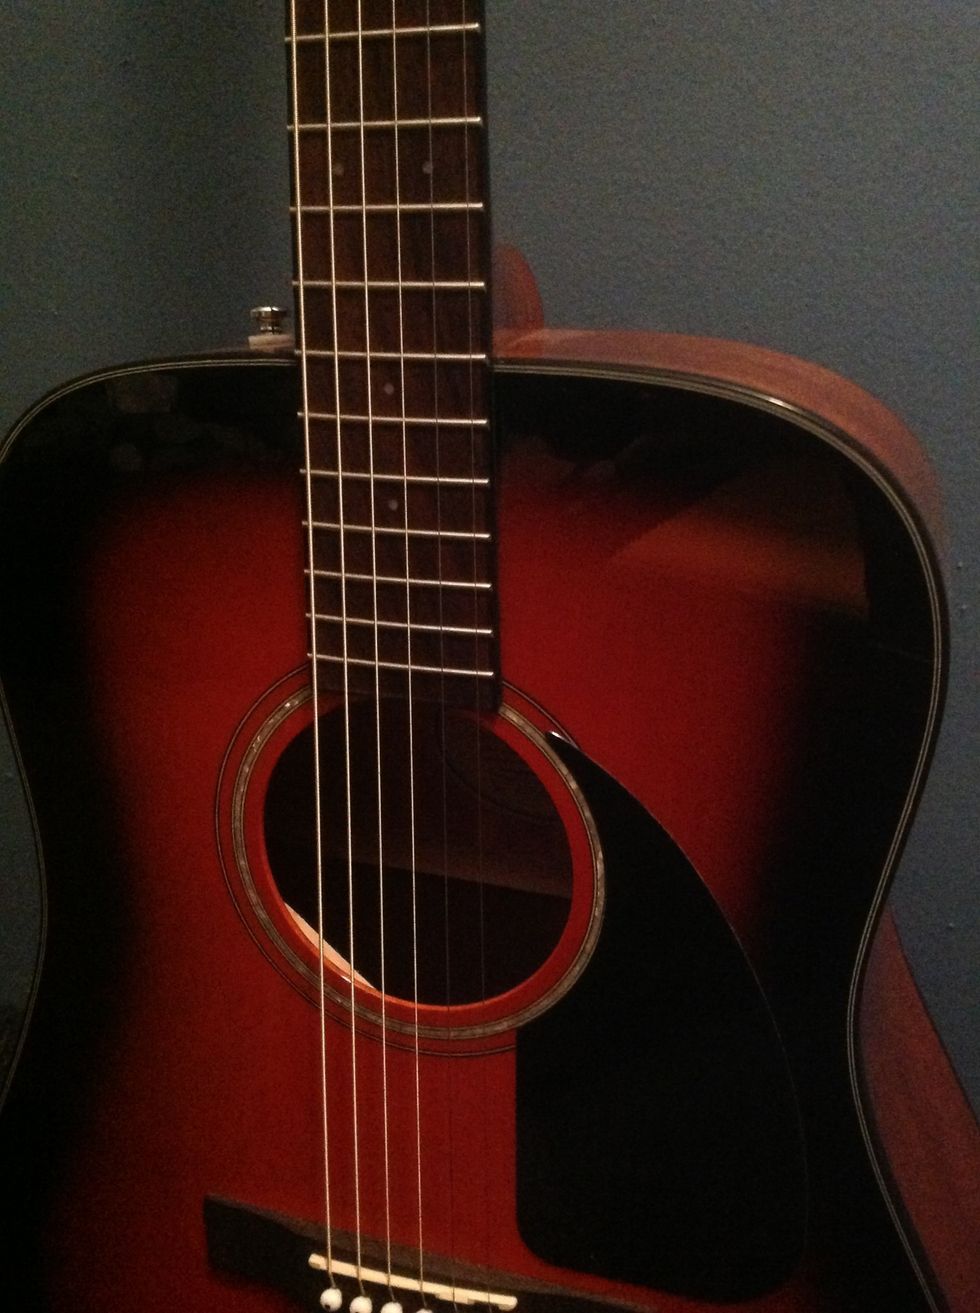
The lowest, top most, and thickest string is called E.
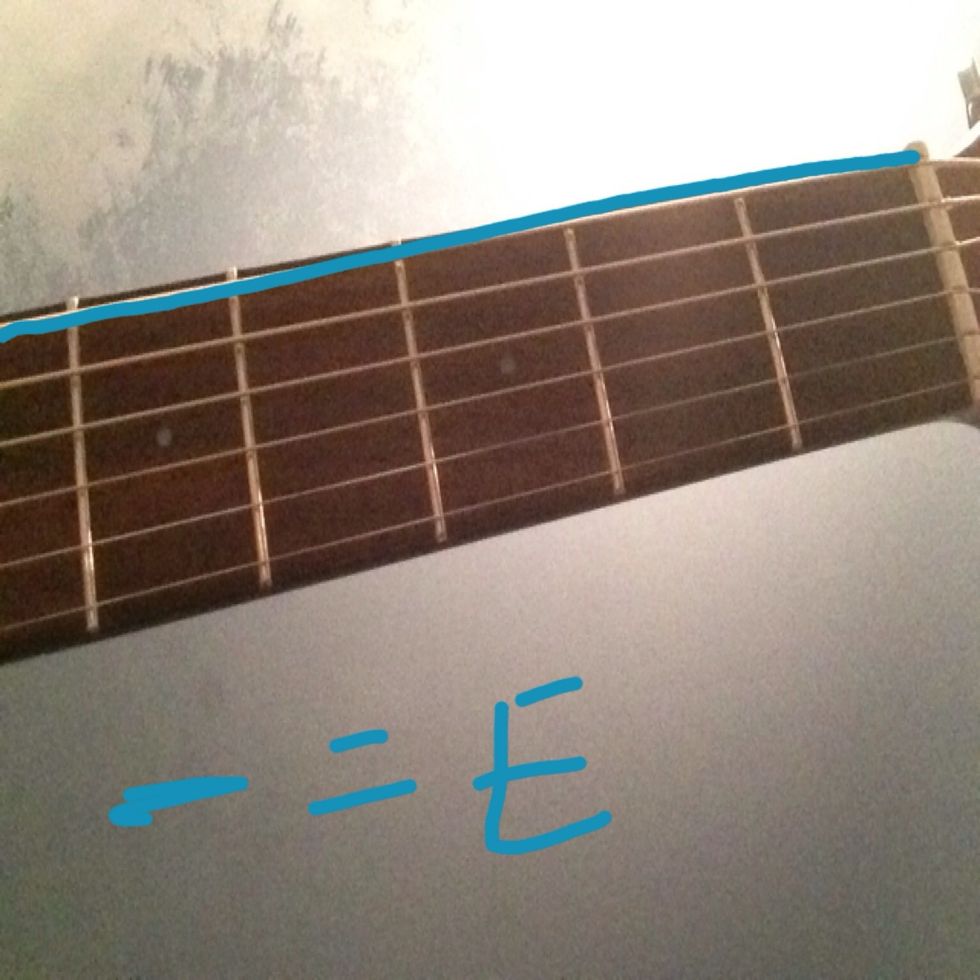
The second thickest and next string down is called A.
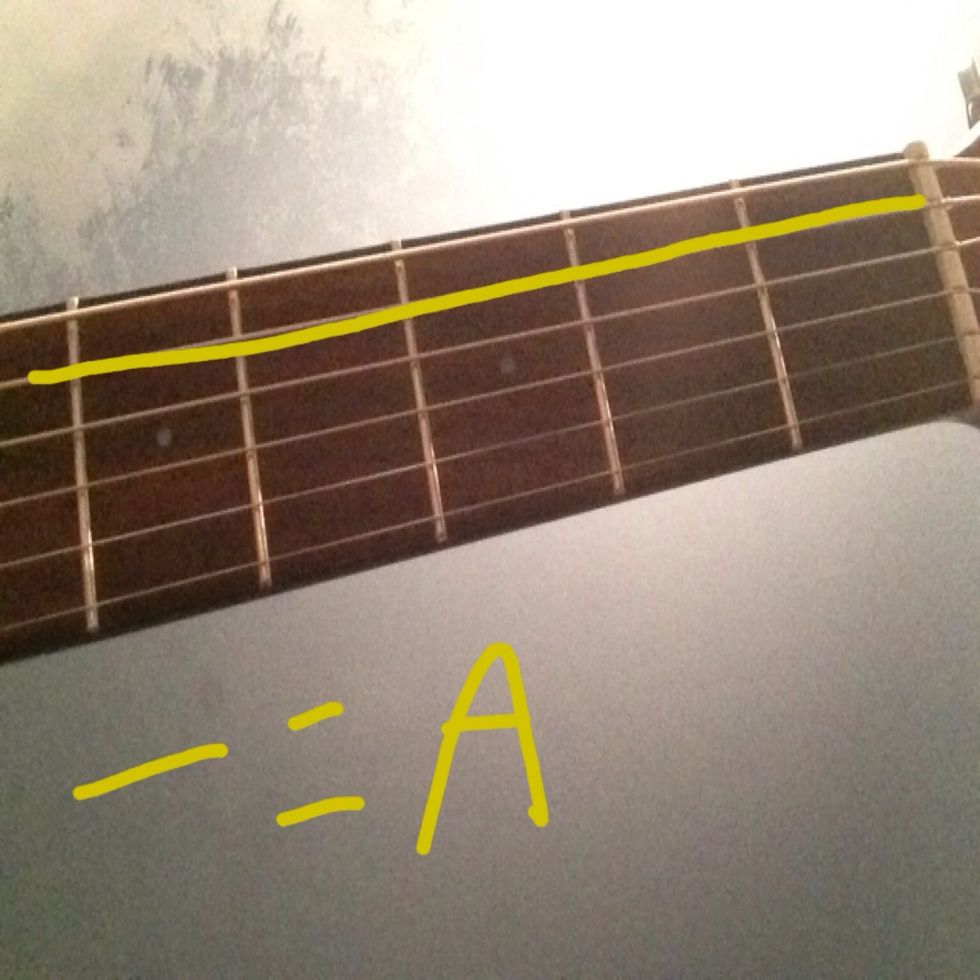
The third string down is called D.
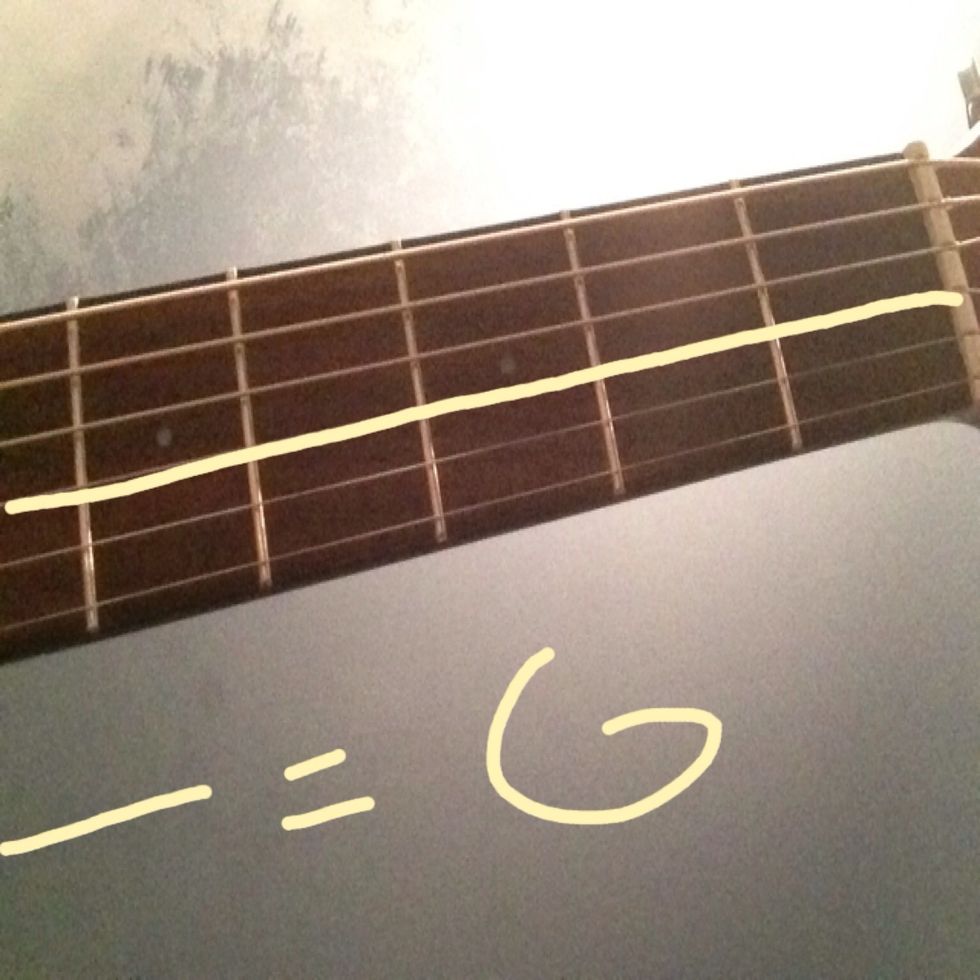
The fourth string down is called G.
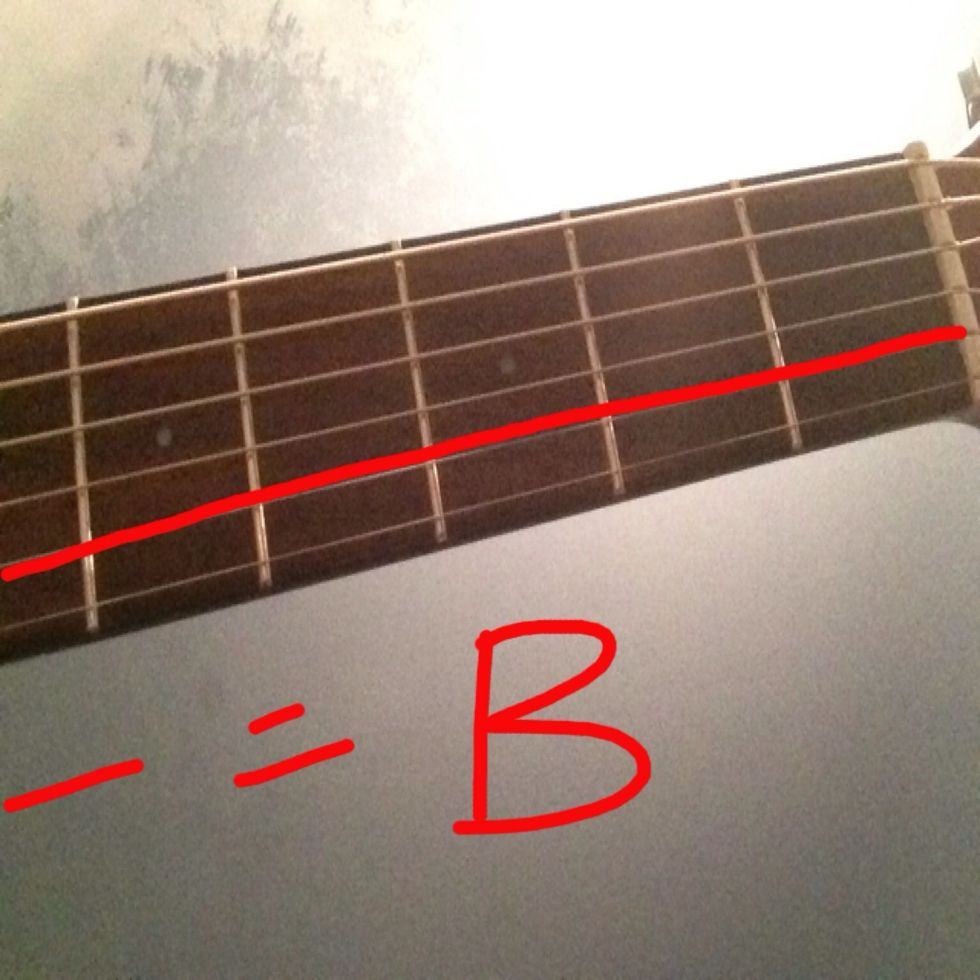
The second string from the BOTTOM UP is called B.
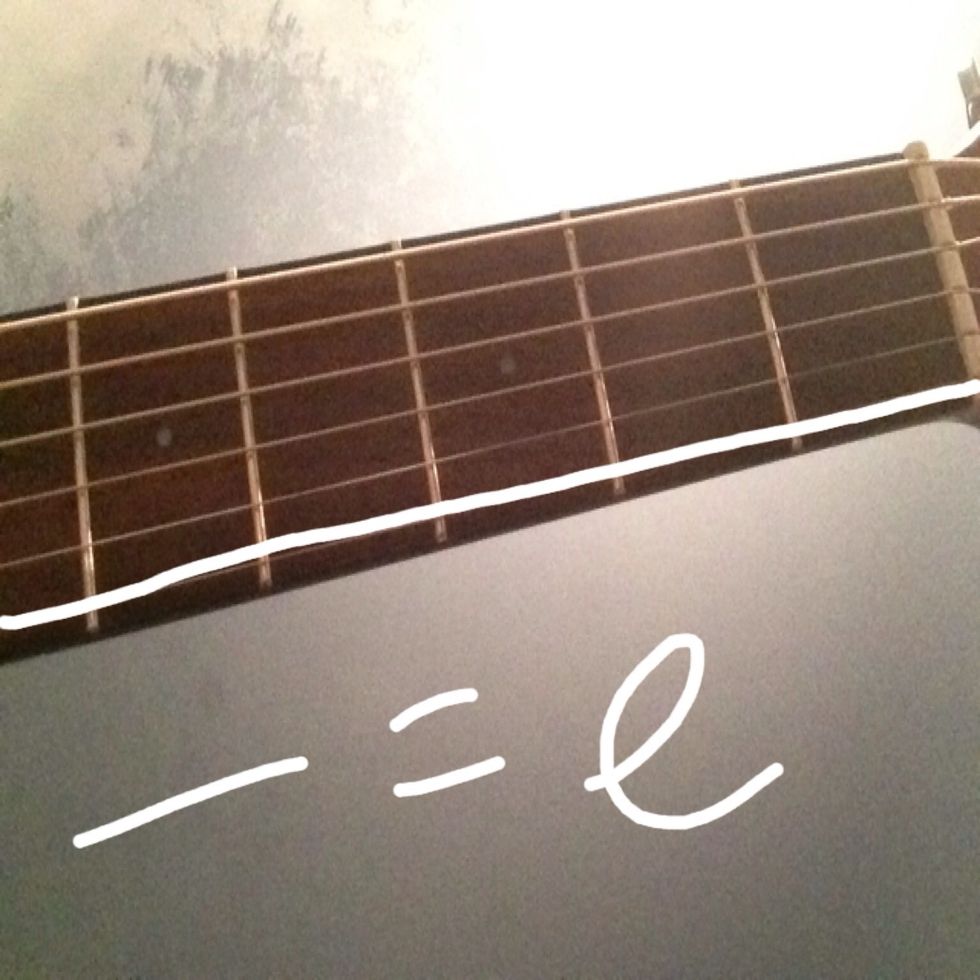
And the thinnest, highest, and bottom most string is called e. Please note that the lowest string is an upper case E and the highest string is a lower case e.
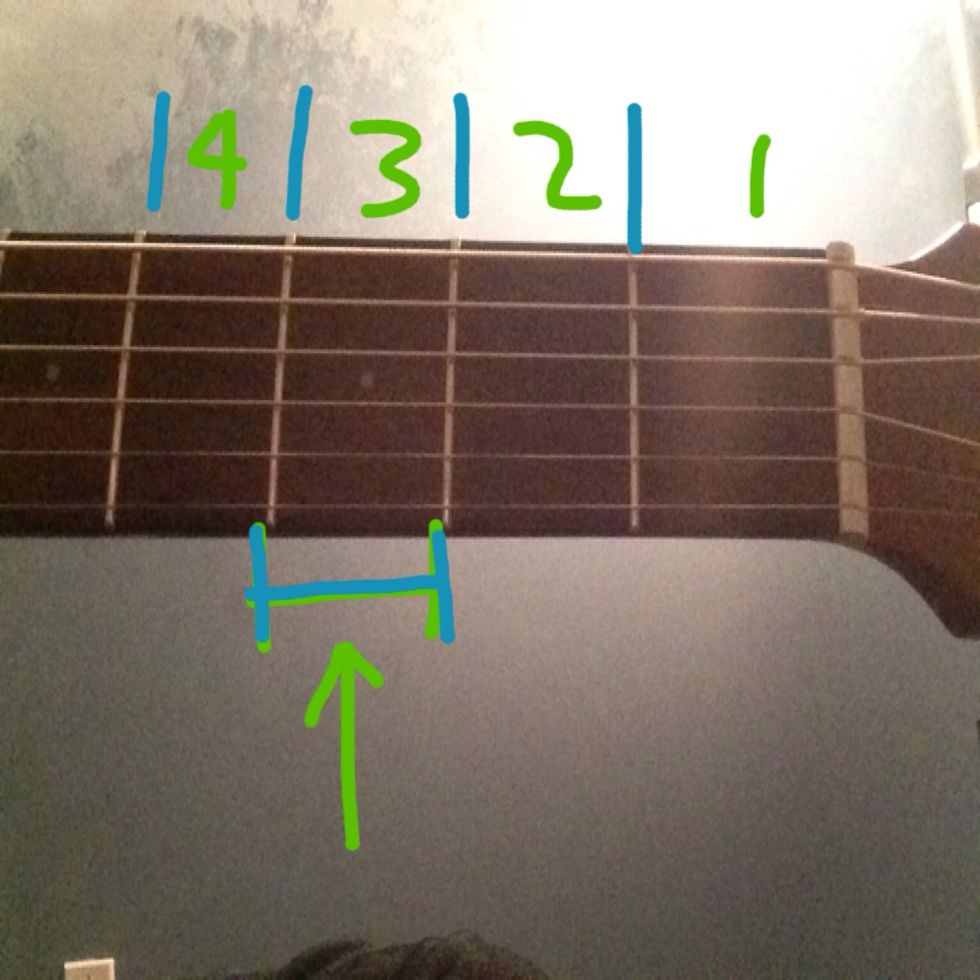
The spaces in-between the lines are called frets. The first fret is closest to the head where the tuning pegs are.
Before you start to play, make sure your guitar is tuned. You can download a free app on the app or play store if you want an automatic tuner.
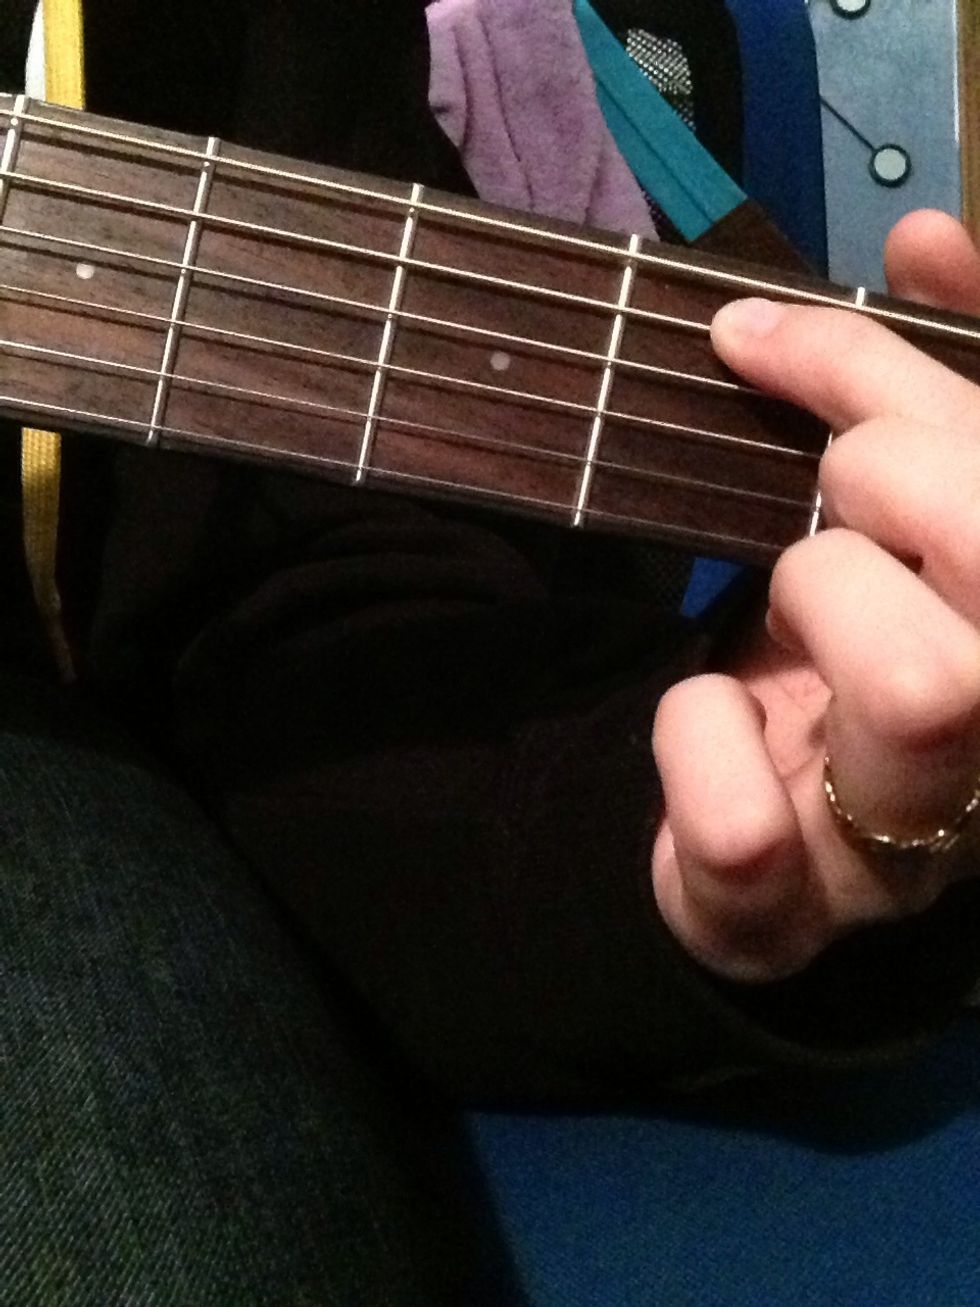
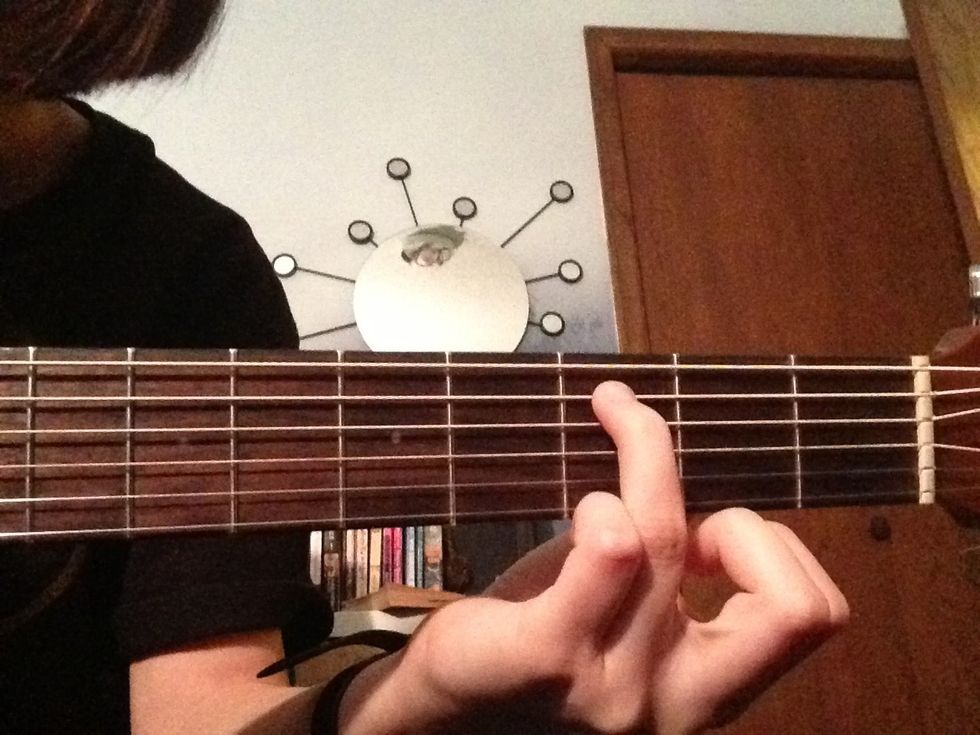
To play the Em* chord, you need to place your pointer finger on the A string. Make sure it is on the second fret. *minor
Then place your middle finger on the D string. This finger should be on the second fret too.
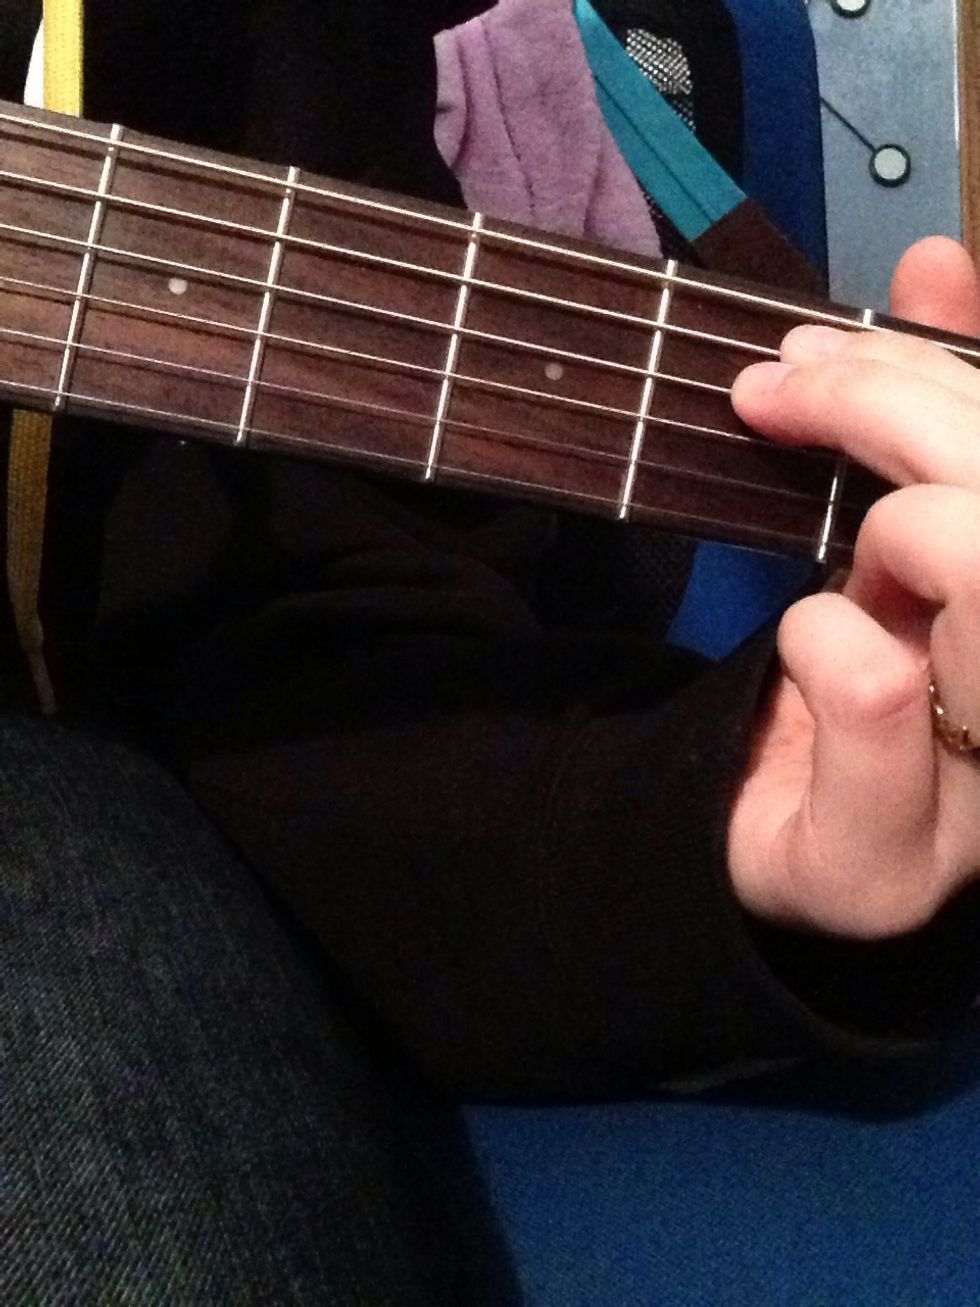
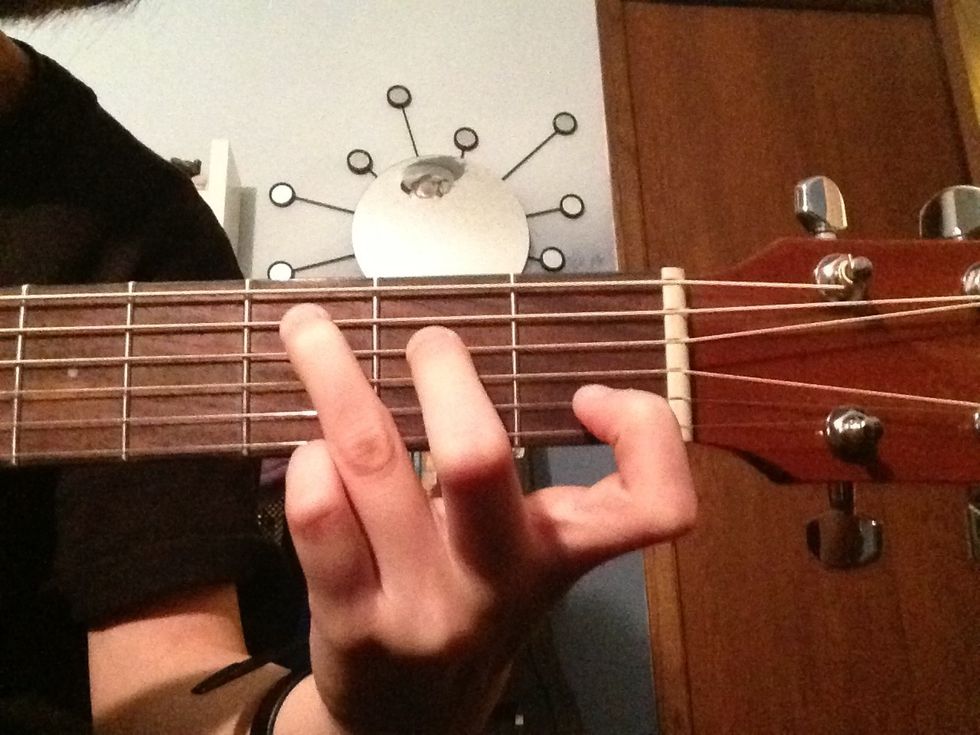
To play the chord G, place your middle finger on the third fret of the E string.
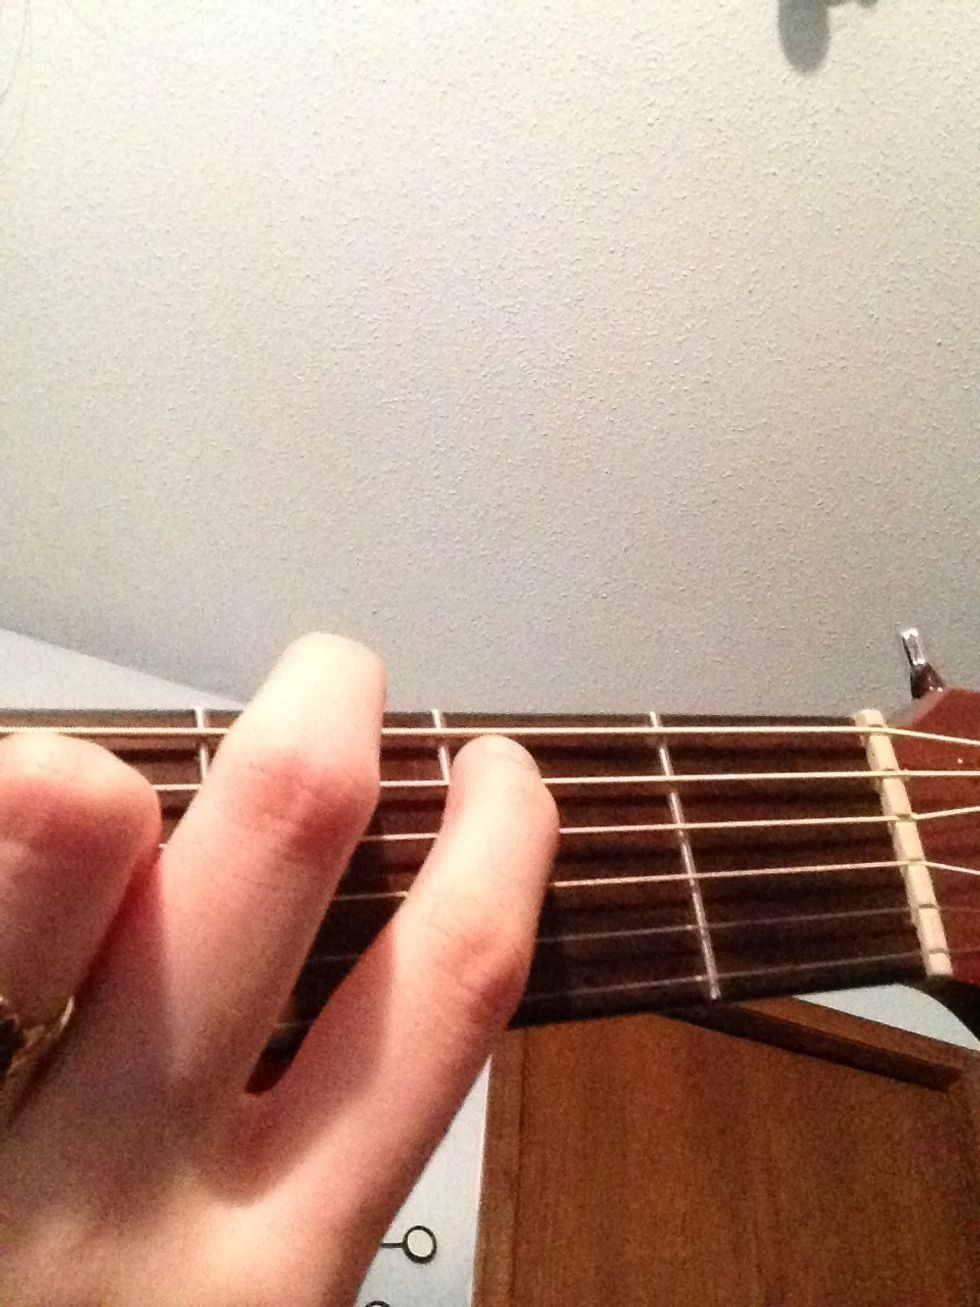
Next, place your pointer finger on the second fret of the A string.
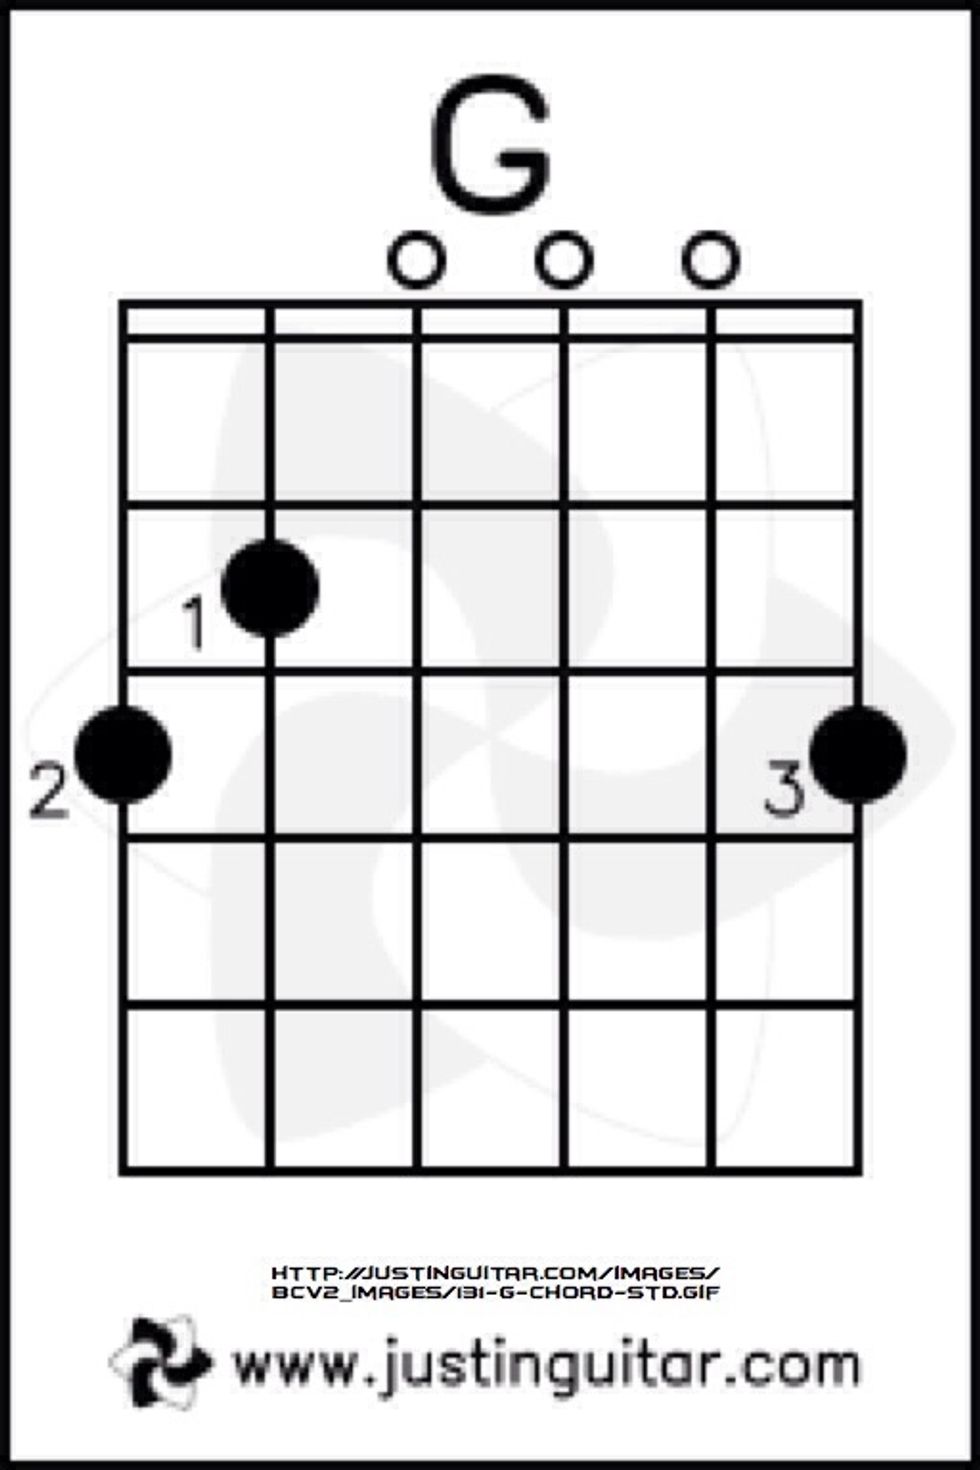
Then place your ring finger on the third fret of the highest string e. Your finger pattern should look like this.
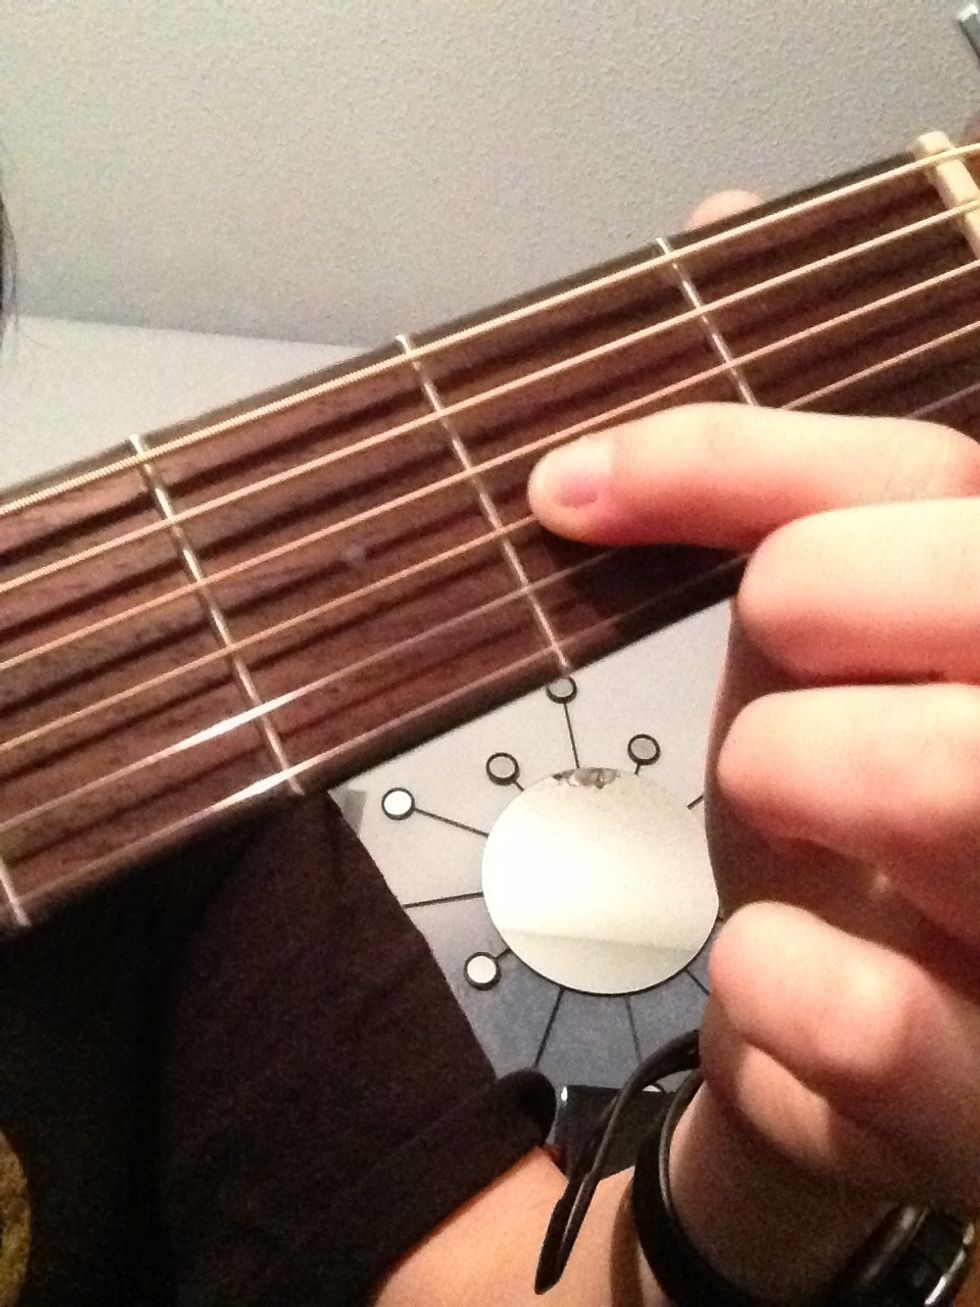
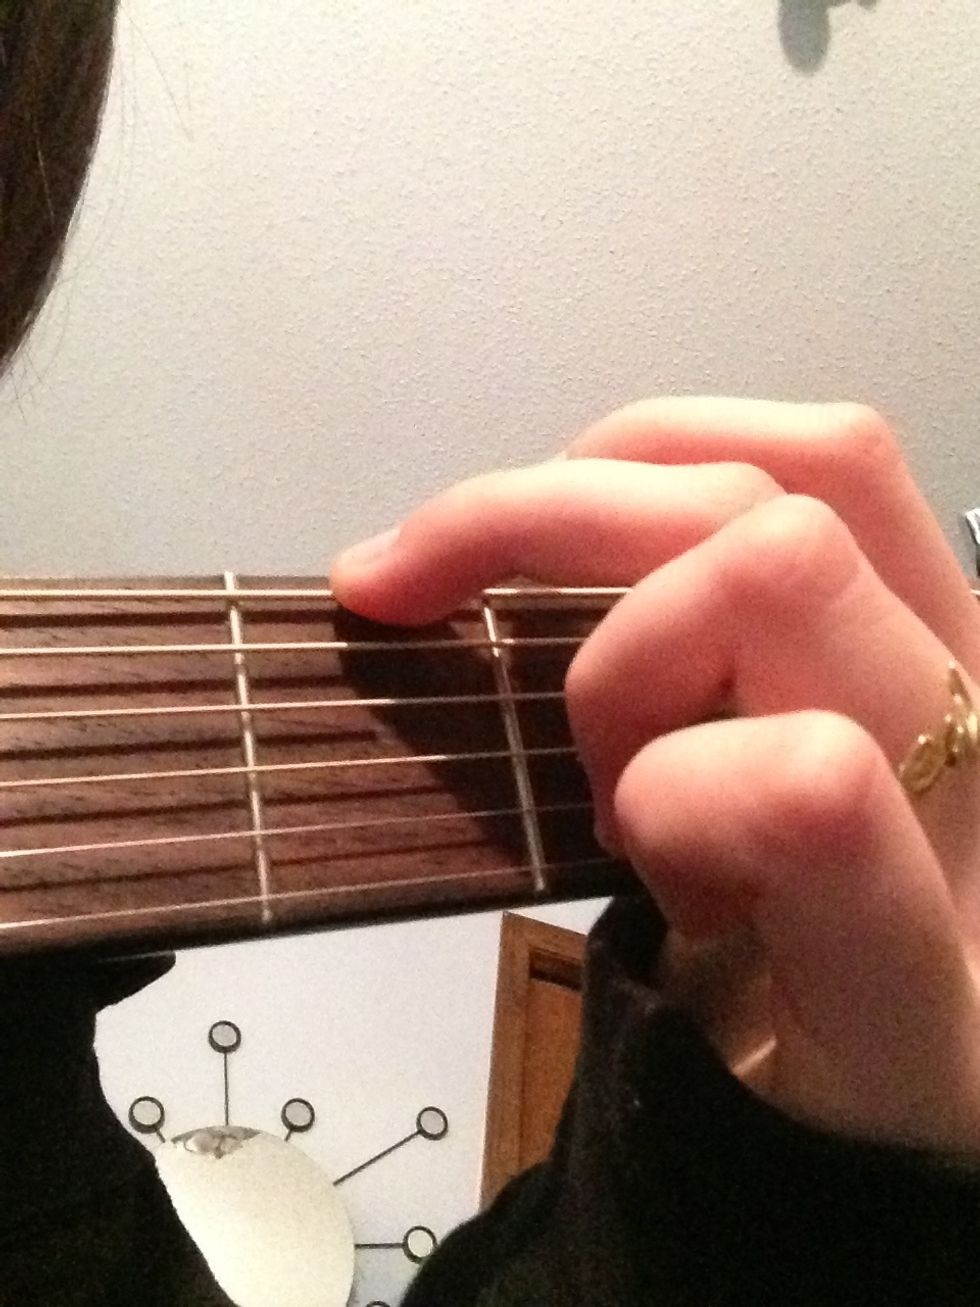
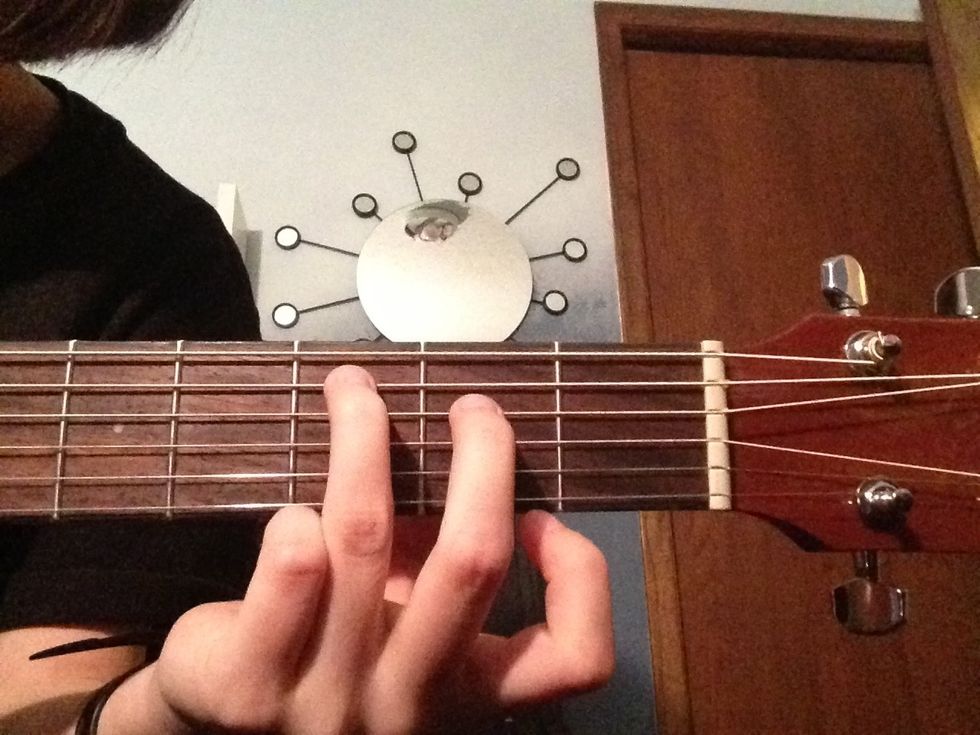
To play the chord D, place your pointer finger on the second fret of the G string.

Then place your ring finger on the third fret of the B string.
Now place your middle finger on the second fret of the e string. Make sure that when you strum, you only strum the bottom four strings. Don't strum E and A.
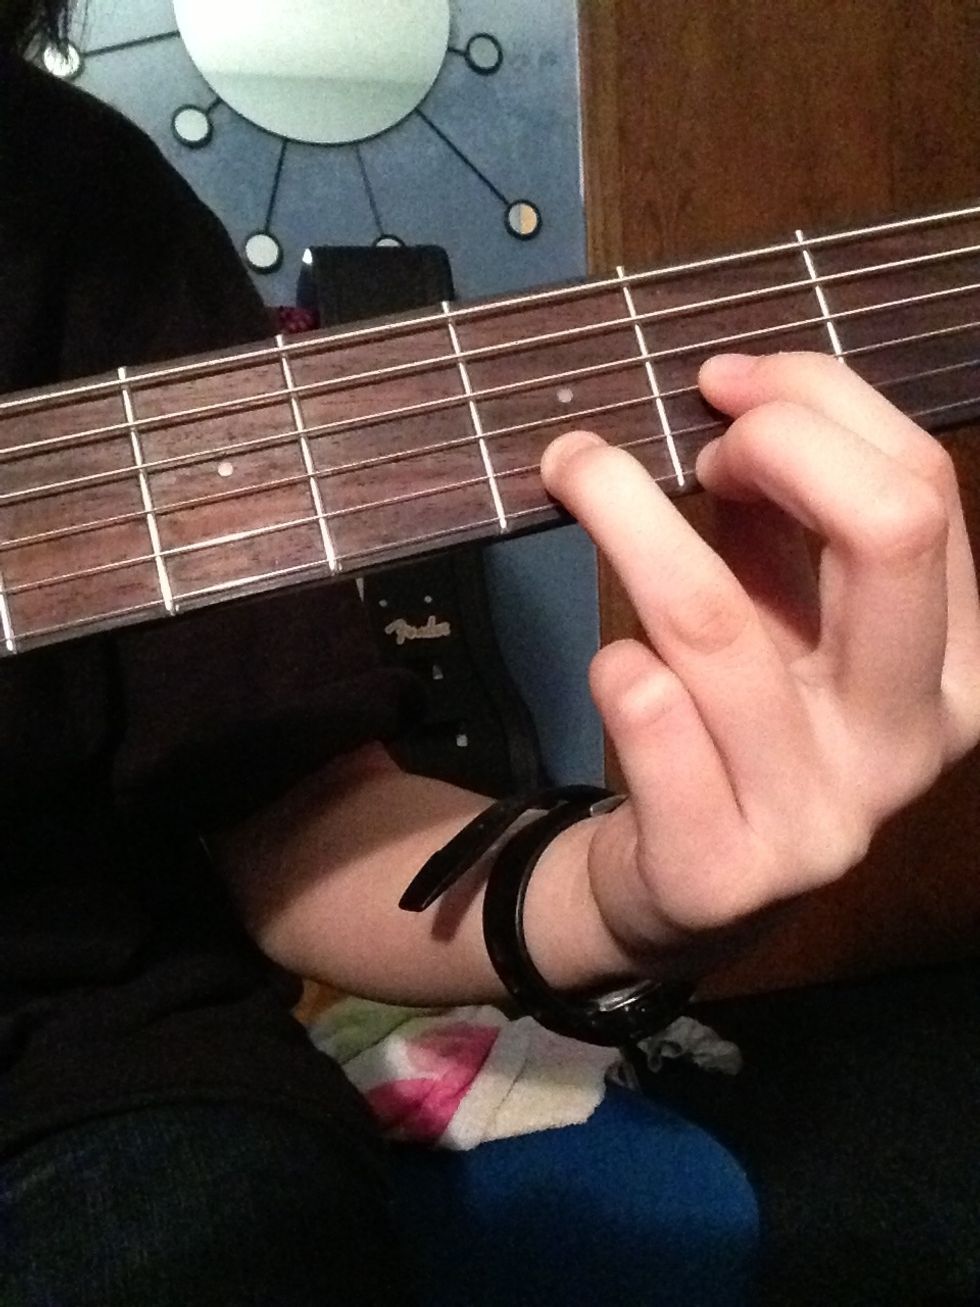
To play the C chord, you place your ring finger on the third fret of the A string.
Then you place your middle finger on the second fret of the D string. Be careful. This chord stretches your fingers a bit if you aren't used to it.
Lastly, you place your pointer finger on the first fret of the B string. Make sure when you strum, you don't strum E.
Now that you have learned the chords Em, G, D, and C, try to switch from each chord smoothly after you've gotten the hang of it. Then create your own little tune.