The Conversation (0)
Sign Up
Before we learn any chords, let's get to learn what each string is called.
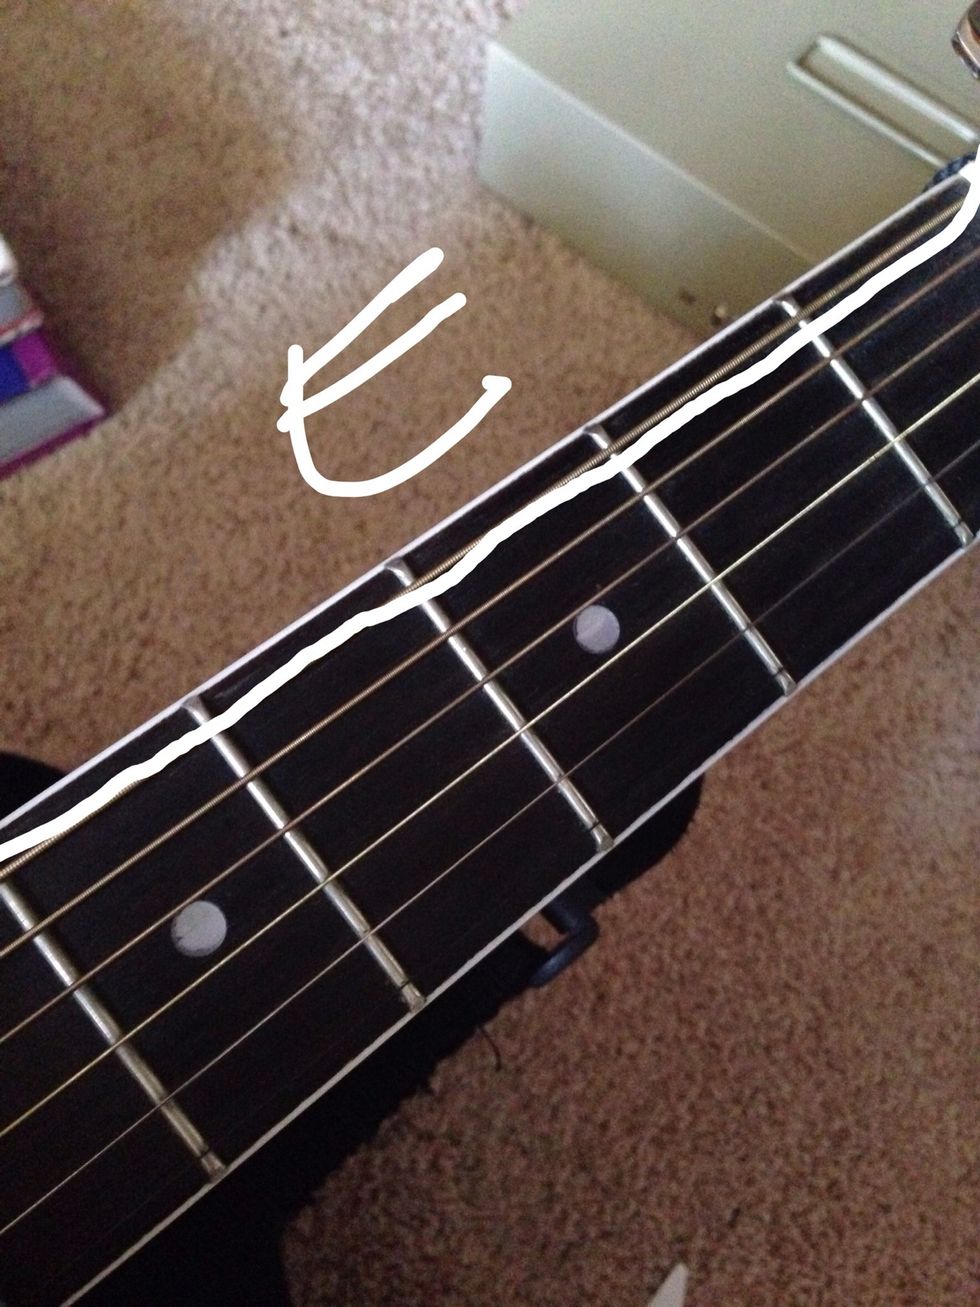
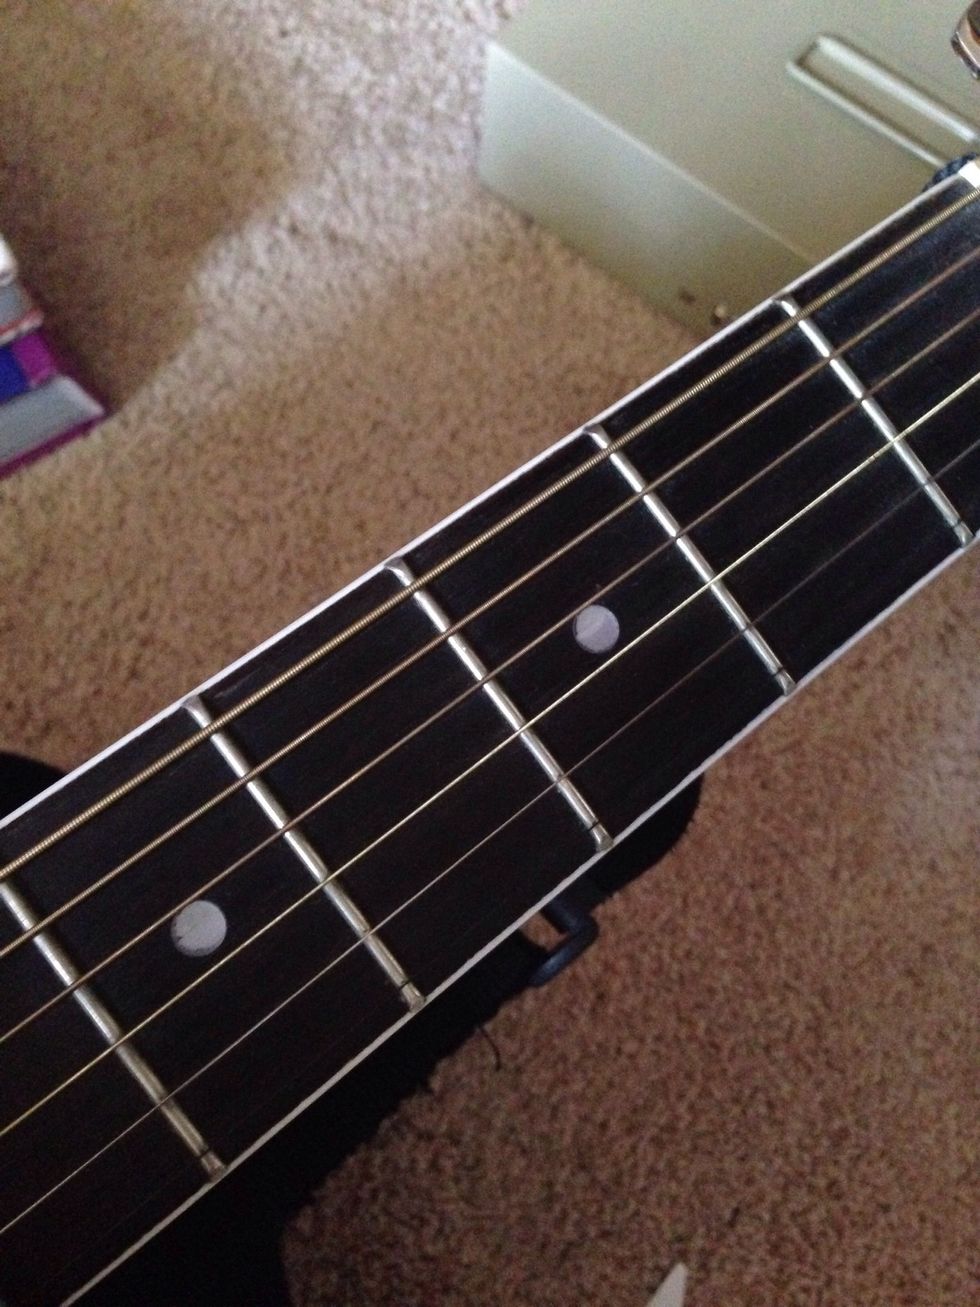
This thick string is the last string (6th string). It's labeled as low E.

This next string is the 5th string. It's labeled as A.
This next string is the 4th string. It's labeled as D.
This is the 3rd string. It's labeled as G.
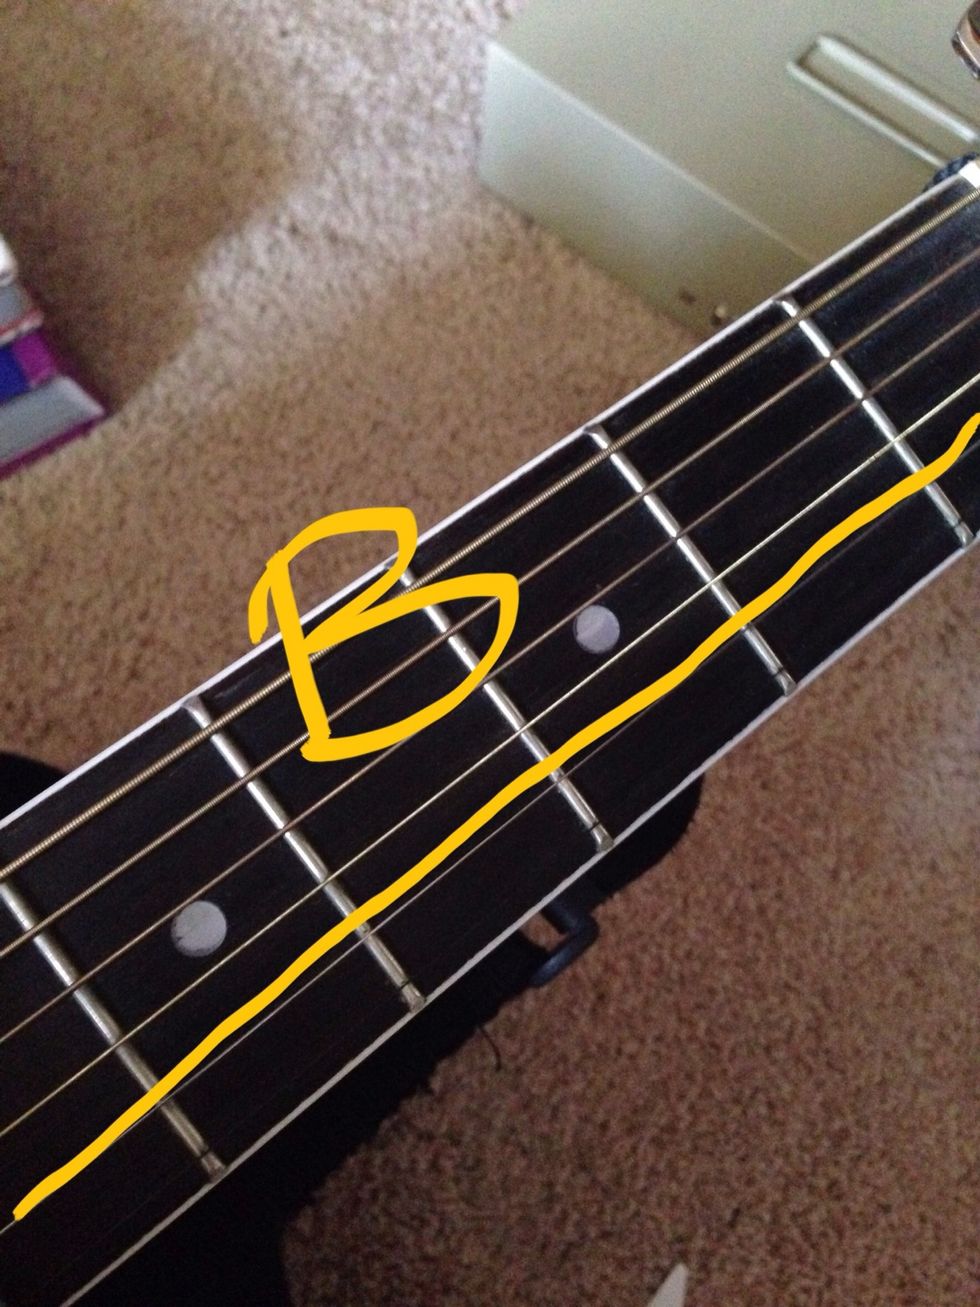
This is the 2nd string. It's labeled as B.
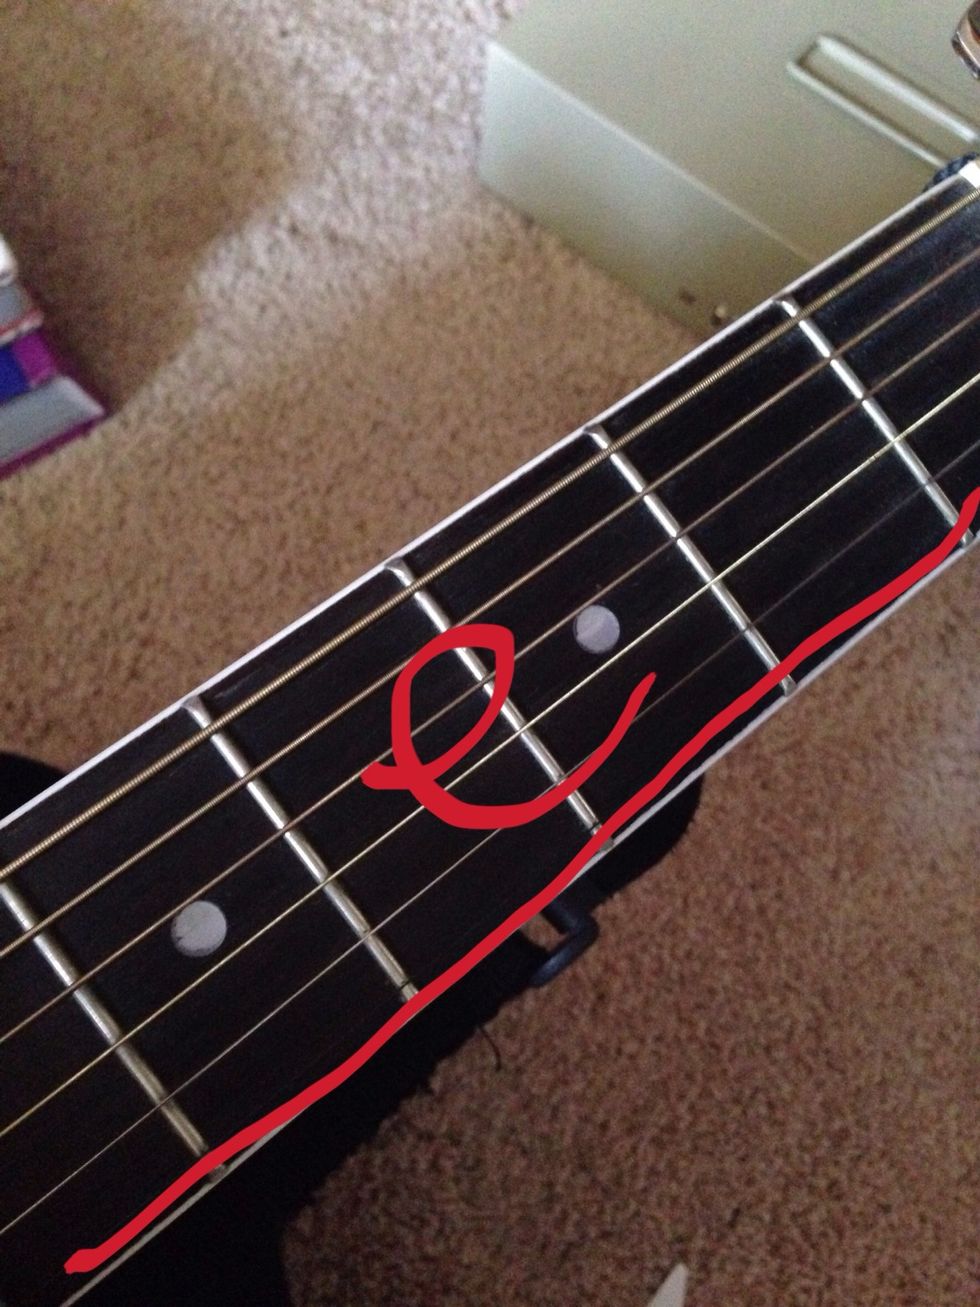
This is the 1st string. It's labeled as high e.
A way to remember the notes is "Every Adult Dog Growls, Barks, Eats."
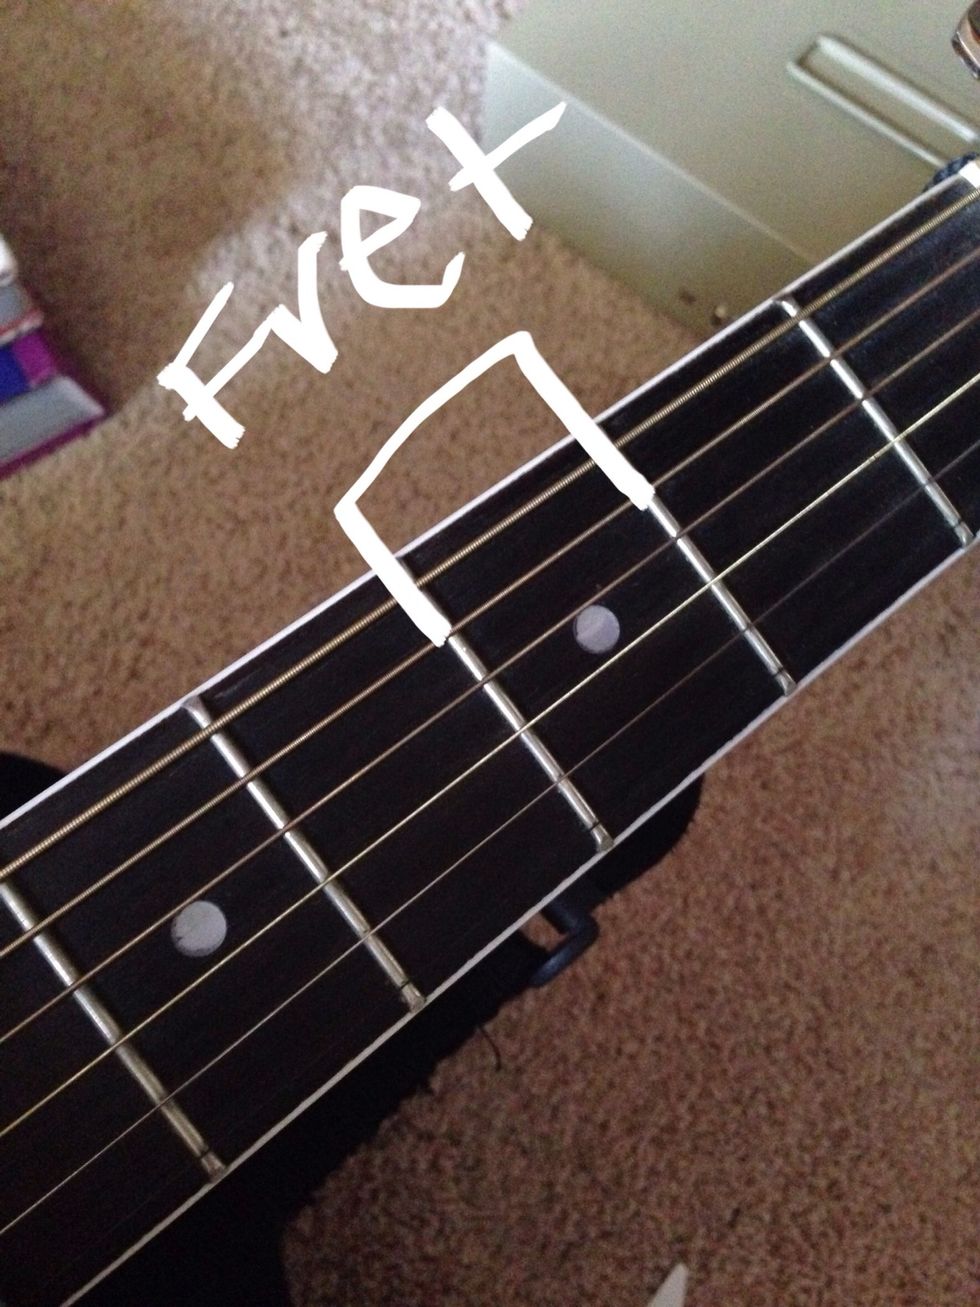
The spaces in between the bars are called frets.
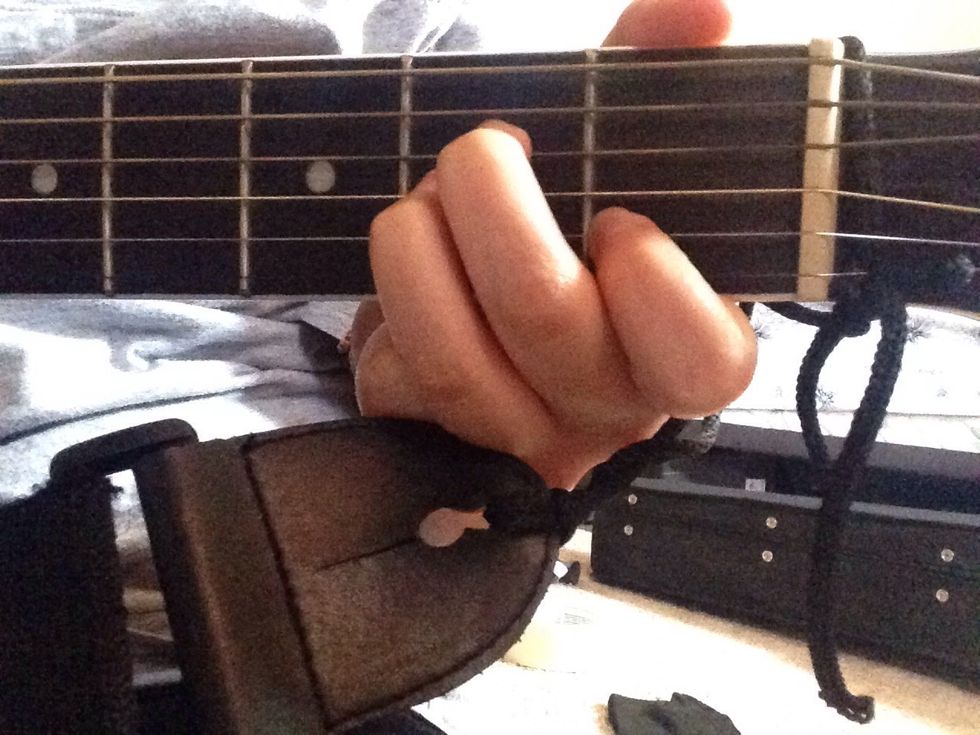
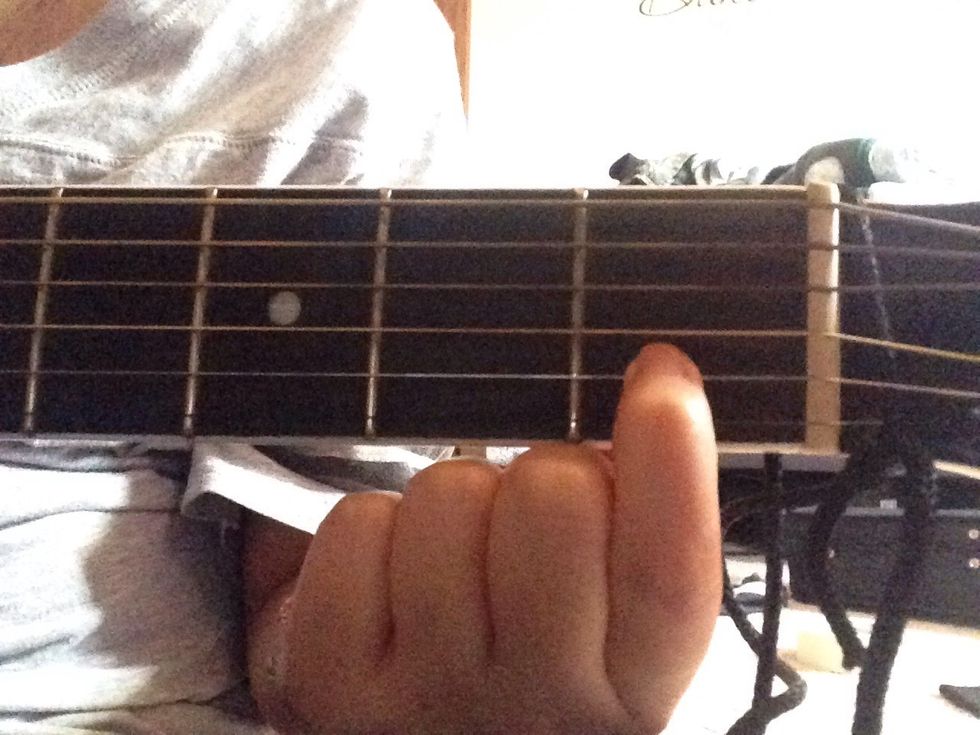
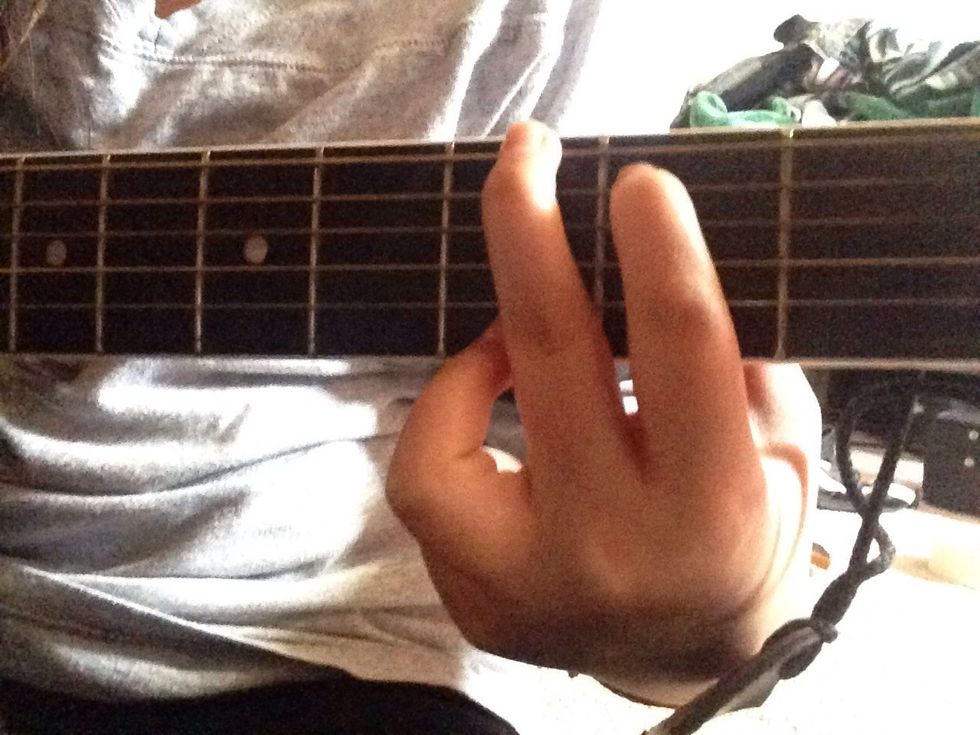
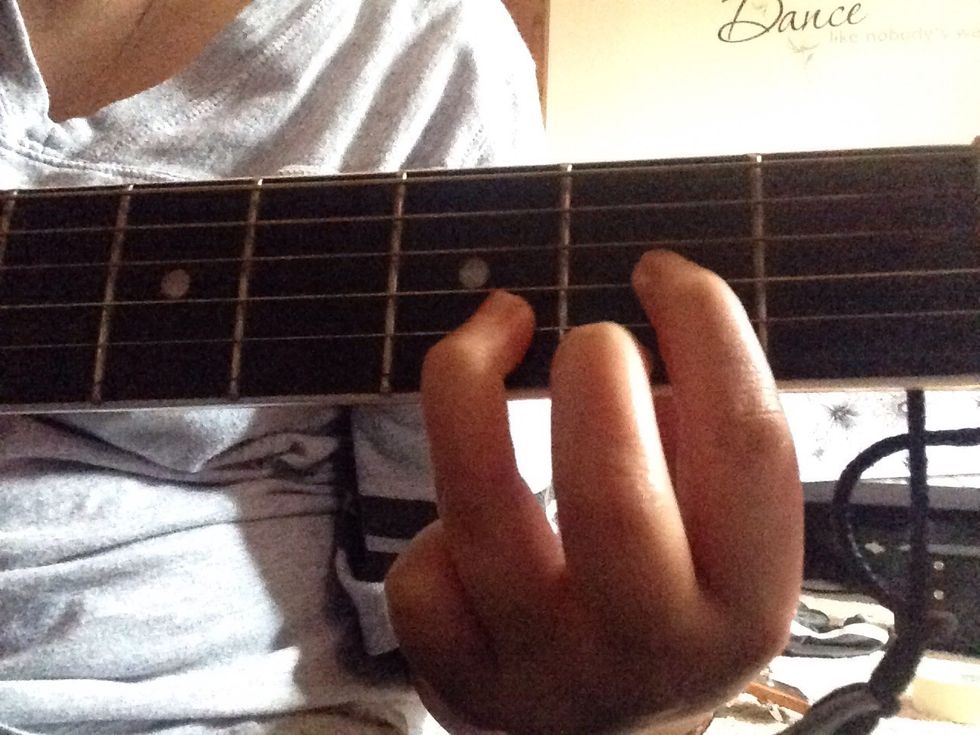
This is the first chord in the song. It's labeled as Am, or A-minor. All it takes is 3 fingers to play the chord!
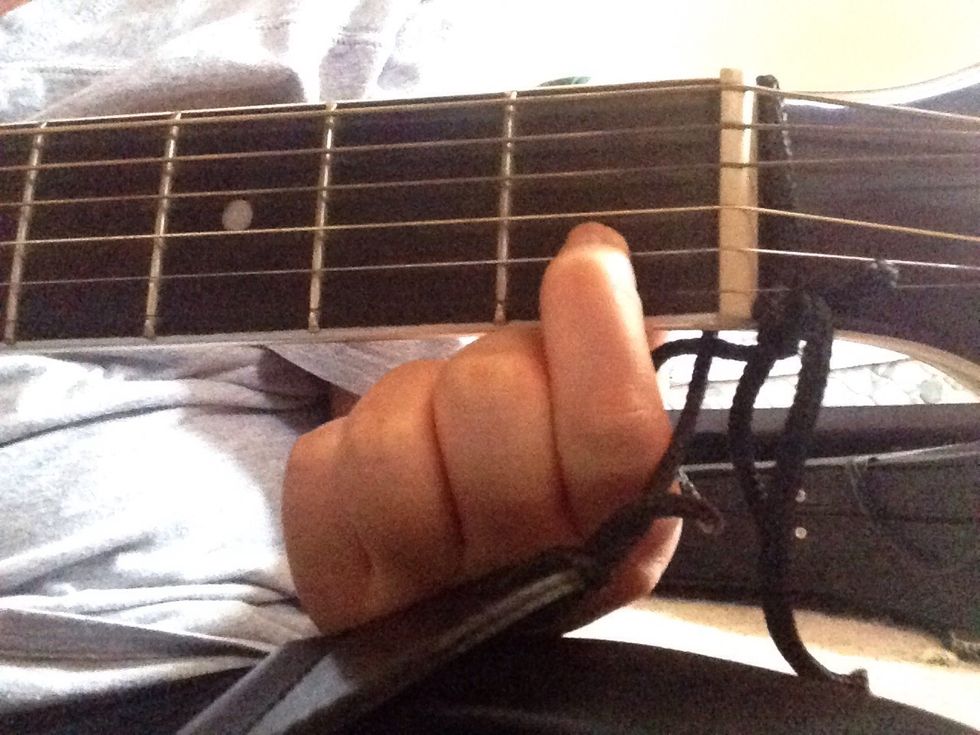
Place your pointer finger on the B string in the first fret.
Place your middle finger on the D string in the second fret.
Lastly, place your ring finger on the G string in the second fret.
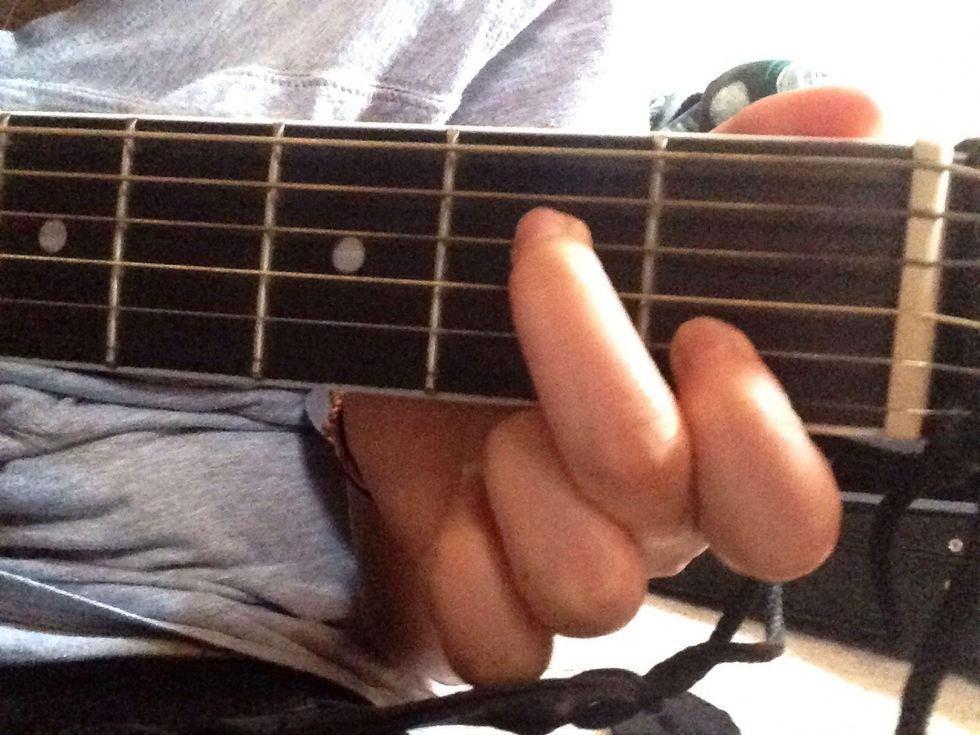
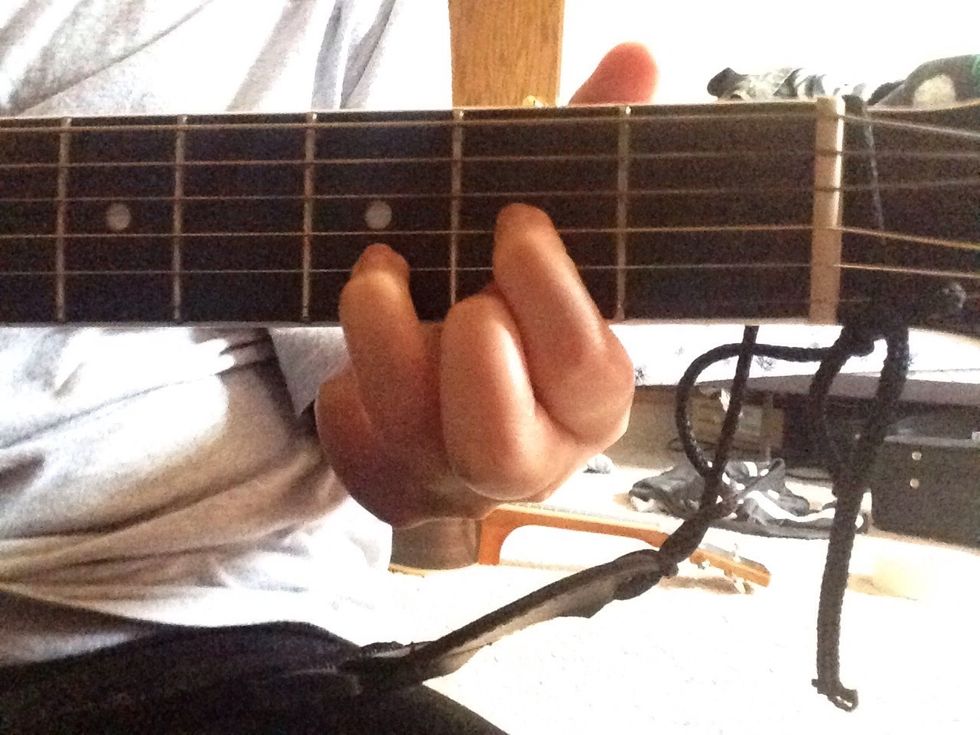
The next chord is labeled as C. It also takes three fingers to play the chord.
Place your pointer finger on the B string in the first fret.
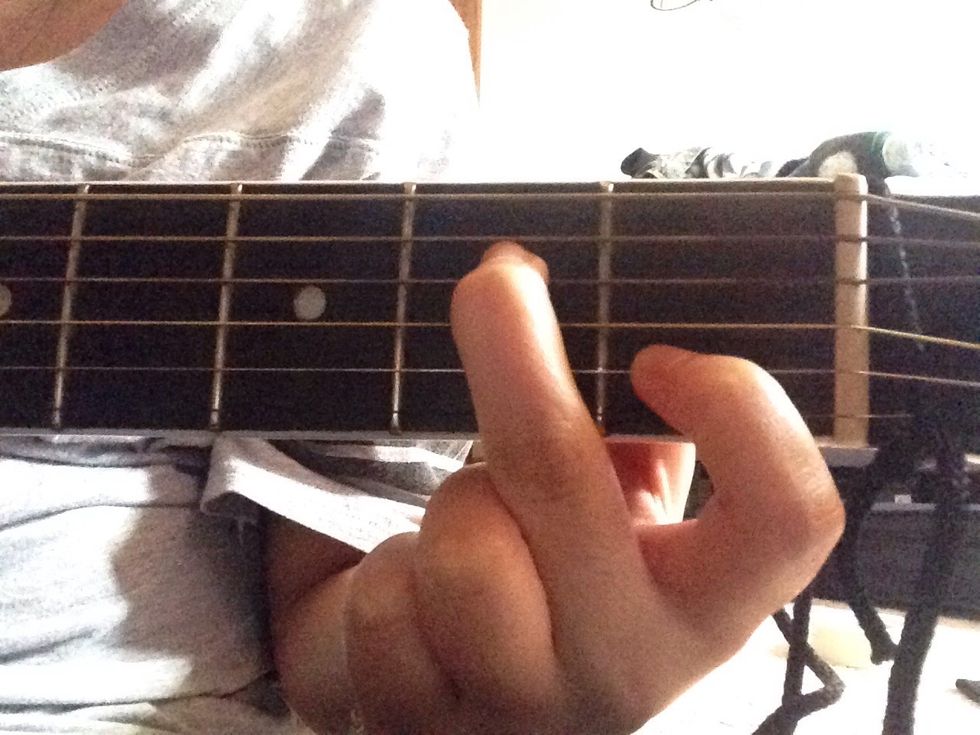
Next, place your middle finger on the D string in the second fret.
Lastly, place your ring finger on the A string on the third fret.

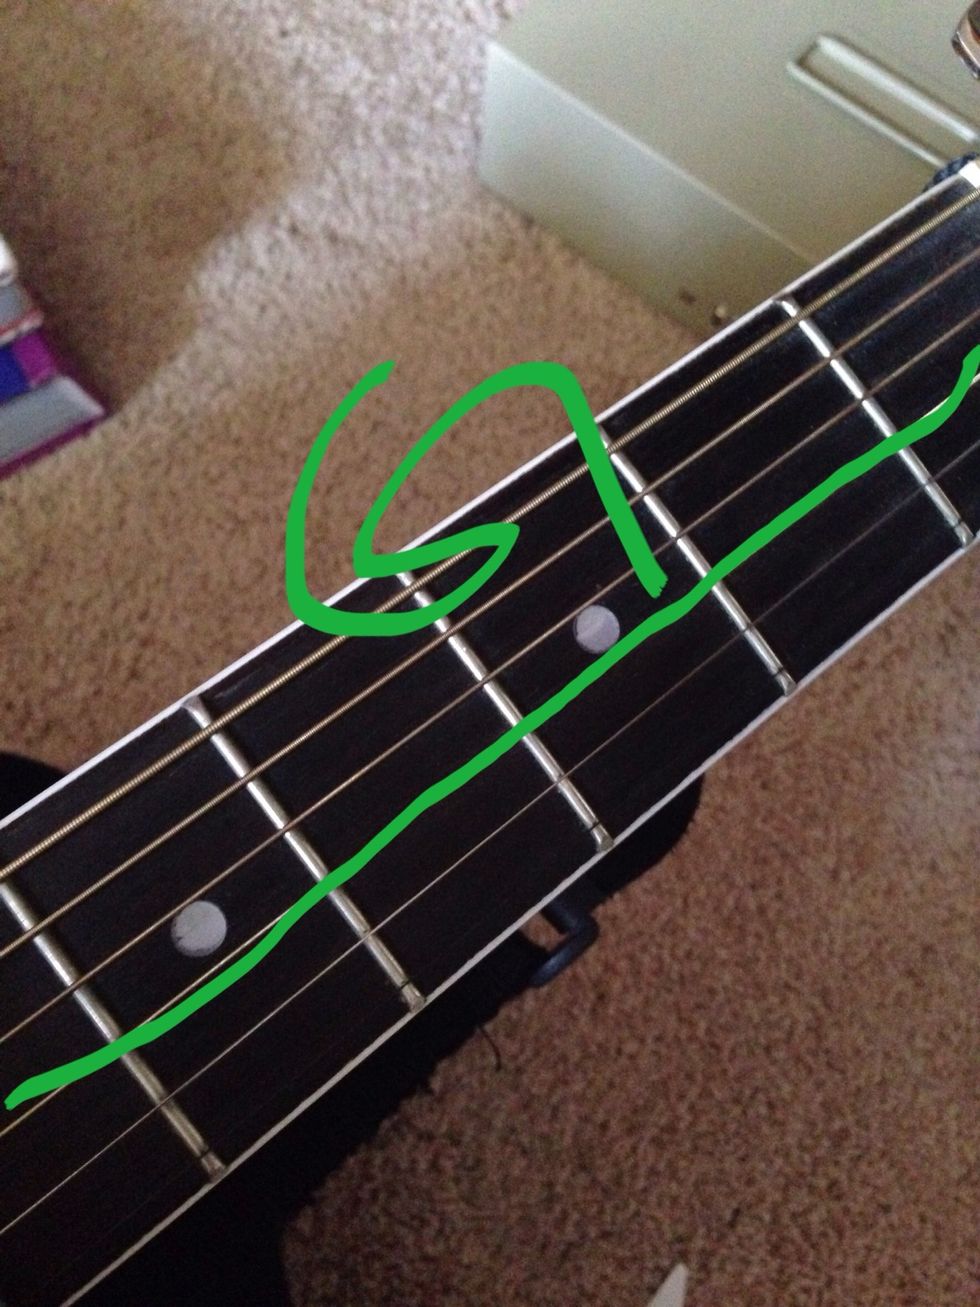
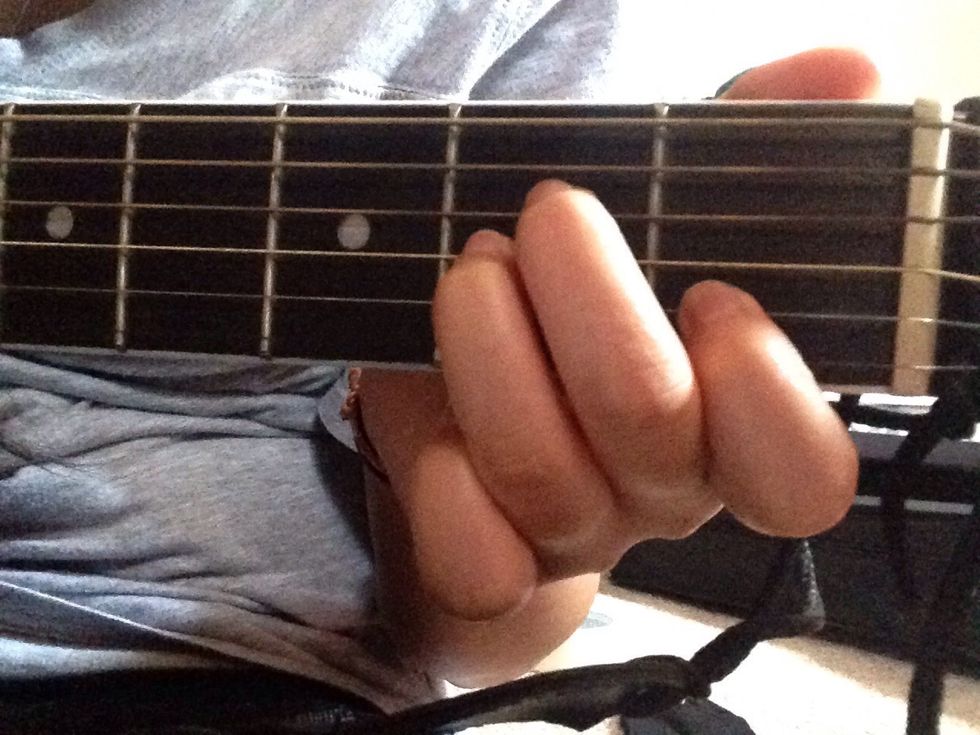
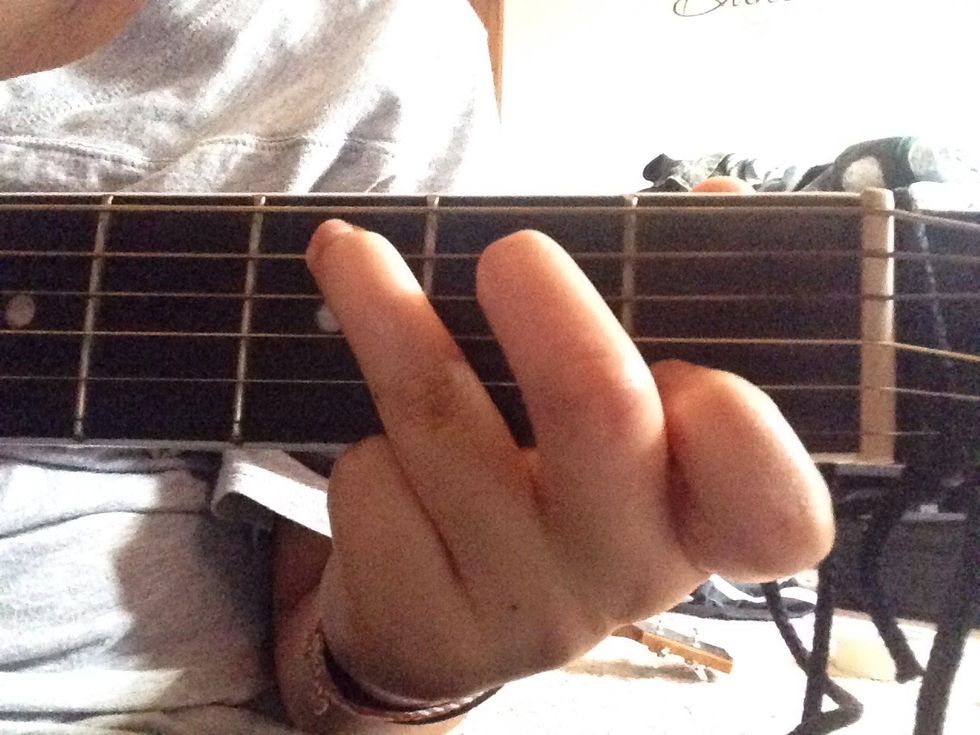
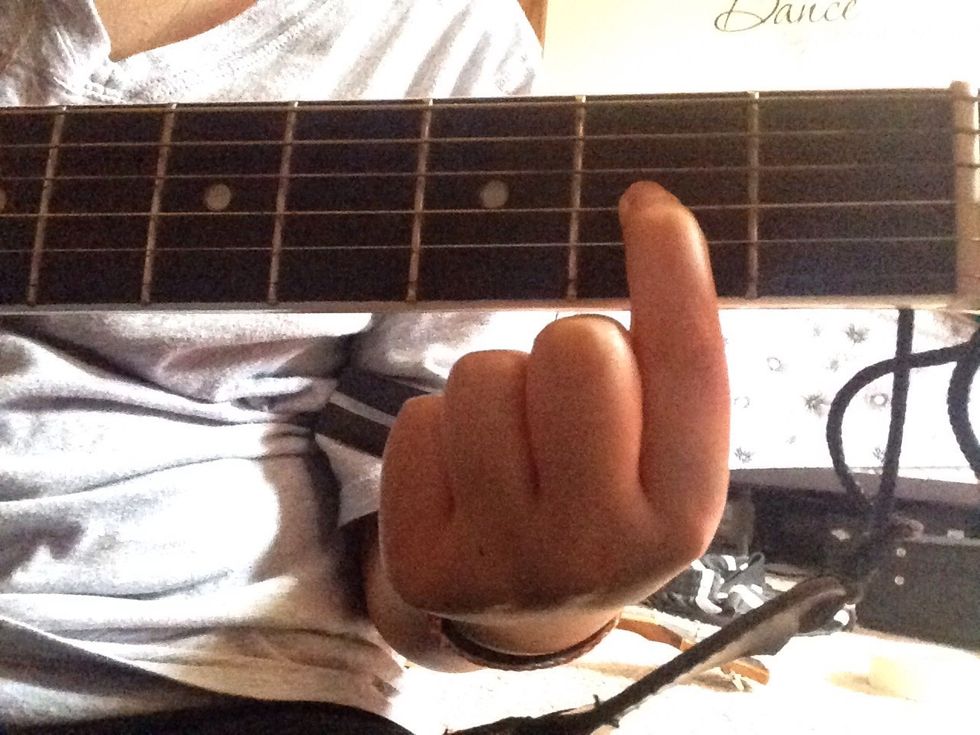
Next is the chord labeled as G.

Start off with your ring finger on the high e string in the third fret.
Next, place your pointer finger on the A string in the second fret.
Lastly, place your middle finger on the low E string in the third fret.
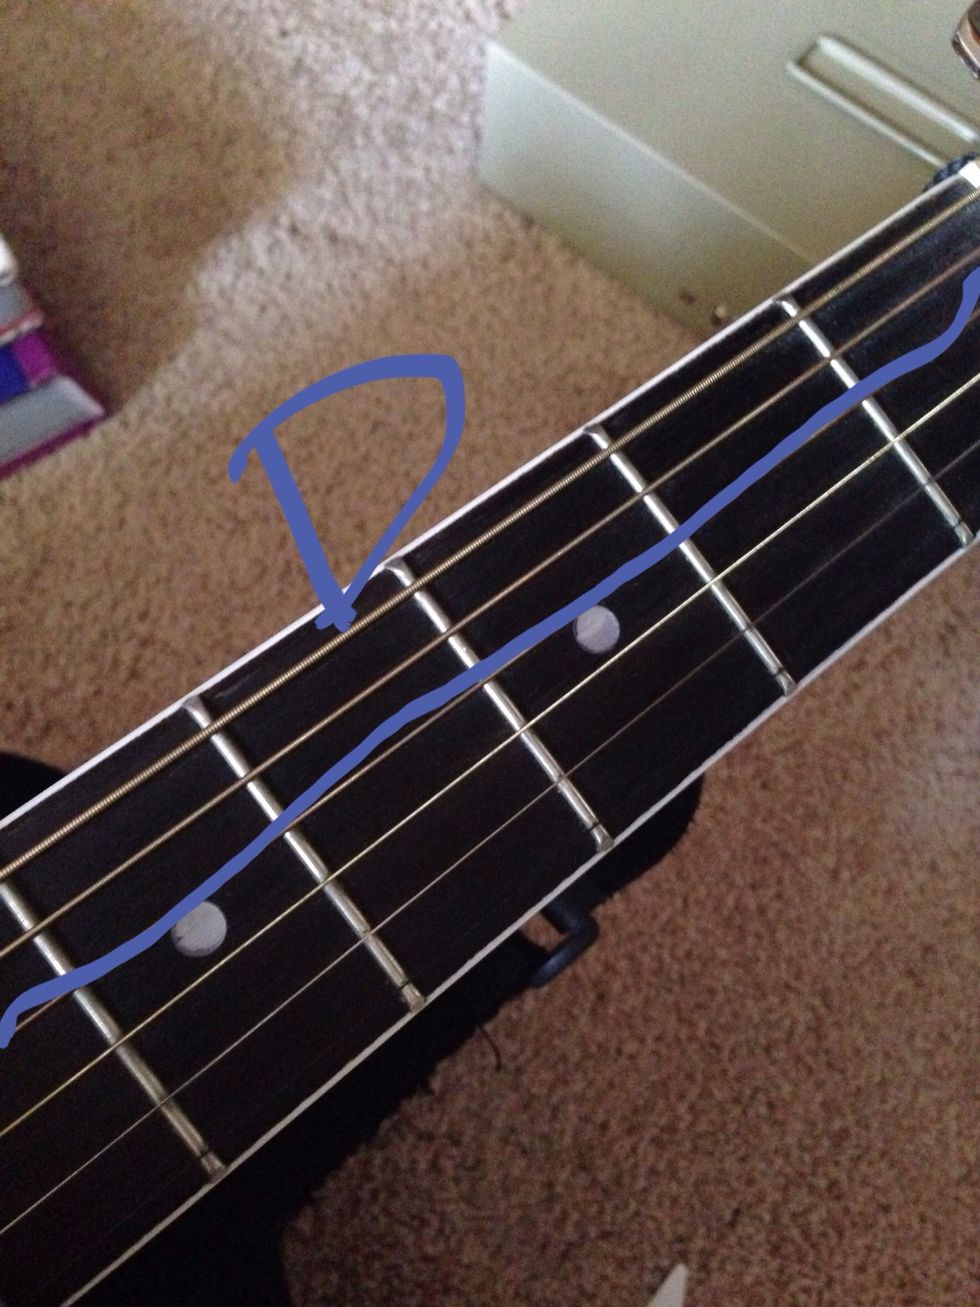
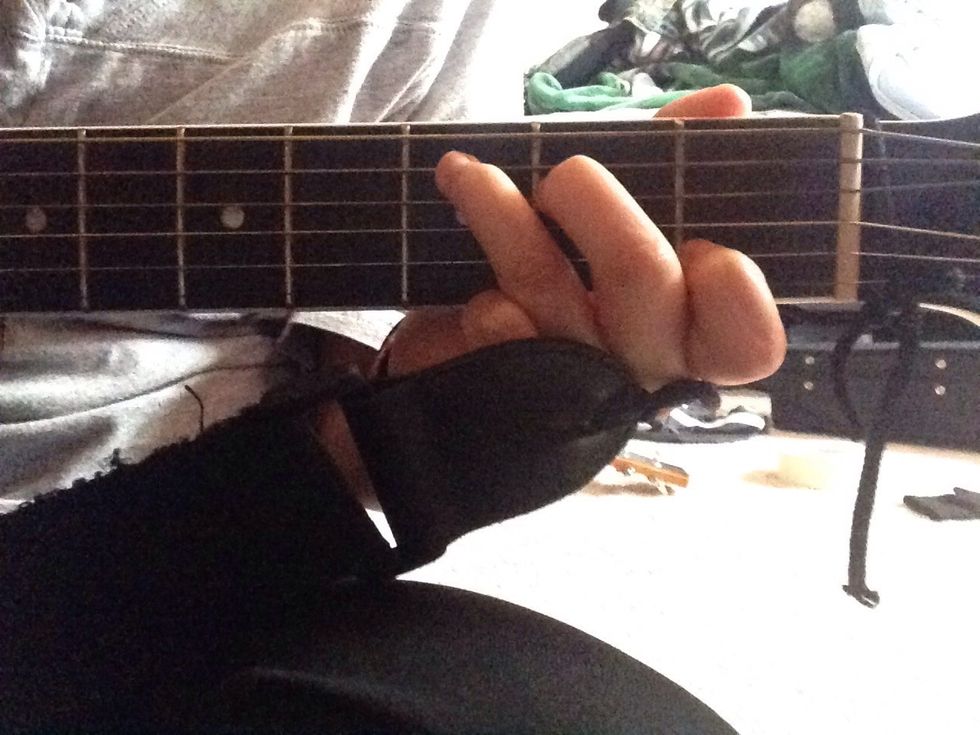
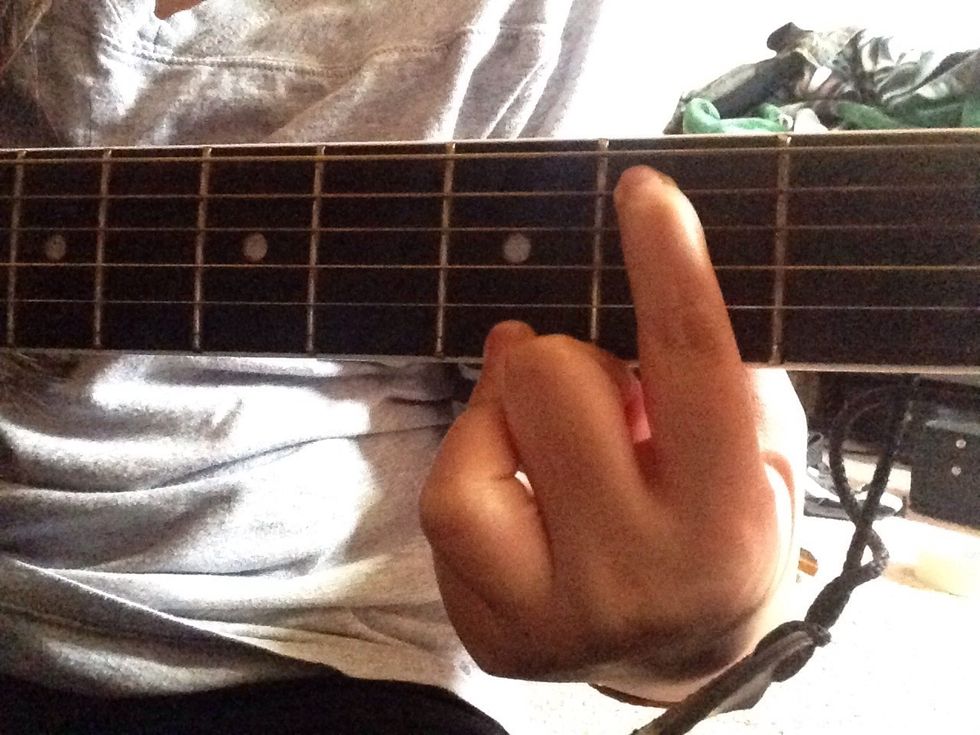
The next chord is D. We'll only be playing this in the prechorus; the stanza before the chorus.
Place your pointer finger on the G string in the second fret.
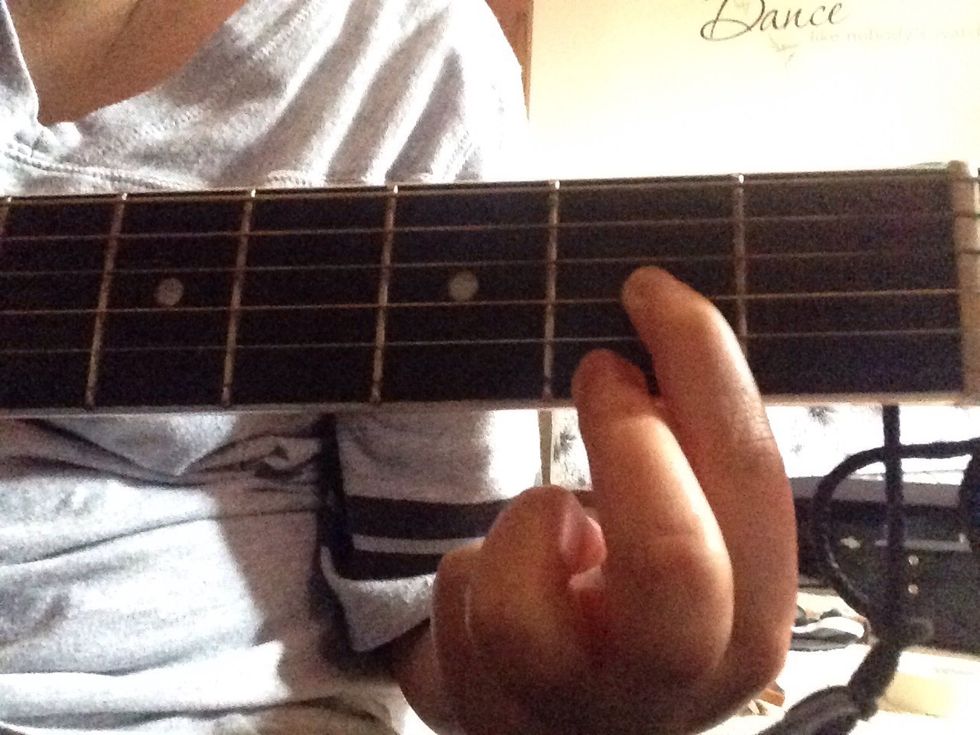
Next, place your middle finger on the high e string in the second fret.
Lastly, place your ring finger on the B string on the third fret.
That's it! The rest of the song is pretty much the same. Strumming is up to you! If you want to see everything put together, go to the next slide. Or not. d:
http://tabs.ultimate-guitar.com/t/taylor_swift/shake_it_off_crd.htm credits -- **chords and chord progression used from Ultimate Guitar.