The Conversation (0)
Sign Up
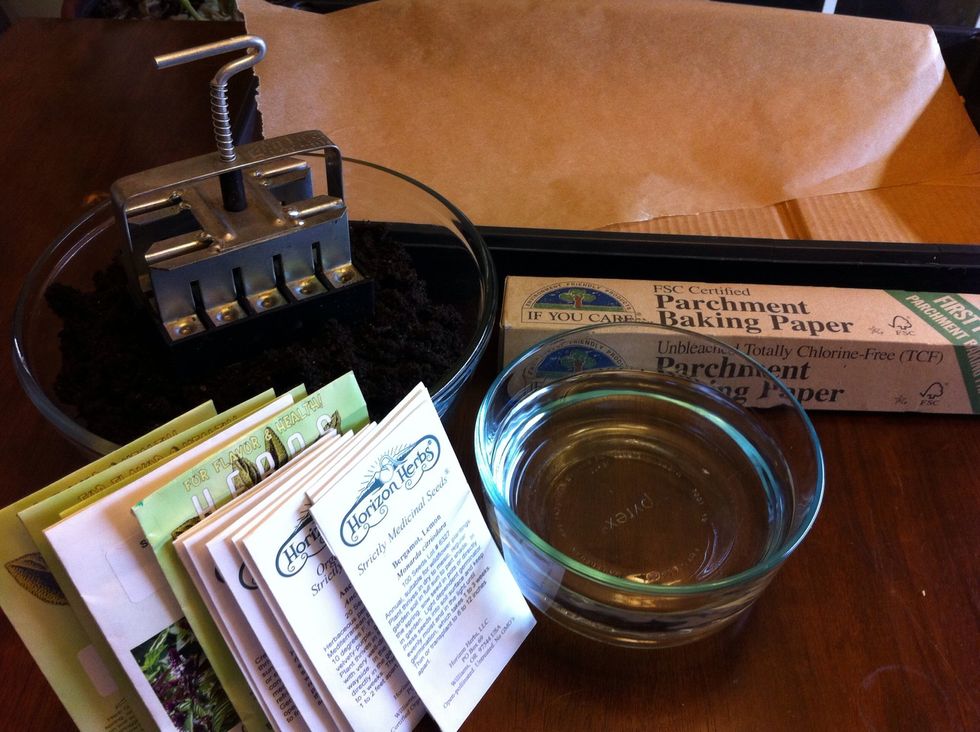
Gather all supplies. We also put cardboard under parchment paper in seed tray base. Cardboard adds structural stability for soil cubes; parchment keeps seedling roots from attaching to cardboard.
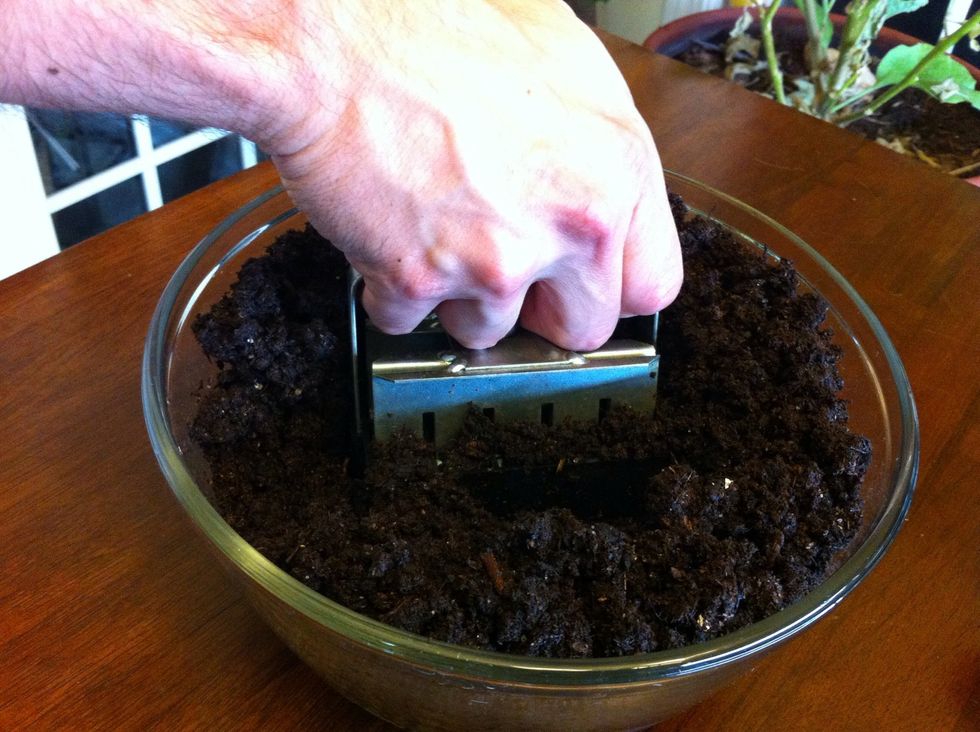
Push soil blocker into soil, twisting slightly back and forth as you push down. Soil should be firmly packed into each blocker cube before placing cubes on seedling tray.
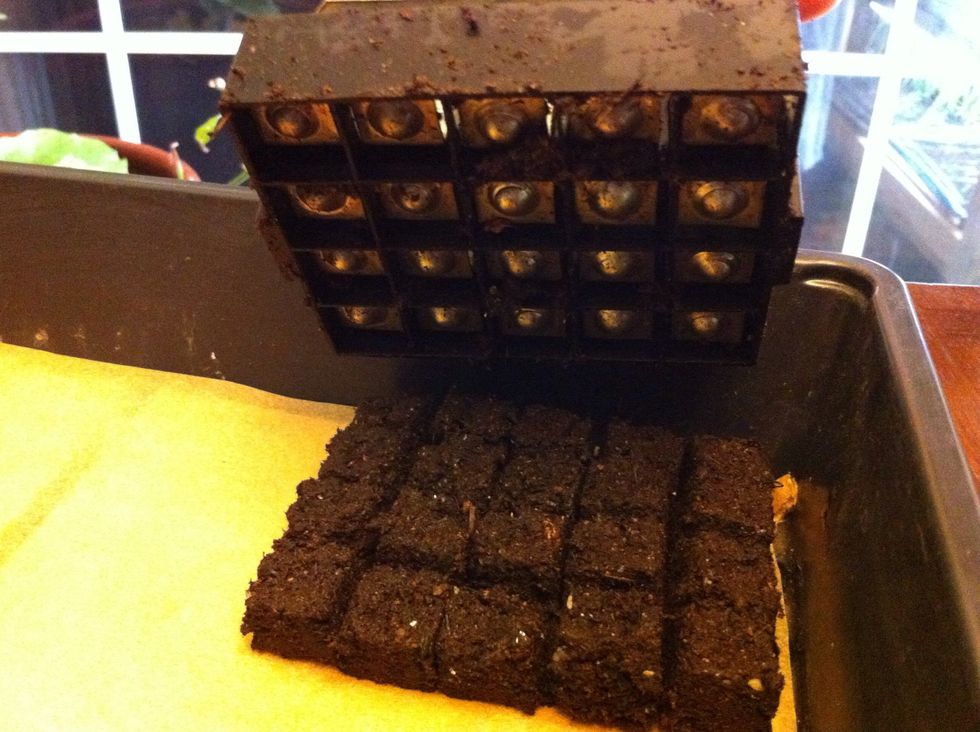
Push cubes out of blocker into position on seed tray. If you position blocker vertically, you can get 3 entire blocks snugly across tray x 5 blocks lengthwise (we add last row by hand) for 312 cubes.
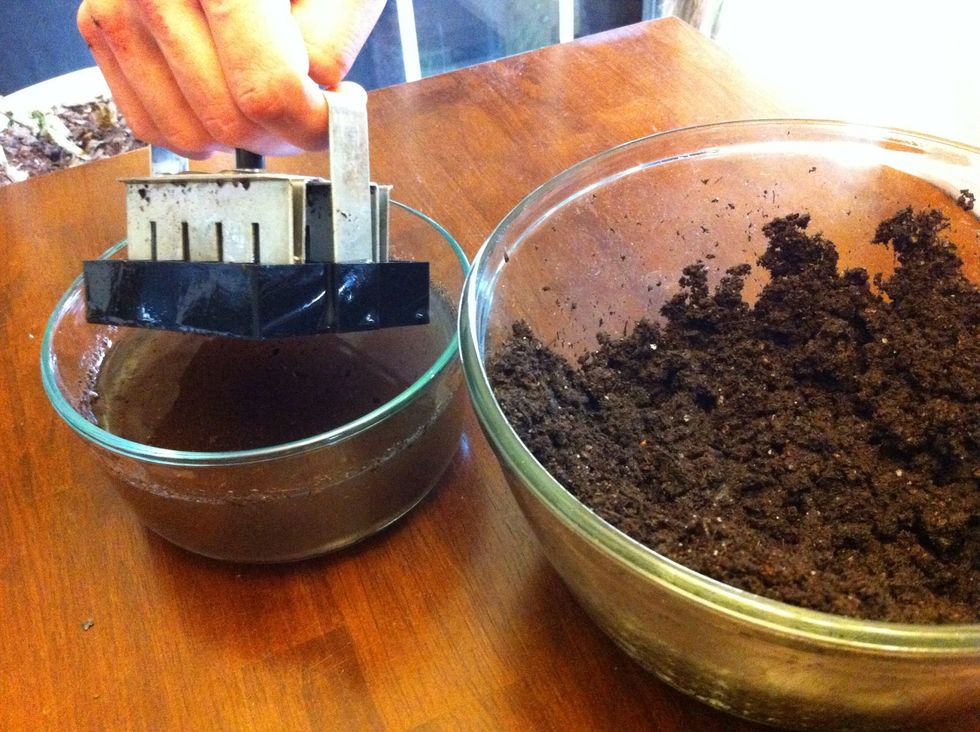
Dip blocker into water after putting block of soil cubes on tray and before making next round of cubes. This helps soil cubes come out of blockers without sticking.
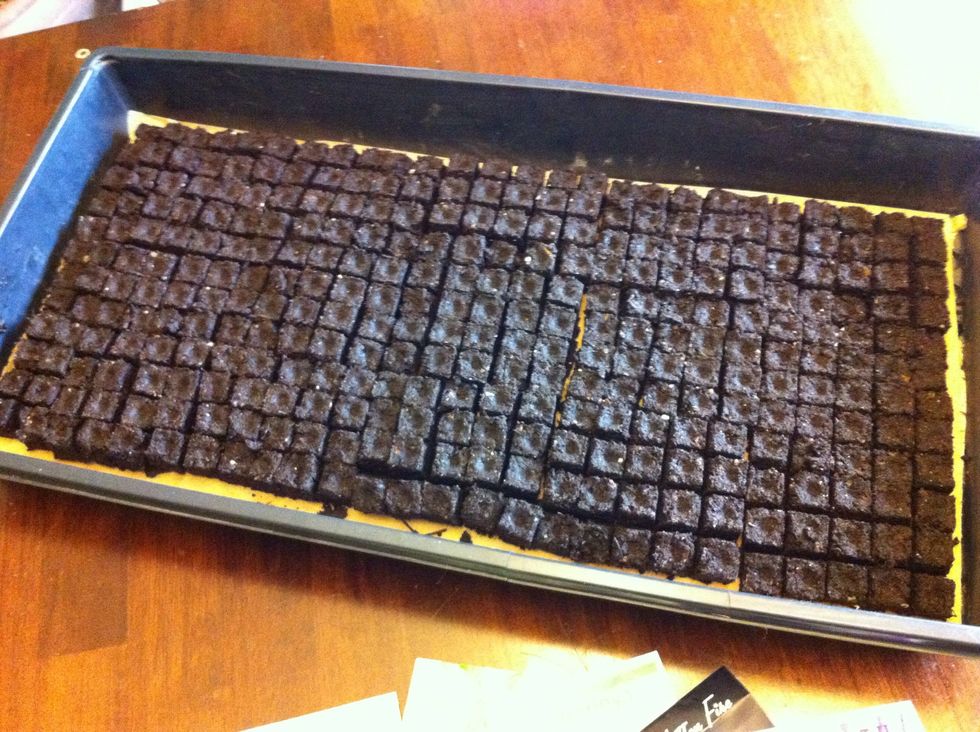
Fill up the seed tray with soil cubes.
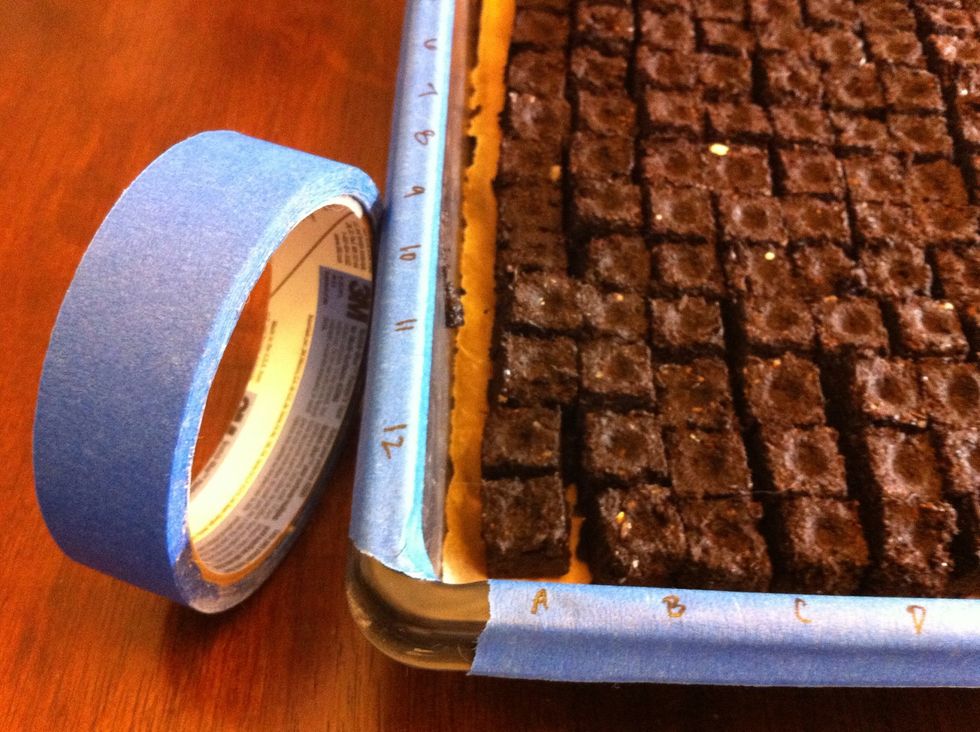
Place strip of paint tape onto one side & one end of tray. Label side A-Z and end 1-12 corresponding to each row. If using different seed types, make sure you note placement of seeds in spreadsheet.
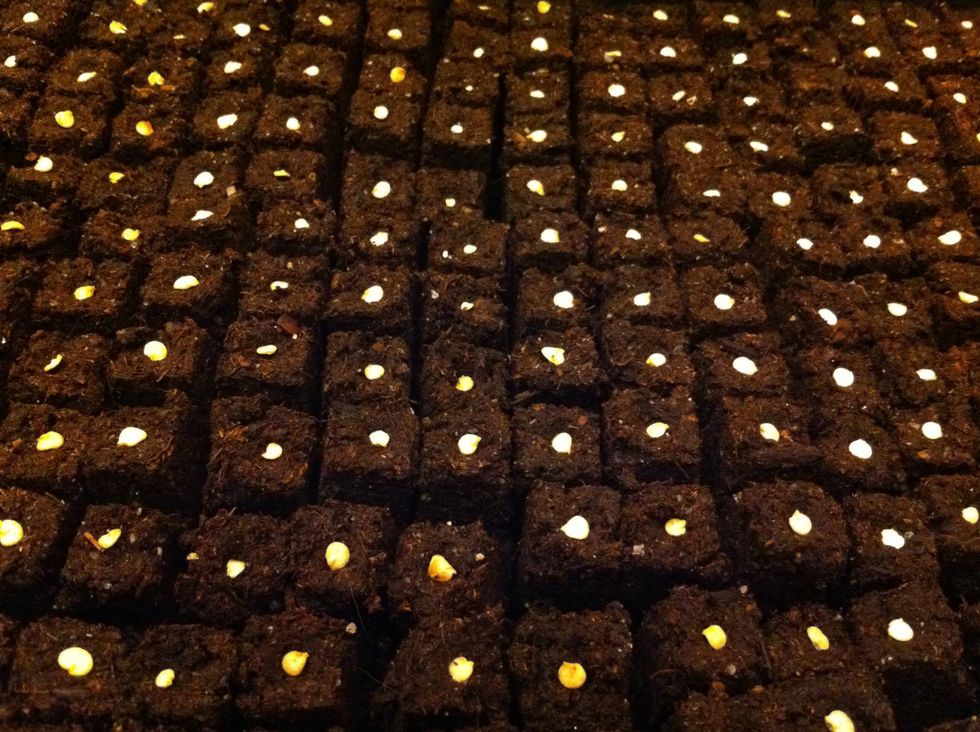
Add seed(s) to each cube, then lightly cover each cube with your soil mixture. Place finished tray in warm, sunny spot or ideally under grow lights with heated seedling mat.
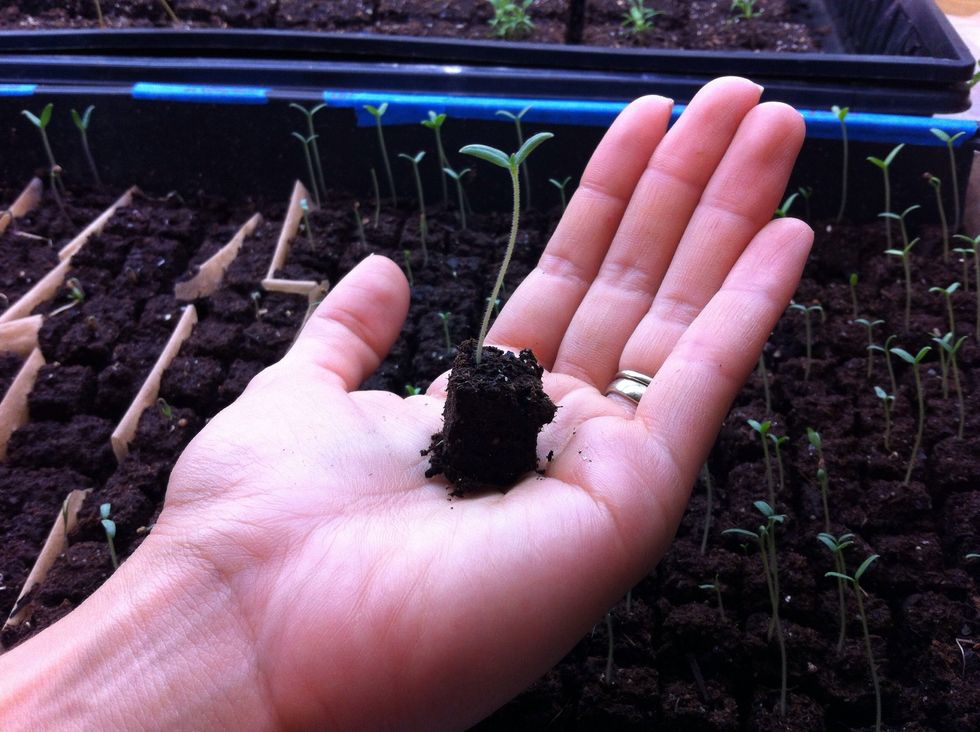
Voila' - you brought a seed to life & it will reward you with food & more seeds to share with the world. You can place smaller cubes into larger Ladbrooke cubes (or small containers) before planting.
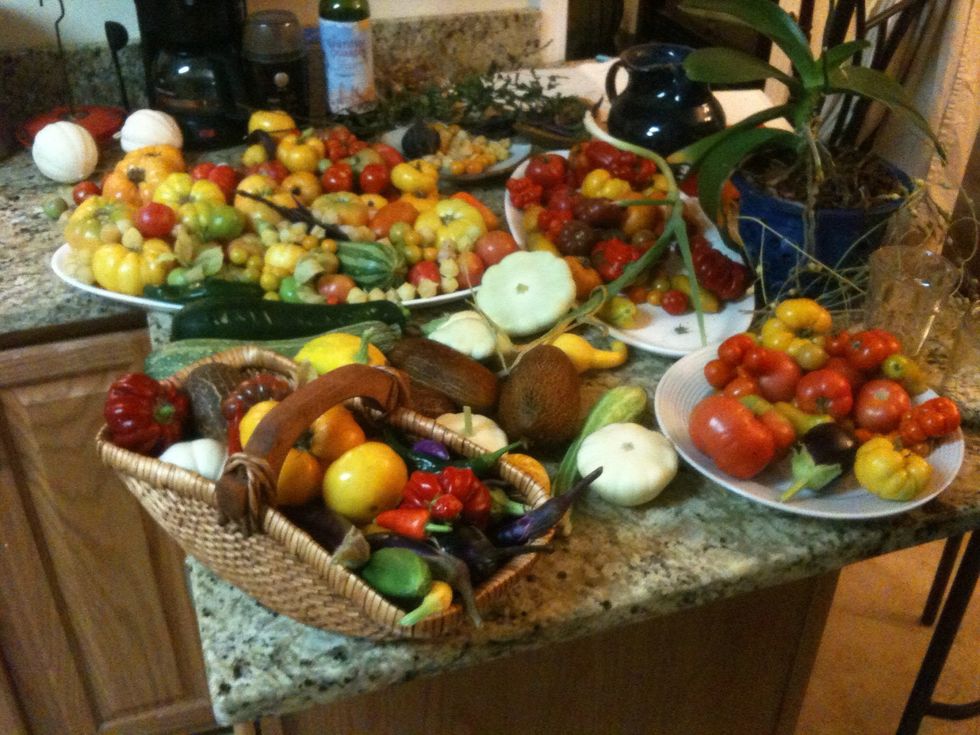
Get addicted to gardening & grow tons of fresh, organic food in your yard. Share your food and talk about growing it with anyone who will listen (including complete strangers). Be healthy, love life.

We hope you enjoyed this Snapguide! Come on over to http://www.TyrantFarms.com for more gardening tales. Thank you!