The Conversation (0)
Sign Up
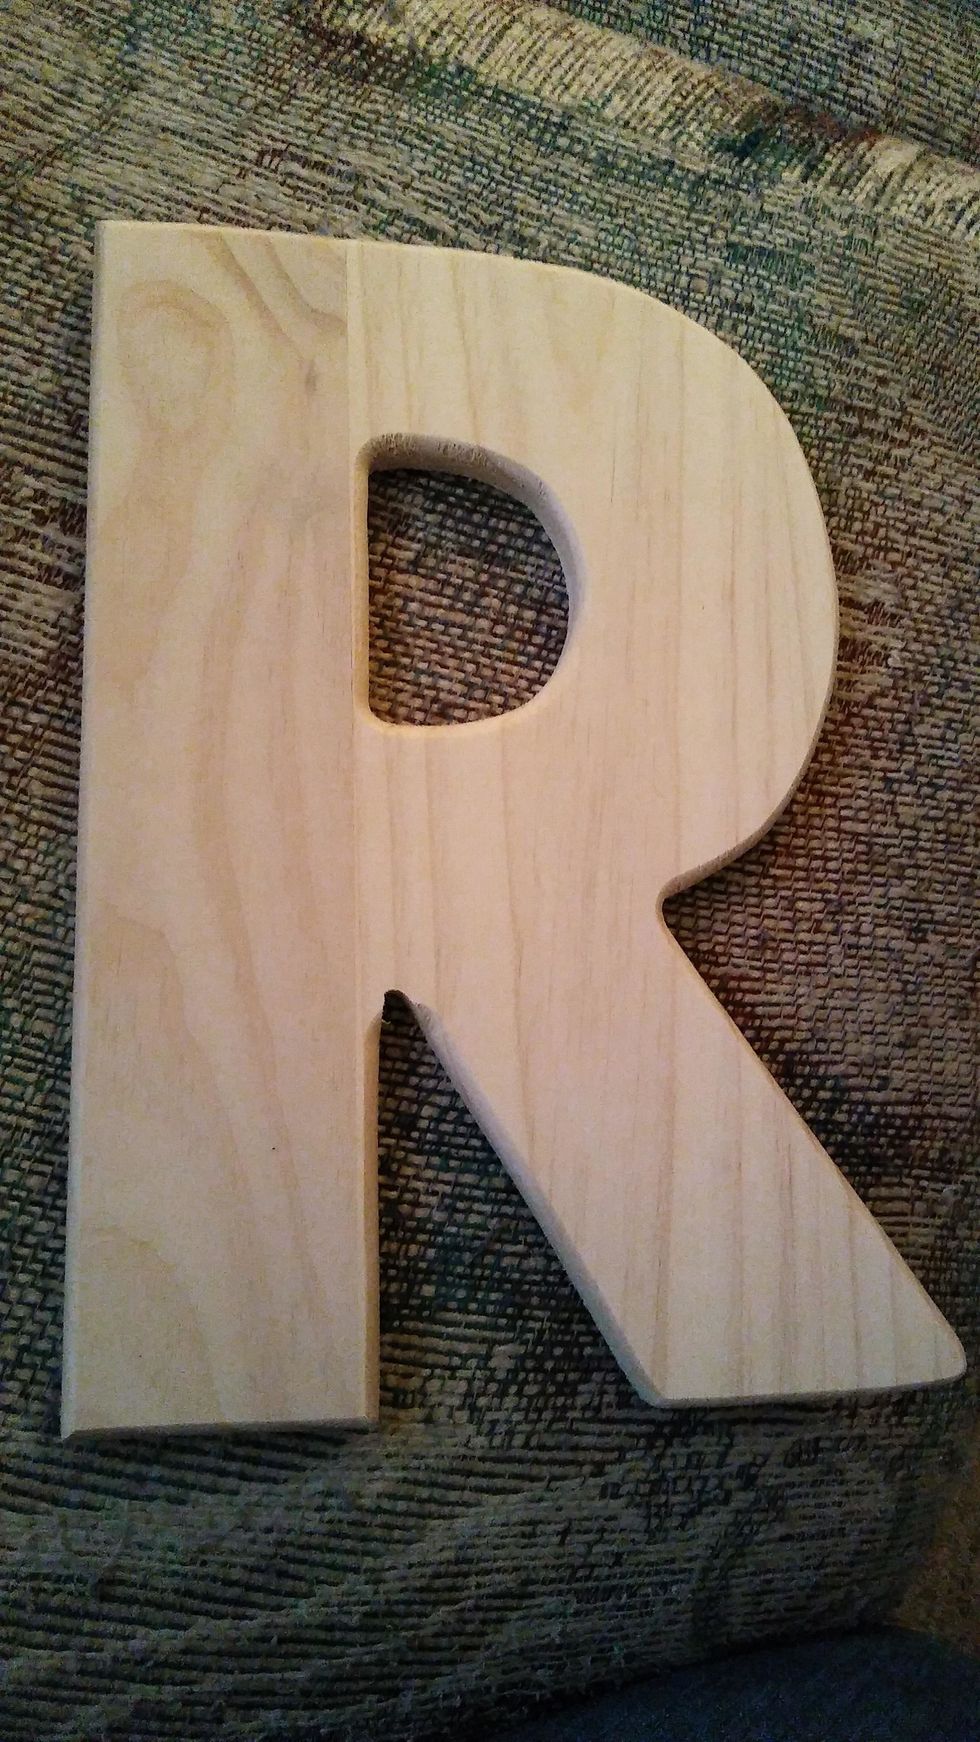
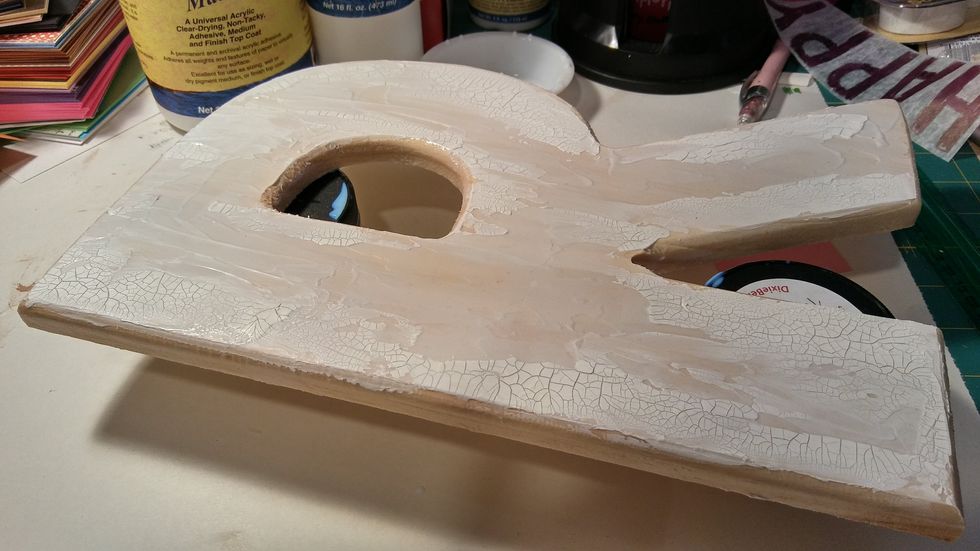
This is a Darice wooden letter. They're about a foot tall.
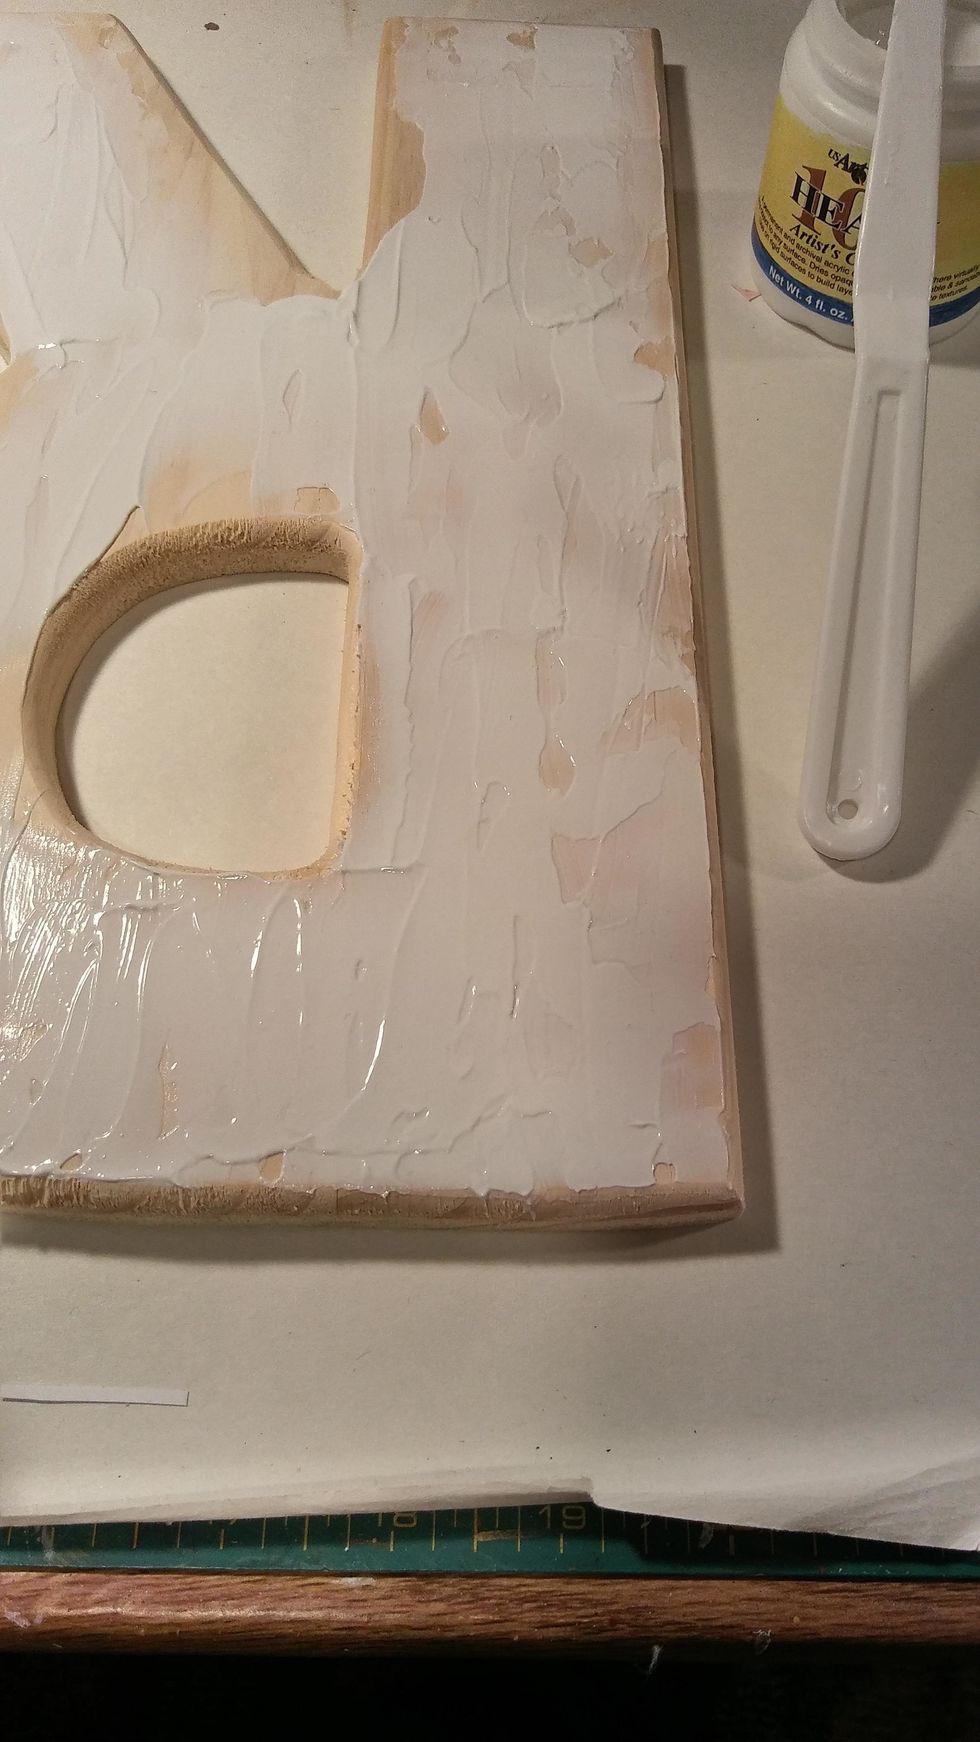
Both molding paste and crackle paste were applied at random in a single layer.
The solid white is the crackle paste and the translucent white is the molding paste.

The thicker you apply the crackle paste, the deeper cracks will appear. Applying is over the molding paste also creates deep crevices, so keep that in mind as you go.

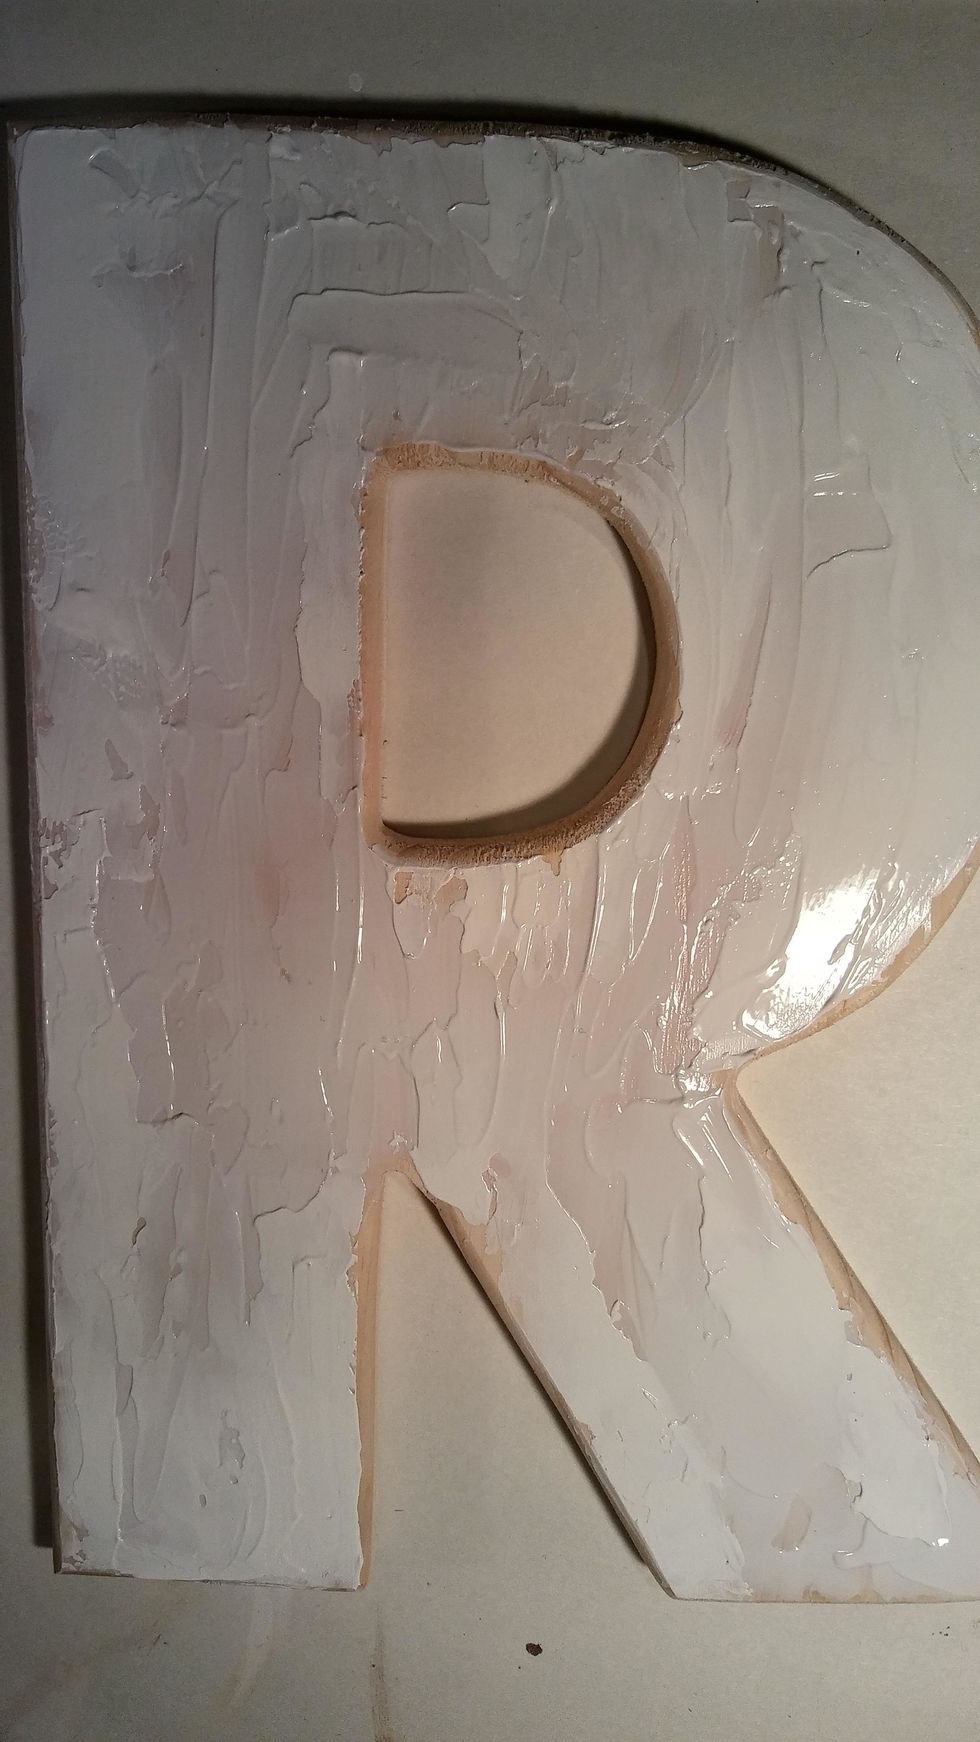
When dry, you can see the contrast. The molding paste dries almost clear, but adds a lot of texture.
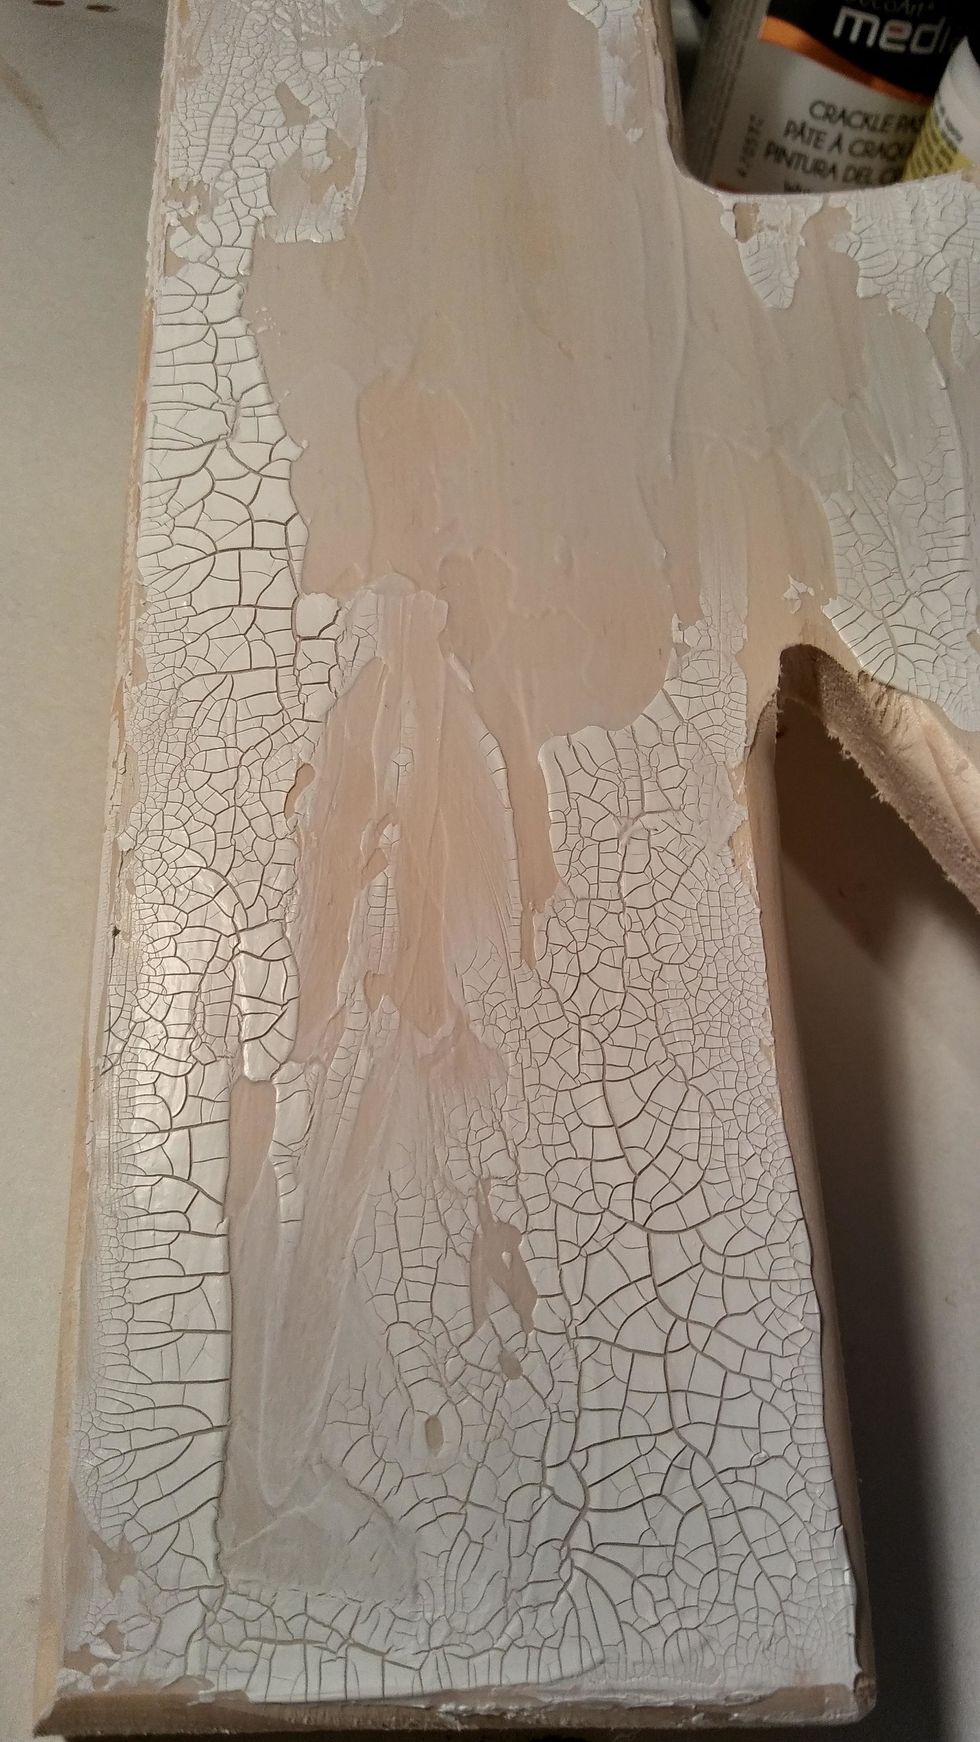
Close-up of the dried crackle paste.
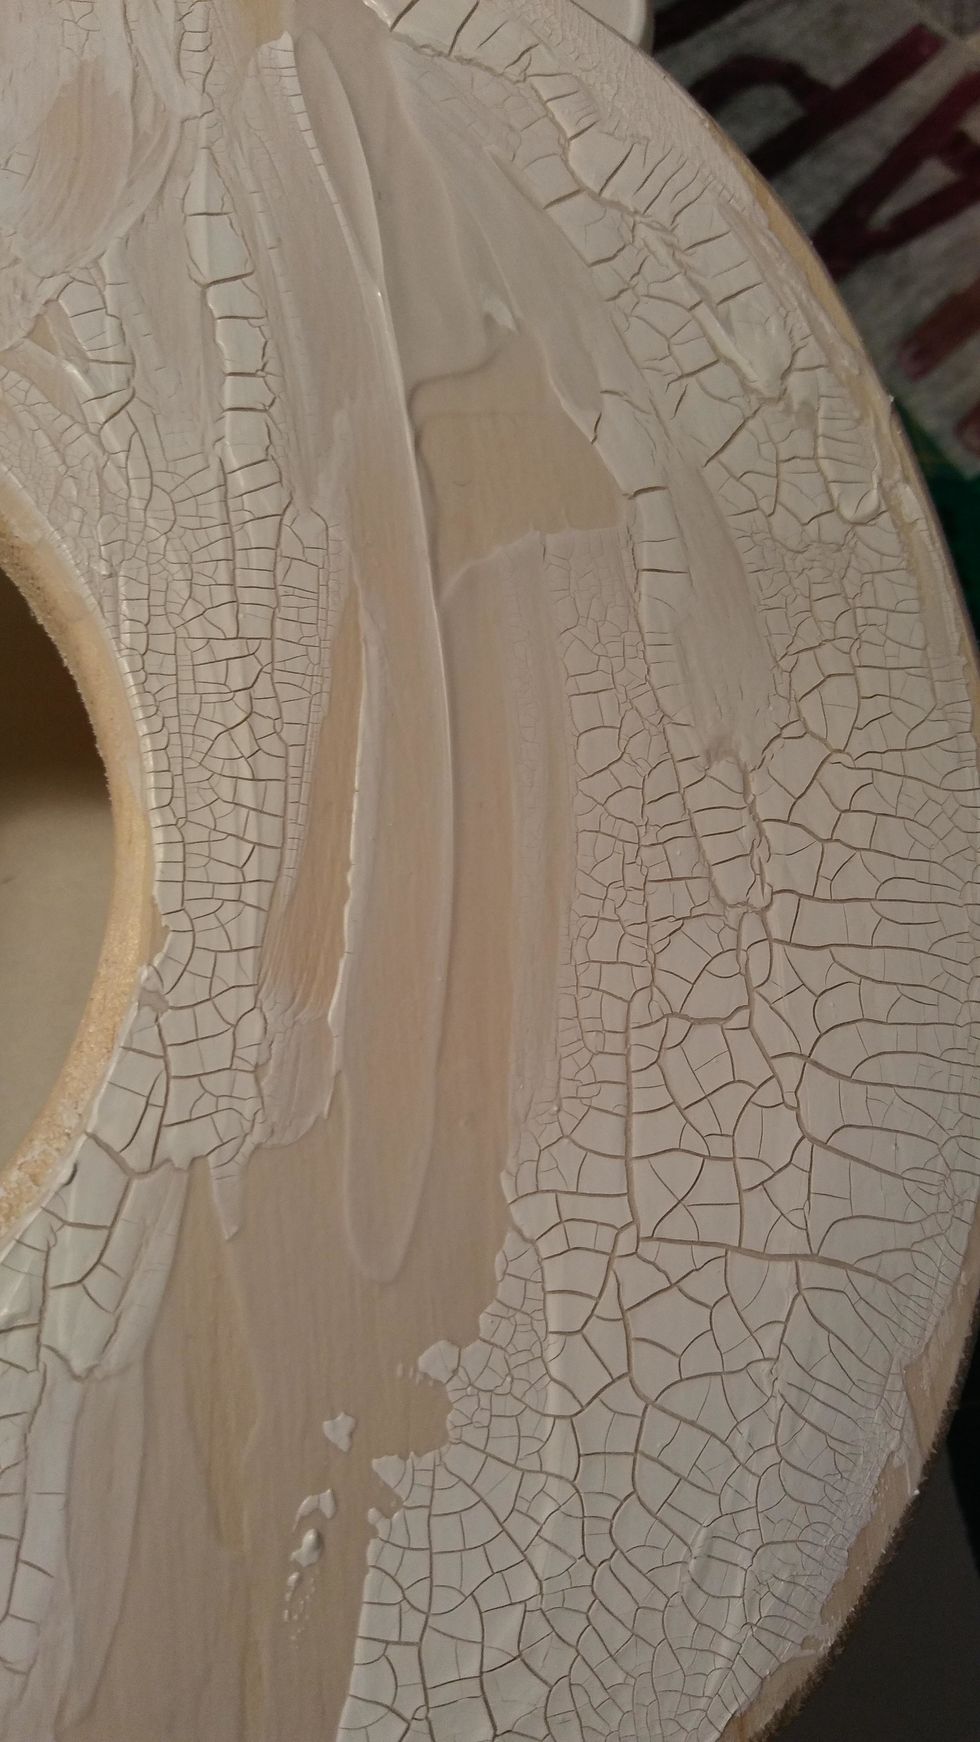
Close-up of the molding paste.
Be sure that both pastes are completely dry before adding paint. I added a sealer to protect the crackle so that I could really work in the paint without any concerns. This is optional.
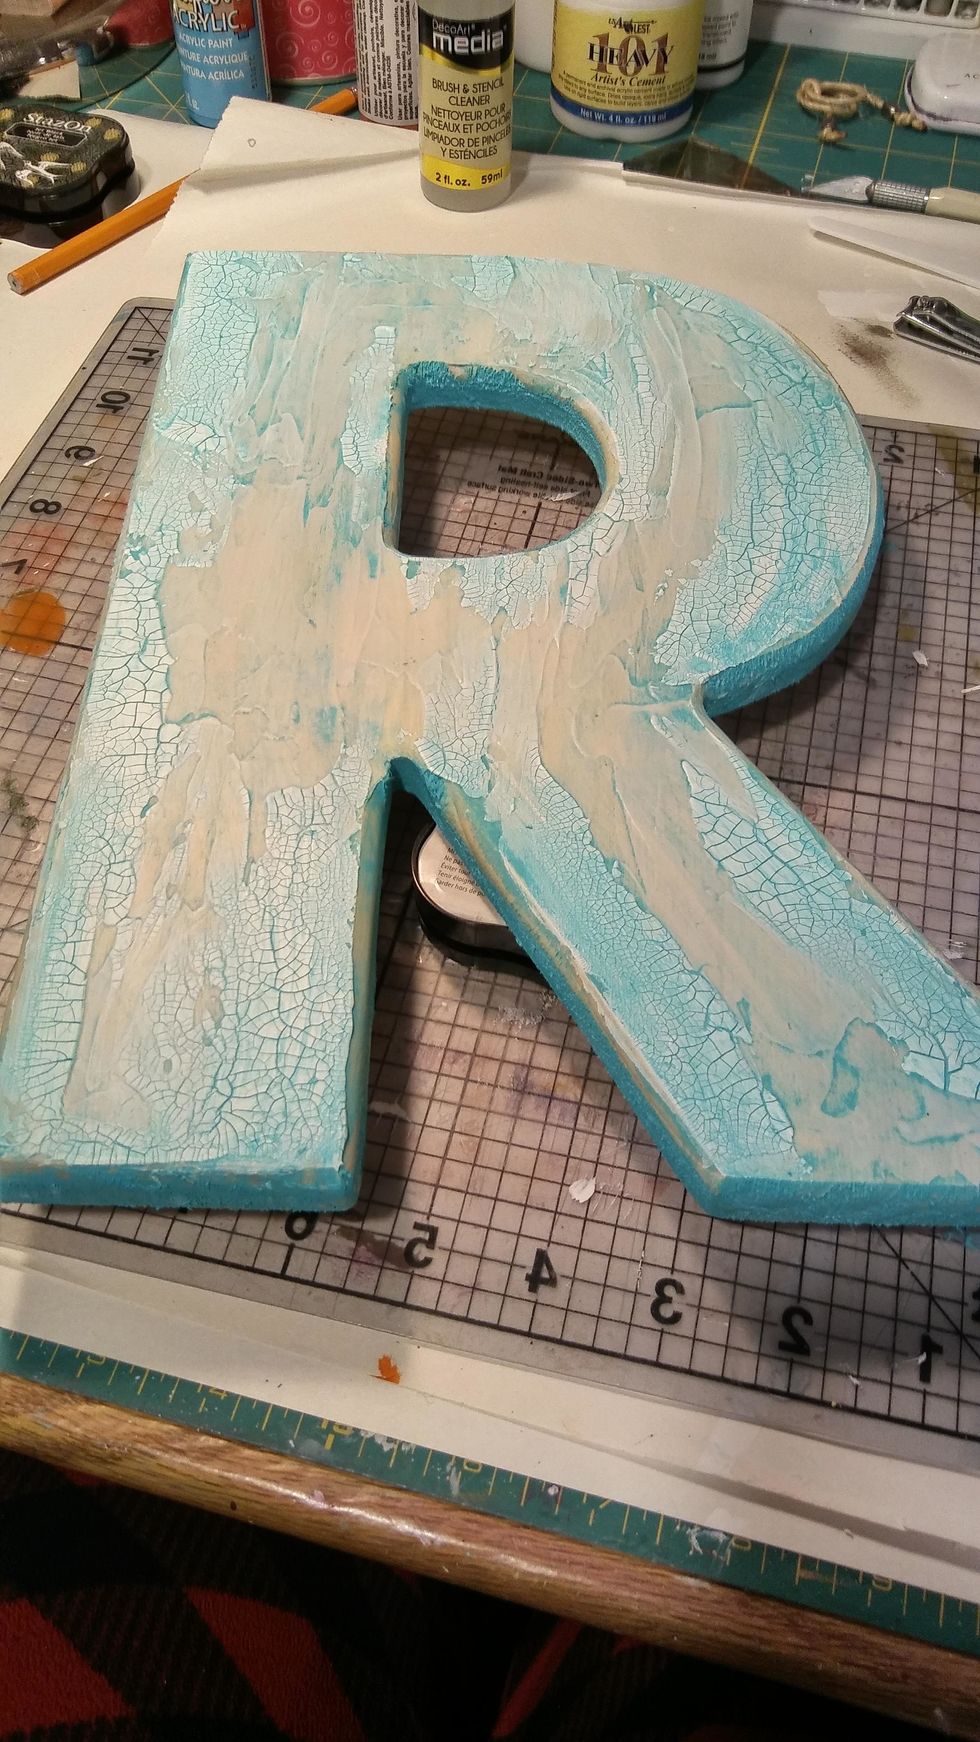
Choose your color profile. I wanted aqua for my base color and made sure to get that color into each of the grooves. You may seal again if you don't want the paints to blend.
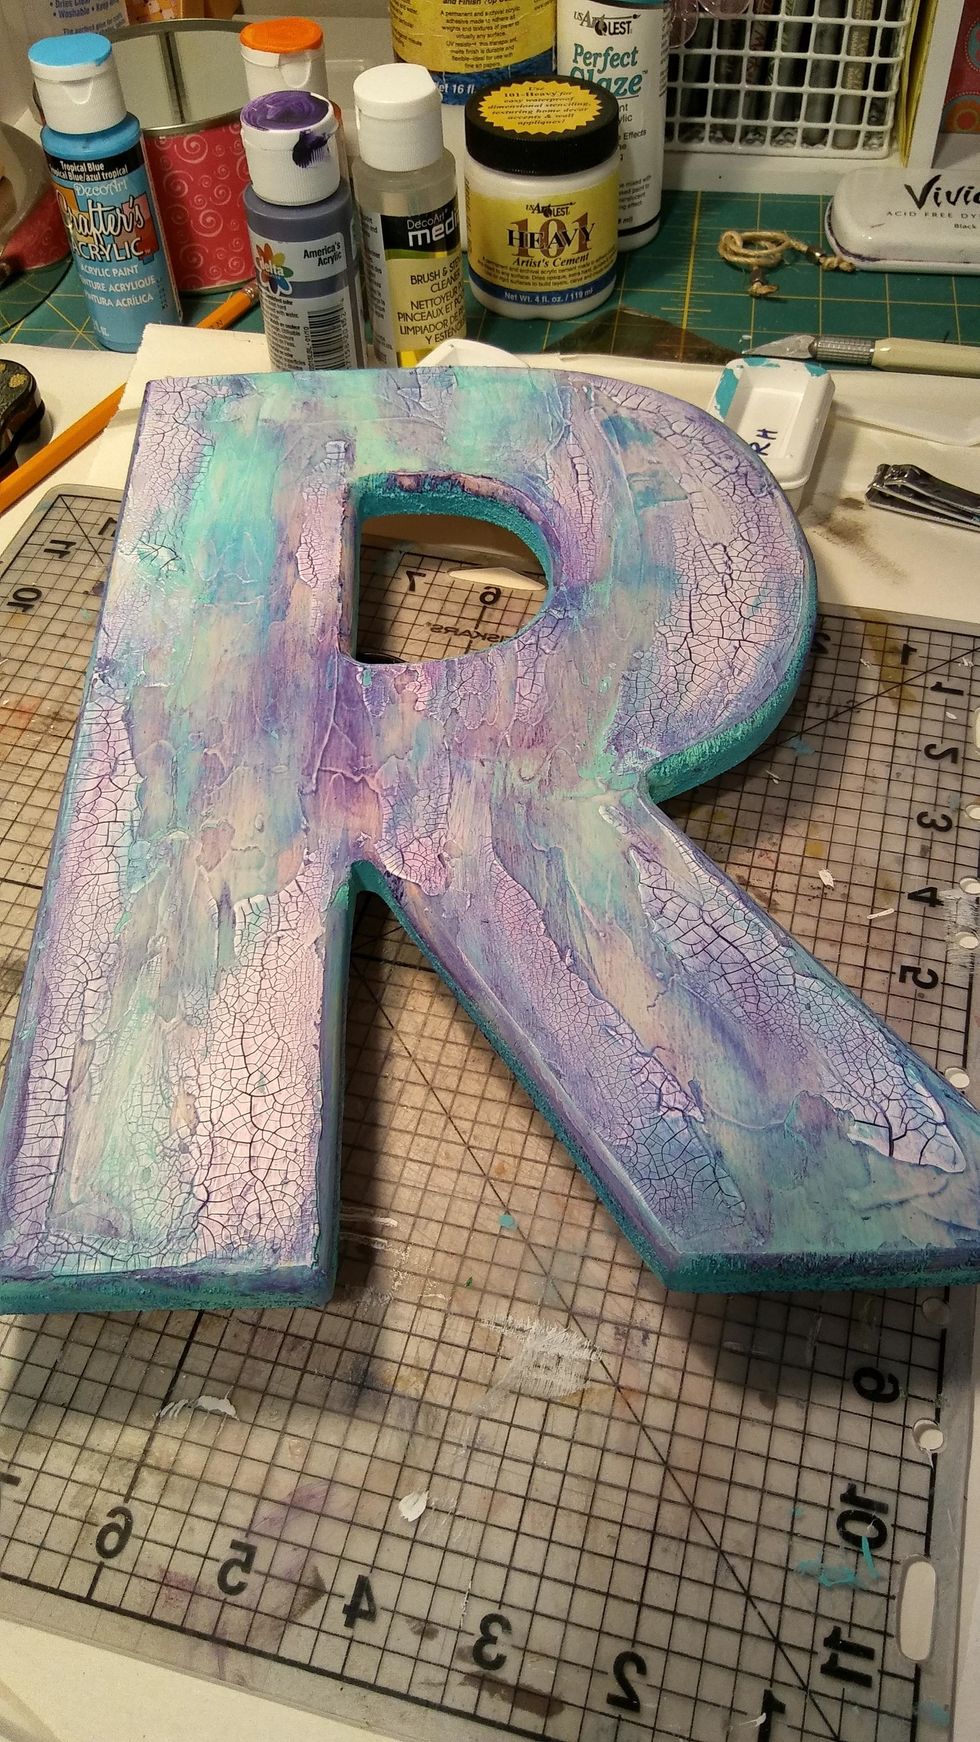
I like the play of dark and light colors on the piece. The purple and aqua compliment each other nicely.
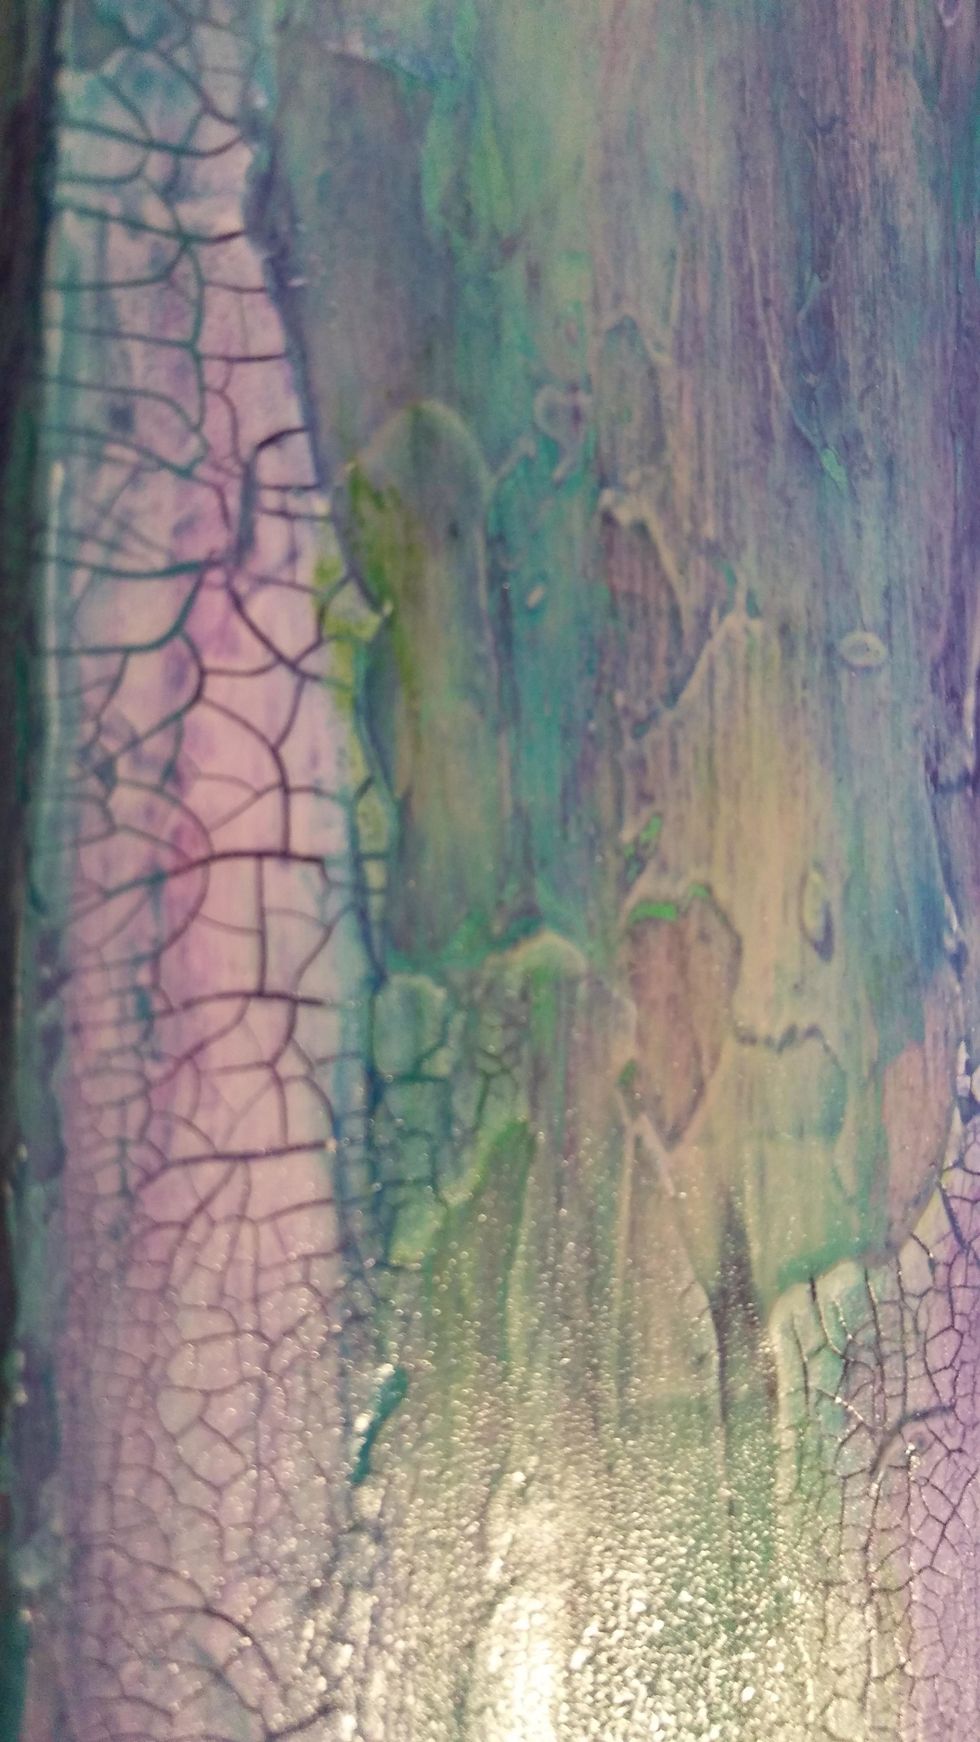
Close-up of the varnished piece. Some of the colors were sealed after being applied and some were allowed to blend.
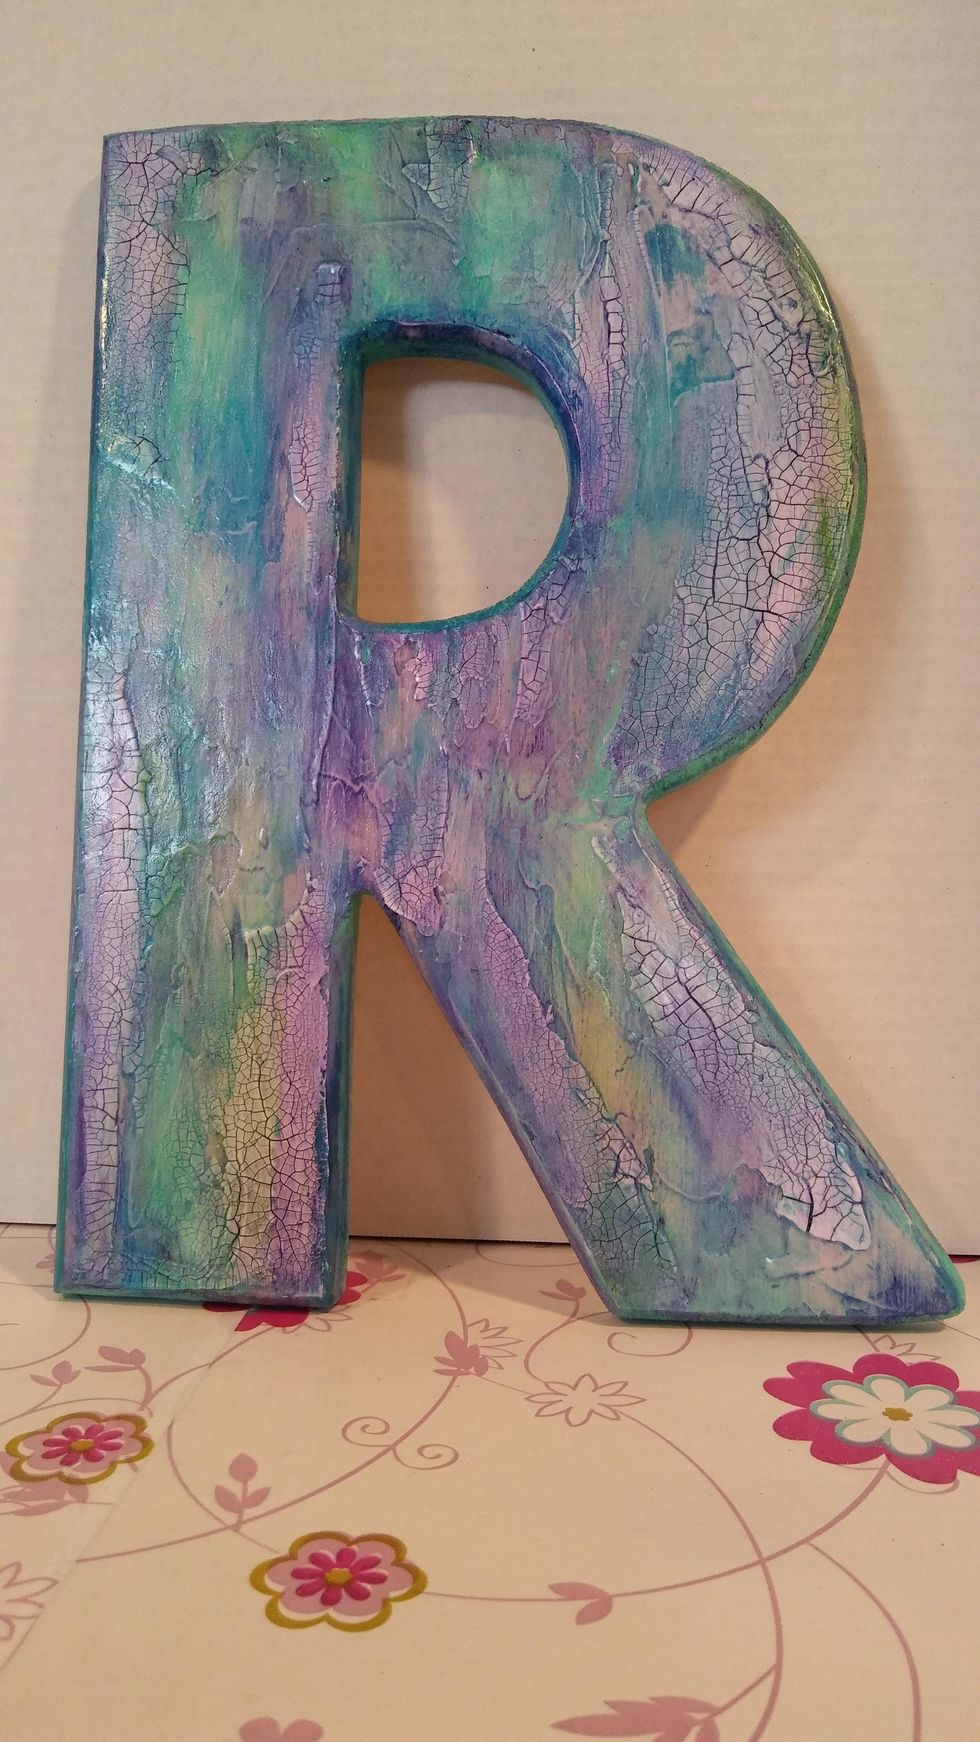
Ready for display. These wooden letters don't have built in hangers. Use command strips, add a picture hanger, or glue on magnets. It all depends on where it will be displayed.
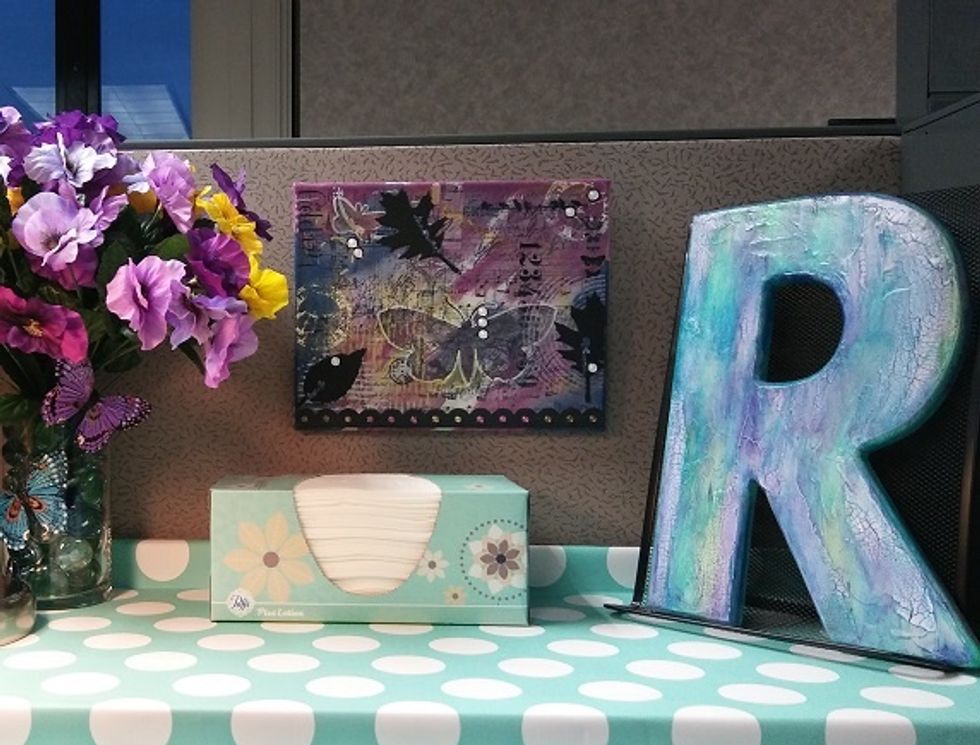
Mine is on display in my cubicle at work. I spend as much (hah...more on some days!!) time at work as I do at home so I need a pretty space.