The Conversation (0)
Sign Up
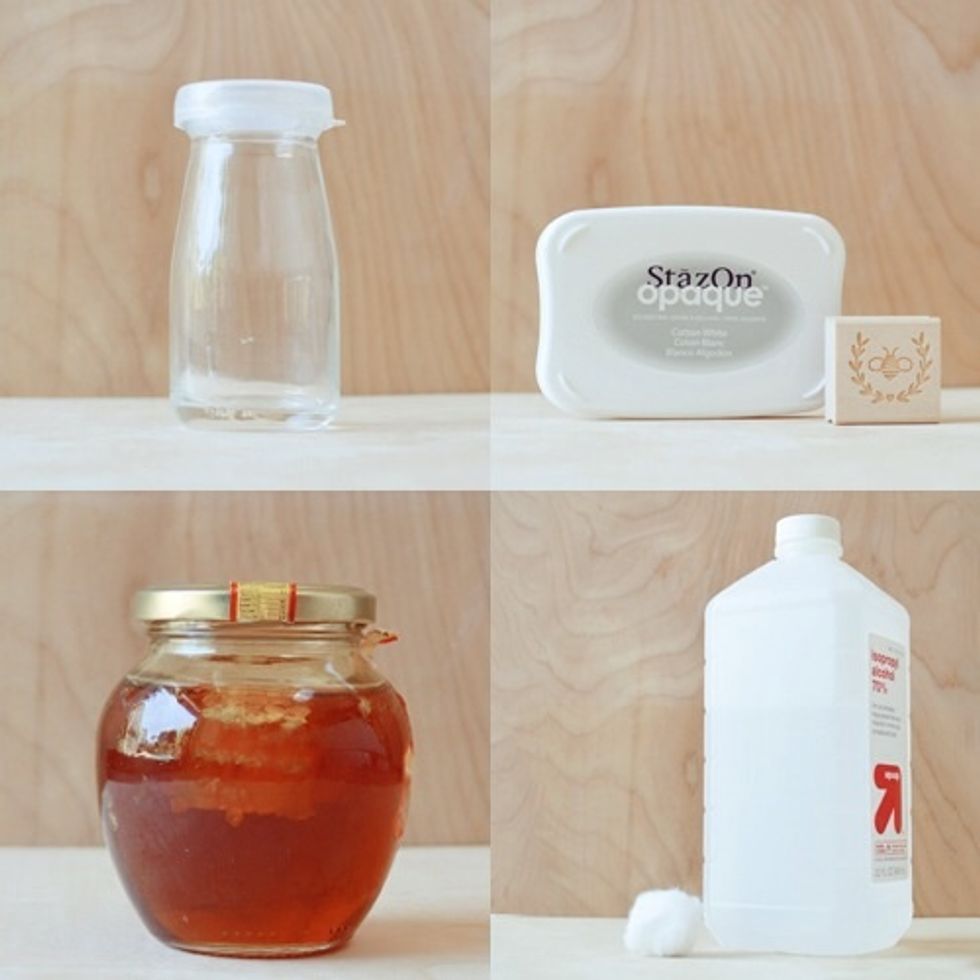
Materials
Before you start be aware that you will make mistakes, I did when we made this tutorial. For tiny smudges or poor imprint, just wipe the design off using isopropyl alcohol and start the process over.
Cleaning your stamp: We highly recommend using the StazOn Cleaner for this solvent ink. If you don't have it, clean the stamp with alcohol, make sure you condition your stamp right after.
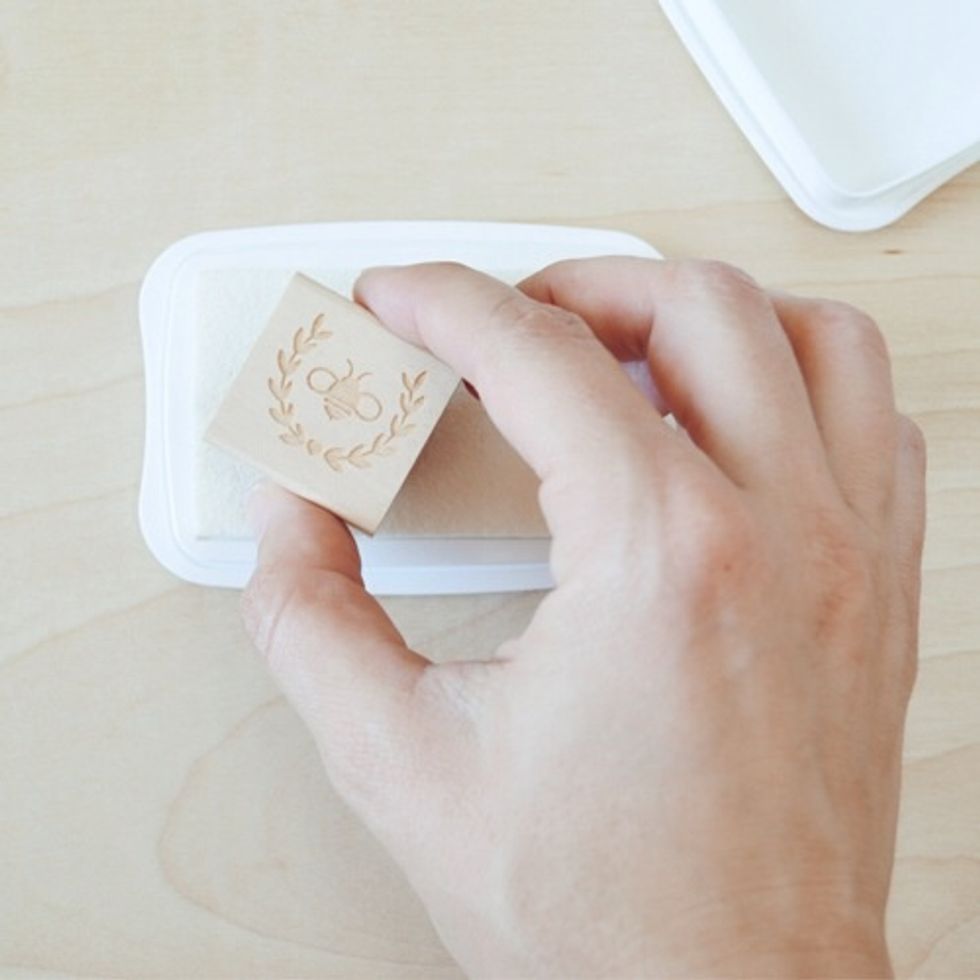
Lightly tap your stamp onto your ink pad.
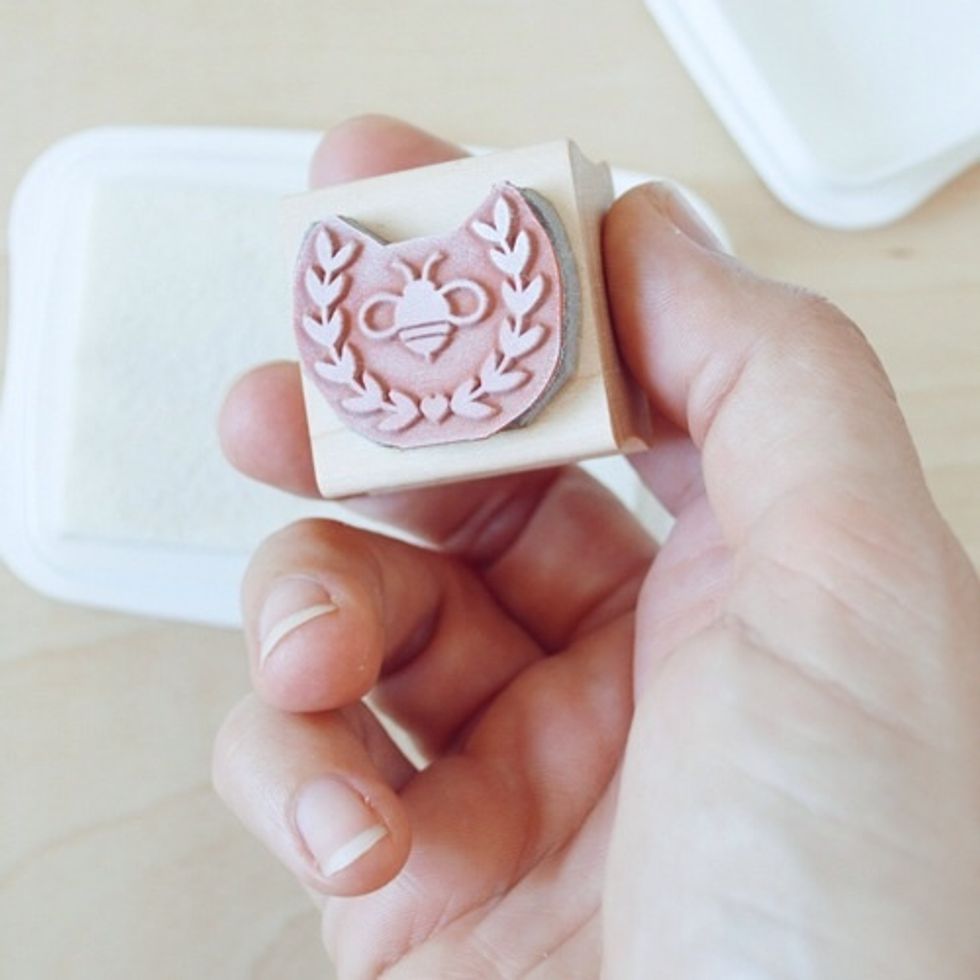

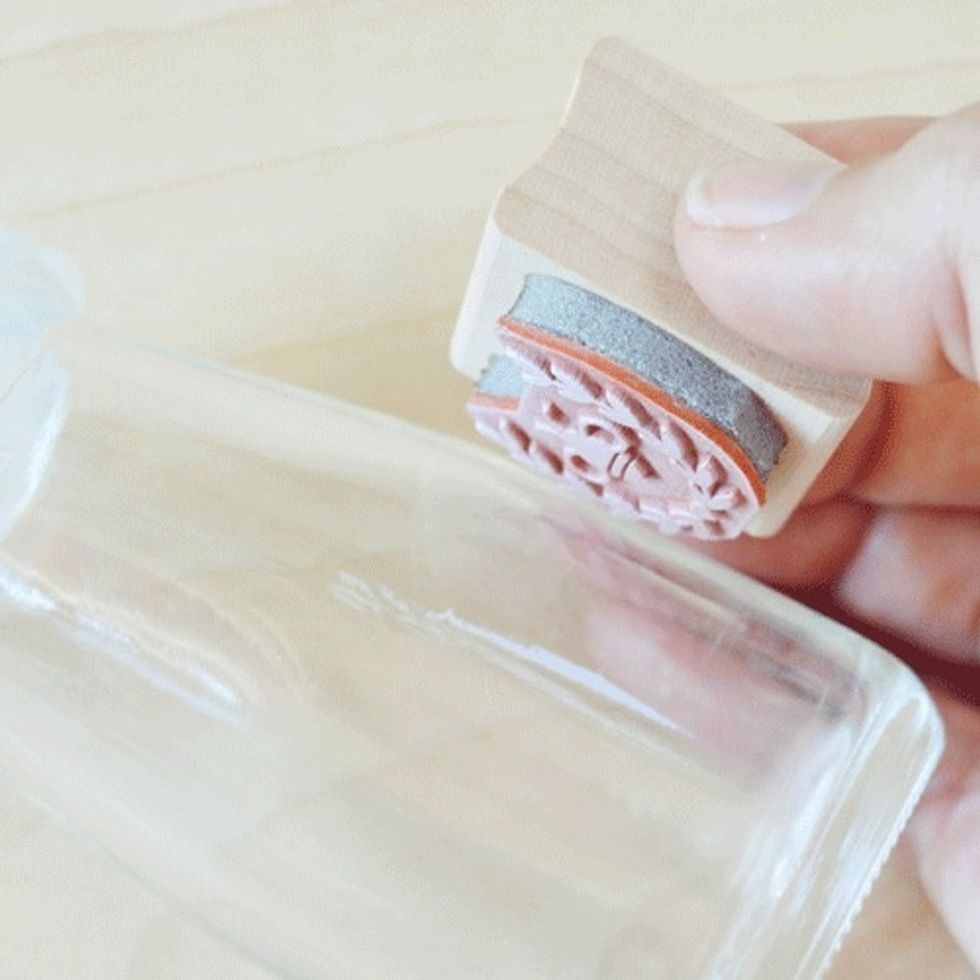
Press the stamp onto the glass in a rolling motion, rolling the stamp while keeping the surface still.
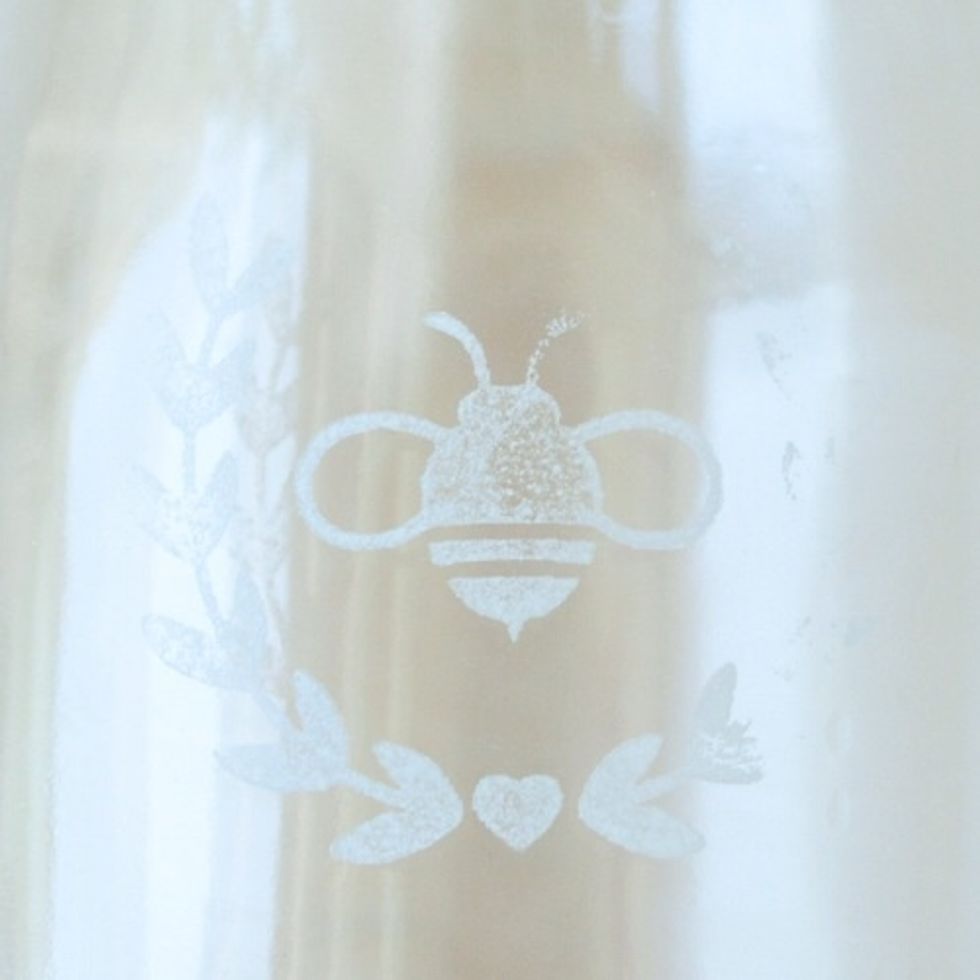
It may take a few trial to get a perfect impression.
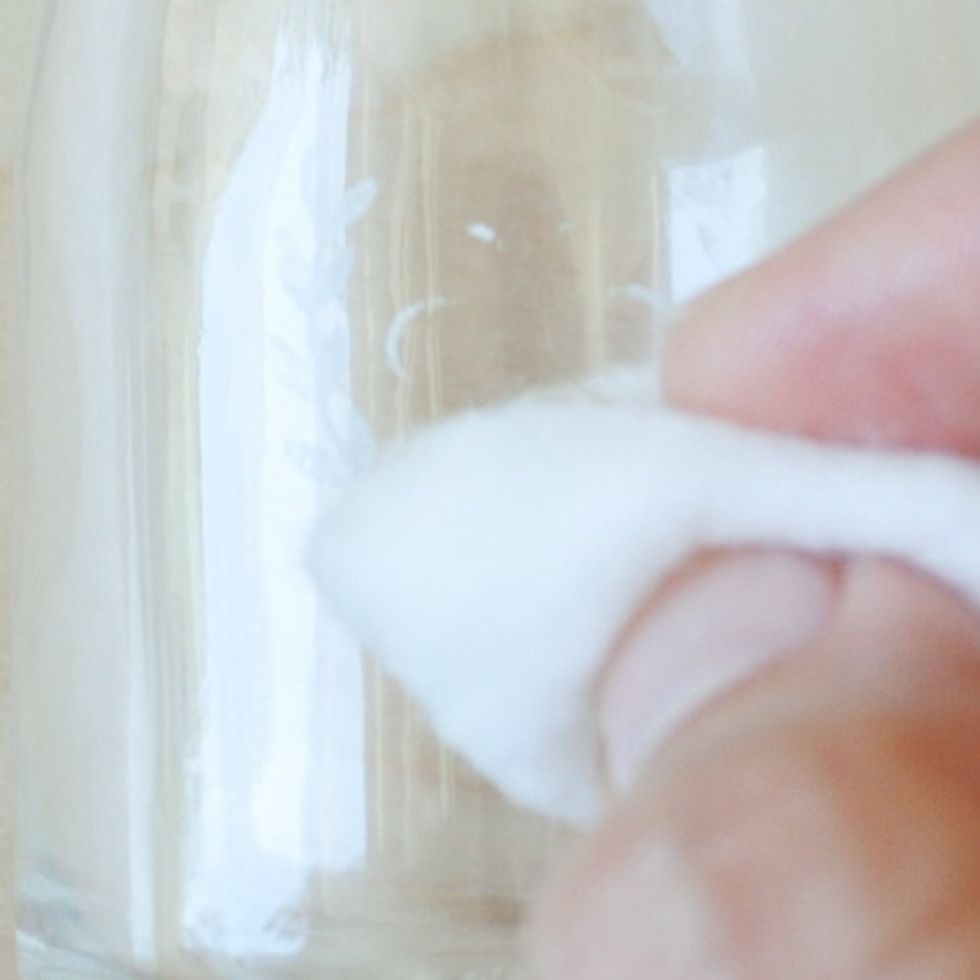
If the first imprint is lousy, simply wipe off the ink with a cotton ball or q-tip dipped in alcohol and try again.
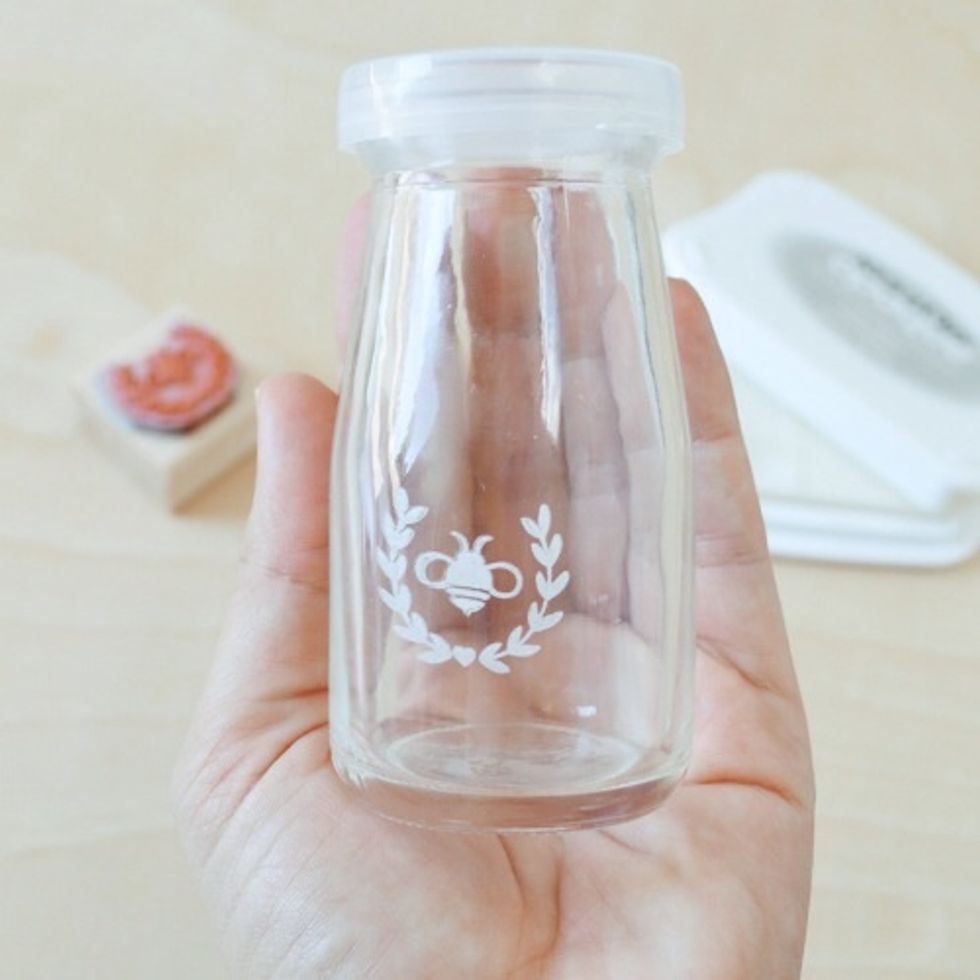
Set jar aside to dry and clean your stamp. Don't touch the ink right after or it will rub off. Our imprint took 3-5 minutes for the ink to cure onto our glass.
Manufacturer recommends up to 48 hours to avoid any kind of smudging.
To make your imprint permanent and more resilient, bake the glass jar @ 250 degrees for 30 minutes.
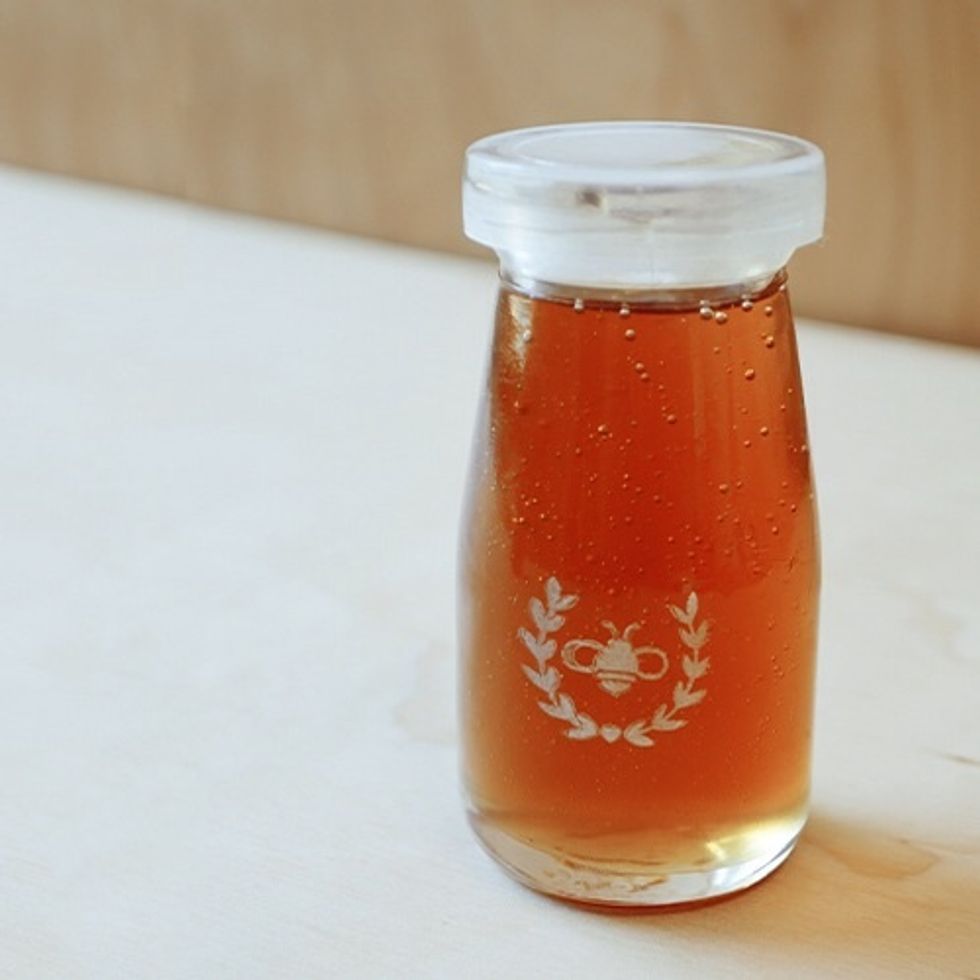
FIll your jars with honey. Seal them up, wrap a bow and deliver them with love. Make someones life sweet.

Imagine all the possibilities, jam jars, beer glasses, wine bottles, candle holders!!!