STEPS
TOOLS
Pros: minimizes air knots, easier to tie with shorter remaining suture length, easier to throw a "Surgeon's knot". This is the intern tie.
Cons: requires both hands to be free to tie, slower than the one hand tie.
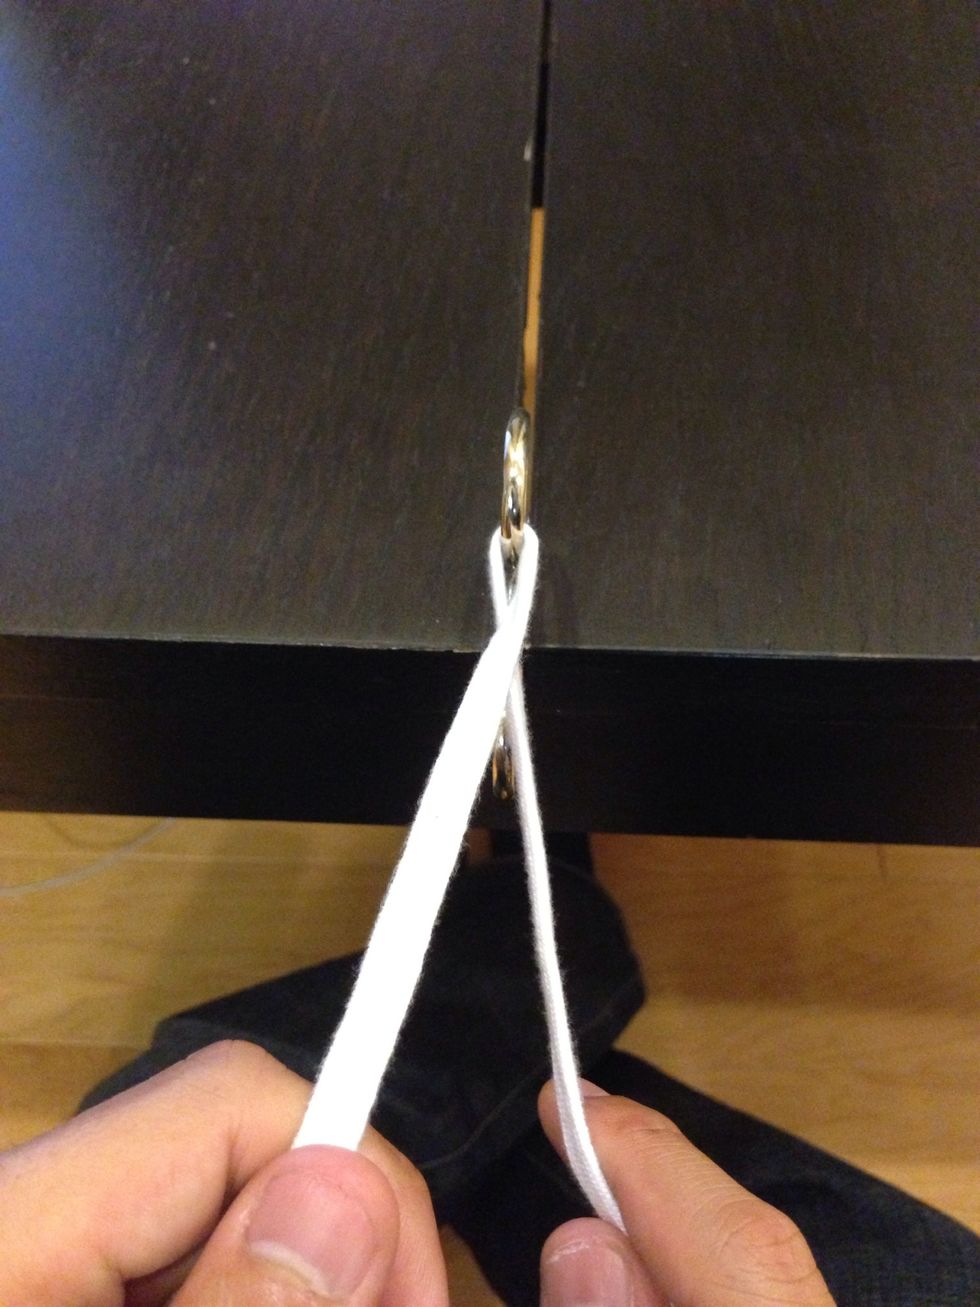
Apply your practice "suture" to a hook or ring. Decide on which hand will perform the two hand tie. This is the "throwing" hand. (It holds the fixed end and throws the free end through the loop).
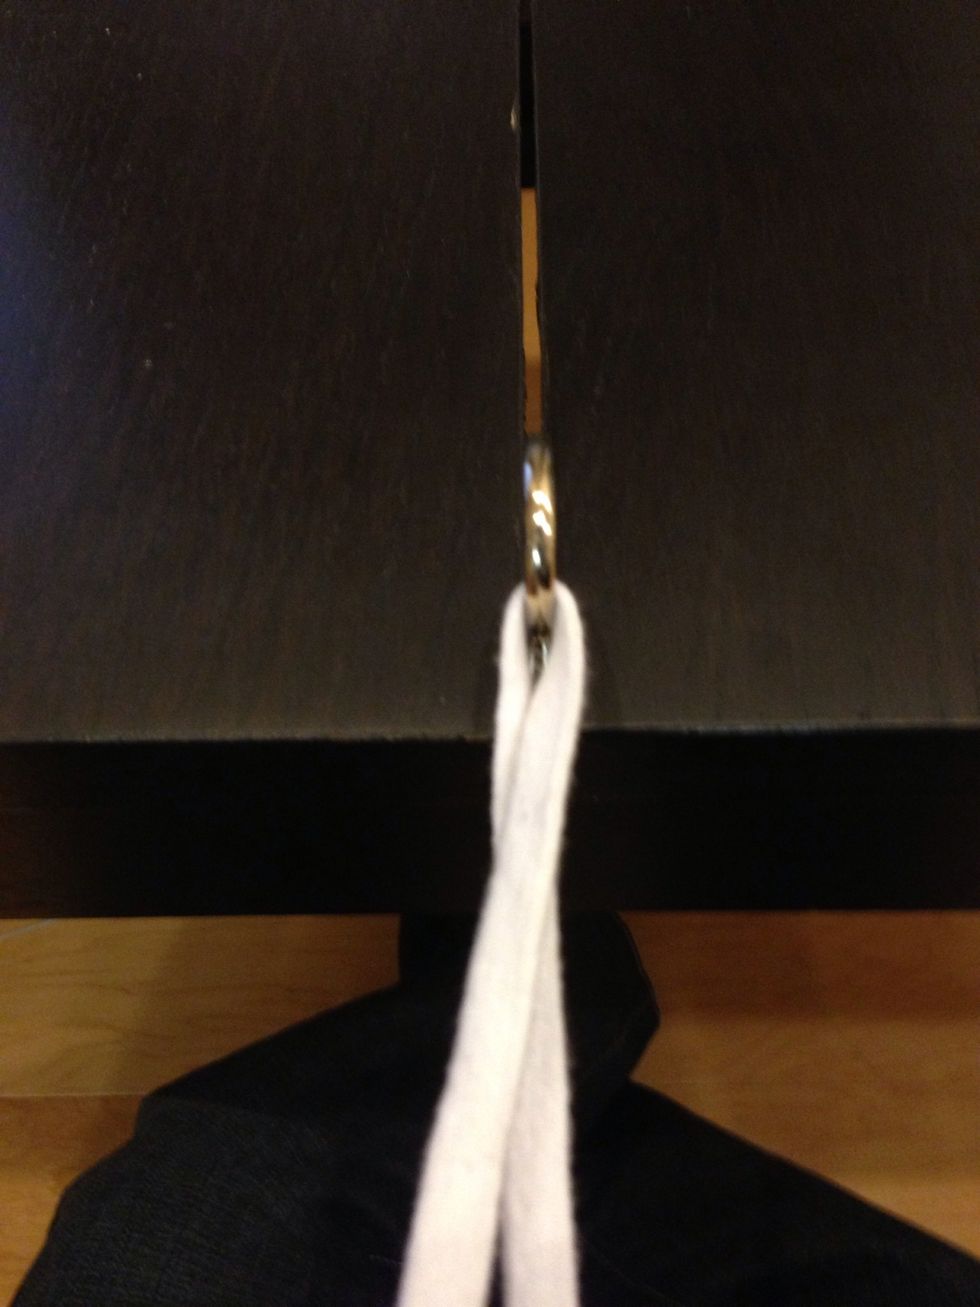
ALWAYS START WITH YOUR SUTURE CROSSED. This will ensure a flat and square knot. The "throwing" hand (left hand) is holding the part of the suture on "top". Note that the suture is crossed at the hook.
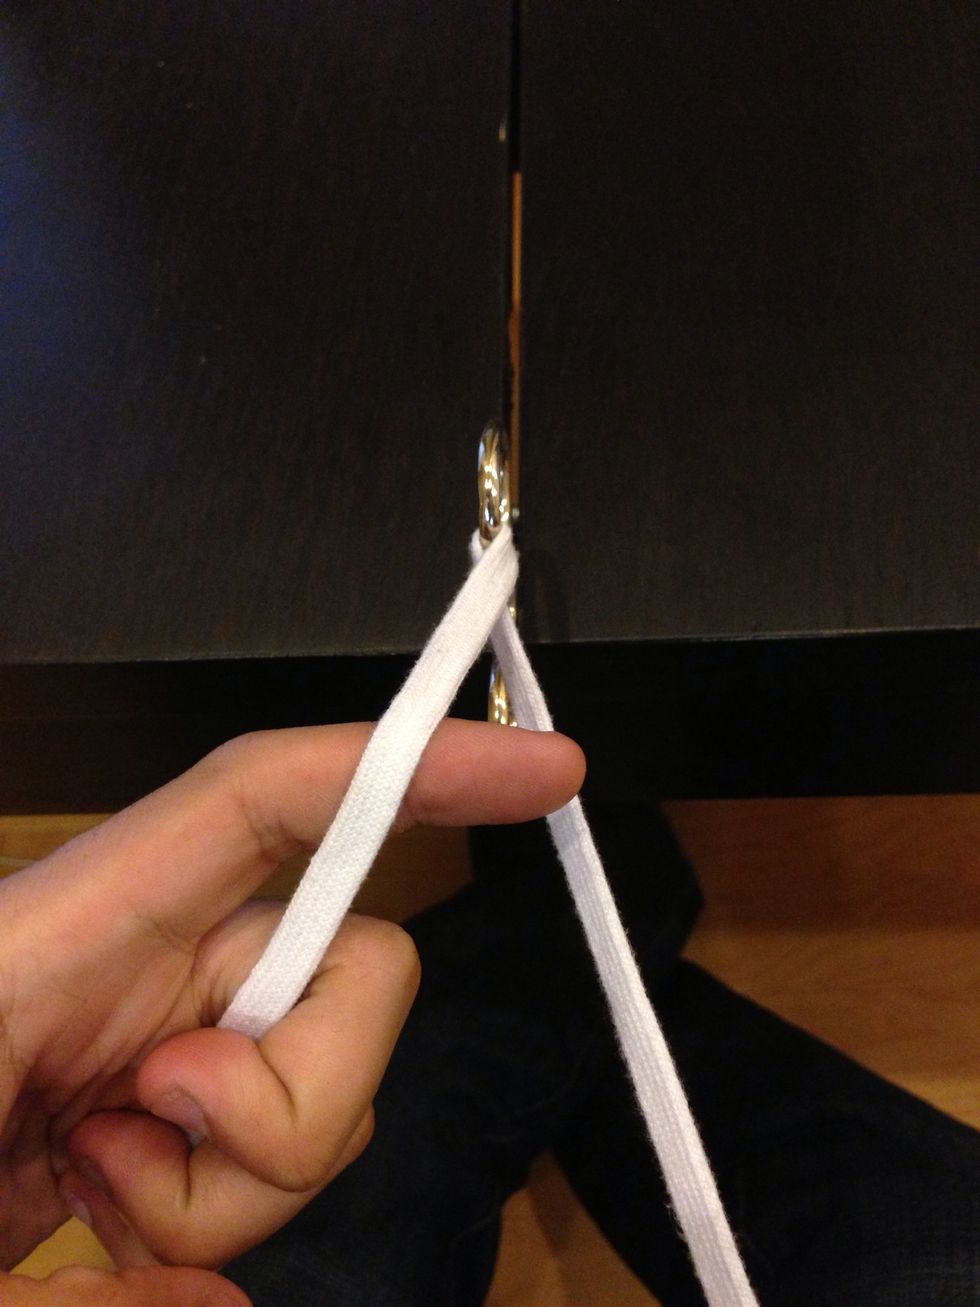
RULE: IF THE THROWING HAND HAS THE SUTURE ON TOP, START WITH THE INDEX FINGER. Grab the suture in your hand with just the index finger extended under the suture.
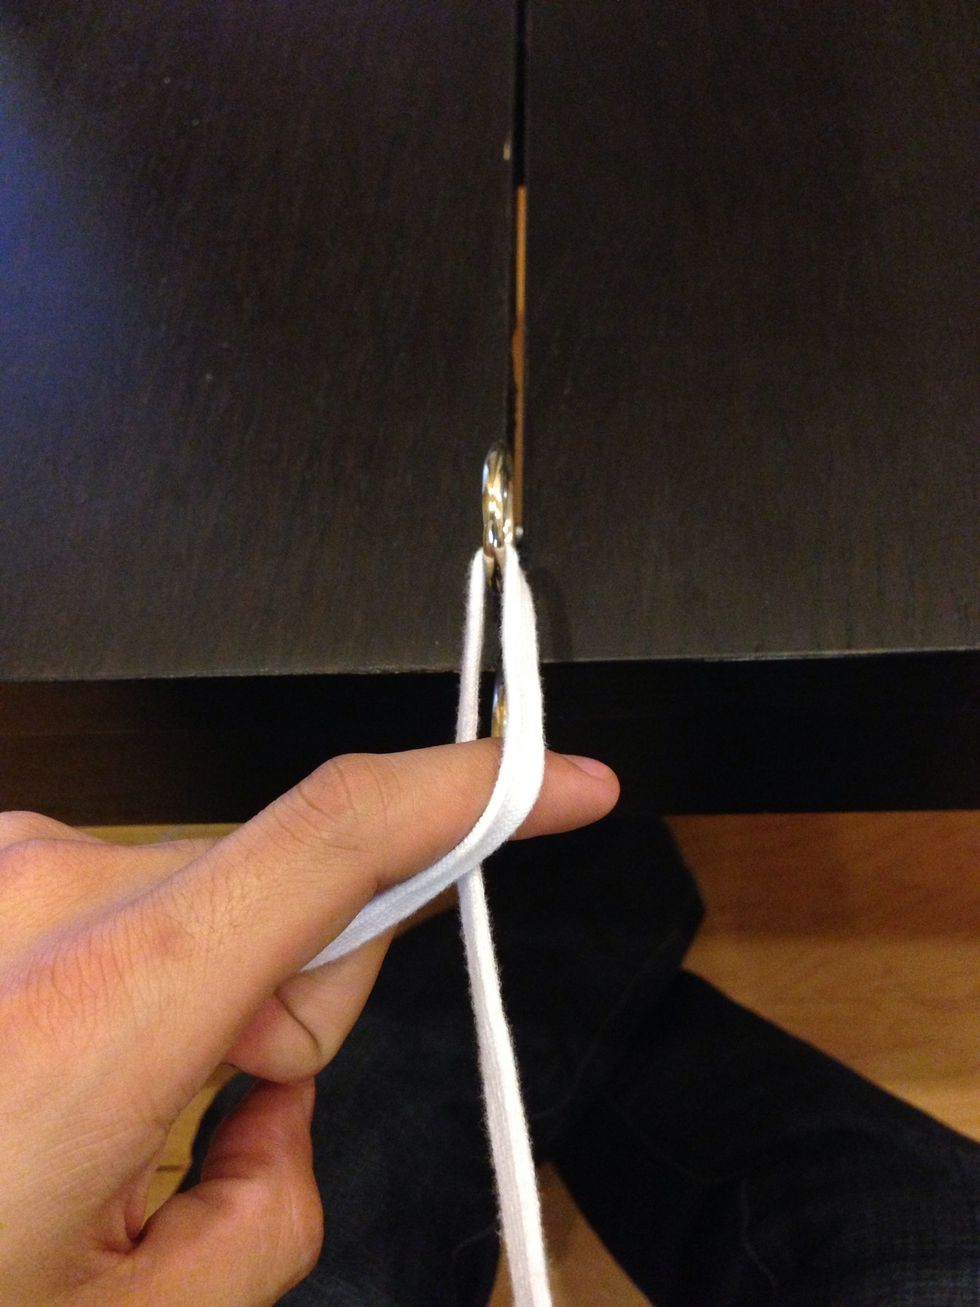
Face your palm down. Make sure the suture is on the lateral aspect of your index finger. Note the suture is now crossed at your index finger and not by the hook.
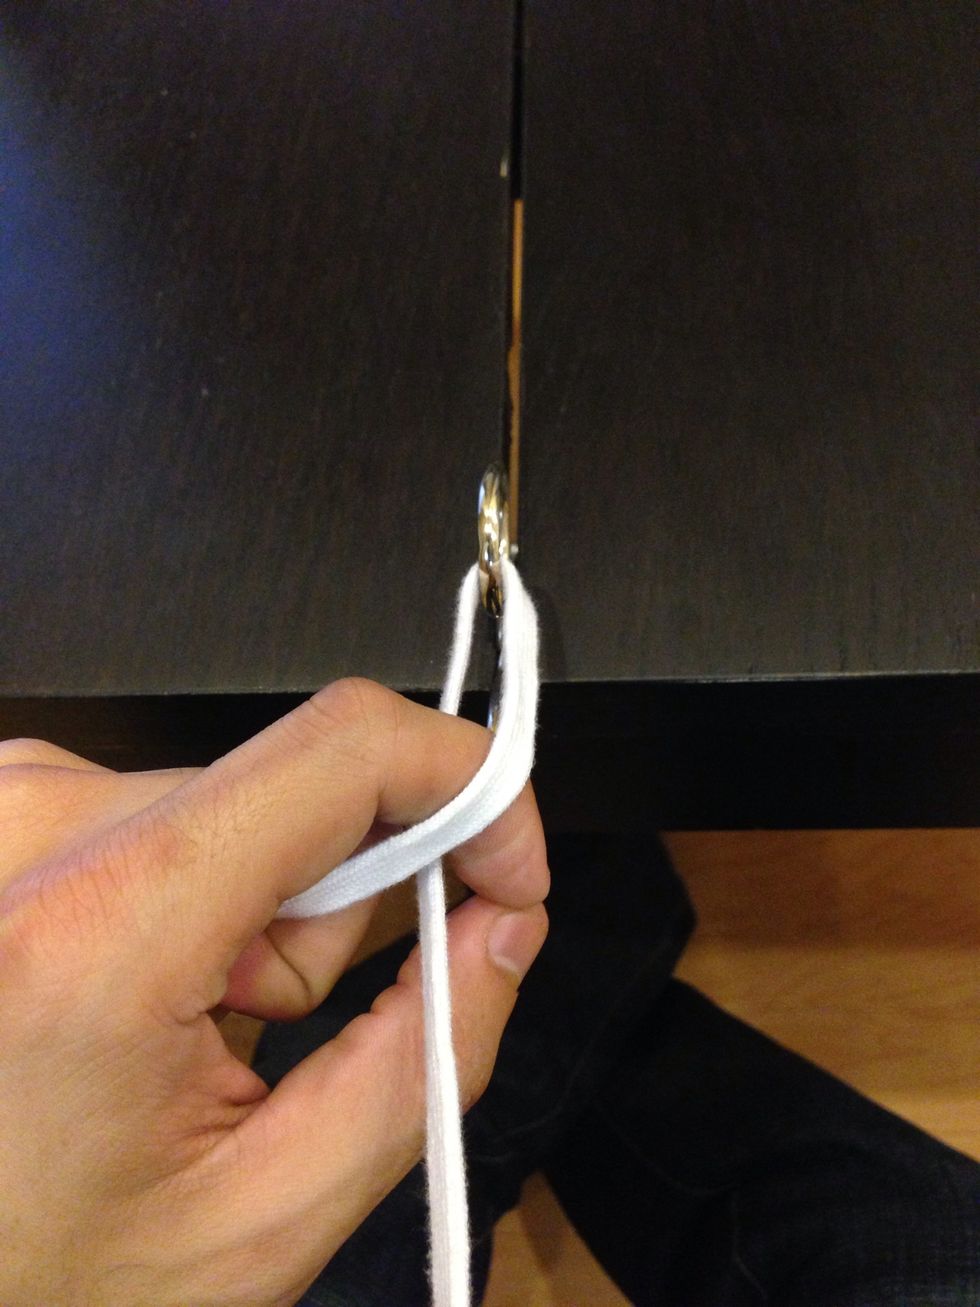
Pinch your finger tips. This will act as a "carriage" to "throw" the free suture end through the loop.

Now pass the thumb through the loop keeping the TIPS of your fingers together. This ensures that you keep tension on both parts of the suture to prevent knot slippage or "air knots" with each throw.
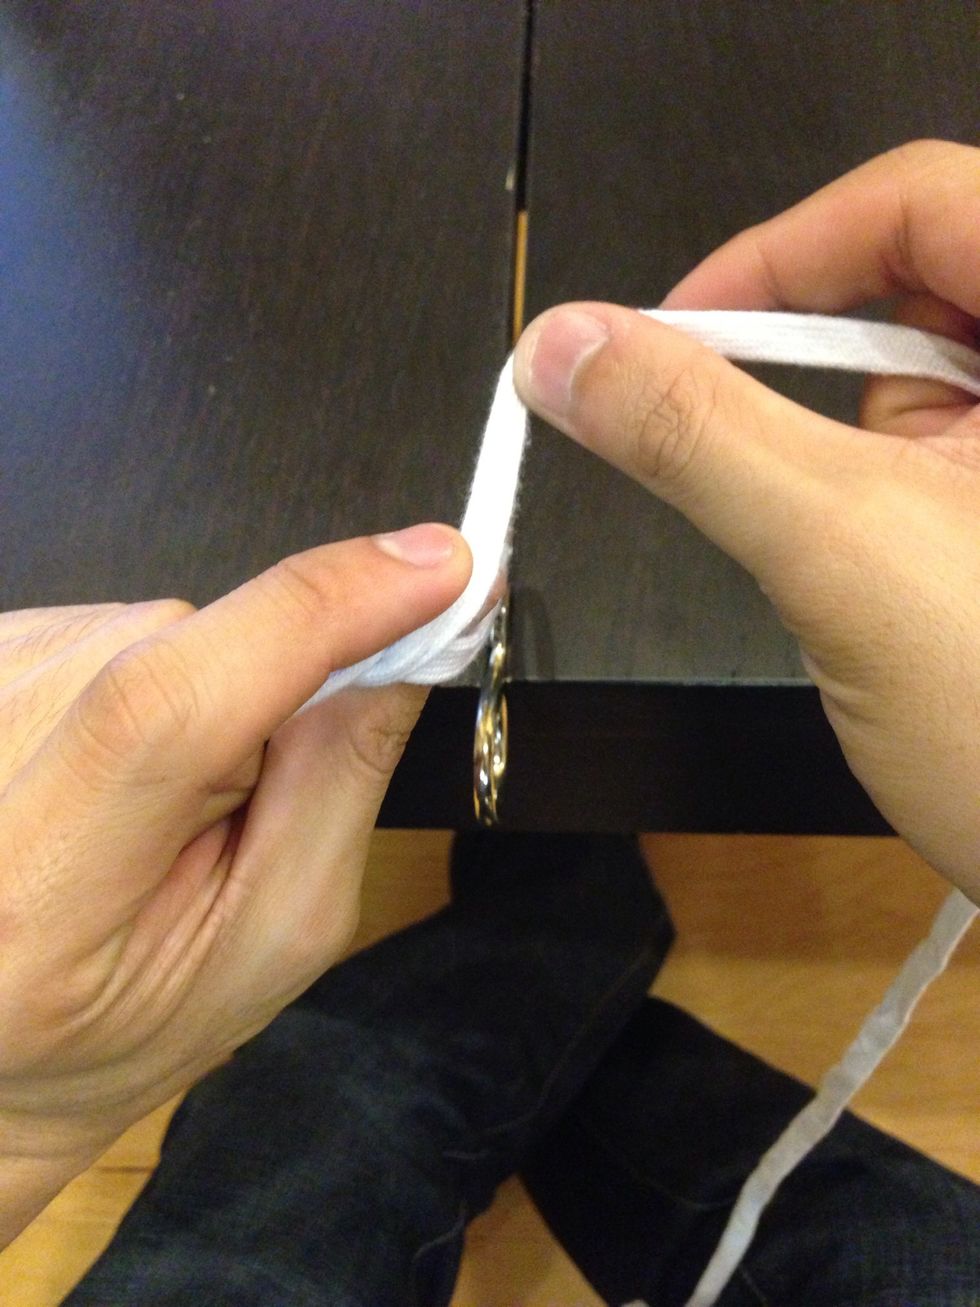
Pass the free end of your suture between your throwing hand's thumb and index finger.
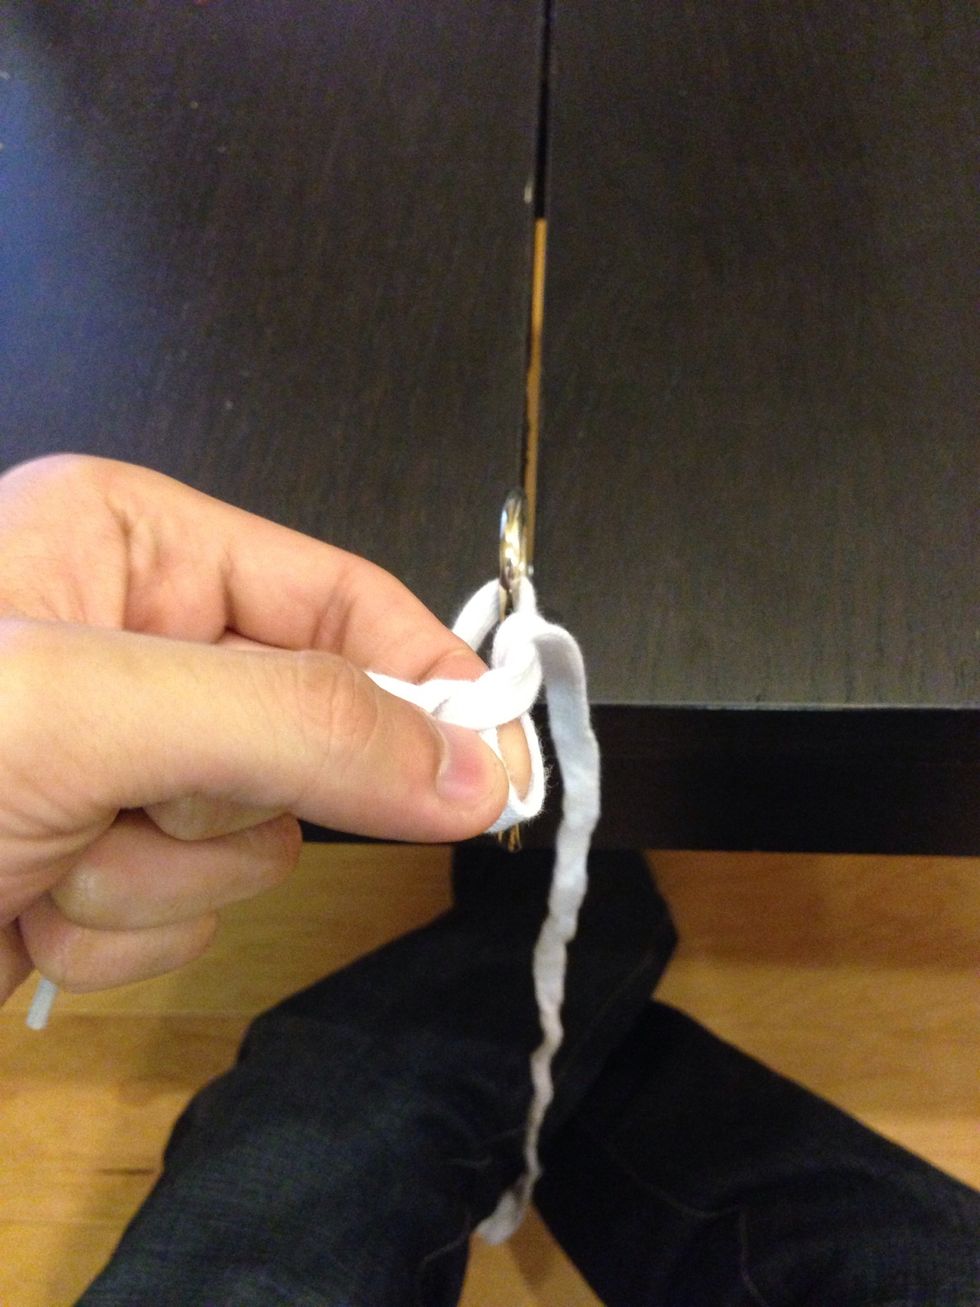
Pass the free end back through the loop. As you can see, the thumb/index finger acts as a carriage to guide the free end of the suture through the loop.

Pull the remaining free suture through the loop. Note that the knot is "flat". If it doesn't lie flat, you probably started this tie with the index finger while holding the string on "bottom".

Grab the free end with your non-throwing hand. While applying equal and opposite tension, push the knot down using your index finger on the suture approx. 1 cm from the knot.
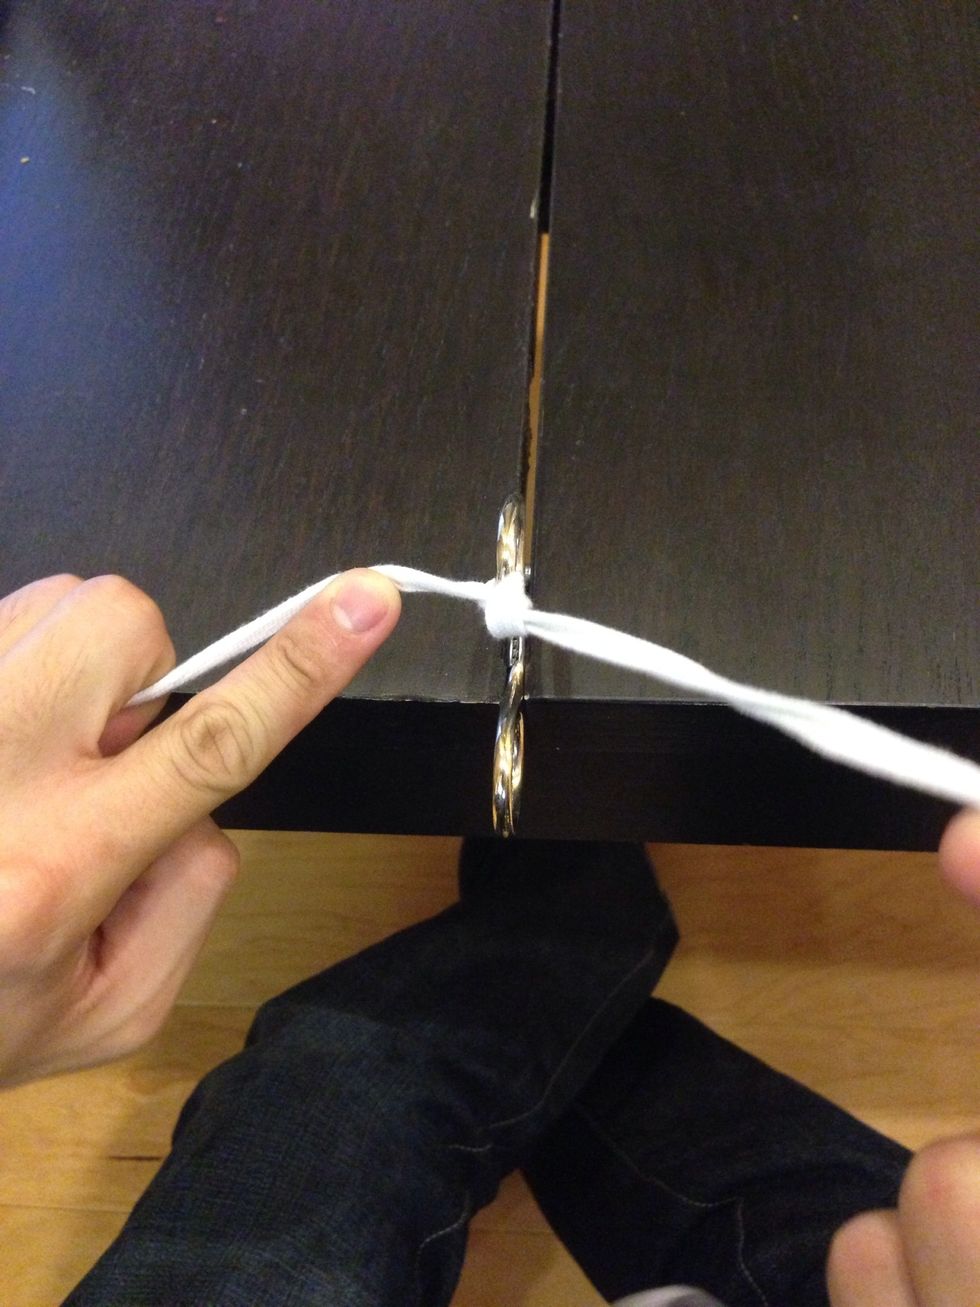
Cinch the knot down while maintaining tension in opposite directions, 180 degrees from each other, to minimize tension on the tissue.
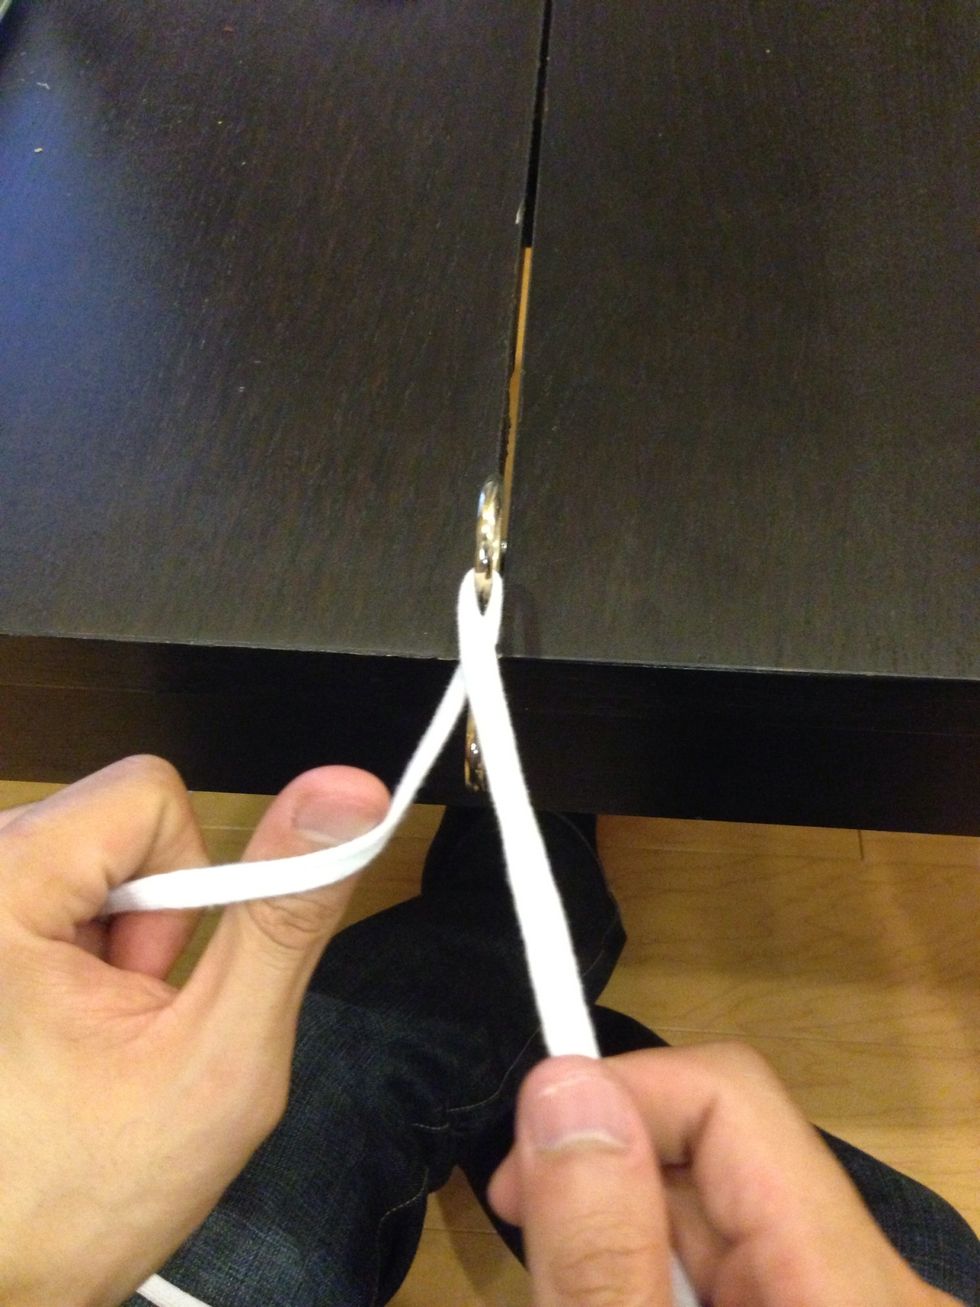
Now let's tie with your "throwing" hand holding the suture on the "bottom". Note that the suture is crossed by the hook. RULE: IF THE THROWING HAND HAS THE SUTURE ON BOTTOM, START WITH THE THUMB.

Externally rotate your thumb (clockwise with the left hand) around the suture so it rests on the lateral part of your thumb. Lay the free end of the suture across. Note it's crossed at the thumb now.
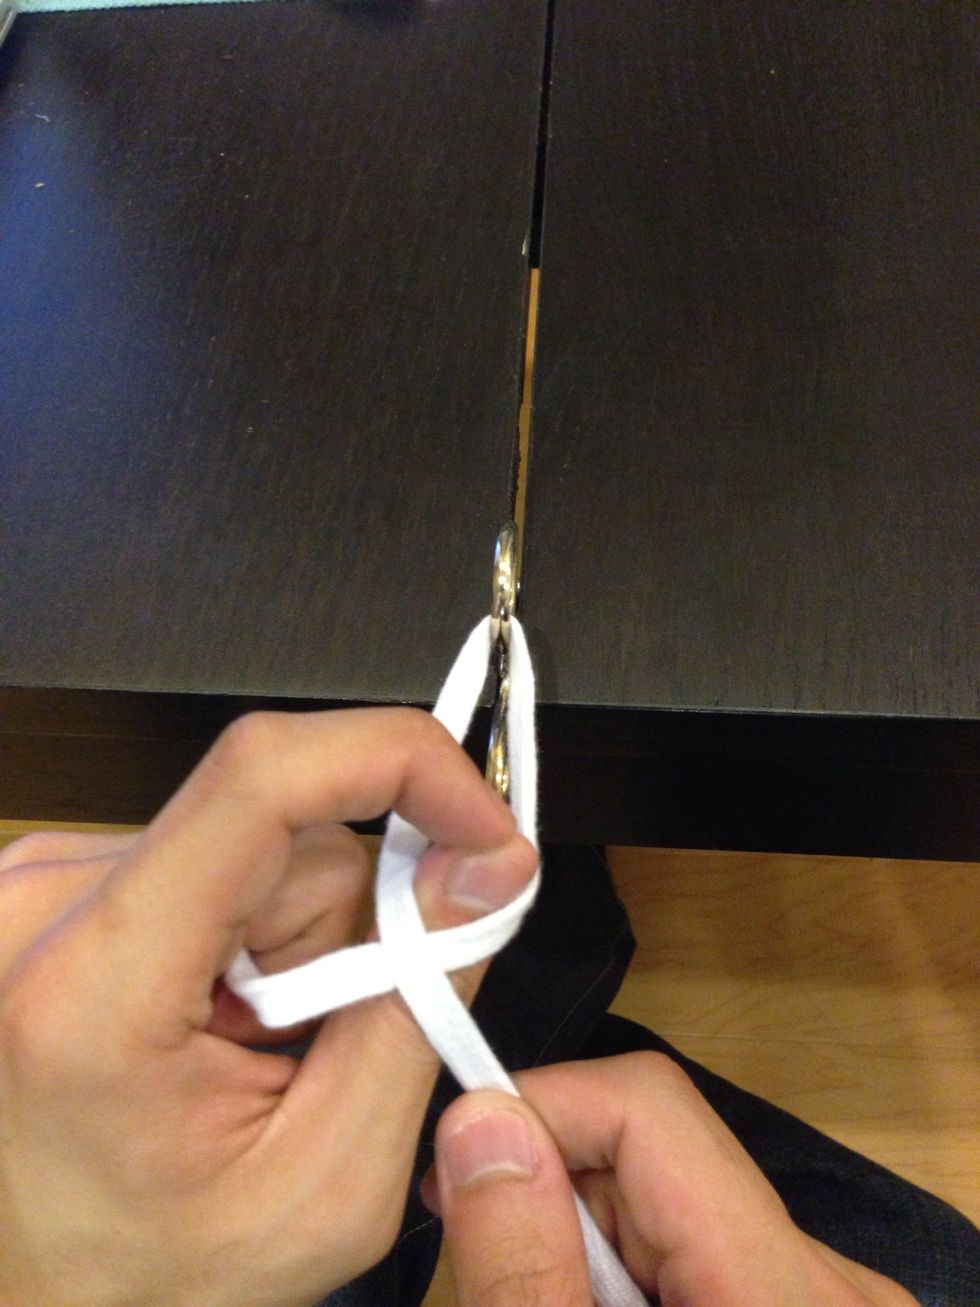
Pinch the TIPS of your thumb and index finger.
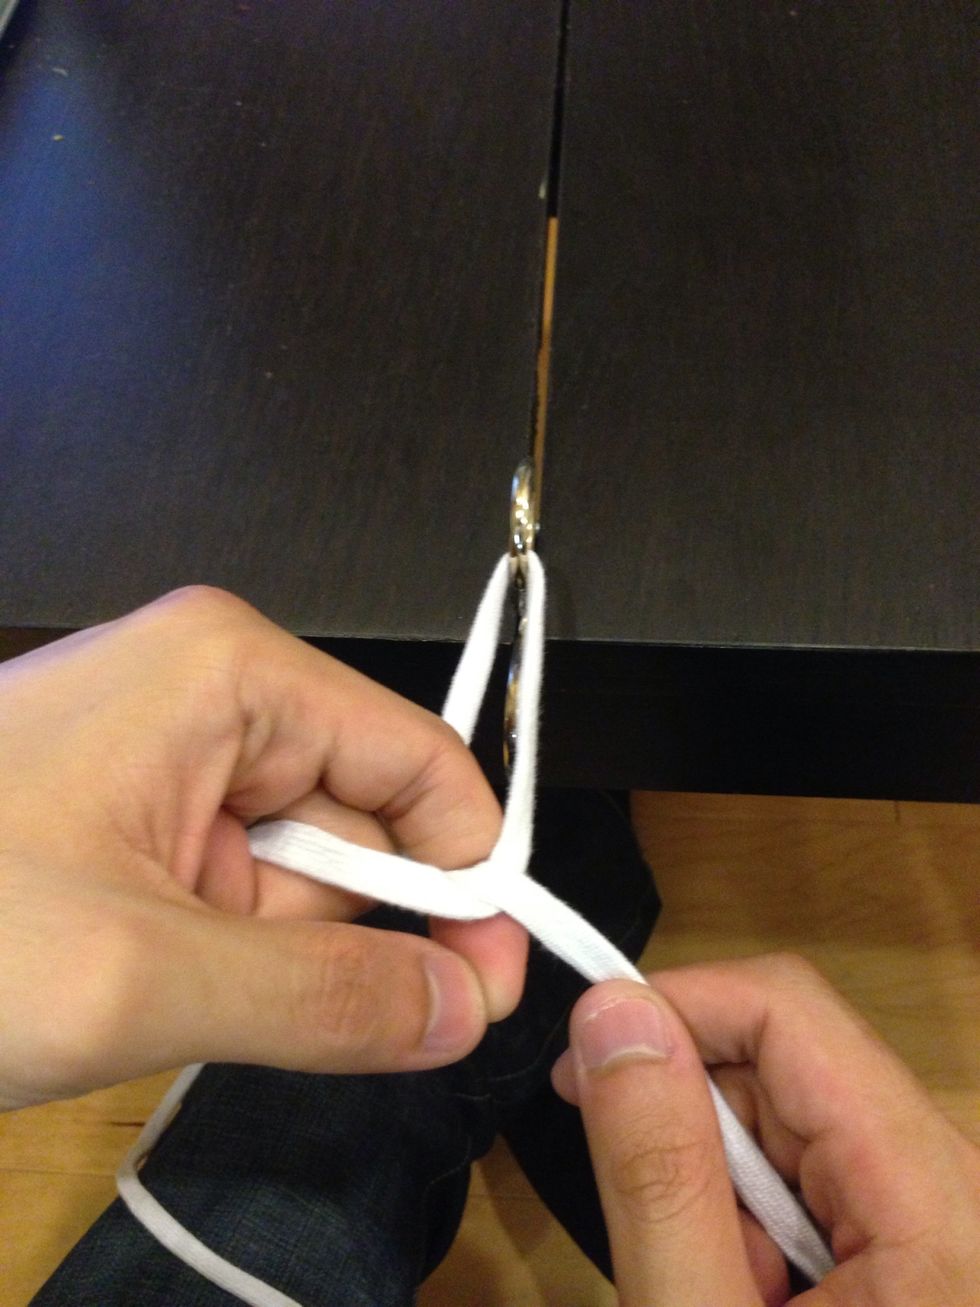
Retract your thumb and pass your index finger instead. Note that the tension of both parts of the suture now rest on the index finger. This constant tension is one advantage of tying with two hands.
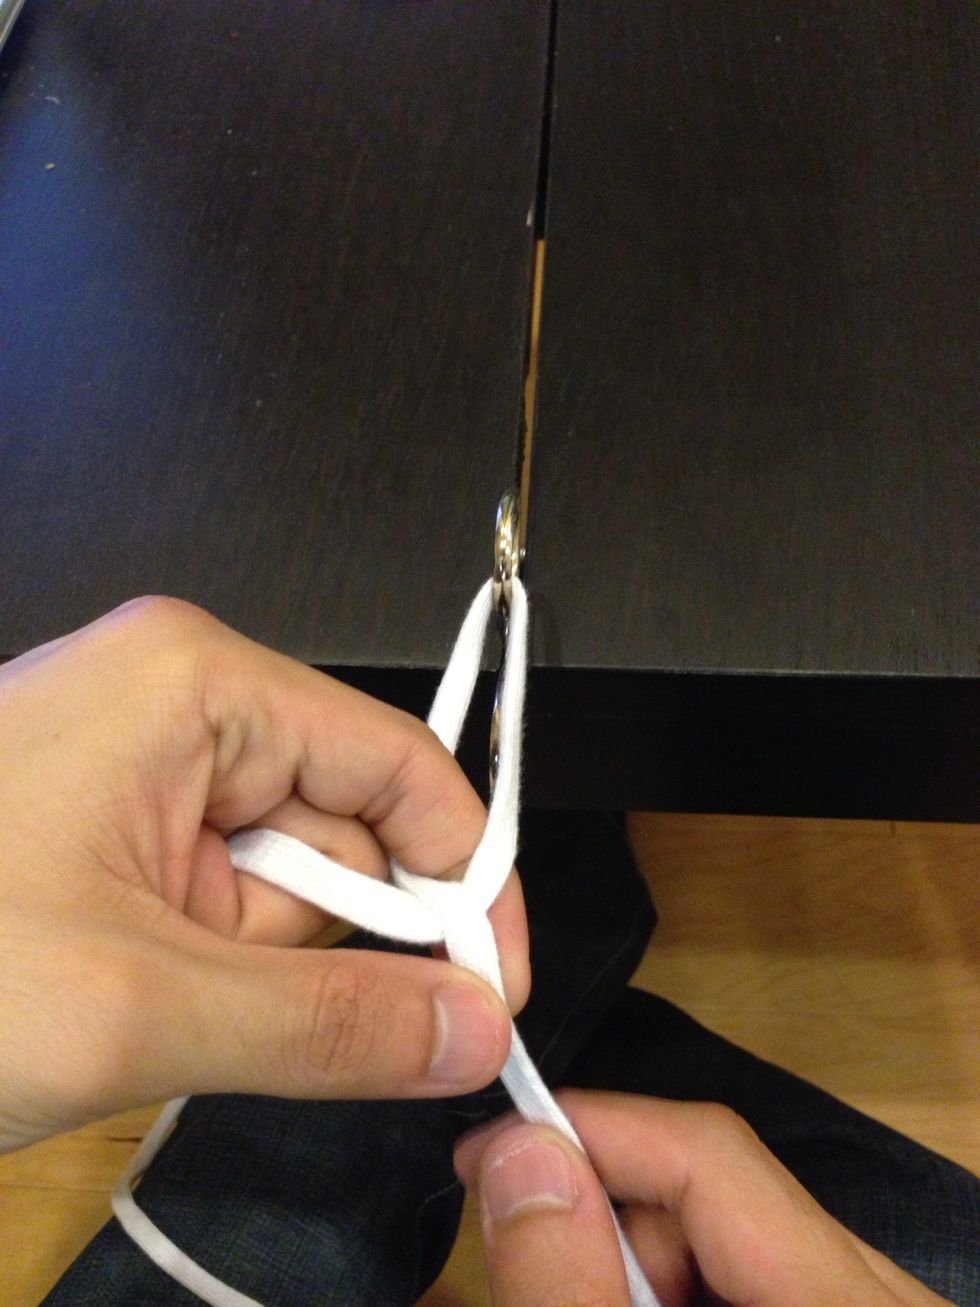
Pass the free end of the suture to the index finger and thumb of the throwing hand.
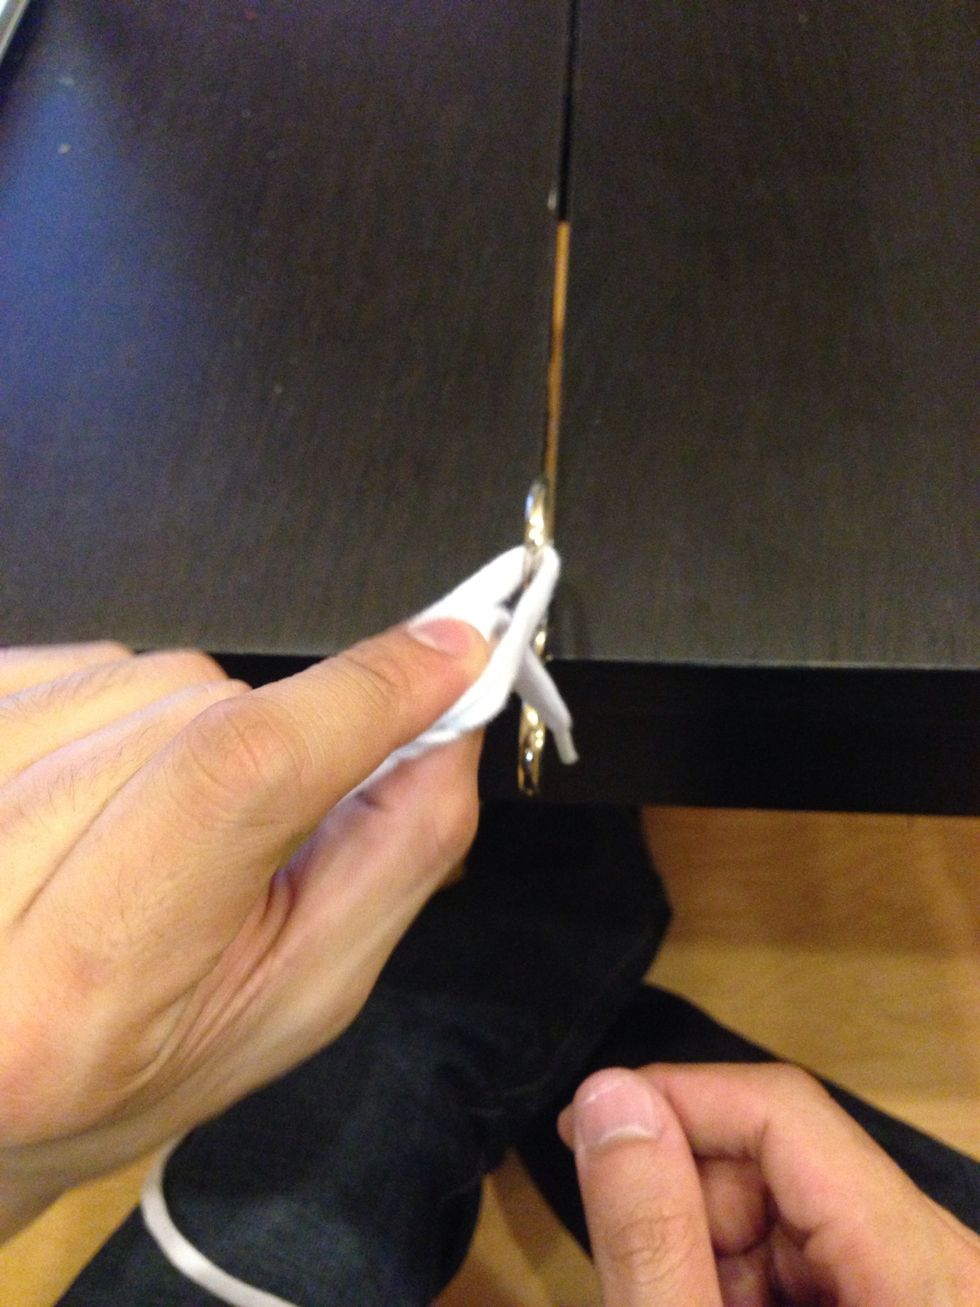
Now pass the free end of the suture back through the loop.
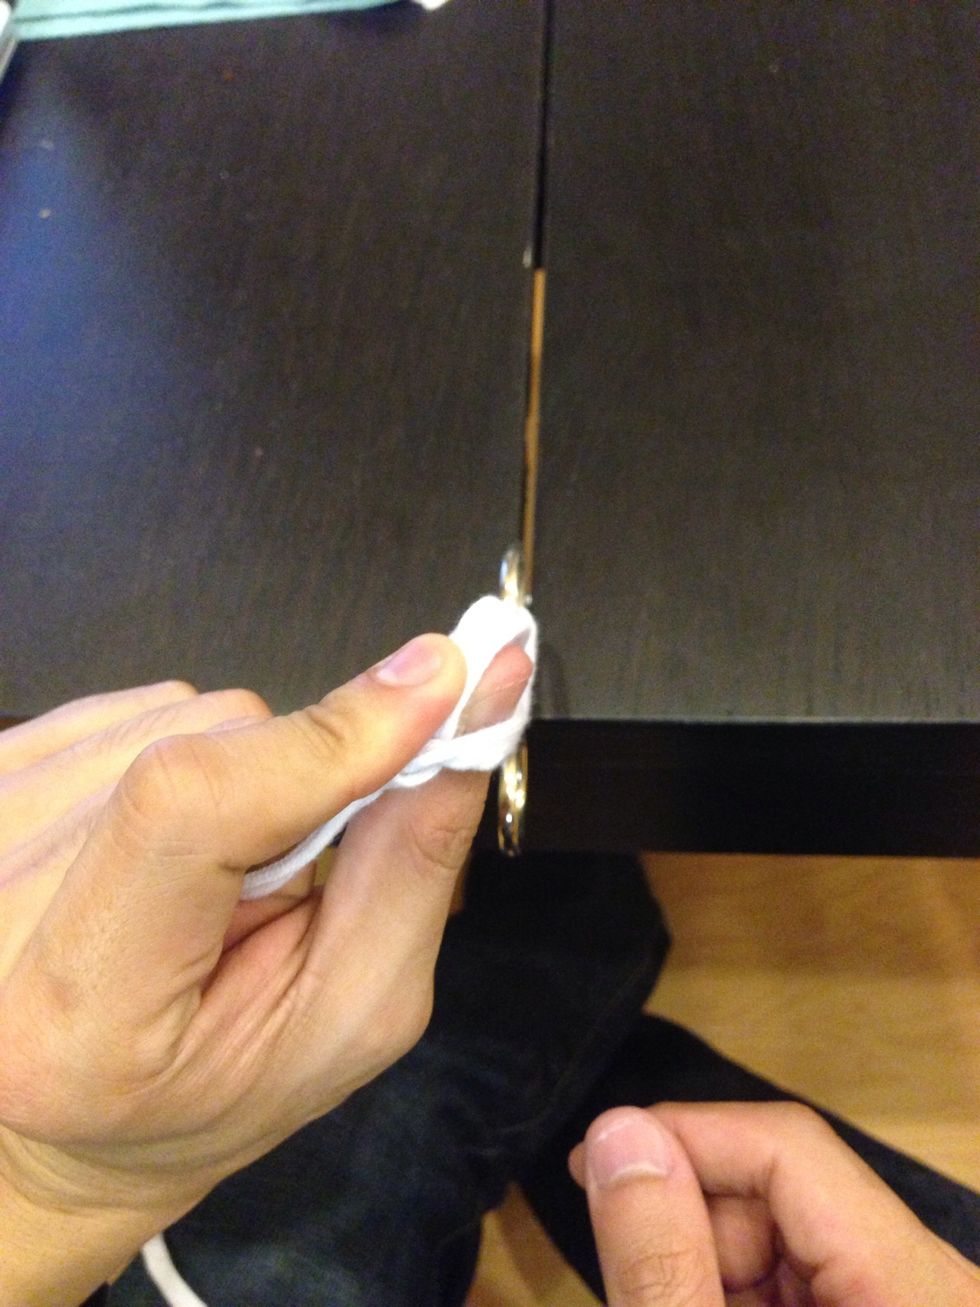
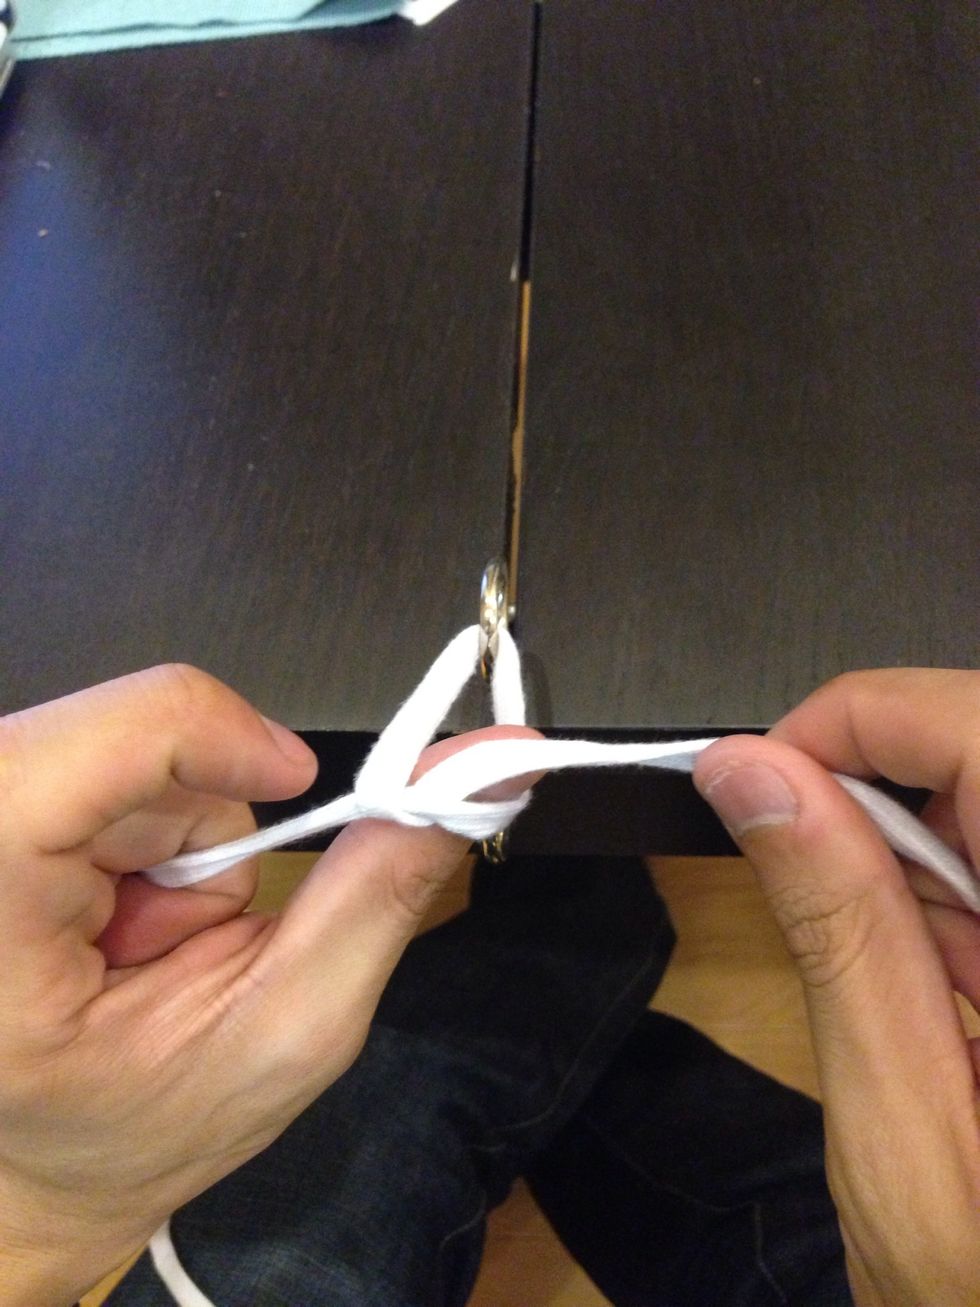
Grab the free end of the suture with your non-throwing hand. Note that the knot is "flat". If it doesn't lie flat, your probably started this tie with your thumb while holding the string on "top".

While applying equal and opposite tension, push the knot down using your index finger on the suture approx. 1 cm from the knot.
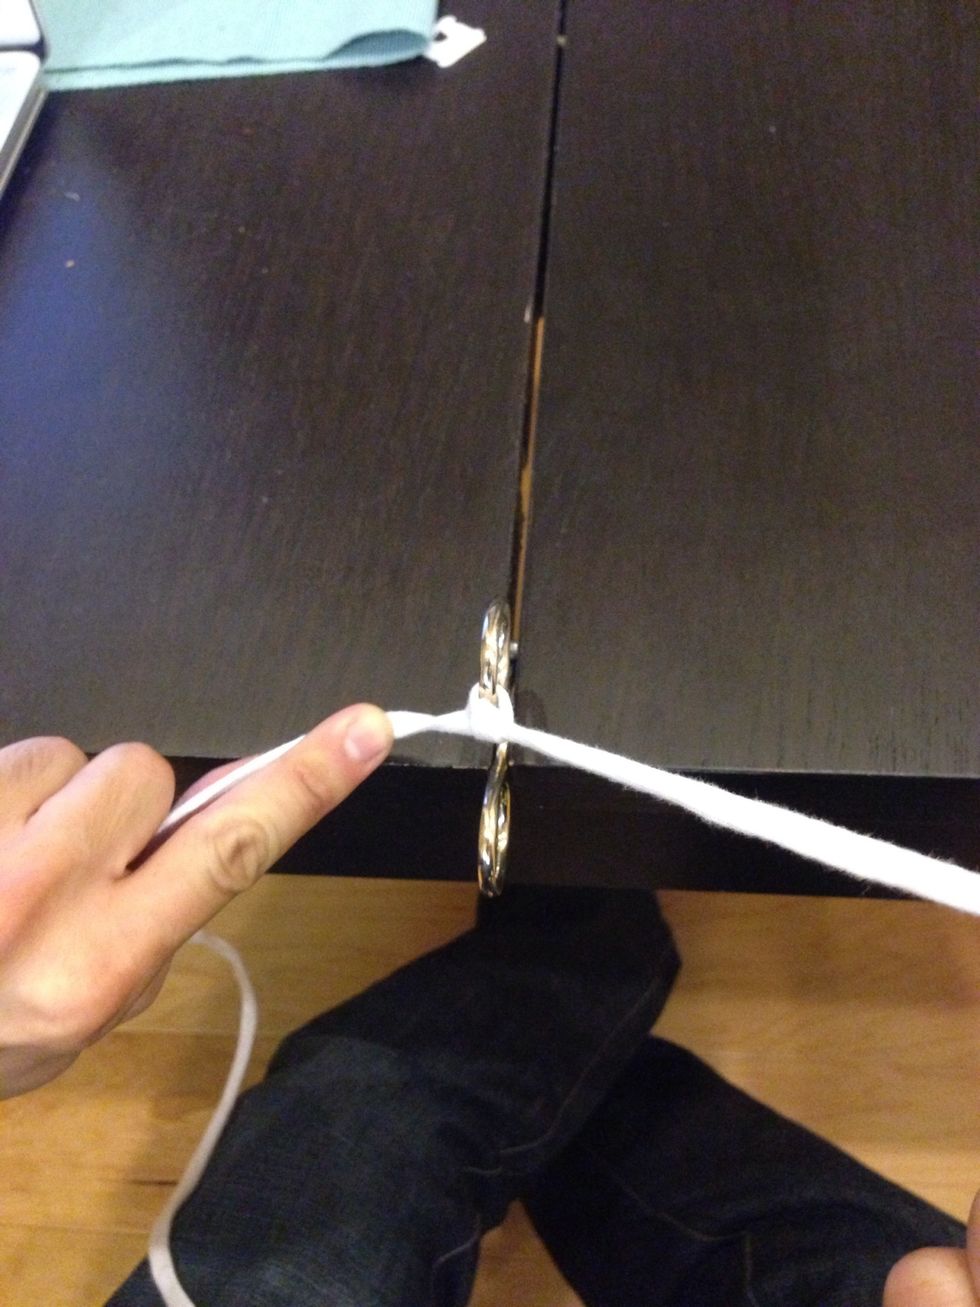
Cinch the knot down while maintaining tension in opposite directions, 180 degrees from each other, to minimize tension on the tissue.
Continue alternating with the suture on "top" and on "bottom" techniques to make all knots "square". Mirror these steps with your right hand to be ambidextrous. "There is no one-handed surgeon."
One advantage of the two hand tie is easily throwing a "Surgeon's Knot". This is a secure knot usually thrown first when there is opposing tension from the tissue increasing the risk of an "air knot".
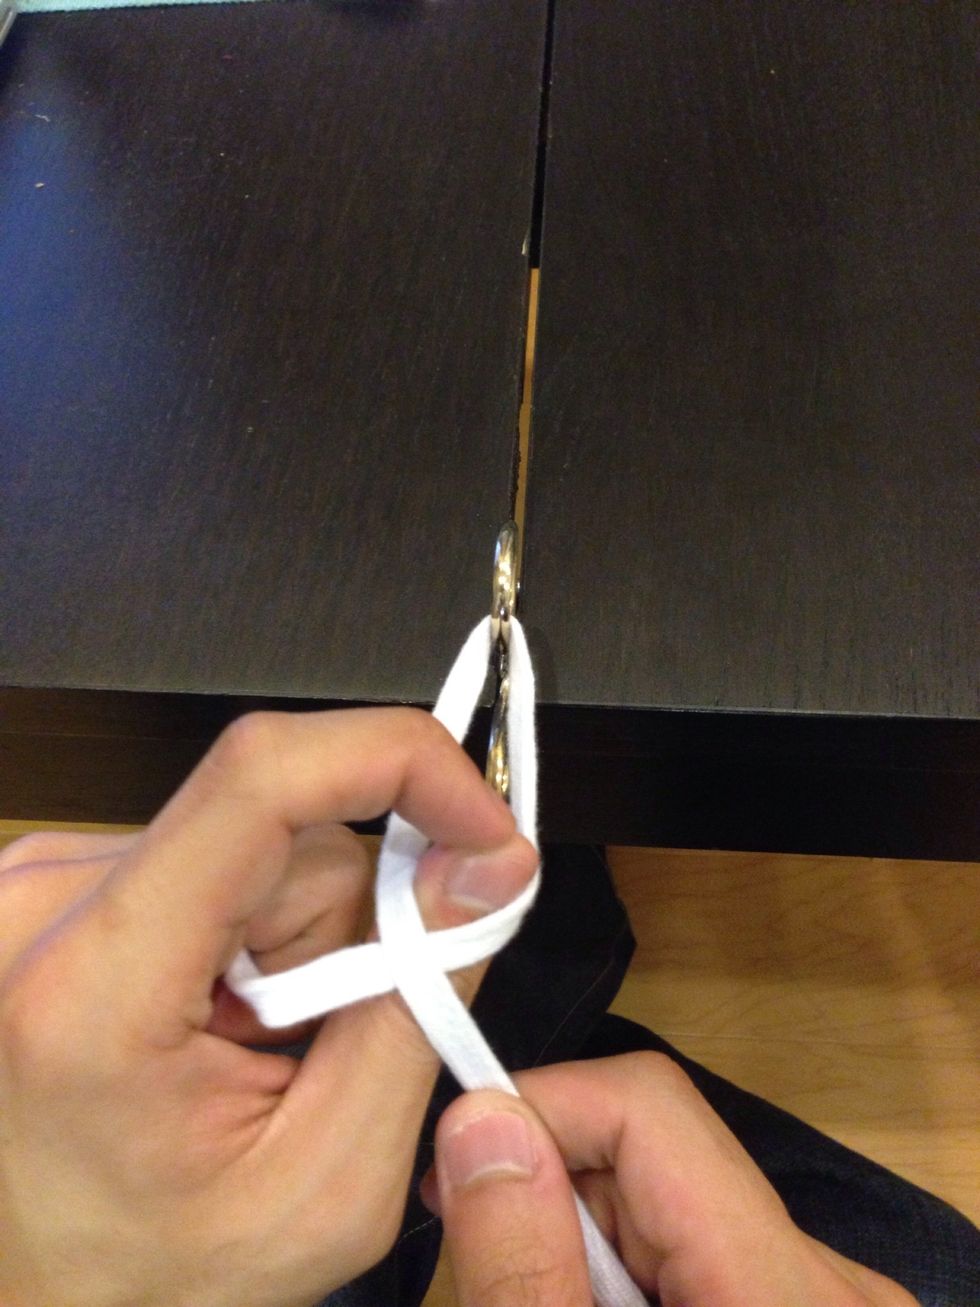
Just like in the two hand tie, you do the same steps...
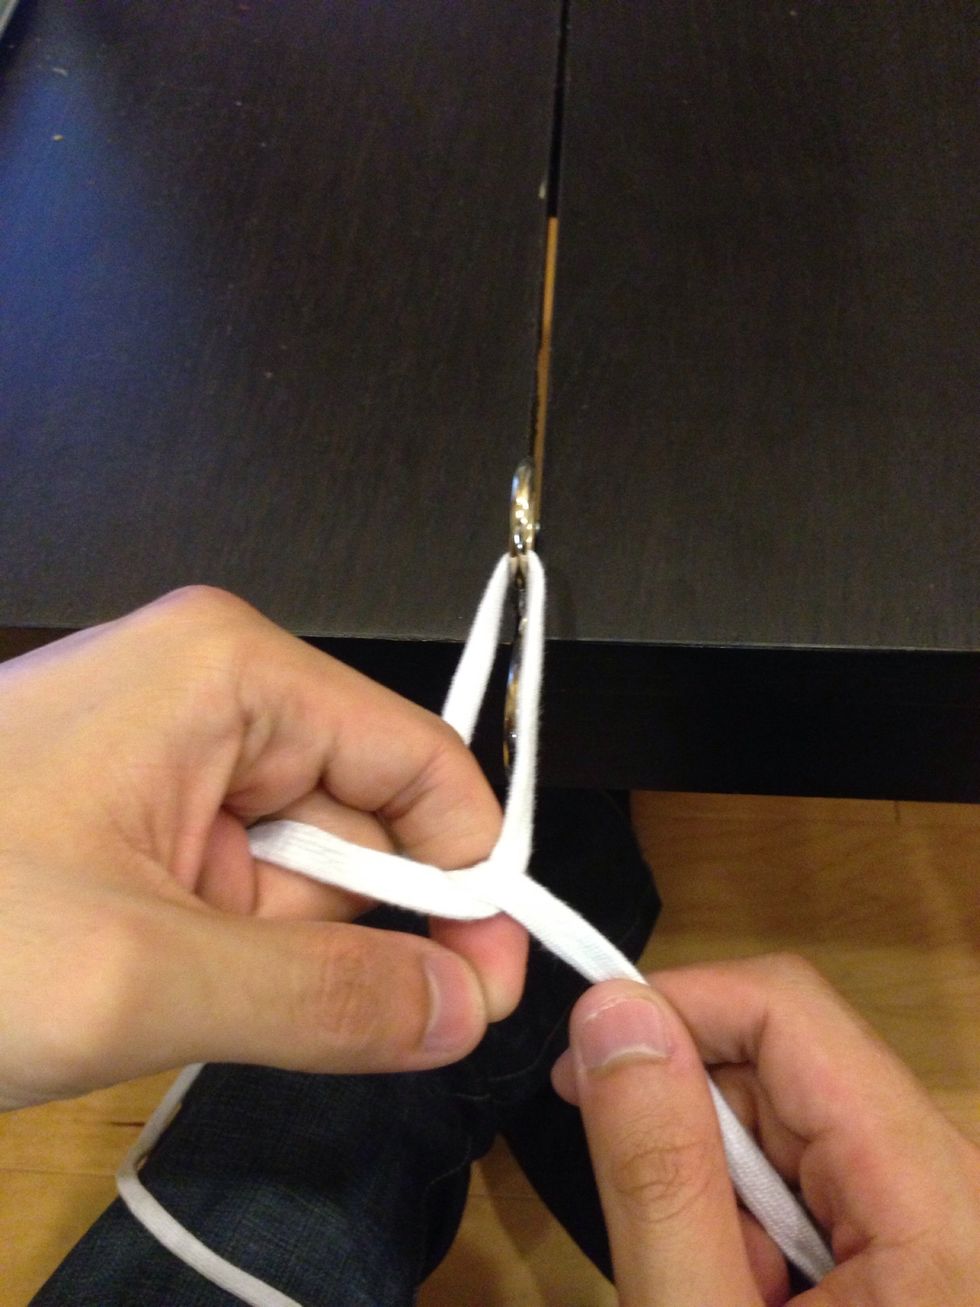
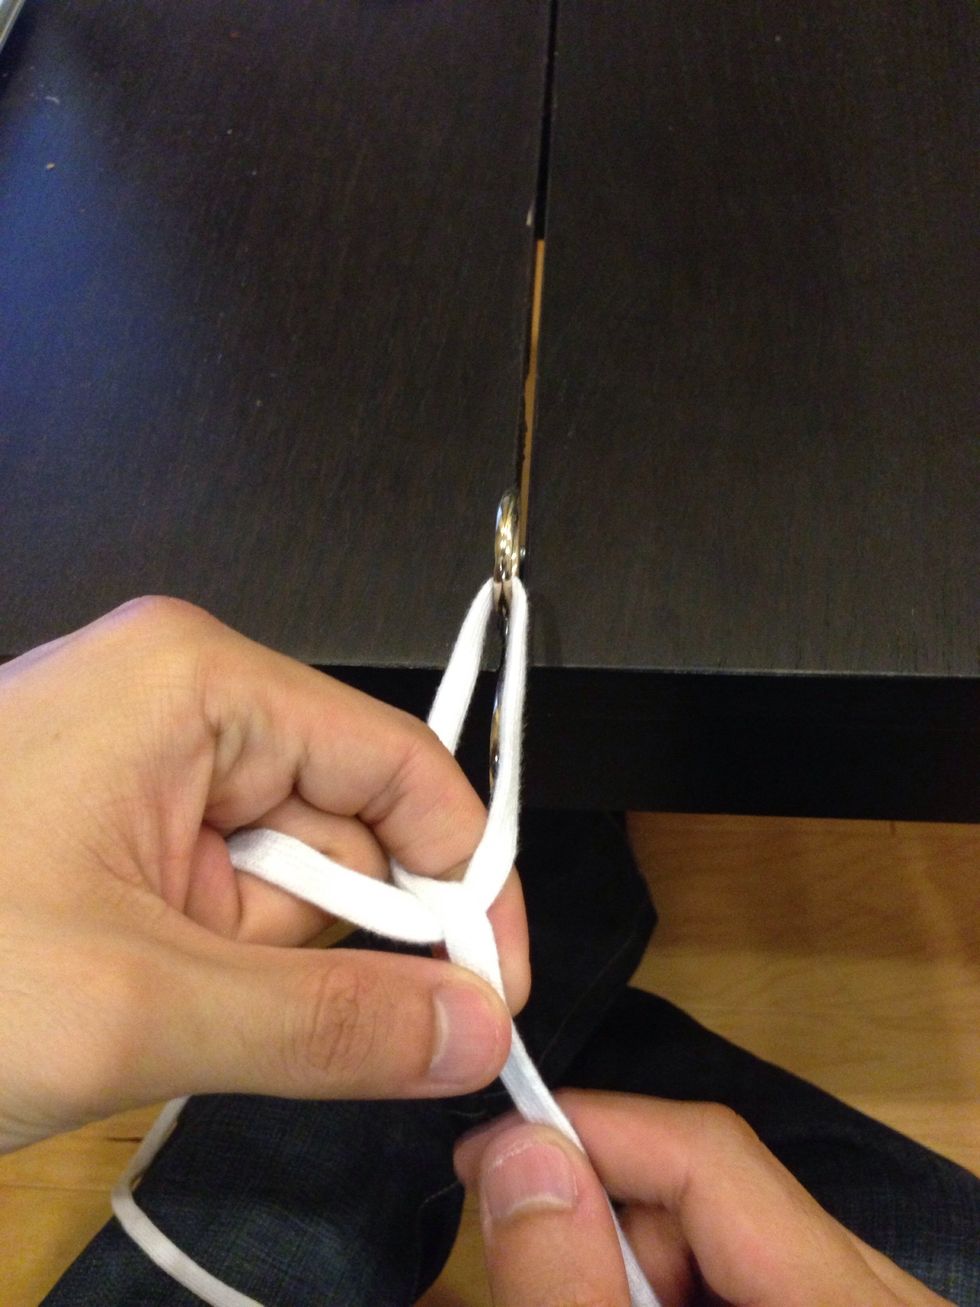
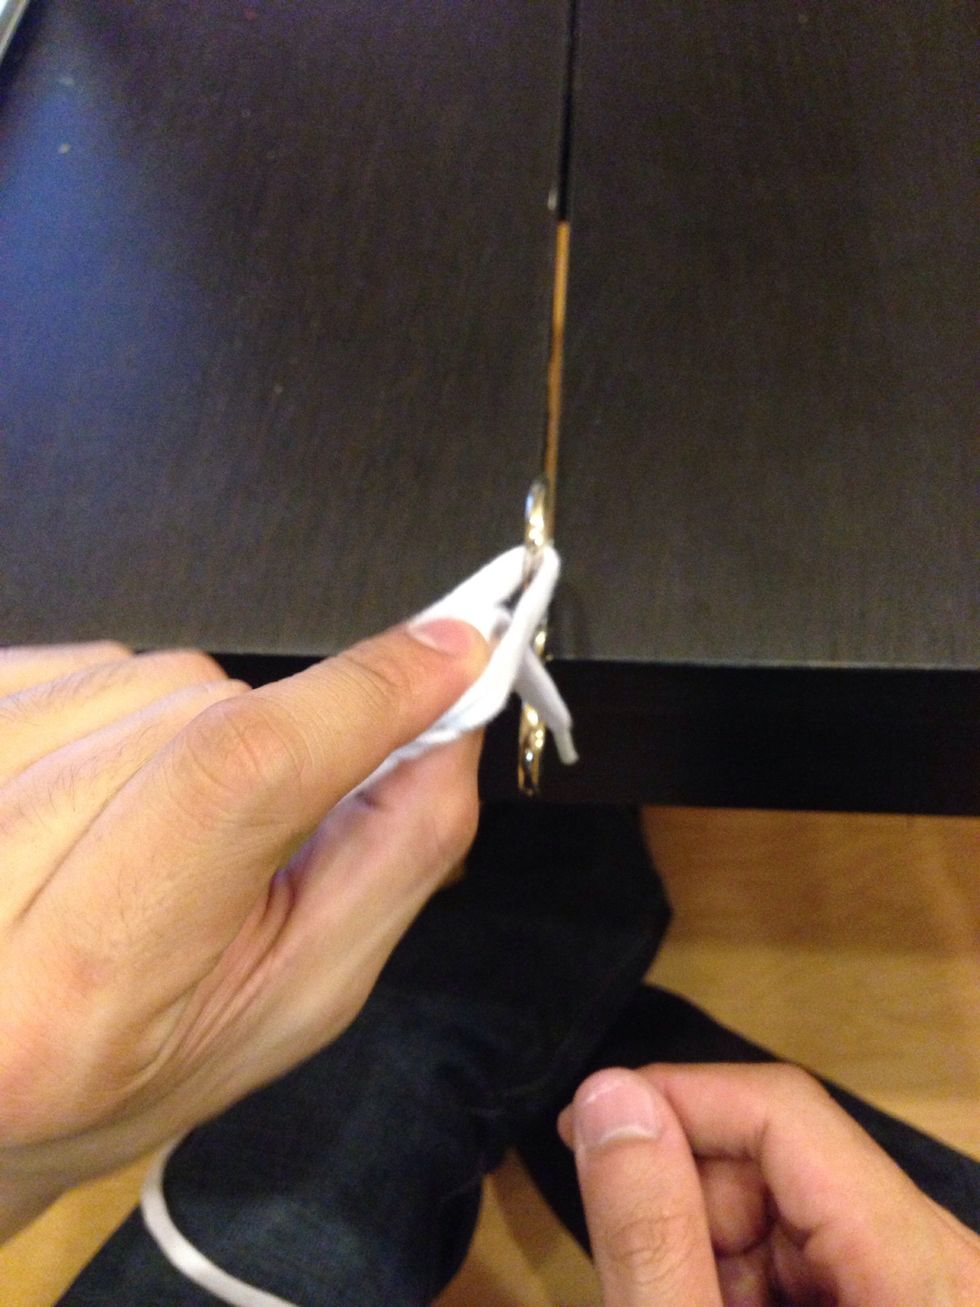
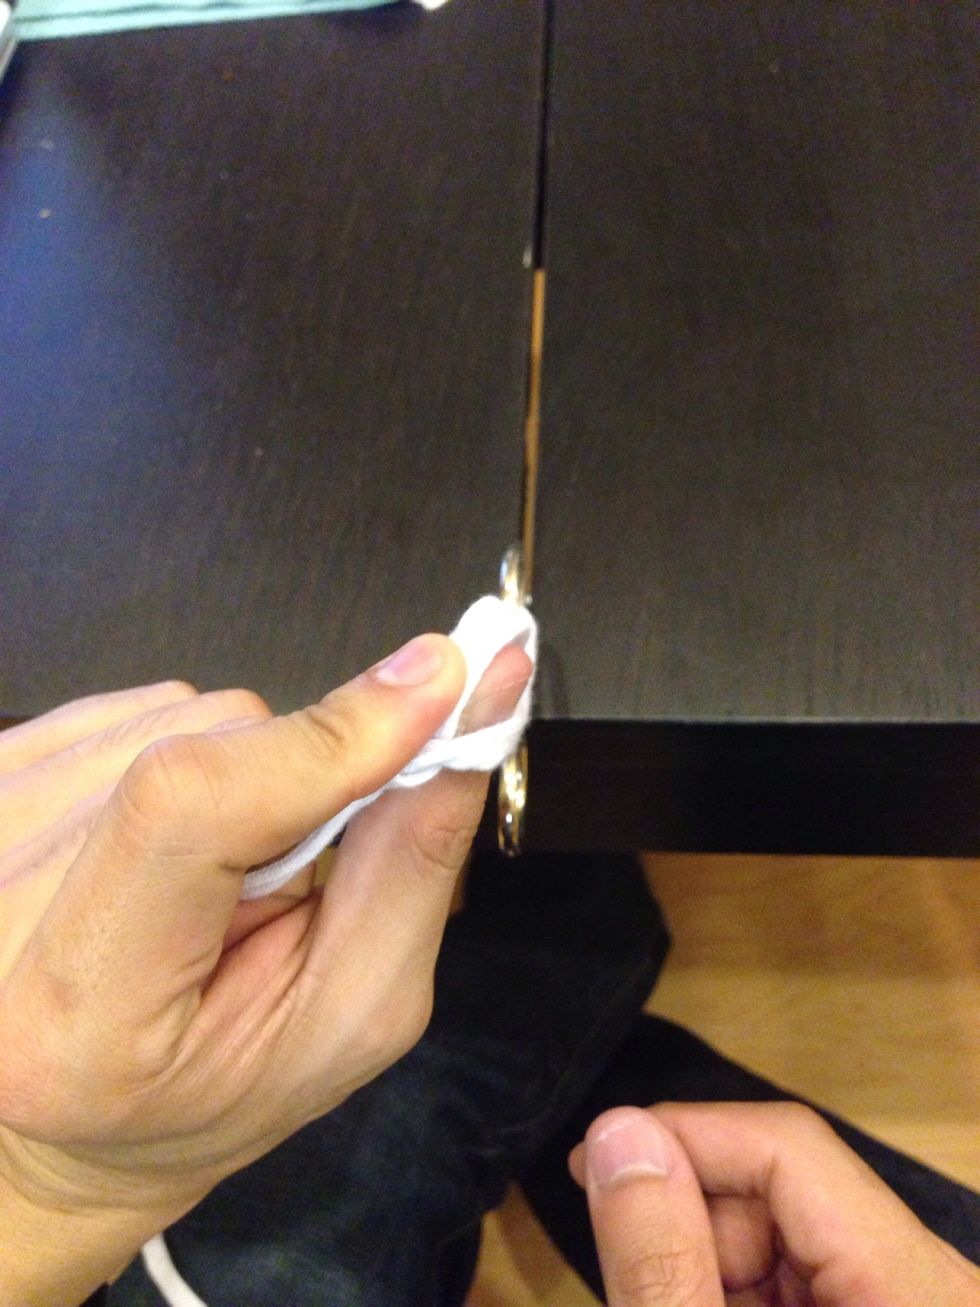

... However with a Surgeon's Knot, you repeat the same steps again to throw the free end through the loop one more time.
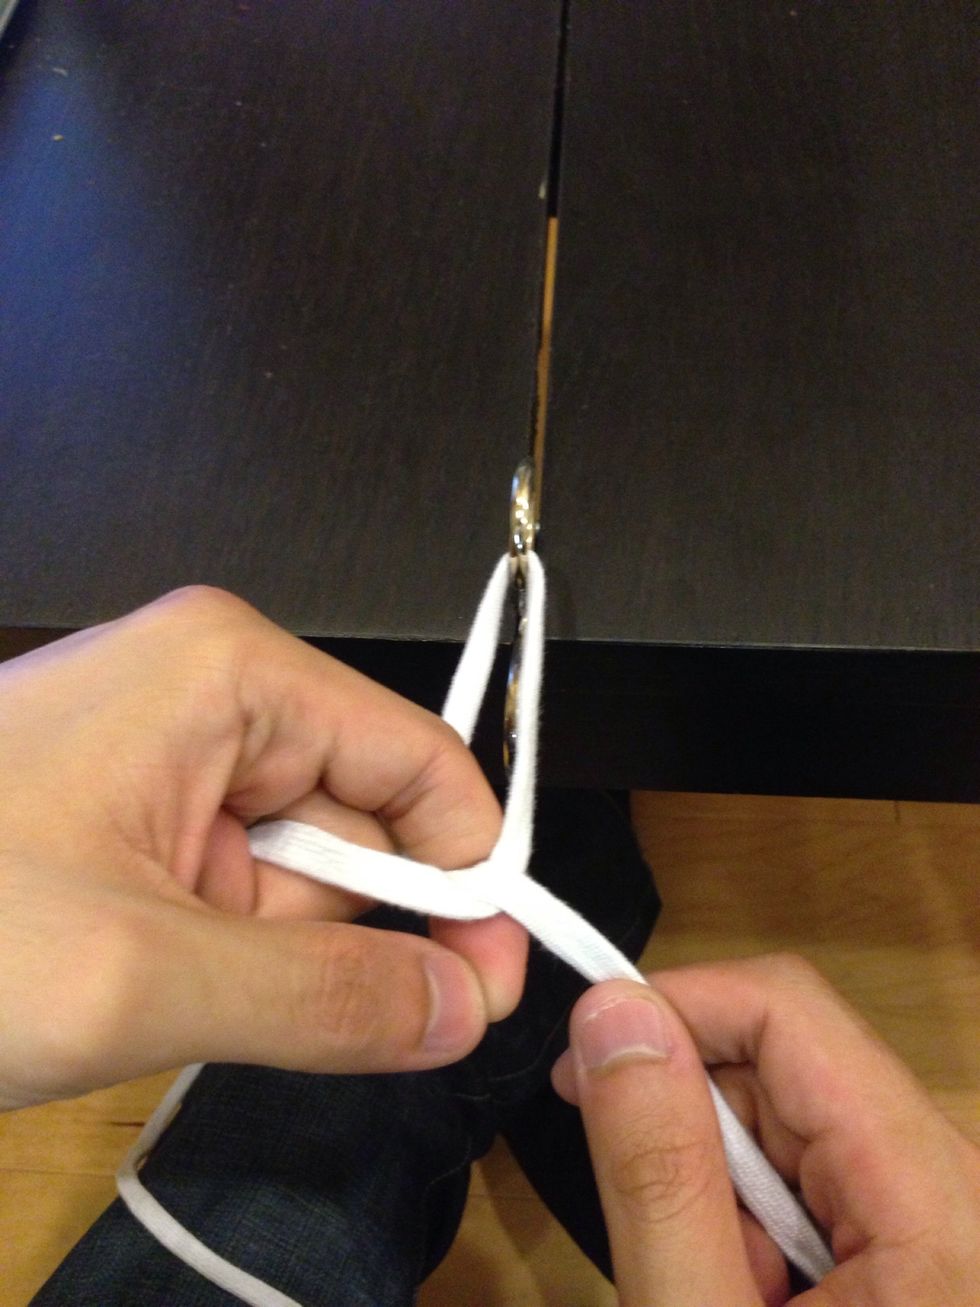
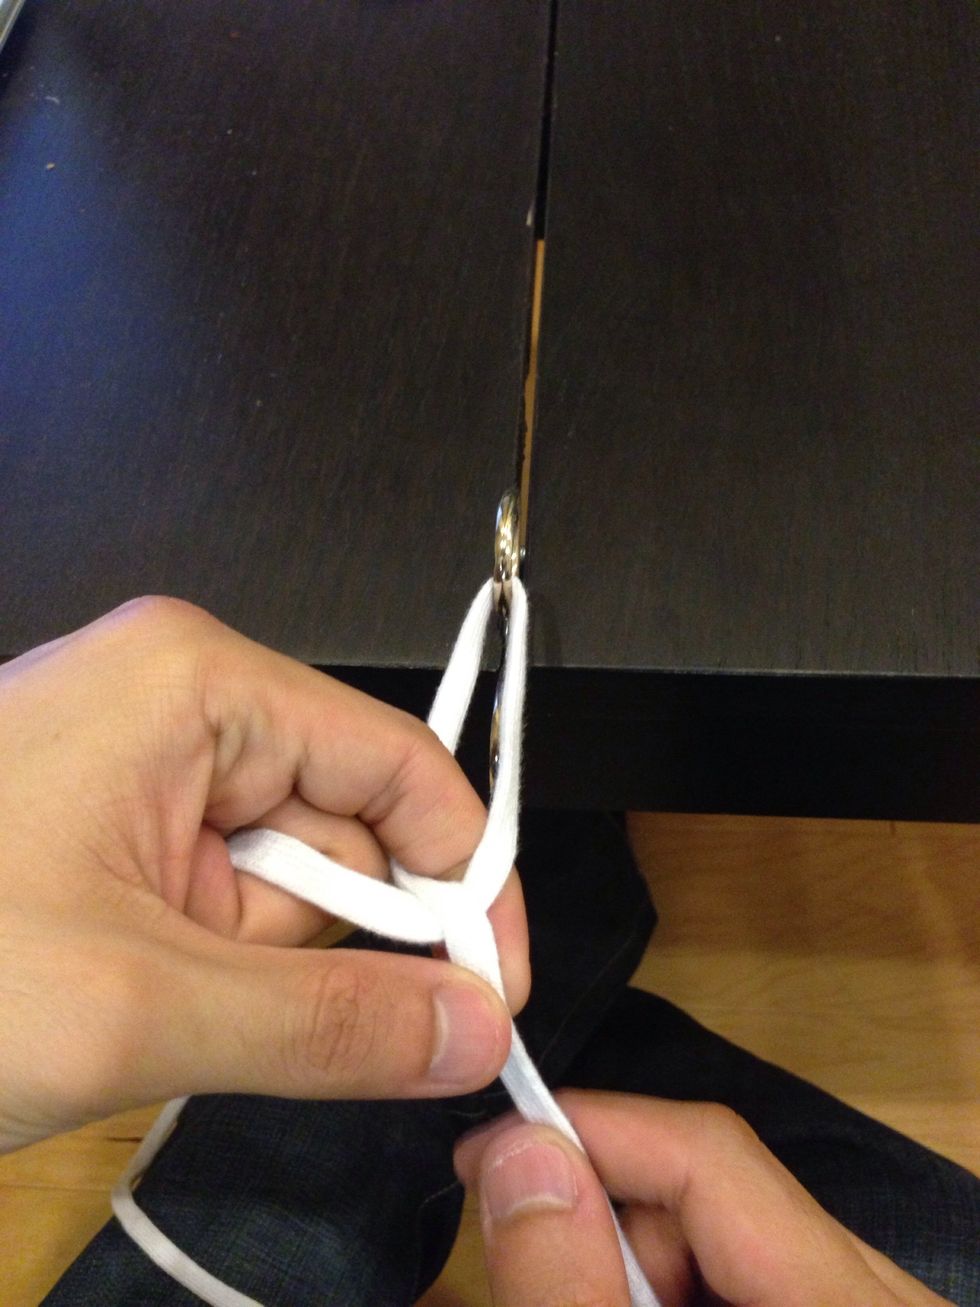
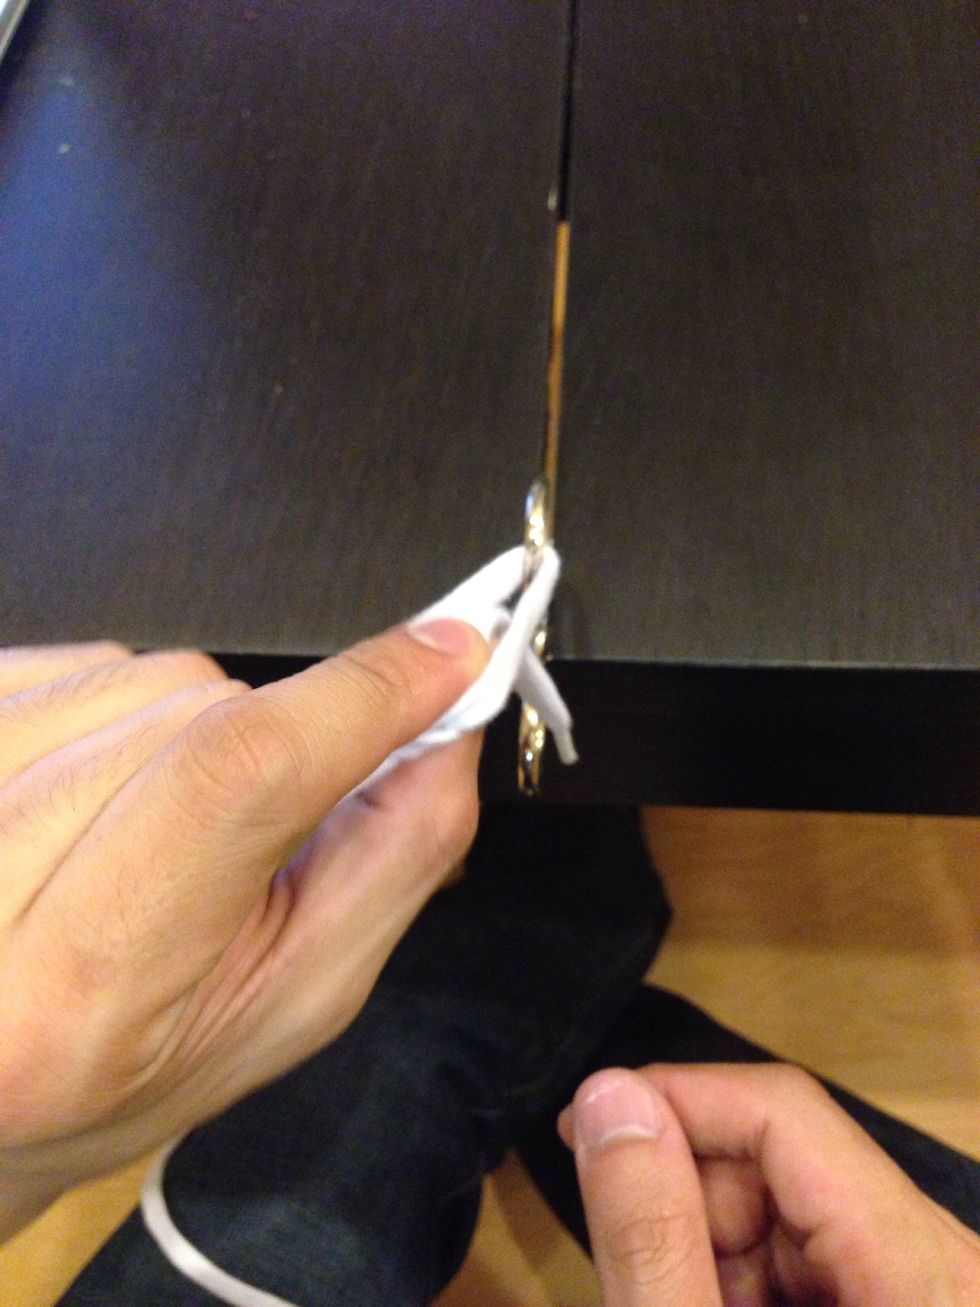
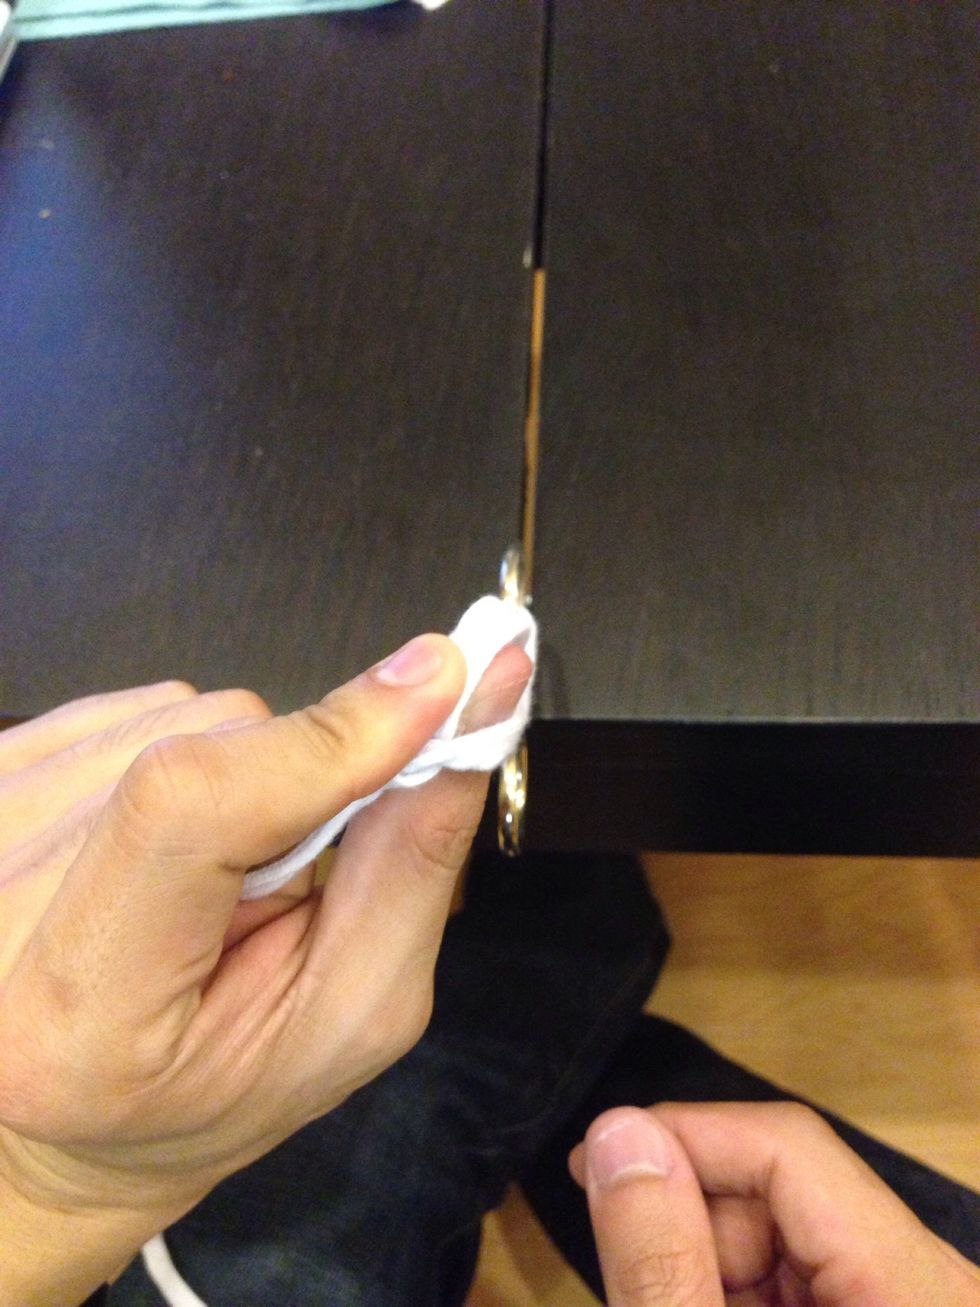
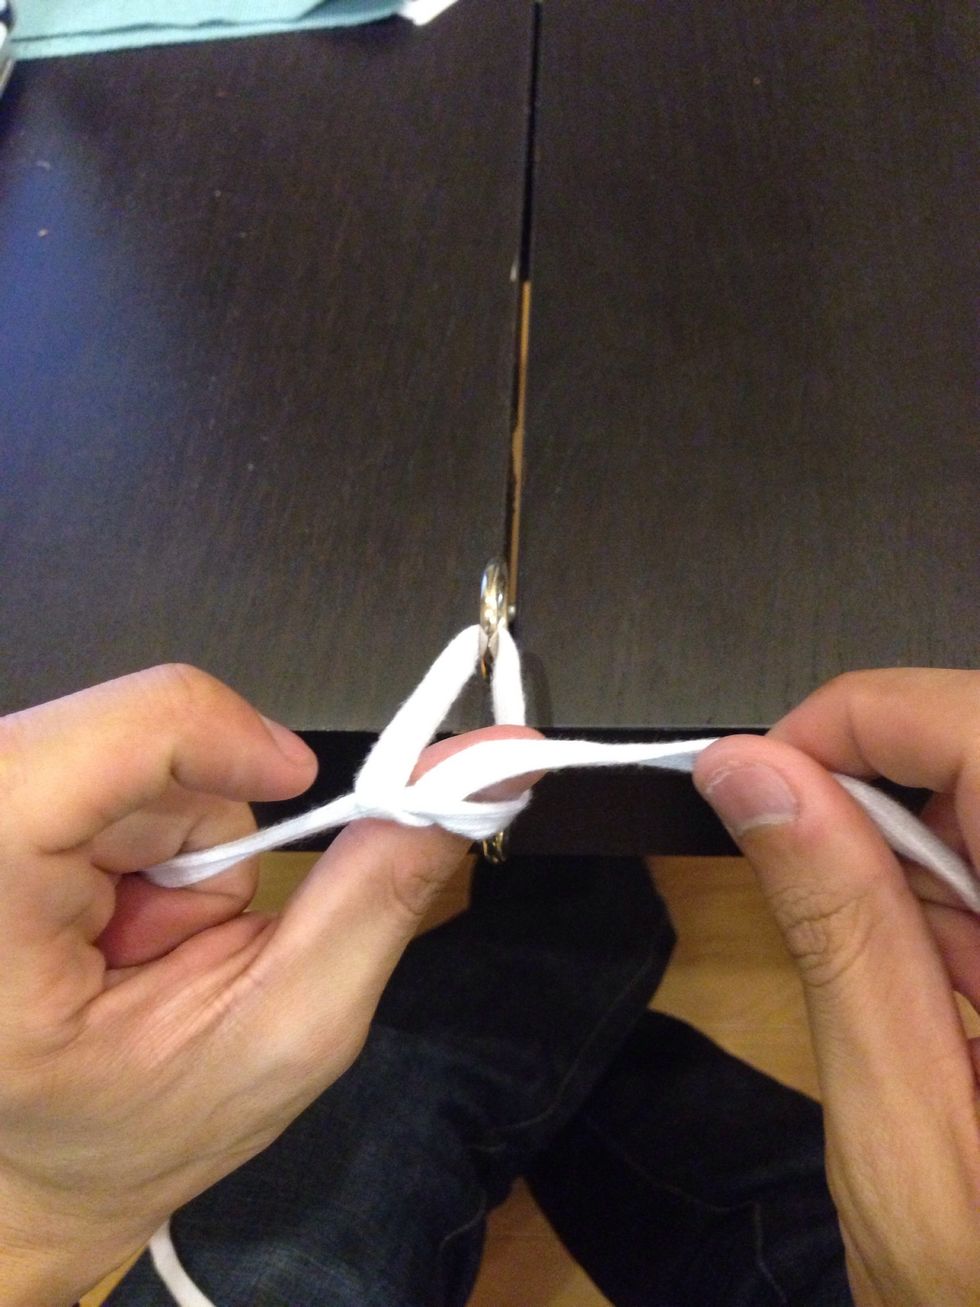
Then you will cinch the knot just as before. Again this tie is good for minimizing "air knots".
An alternative secure tie can be performed by throwing two knots in the same direction (eg. tying with your index finger twice). This is called a "Granny tie as the second knot will slip down.
Practice! Practice! Practice! Now that you know the steps, follow the rules mentioned in this guide and you won't need to just rely on "muscle memory". You should be able to rationalize it!
- Suture
- Shoelace
- Any string-like material
The Conversation (0)
Sign Up