The Conversation (0)
Sign Up
Pros: fast tying method, only requires one hand, which is handy (no pun intended) when the non-throwing hand is also holding an instrument (Eg. A needle driver).
Cons: suture is not always placed on tension during knot tying, which can lead to "air knots". Also more difficult to throw a Surgeon's knot or tie with shorter length sutures.

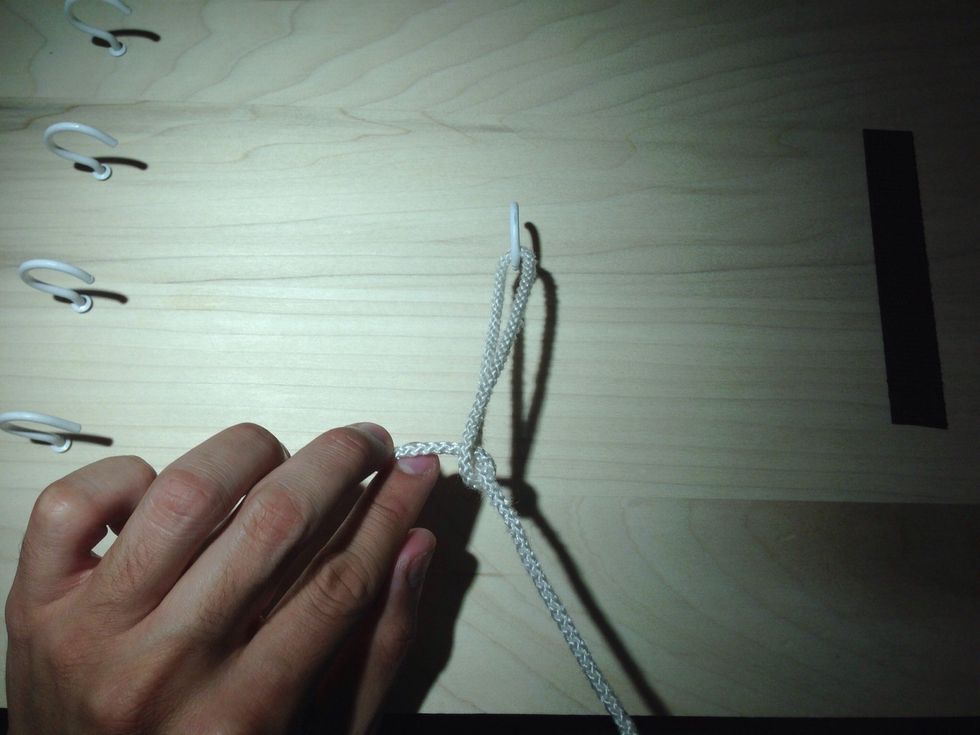
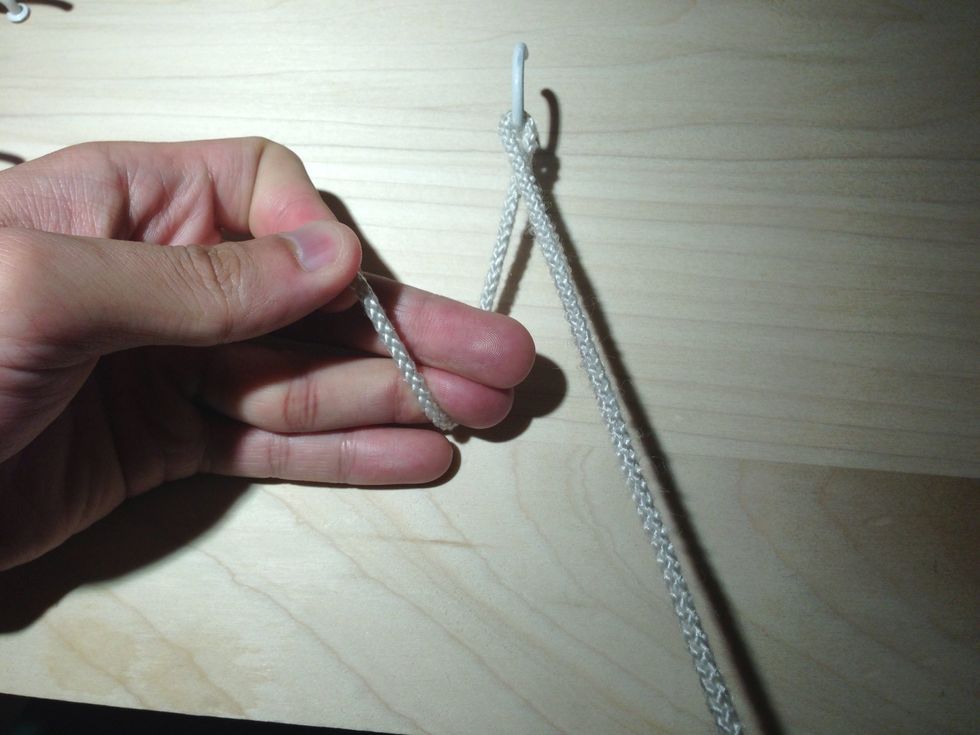
Get your suture around a hook or ring to fix it in place. Decide on which hand will perform the one hand tie. This is the "throwing" hand. (It throws the free end through the loop).
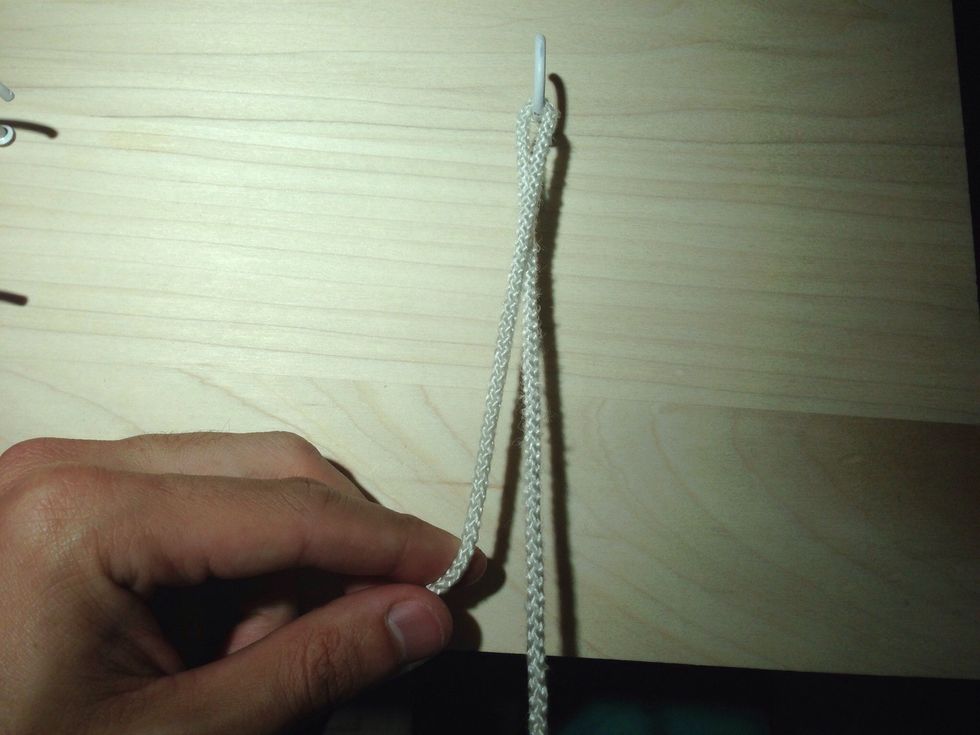
ALWAYS START WITH YOUR SUTURE CROSSED. This will ensure a flat and square knot. The "throwing hand" (left hand) has the part of the suture that's on "top". Note that the suture is crossed at the hook.
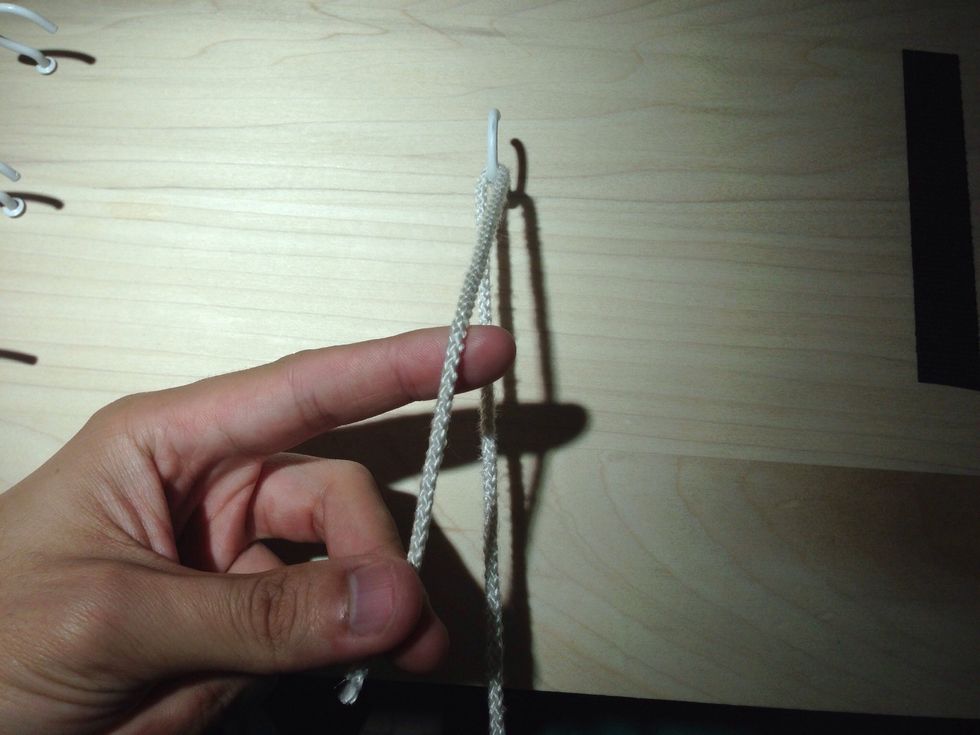
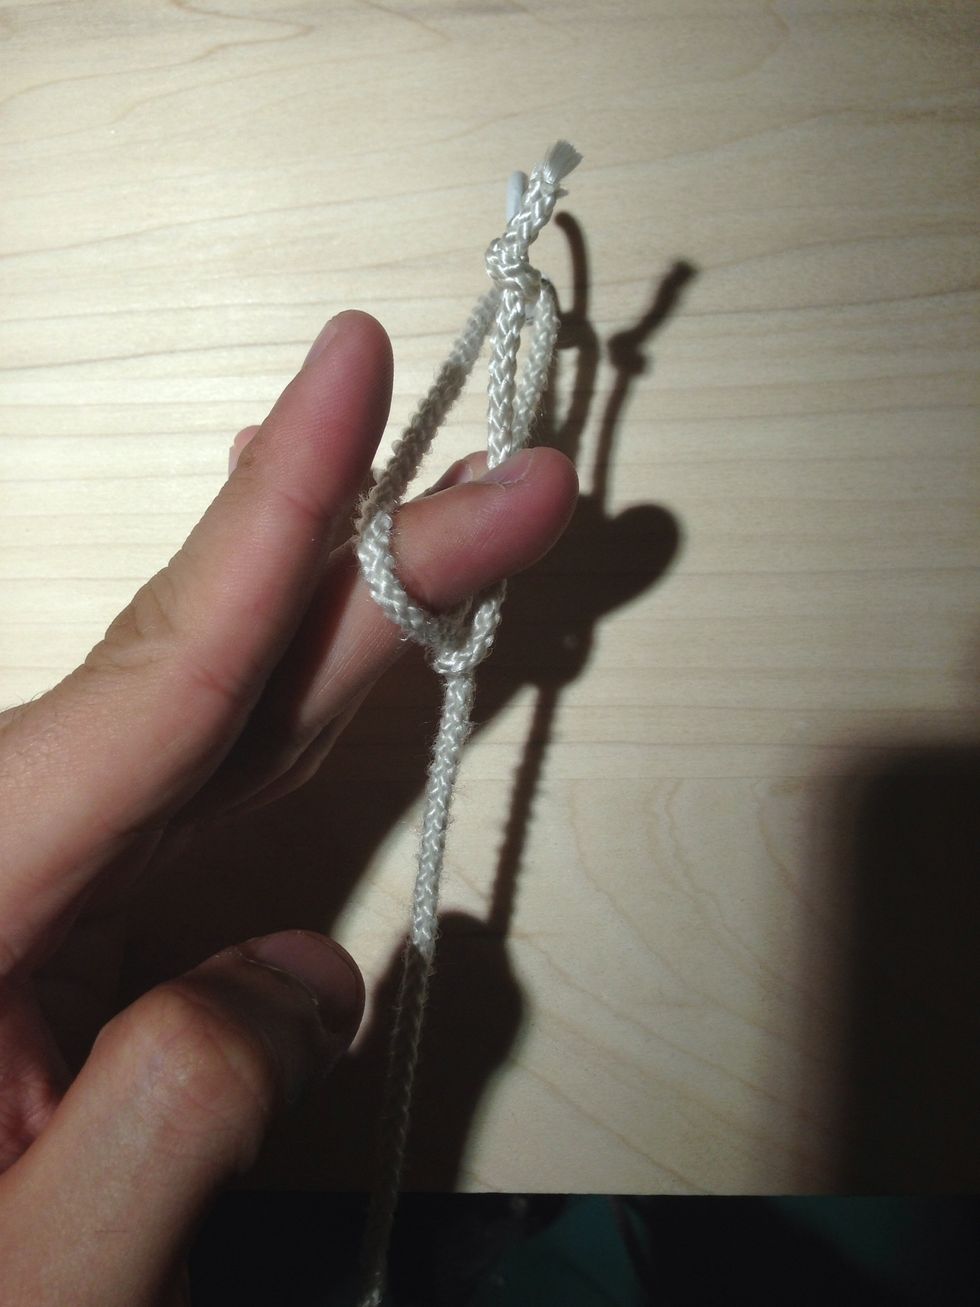
RULE: IF THE THROWING HAND HAS THE SUTURE ON TOP, START WITH THE INDEX FINGER. Hold the string between your thumb and middle finger with the index finger extended and below the "top" suture.
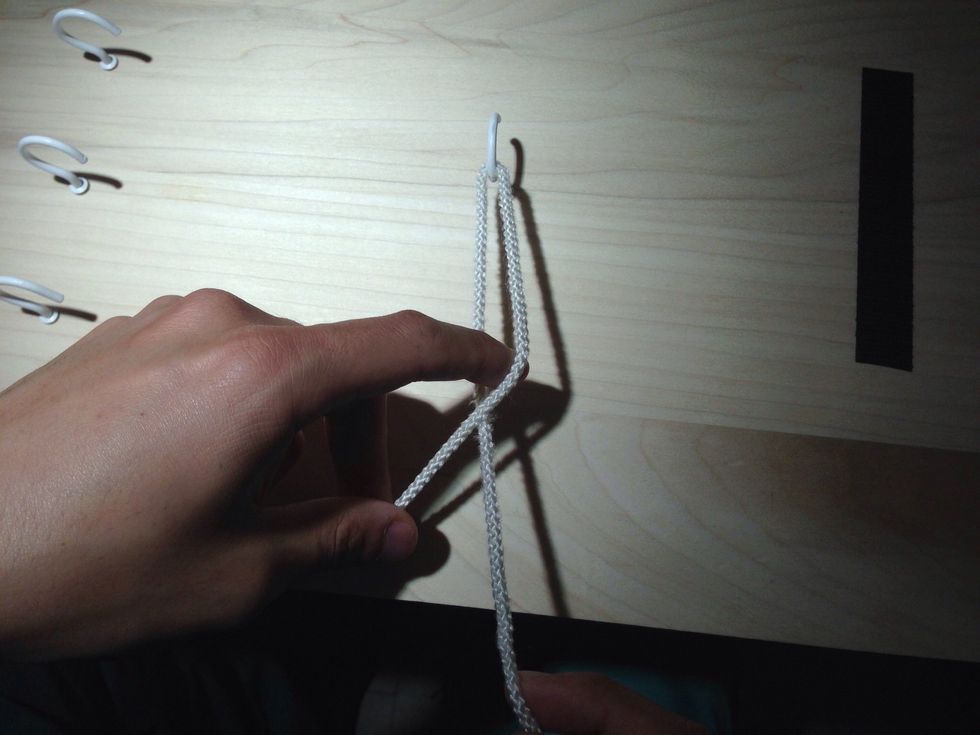
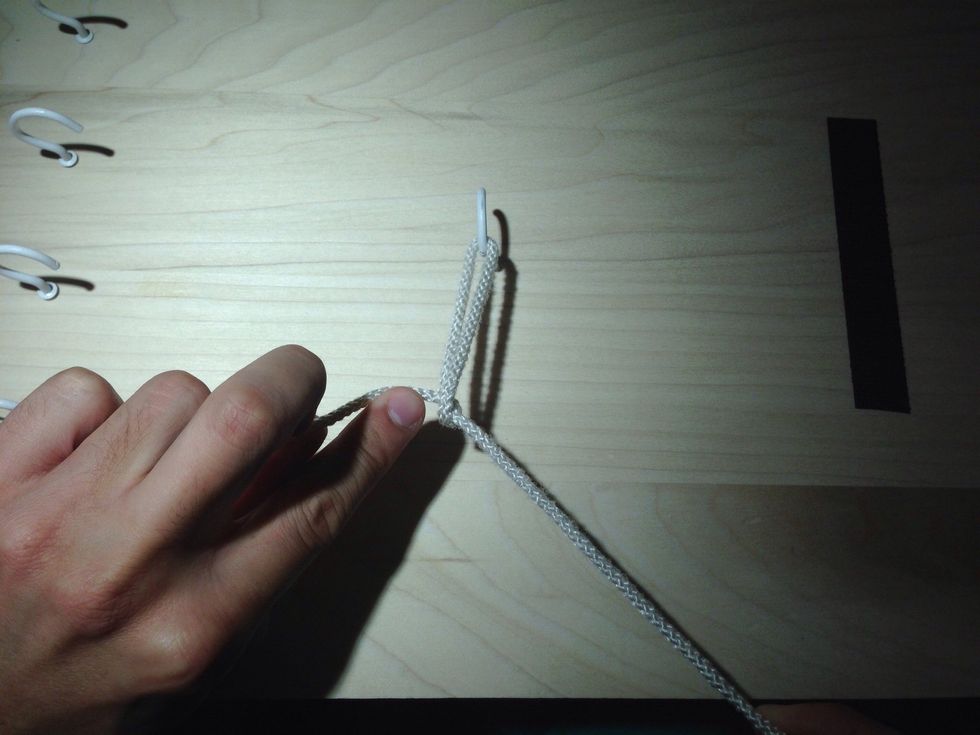
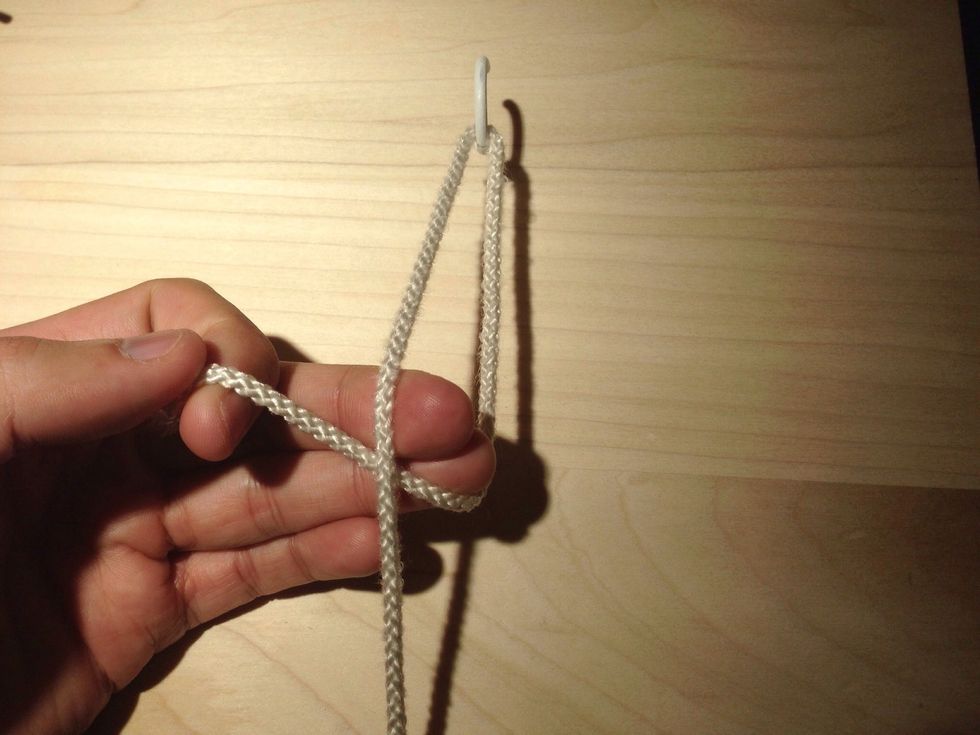
Make a loop with the index finger. Note that the suture now crosses at your finger and not by the hook.

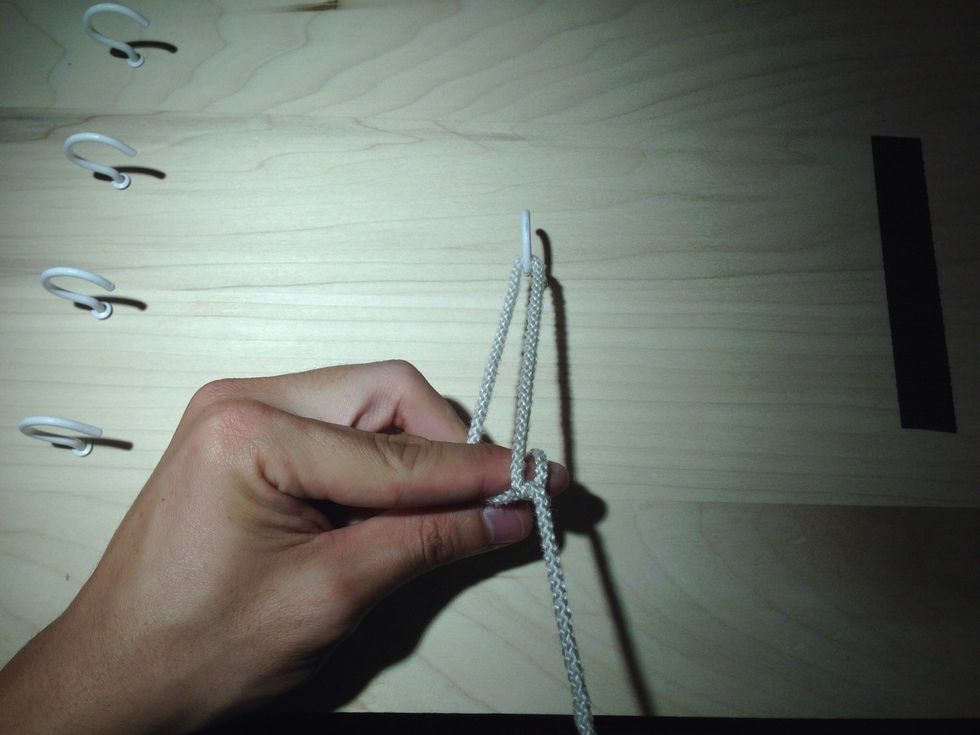
Pull back your index finger like you're squeezing a trigger. Ensure that your thumb and middle finger do not move to keep the suture on tension.

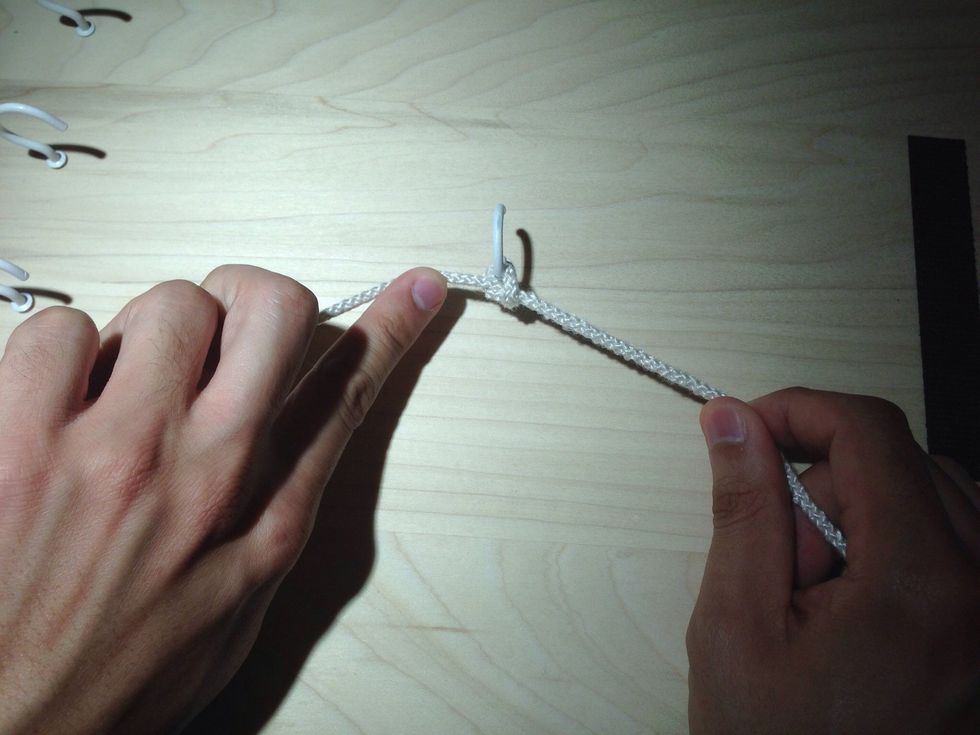
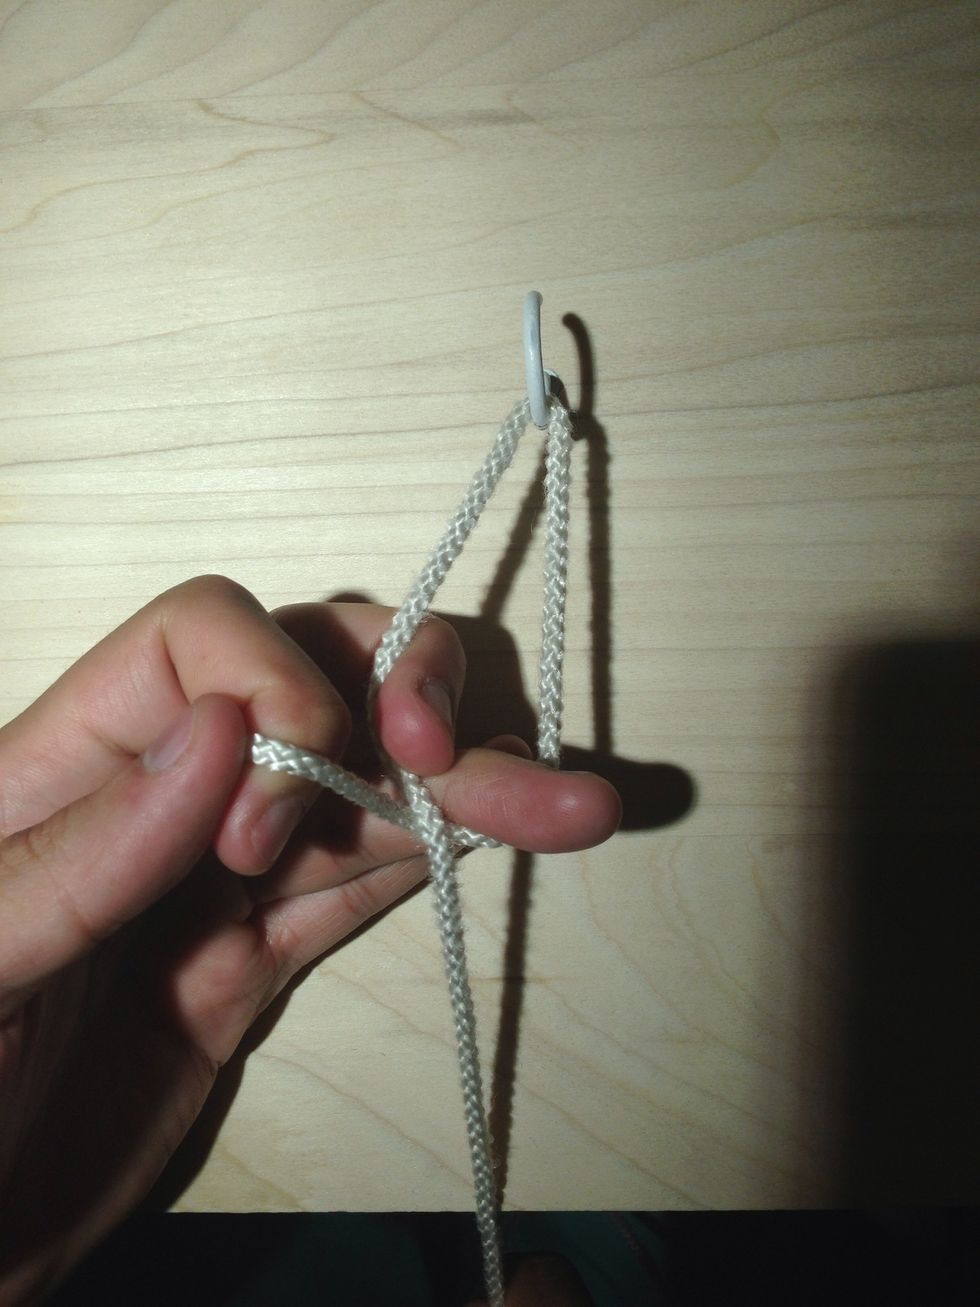
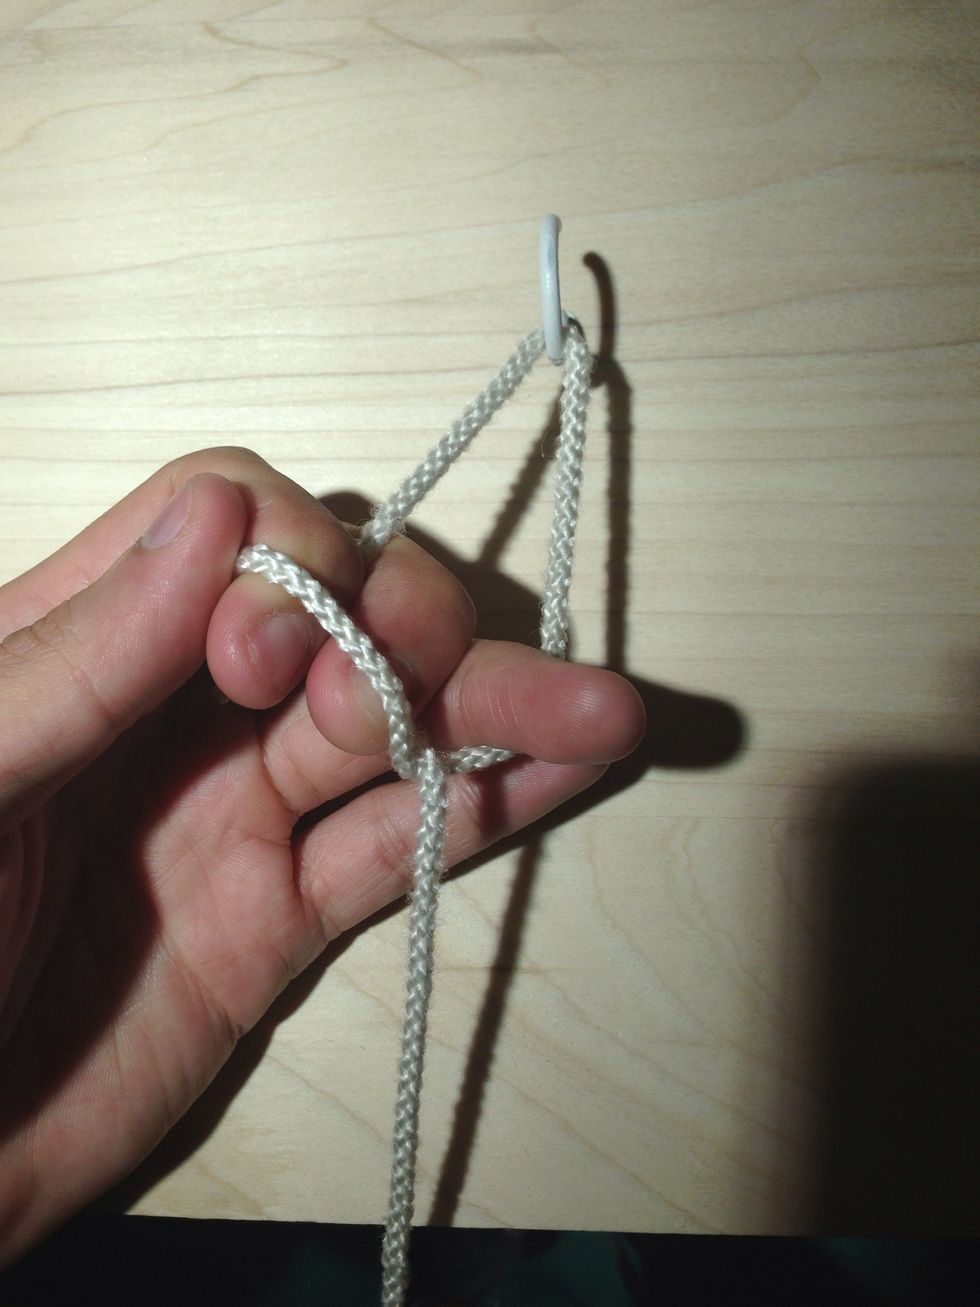
If you pulled back the index finger far enough, you should be able to place the suture behind the nail of your index finger. This will guide the free end of the suture through the loop.
Continue pushing with the index finger as you "throw" (guide) it through the loop. Get ready to extend the middle finger of your throwing hand to catch the free end of the suture.
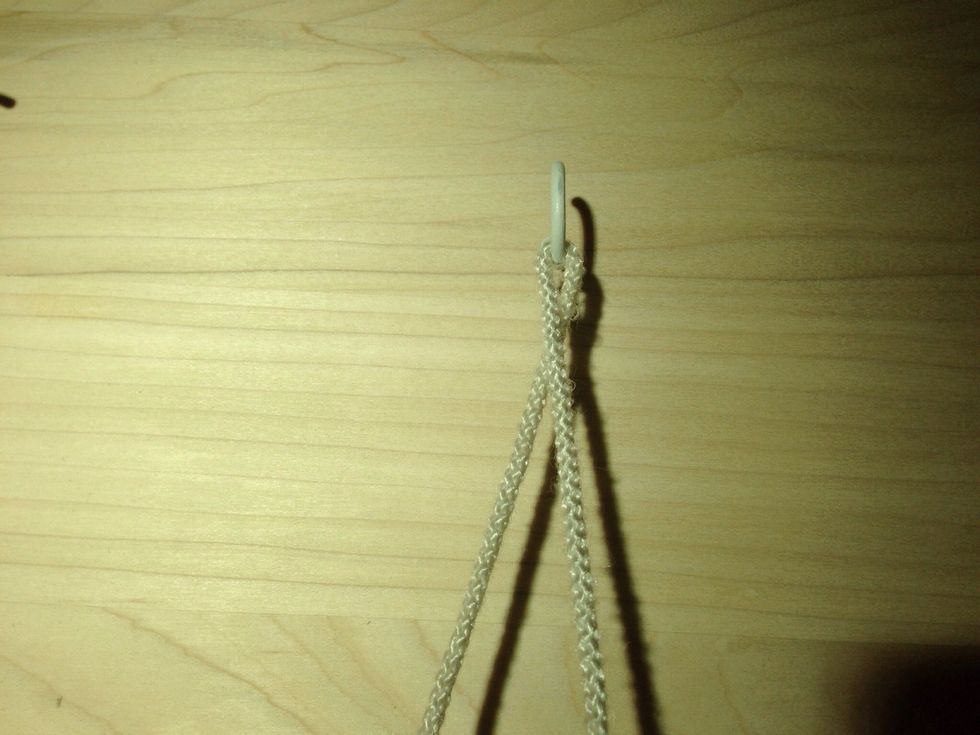
Grab the loop between your index and middle finger and pull it through the loop.
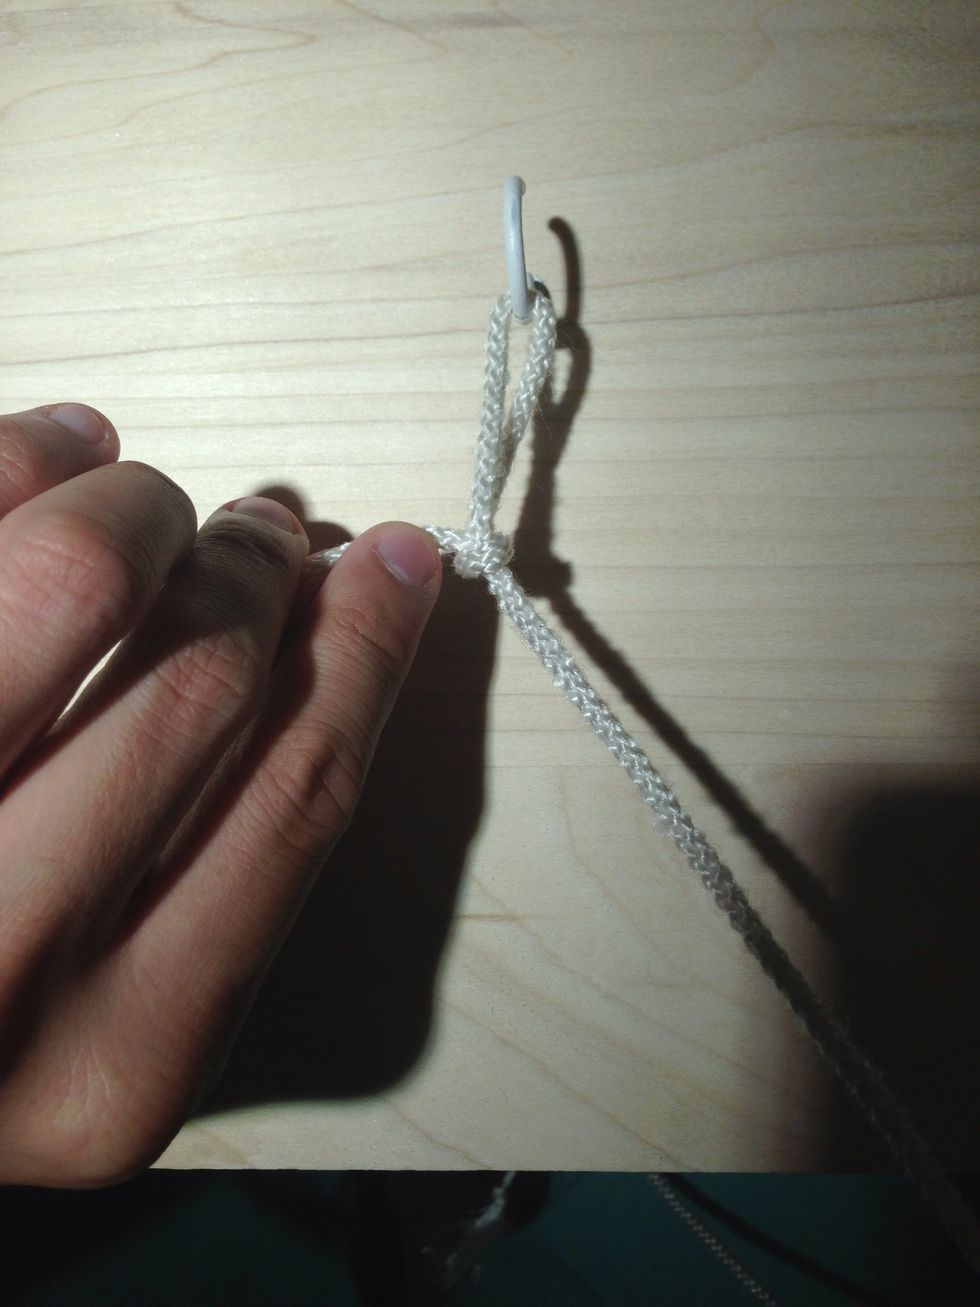
Hold the free end of the suture now with your middle finger and thumb so you can push the knot with your index finger. The hand that pushes down the knot depends on which hand has more space to do so.
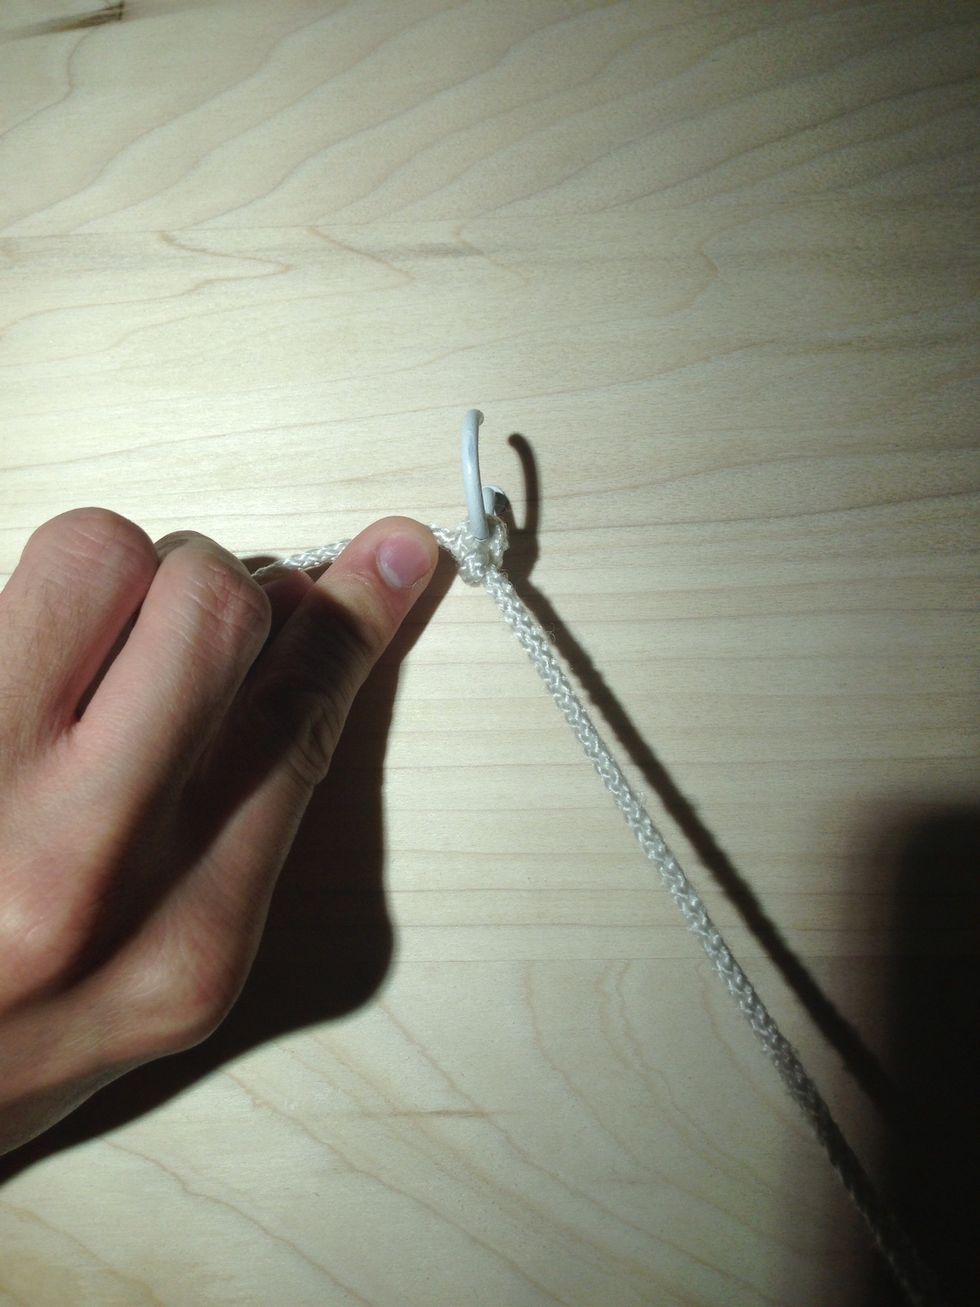
Continue pushing the knot approximately 1 cm away from the knot until it's secure. Make sure counter tension is applied 180 degrees from the index finger to have a zero net tension on the tissue.
Now let's tie with your "throwing" hand holding the suture on the "bottom". Note that the suture is crossed by the hook. RULE: IF THE THROWING HAND HAS THE SUTURE ON BOTTOM, START WITH THE THUMB.

Grab the free end of the suture with your index finger and thumb.
"Karate chop" the suture with the lateral aspect of your ring and middle finger.
Form a loop around your ring and middle fingers. Note the suture is now crossed at your fingers and not by the hook.
Pull back the middle finger only. Keep tension with your thumb and index finger on the free end of the suture.
If your middle finger pulls back far enough, the suture will be able to rest on the nail of the middle finger. This finger will then "throw" (guide) it through the loop.

Let go of the suture between your thumb and index finger, and grab it between your middle and ring finger.
Turn your hand to face the palm down. This will turn your middle and ring fingers so it can pass through the loop more easily.

Pass the free end of the suture through the loop. Get ready to grab it with your thumb and middle finger.

Grab the suture and maintain tension with your thumb and middle finger.
Push the knot down with your index finger approximately 1 cm from the knot.
Again the hand that pushes the knot down does not have to be the "throwing" hand, but instead the hand that has more free space (within your surgical field) to do so.
Continue alternating with the suture on "top" and the suture on "bottom" techniques. Mirror these steps with your right hand to be ambidextrous. "There is no one-handed surgeon."
Practice! Practice! Practice! Now that you know the steps, follow the rules mentioned in this guide and you won't need to just rely on "muscle memory". You should be able to rationalize it!