The Conversation (0)
Sign Up
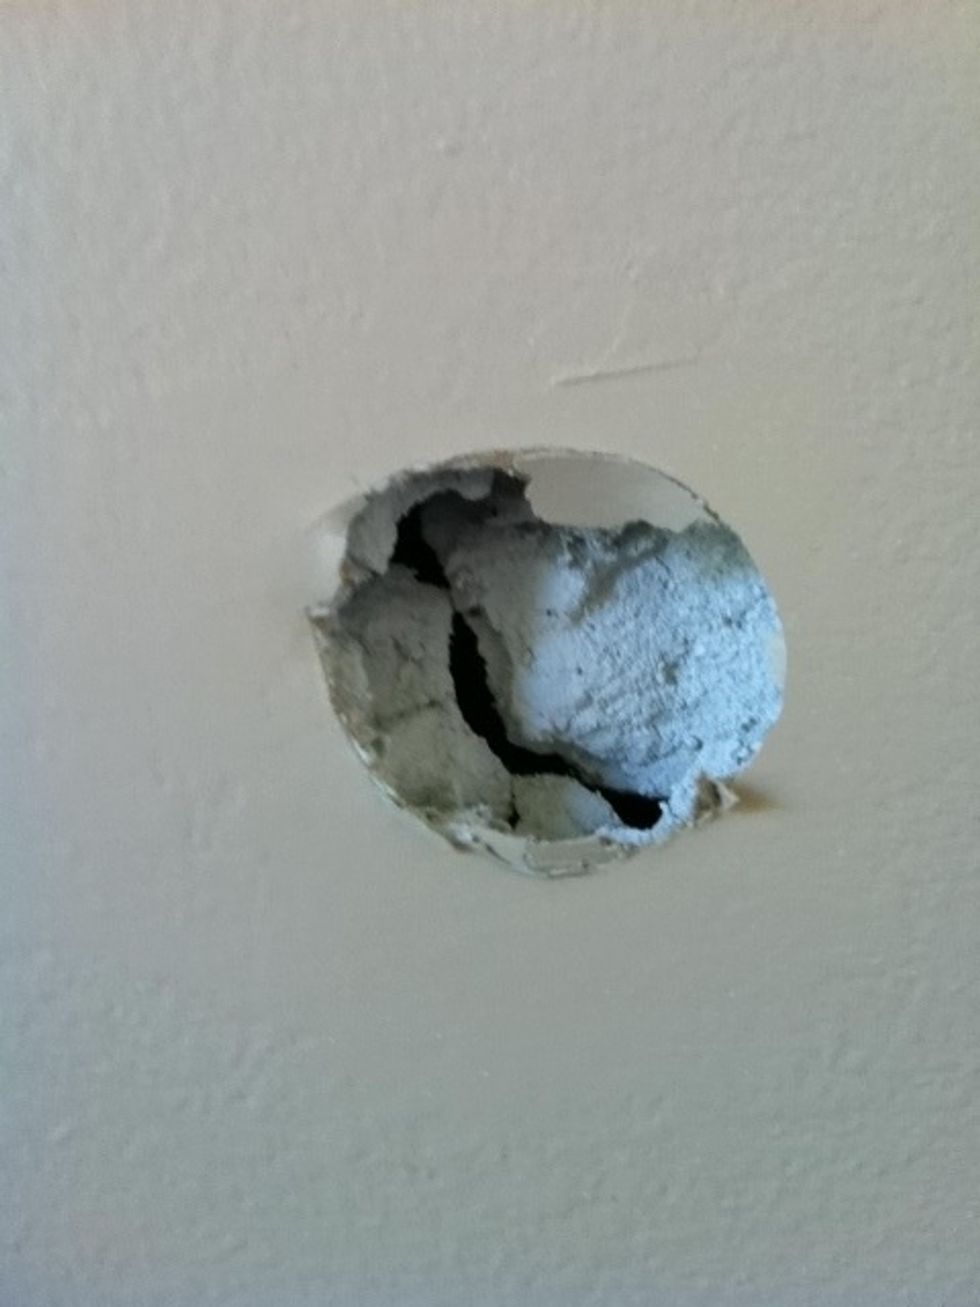
When painting my extra bedroom today, I accidently slammed the door against the wall. Door stops are there for a reason and should never ever be removed, even to paint.

So I bought a repair kit. You don't HAVE to buy a kit. It's probably cheaper if you buy the items separately. It's just convenient.
Kit contains 8 oz tub of spackling, 4x4 inch self-adhesive aluminum patch, 2 inch plastic putty knife, 4x3 inch 100-grit sand paper * I used 220-grit sand paper instead of the kit sand paper

*kit can only be used for holes up to 3 inches in diameter

Remove any loose drywall or debris from the area to be patched
You have the option to insert foam or newspaper into the hole to give the spackle some backing
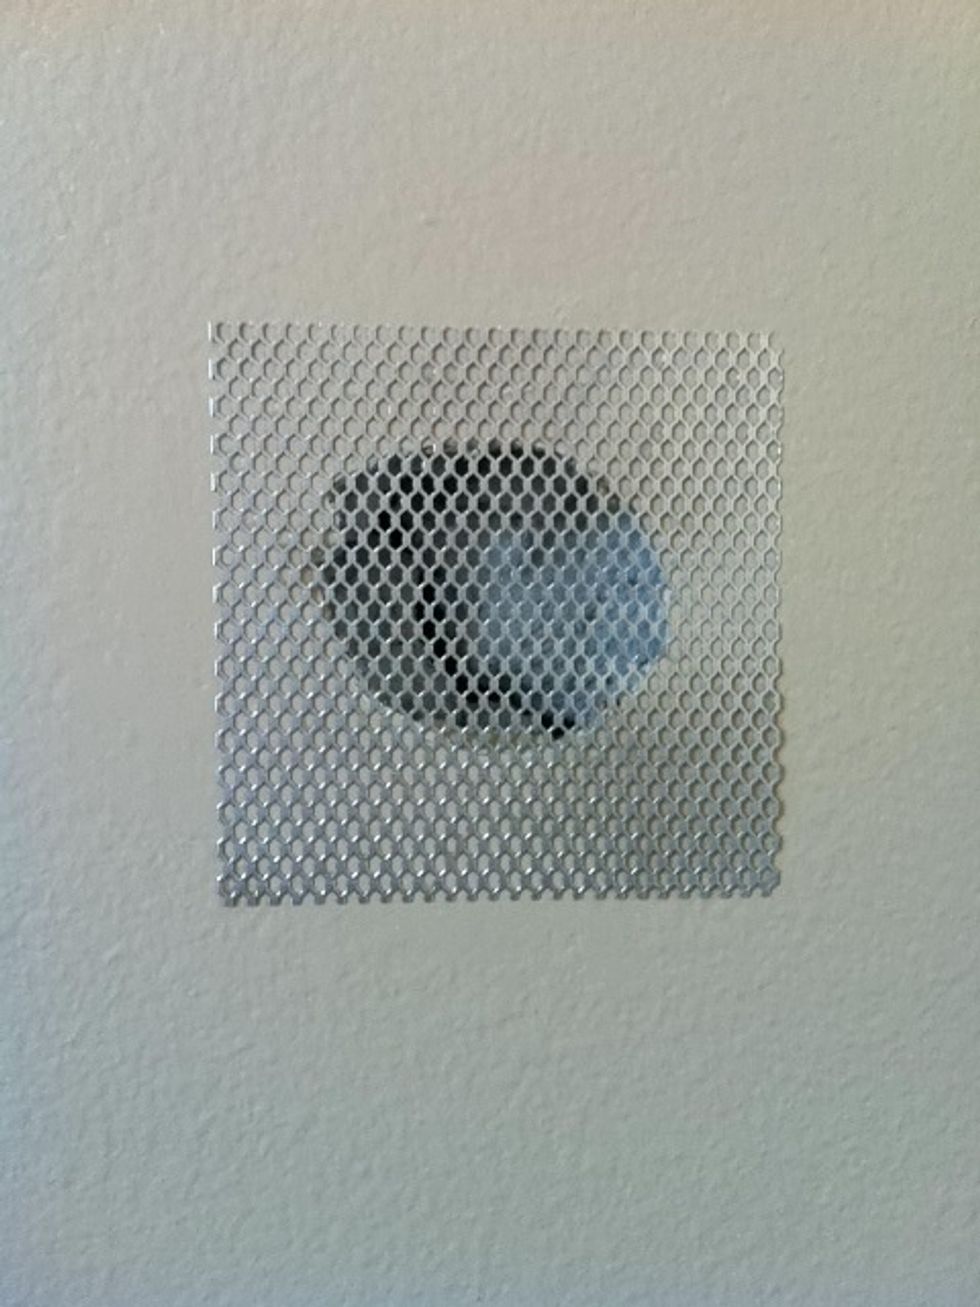
With scissors, cut your patch smaller to fit smaller holes or cracks if necessary.
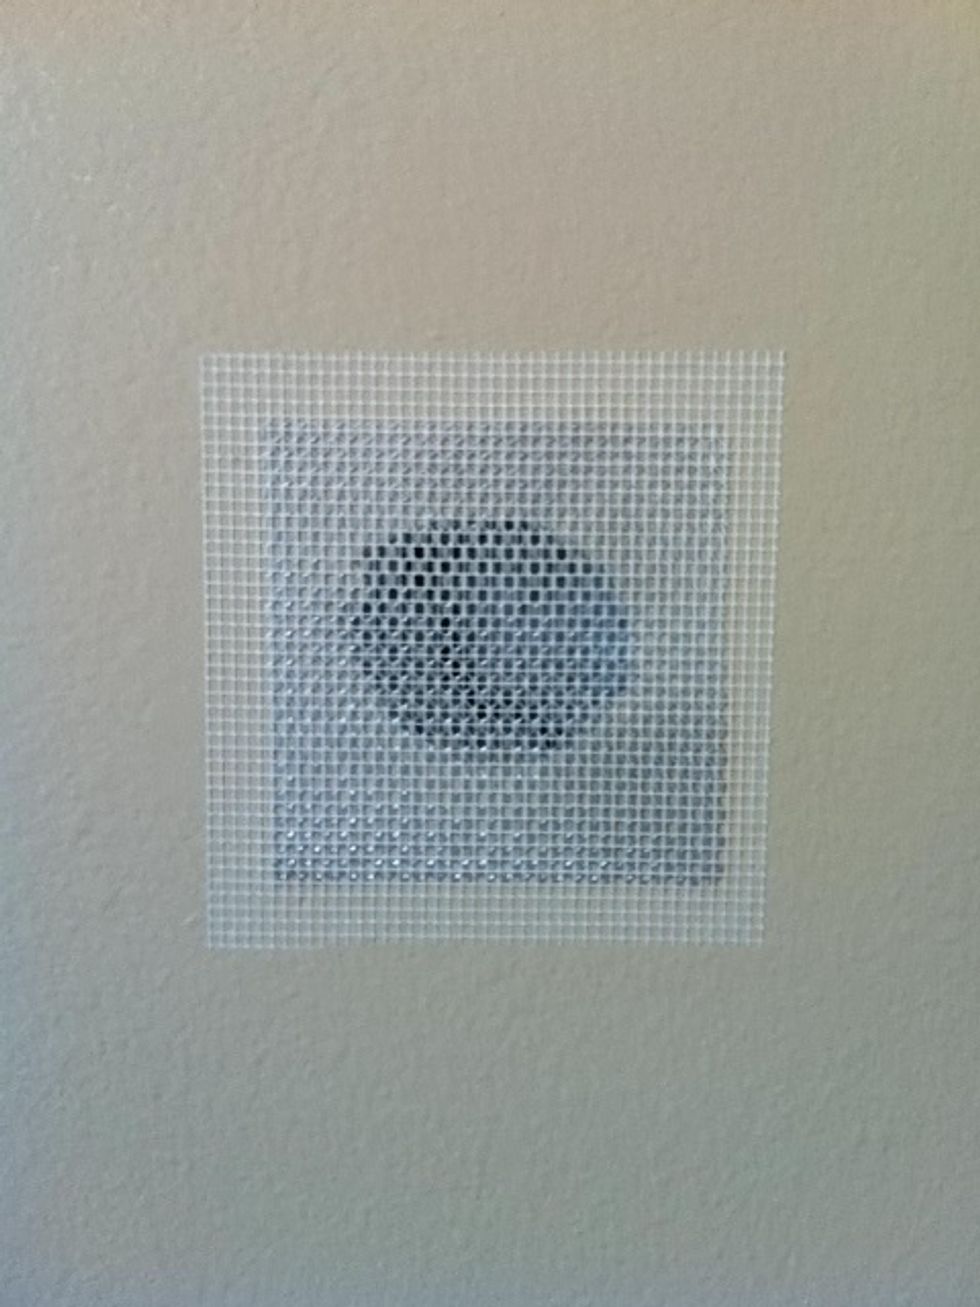
Place the self-adhesive patch firmly over the hole.
Peal the plastic backing away from your aluminum patch.
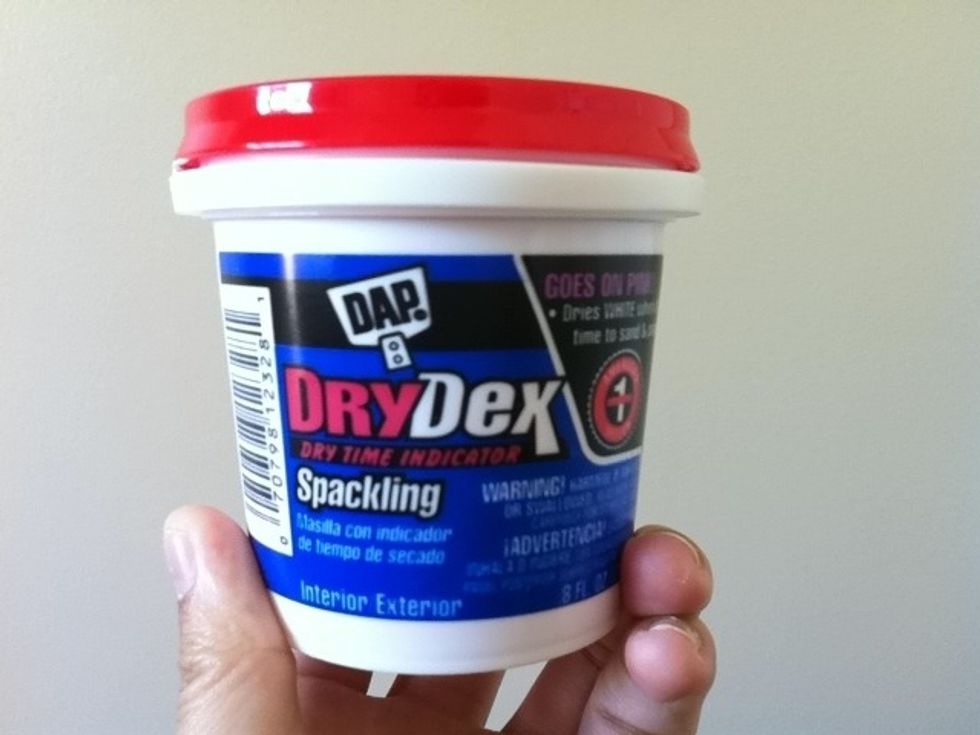
Spackle goes on pink and turns white when it's dry. That's when you know it's ready to be sanded.

Neat idea huh?
Take the spackle and putty knife and start spreading it over the patch and area around it. Start an inch above the patch on the wall and apply downward at an angle.
Apply more spackle to the center, creating a slight mound. This assures the patch is covered even when the spackle shrinks during drying.
Press hard and use a pulling motion down over the patch. Reload your putty knife with more spackle and keep applying until your patch and surrounding area are covered
Press and scrape harder toward the outside edges to create a feathering affect. Smooth it out and try to stay as flush as possible to the wall

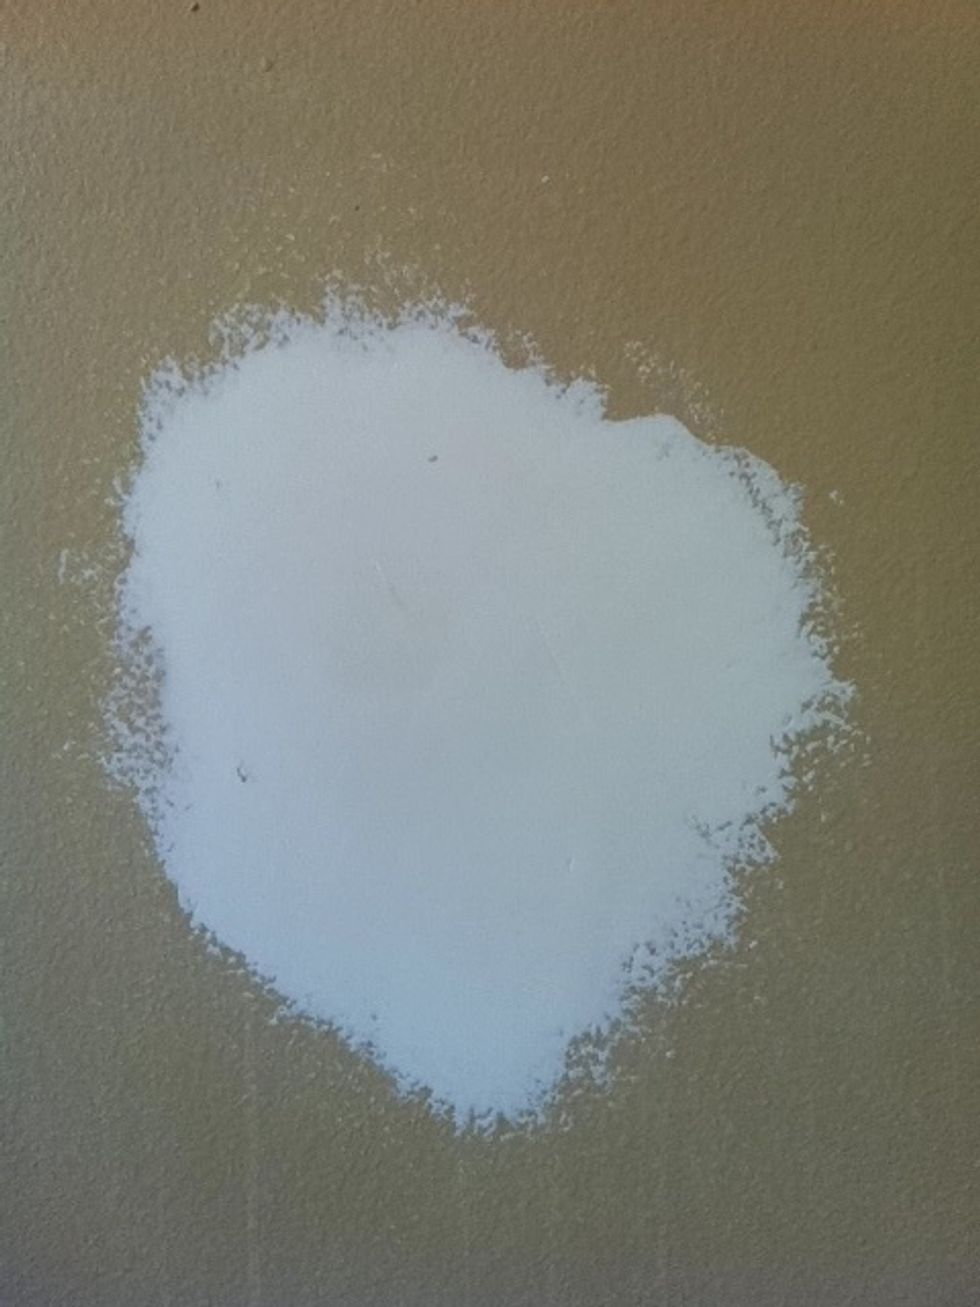
It should look something like this. Notice the edges are white and more dry than the center because its more thin there
Let it dry overnight. Don't touch it, mash on it, even look at it. Just walk away. You'll know it's dry when it's completely white and hardened at the center in the morning.
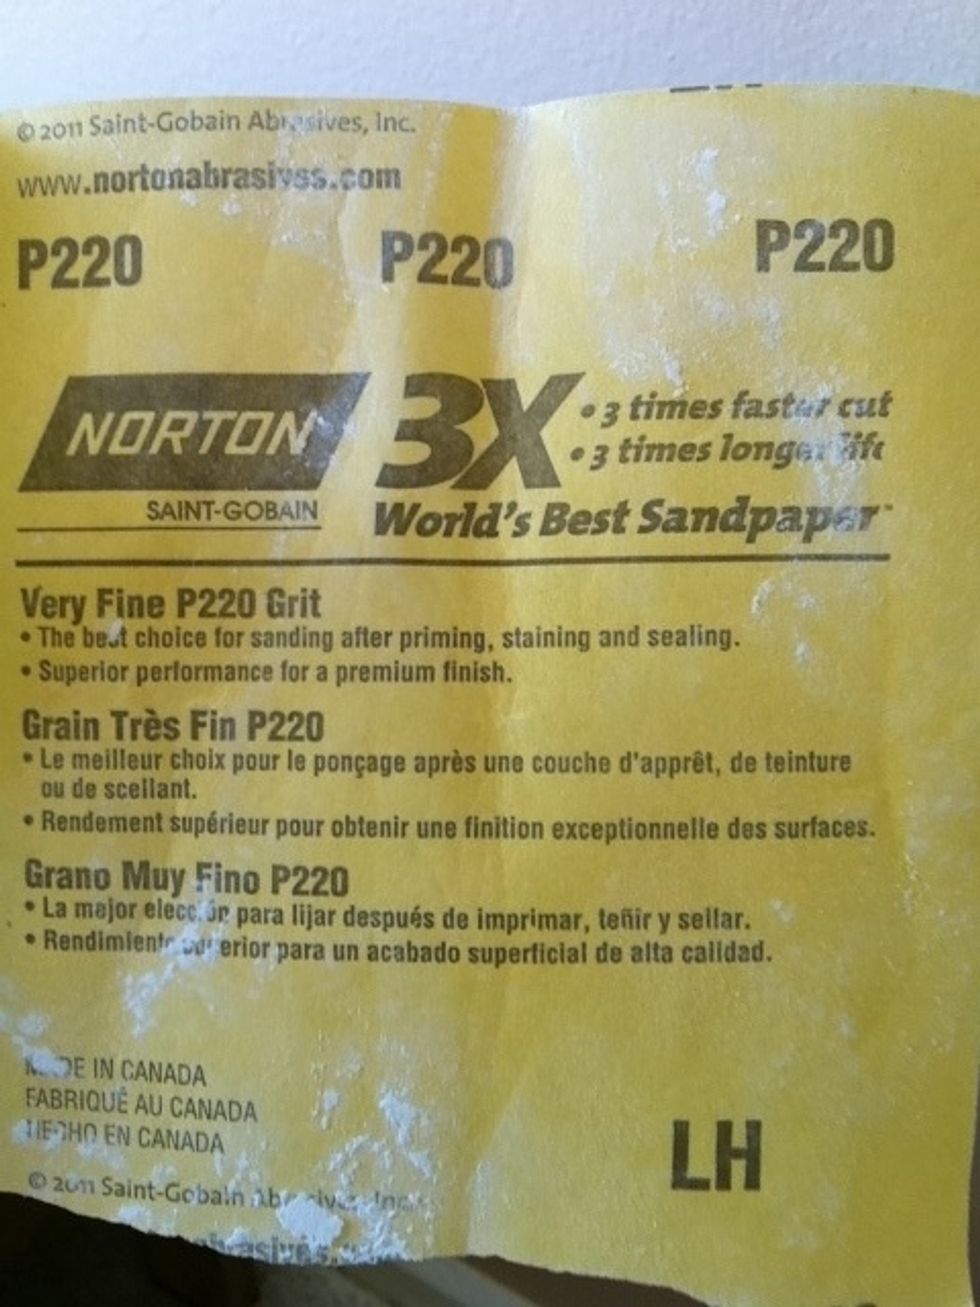
Once its dry, sand down to smooth out the wall. You can use the kit sand paper but I prefer a finer grit to make it even smoother. The higher the number, the finer the grit on the sand paper.
Vacuum the floor of any dust and wipe down the wall with a wet rag. Now get to painting! Thanks!