The Conversation (0)
Sign Up
The three stroke method is how professional manicurists paint nails. So let's begin and get you the perfect, cheap manicure you deserve!
Please note that I am showing you how to do this step by step so I am lifting the brush from my nail. The only time you lift the brush is to get more polish.
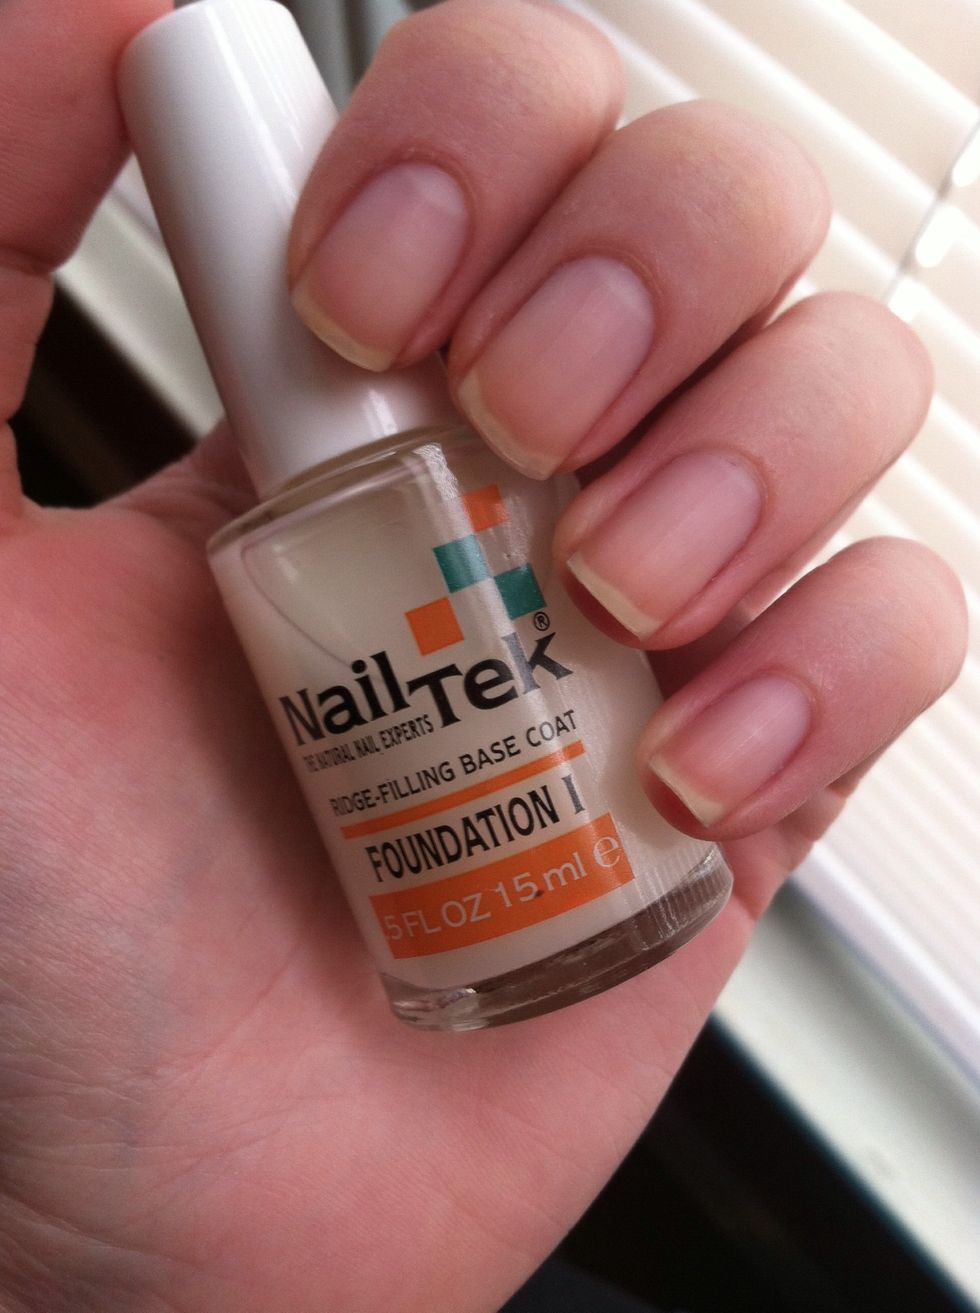
Always start off with a base coat to protect your nails from harmful chemicals.
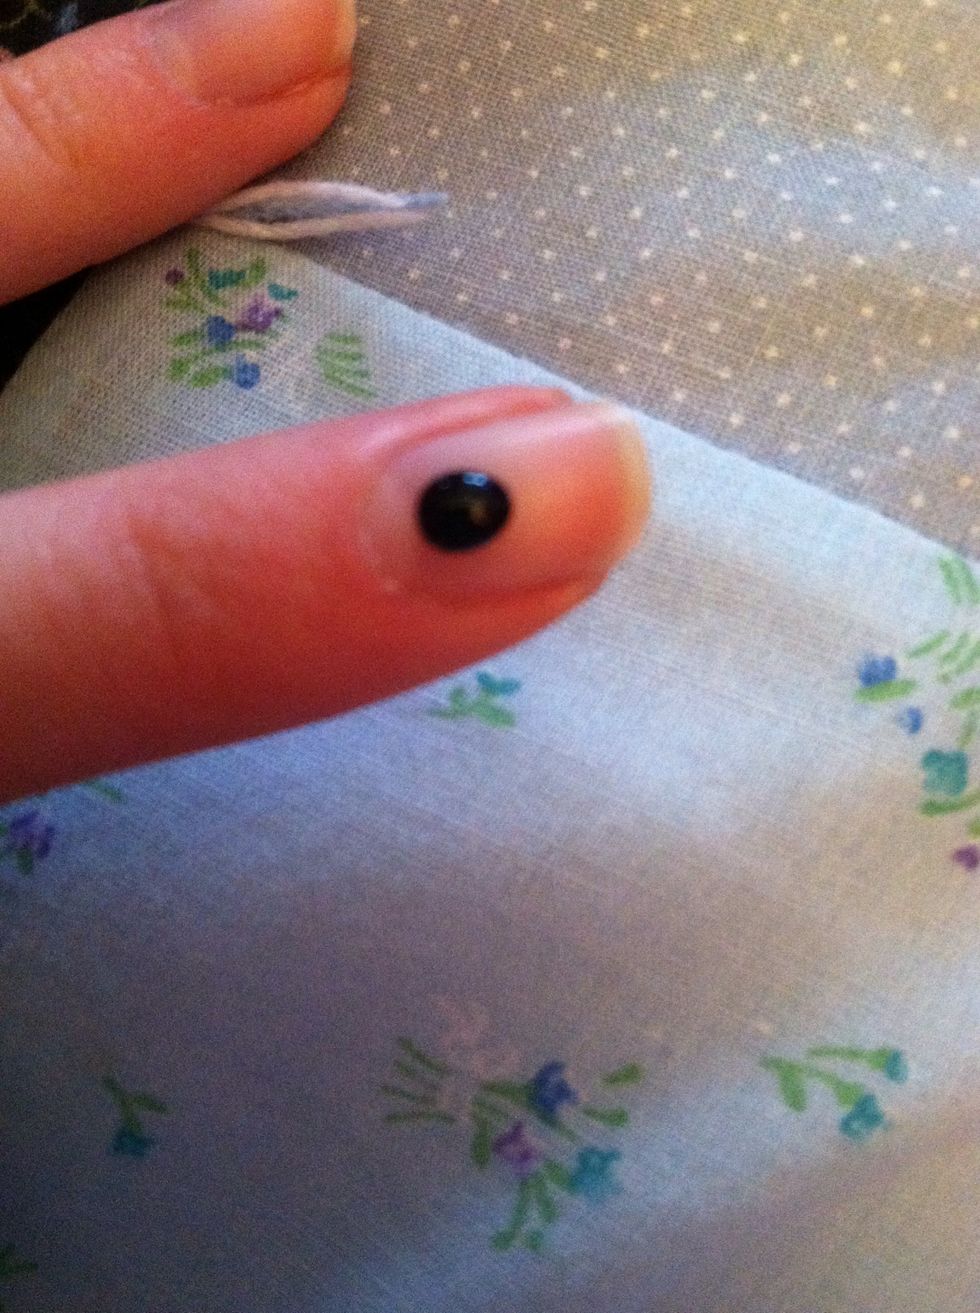
Start off by placing your brush in the center, close to your cuticle.

Push back your brush towards your cuticle. Do not paint your cuticles! This will look sloppy and unprofessional.
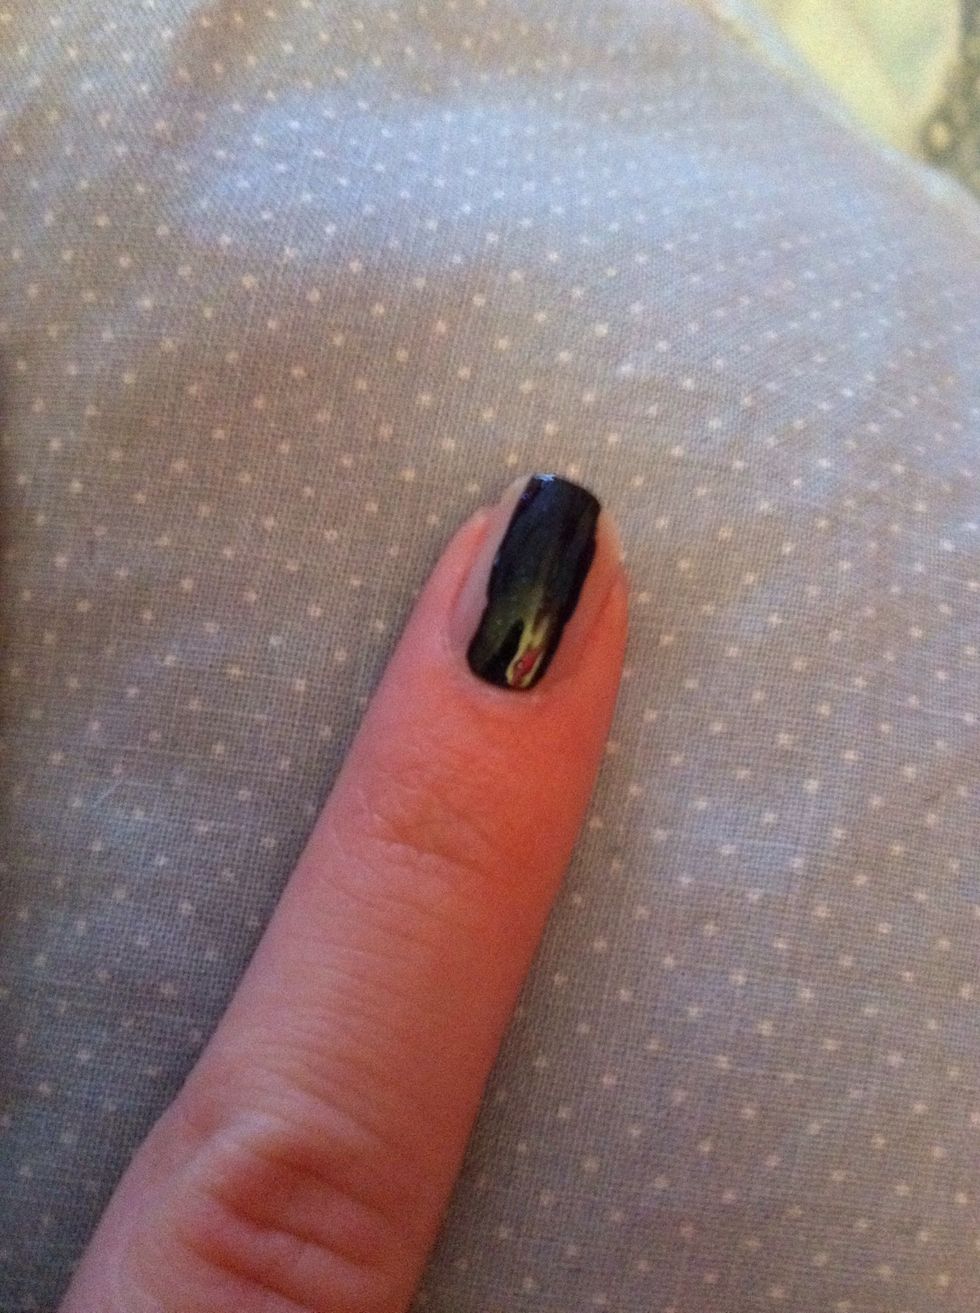
Still in the same stroke, pull forward. Stoke number one is compleat!
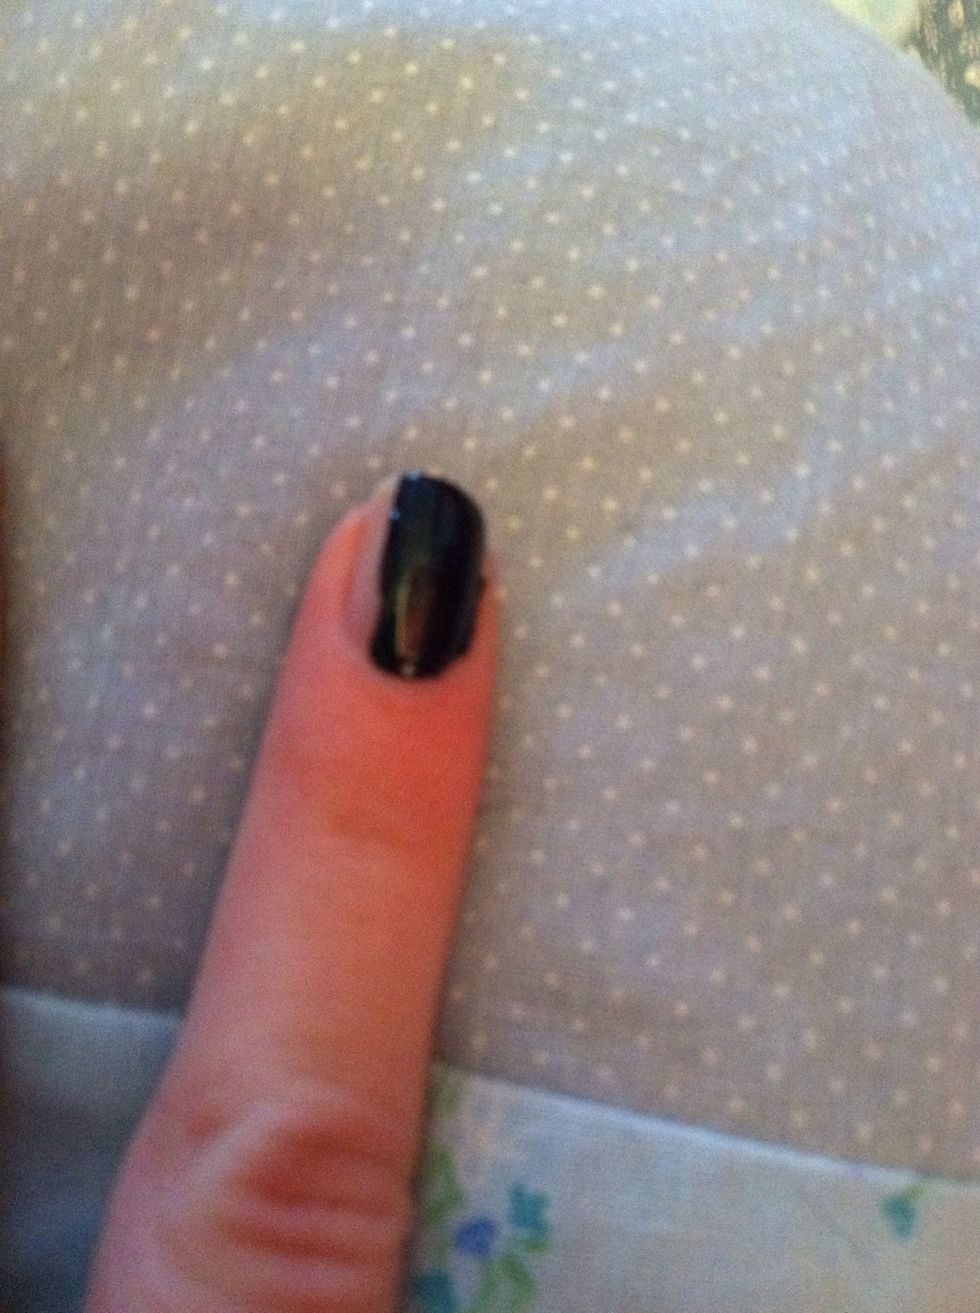
Reload your brush and paint the right side of your nail starting from the bottom and pulling up. Stoke number two is also completed!

Lastly, paint the left side of your nail starting from the bottom pulling up. The third and final stroke is complete!
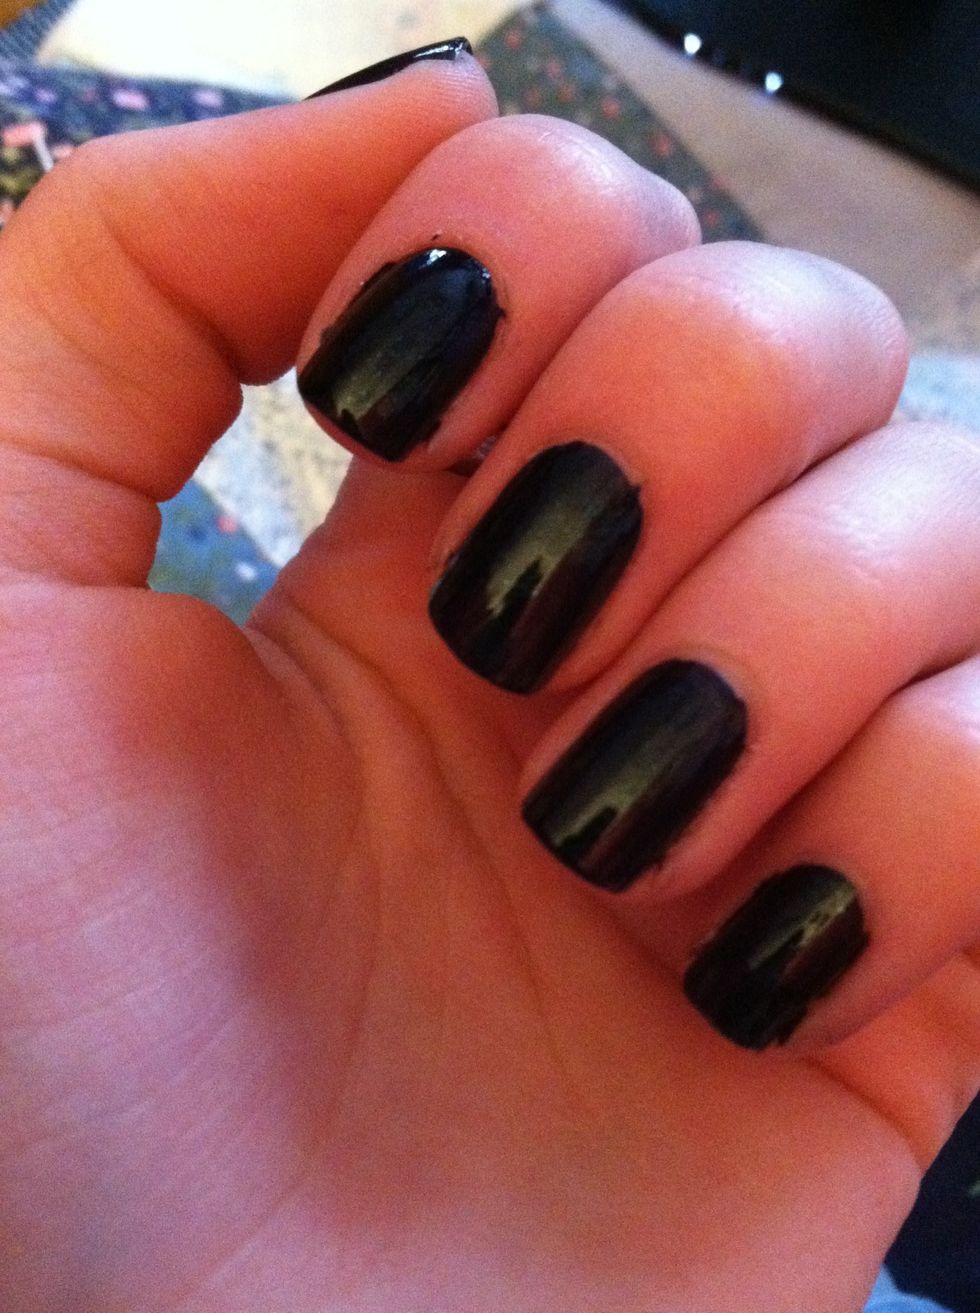
If you got a little messy, take a cotton swab and nail polish remover to clean up around the nail. Always remember to end with a top coat to add shine and keep your manicure lasting longer!
Check out my other guides on nail tips, and nail art tutorials! Follow for more upcoming guides!