The Conversation (0)
Sign Up
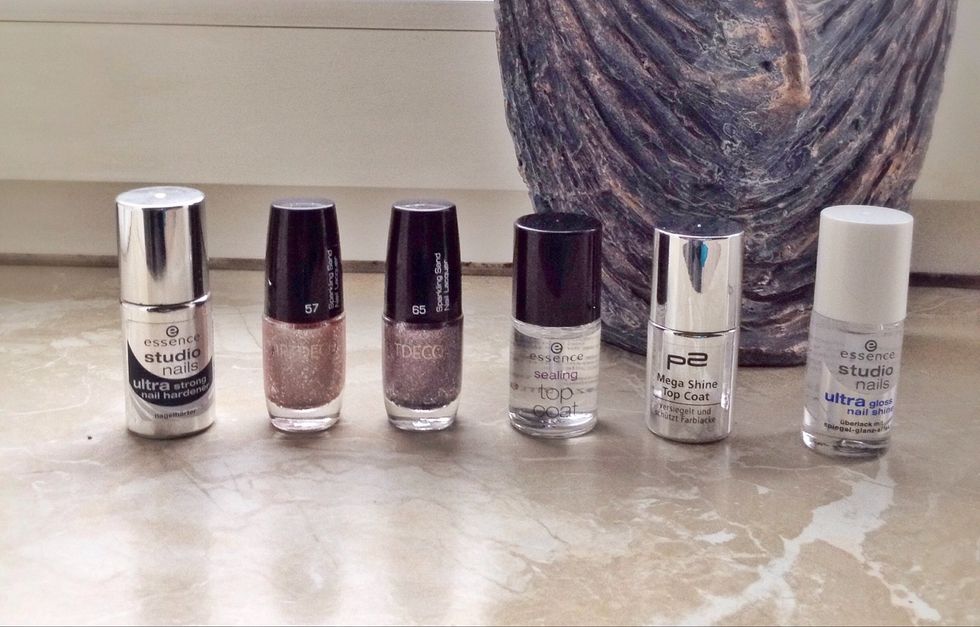
These are the polishes I'll be using. I decided on low budget but high quality base (hardener) and top coats plus these awesome new Artdeco glitter polishes! Tap to see the whole photo!

I used this as a base. I applied 2 coats and then let them dry for a bit. This doesn't only help your nails grow long and strong, but it also serves as a base coat to prevent your nails from staining.
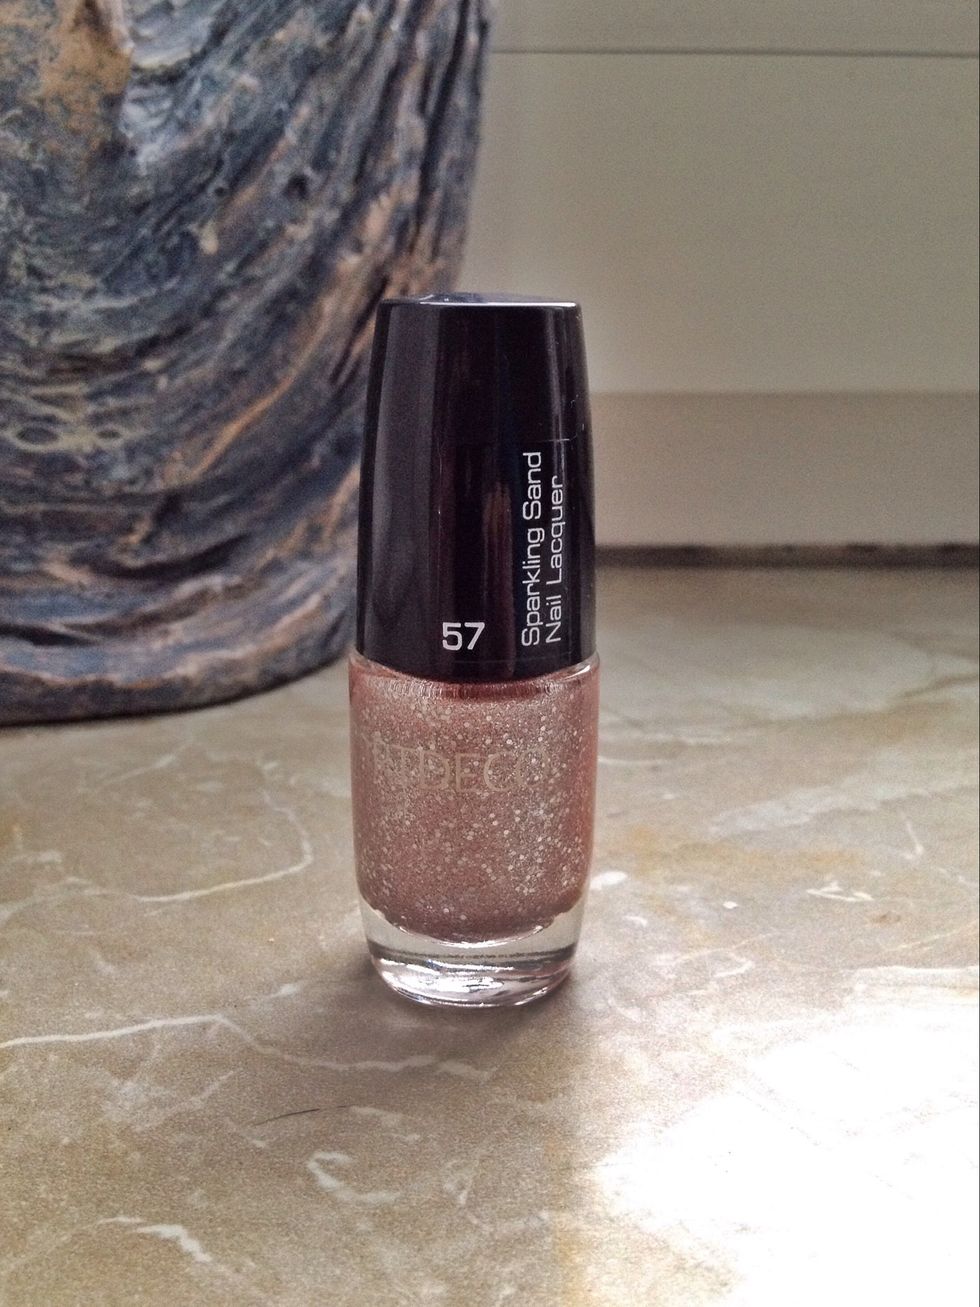
Now the fun part! I applied two coats of this beauty to all but my ring fingers ...
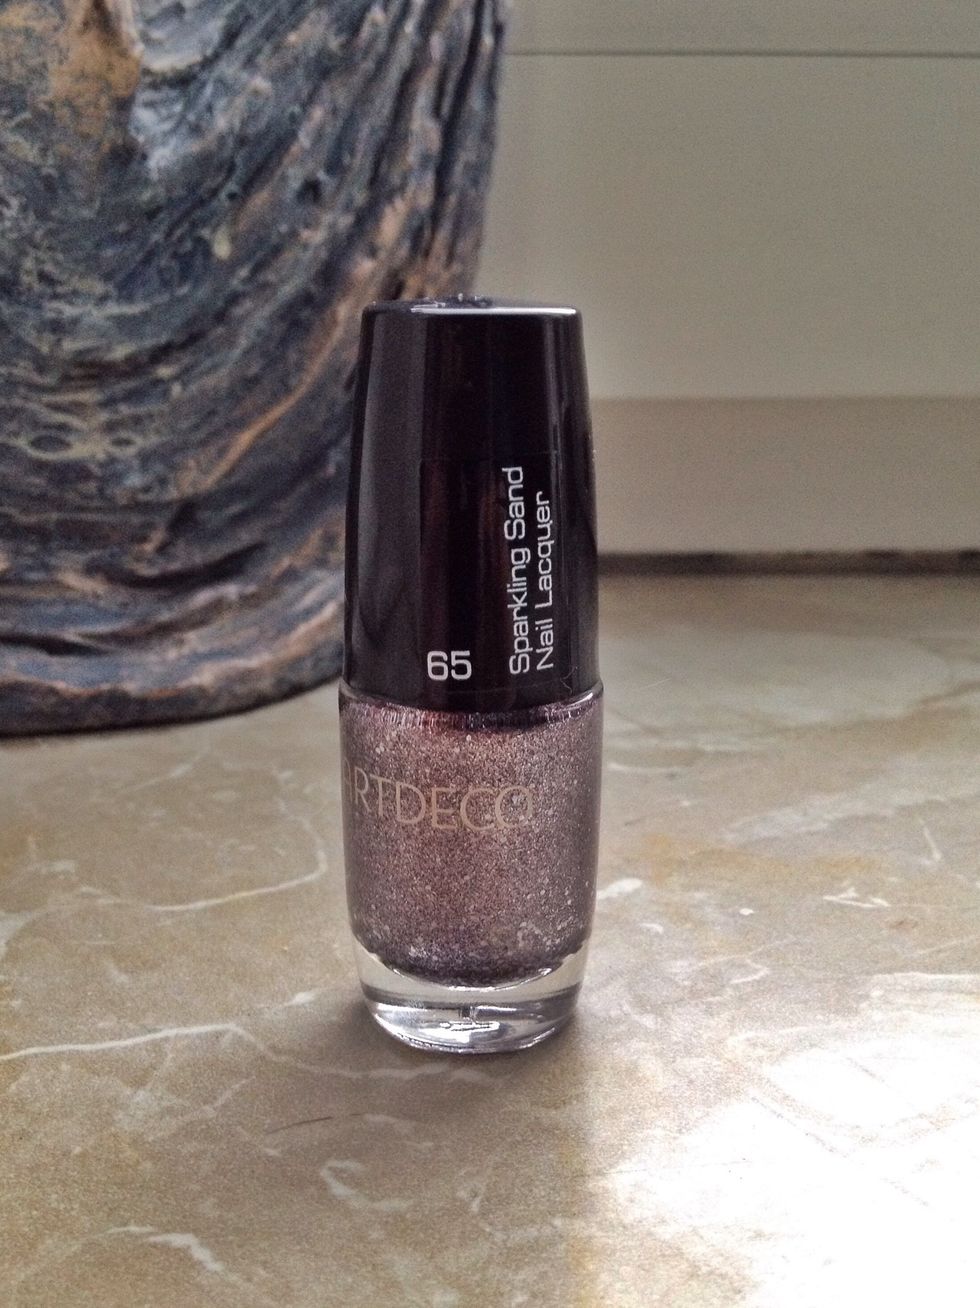
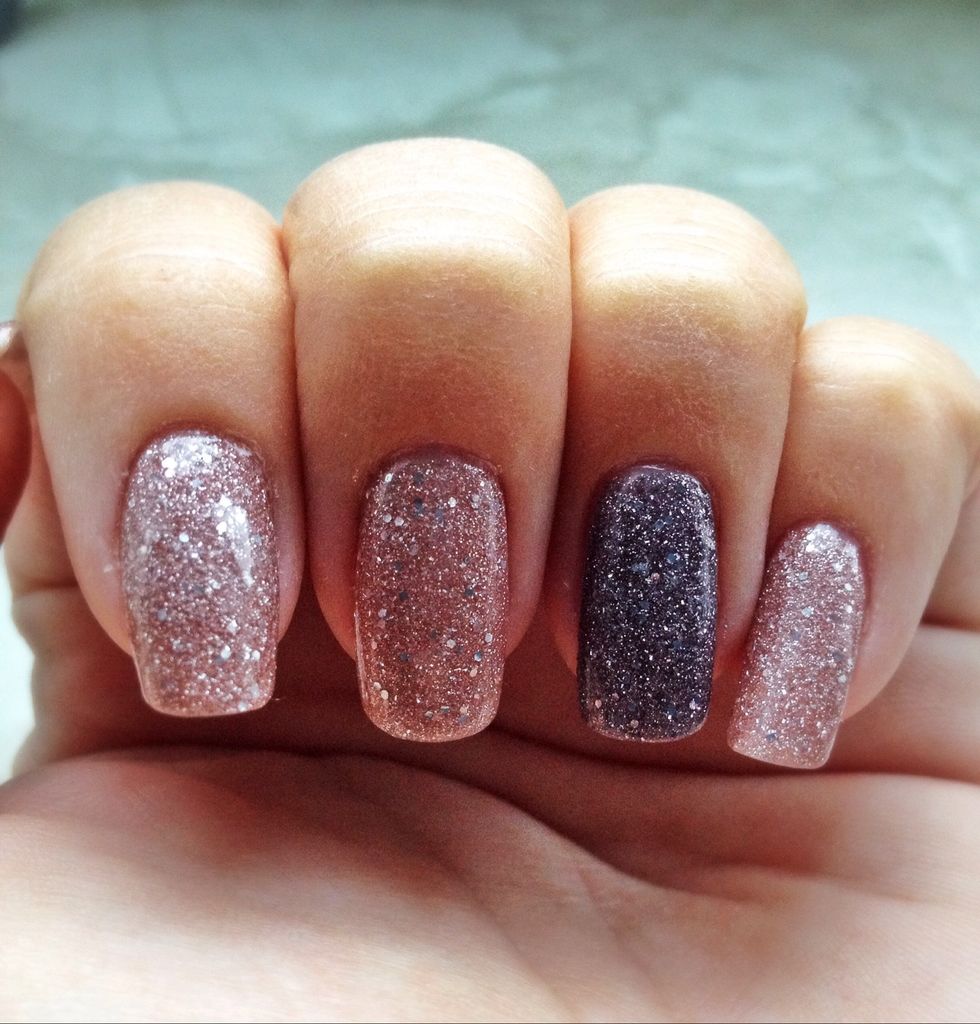
... for them I used this instead. The consistency is nice for applying, but when it dries it's all structured and sandy. I found this irritating. Still, so pretty!!
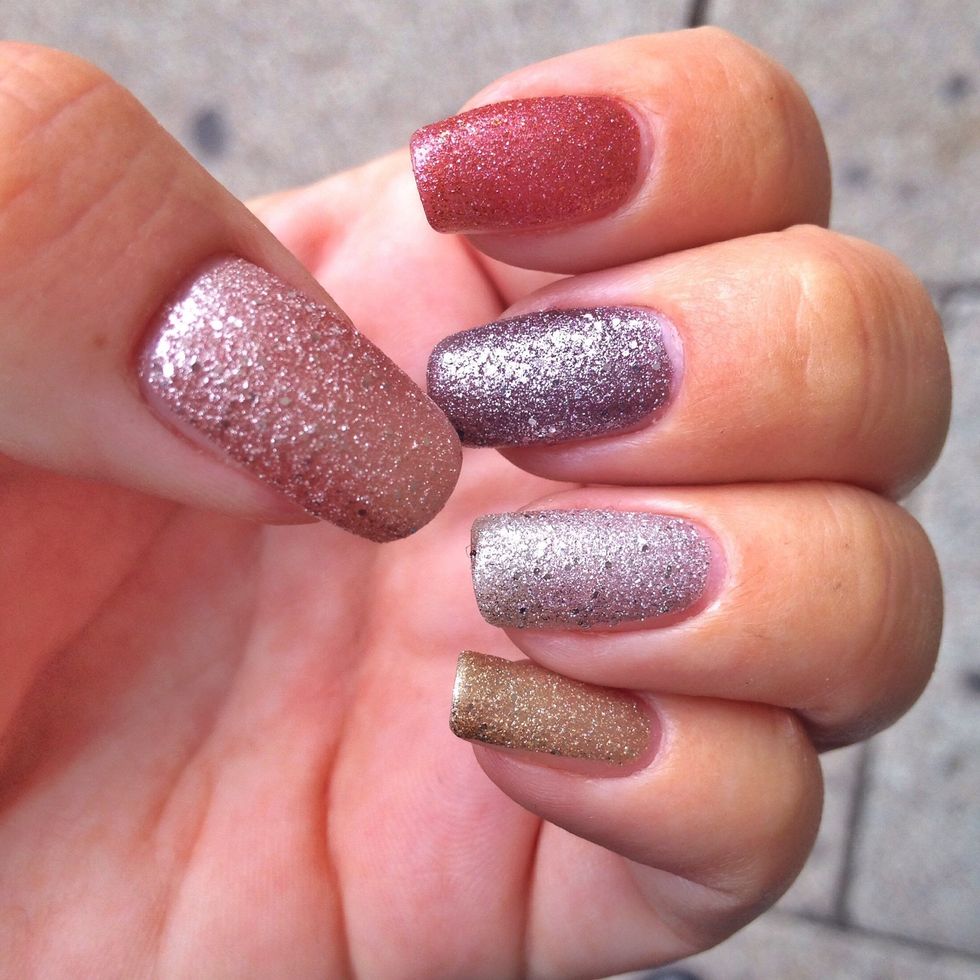
This is an older photo after trying all the shades of this polish - so you can see the structure the raw polish leaves on your nails. Glittery/sandy. Thumb and middle finger are the colors I chose.
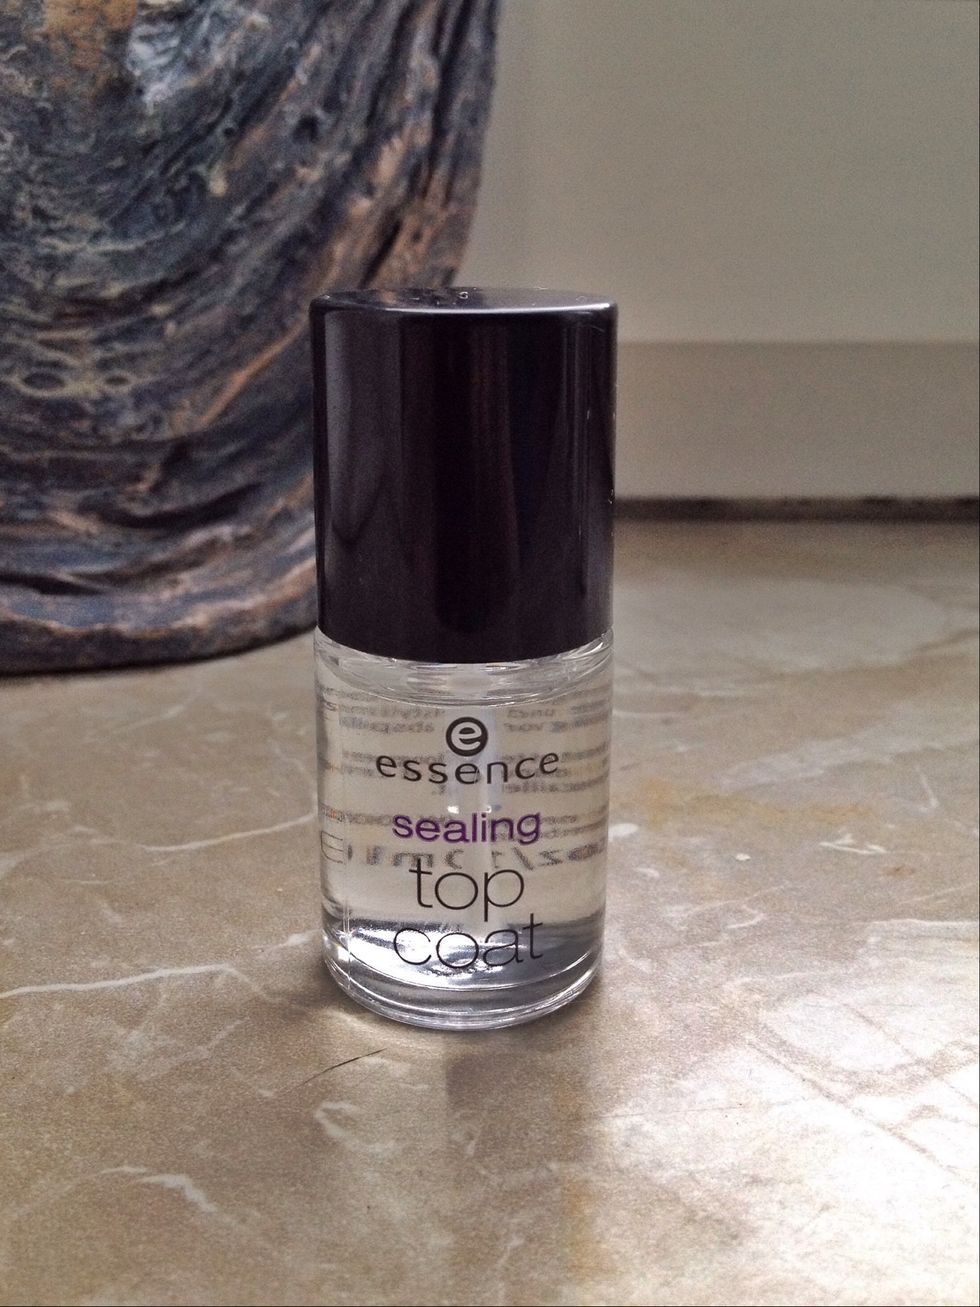
So let's start making them nails shiny! I got a couple new top coats so I had to try them out. This one shines like a ... well, it is super glossy, but also takes some time to dry.

This one dries fast and is super glossy, too!
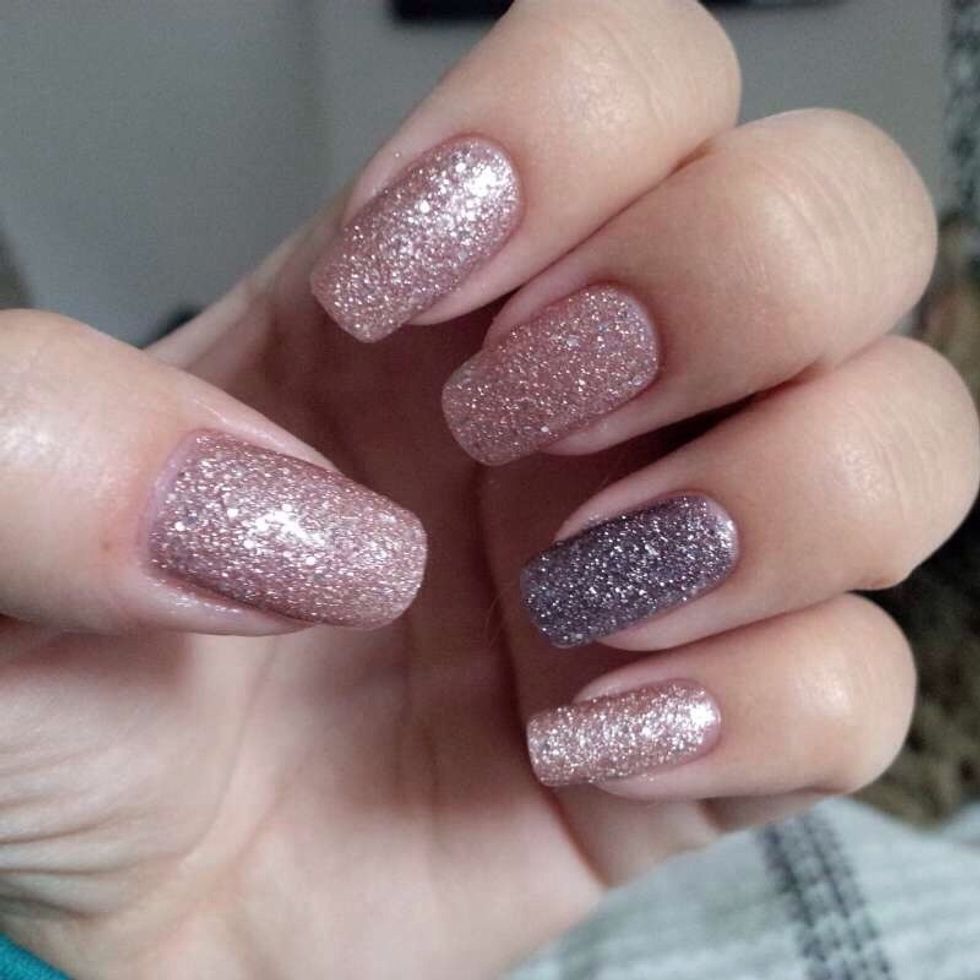
These are my nails after 2 coats of top sealer. See how the sandy surface slowly turns into nice glossy shine?

My absolute favorite. 2€. Not only does it give your nails a shine that you can see your face in but it also gives them a thick protective layer. I applied 3 coats. Better than any studio gel nails.
DONE and dried. All in all this took me about 2 hours, with letting each coat dry to the touch before applying the next one. No more bumps, crazy glitter, high gloss. Whoa there, pretty nails!