The Conversation (0)
Sign Up
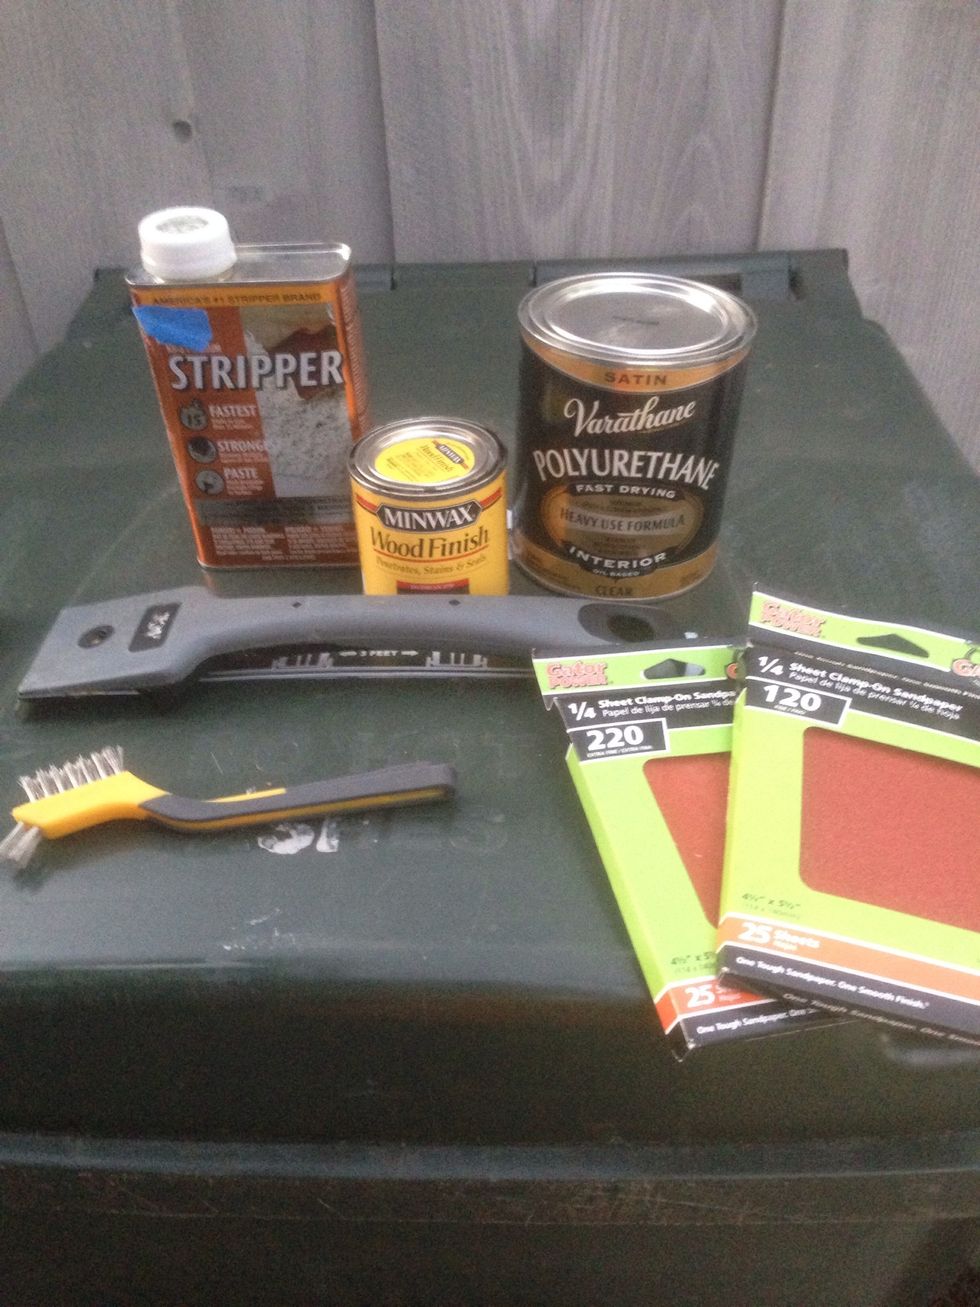
Materials :)
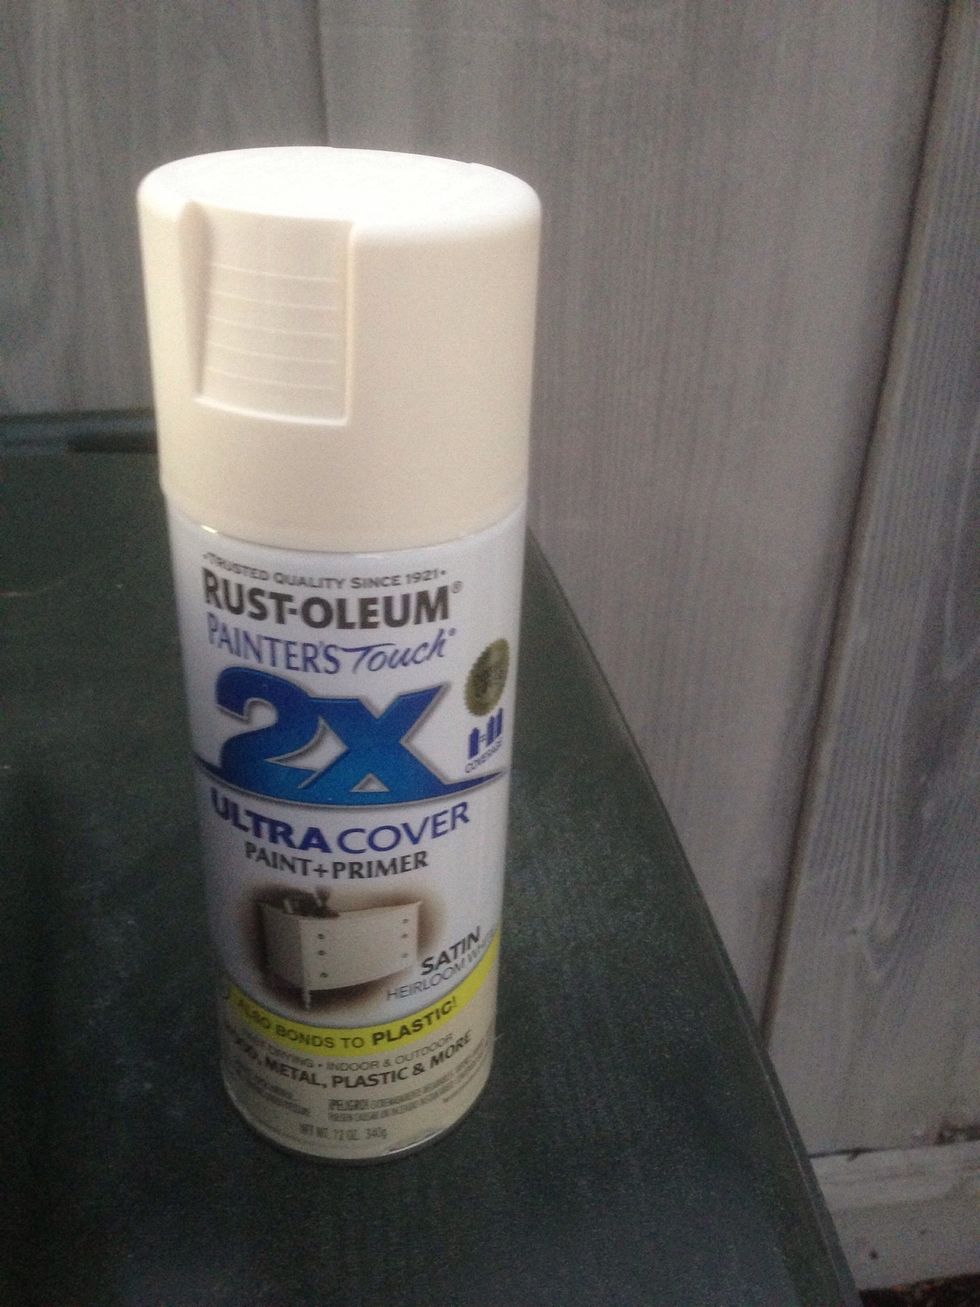
Optional! I used this to paint the bottom part of my vanity! Be sure to tape up anything you don't want sprayed!!!
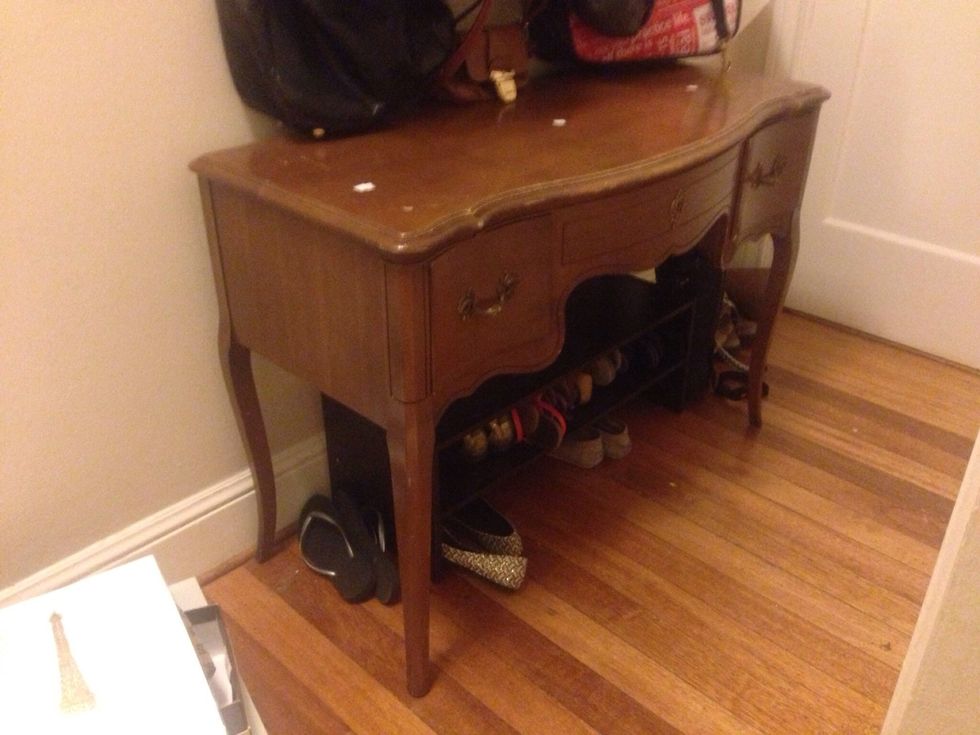
The before. I can just see the potential!!!! Can't you?!?! Let's get started!
Strip the paint from the desired area. Use protective eye ware & chemical resistant gloves. Apply paint stripper according to instructions. Use paint scraper with the grain & a wire brush for crevices

Sand with 250 grit paper until smooth and free of chemical residue.
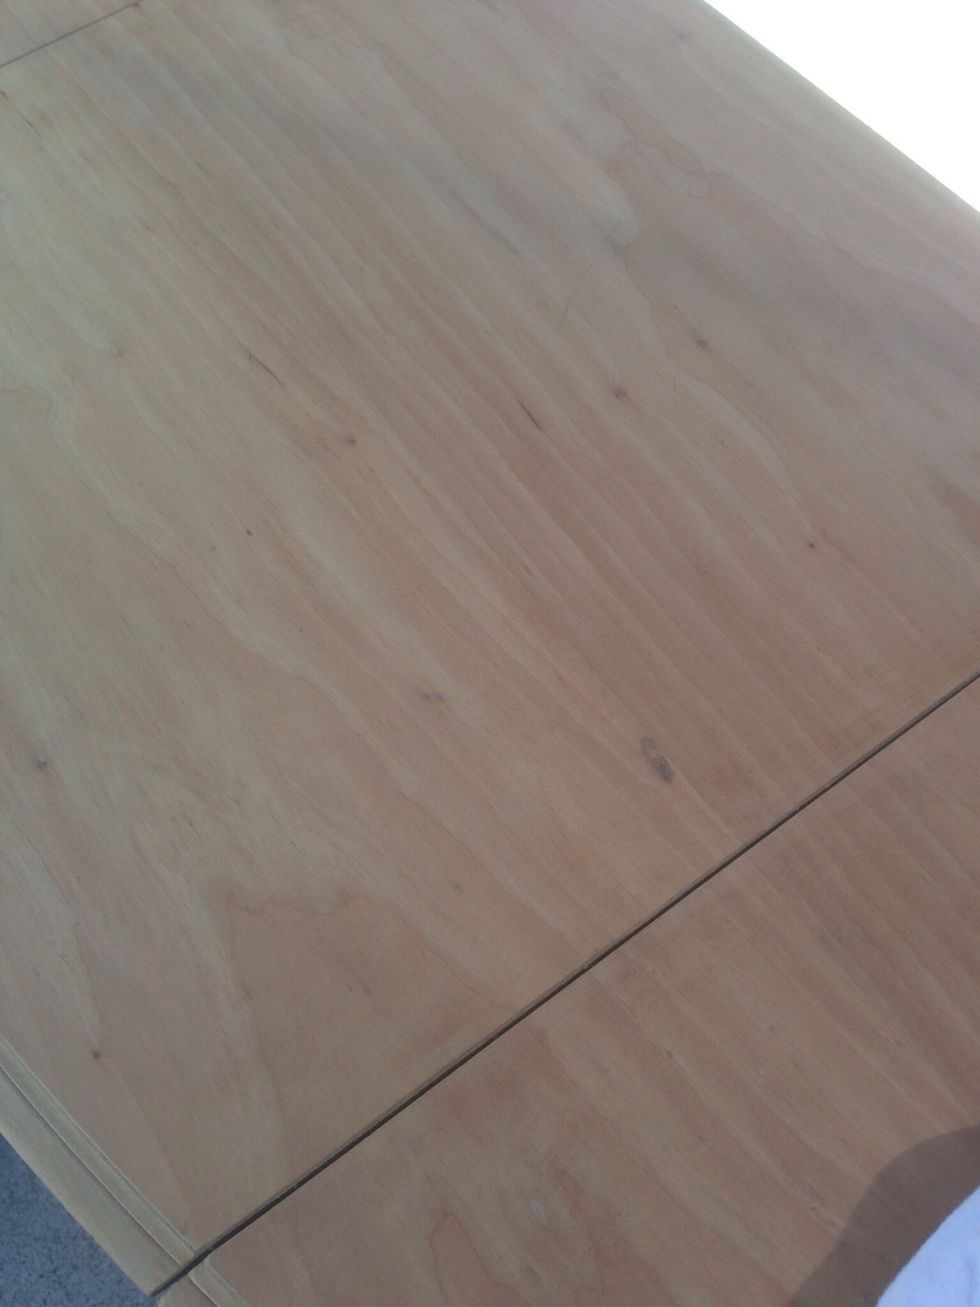
All clean and ready to stain! Make sure to use a clean dry cloth to remove dust and particle from sanding.
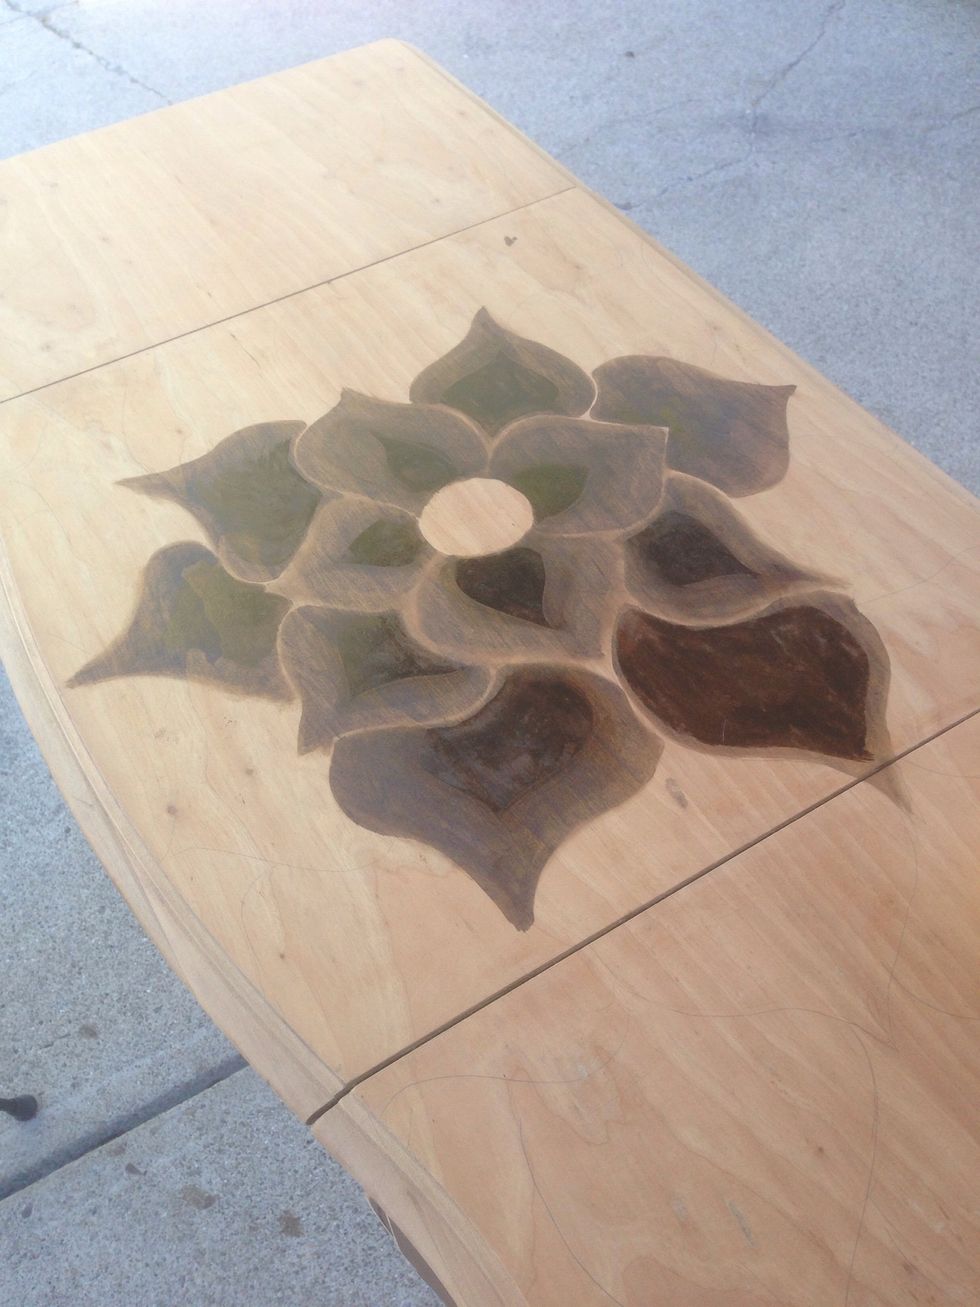
With a pencil lightly draw your pattern. With the t-shirt around your finger, dip into stain and trace the outline of the petal and fill in to center. Using the brush apply more stain to the center
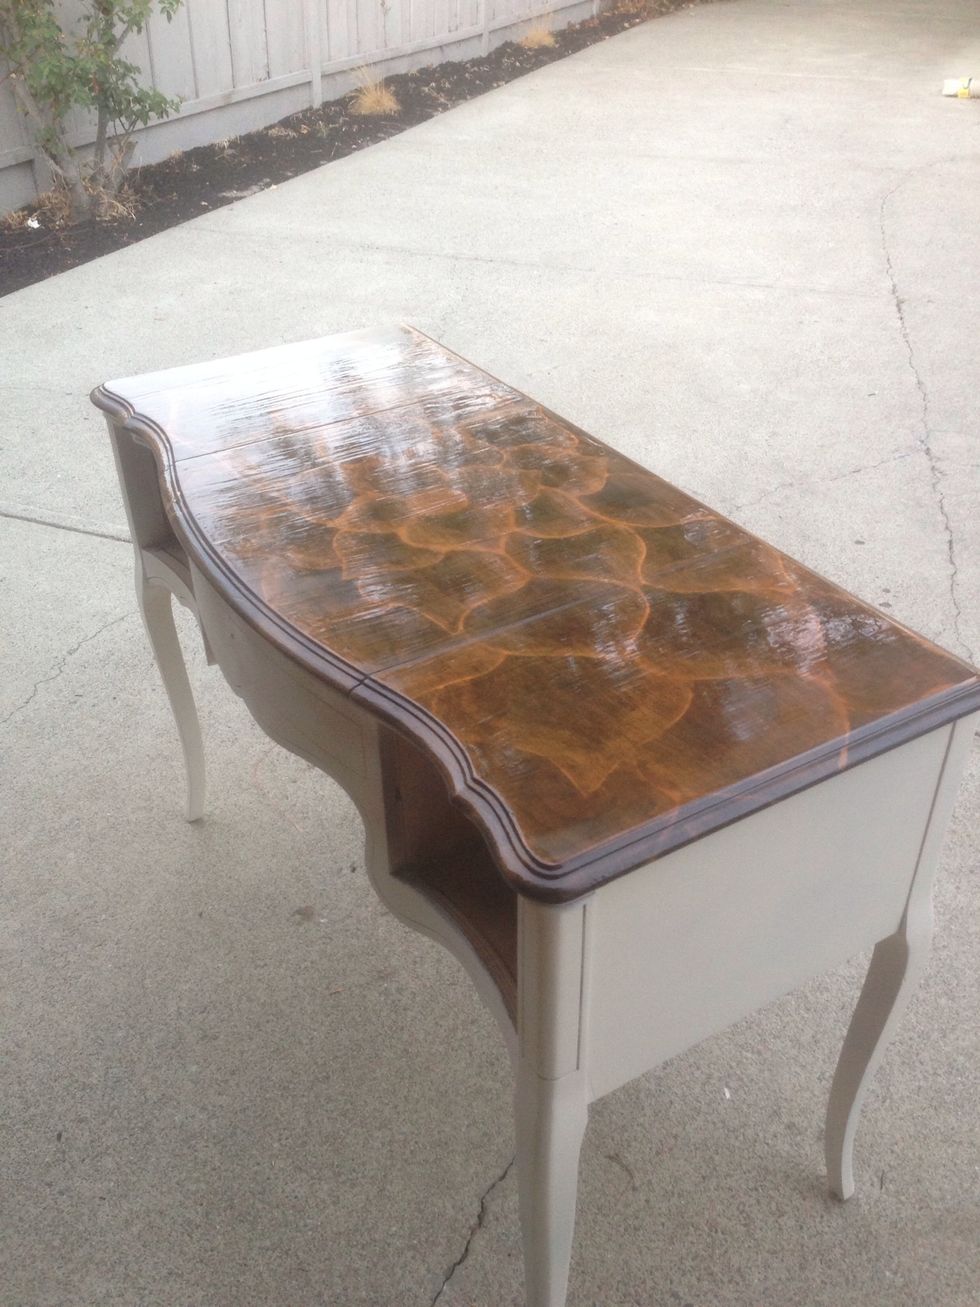
Continue the pattern to the edges
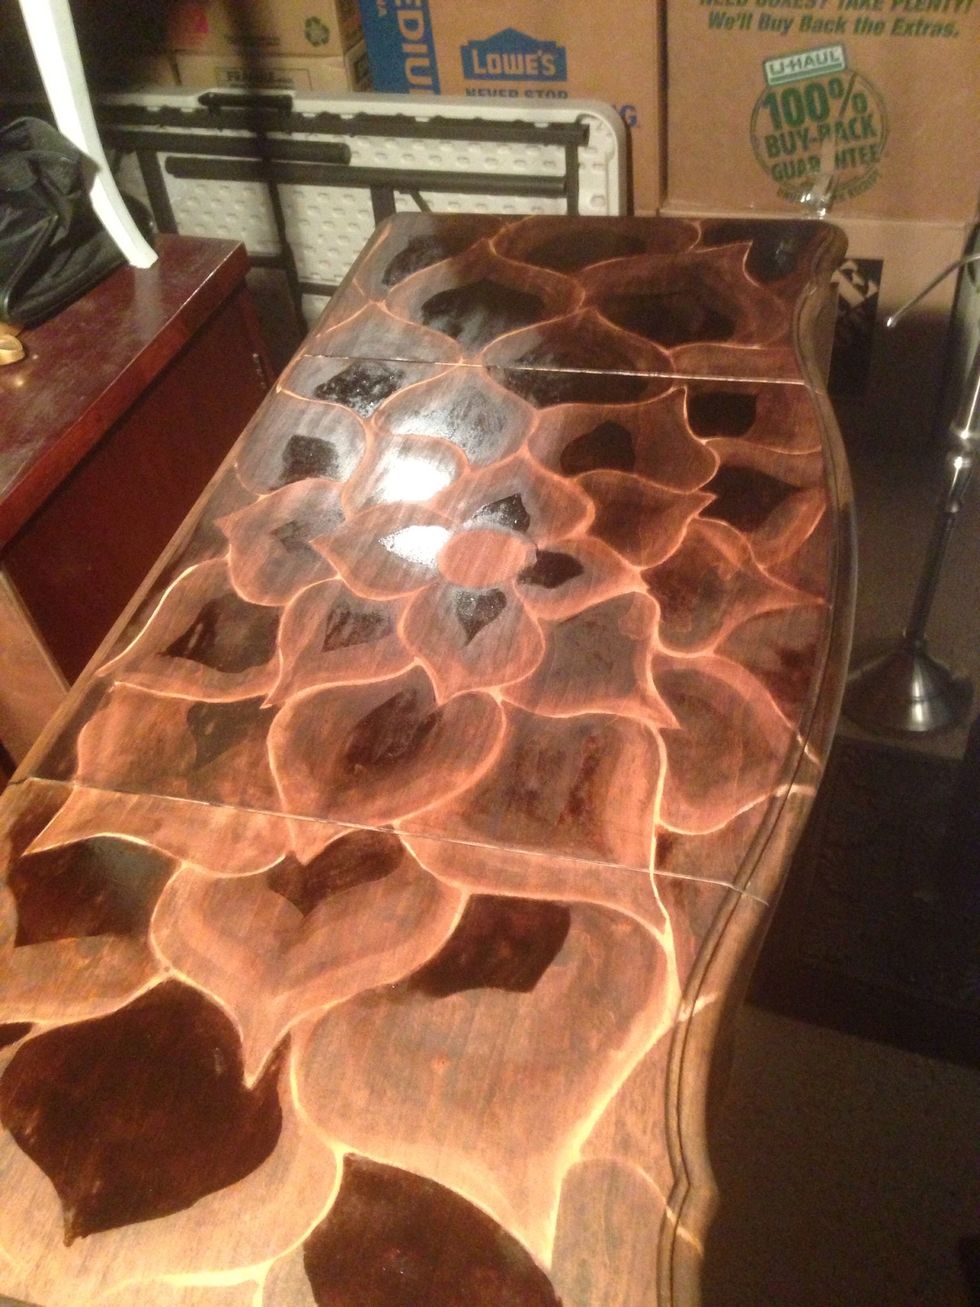
Once dry, apply 1 coat of polyurethane according to directions. If you get bubbles wait 4 hrs or overnight and use sandpaper to remove them. Apply 2-3 more coats of poly allowing to dry 4 hrs between

With one cost of poly.
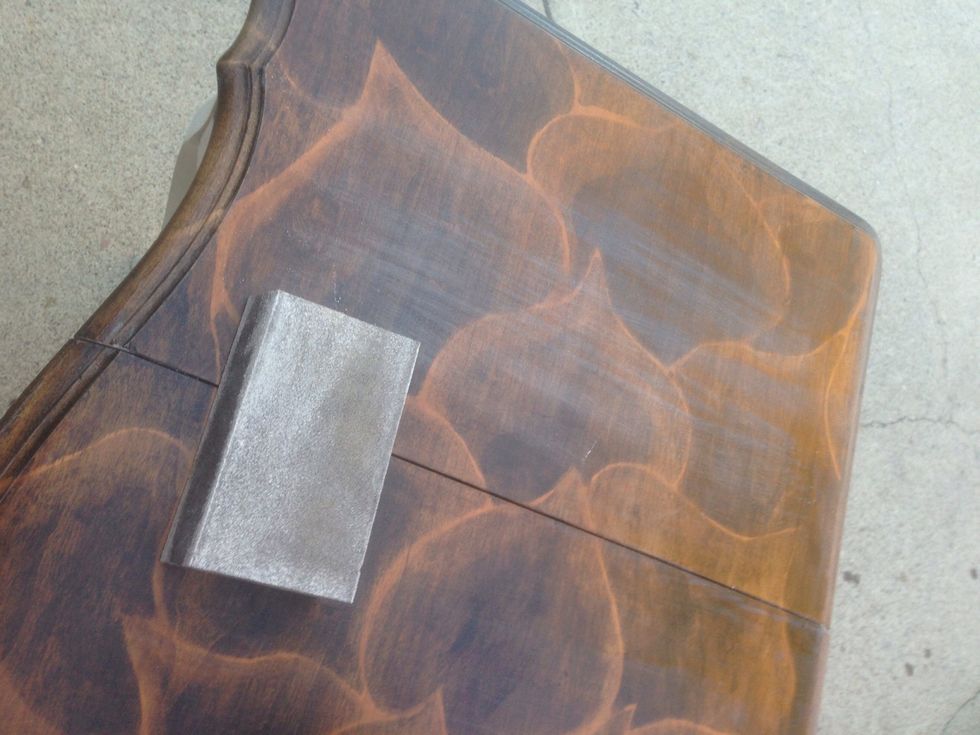
Sanding out bubbles. Here's a tip, don't shake the can of polyurethane Stir it instead. Shaking the can causes a reaction making . . . guess what. . . bubbles!!!

Wipe it down to remove dust and particles. Looks a little dull, doesn't it. :(
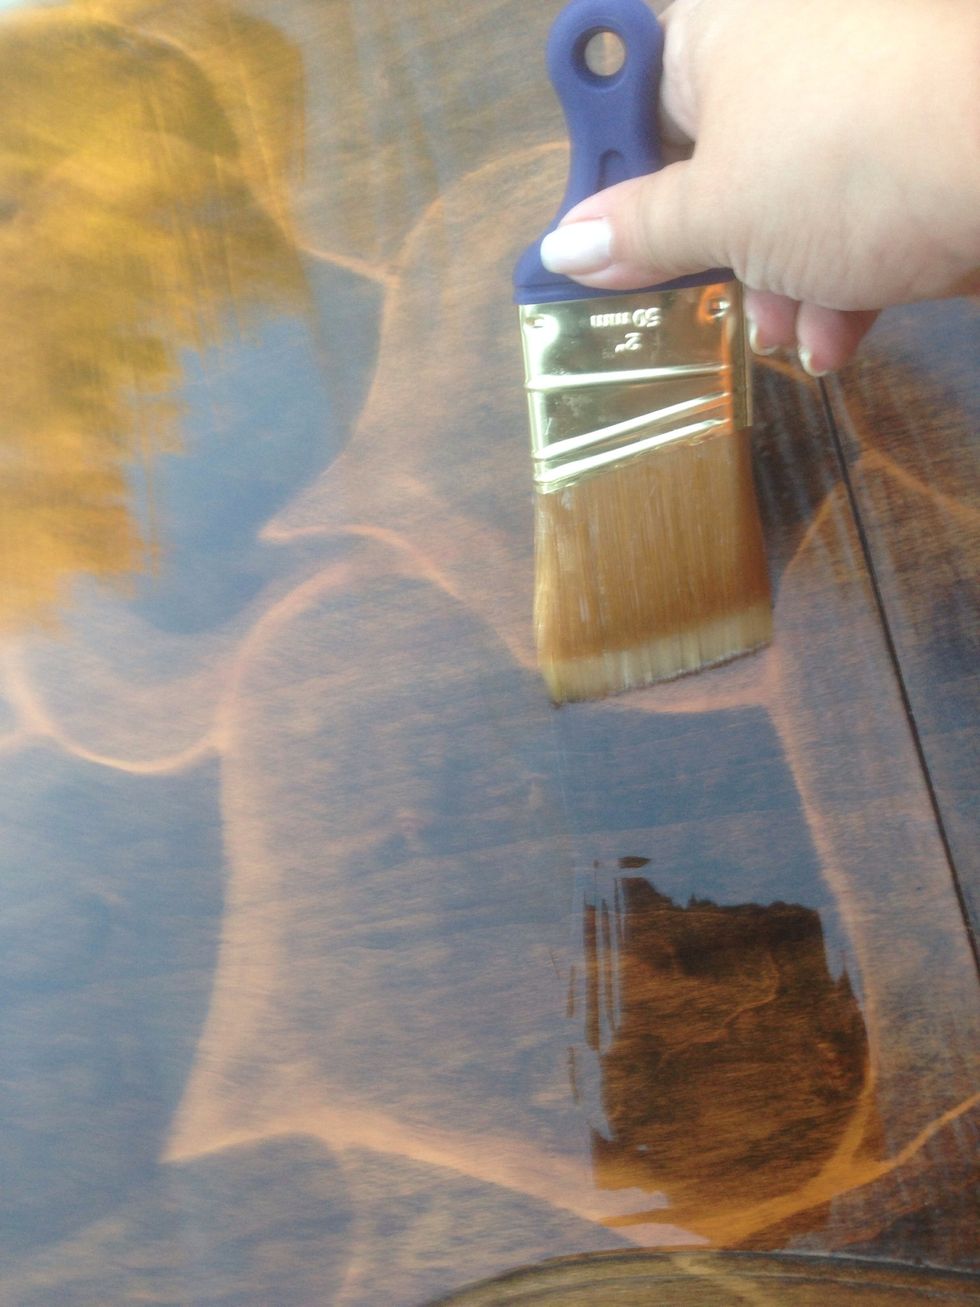
Adding another coat. Ooooh...shiny! :)
Careful, don't over brush. It can cause streaks. Worry not, they can be sanded down before the next coat!!! (Whew!)
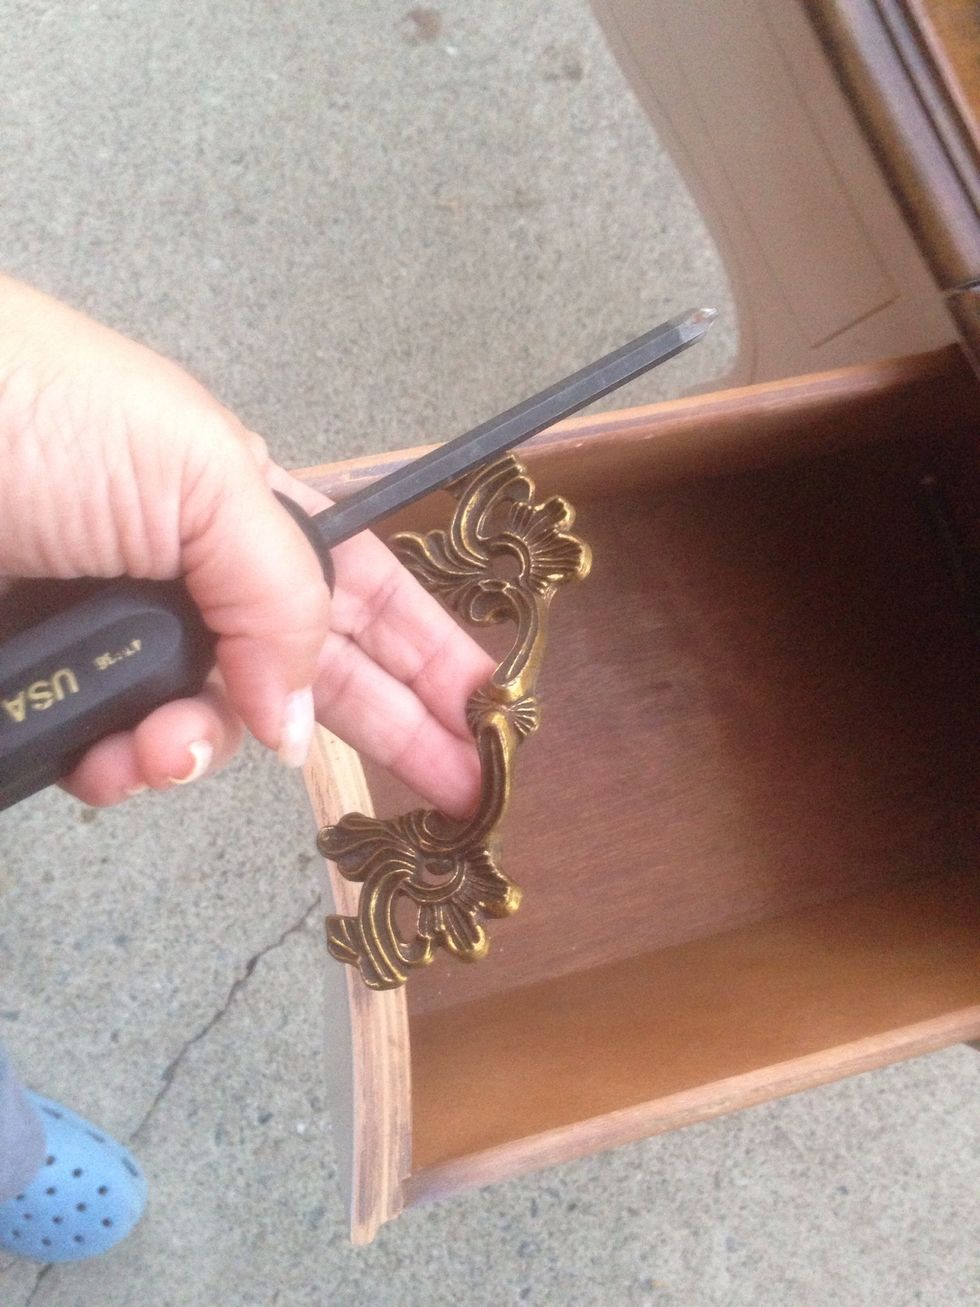
Time to replace/reattach hardware. These were in great shape! Gorge-!

You're done! This was inspired by the creative geniuses at sawdust and embryos Just proving anyone can do it! http://www.sawdustandembryos.com/2012/07/burn-pile-buffetpart-2-using-stain-to.html