The Conversation (0)
Sign Up
when painting anything, the first step is always PREP work! this is the most important part, and if you skimp here, it will show!
- put down the drop cloth - take a towel and wipe down the surface to remove debris - gather your materials - calculate width of the room/width of each stripe
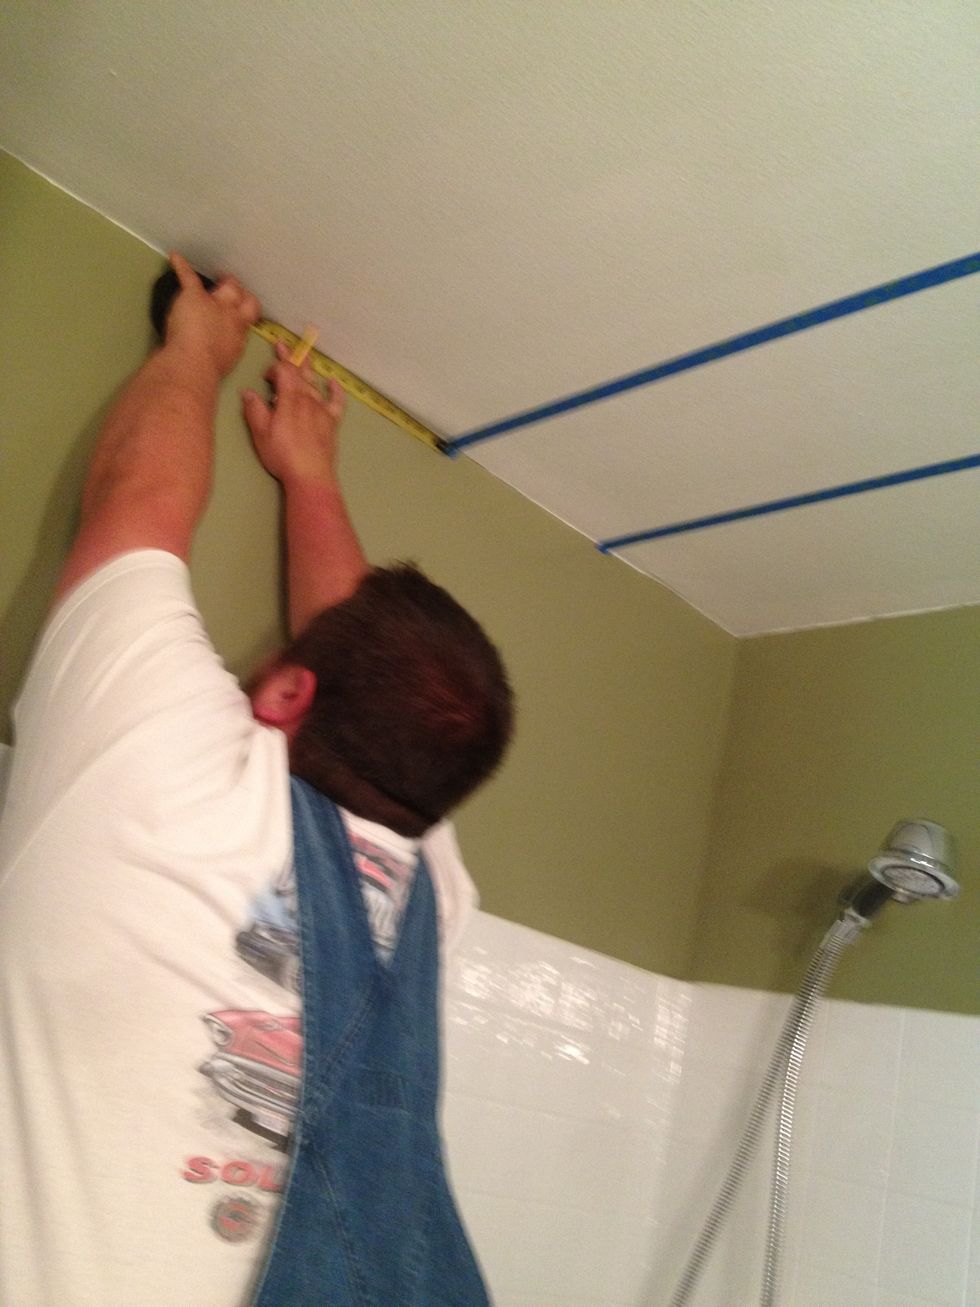
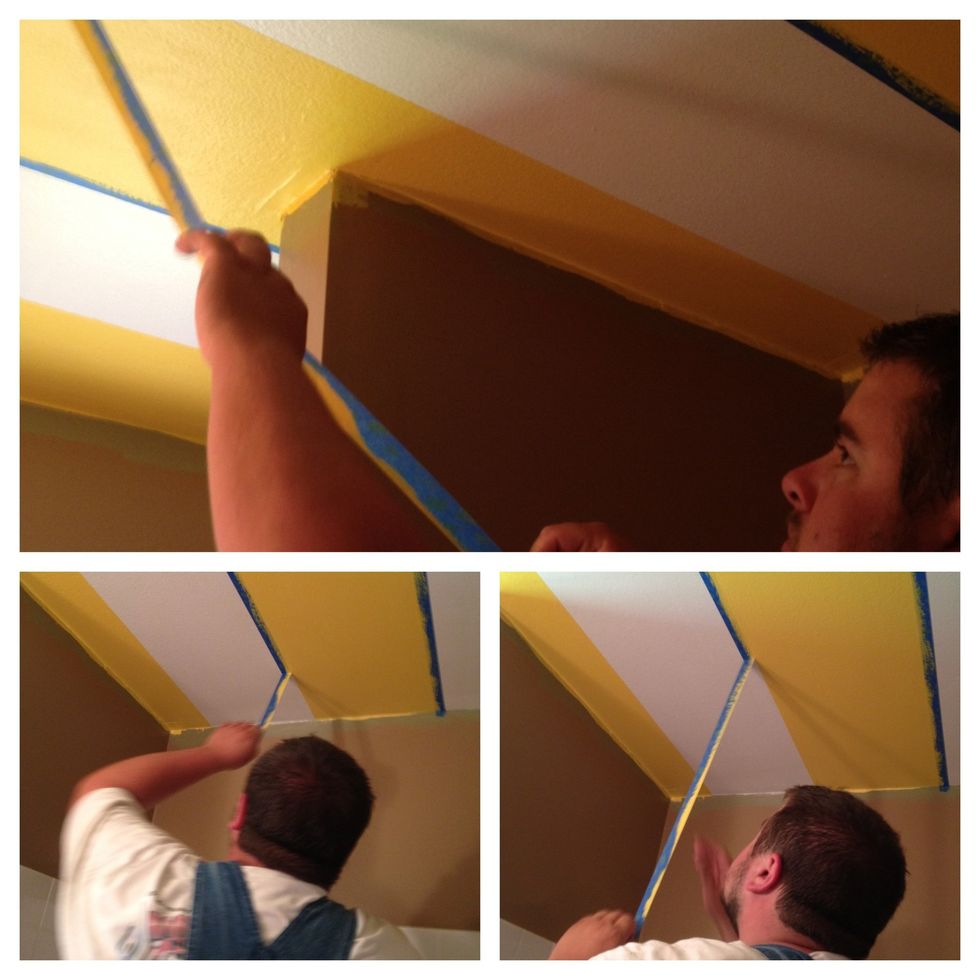
here is my sexy husband (yes, in overalls!!) he is doing a spectacular job measuring each stripe, marking with a pencil, and then we tape it together.
our bathroom is small, so each stripe was 13.25" with a total of 7 stripes.
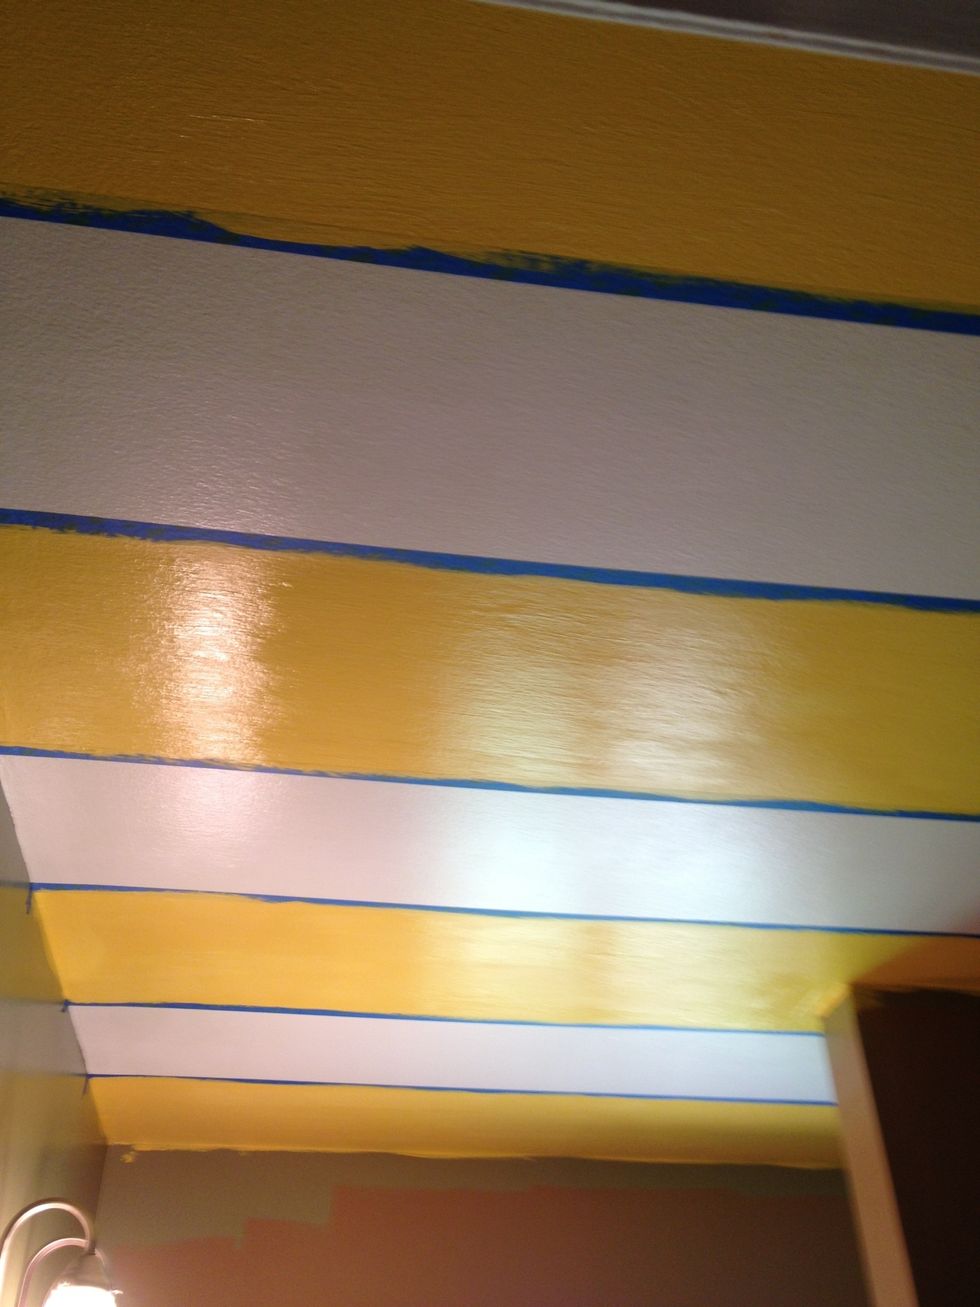
when pushing down the tape, DO NOT slide your fingers on the tape, across the ceiling - it will make the tape swag and you will have crooked lines. INSTEAD firmly tap every couple inches than slide.
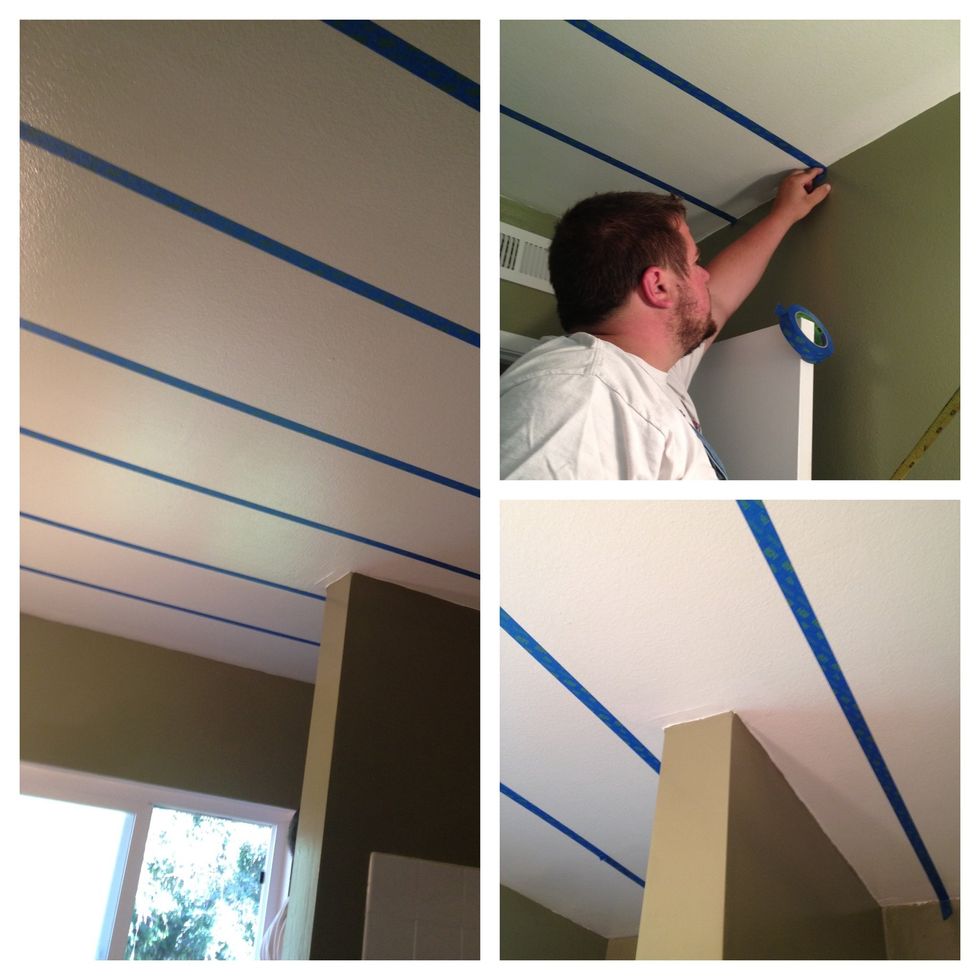
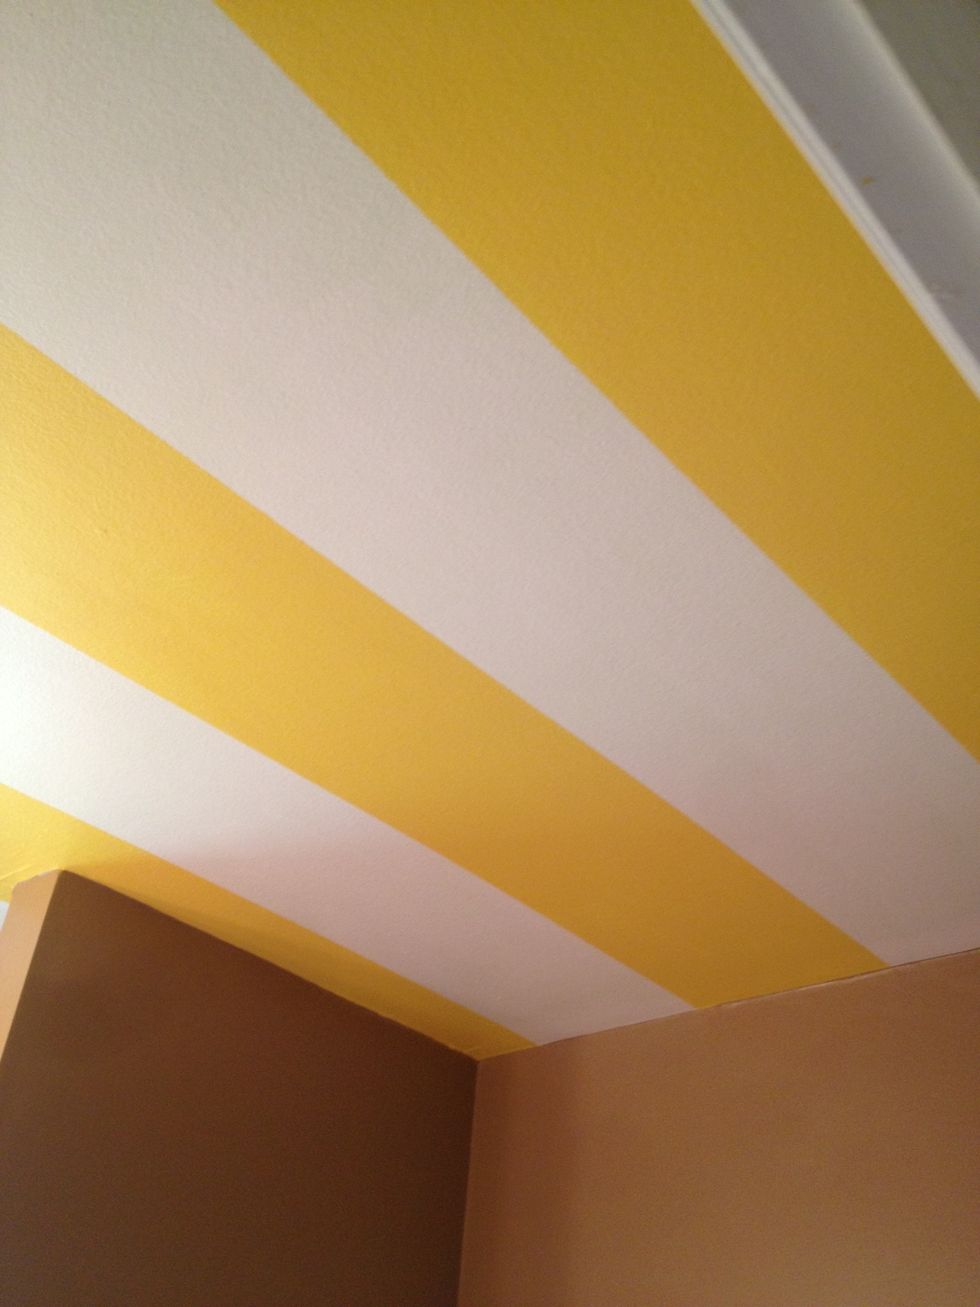
the tape needs to be really stuck to the ceiling so that the paint doesn't seep through. if you have an obtrusive wall, like we do, keep going as if it weren't there - keep it clean and conform.
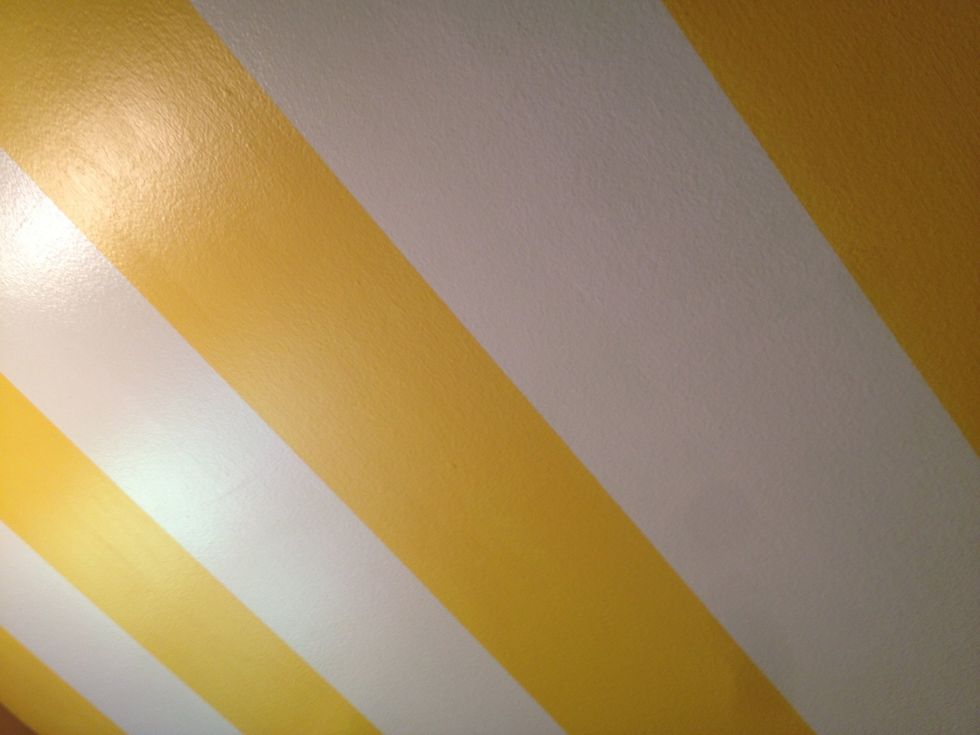
we did yellow and white stripes. the blue tape is on the white stripe side, making the white stripes look narrower than the yellow stripes.
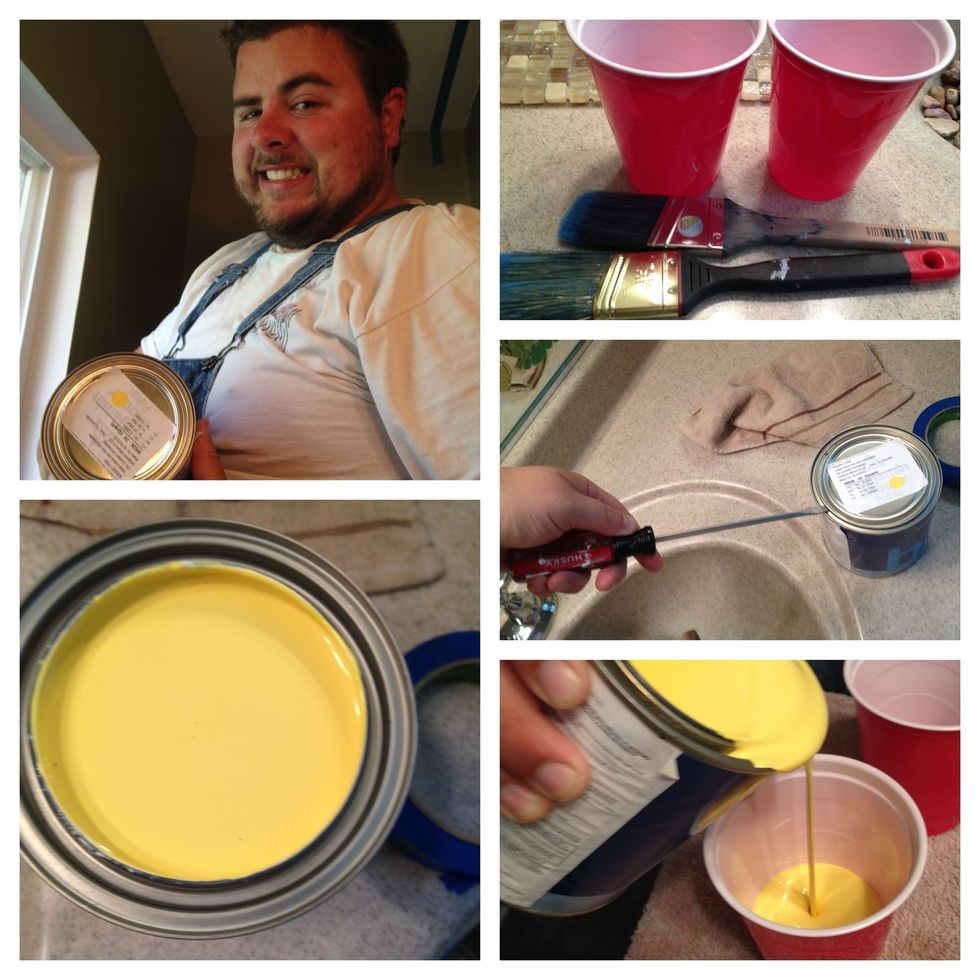
choose a BOLD color, shake well, use a screwdriver to pry open can, carefully pour into a plastic cup, and wipe the can of excess with a paint brush!
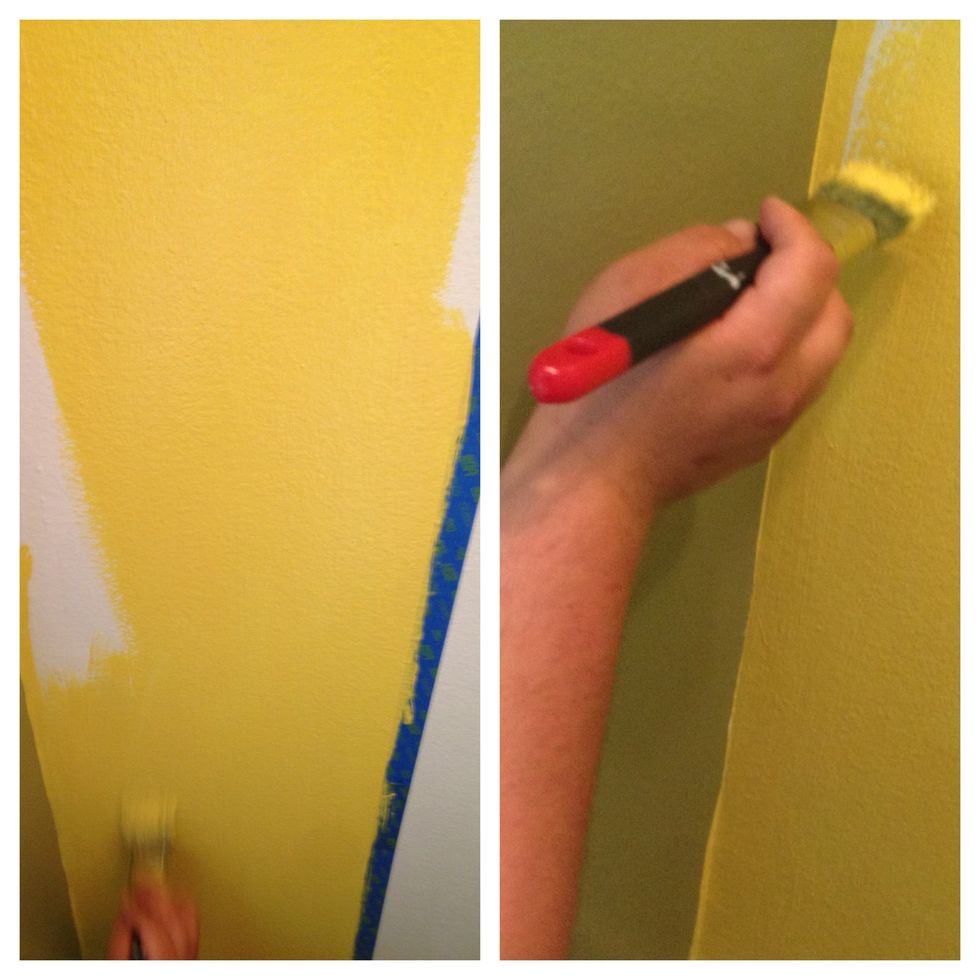
now, the FUN part! PAINT! we used paint brushes because our bathroom is so small, but if you have a large/tall enough space, use the roller and extension. you can go over the tape a bit, just be aware
as you can see in the last picture, we weren't concerned with "cutting in" around the edge of the ceiling. this is because we are painting our walls too. if you are not painting your walls, cut in!
we did two even coats and let them dry for a couple hours each. we wanted to give them plenty of time, and also do the project right! sometimes that means taking a little more time, and that's okk!
when pulling down the tape BE CAREFUL, you don't want the paint to peel with the tape. double the tape back over and away from the stripe - this helps to give a clean line.
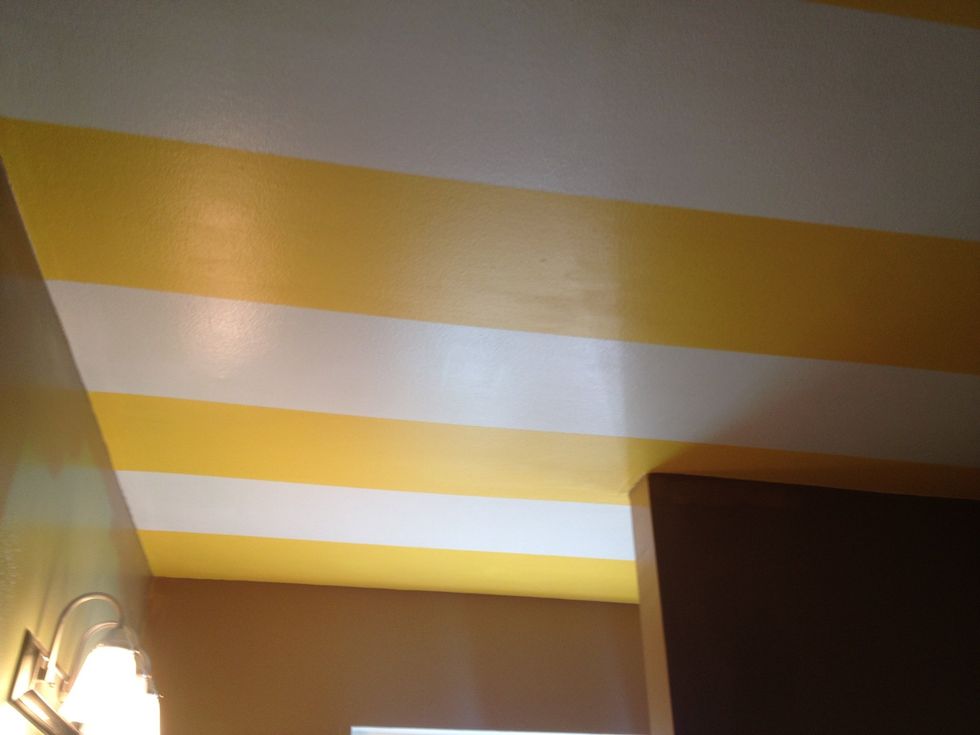
VOILA! when you're done, finish painting the walls by cutting in the ceiling, be careful not to get paint on your new stripes! we love how it turned out!
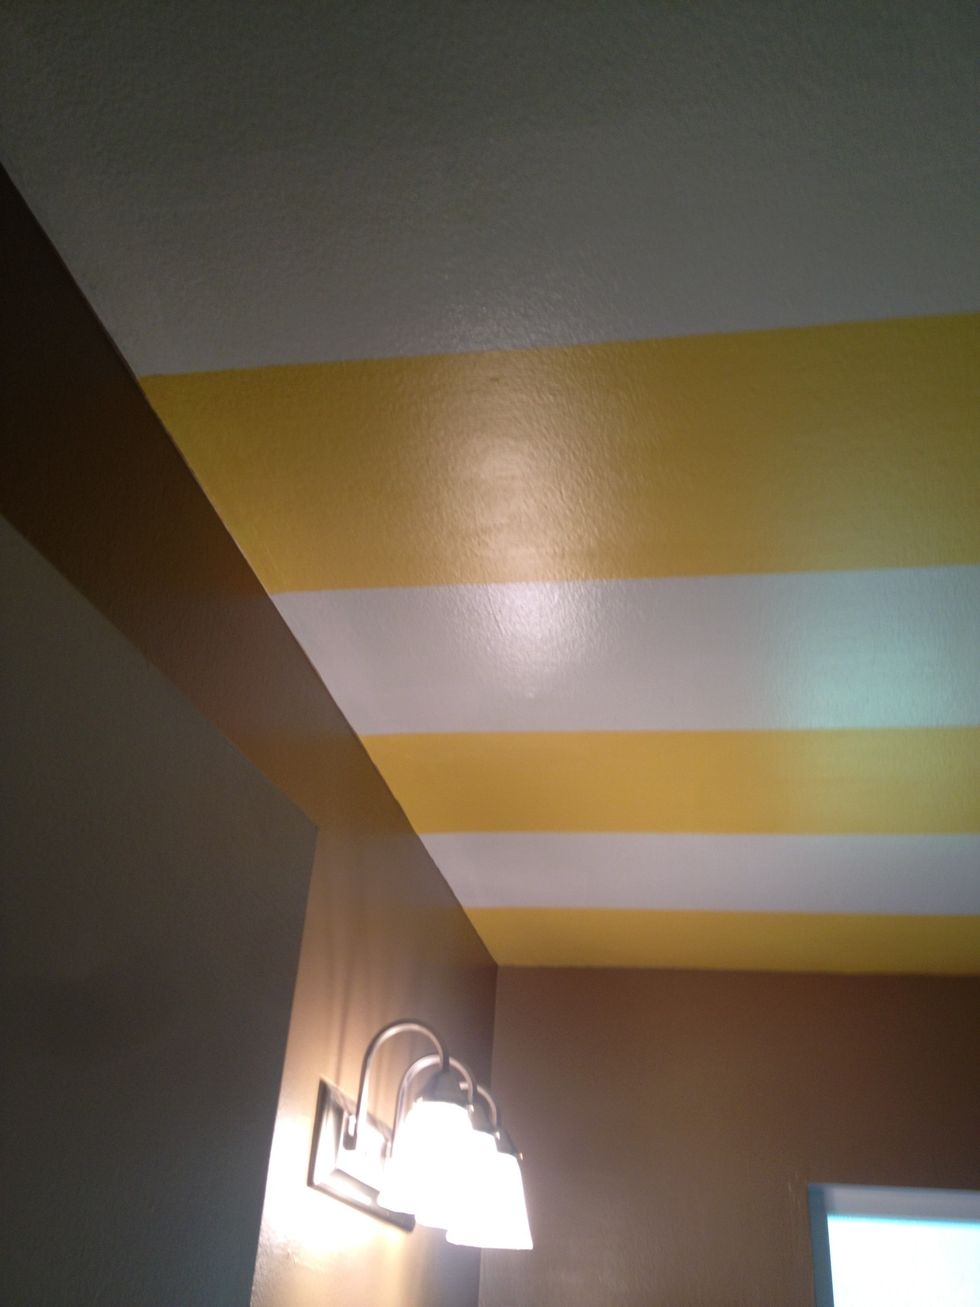
you can vary size, color, or sheen of the stripes, it's a really individual project to what YOU like, so mix it up! you could even do chevrons!
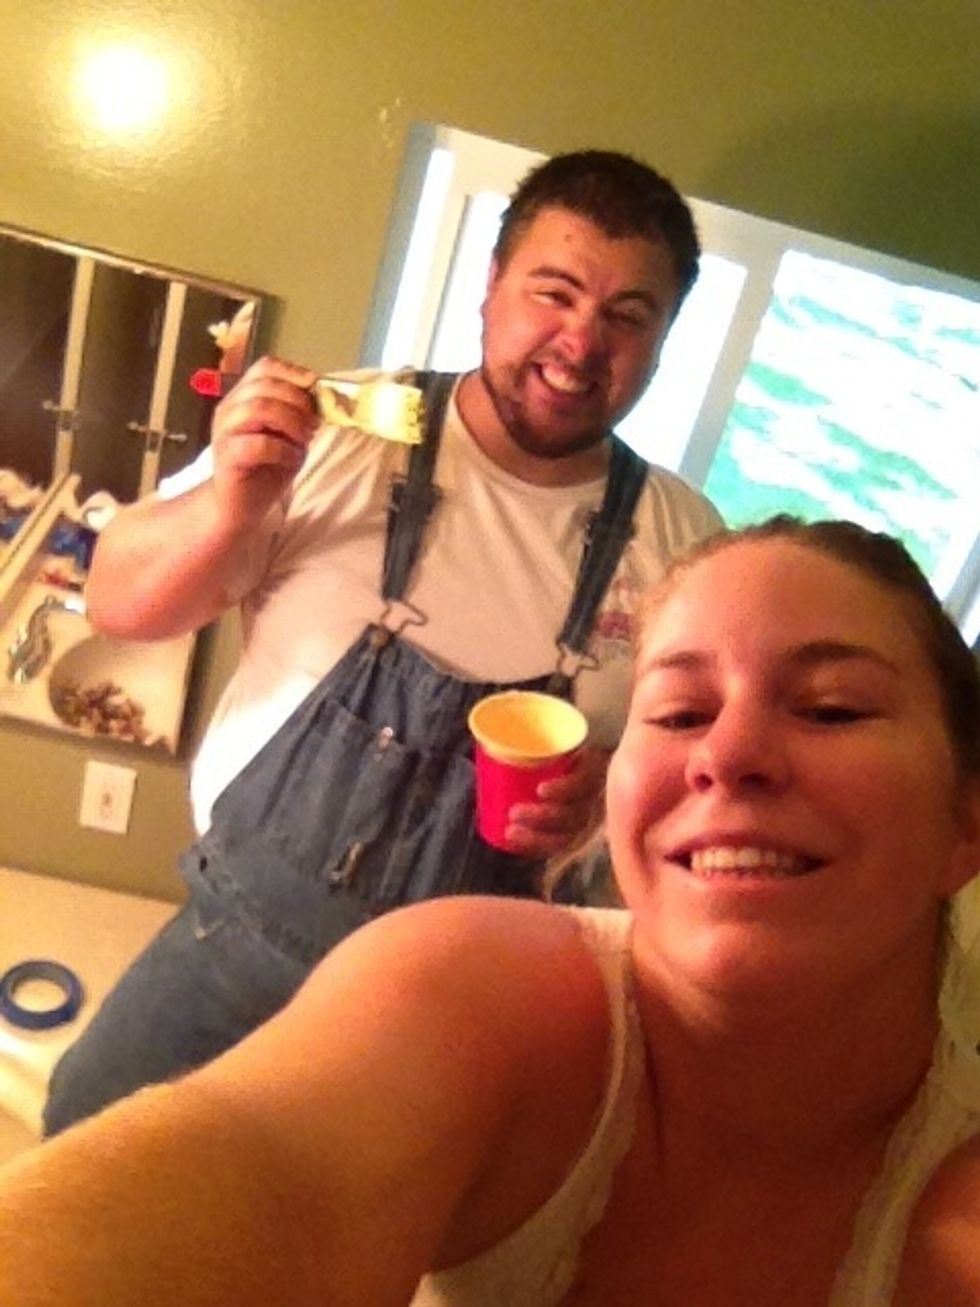
REMEMBER: have fun! put on your favorite playlist, shake your booty, and enjoy this fun project with your friends! (we look a lil' silly in this picture, oh well! haha)