STEPS
TOOLS
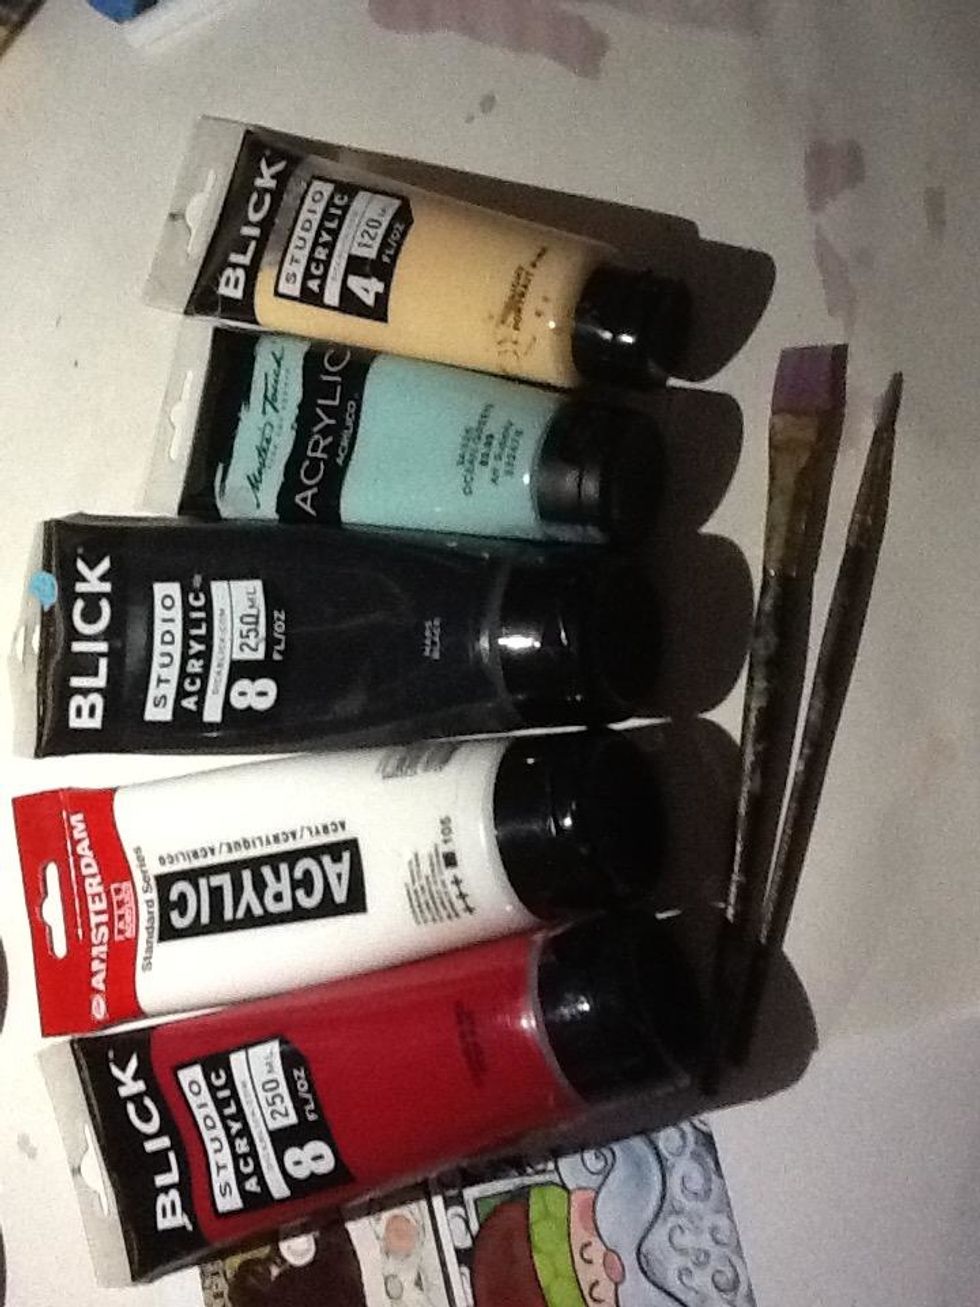
I used a 1/2 inch flat head paint brush and a small round tip brush. I used black, white, red, light blue, and portrait pink acrylic paint.
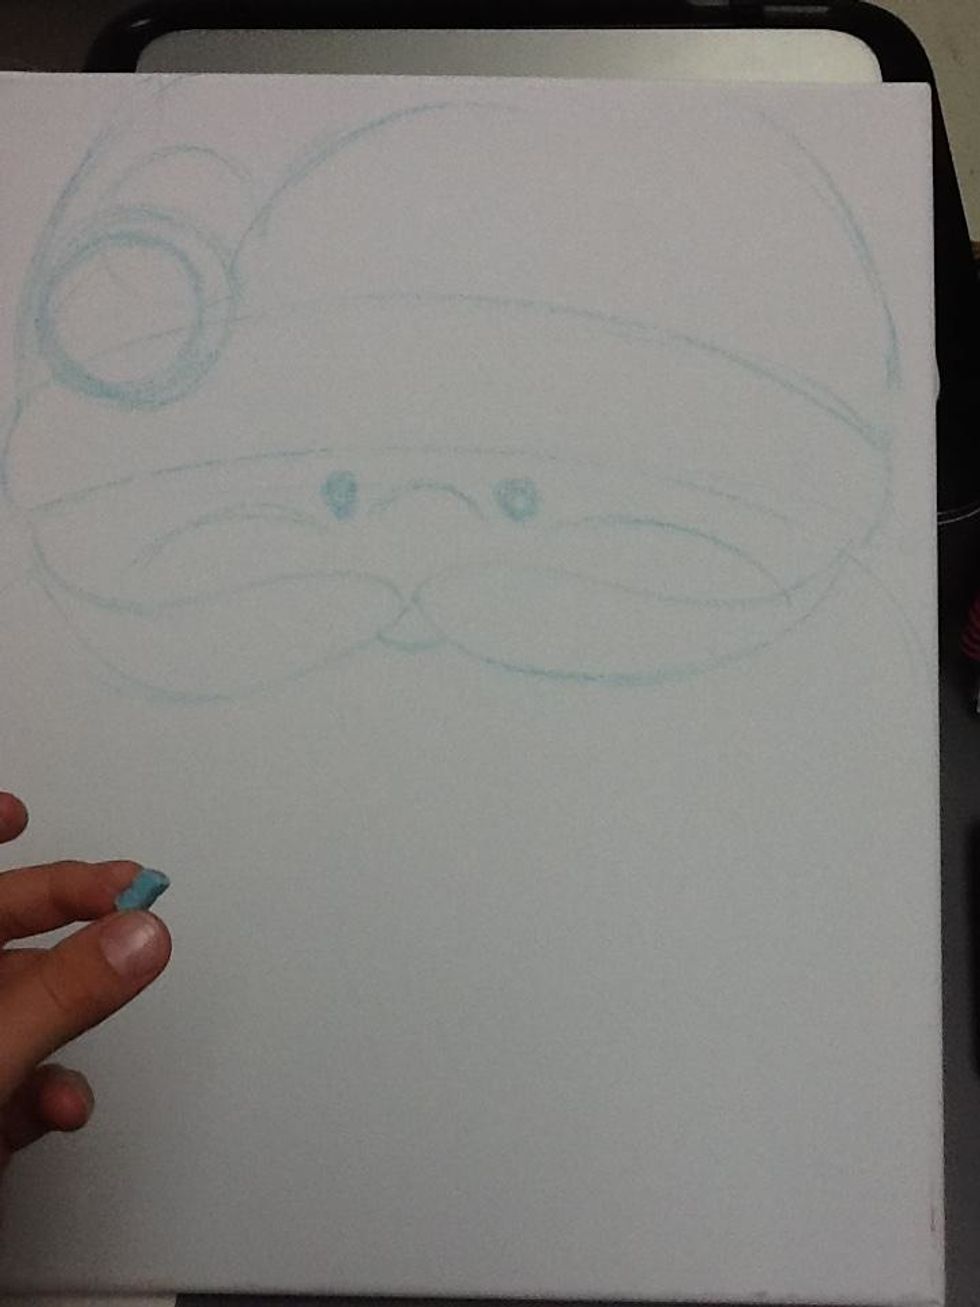
1st use chalk to sketch Santa's face near the top of the canvas. We are saving the bottom half for beard and family name.
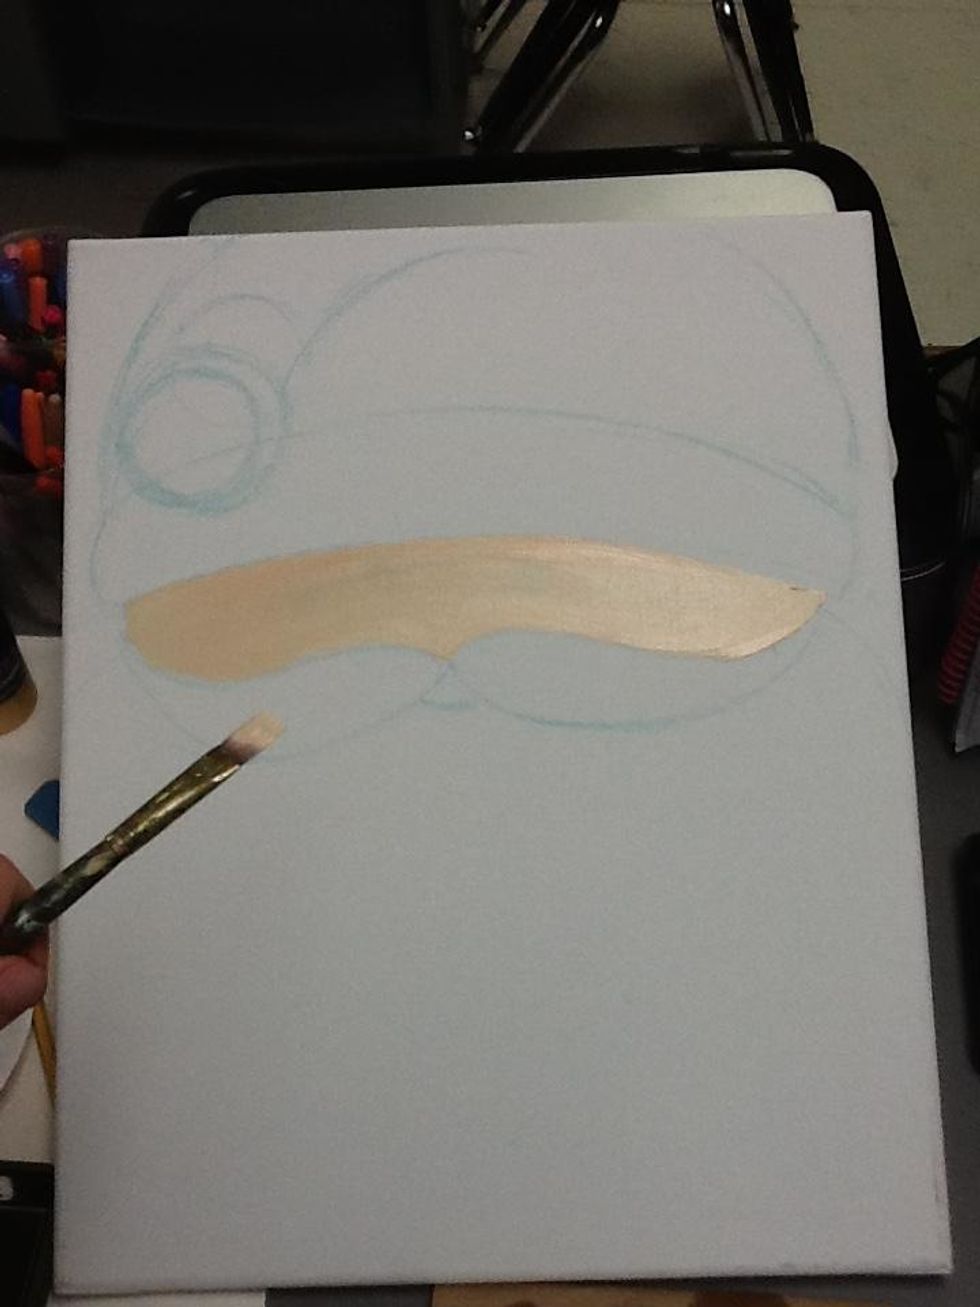
Paint Santa's face with the portrait pink using the larger paintbrush.

Use a little red paint to create a darker pink for the nose, cheeks, and right under the hat.
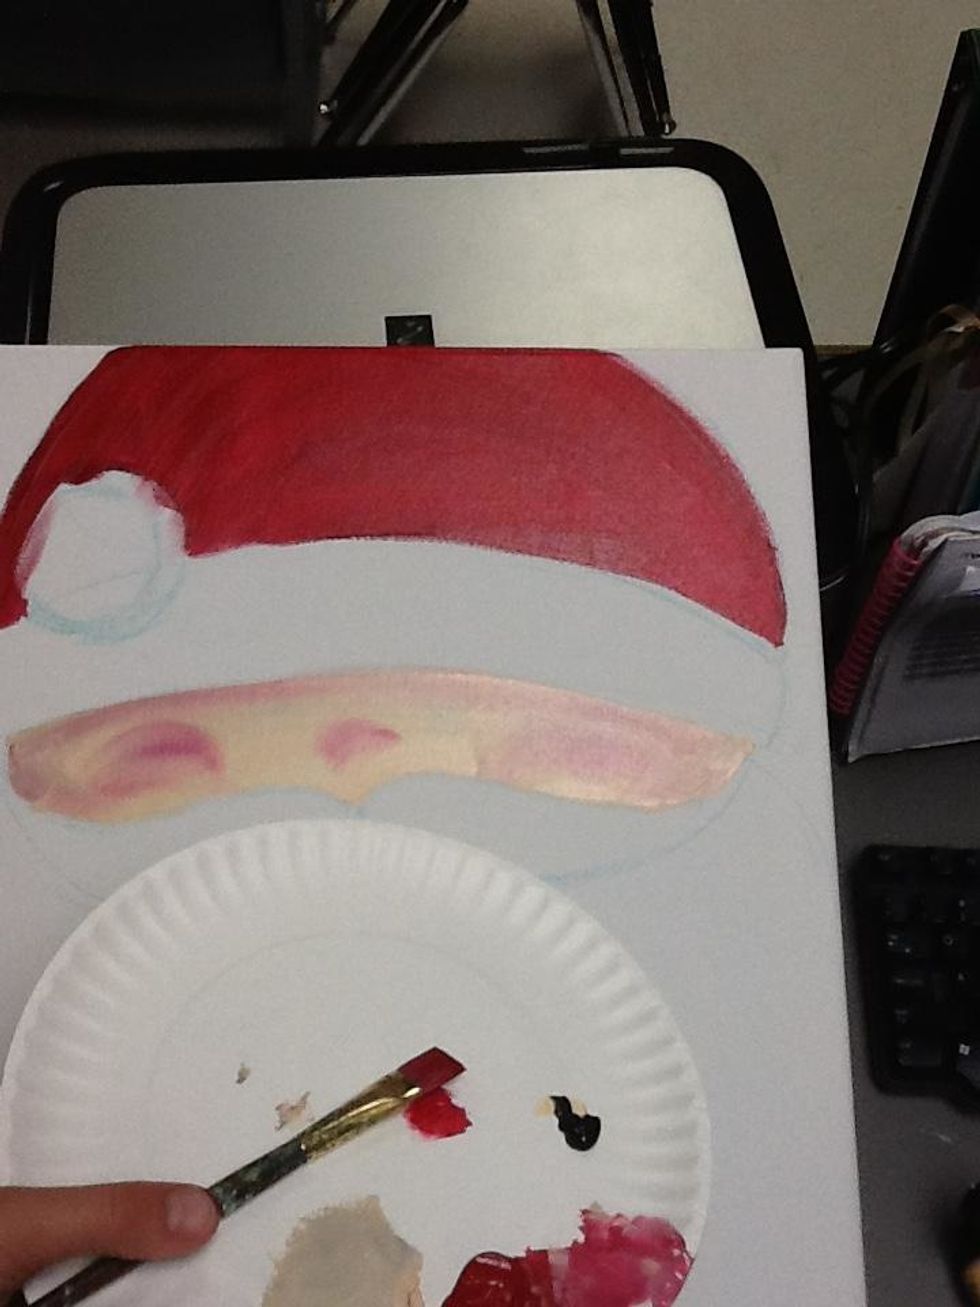
Now lets paint the had red. Be careful with red, it wants to make a mess of things.
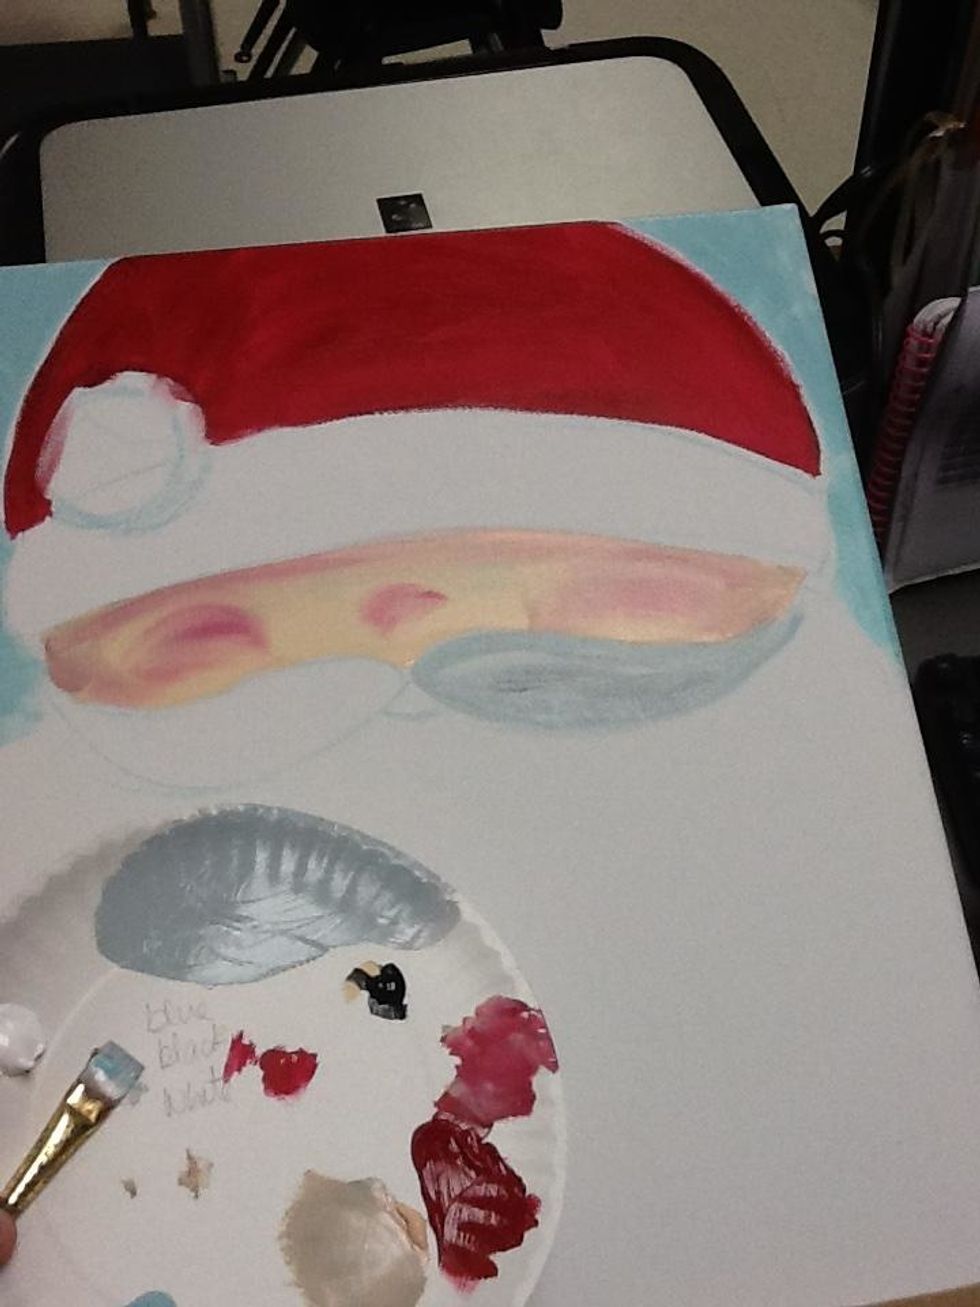
Now, mix black and white together to make a light grey. Always use way more of the lightest color when mixing. So a tiny bit of black to a glop of white.
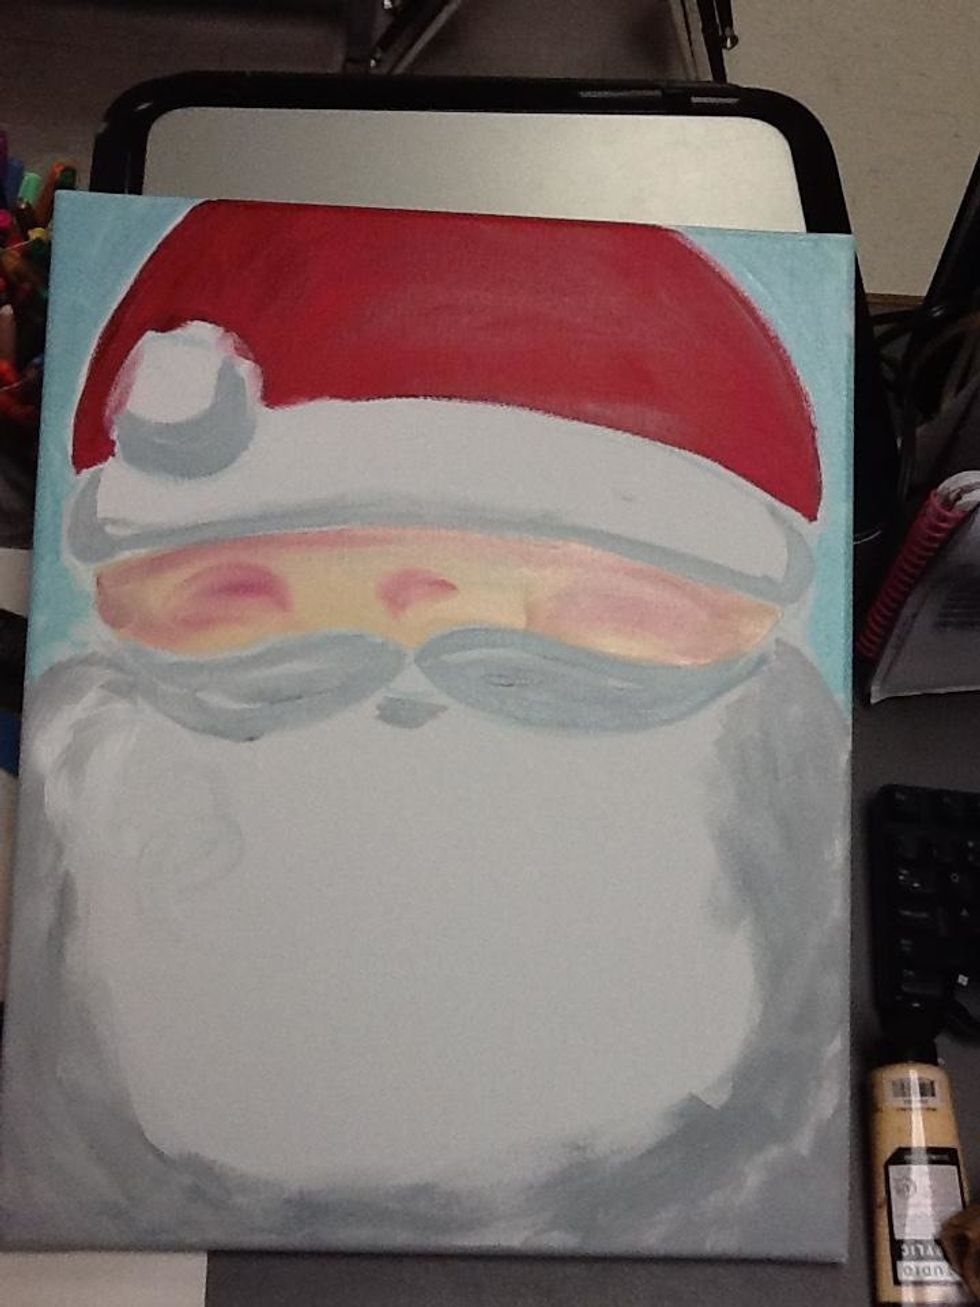
I also added a little bit of the light blue to give the grey a cooler tone. Use the grey to paint a shadow under the puff ball and band of the hat, the mustache, and around the beard.
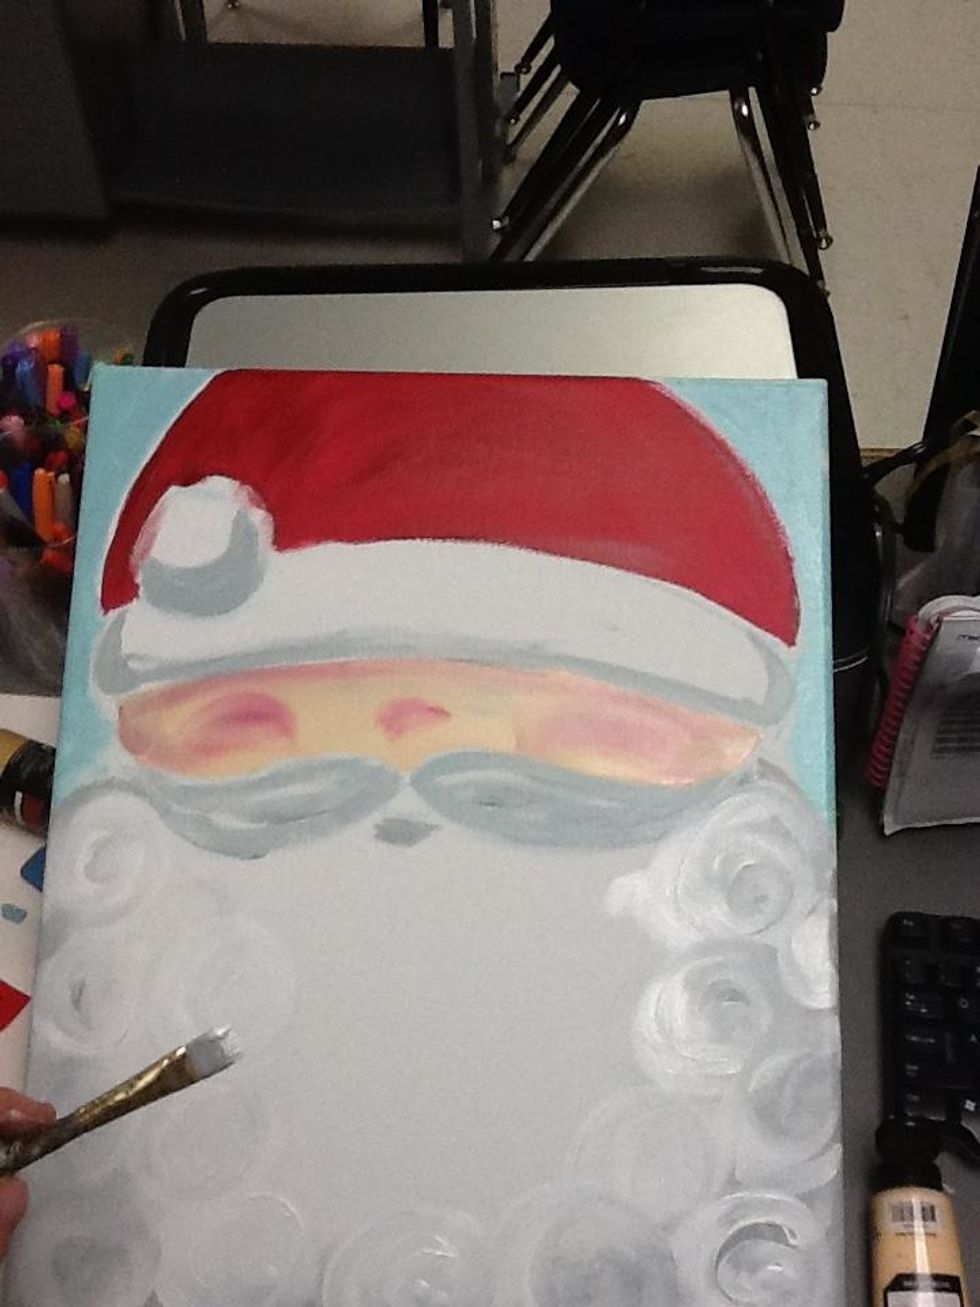
Now for the fun part! Don't rinse your brush, get white paint and start filling in the beard with white swirls. The white paint will pick up the grey and give it texture.
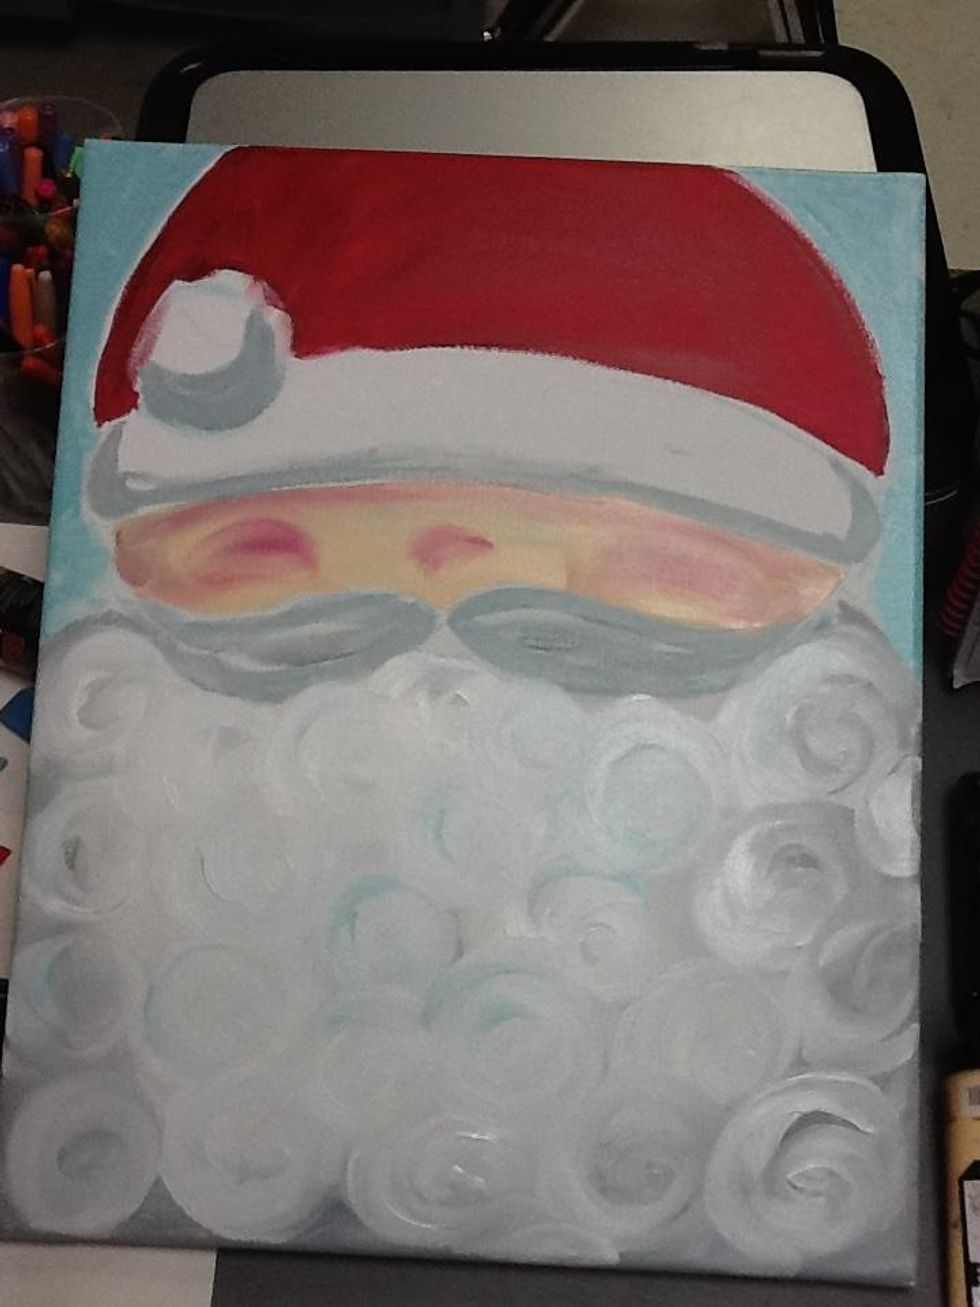
I got a little bit of blue on my brush, but it's all good;)
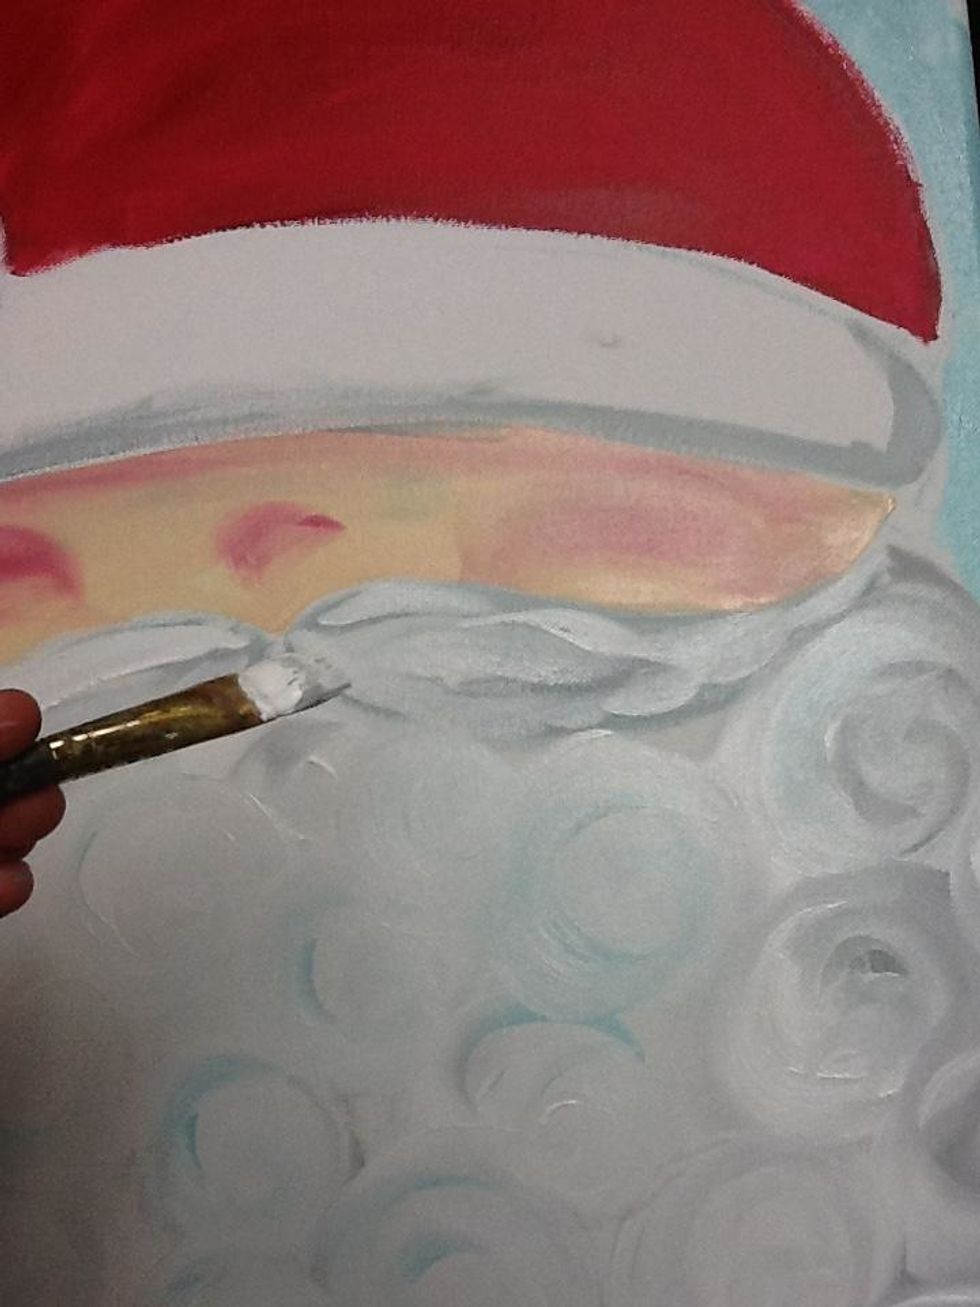
Paint white on the mustache.
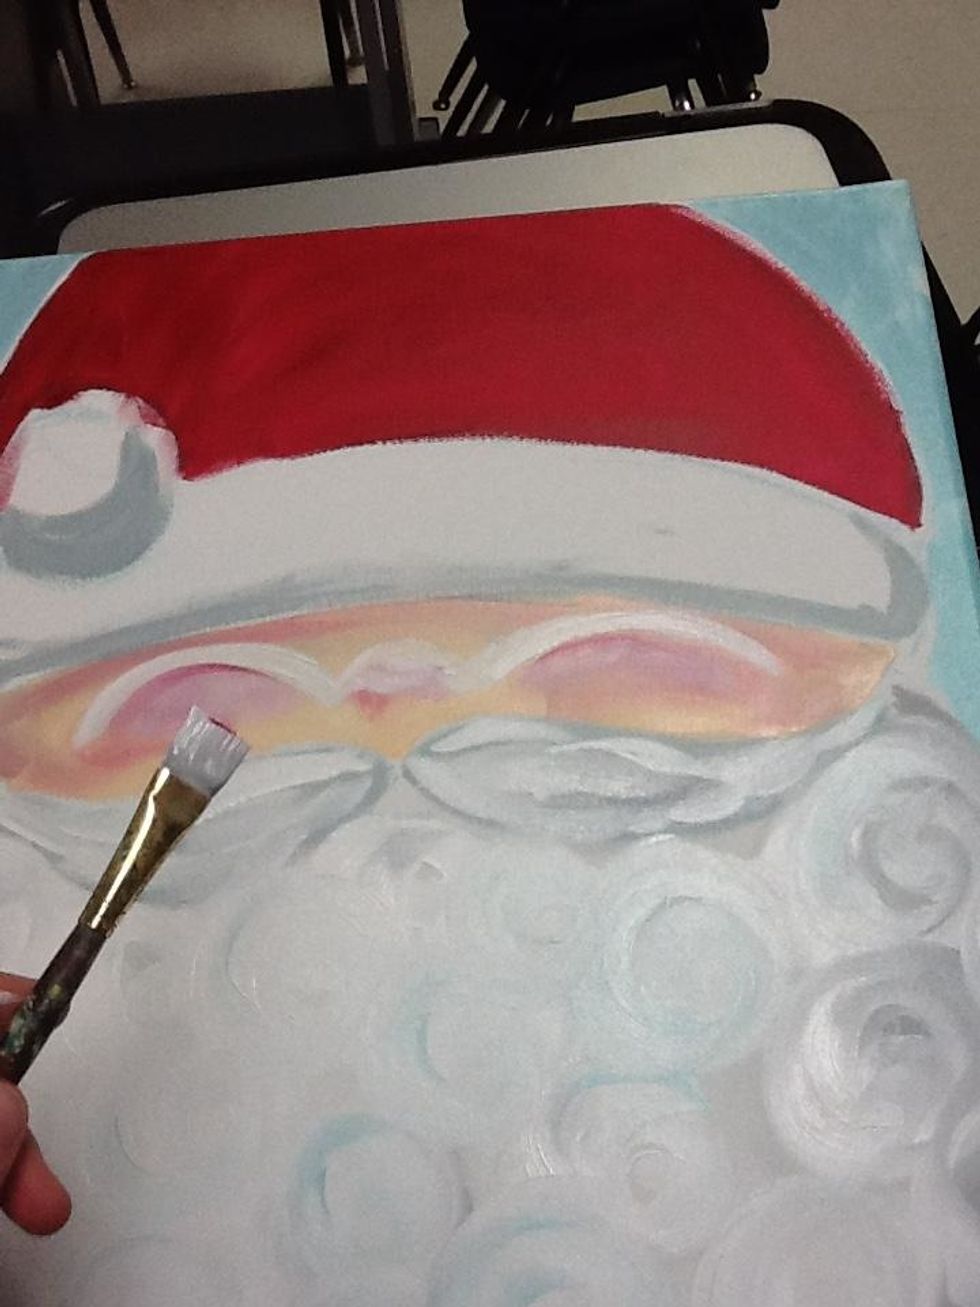
Use the white paint to add highlights on the cheeks and nose.
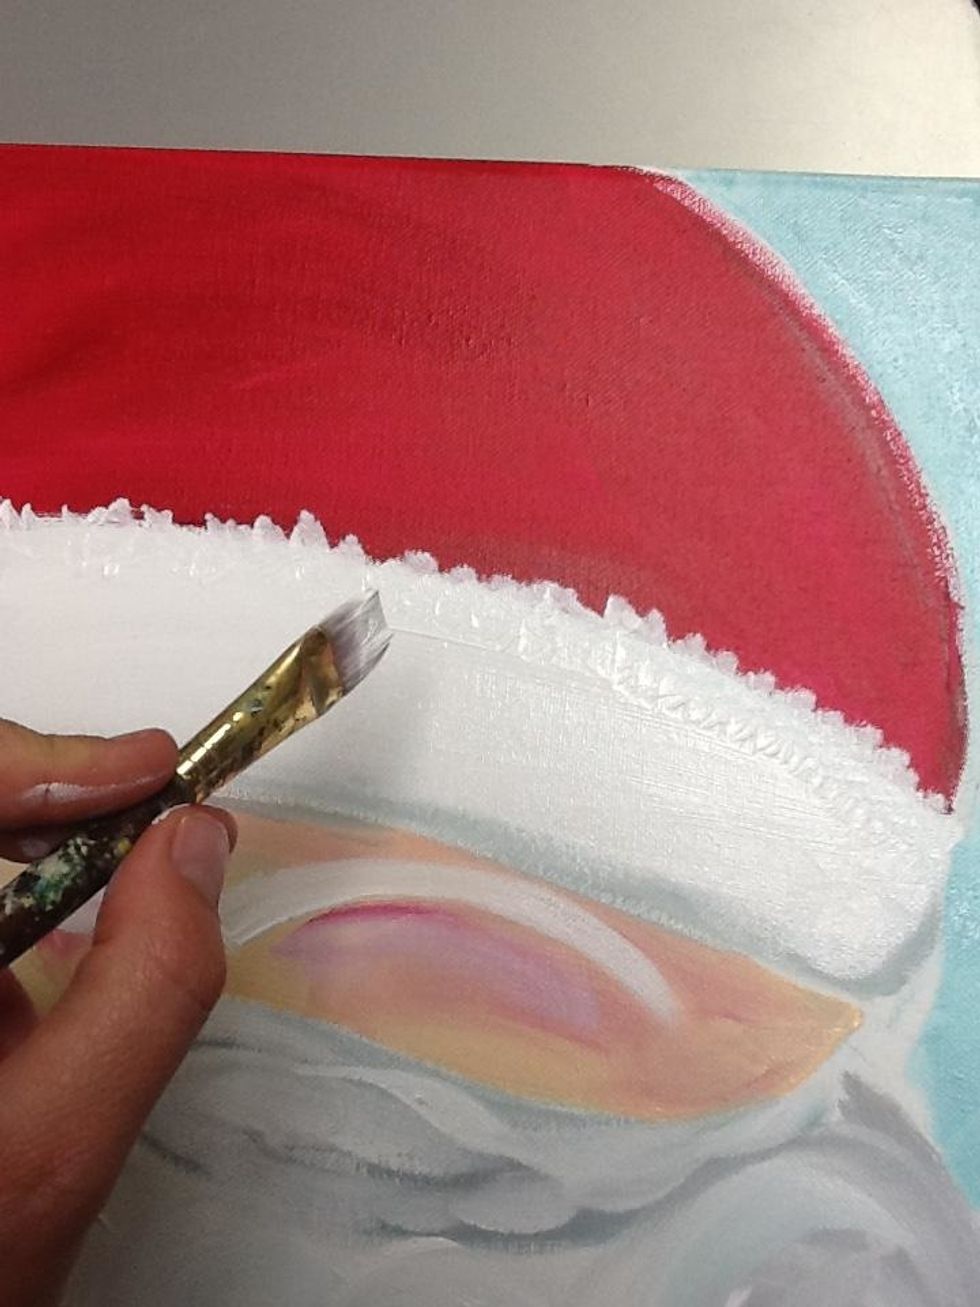
Dab your brush to paint texture on the had band and puff ball.
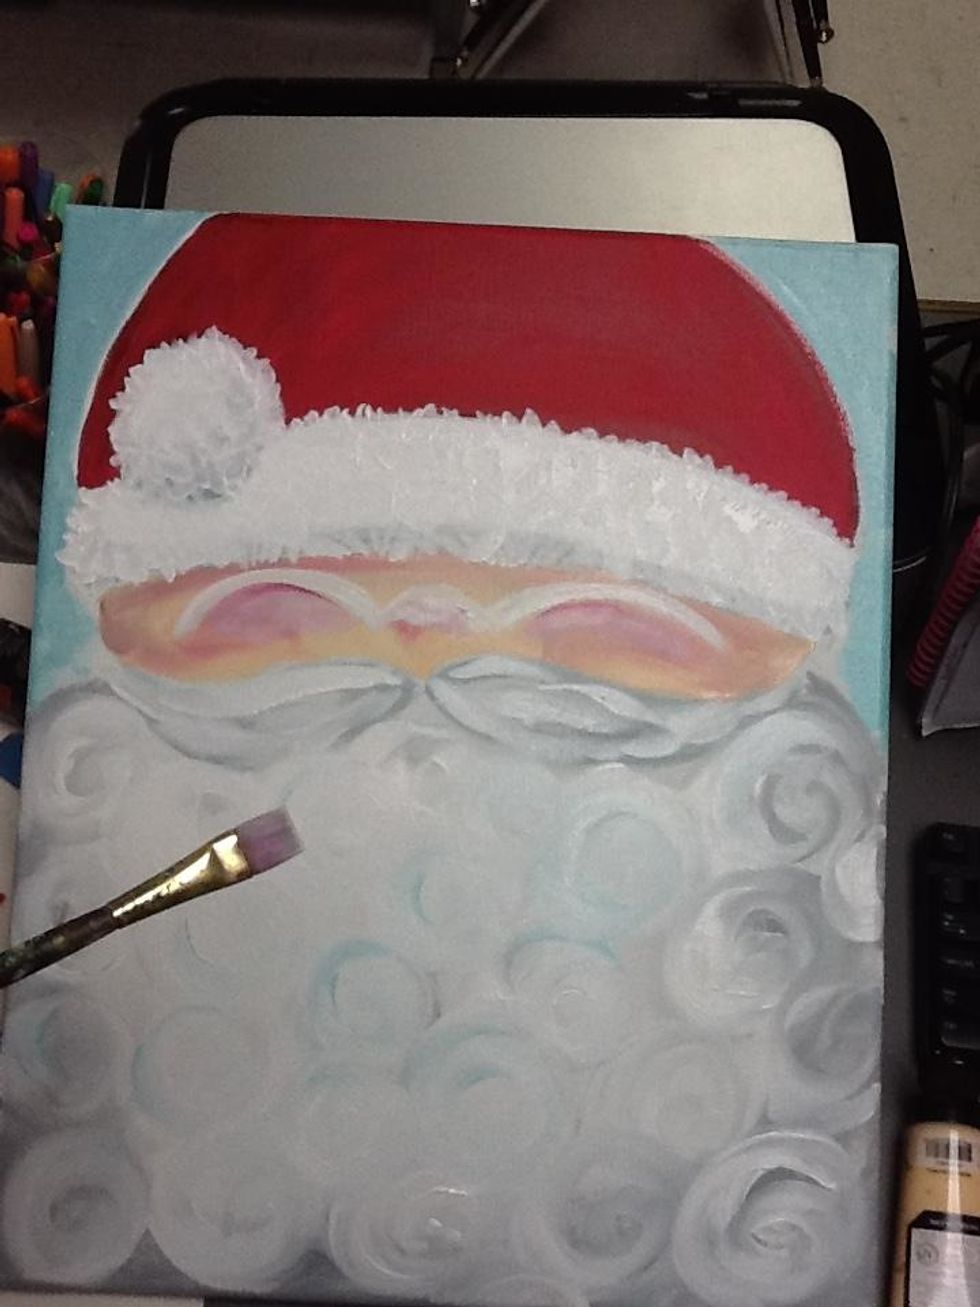
Starting to look like Santa!
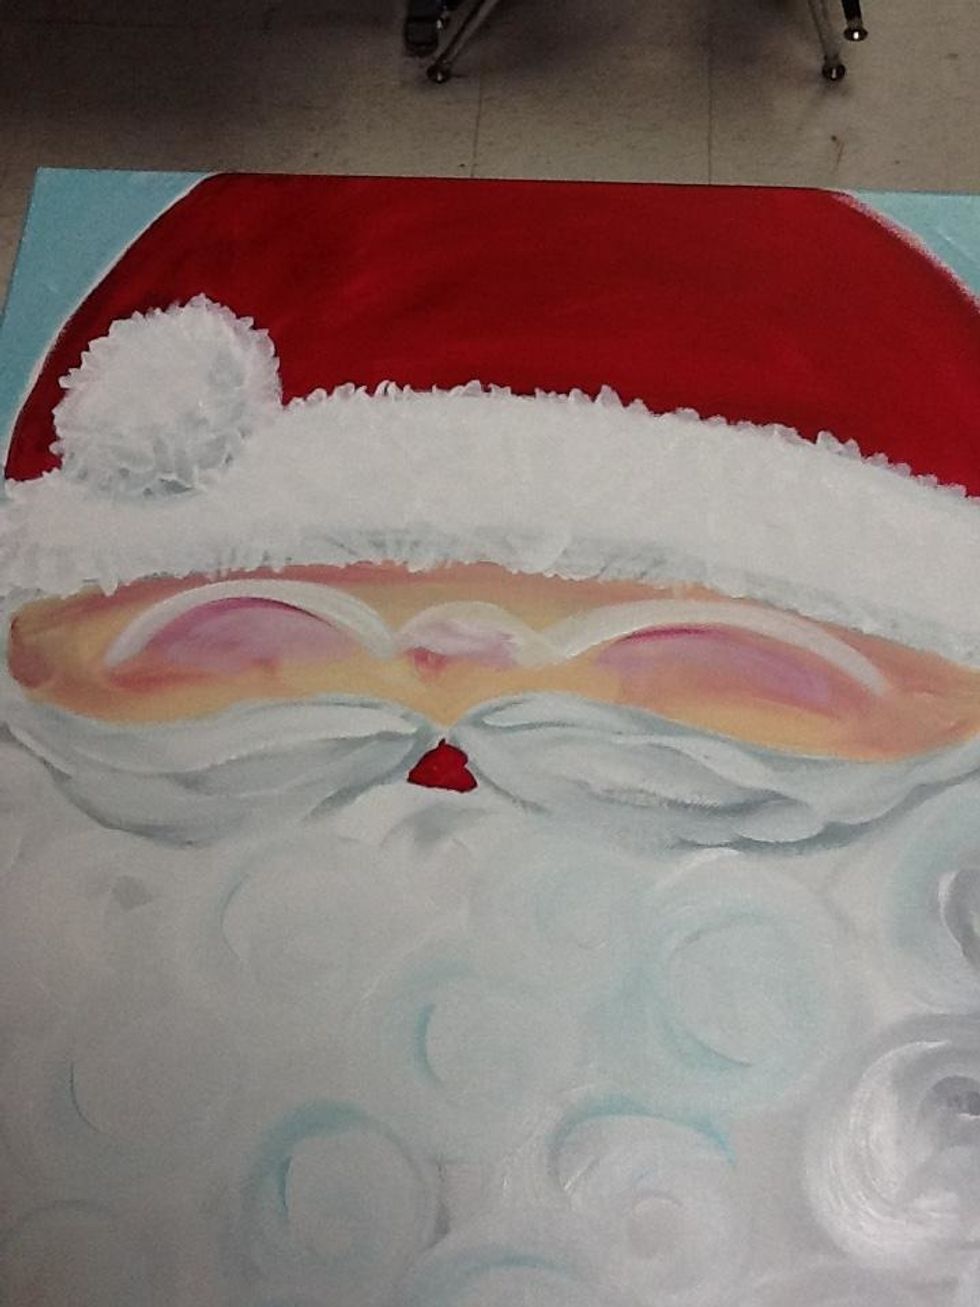
I am painting the mouth now b/c I didn't want the red paint to smear into the mustache.
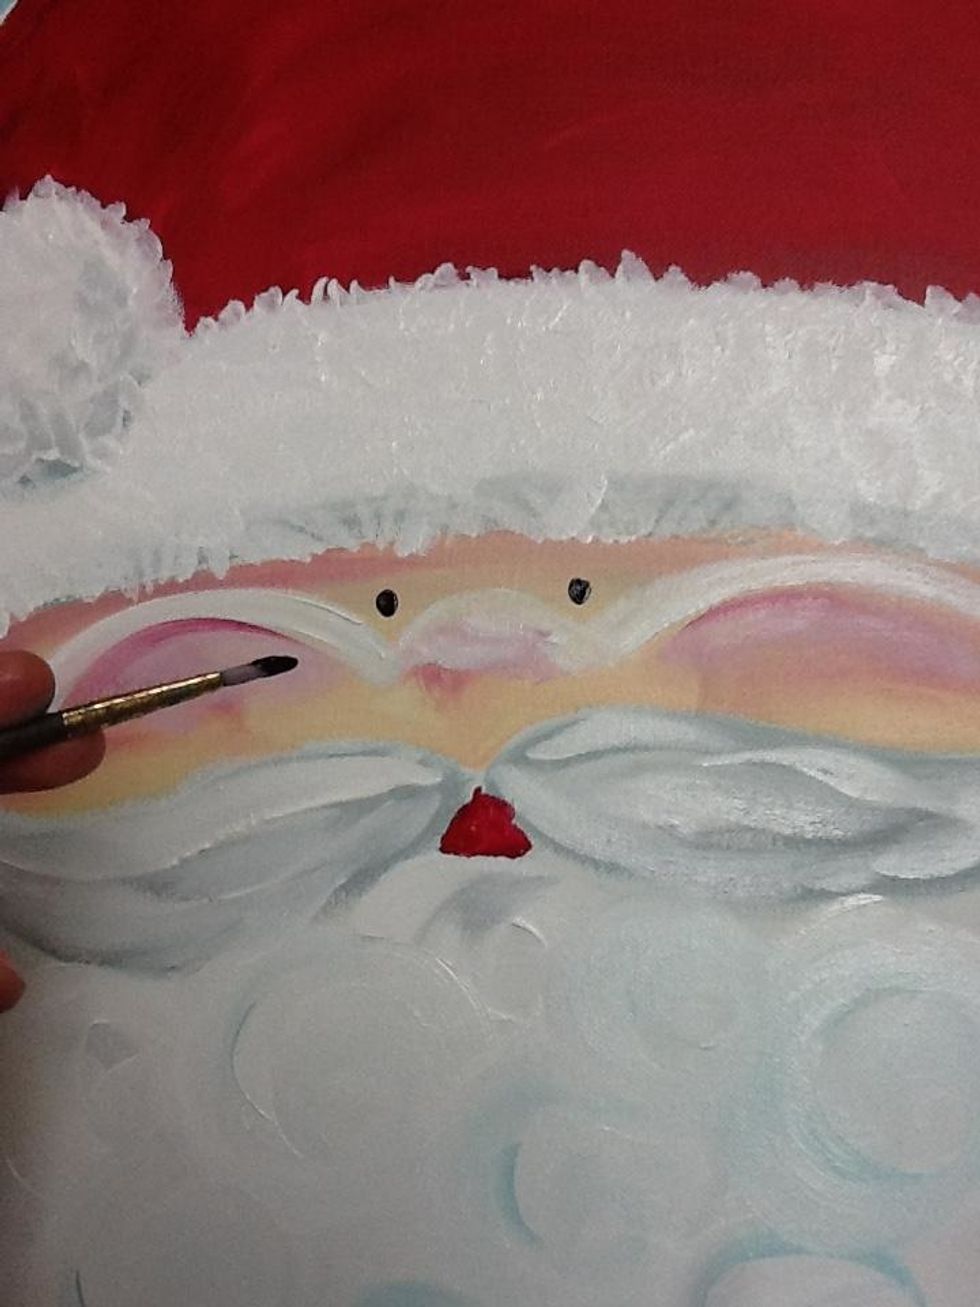
Use the small round tip brush to add two dots for eyes.

Paint around the dots to make them larger.
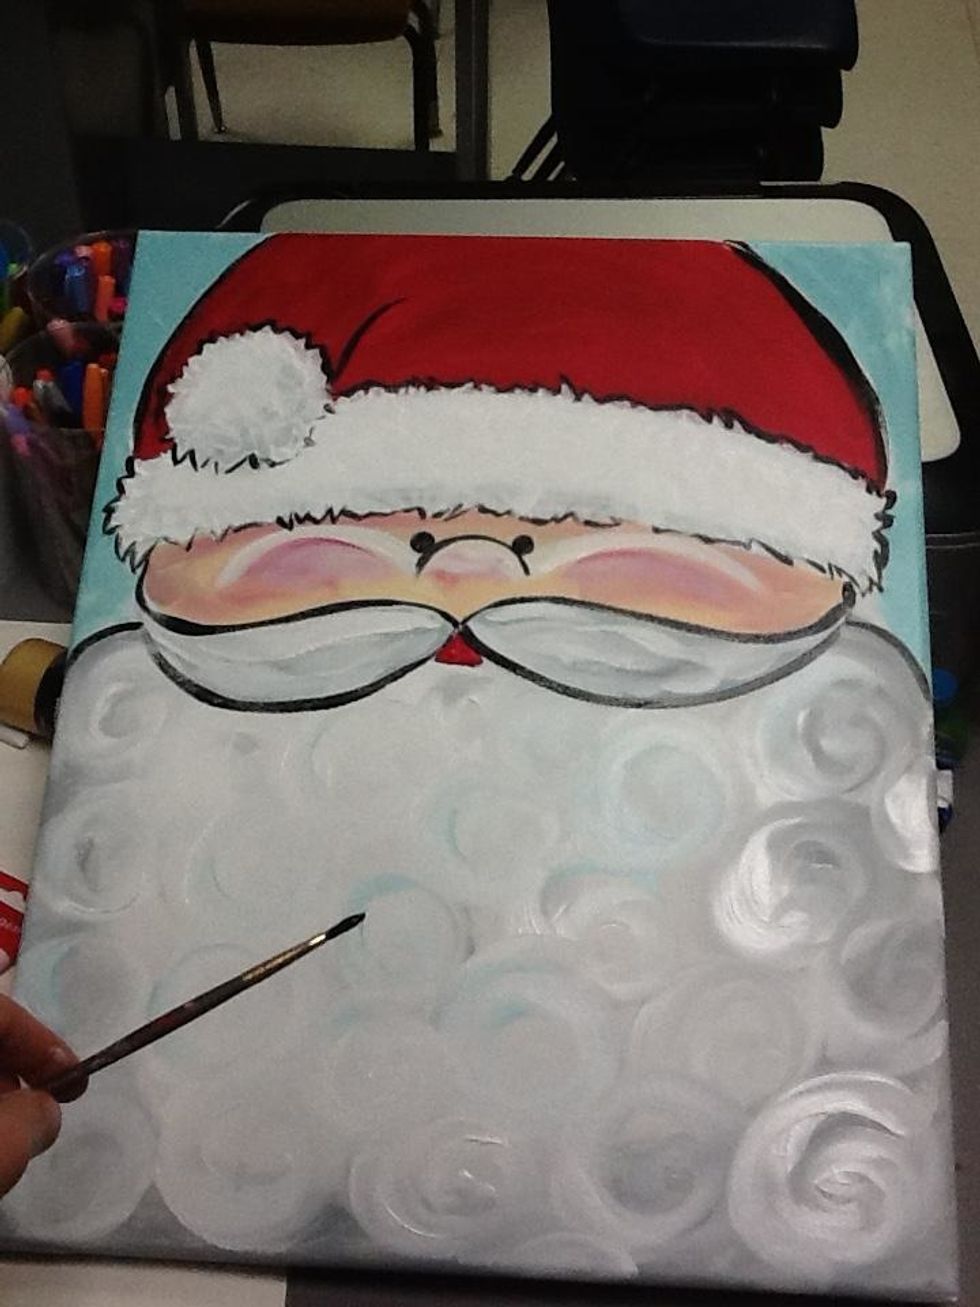
Use the same brush and black paint to outline the hat, side of face, nose, mustache and lip.
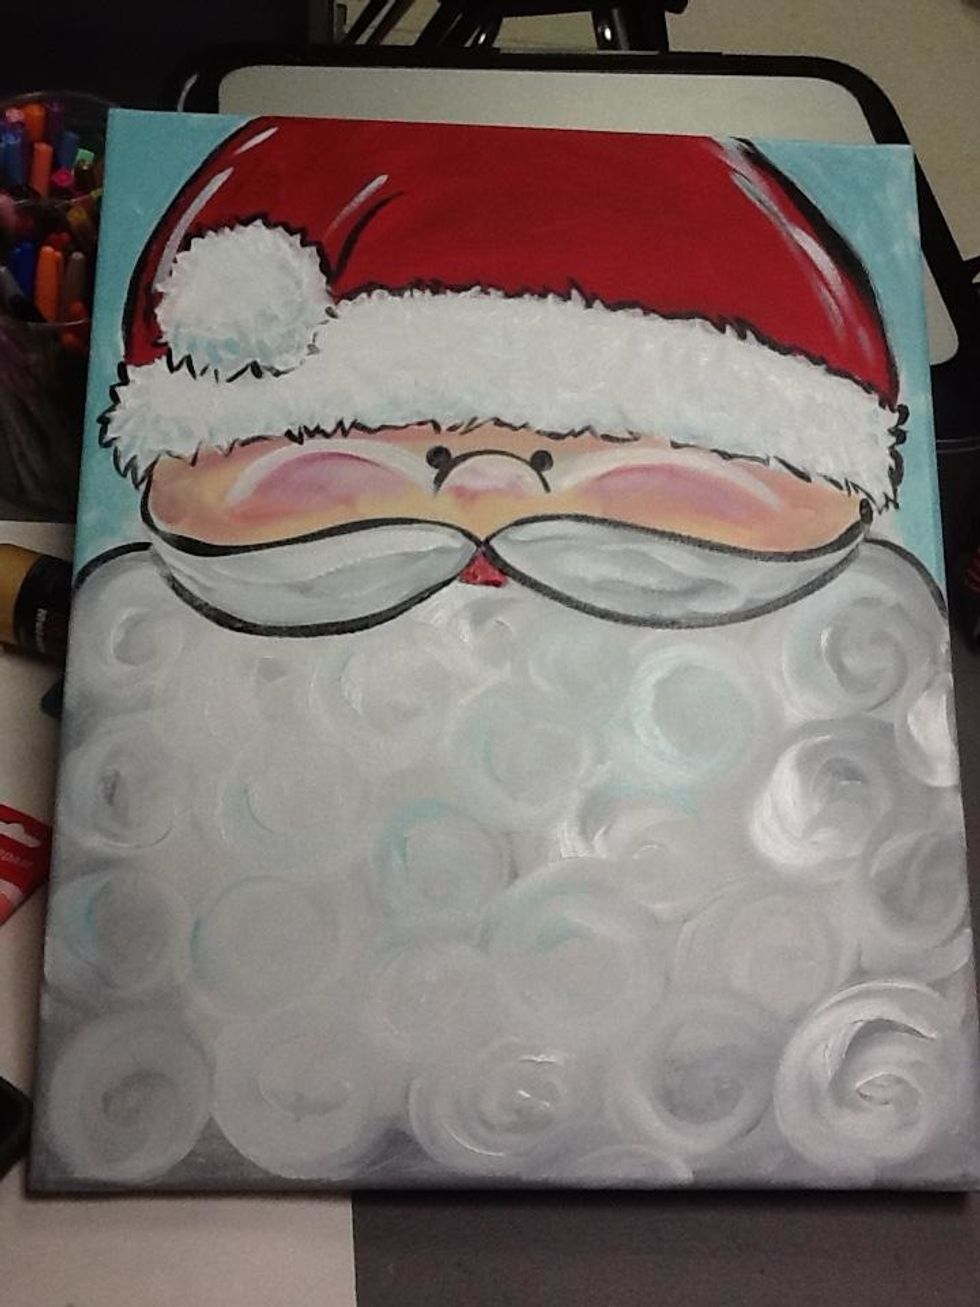
At this point I also added a tiny white dot to the center of the eye. (not pictured)
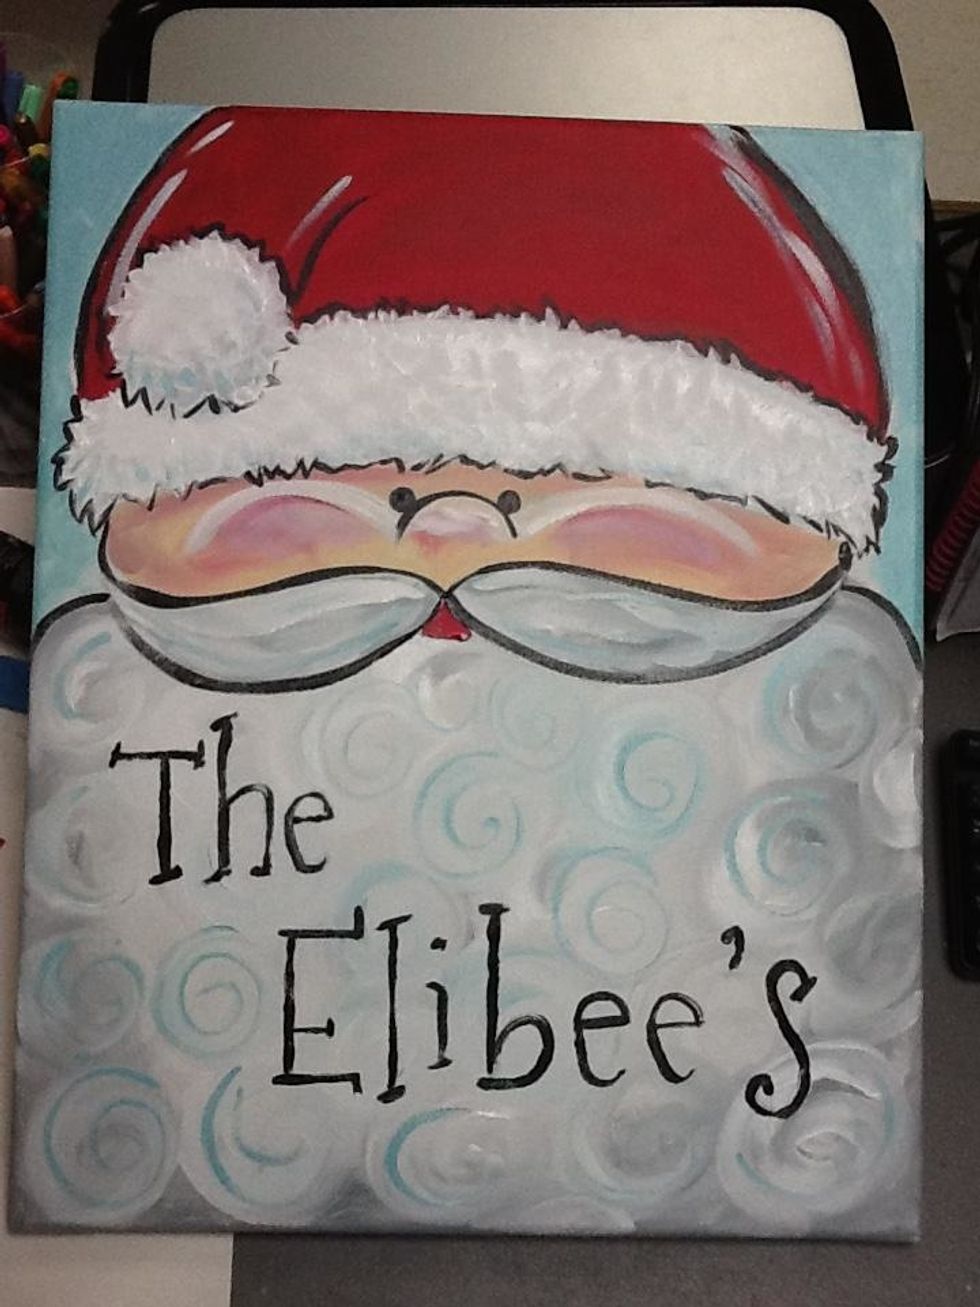
Add a family name for your Holiday Decor, or to give as a gift. When the painting is dry, use chalk to write the words, then use the small round tip brush to paint the name.
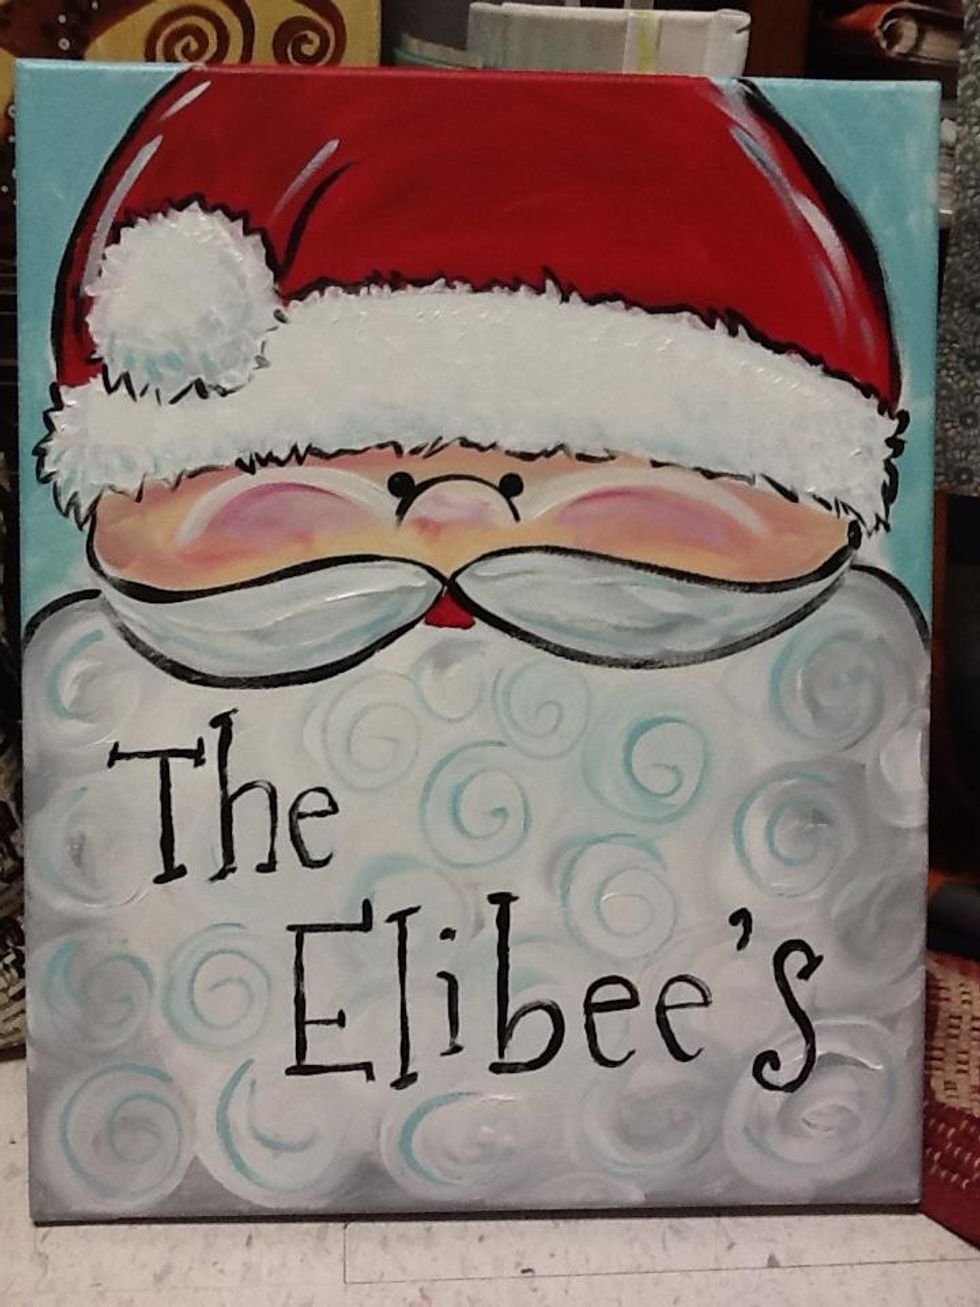
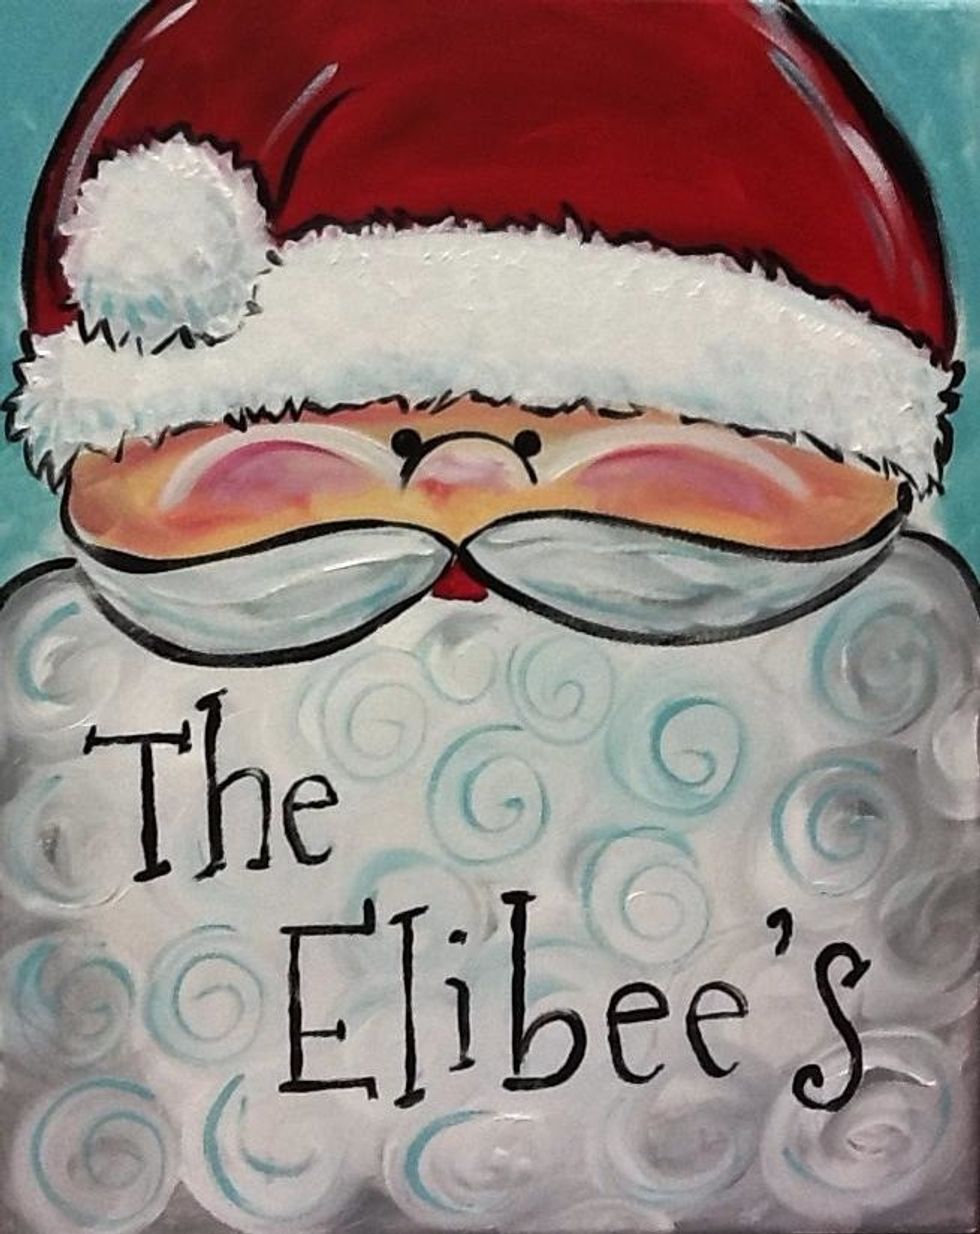
After the name was in place, I added some light blue details to the swirls.
- canvas
- chalk
- paint brushes
- water for rinsing
- paper plate
- acrylic paint
The Conversation (0)
Sign Up