The Conversation (0)
Sign Up
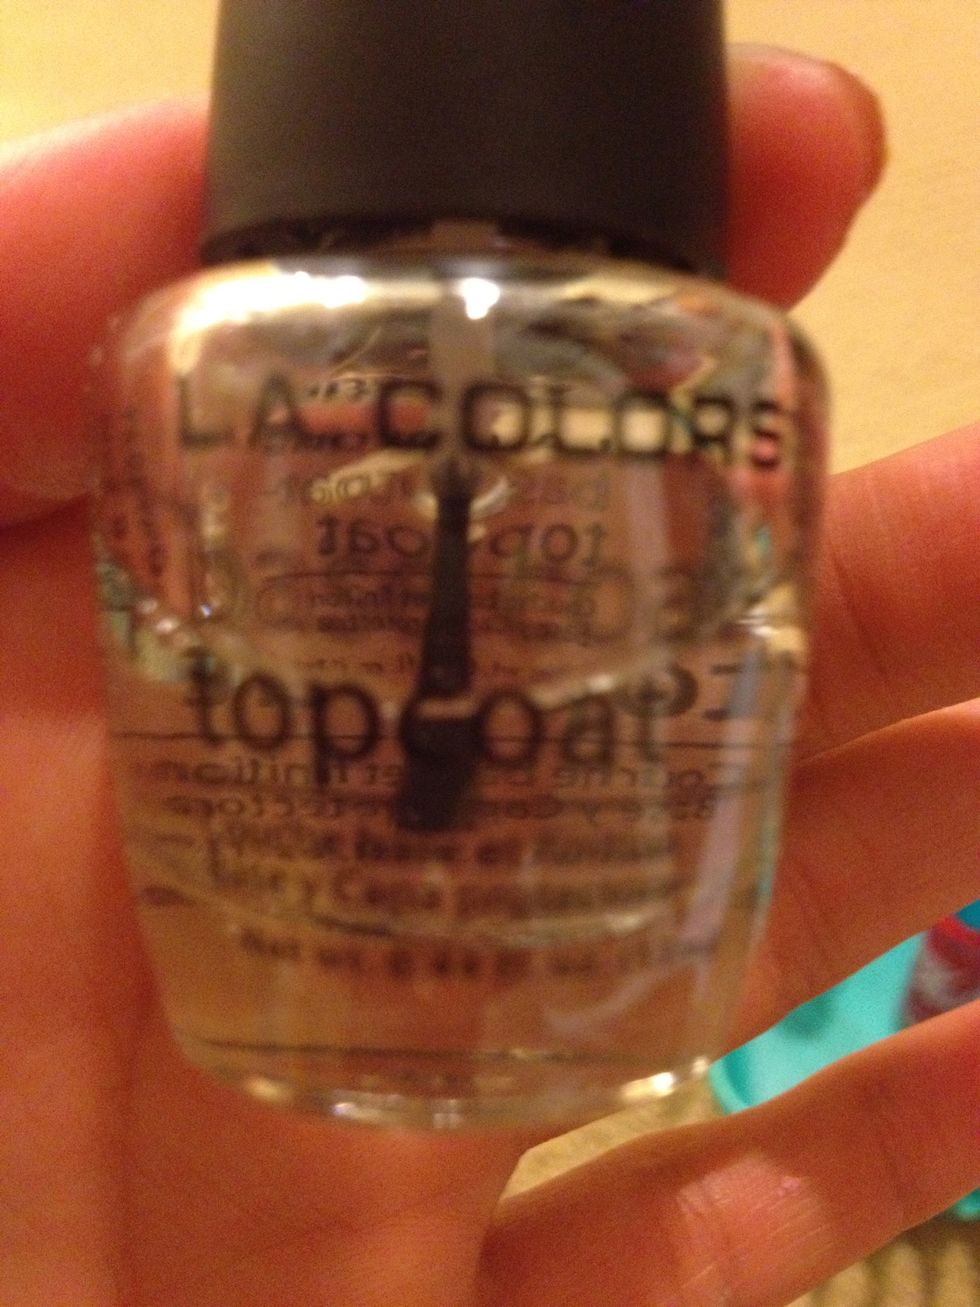
ALWAYS put on a clear coat before starting to ensure less chipping
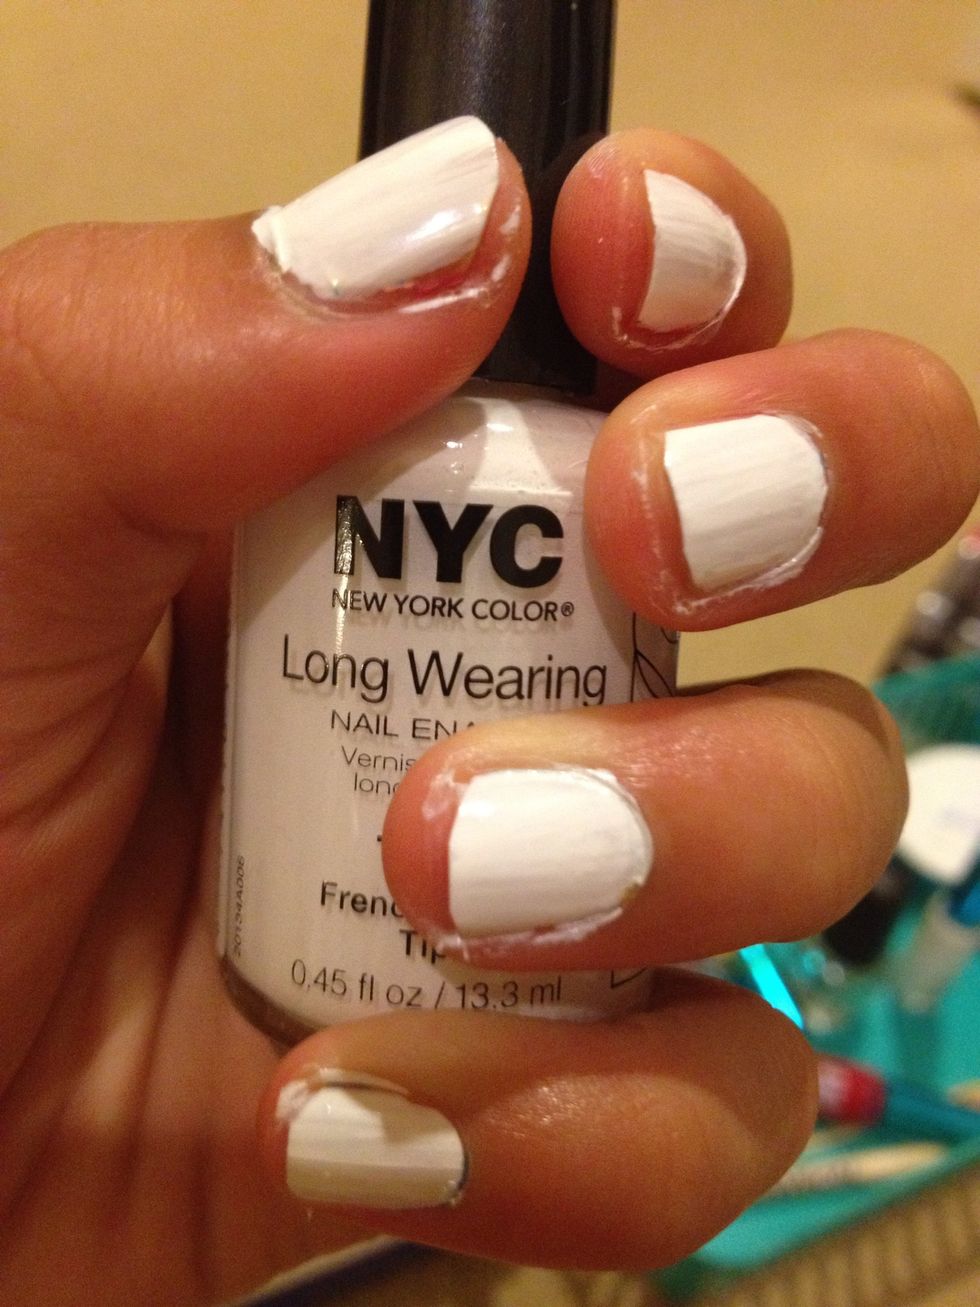
Paint your nails a nice shade of white;)
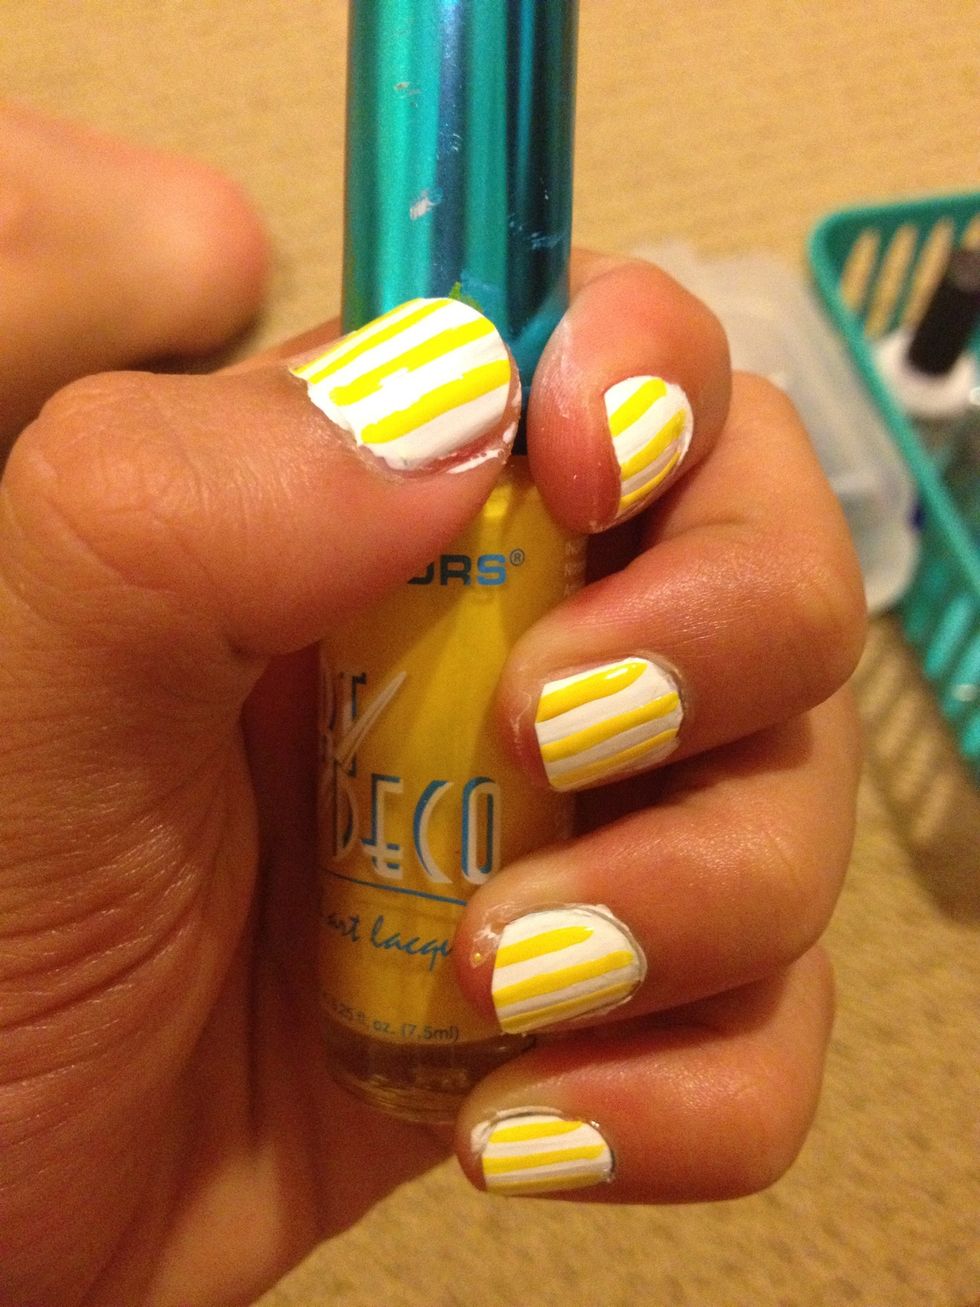
To give your nails a background, take your yellow thin brush nail polish and slowly draw a vertical line

Phew! When that's over...
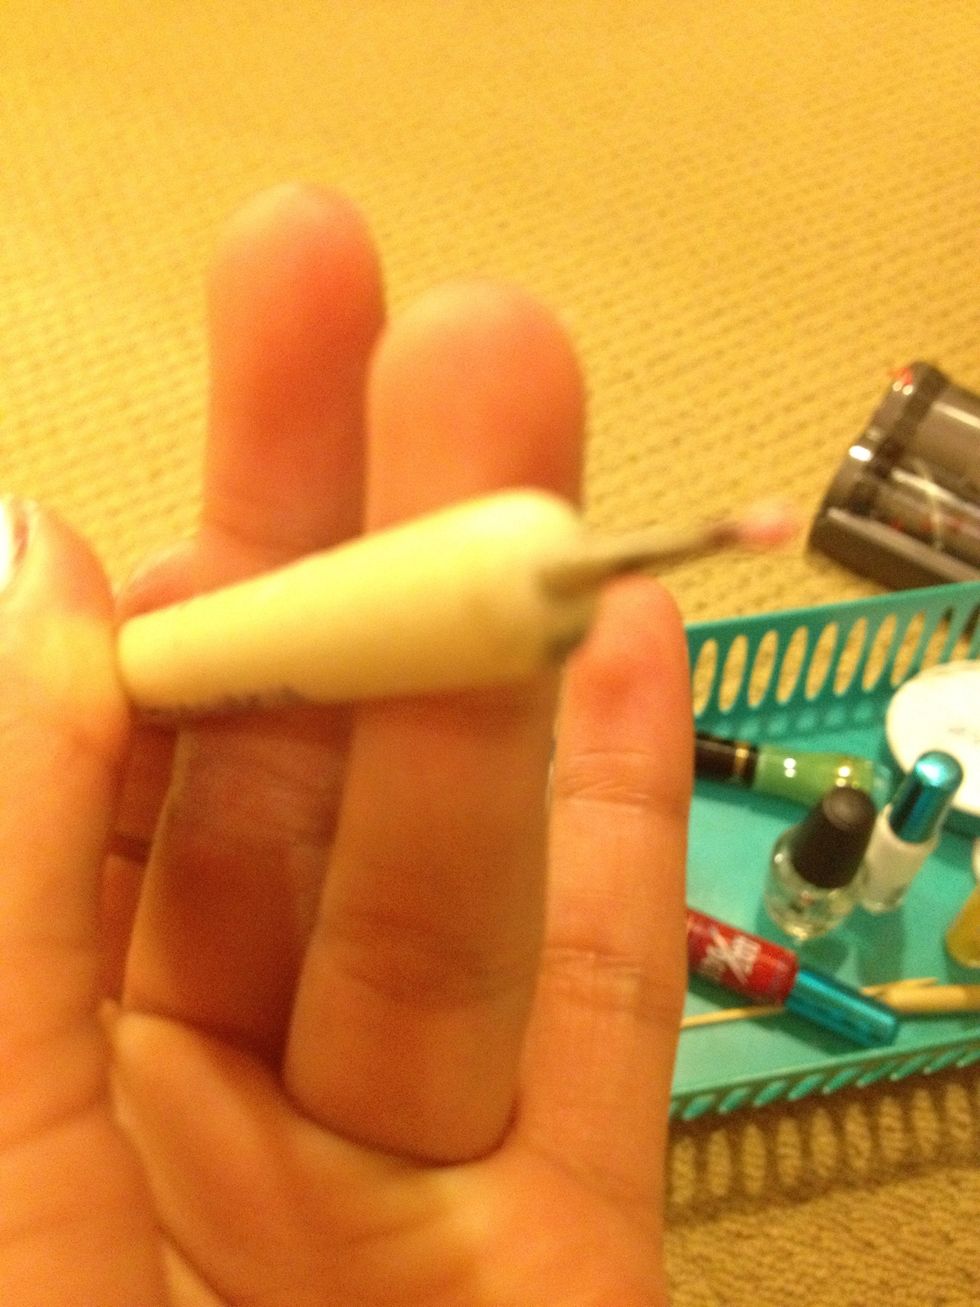
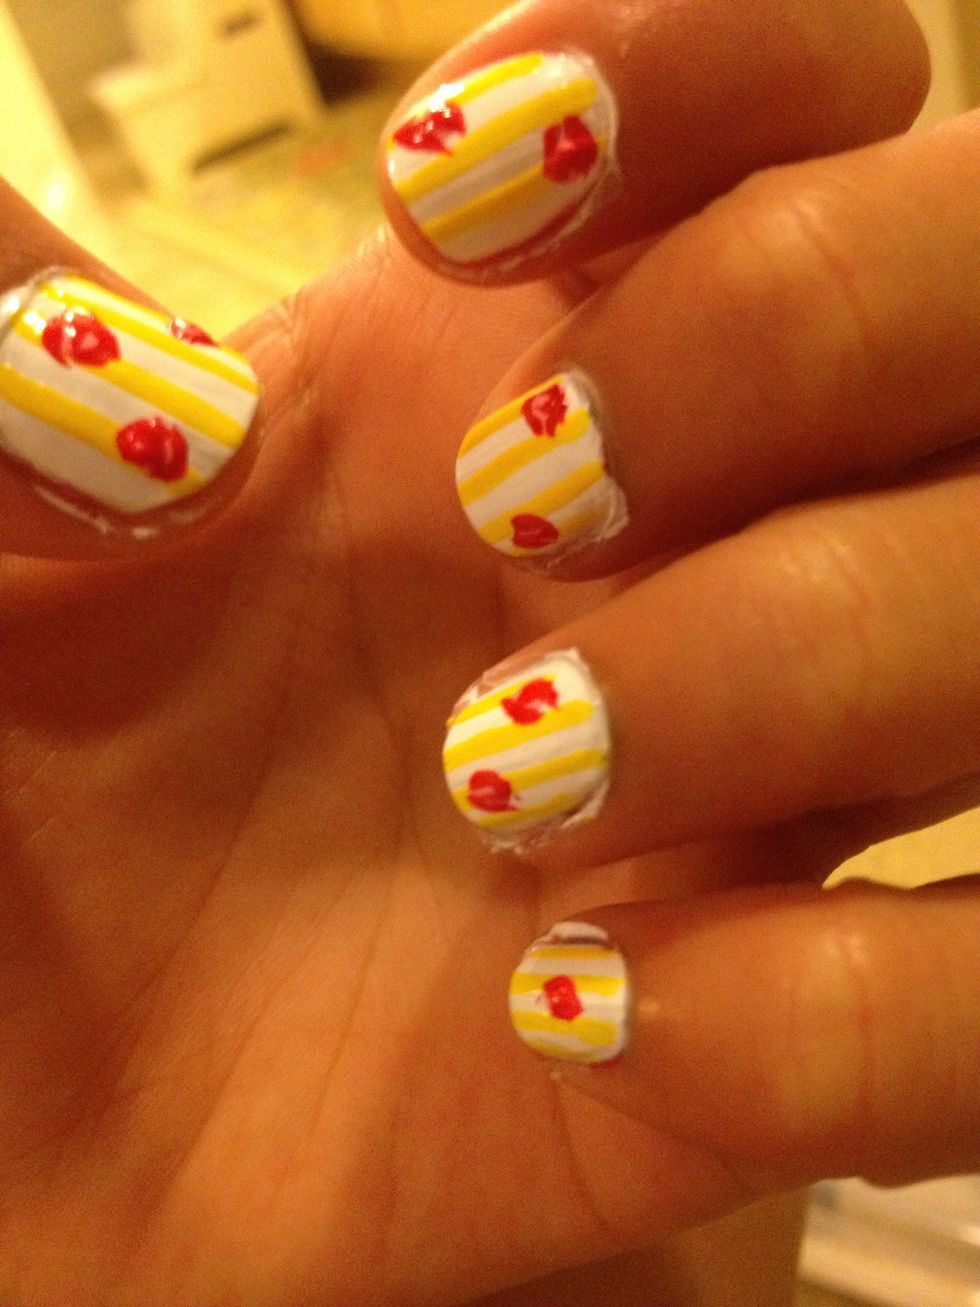
Take your dotter with the pink on it...

And place 3-4 random dots on your thumb! (if 4 dots on thumb, 3 on all 3 fingers and 2 on pinkie)
Yay!! Afterwards...
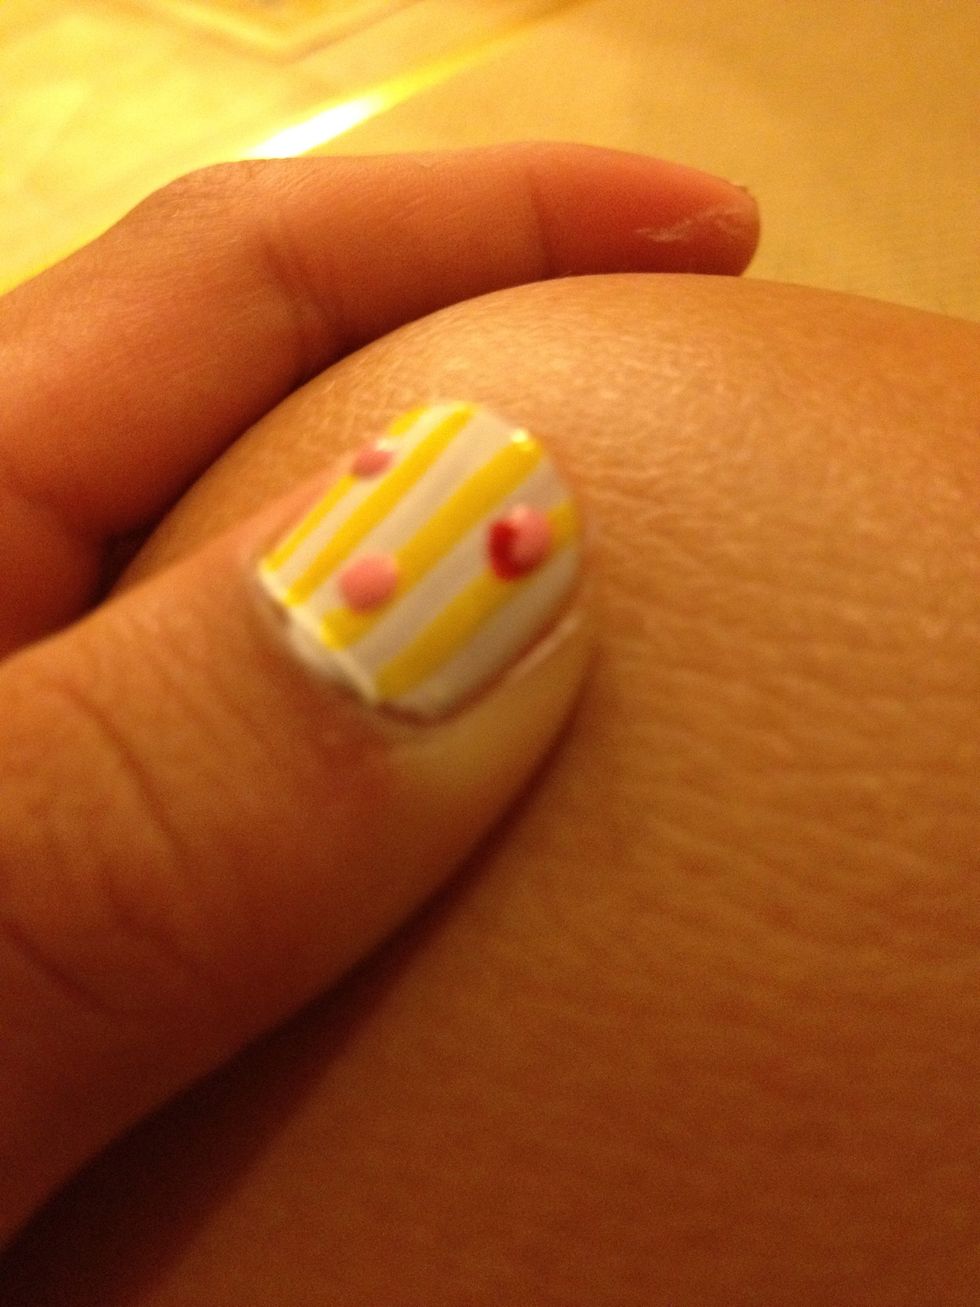
Take your red thin brush and SLOWLY paint the under part of the circle... The first petal
Do step 7 again except on the top of the circle
And then just draw a line In between both petals;)
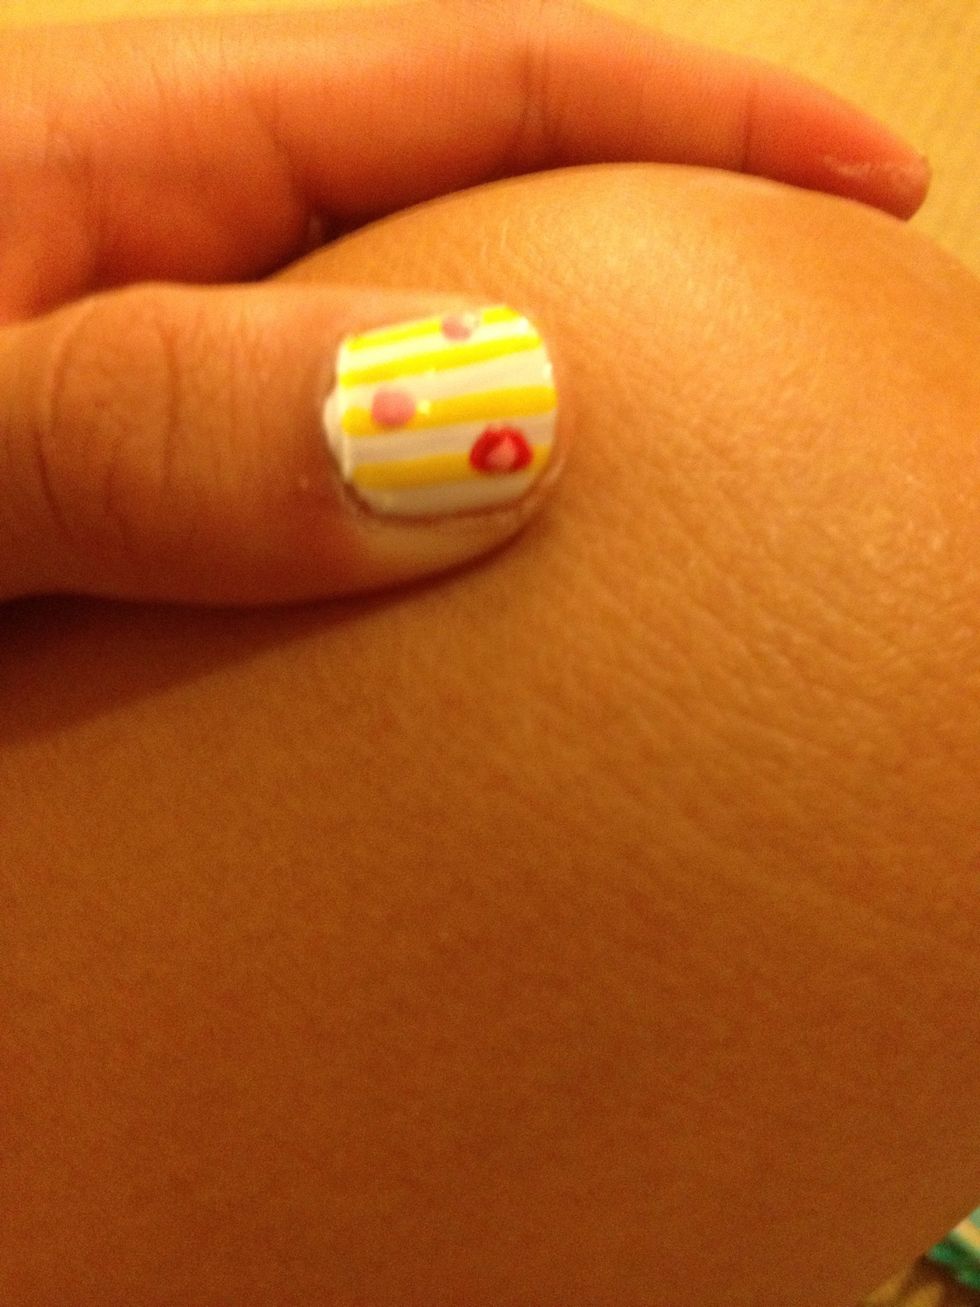
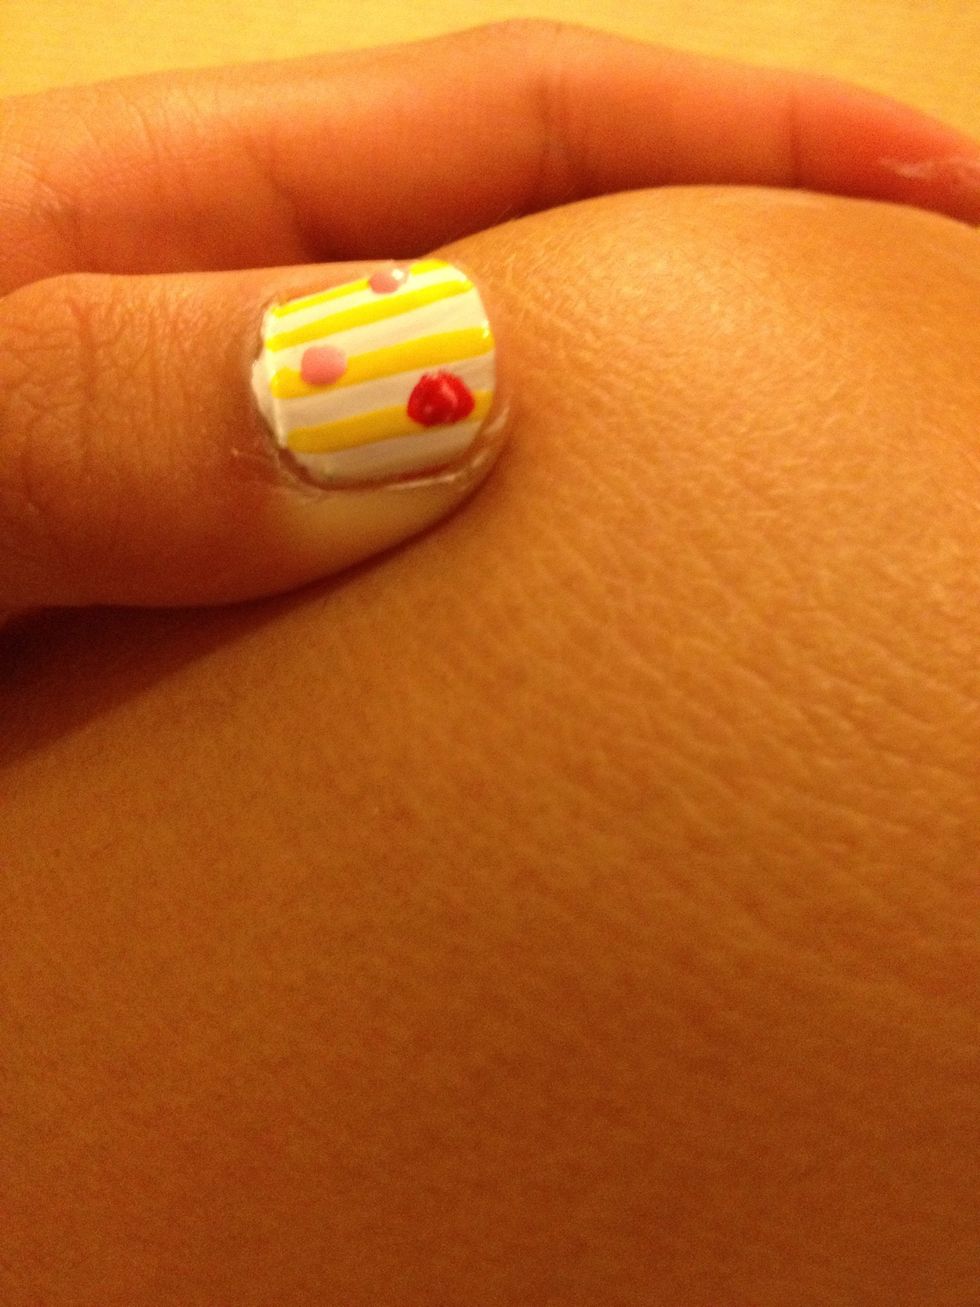
Looking gorgeous!
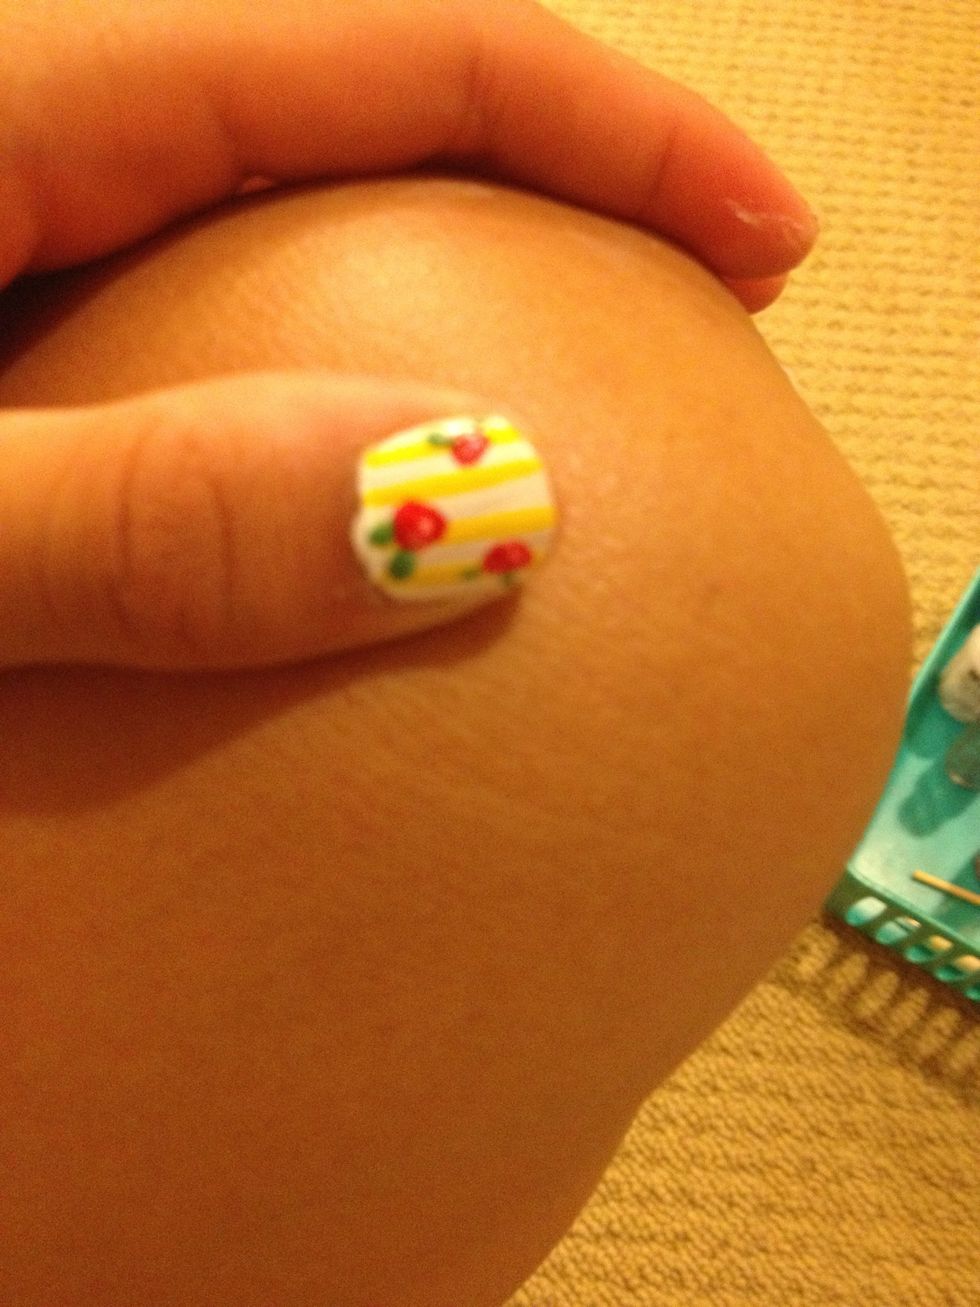
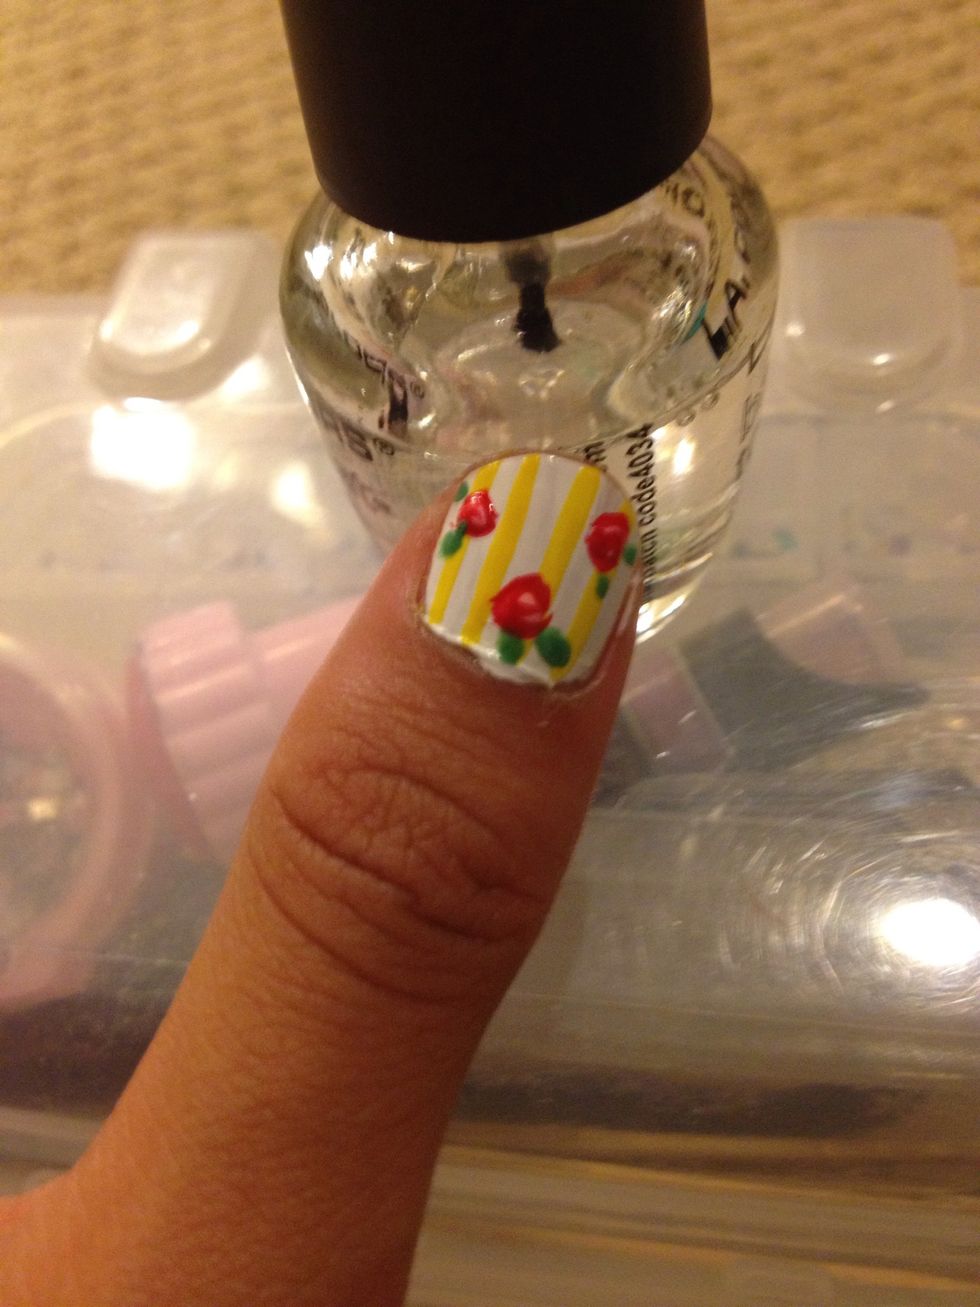
Final touches;) add green leaves for an extra color boost!
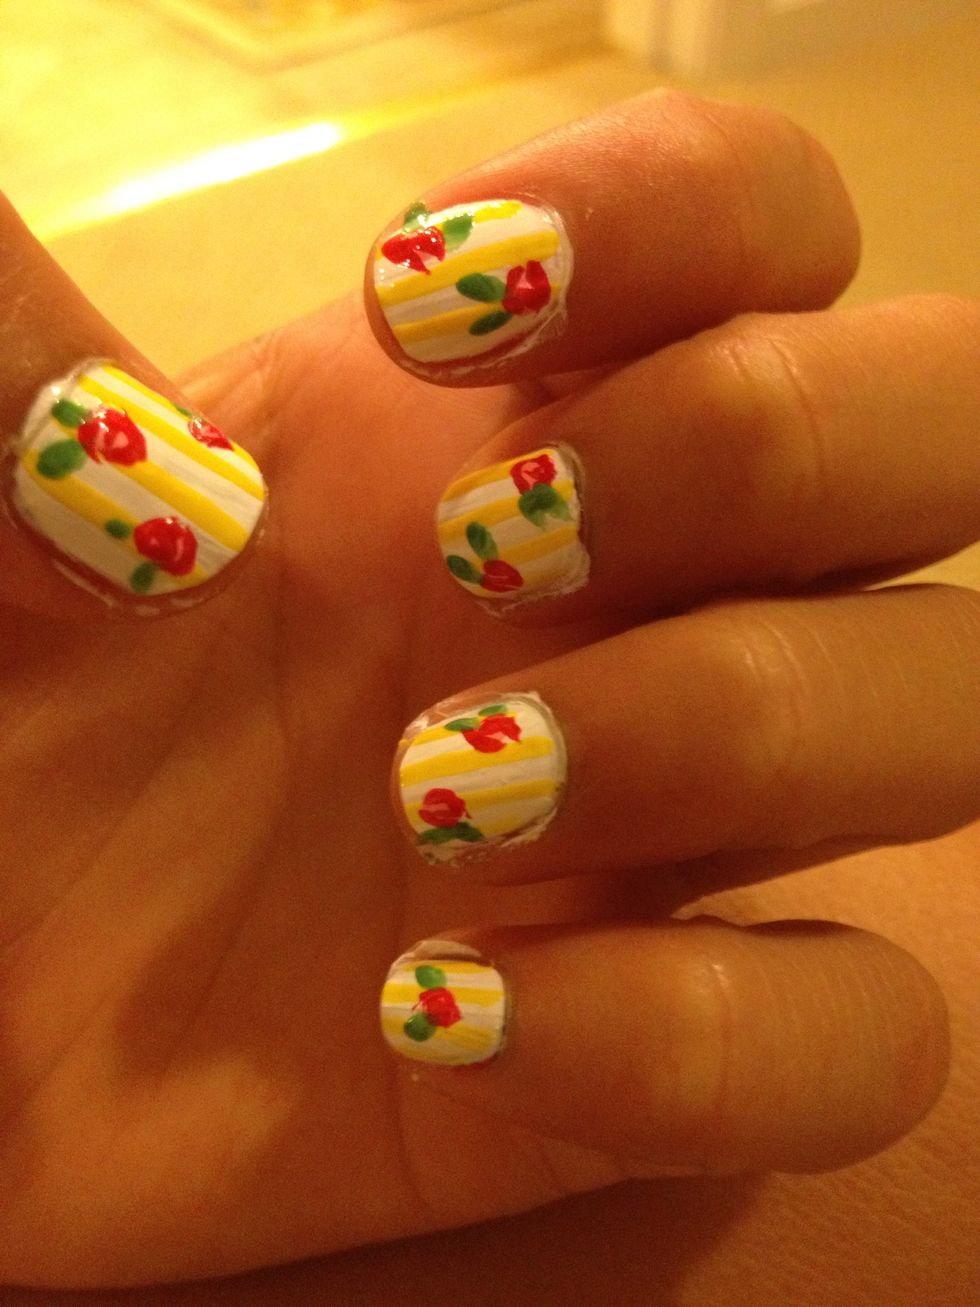
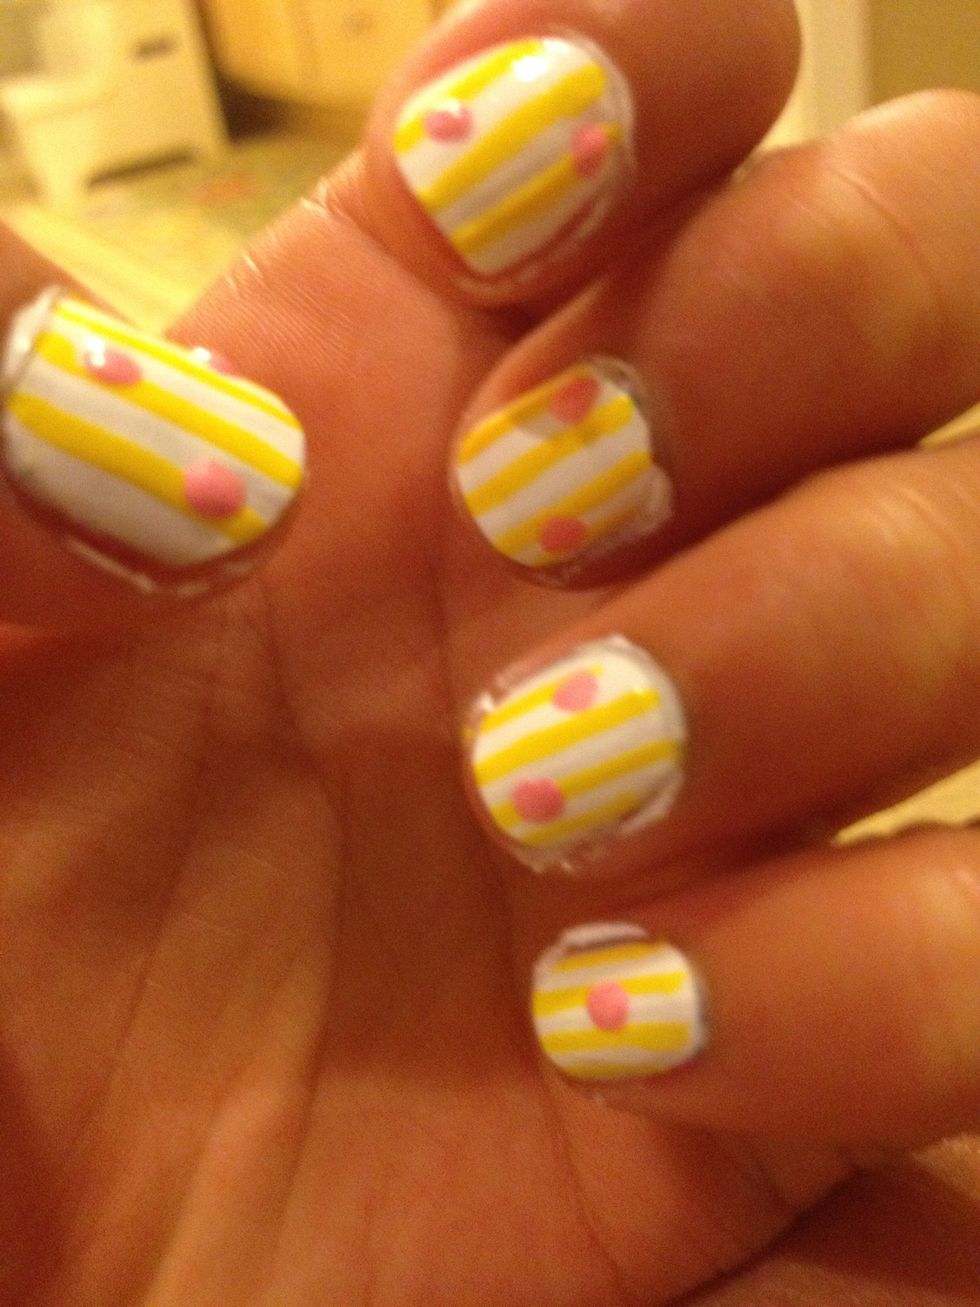
This is the final look;)
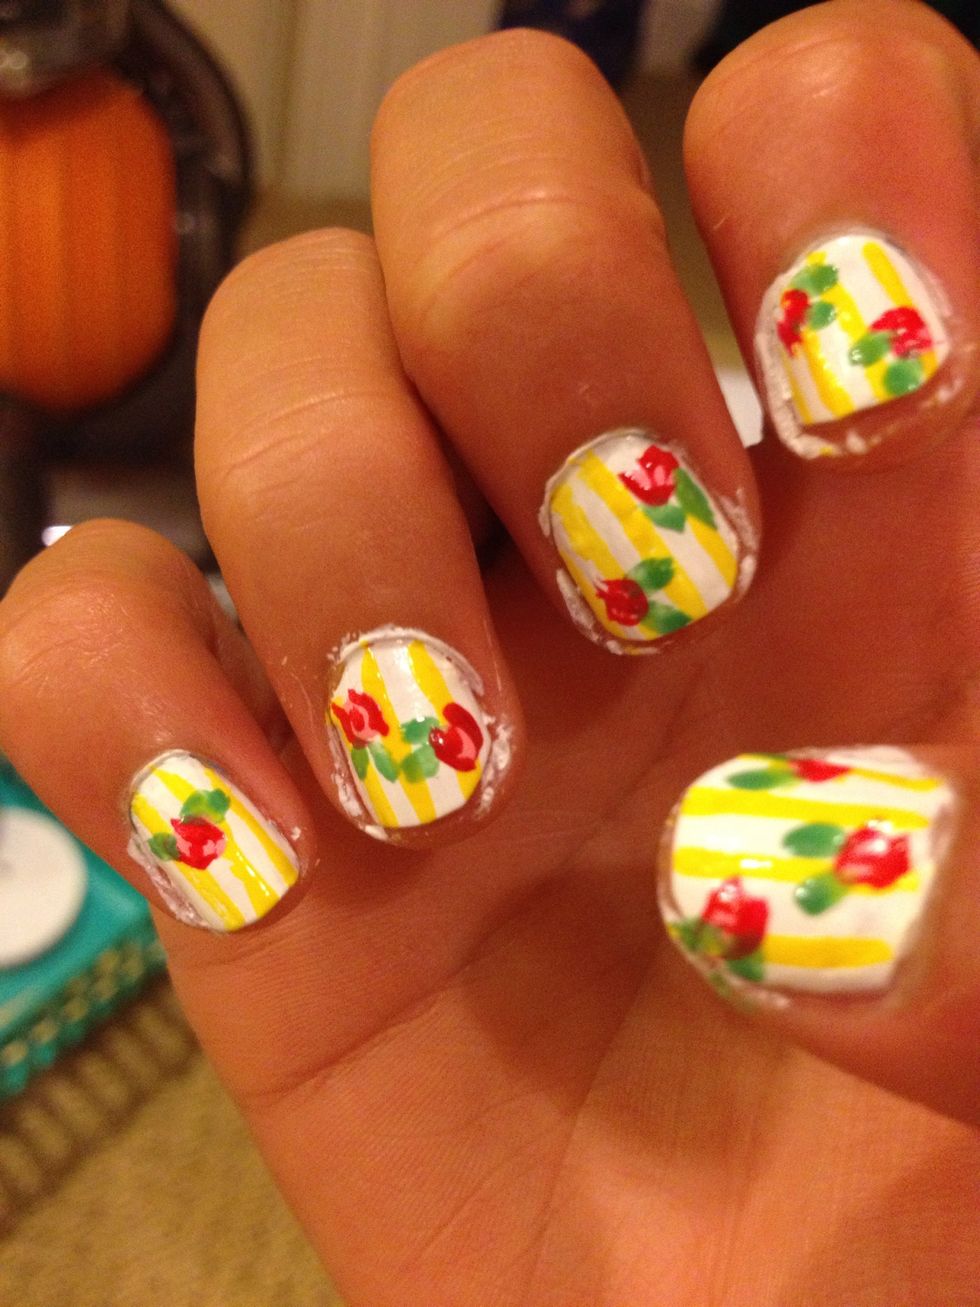
My other hand...pretty bad, haha like first hand better;)
Add clear coat to finish this design off
Thank you for watching! Comment, Like and Follow! More guides to come;))