The Conversation (0)
Sign Up
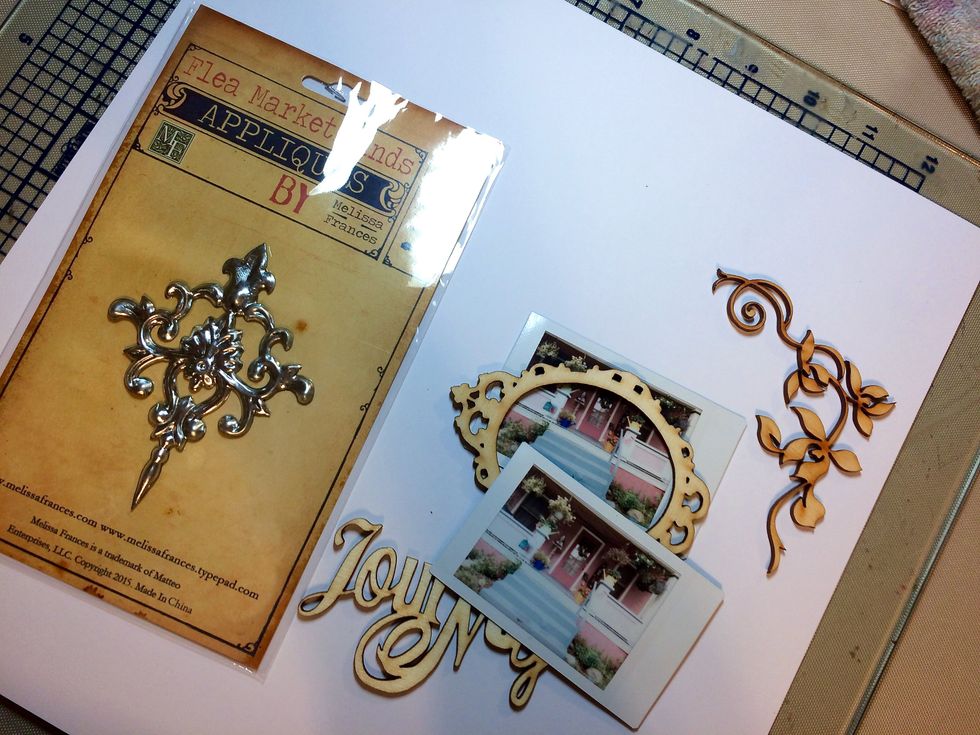
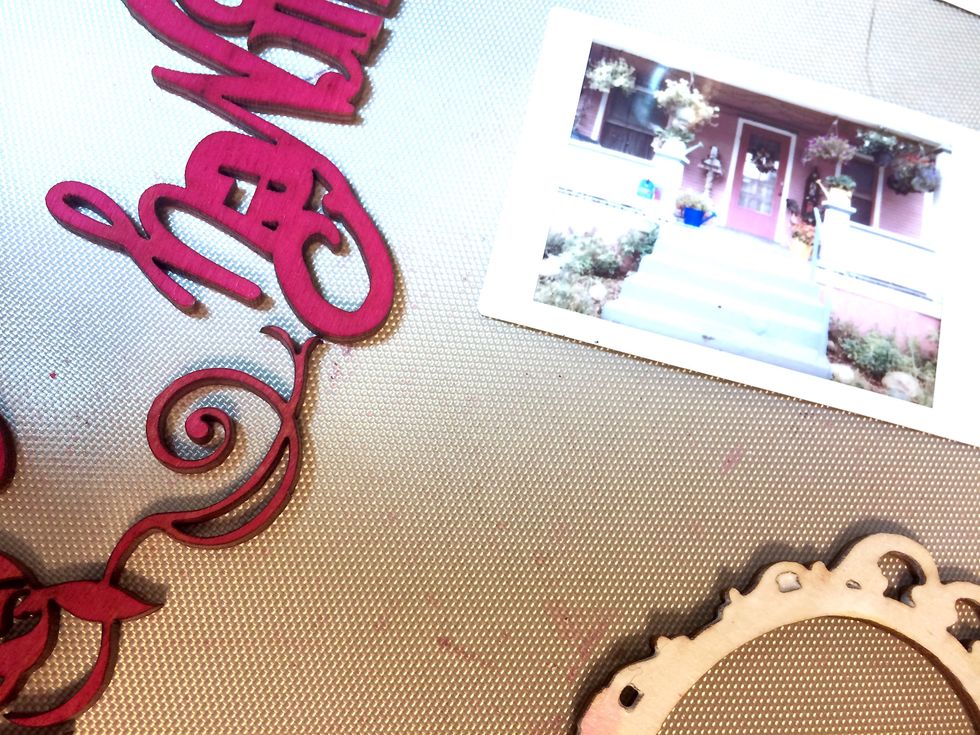
Hello! I'm getting ready to make a layout of this picture I took of a house I saw while I was in Iowa. I thought it was so cute! I'm using Art Anthology and Melissa Frances products today.
I'm going to start with this 'Flea Market Find' by Melissa Frances and the Immaculate Minx Inks.
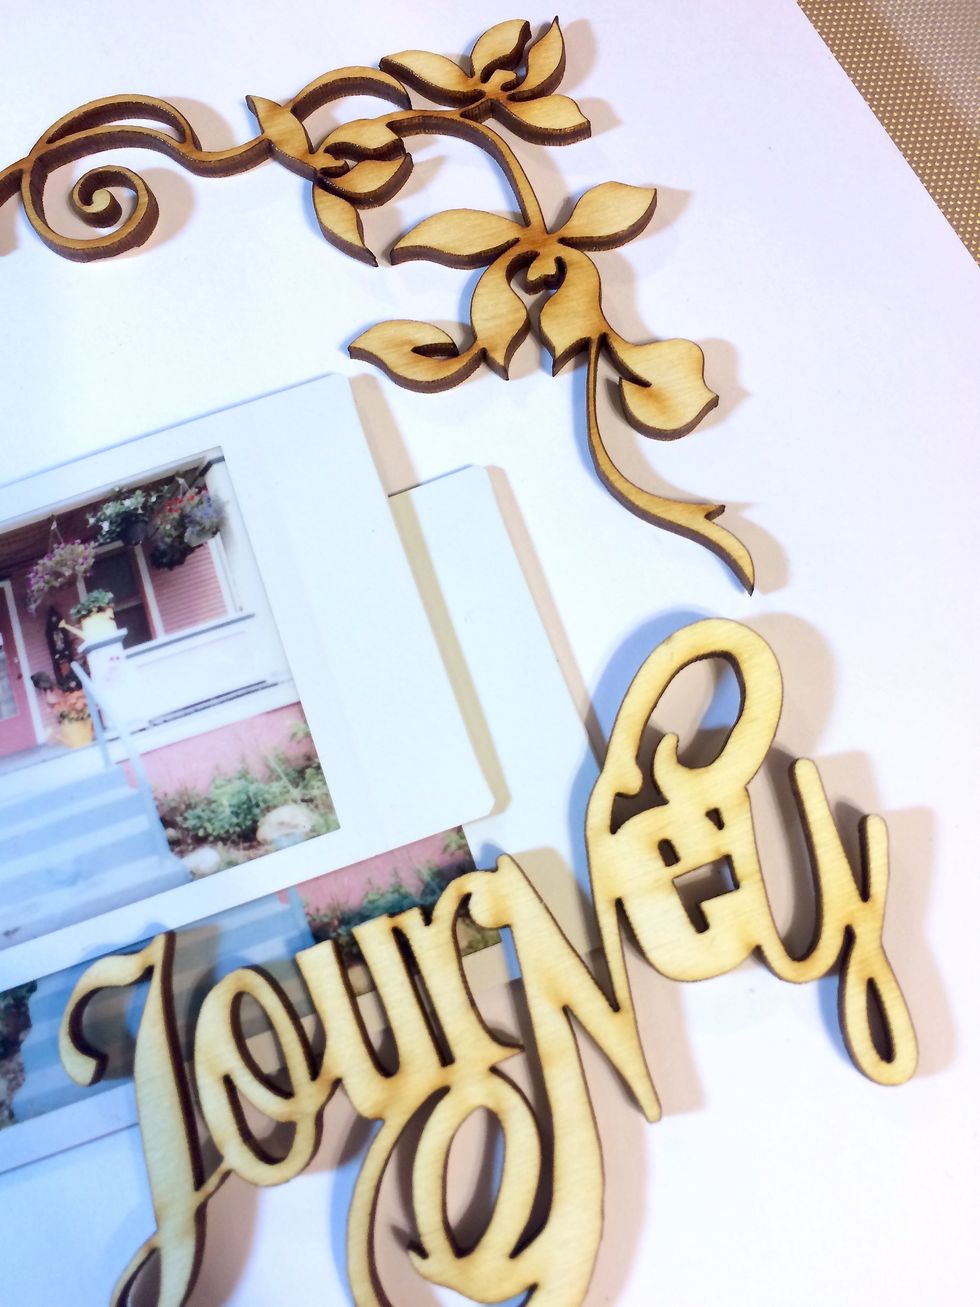
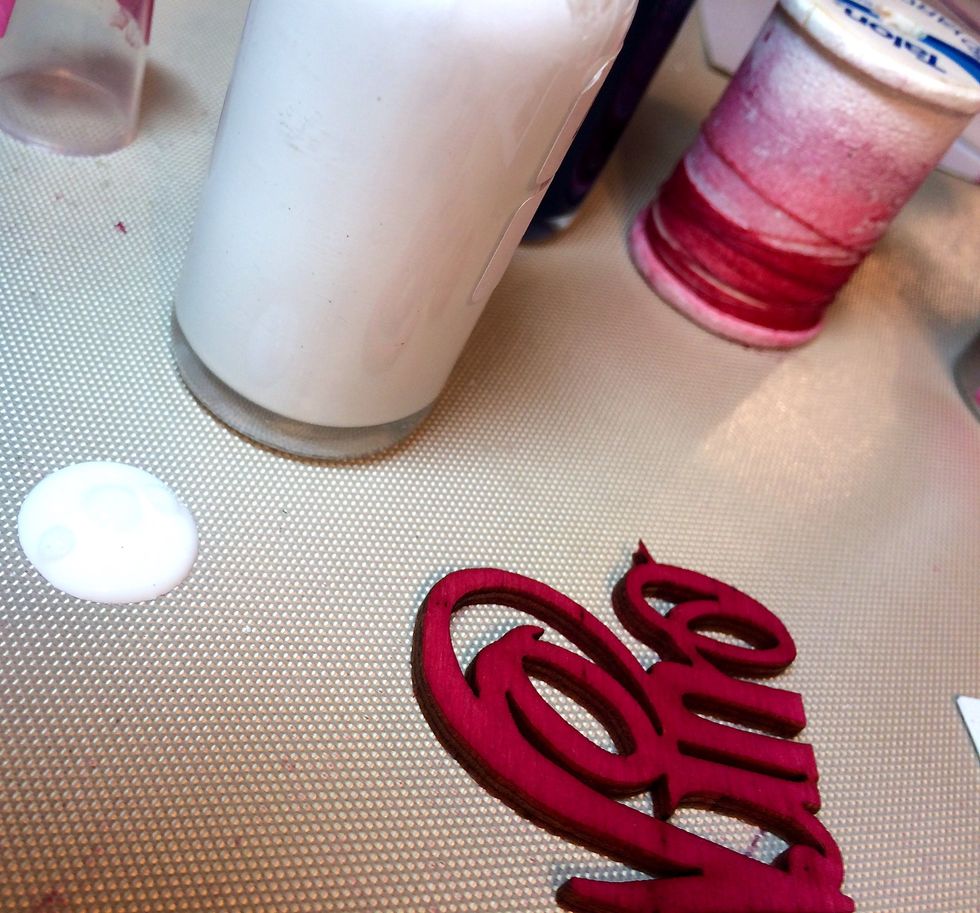
I'm, also, going to be using some wood cuts from Melissa Frances.
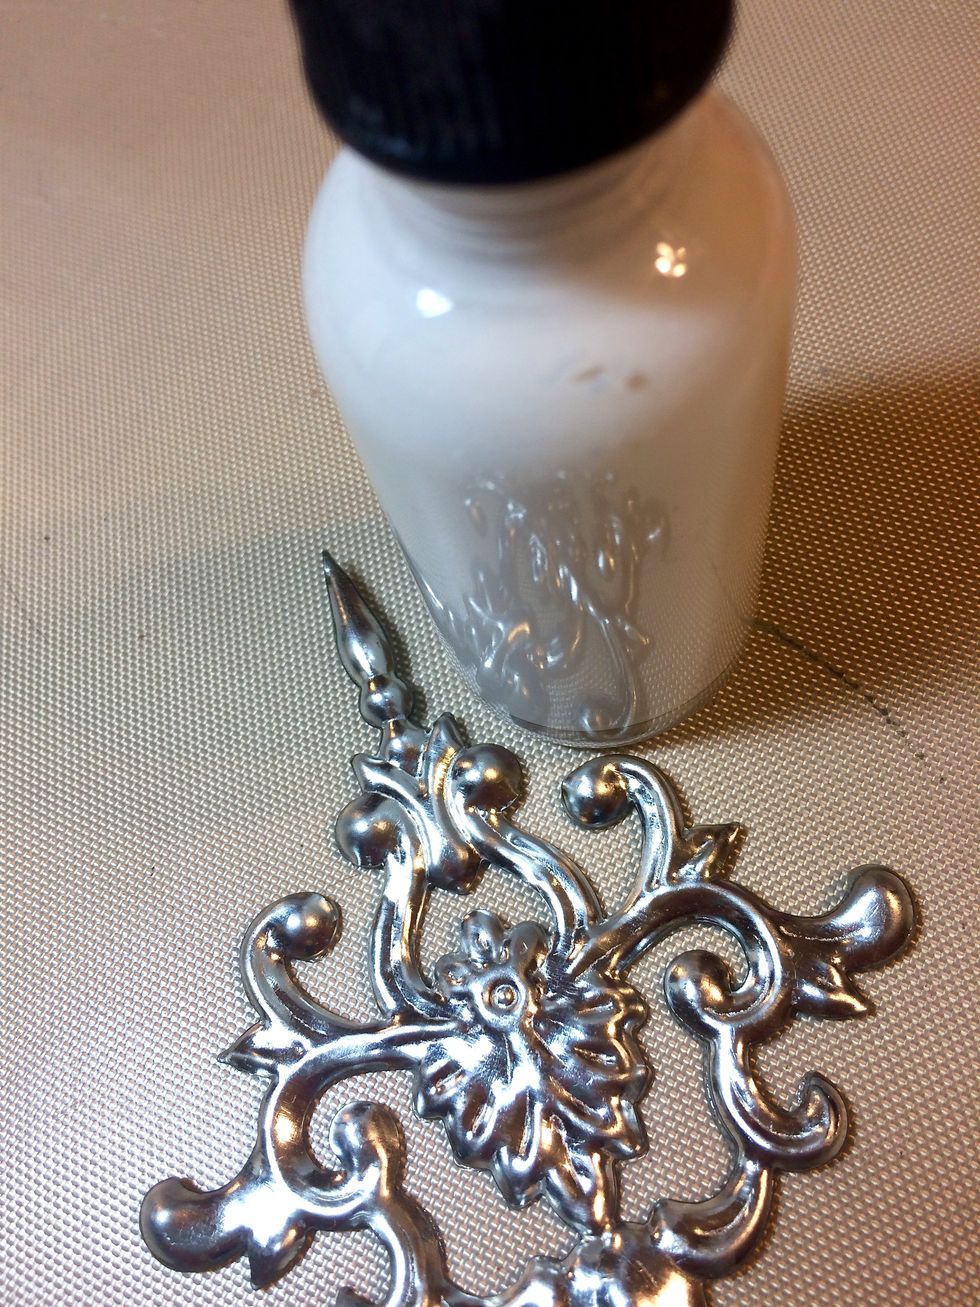
I start by dripping Immaculate Minx Inks onto the medallion.
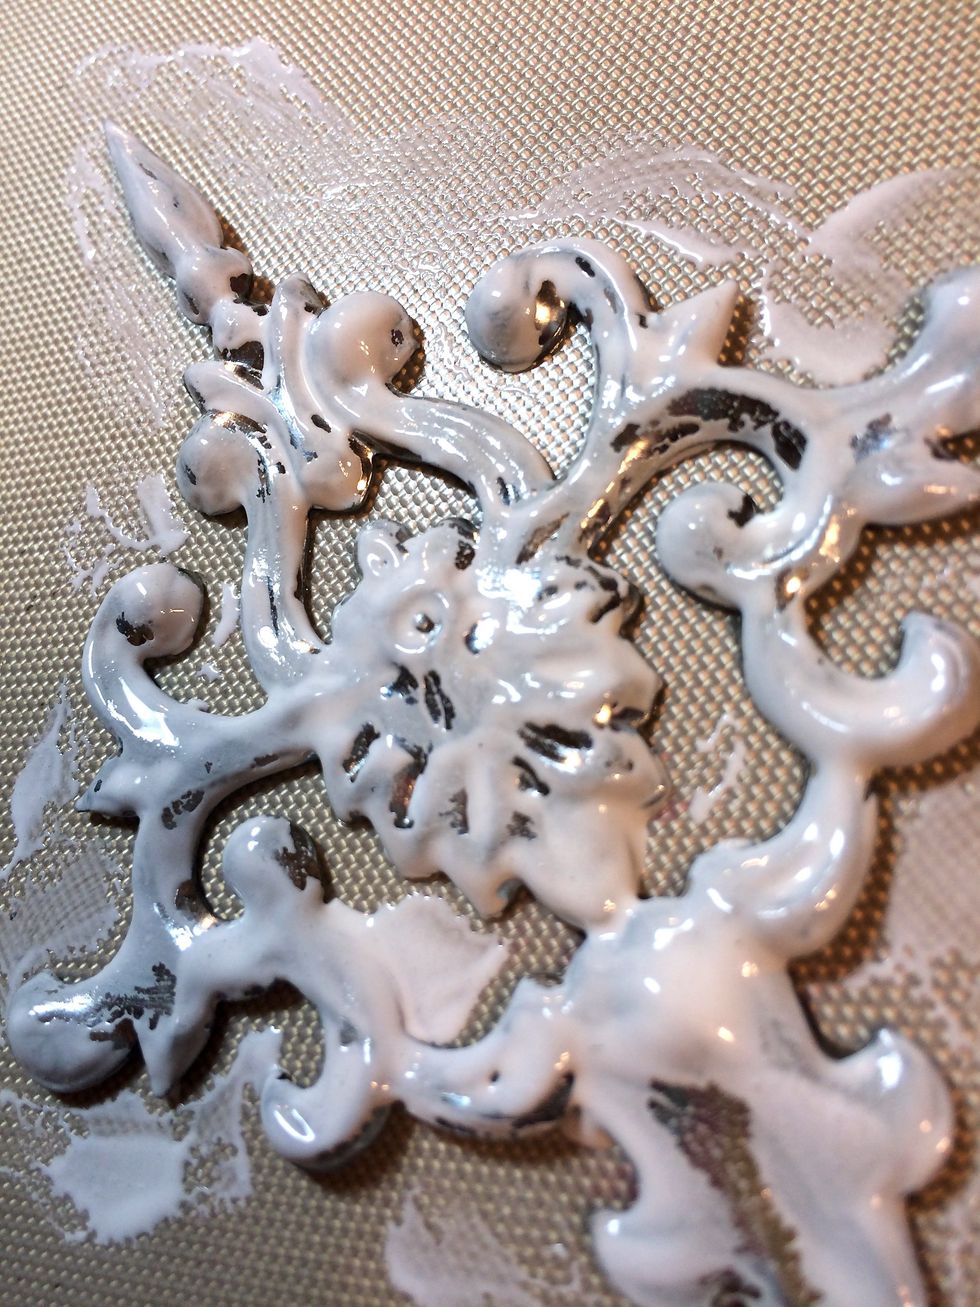
I rub it onto the medallion, not bothering to get it into the creases.
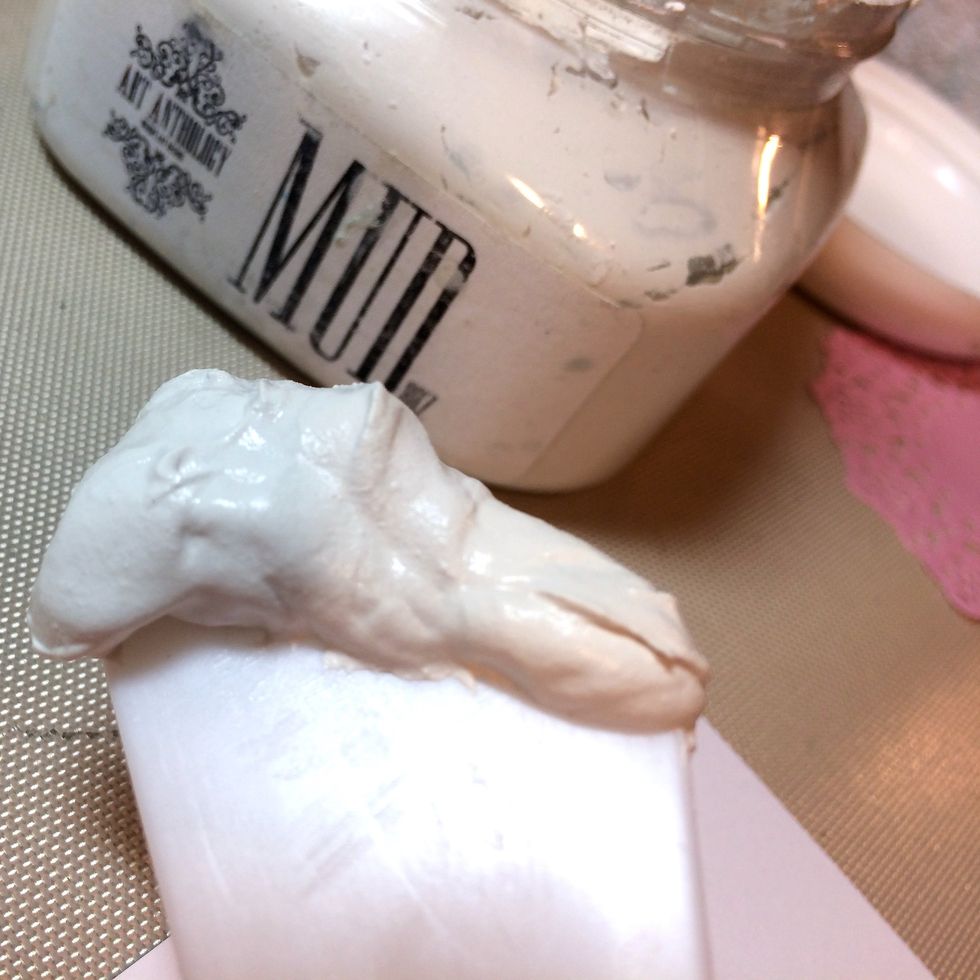
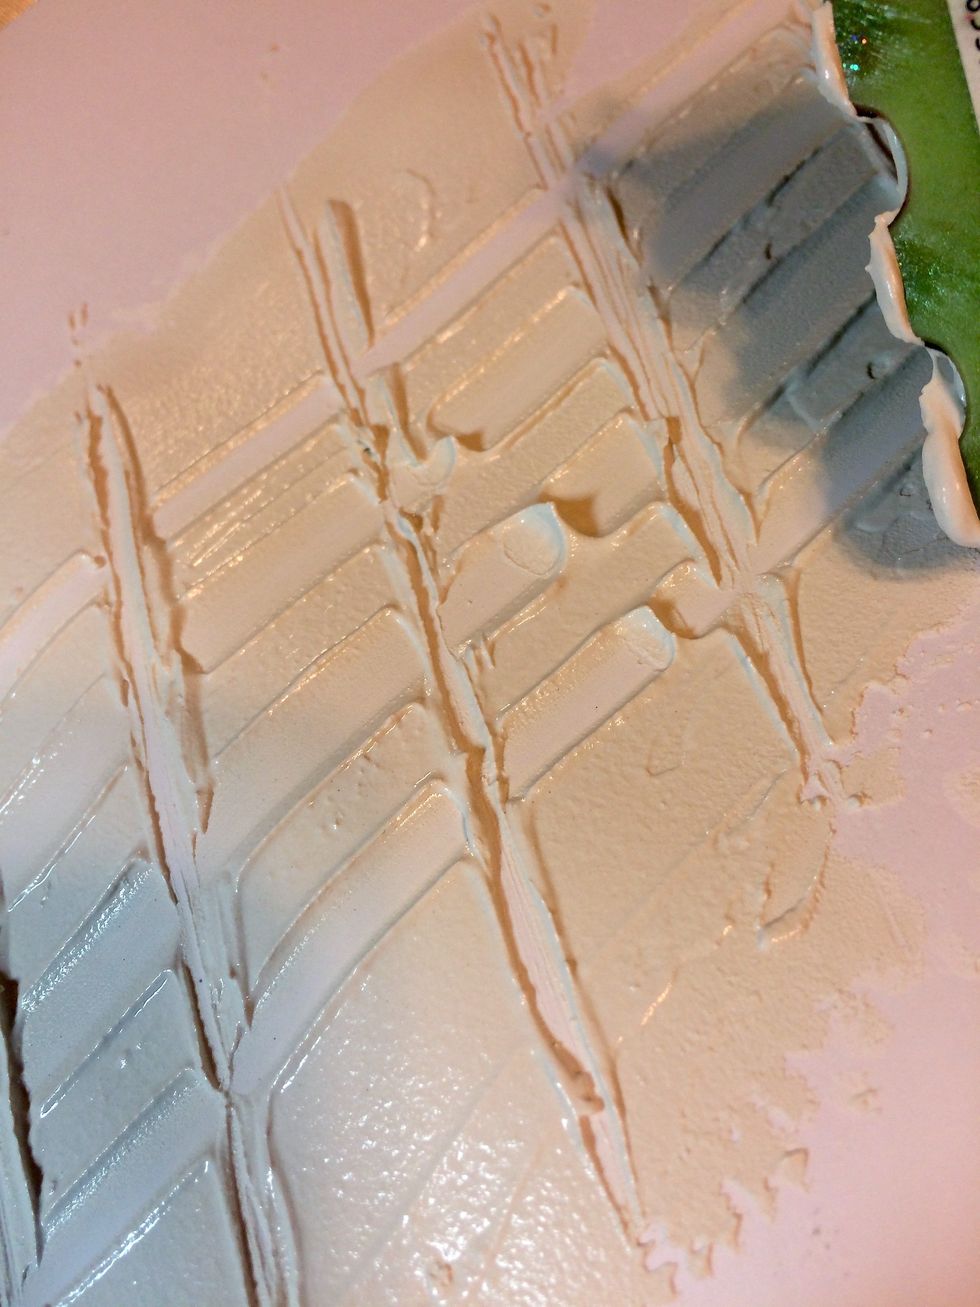
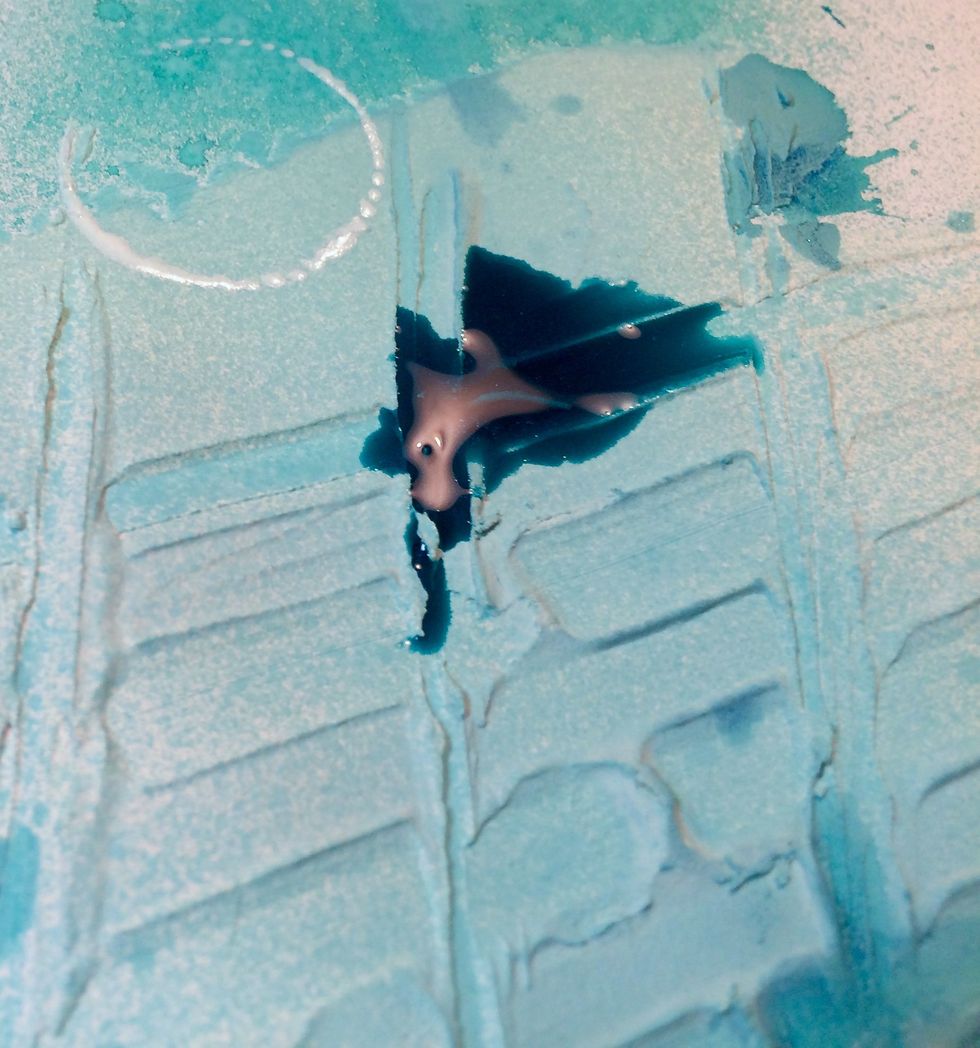
With a spatula, I get a dollop of Mud Texture Medium.
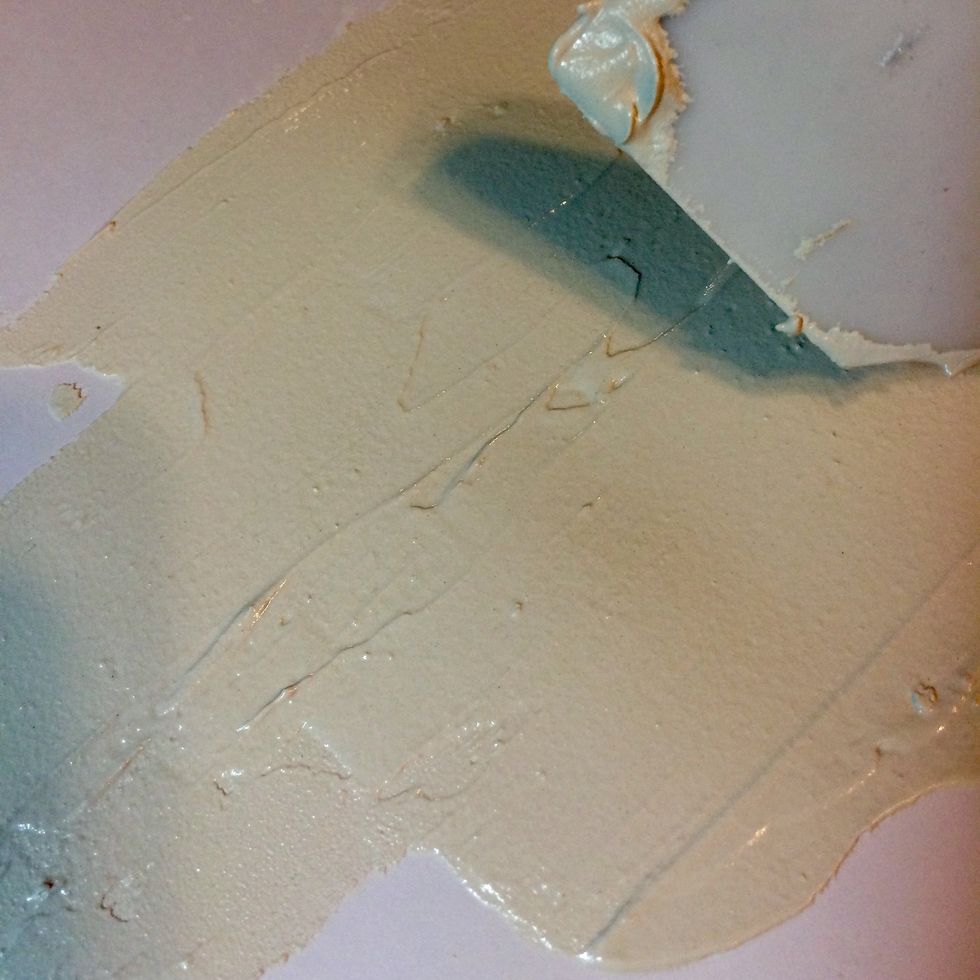
I spread the Mud Texture Medium onto the page.
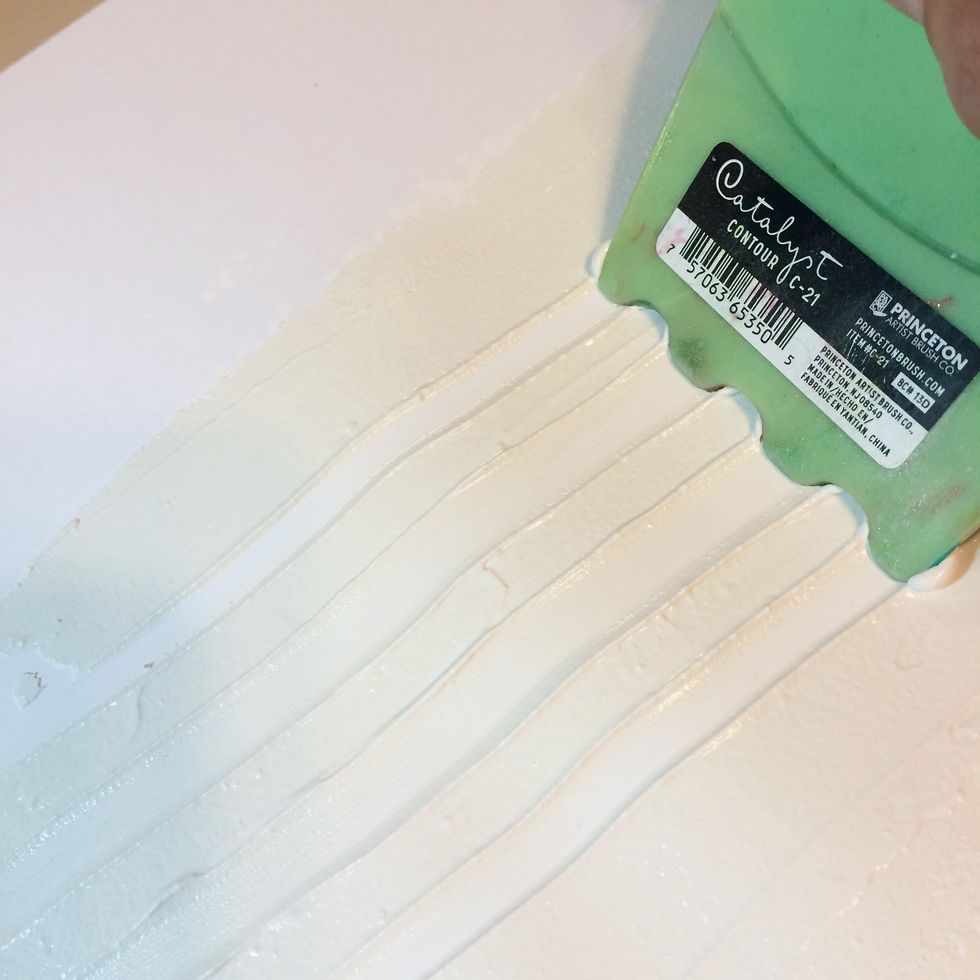
Using the Contour Catalist tool, I make some marks into the Mud Texture Medium.
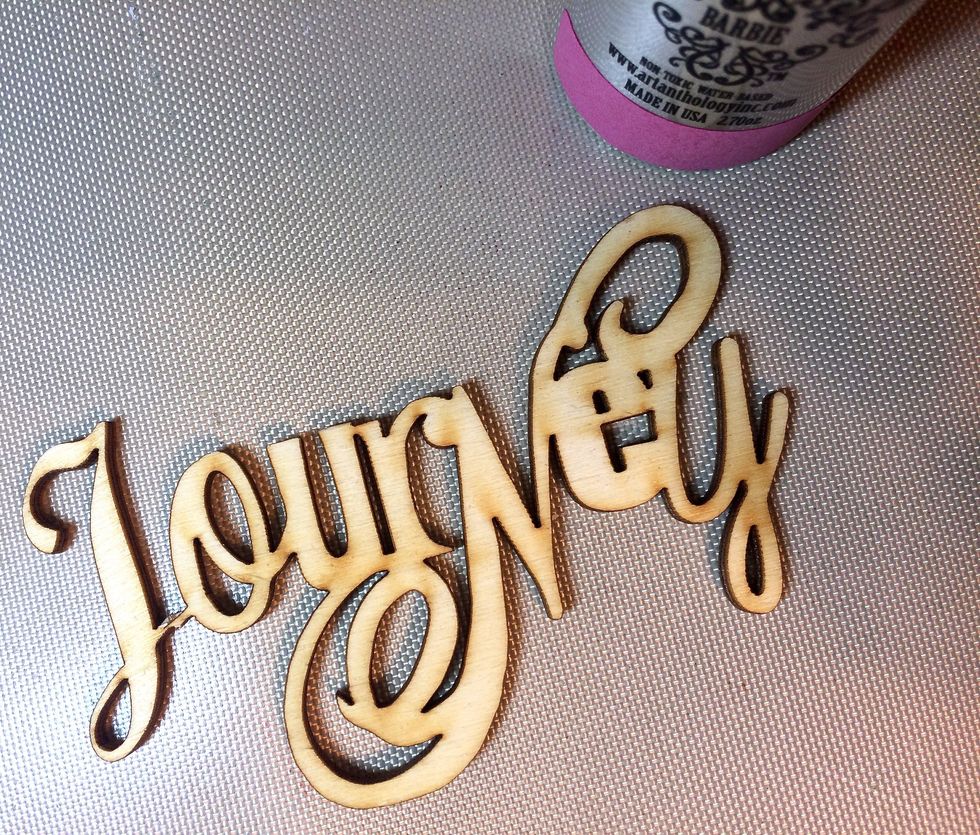
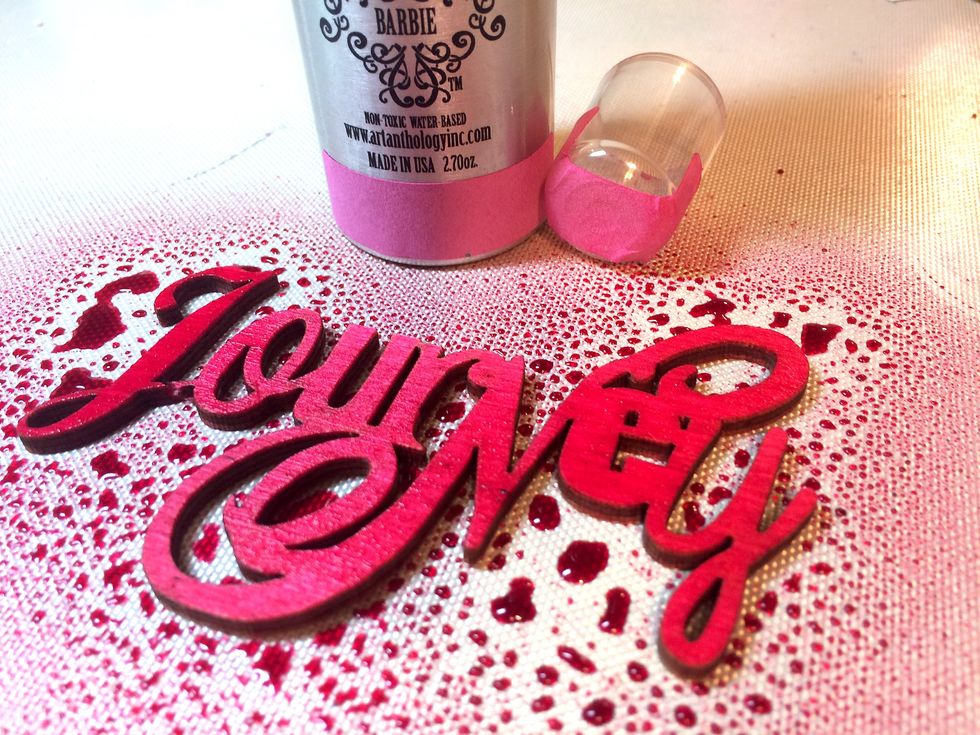
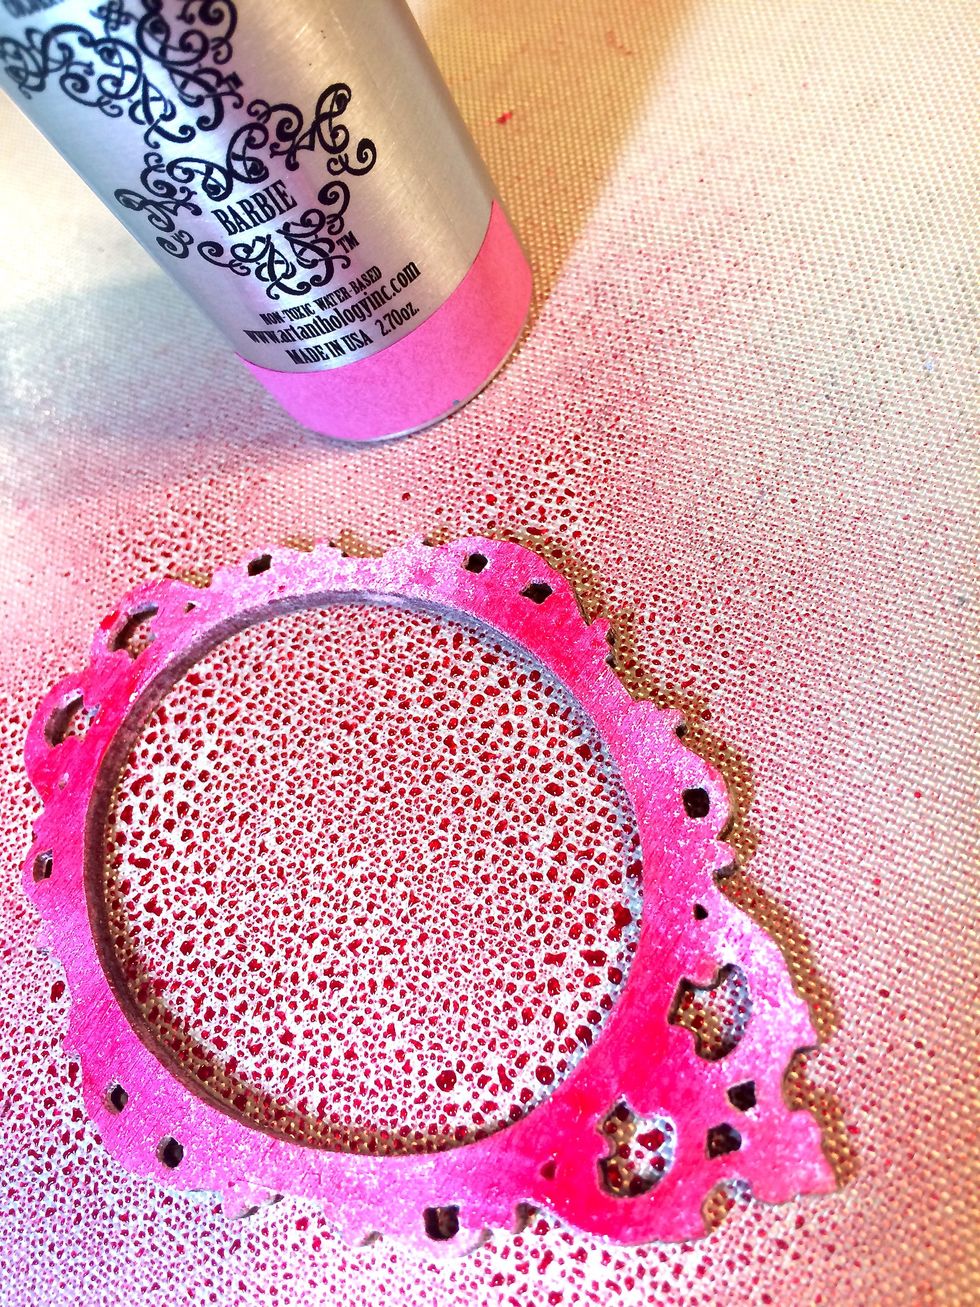
Now, I spray the "Journey" wood piece and spray it with Barbie Colorations Spray.
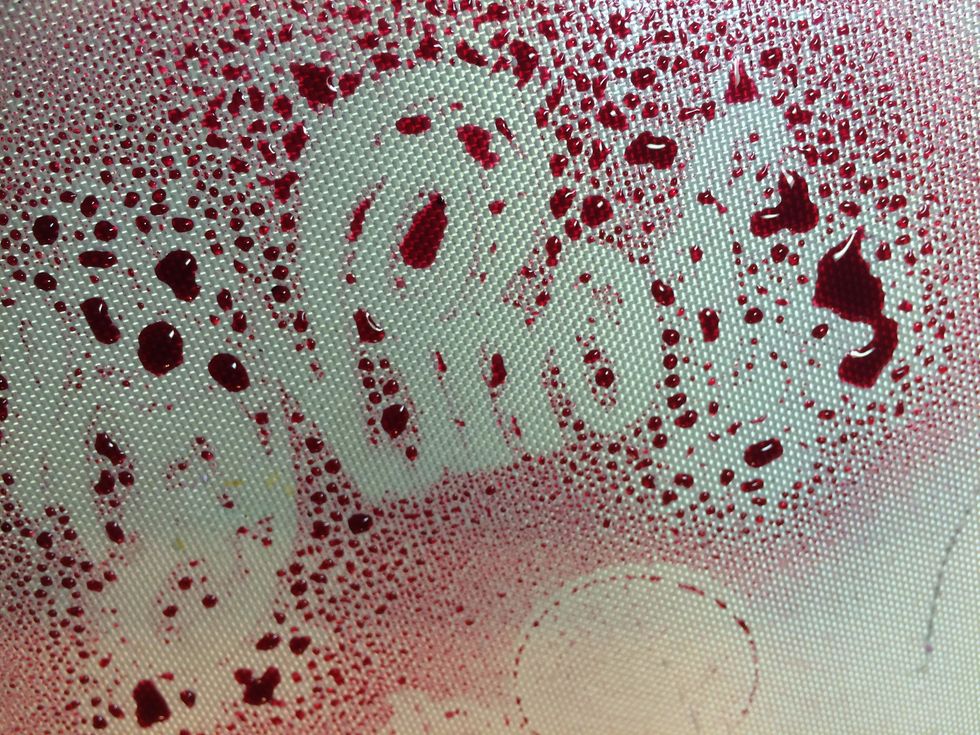
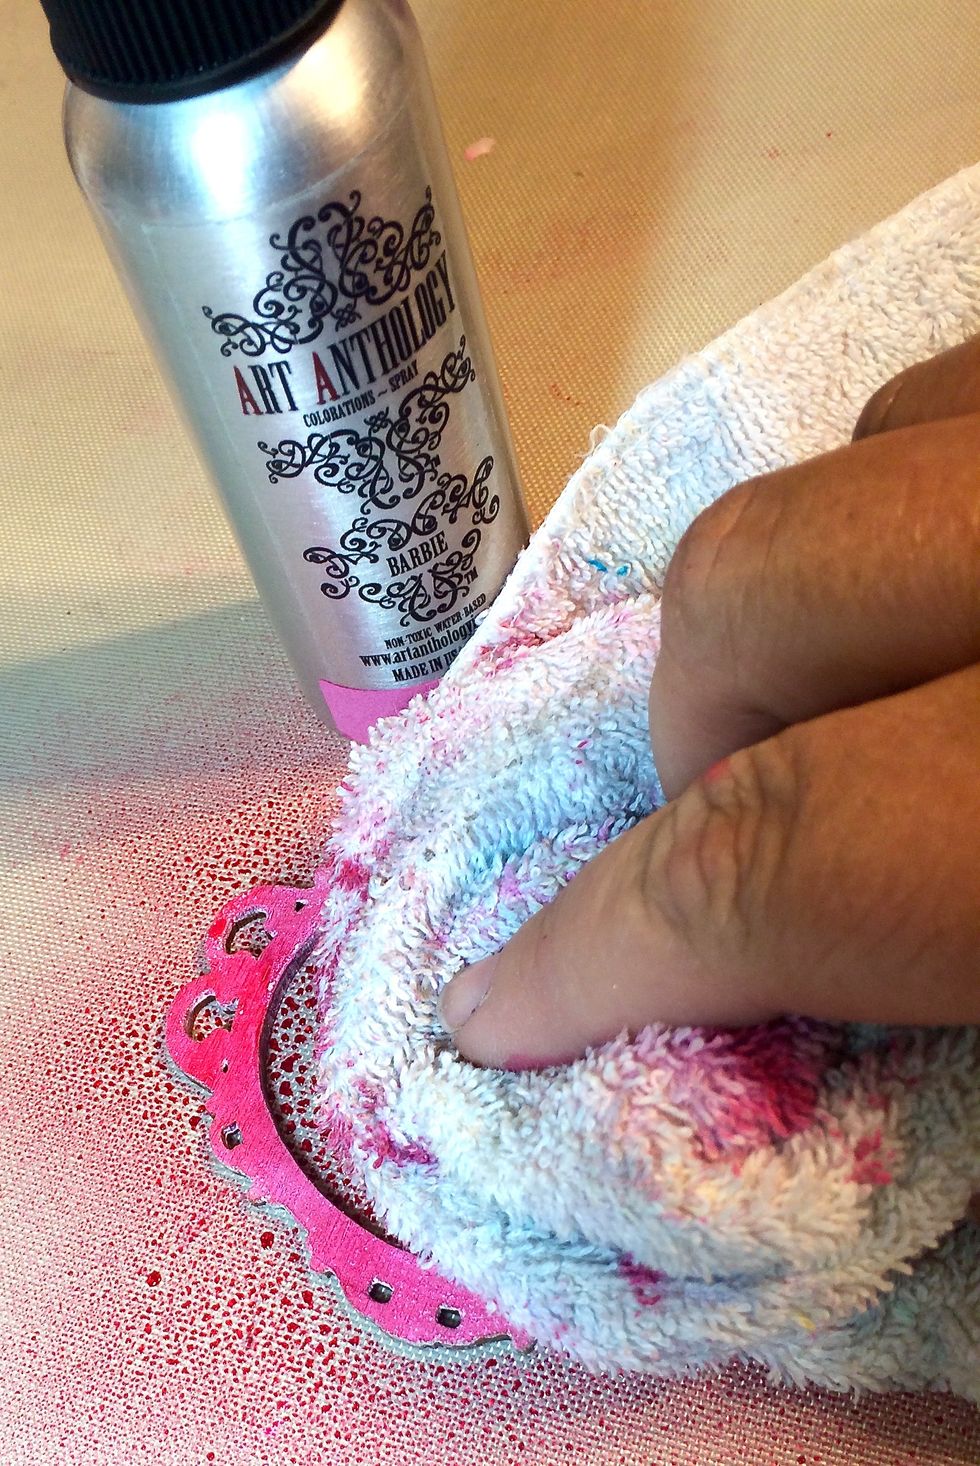
Hmmmmmm. So much extra Colorations Spray. What should I do with it. It looks too good to waste!
As the Immaculate Minx Shimmering Inks dry onto the medallion I rub it off to mute it down.
I ended up not using this piece but when I was photographing this, I set the Colorations bottle into the spray and noticed this lovely circle that it made. I couldn't waste it, soooooo....
Look at that shimmer swirling around in the bottle! Yummmmm....
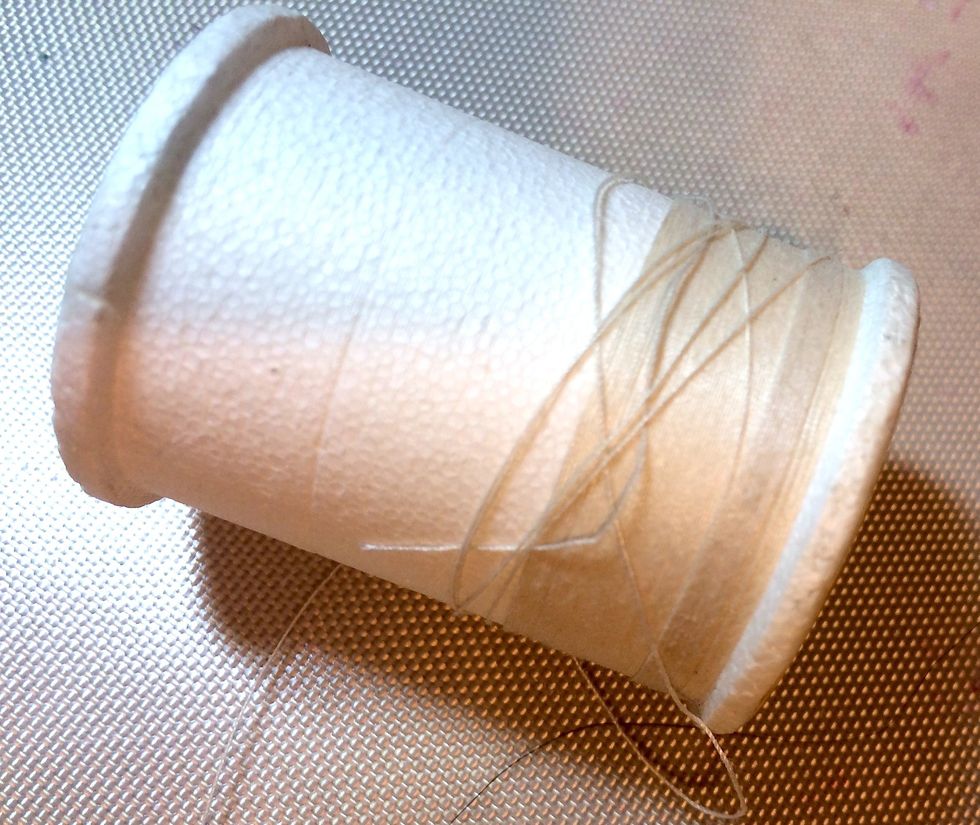
I would like to color this thread so it will go perfectly with my project.
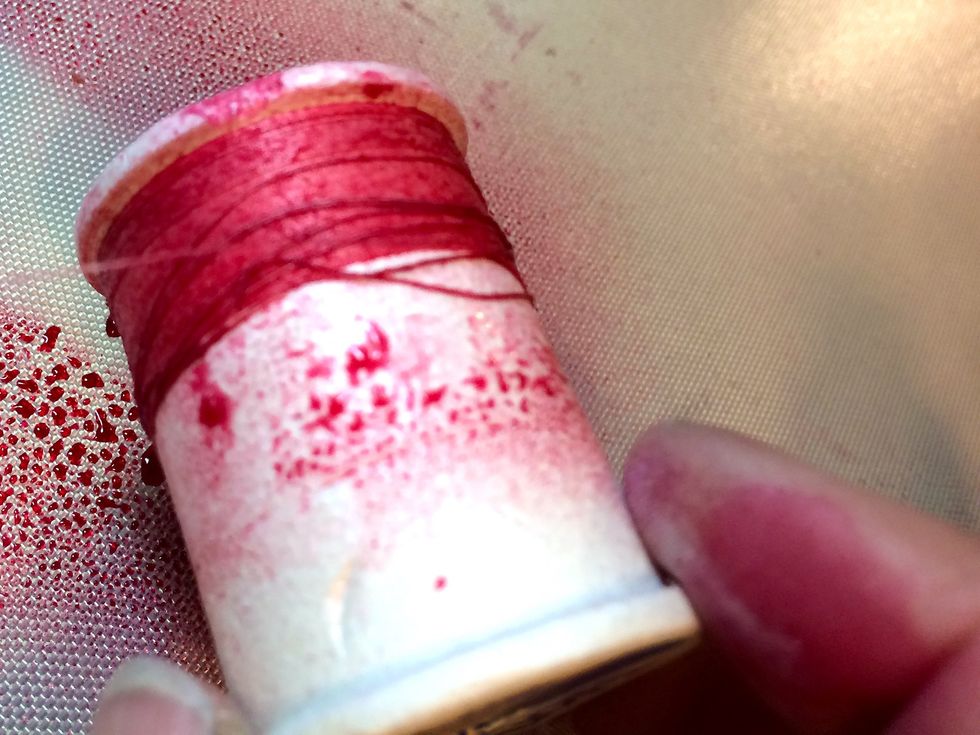
So, I just sprayed the thread, straight onto the spool, with Barbie Colorations Spray.
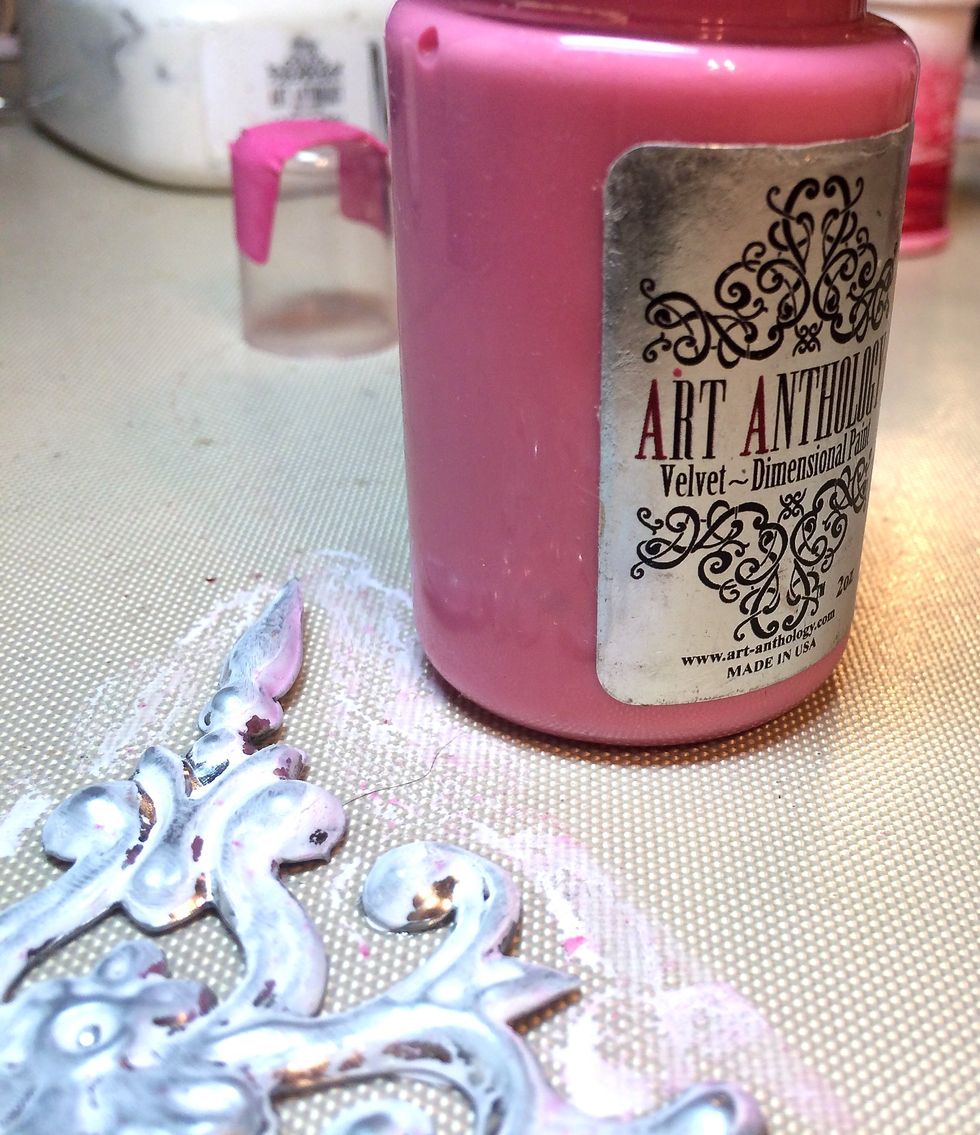
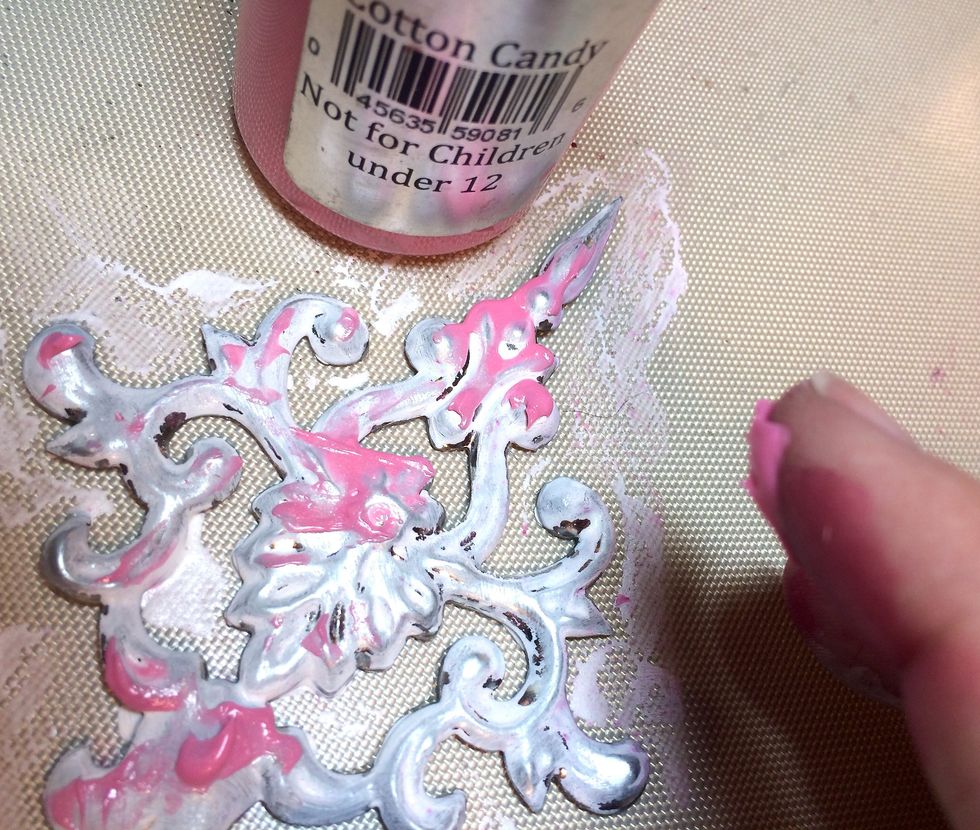
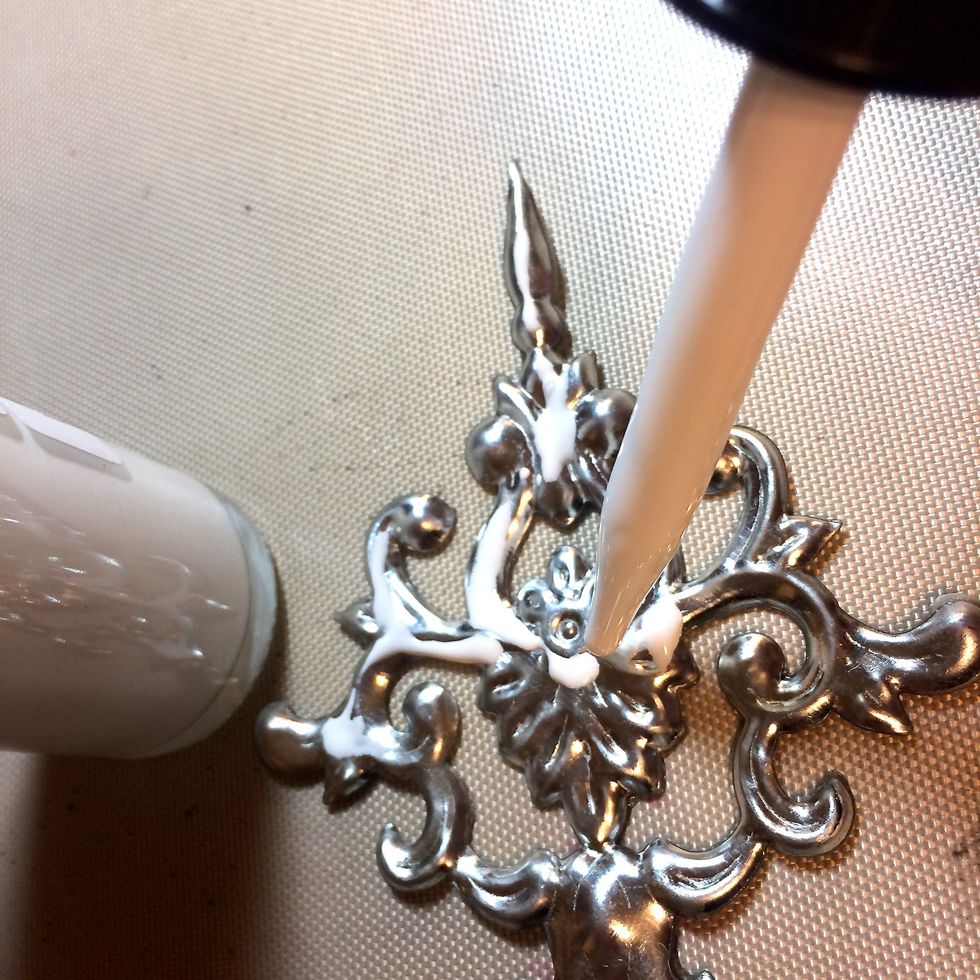
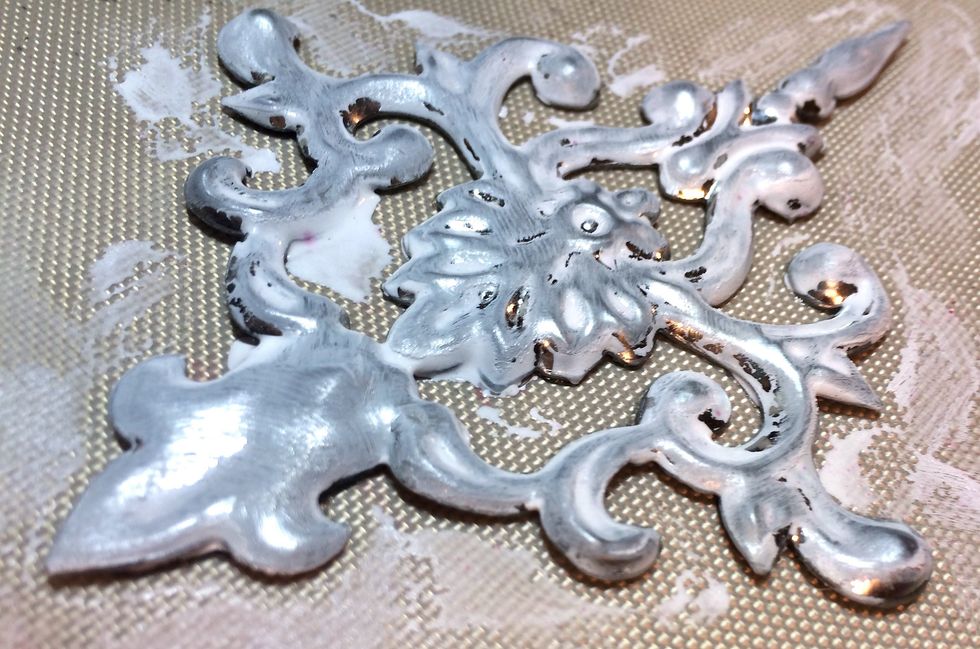
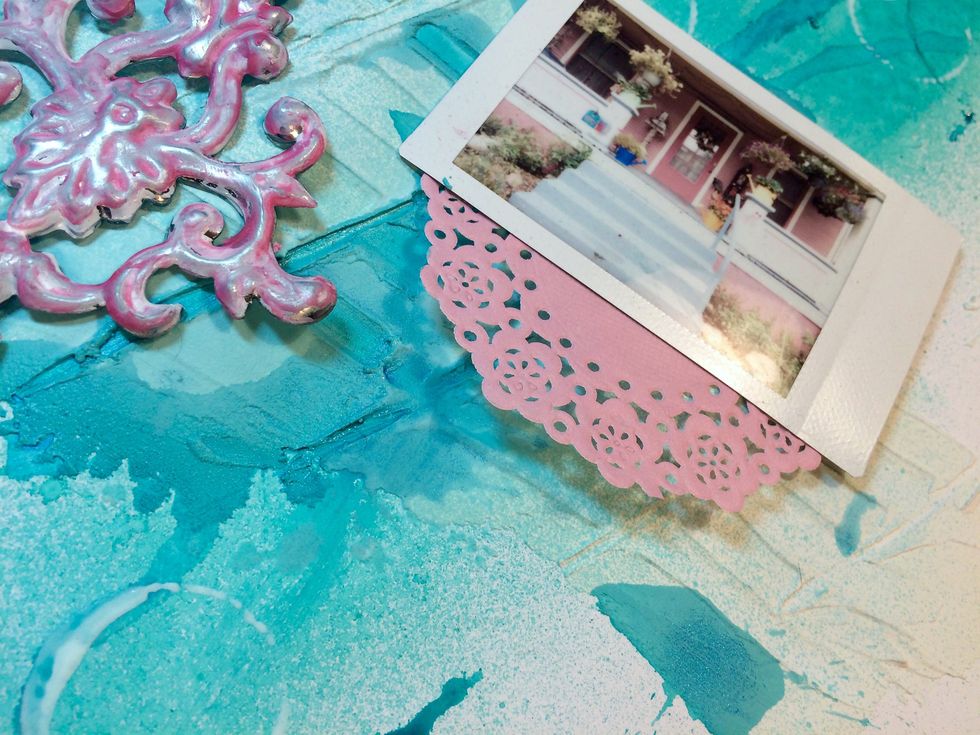
Next, I rub Cotton Candy Velvet onto the medallion.
But, I think the Barbie Colorations Spray is too bright for this project. Do you see the softer pink of the house? I want the pink lighter to match that.
I take my FAVORITE Art Anthology product of all time, the Immaculate Minx Shimmering Inks and....
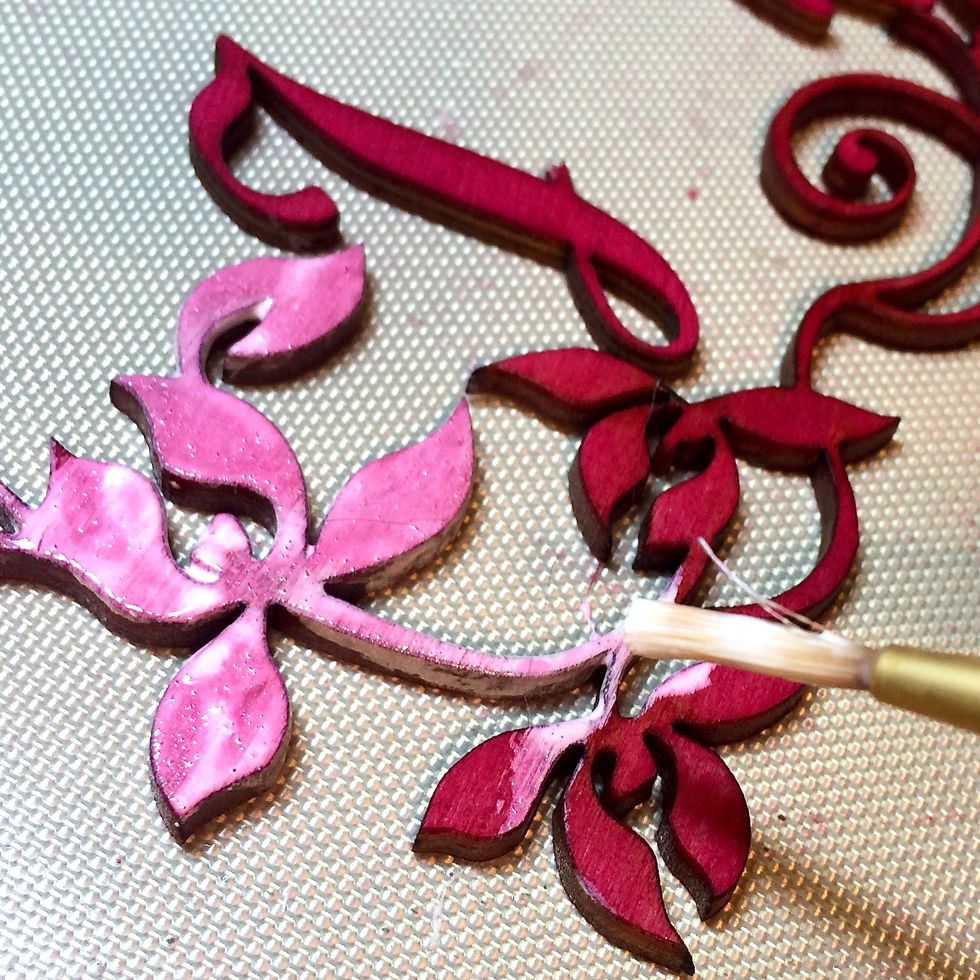
Paint it onto my wood pieces. Notice how the Colorations bleeds through the Immaculate Minx to make a softer pink!
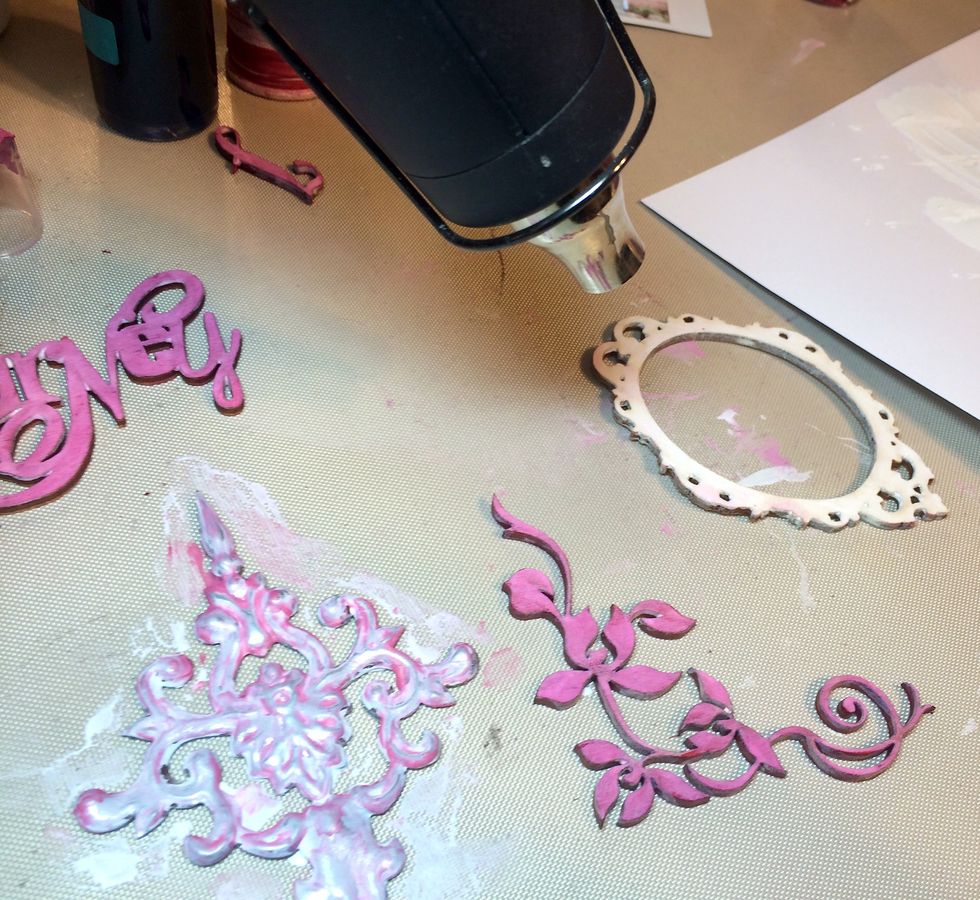
Looooove it! Now, I have that wood frame, from Melissa Frances, and I paint it white with the Immaculate Minx FIRST to see how it takes the Colorations.
Interesting....
The Colorations, mostly, set on top of the Minx, So, I dabbed it off with a rag.
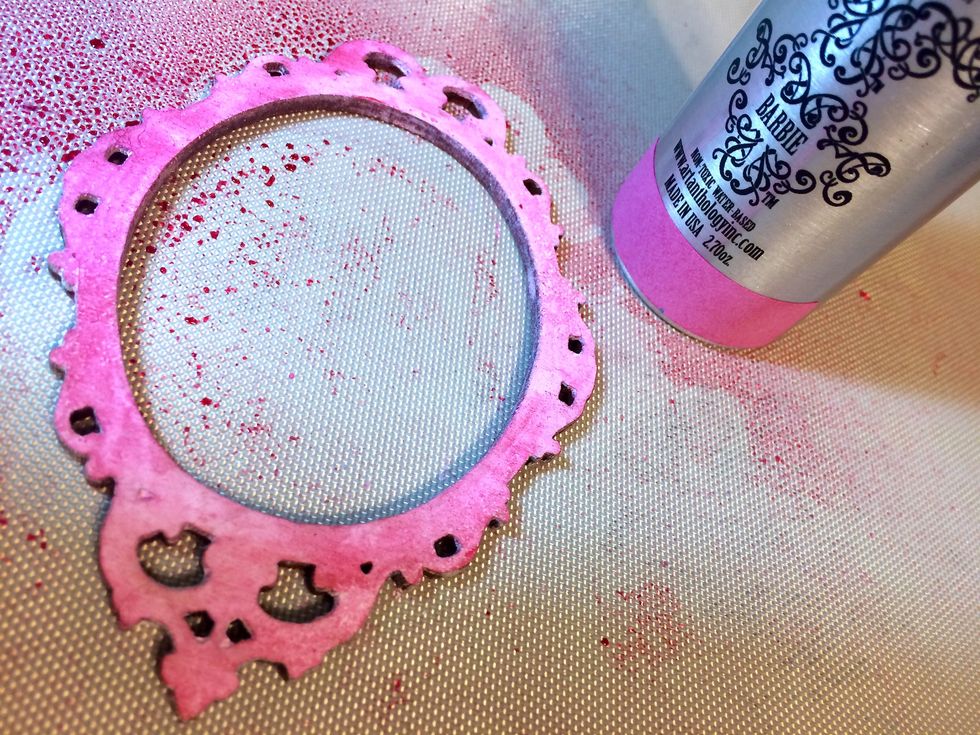
And, Wa-La! It's a soft pink. And I like the way the color isn't even. It makes it look more 'shabby'!
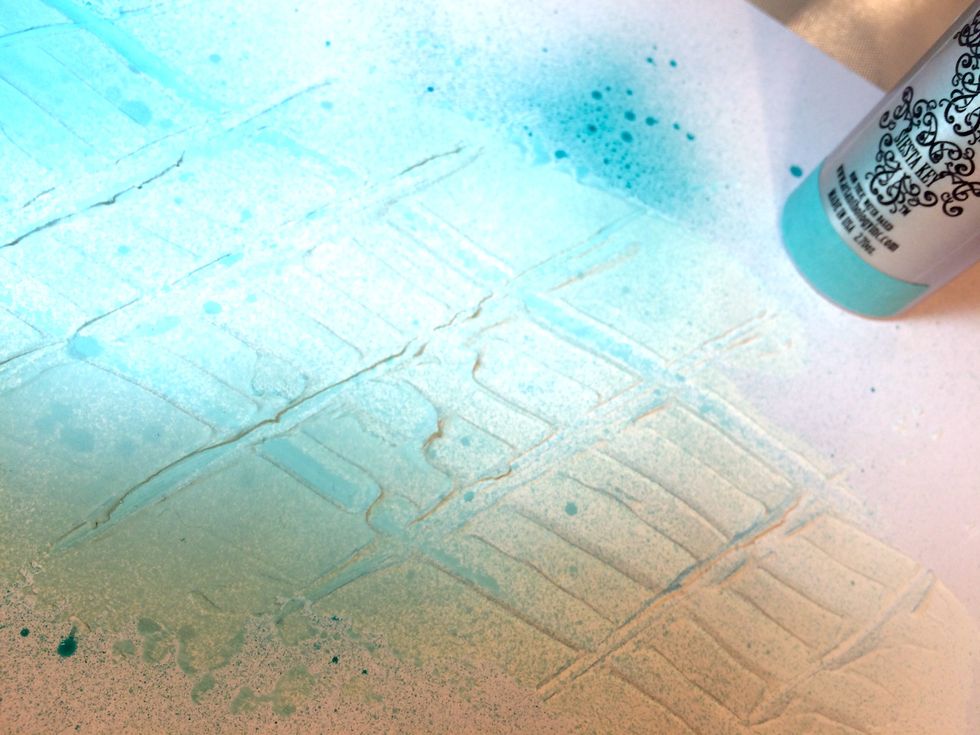
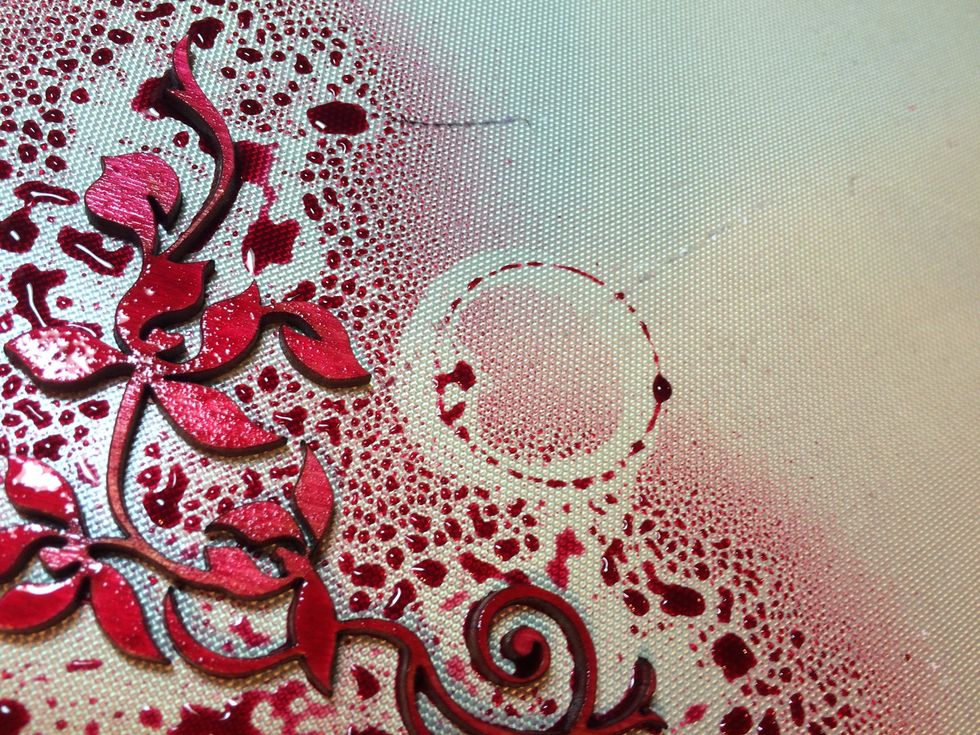
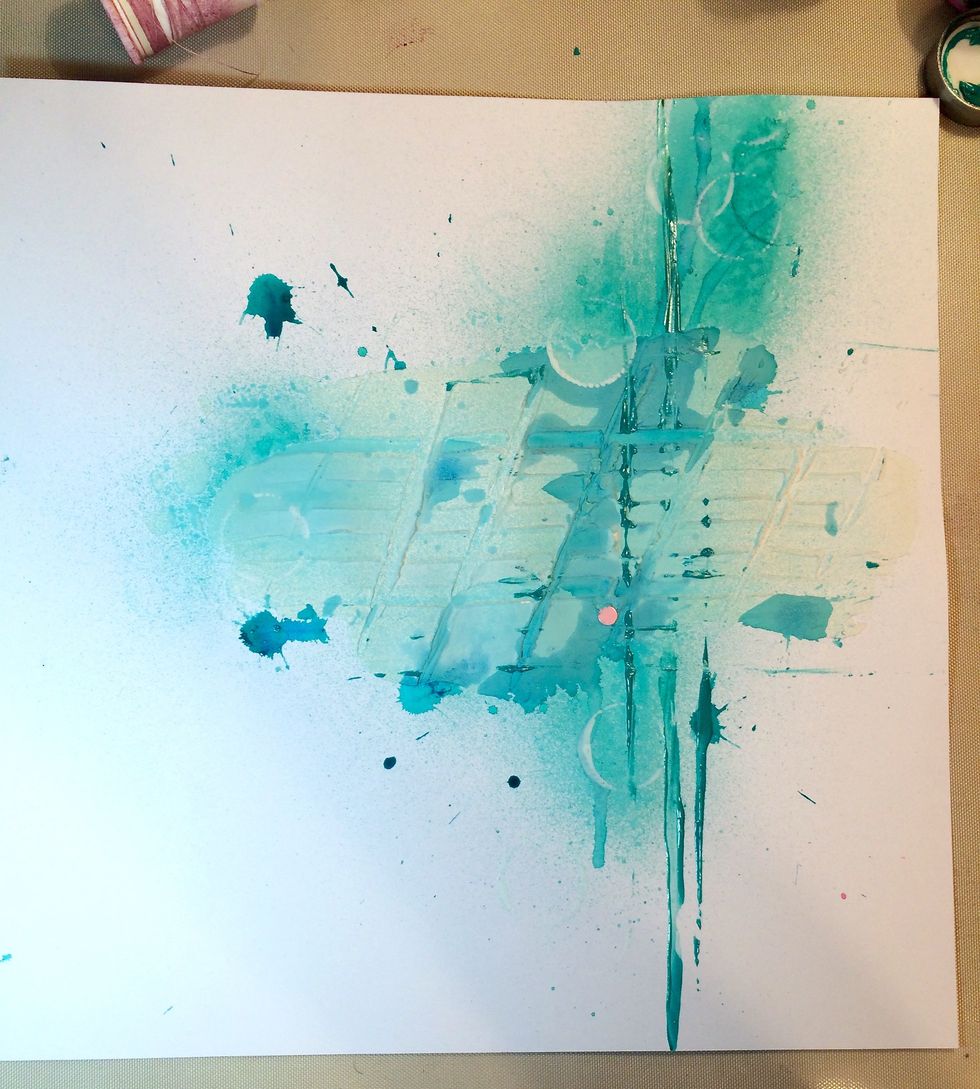
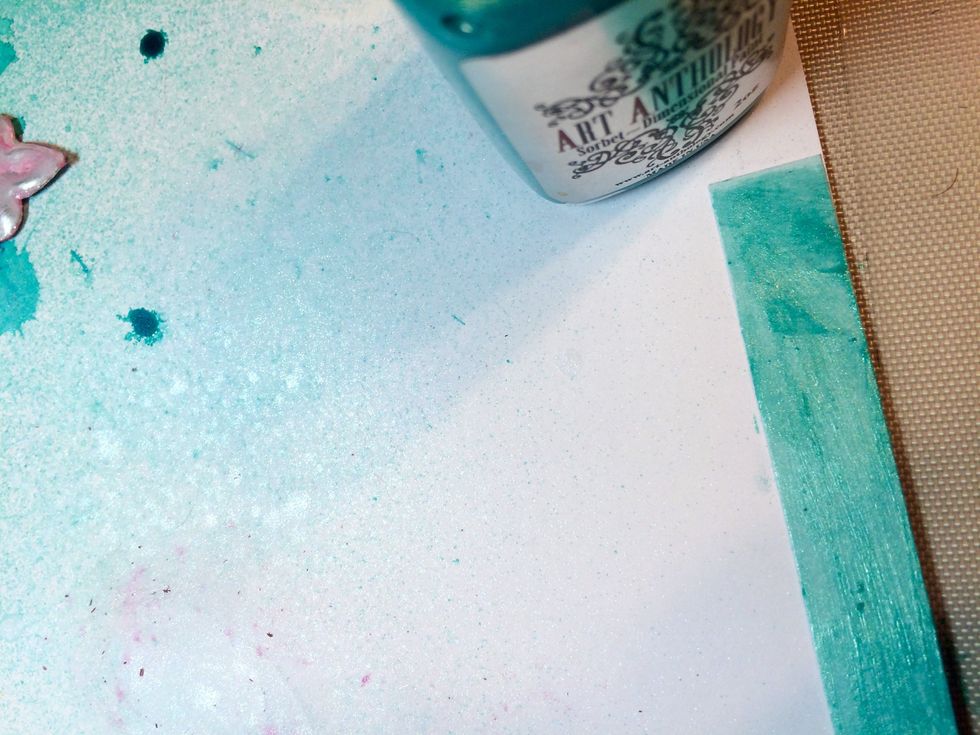
I have the pink elements ready for the layout. Now, it's time for the page, itself. I spray Siesta Key Colorations Spray over the Mud Texture Medium that I previously laid down.
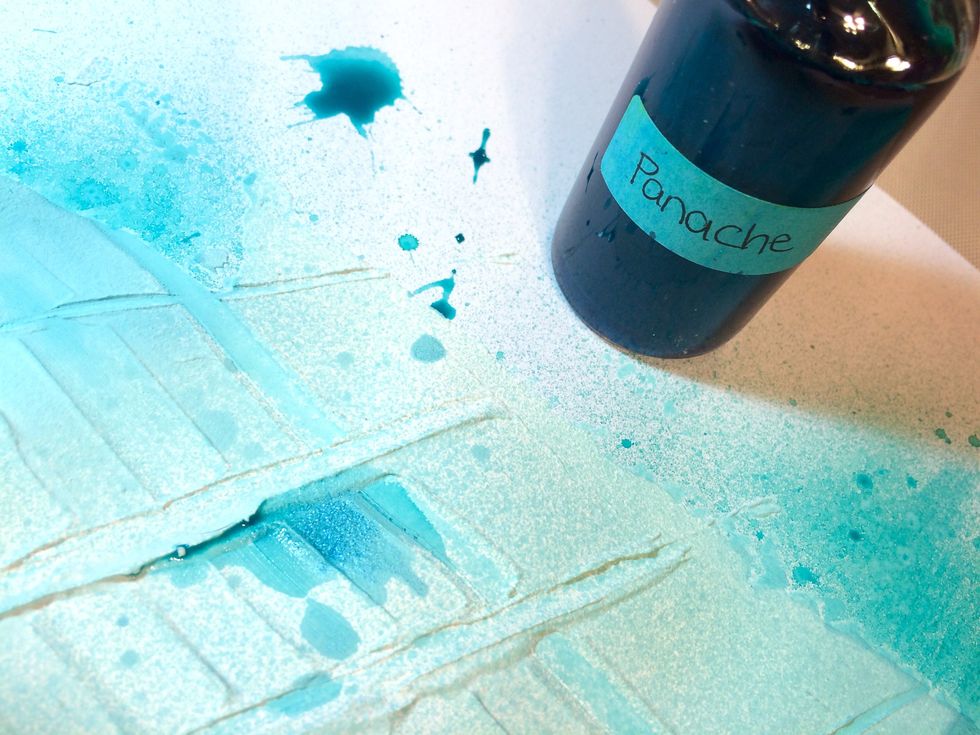
Then, I splatter some Panache Minx Shimmering Inks.
SPLAT!
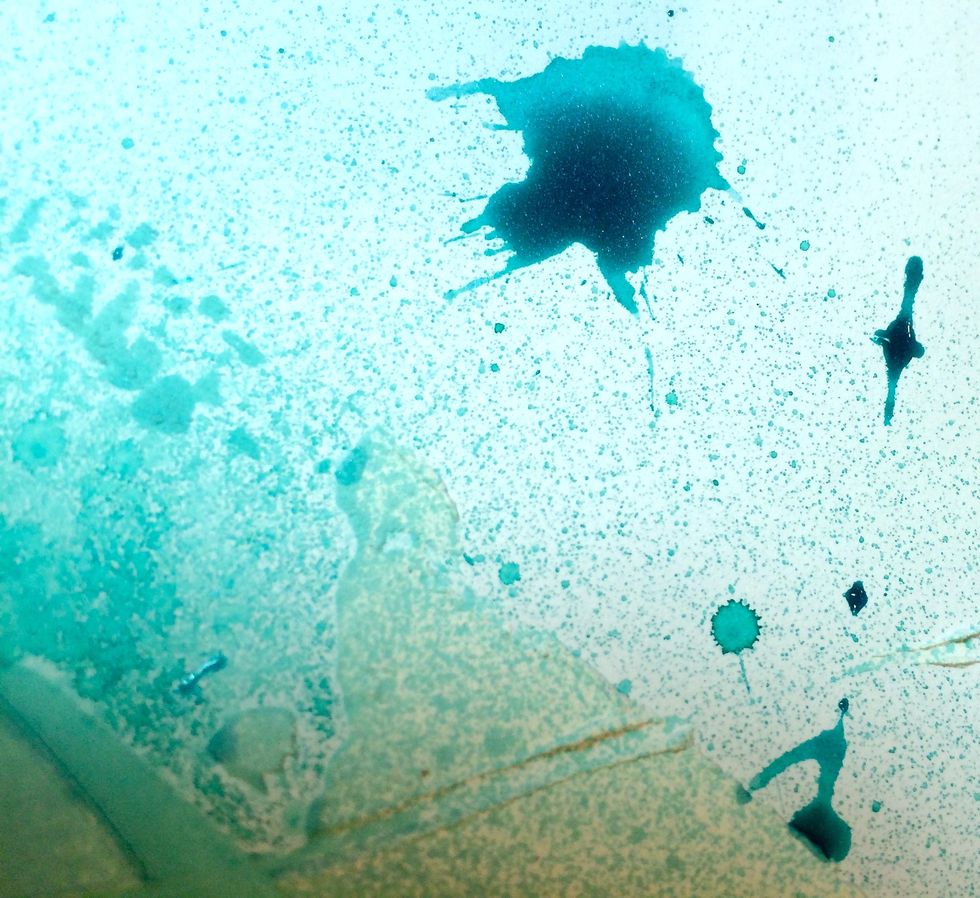
And more SPLATE!
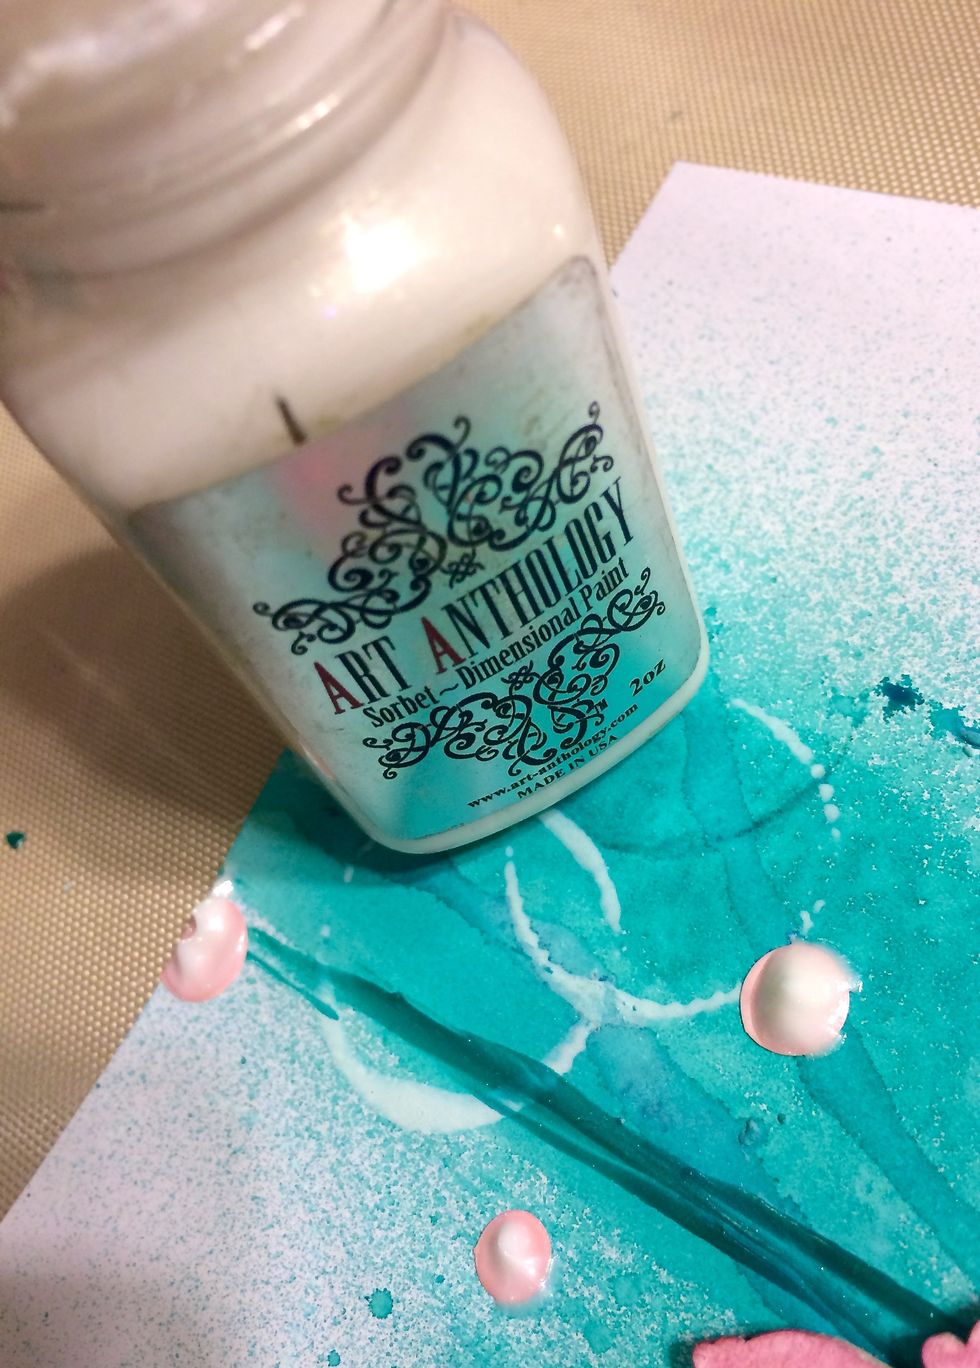
Looking to add some white circles to my layout, I decide to drip a bit of Immaculate Minx onto my Art Anthology Matt and dip the bottom of the bottle into it.
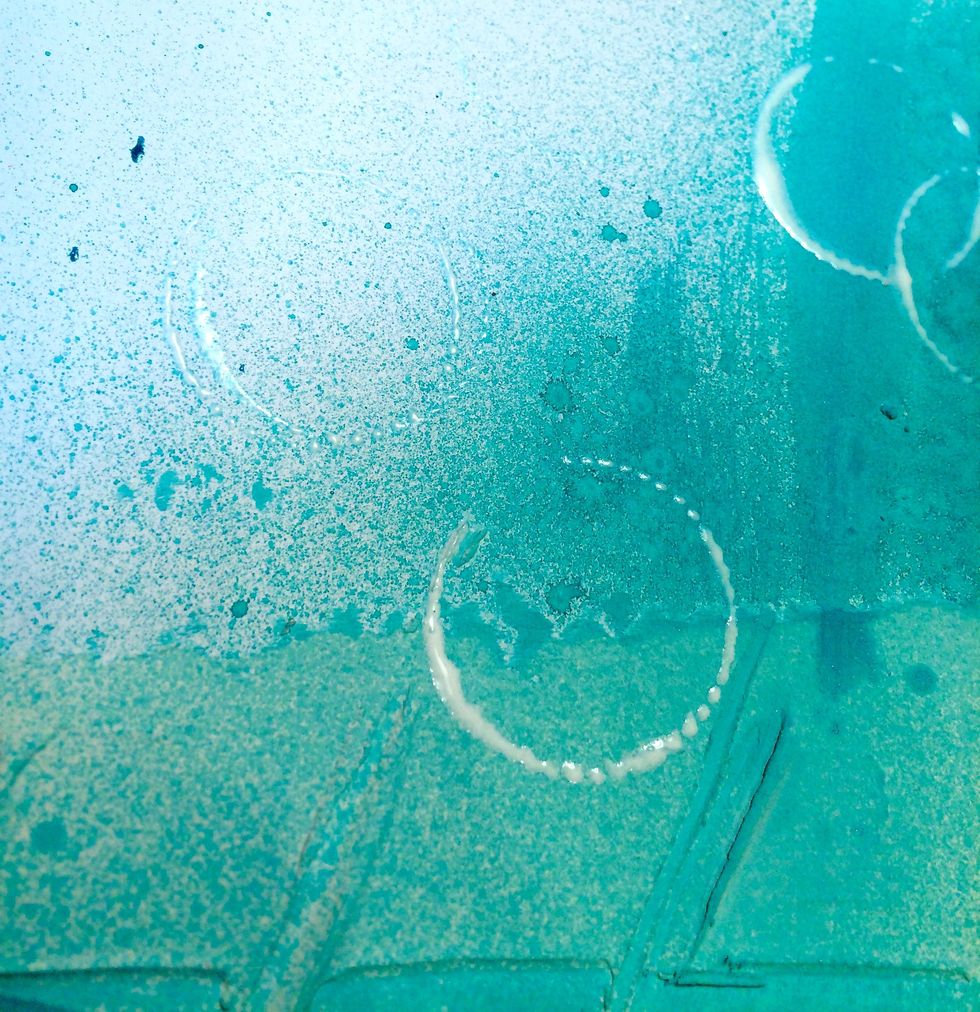
I love how the dots on the bottom of the jar shown up. An added bonus!
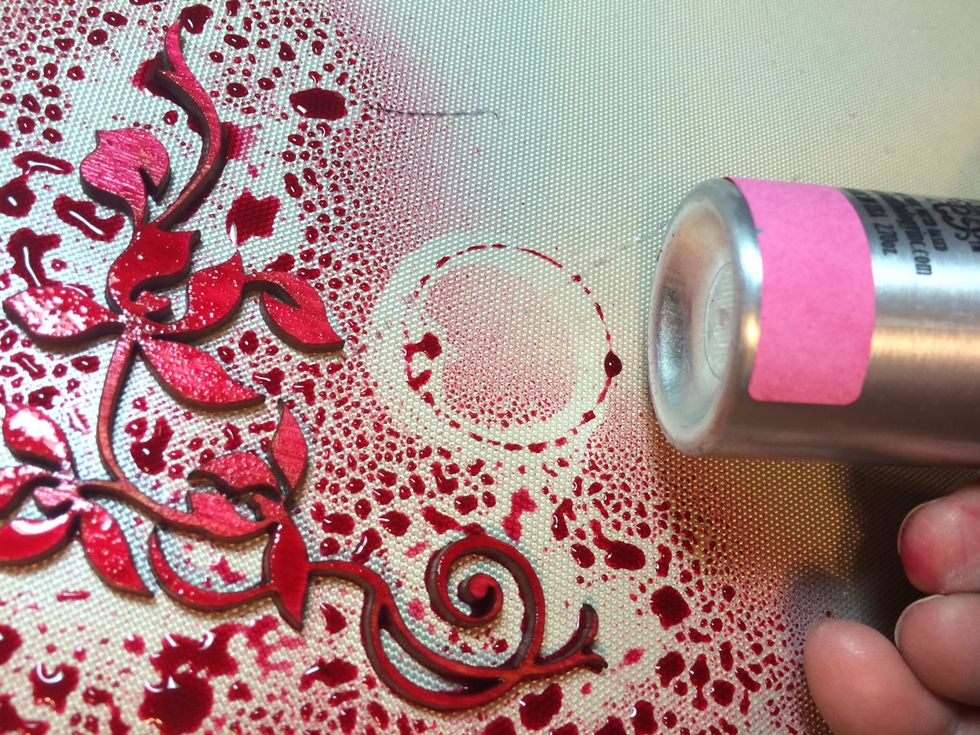
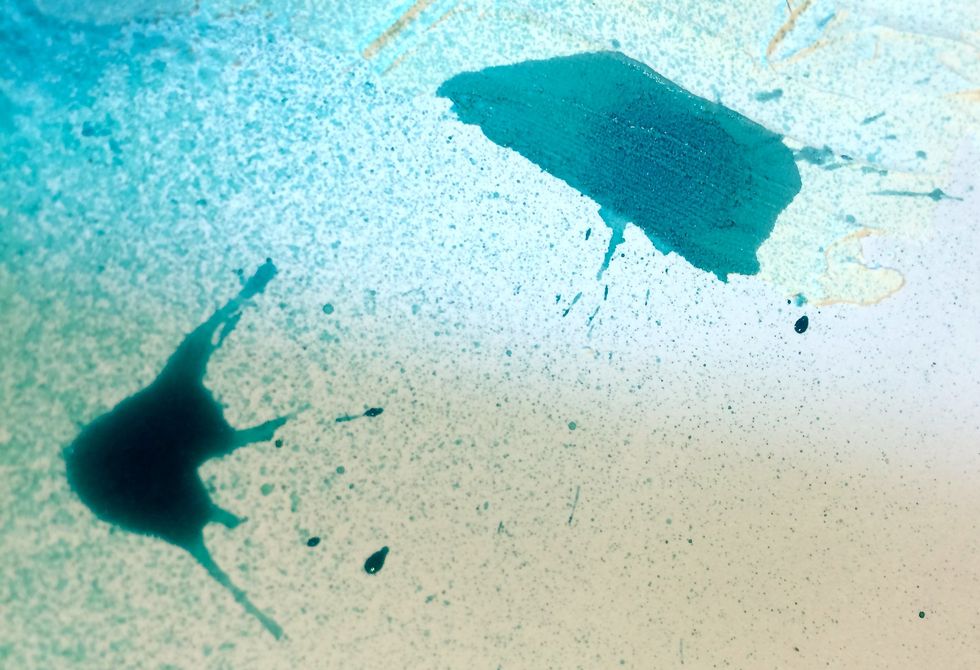
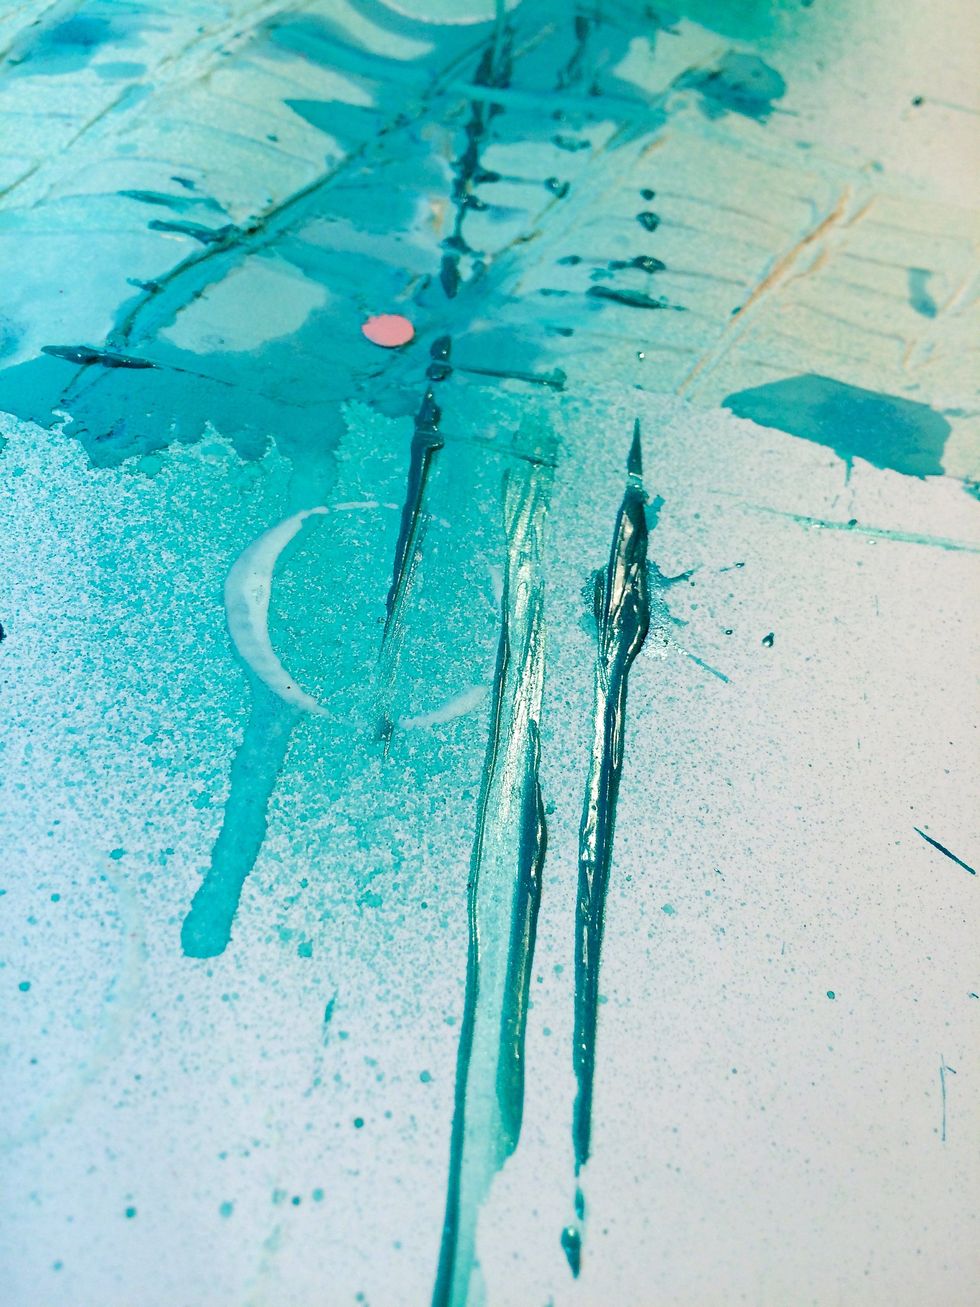
Now, I drip some Panache Minx Shimmering Inks onto the dried and sprayed Mud Texture Medium.
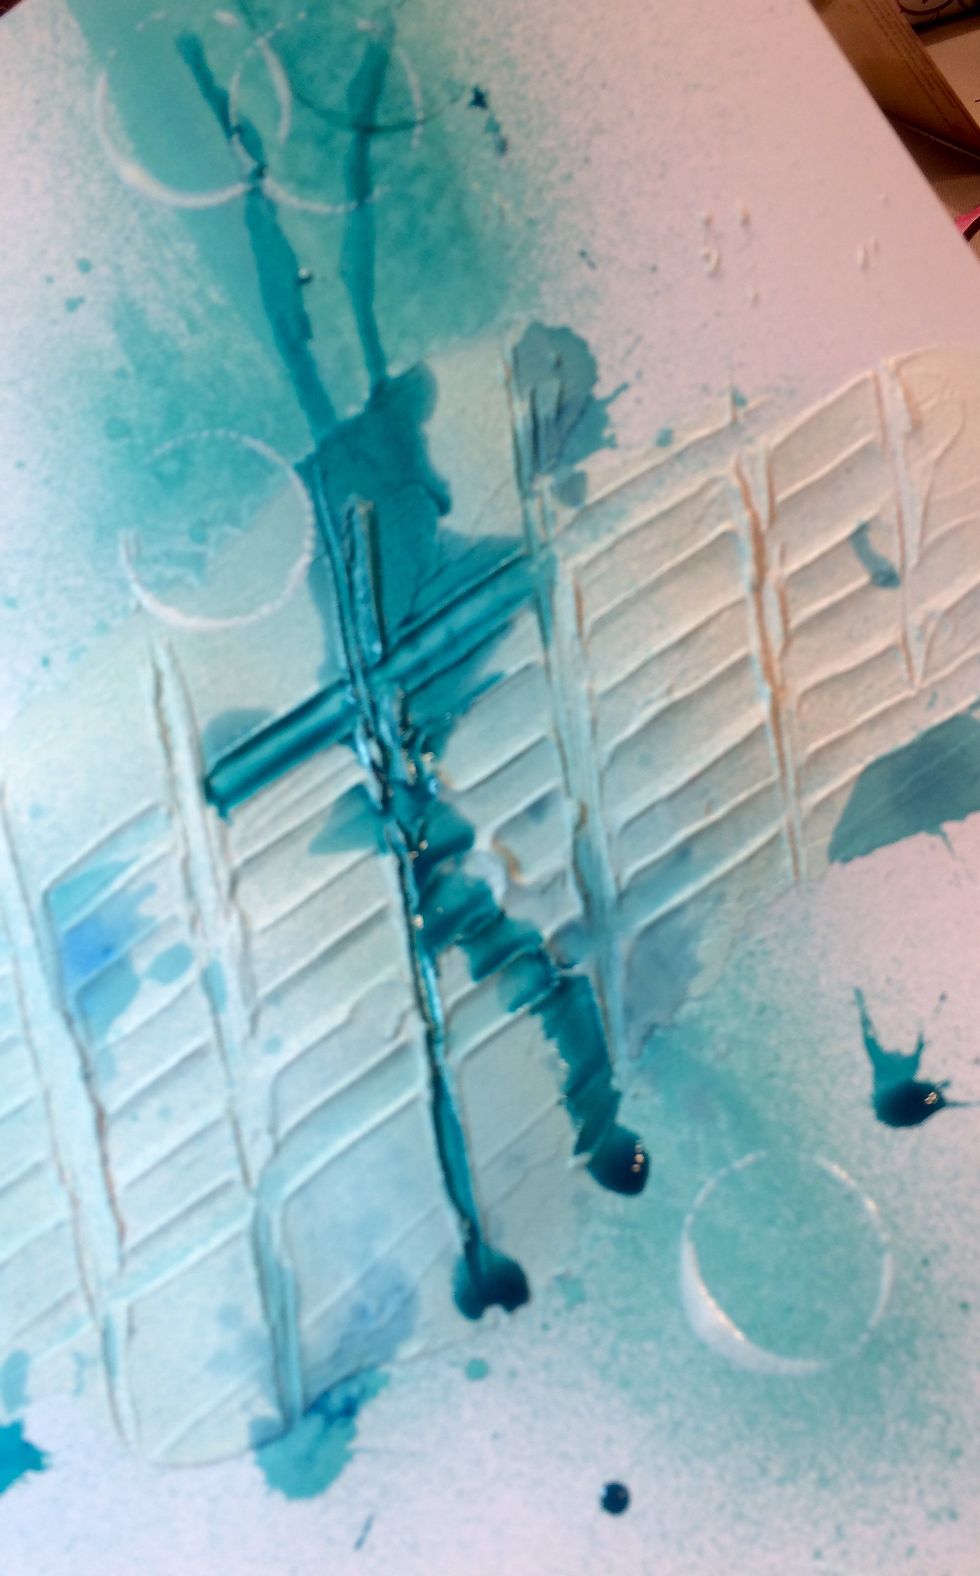
Watch it drip!
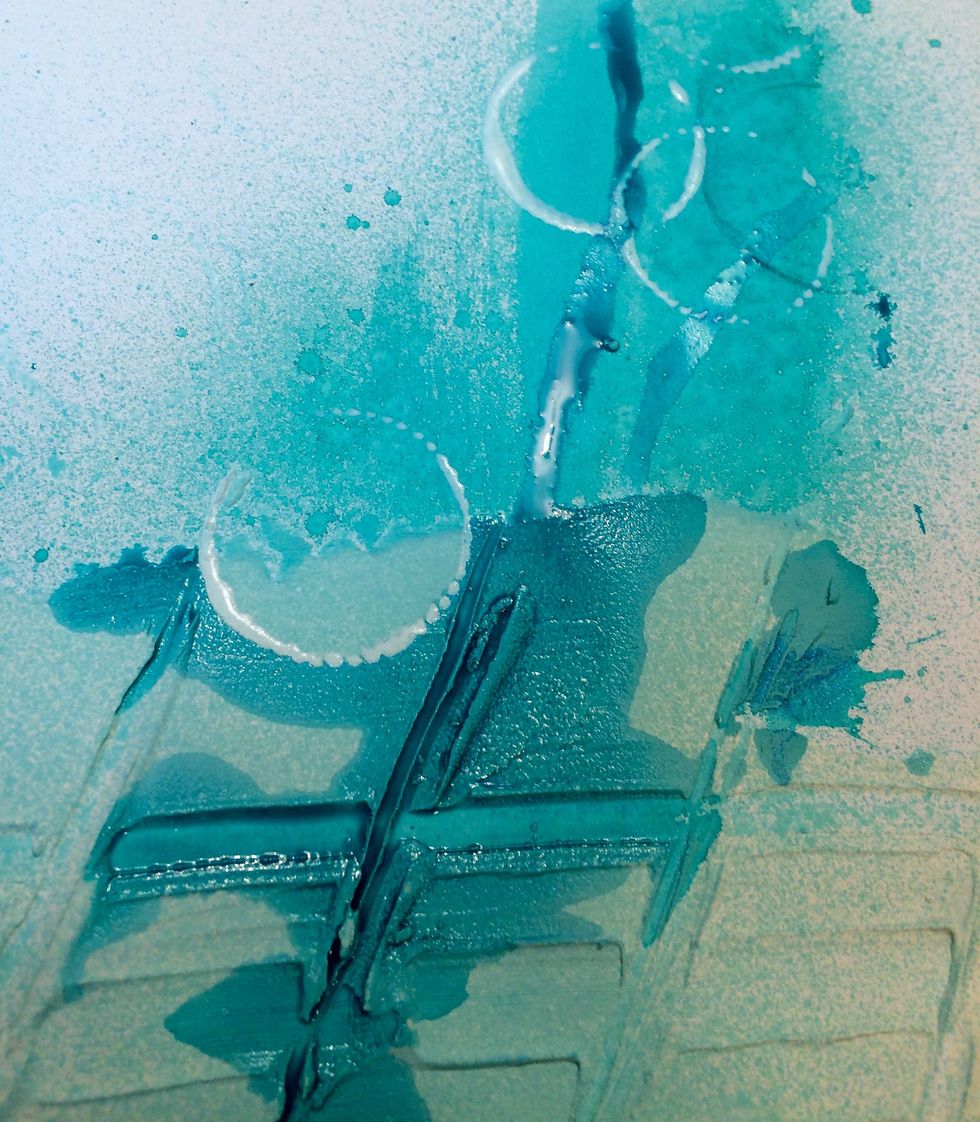
Such richness!
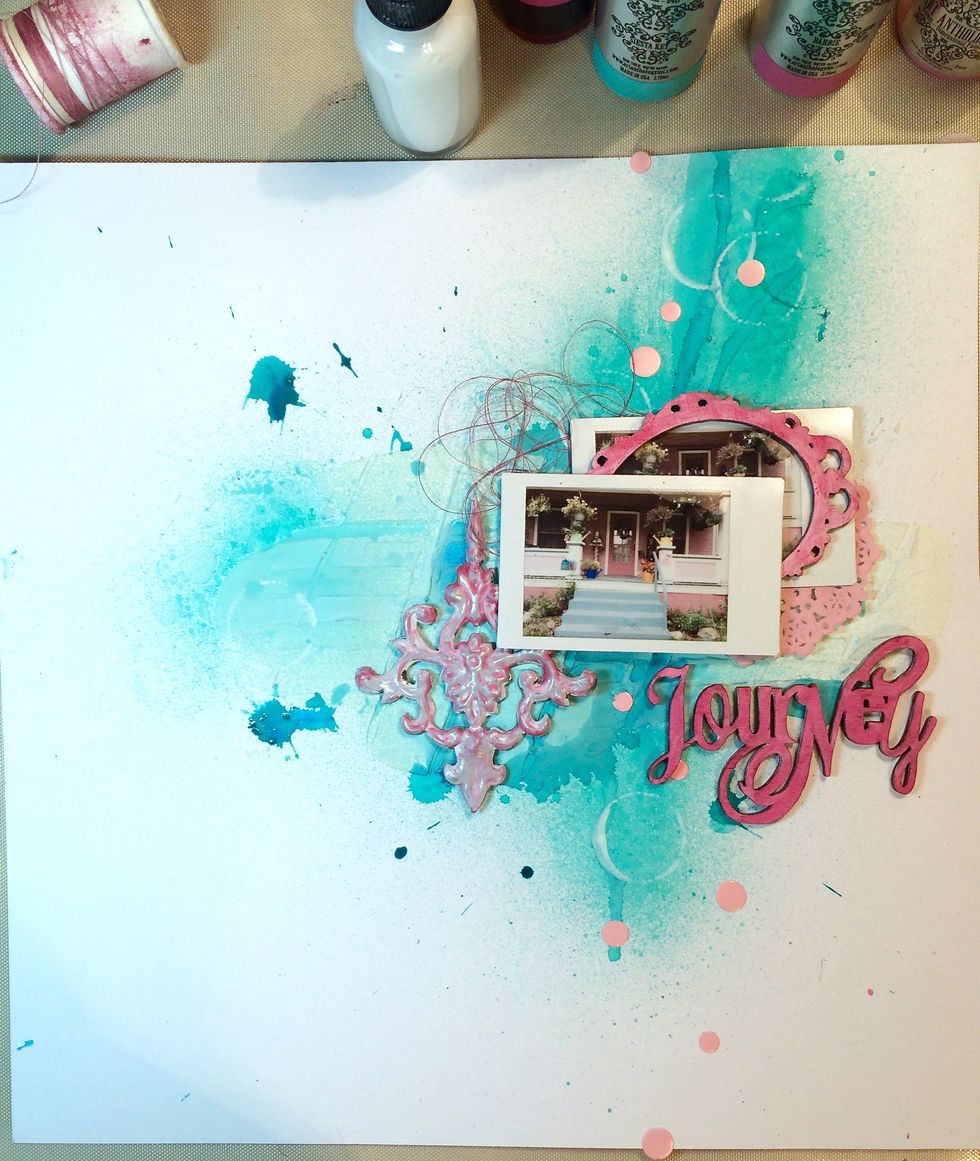
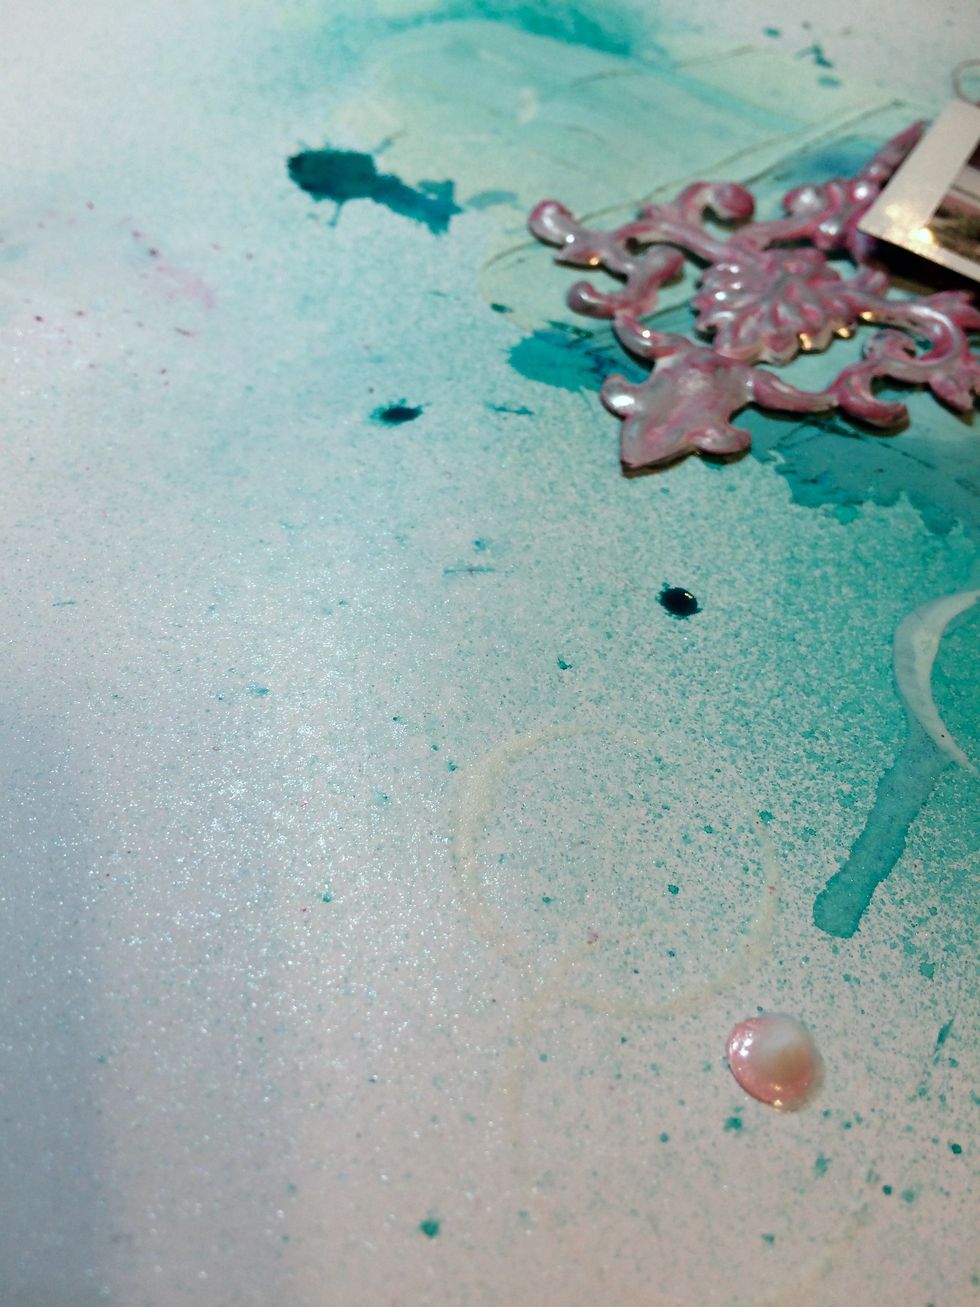
Now, to start laying my elements down.
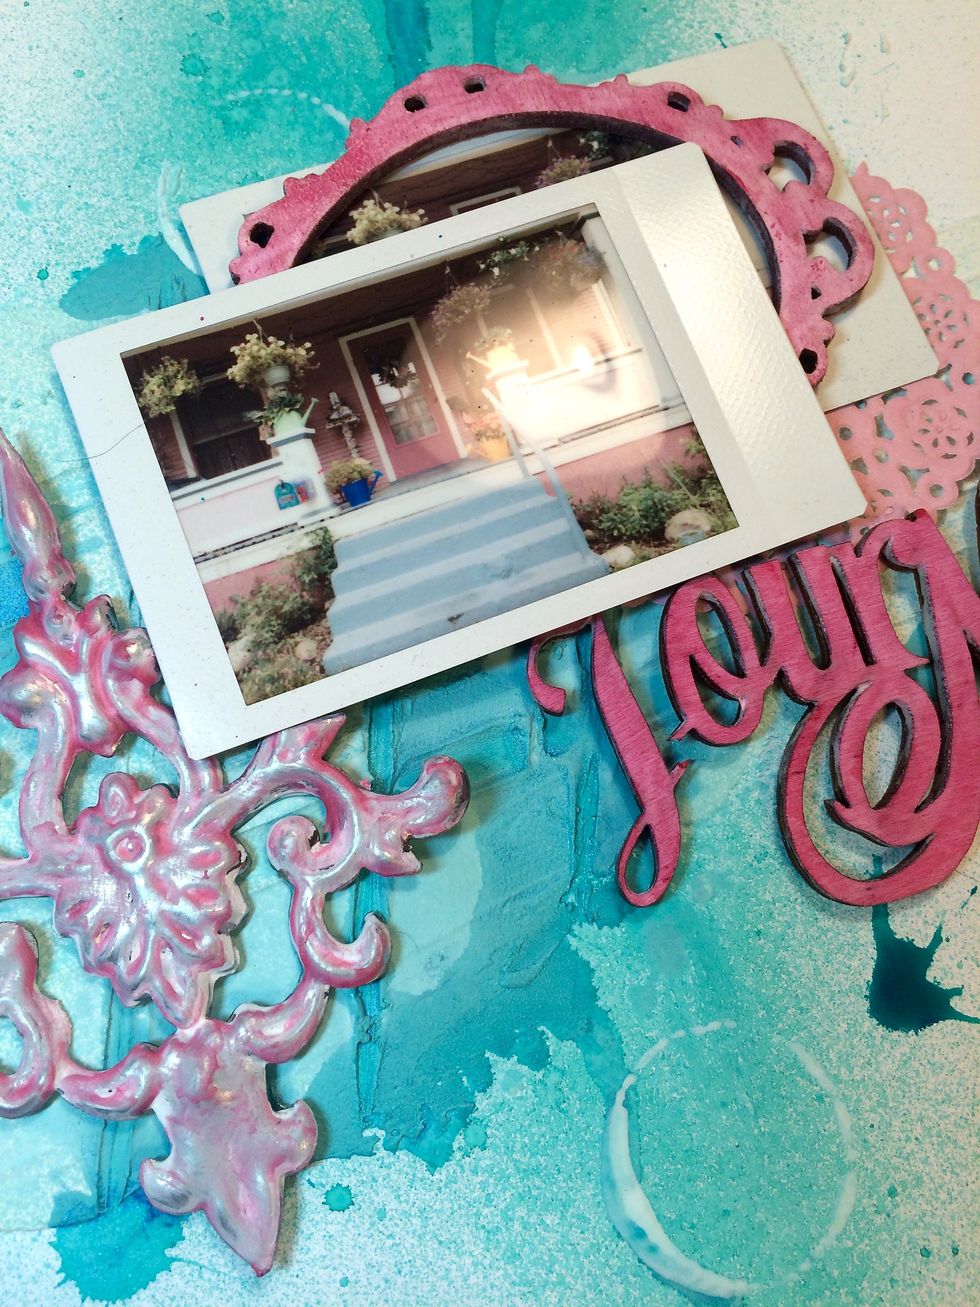
A little adjusting here.
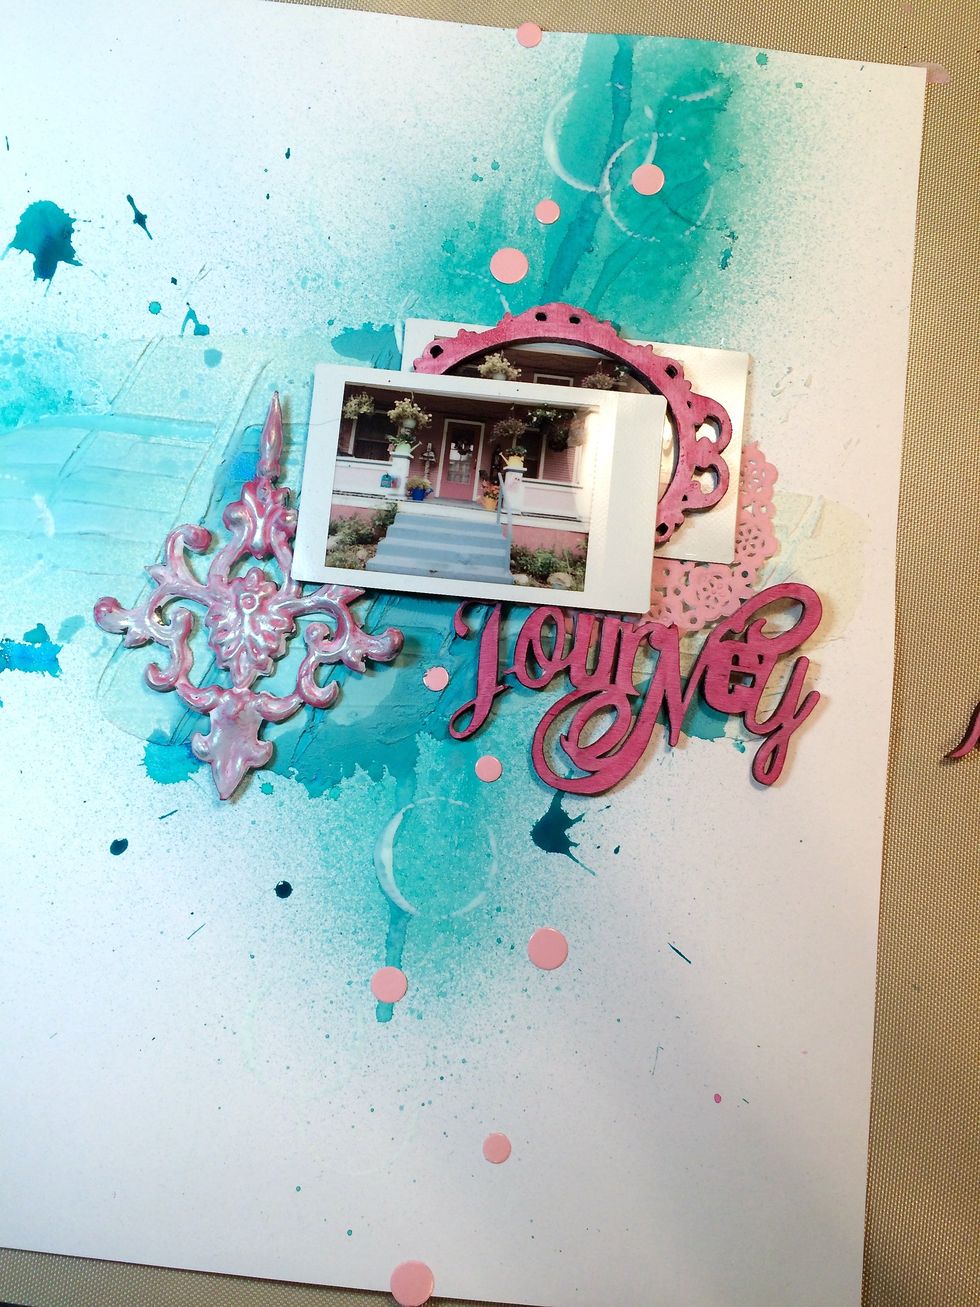
I laid these paper dots onto the page before adhering them.
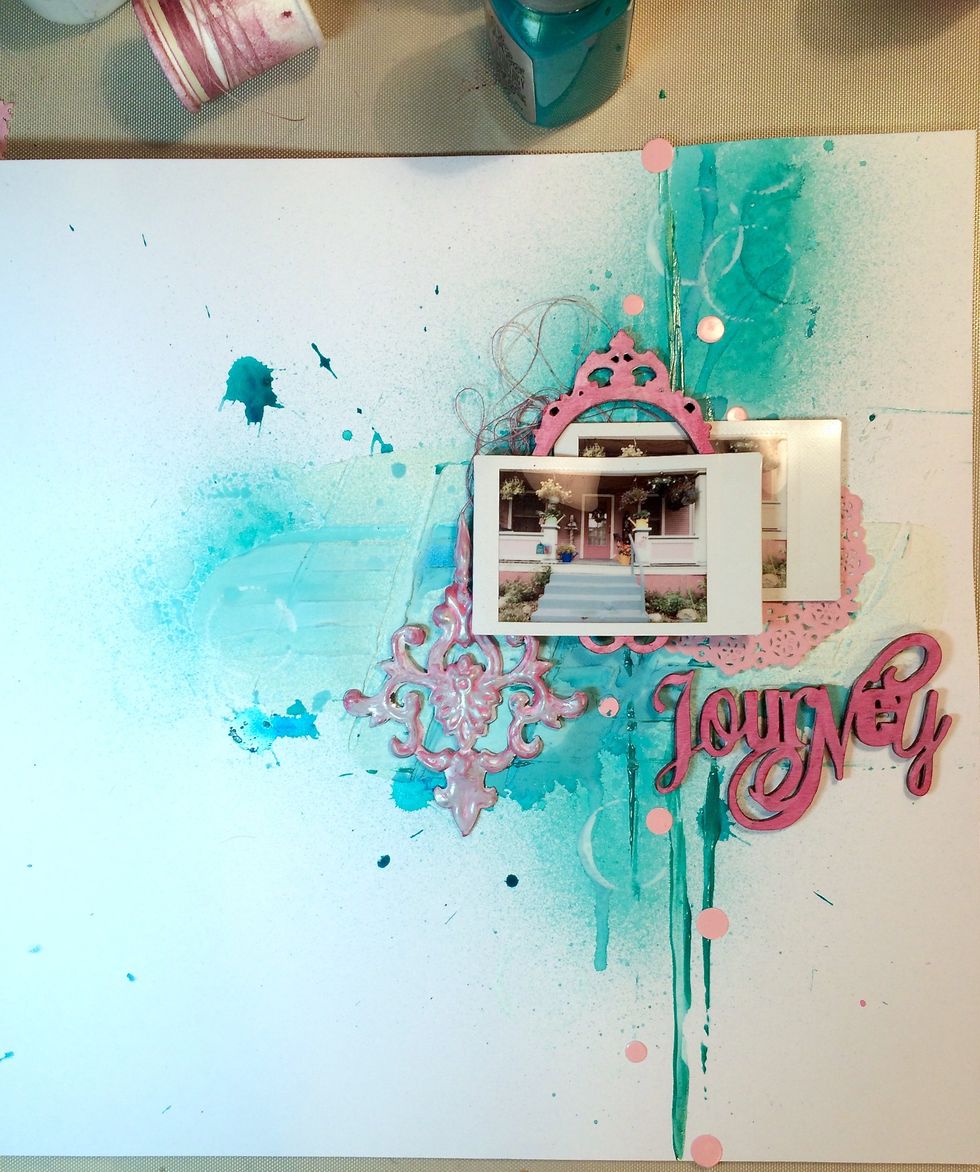
I like to take a photo of my project and take a look at it from the photo to see how it's looking. This is akin to having it up on an easel. And good thing I did.
I see that it's leaning to the right at the upper right portion of the page.

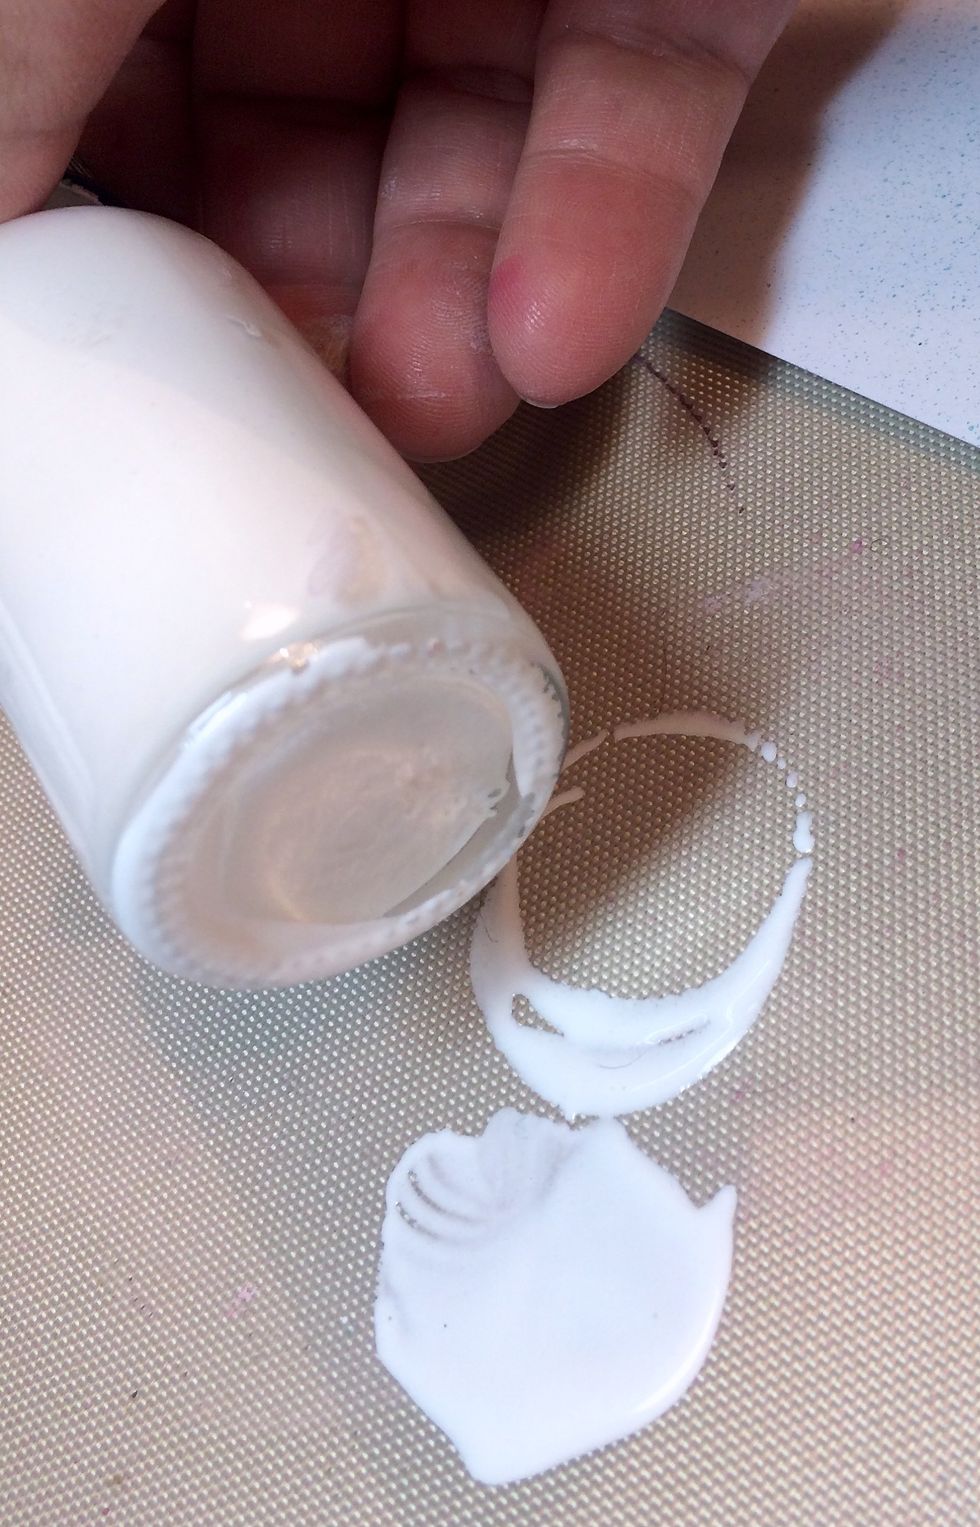
So, I pour a dollop of Cayman Sorbet onto my Craft Mat.
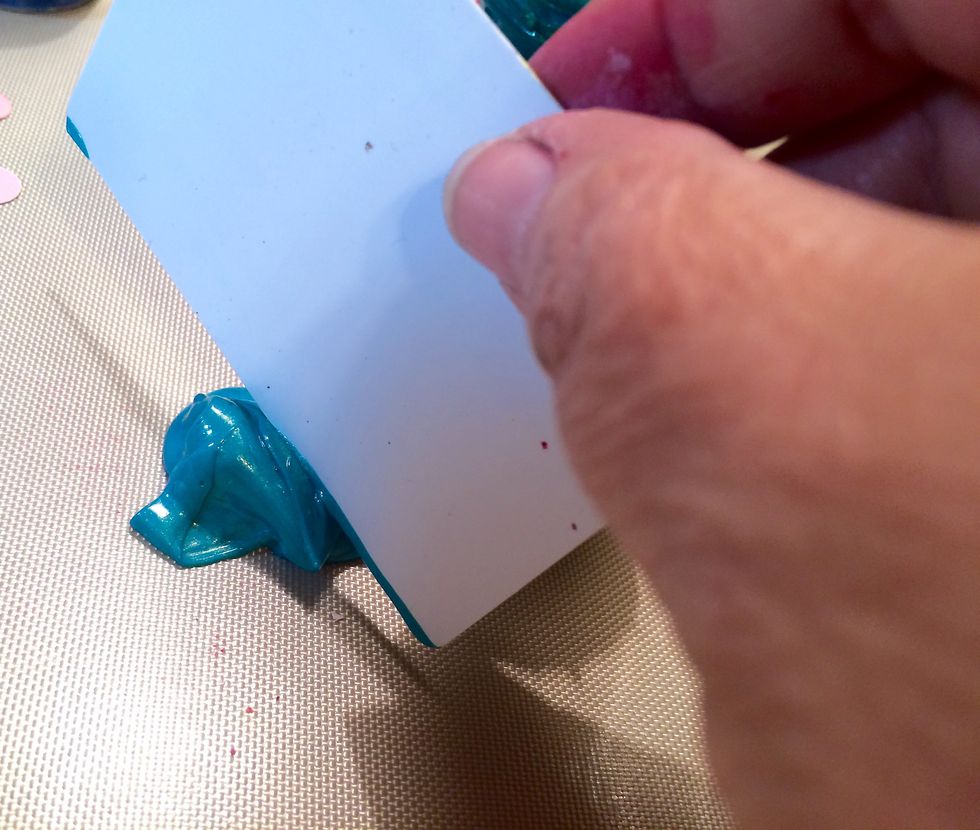
I take a card I've taken out of piece of junk mail and slide it across the Cayman Sorbet.
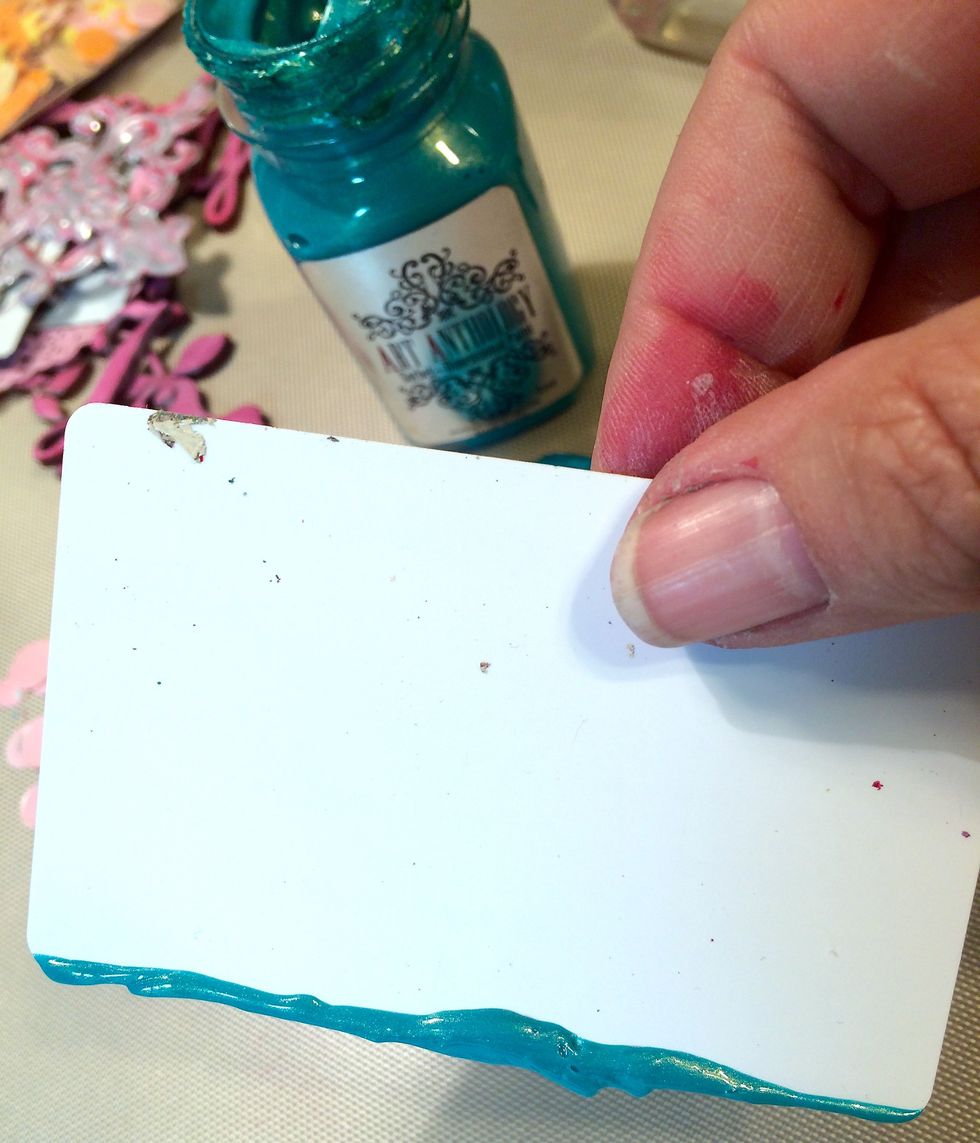
Then, I slide it down the page a few times. Now, it looks more balanced. Don't you think?
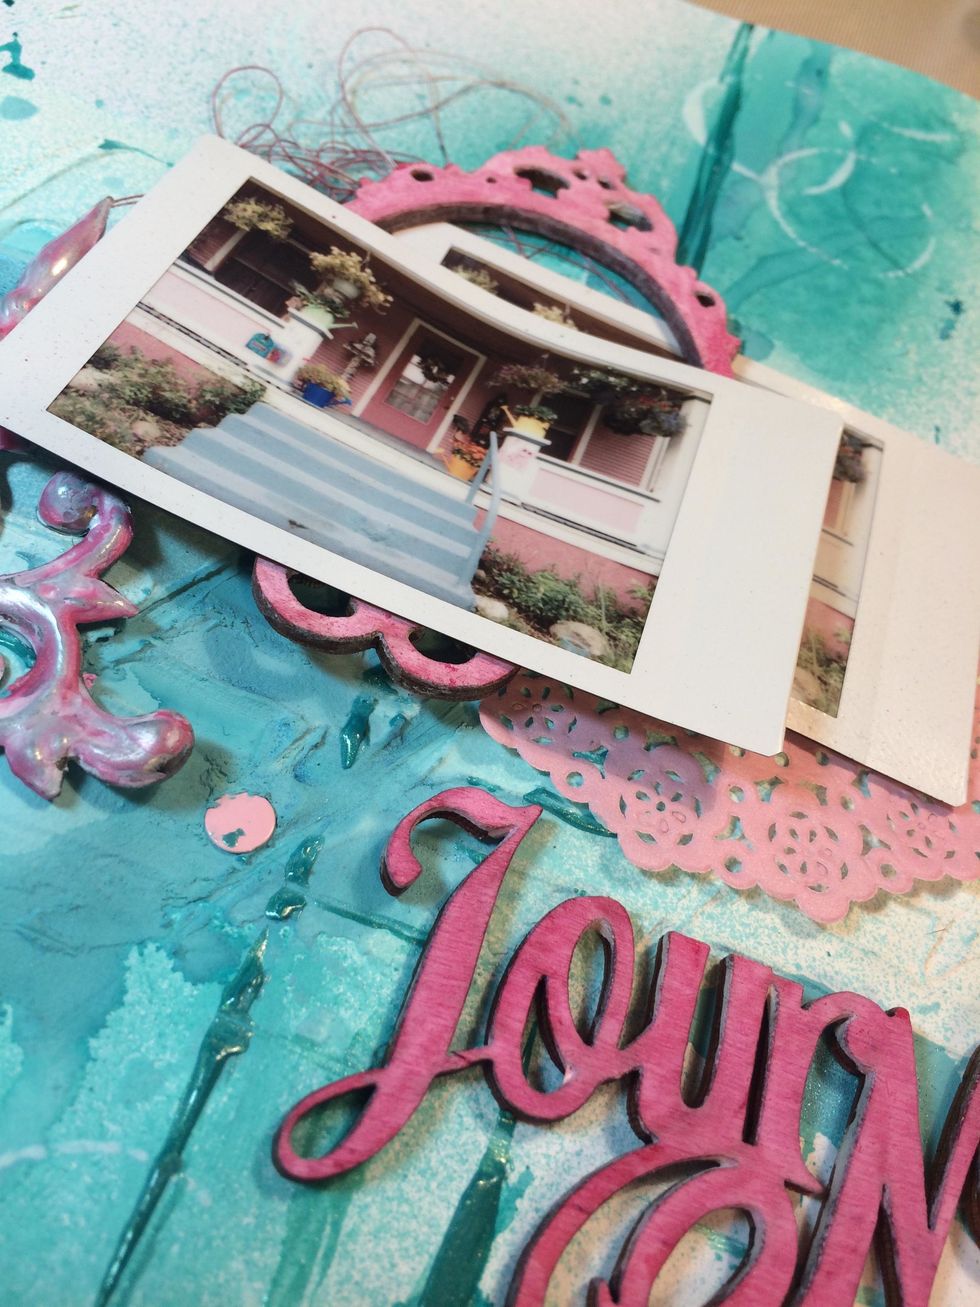
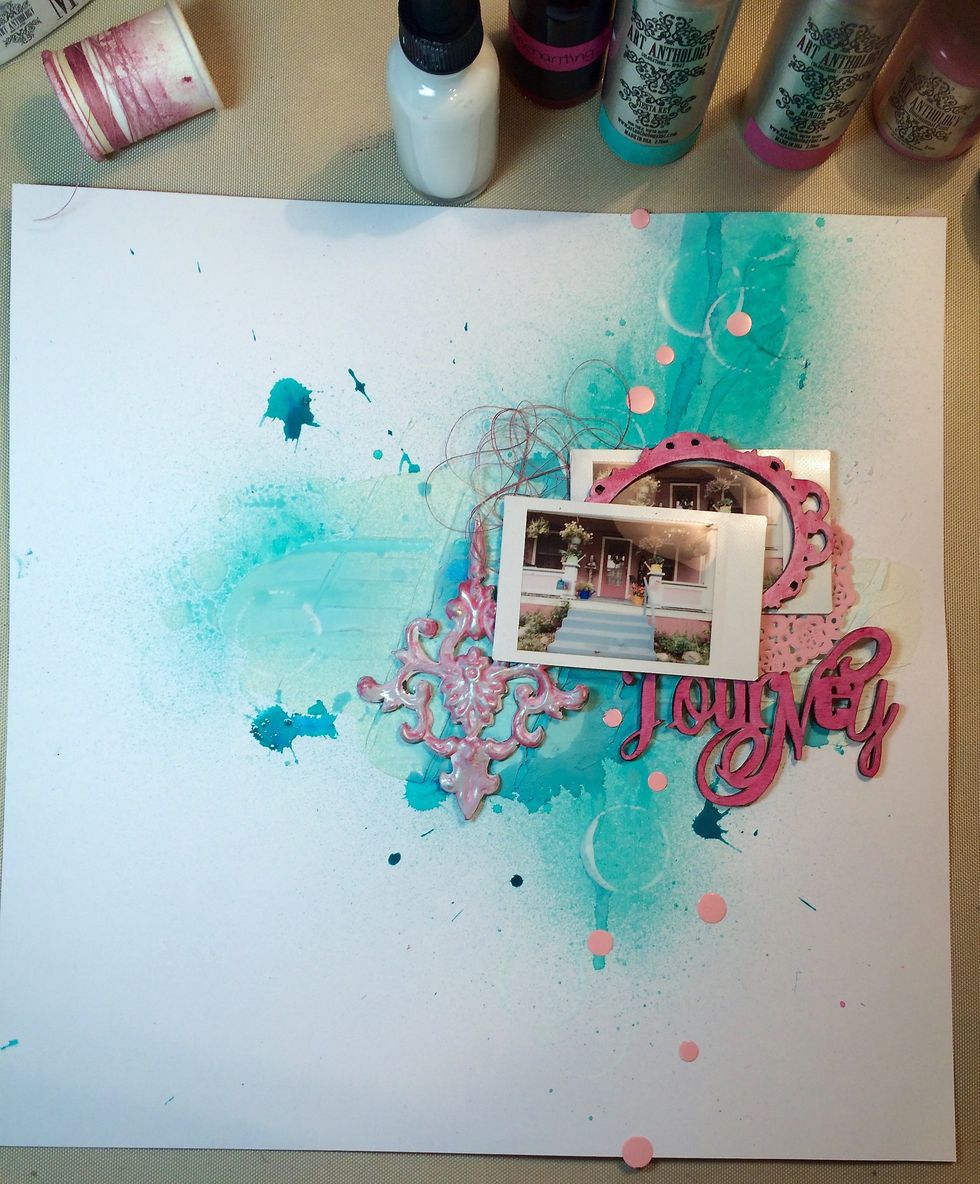
Stacking and layering.
Those pink paper dots look a bit flat. And we can't have FLAT elements. I mean, we're working with DIMENSIONAL medium!
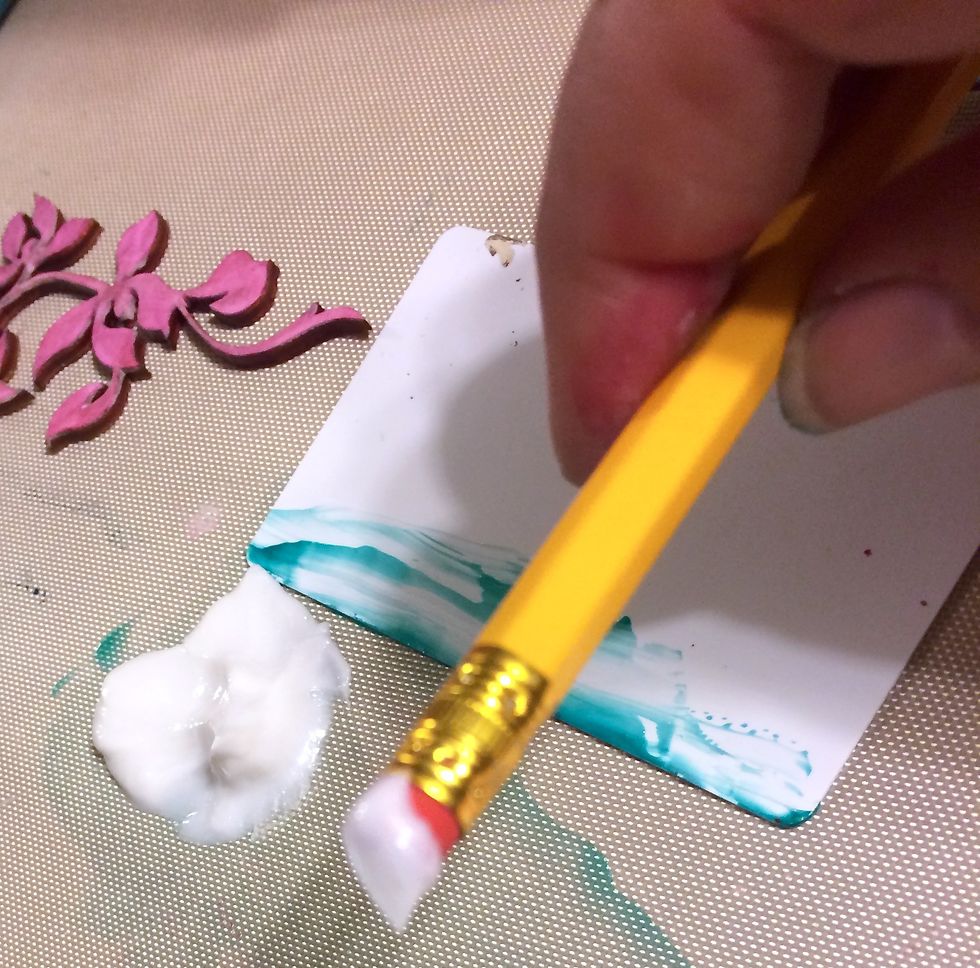
I take the eraser end of a pencil and dip it into Frost Clear Coats.
Then, I dab each dot. Let's see how this look when it's dry.
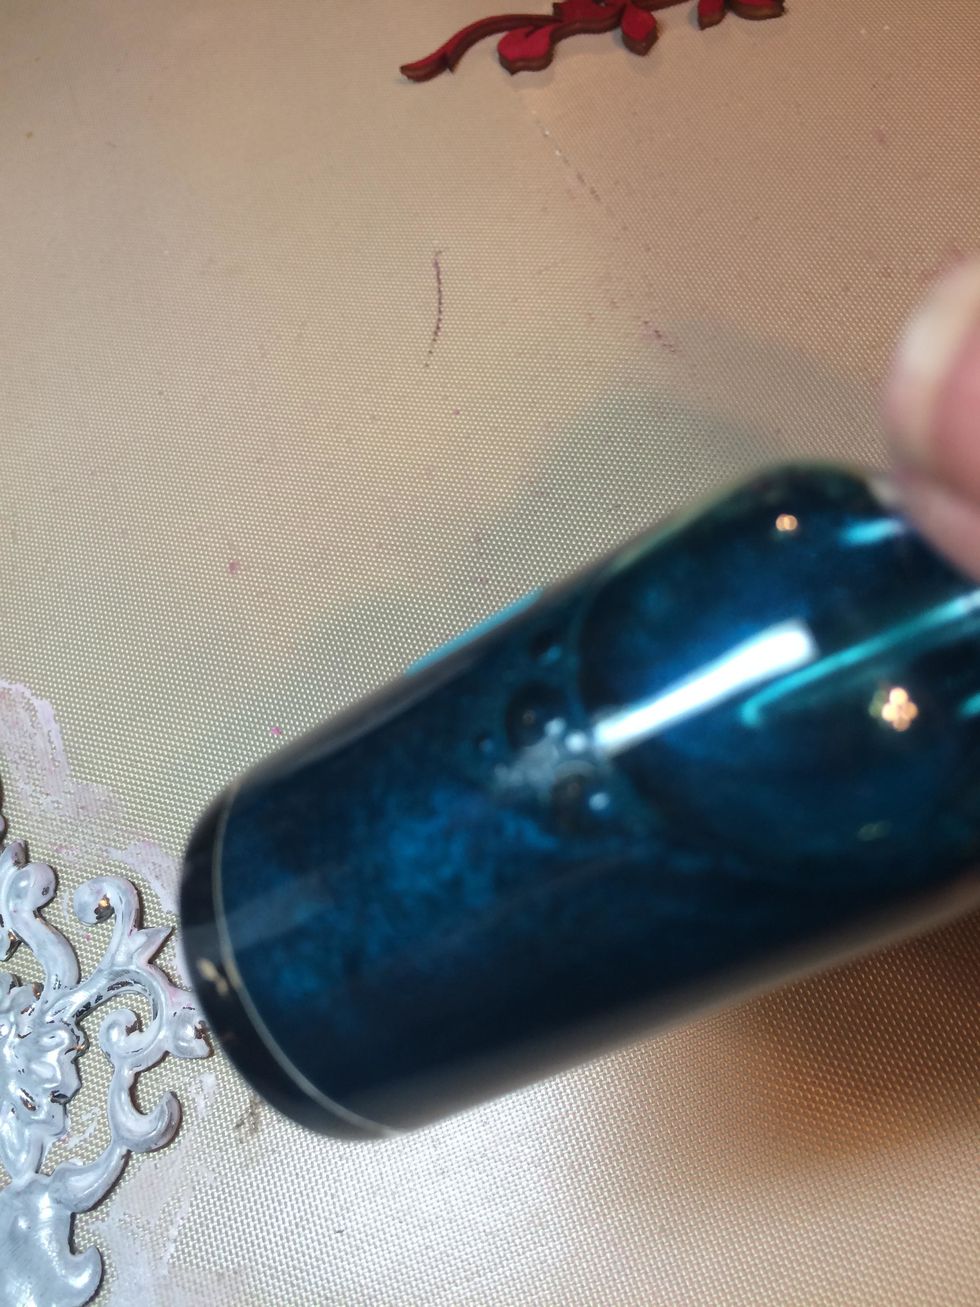
I, also, need a bit more shimmer to the layout, so I spray the Ice Fairy Dust Spray randomly onto the page.
To give MORE balance to the page, I place a piece of cardstock to the bottom left of the page. But, it doesn't EXACTLY match. What to do? What to do?
Easy, Peasy! I'll just paint it with Cayman Sorbet! Genius! (If I do say so, myself.)
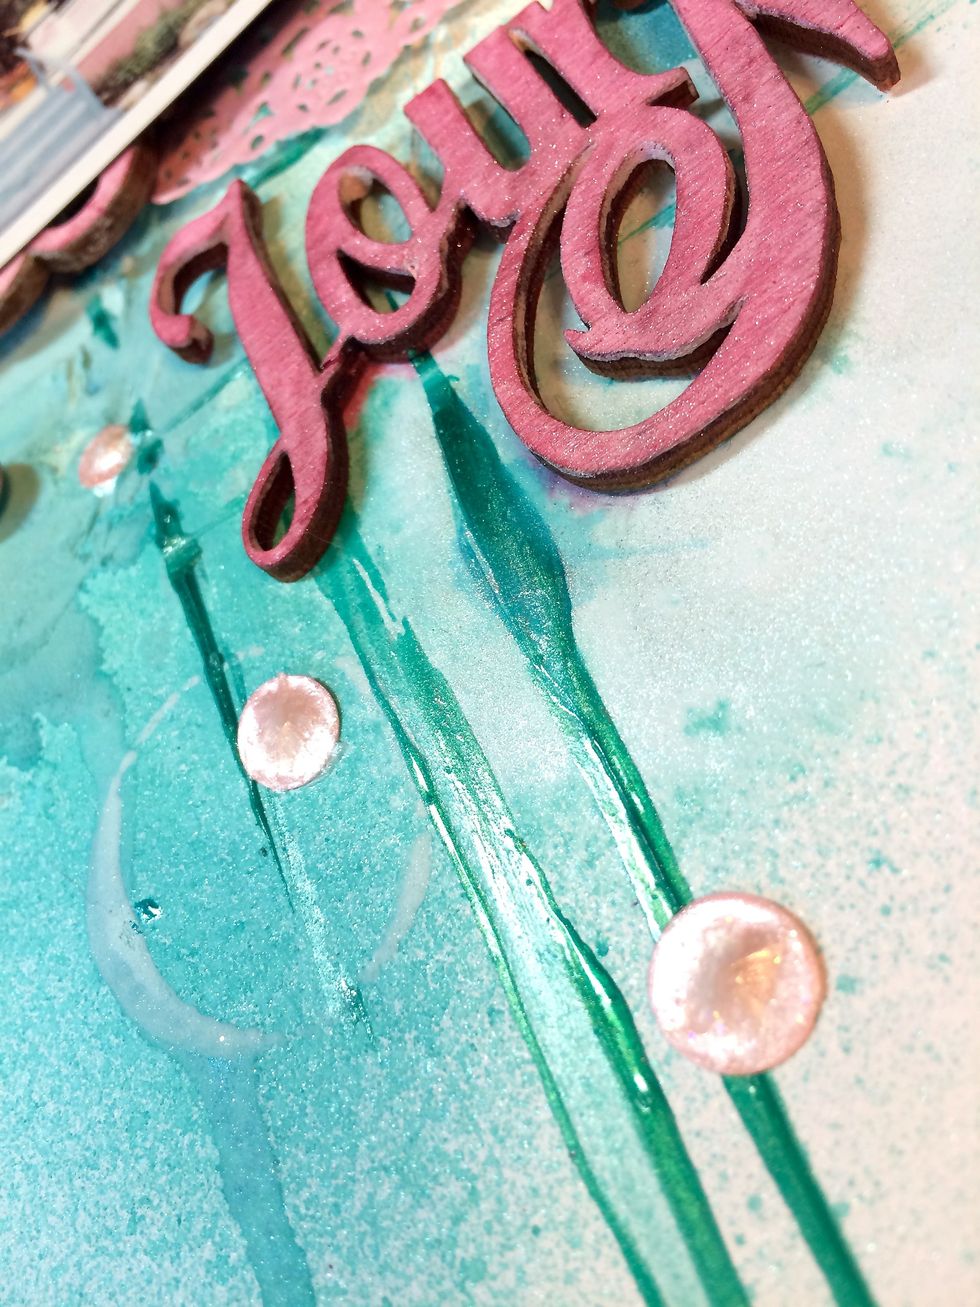
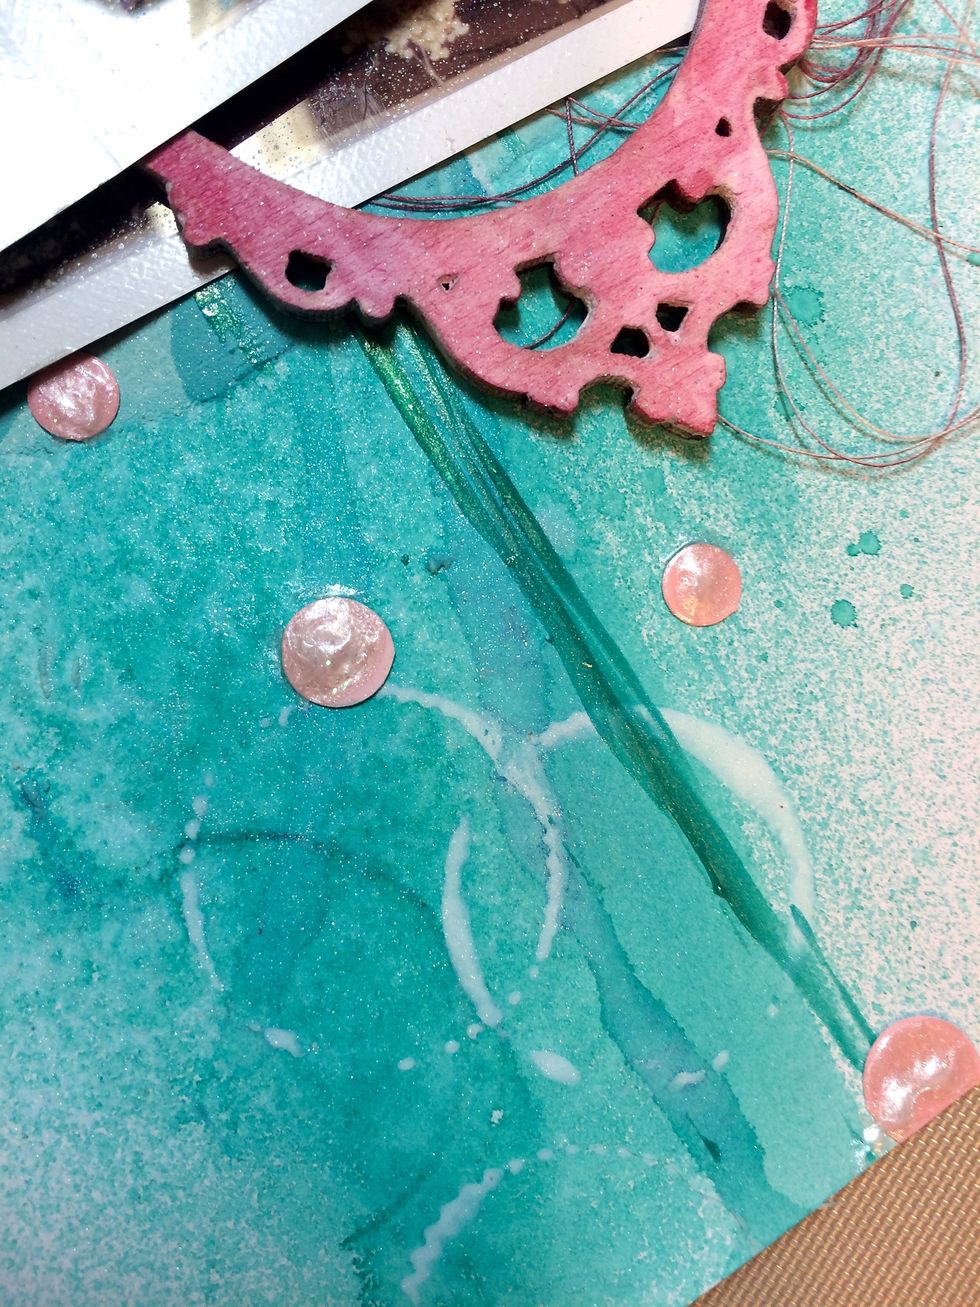
Here are those flat pink circles but now they are dimensional and sparkly because I put some Frost Clear Coats on them.
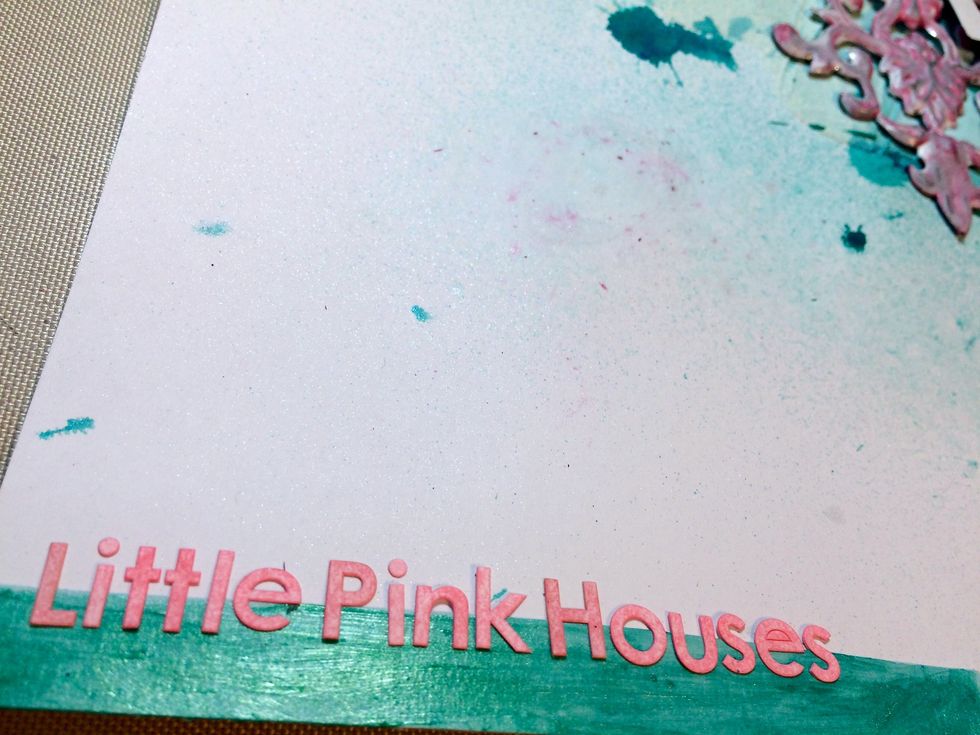
Finally, the title. "Little Pink Houses"
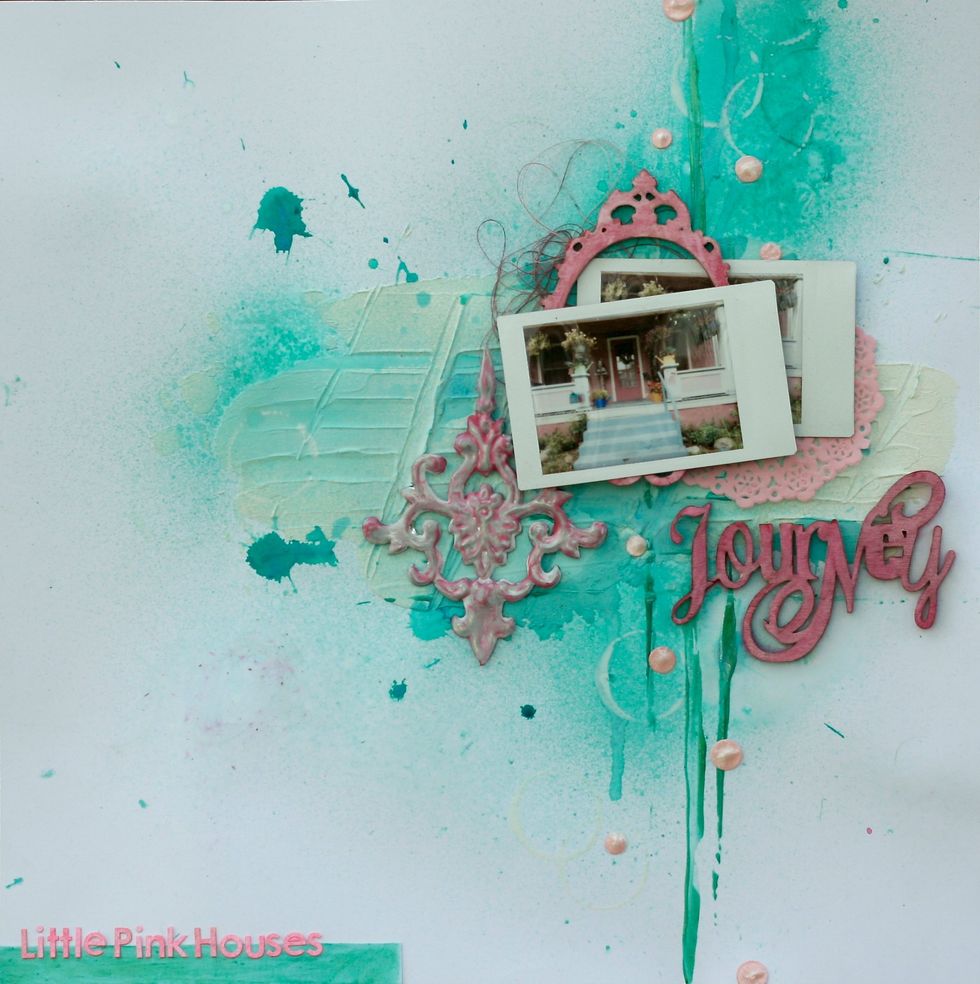
Here is the full, completed layout. Thank you for hanging out with me as I created this fun piece.
Until next time...