The Conversation (0)
Sign Up
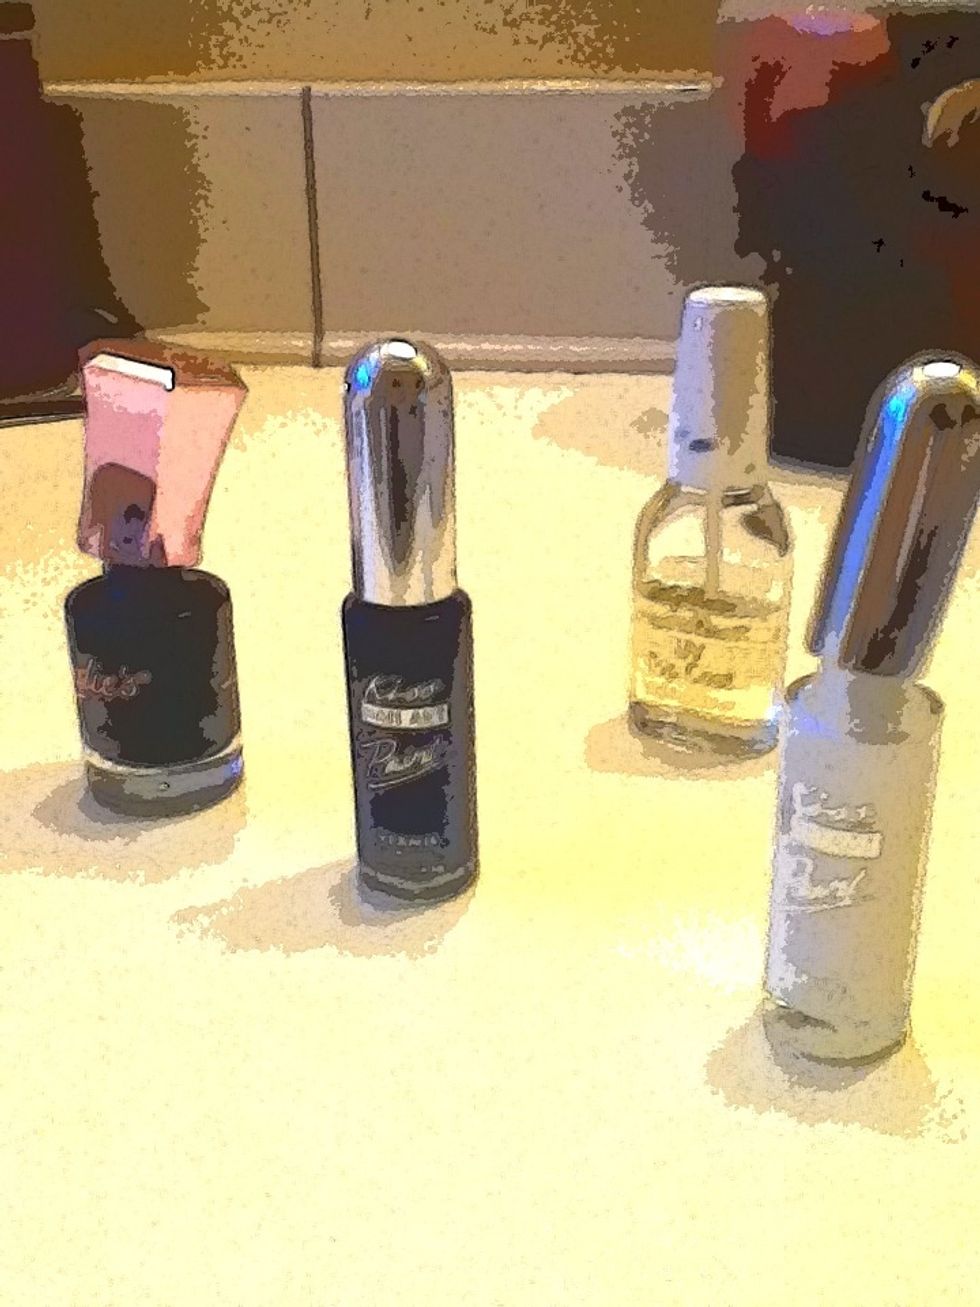
These are my polishes. I used Candie's Royal Navy, Kiss Nail Art Paint in White and Sparkly Dark Blue, and Sally Hansen's Hard As Nails UV Top Coat.
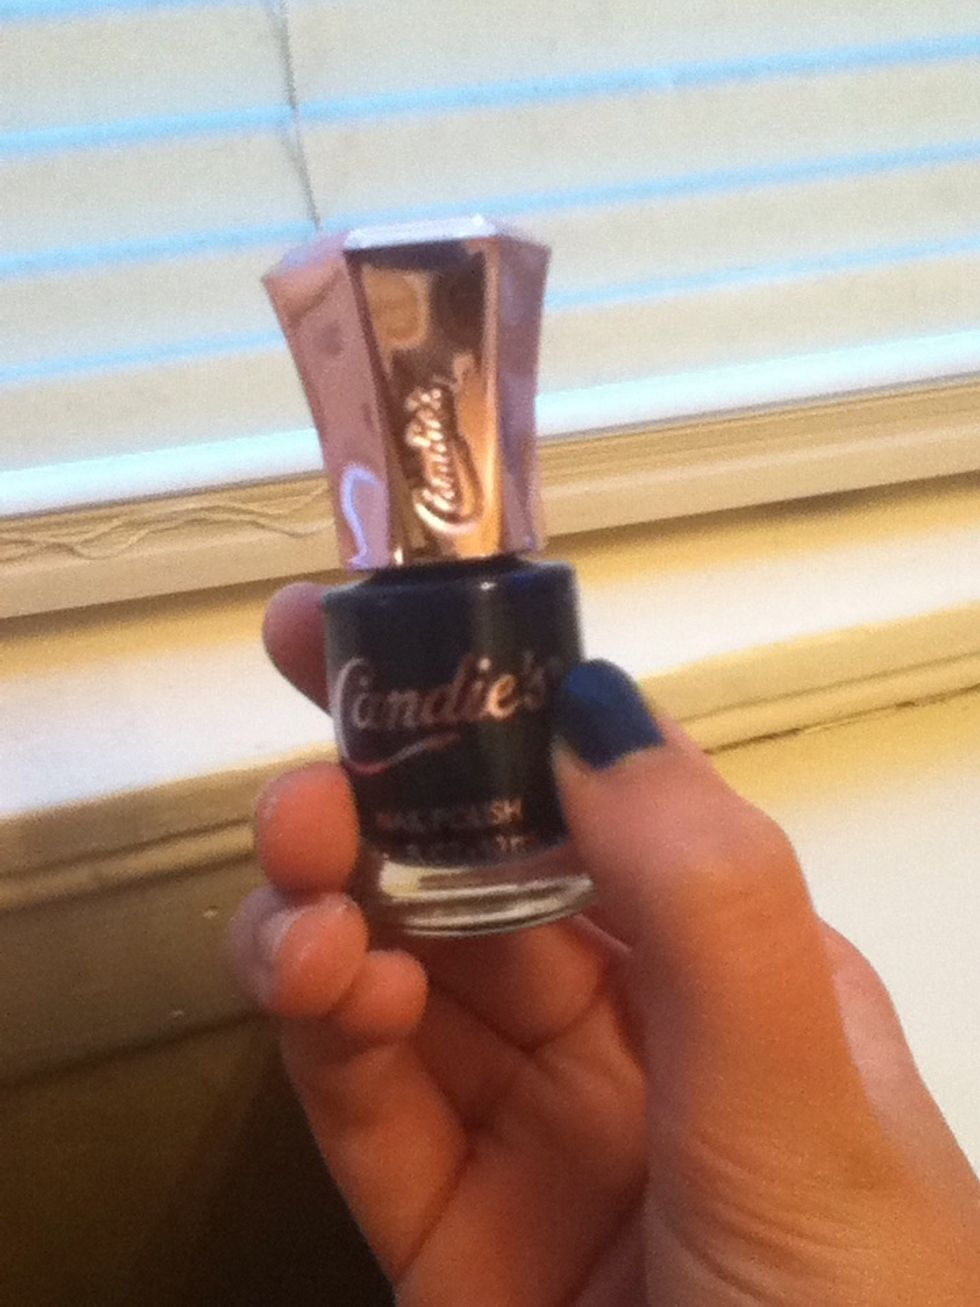
We start with a base polish. I used a dark, iridescent blue, but you could also use black or gray. This is going to be your night sky.
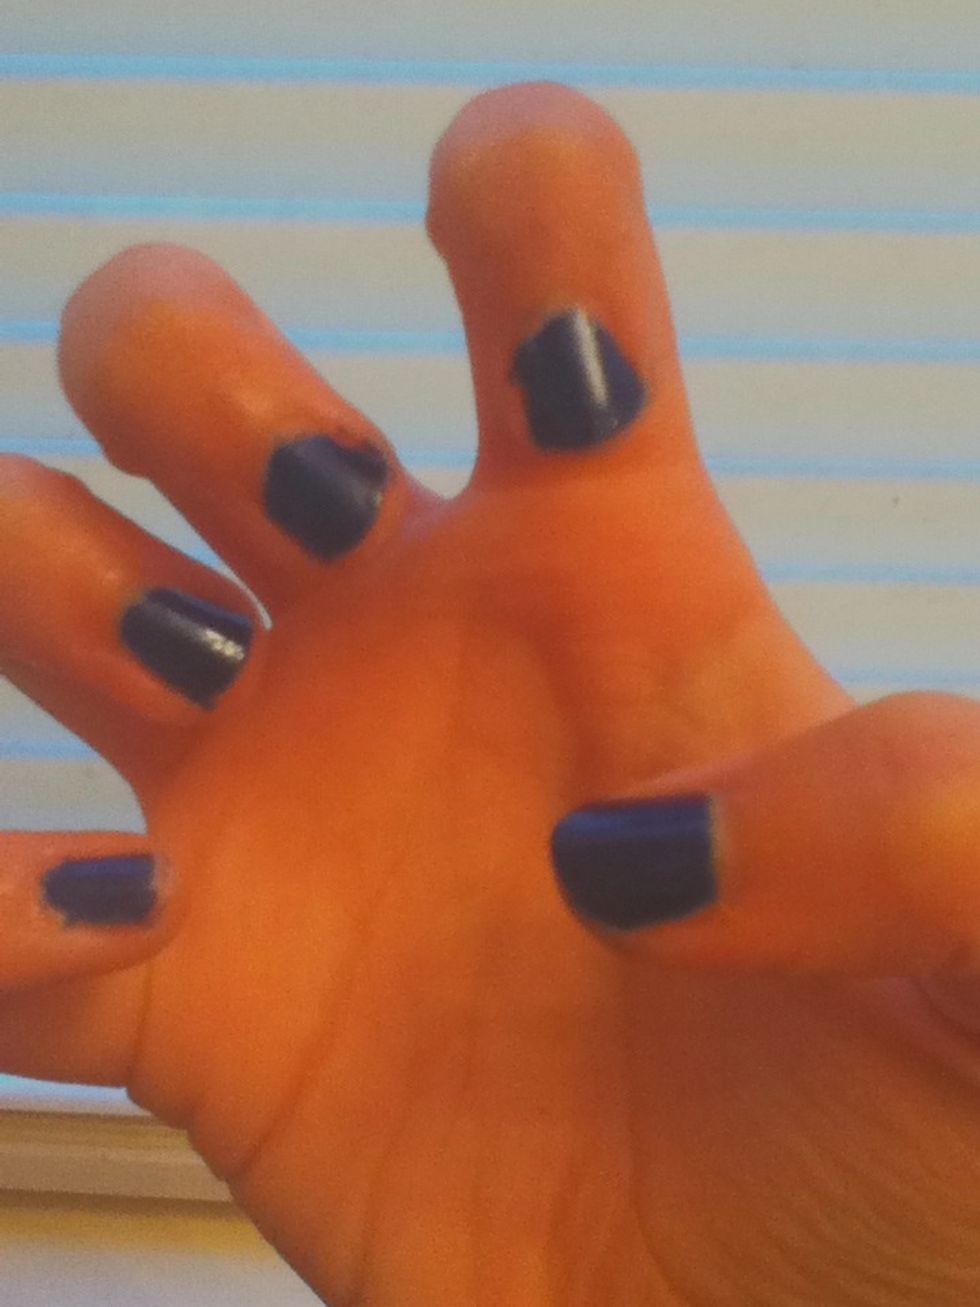
Give your nails a nice, even coat. You can always use the Q-tips and remover to touch the polish up. (Mine are a little messy.)

We start with our thumb, which will house our spooky little ghost. You could put it on any or all of your nails, but I used the thumb so I would have more room.
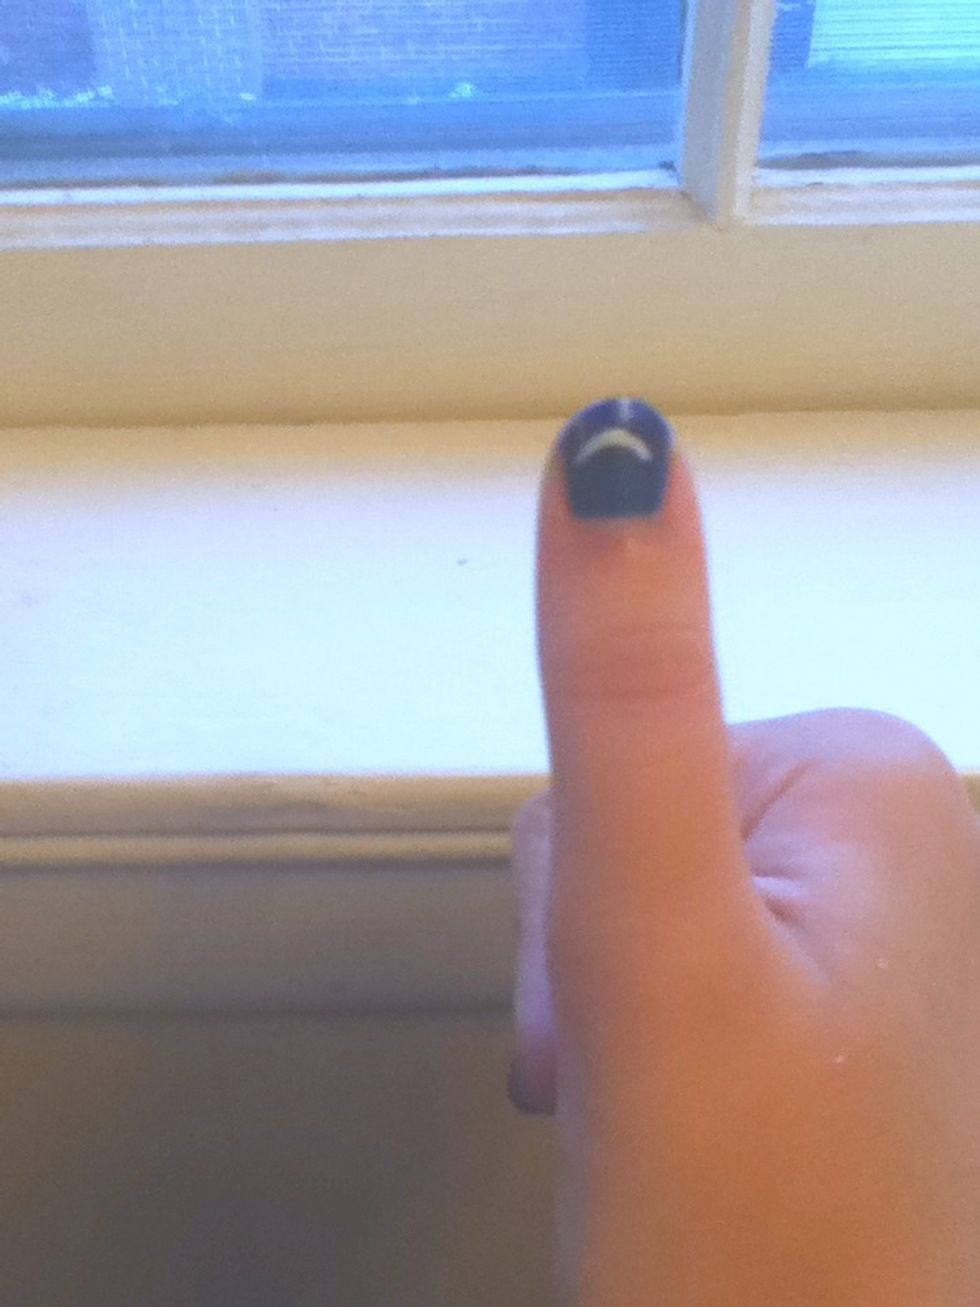
First, draw a crescent shape with the white polish. This will be the top of the ghost. I use a nail art brush. It makes things easier.
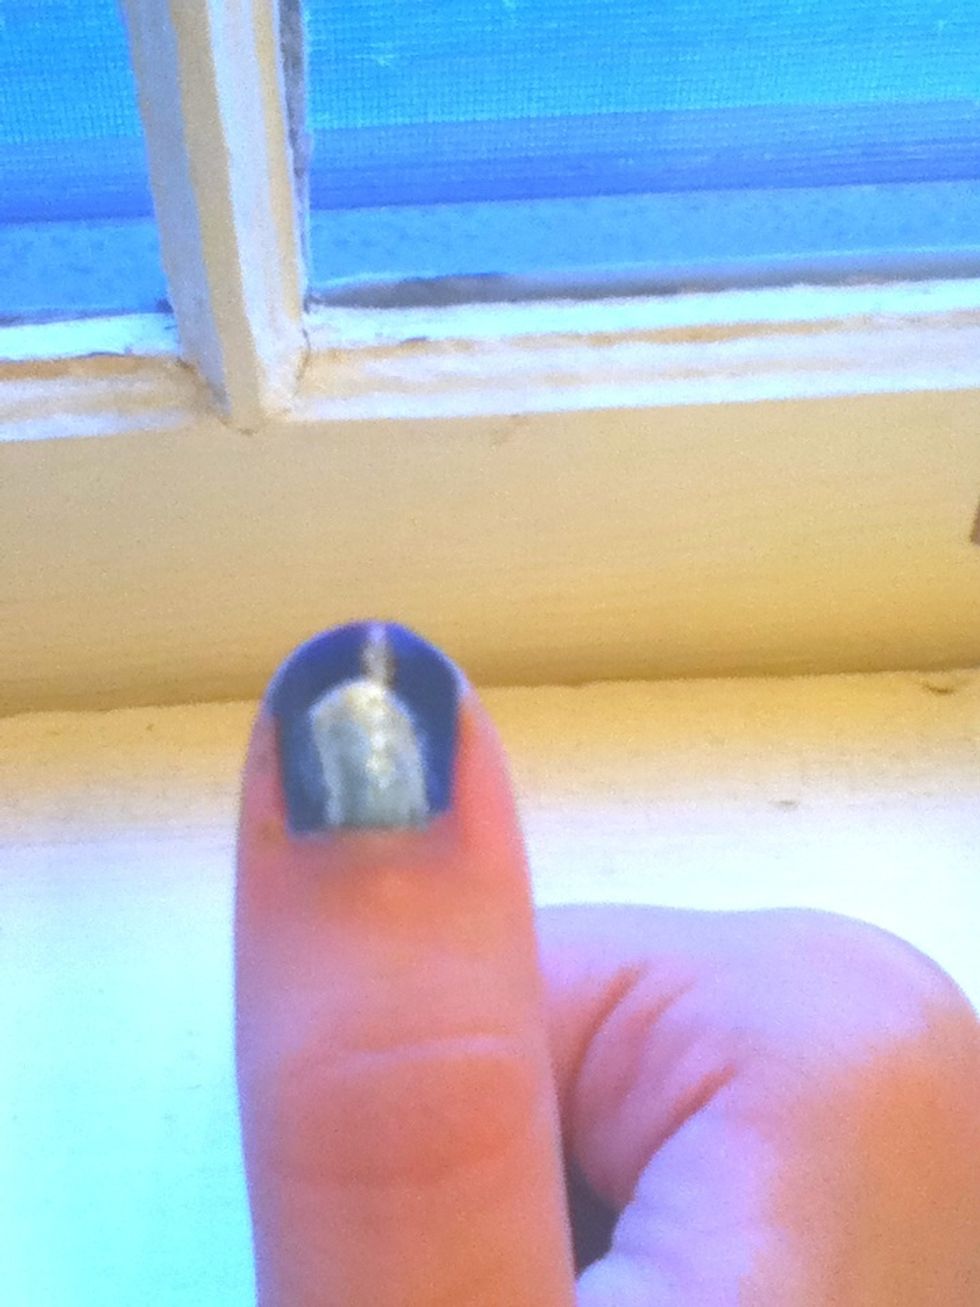
Next, we draw lines running down from the crescent on either side and fill in our ghost. It can always be touched up. I used the paint brush to create smooth edges, as my hands always seem to shake.
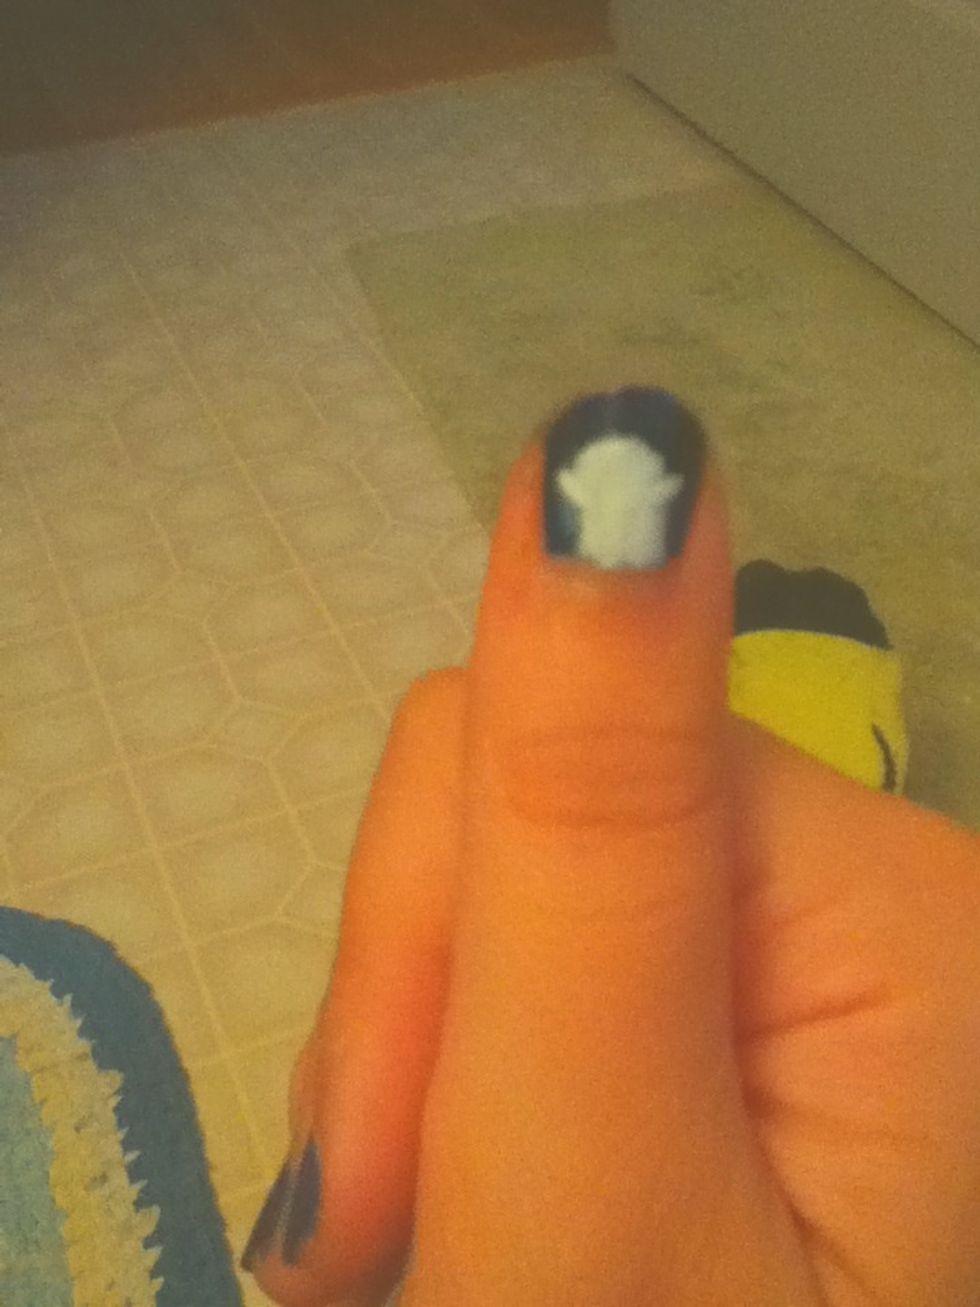
To add a little character, I added "scary" arms. Also, I added another coat to the body with the white polish so that it would be whiter.
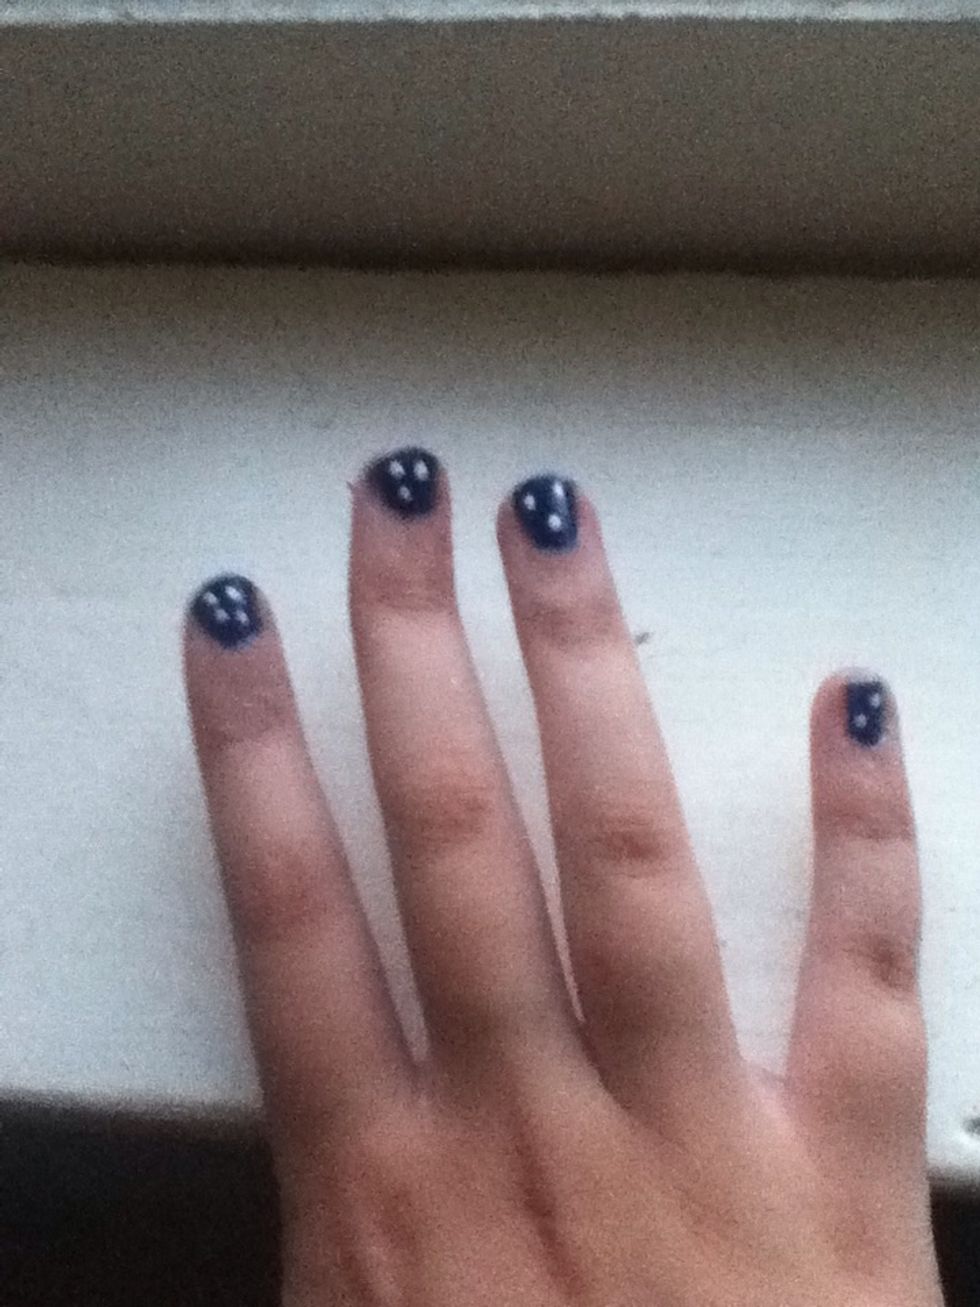
While that dries, take the time to add dots to your other free nails. These could represent stars, ghost faces, or whatever you like. Don't be afraid to make each nail different.
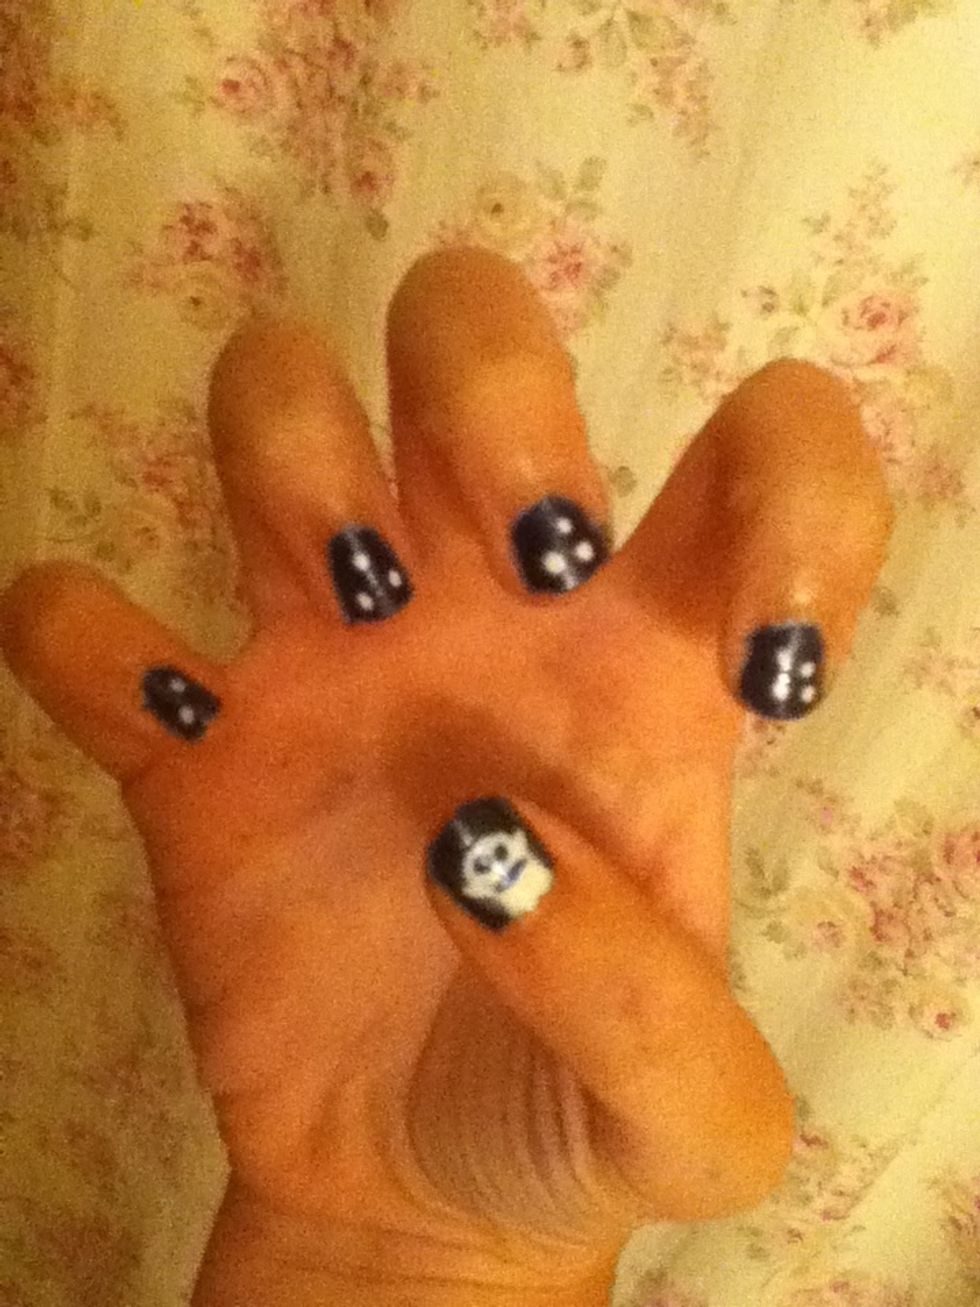
When all of your fingers dry, you should have something like this. We're not done yet though!
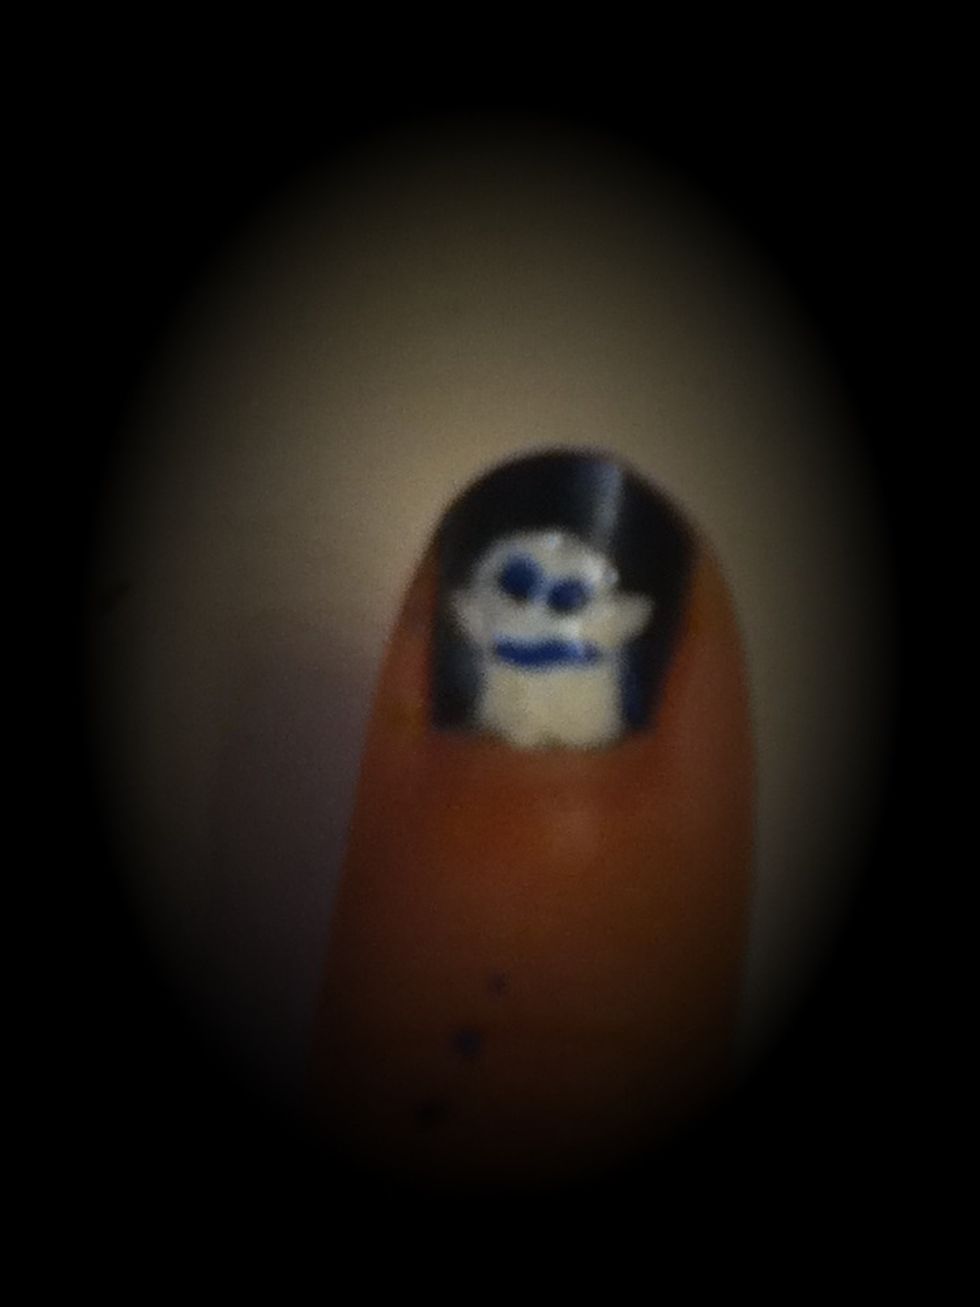
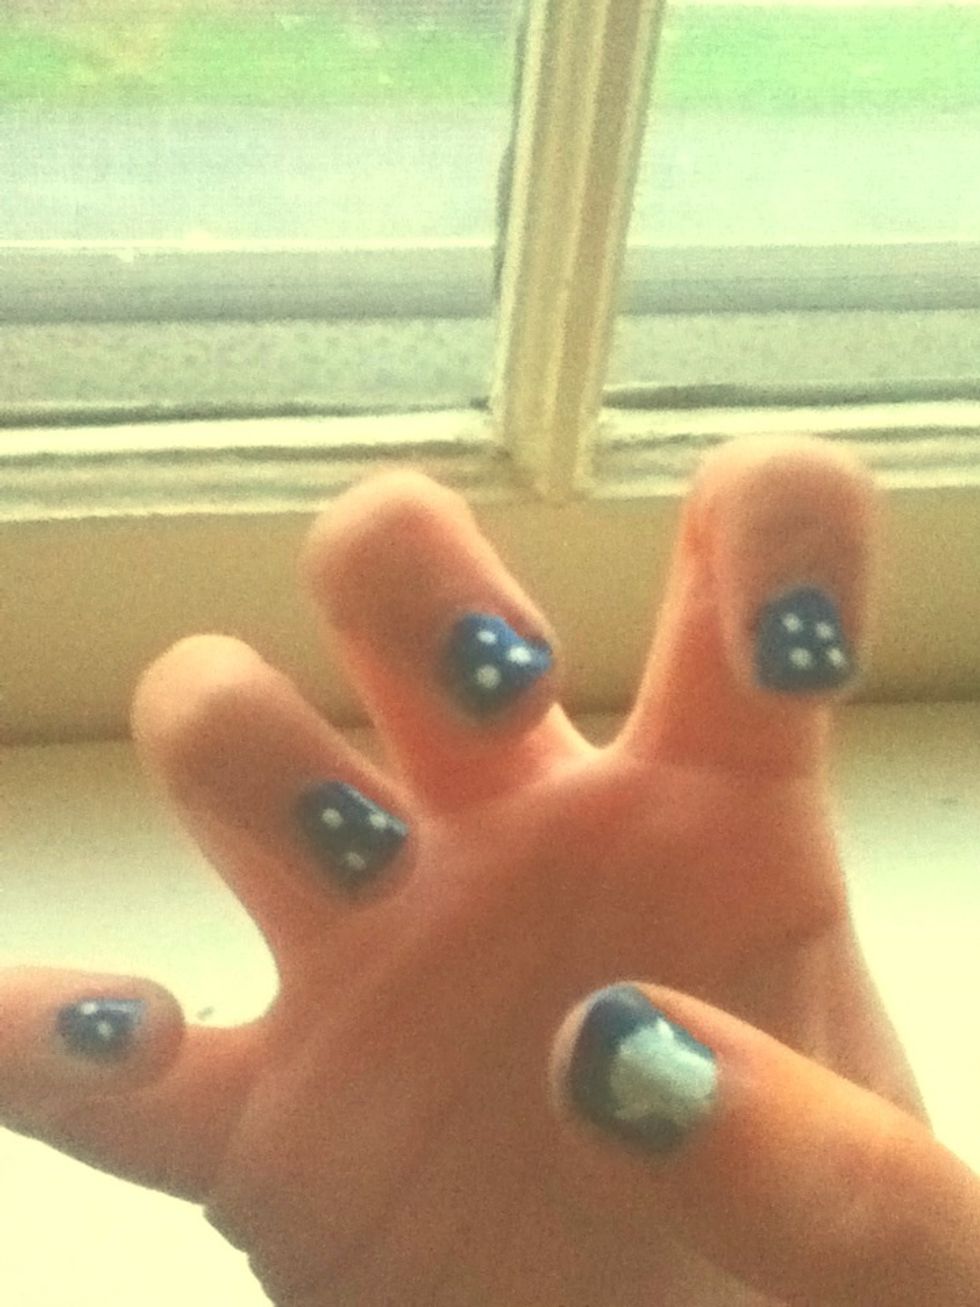
Draw a face on your little ghost for some added cuteness. Mine is a bit mad, but it could have any expression. Uneven faces are very cute as well.
Once everything is dry, put on a protective topcoat to seal in your design. I hope you had fun! :D