The Conversation (0)
Sign Up
Before painting, make sure to file, shape, and apply a good cuticle cream. Start with a protective base coat! :)
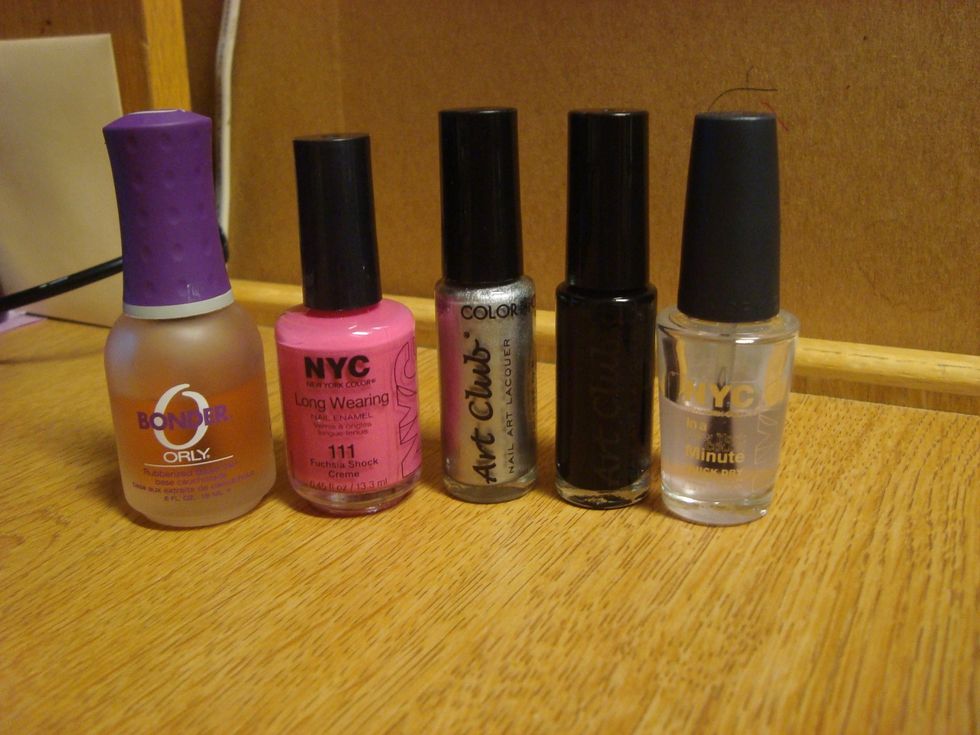
Here's what you'll need. :)

After applying a base coat, paint on two coats of your polish color.
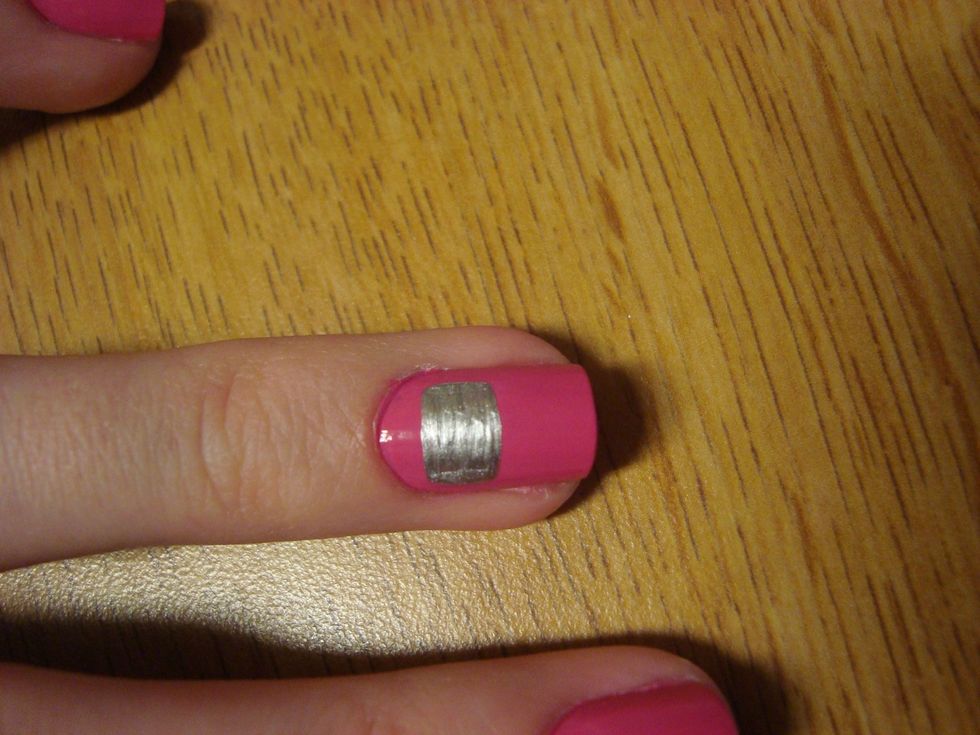
Starting at the top of your nail, take your silver striper and make a rectangle.

Add a plus sign to the left side in black. This is your direction button. (I don't know a better way to put this, sorry!)

Make two dashes with black towards the bottom. These are your "start" and "select" buttons.
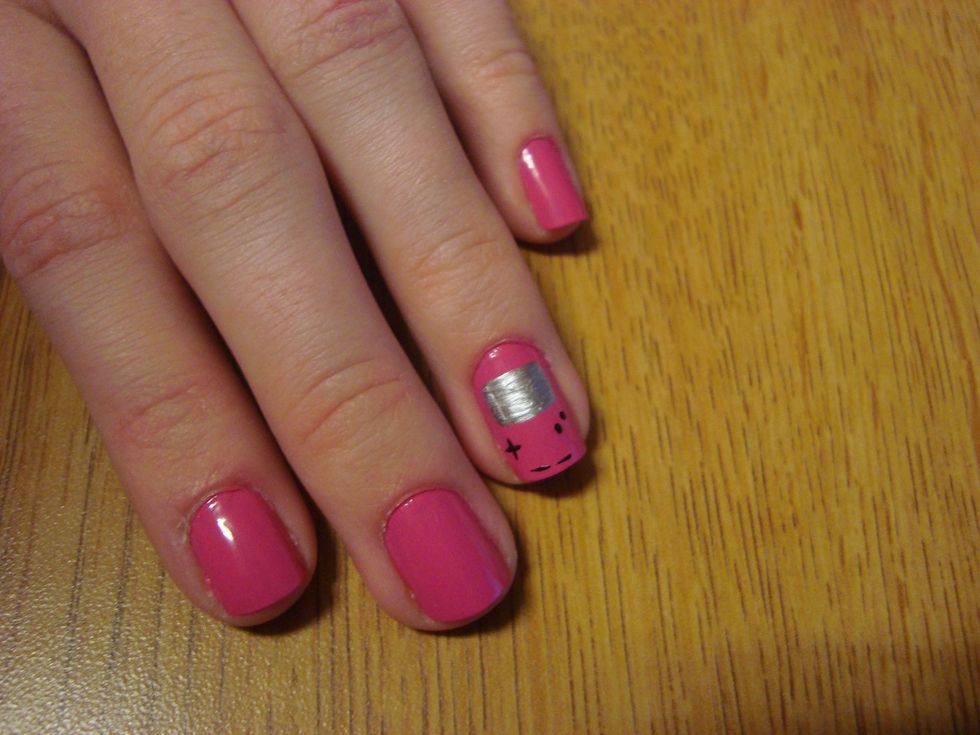
Make two small black dots on the right side, giving you your "A" and "B" buttons. And tada! You've got a Gameboy on your nails. ;)