The Conversation (0)
Sign Up
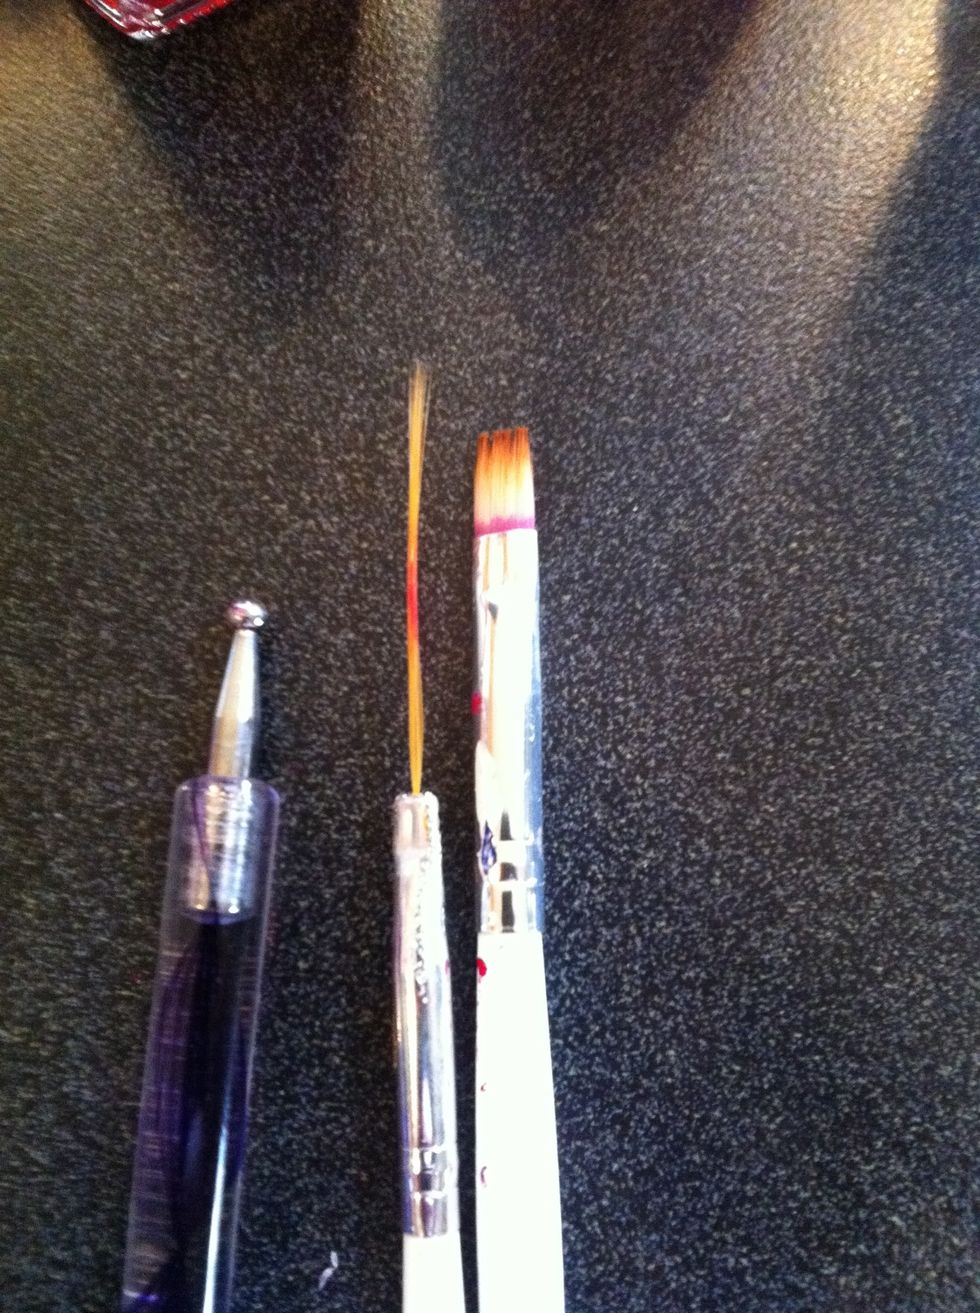
Tools used in this manicure
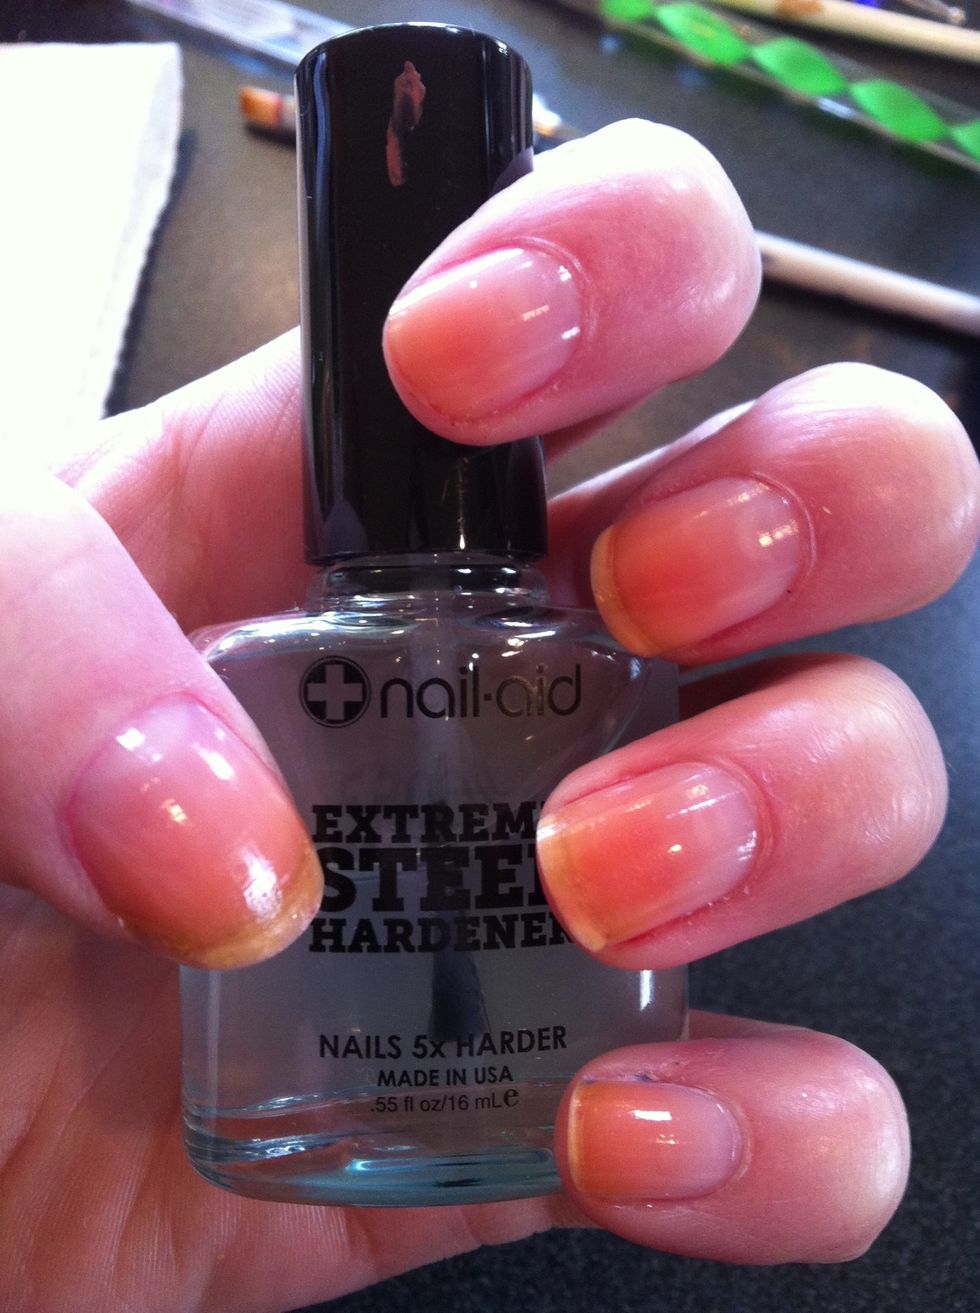
Start by priming your nails with a base coat. I usually use a nail strengthener.
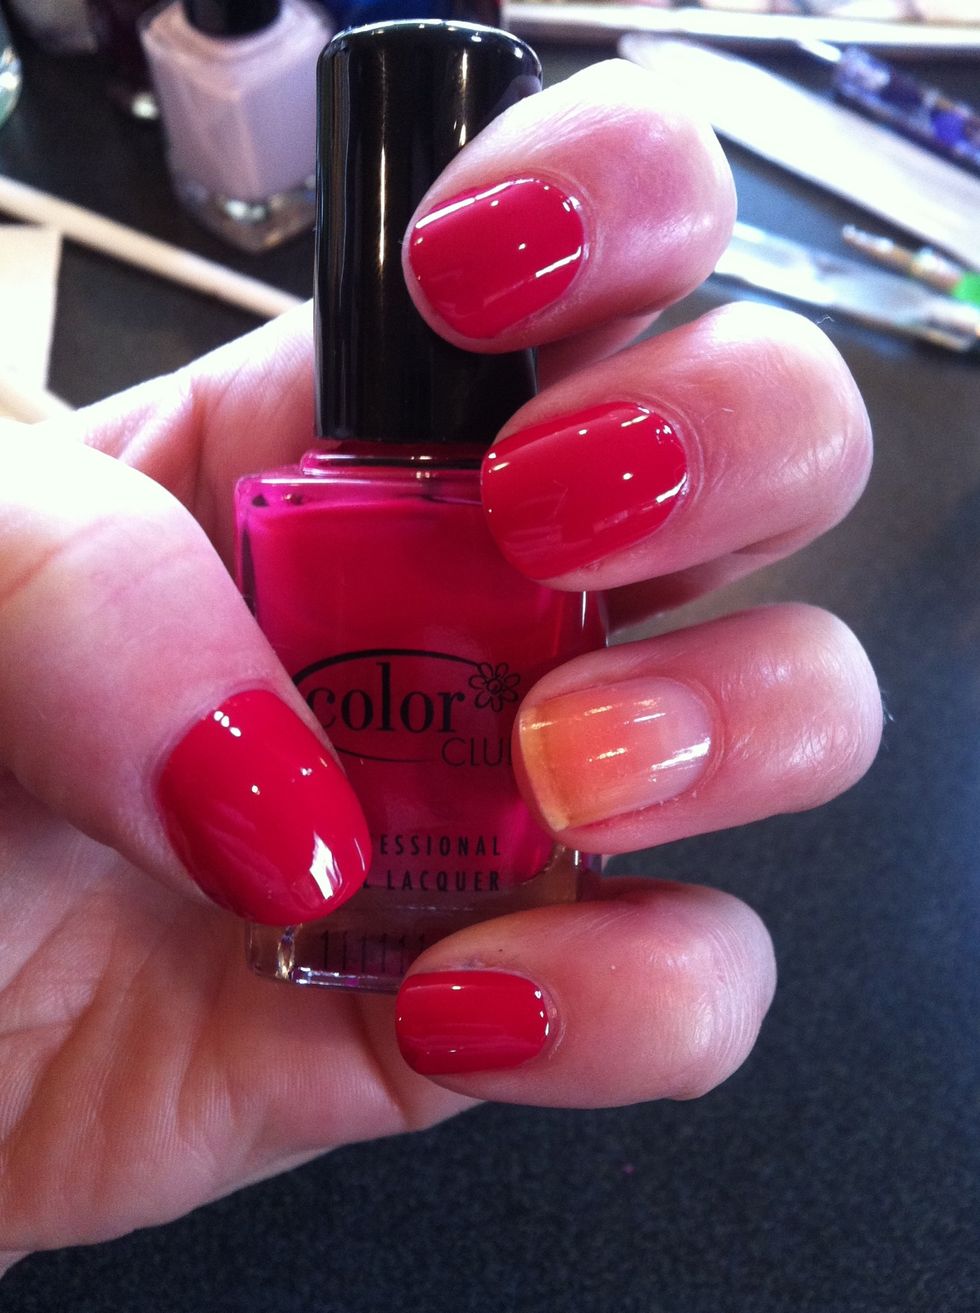
Paint all but your ring finger with two coats of the primary polish you chose.
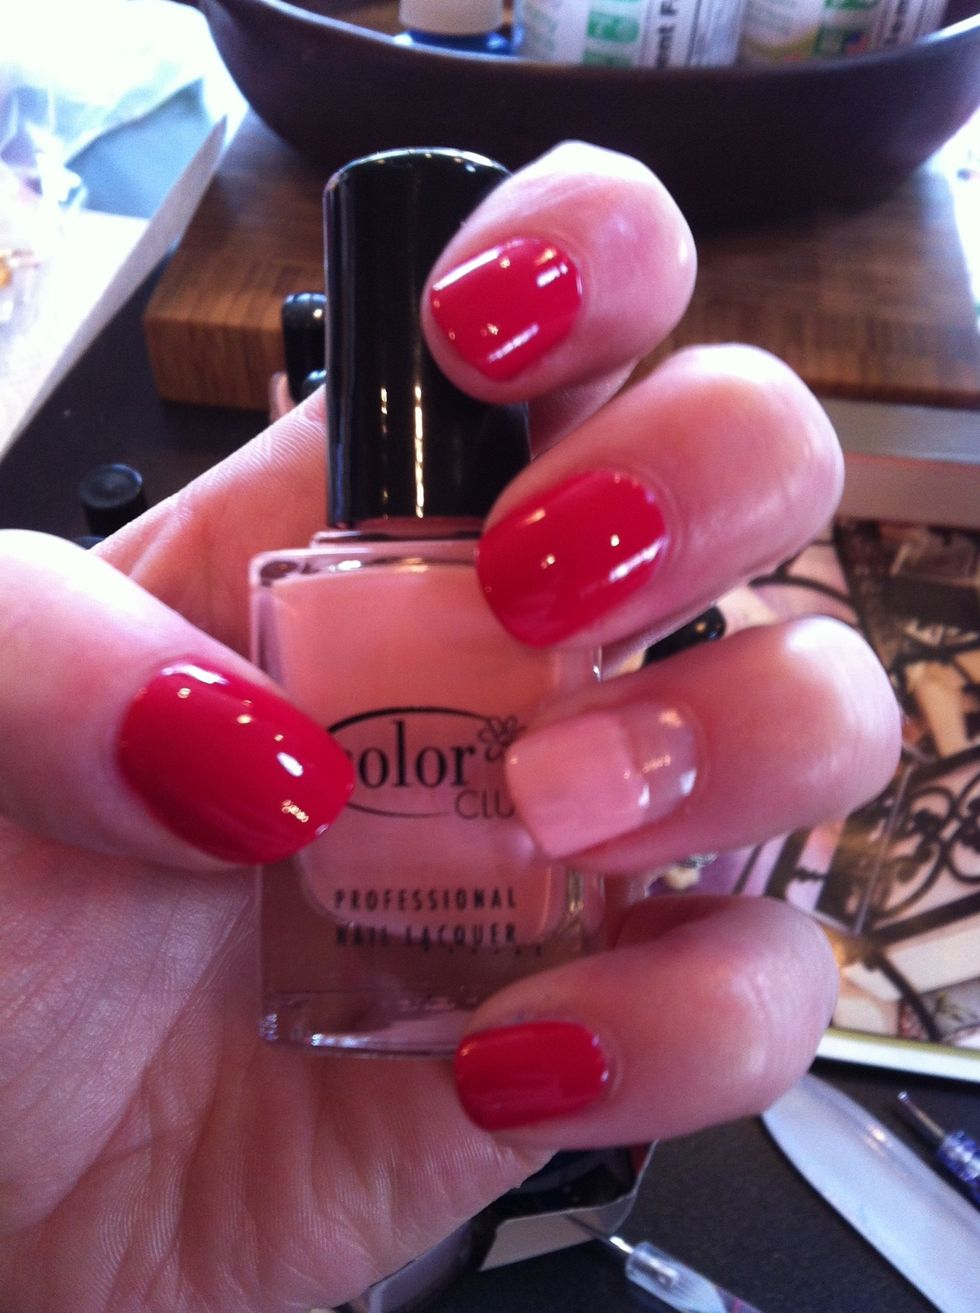
Now paint half of your ring finger with two coats of an accent color. This will be the cupcake wrapper.
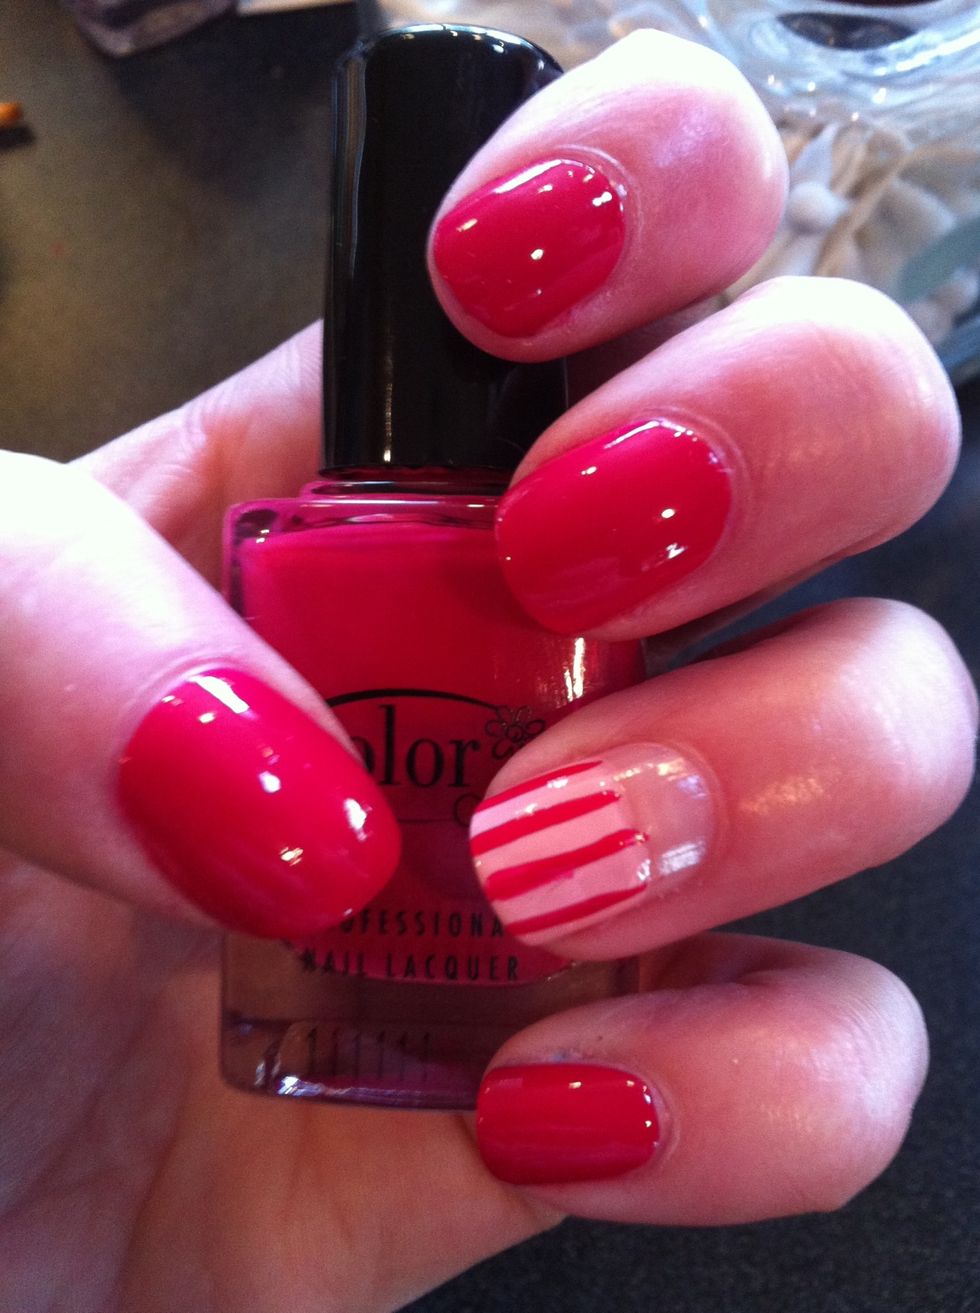
Add stripes if your primary color with a long thin brush like the one I have in the equipment picture.
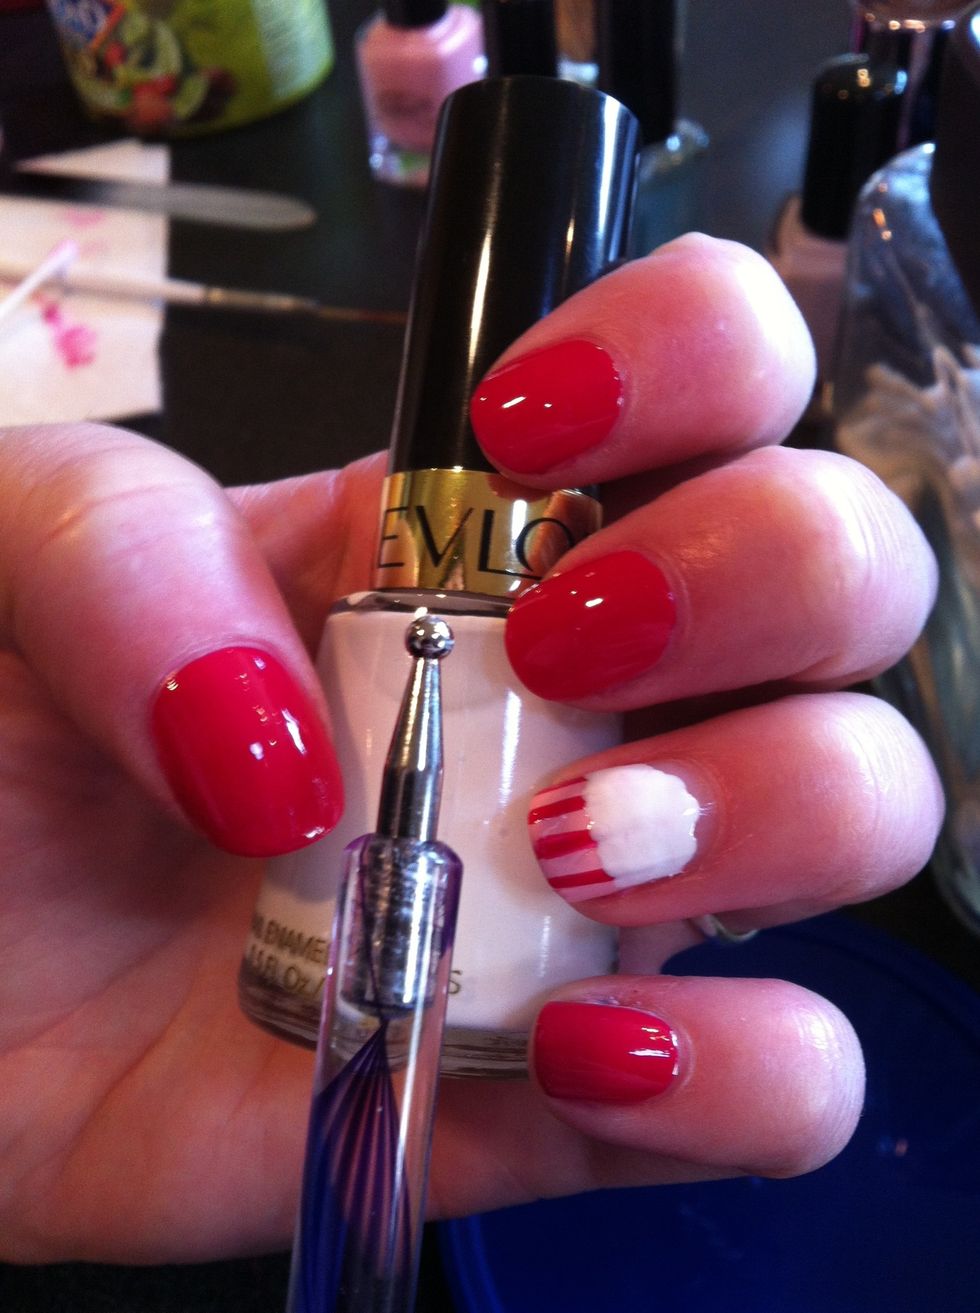
Now use the dotting tool to make the frosting. This should cover part of your striped bit and extend almost to the top if your nail, but do leave some space.
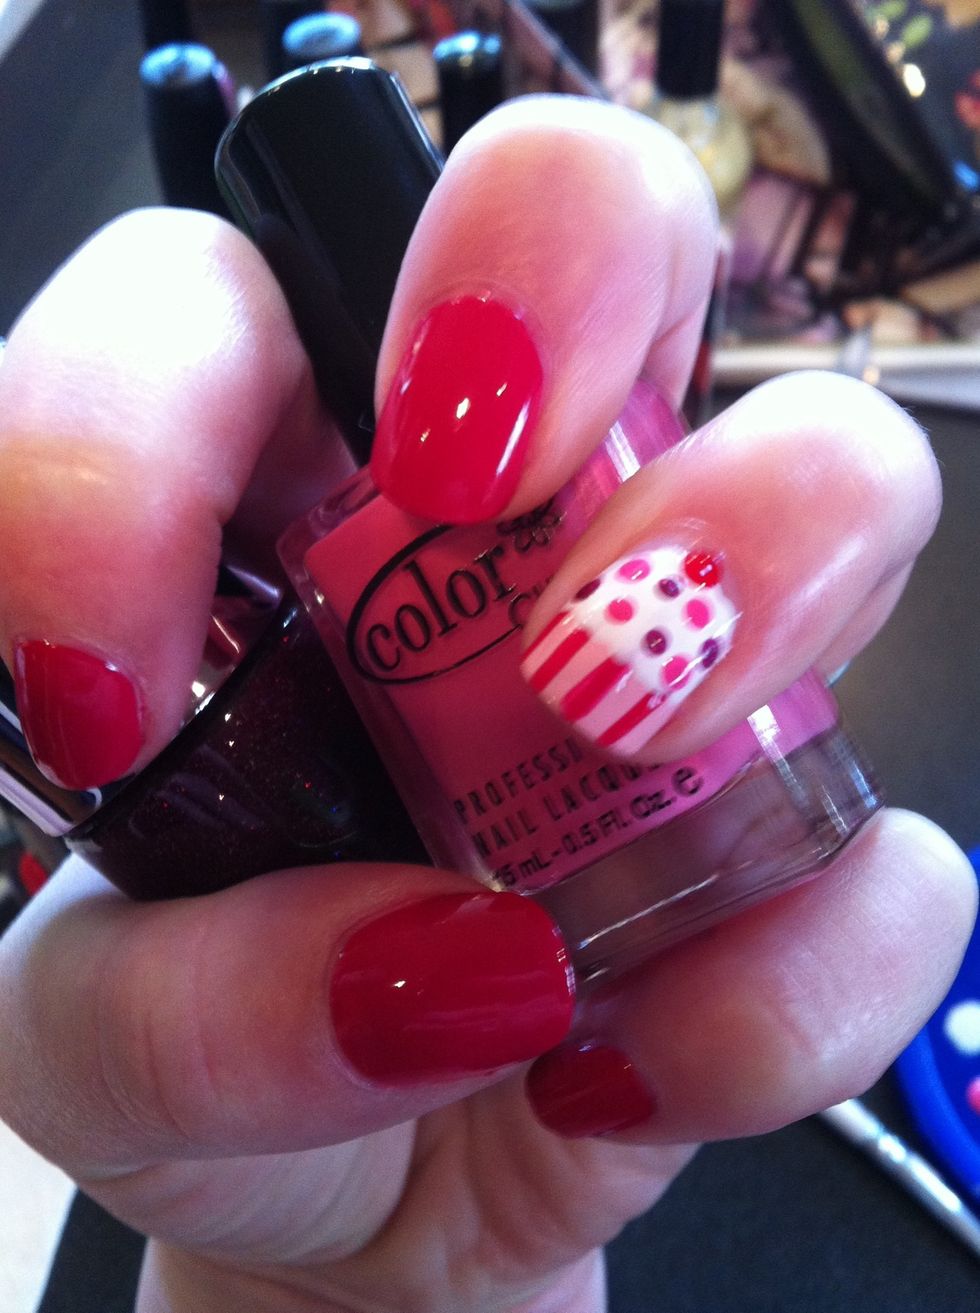
Now add random dots using the dotting tool to create sprinkles. I chose two other coordinating colors pictured here. Don't forget to add a little red cherry on top!
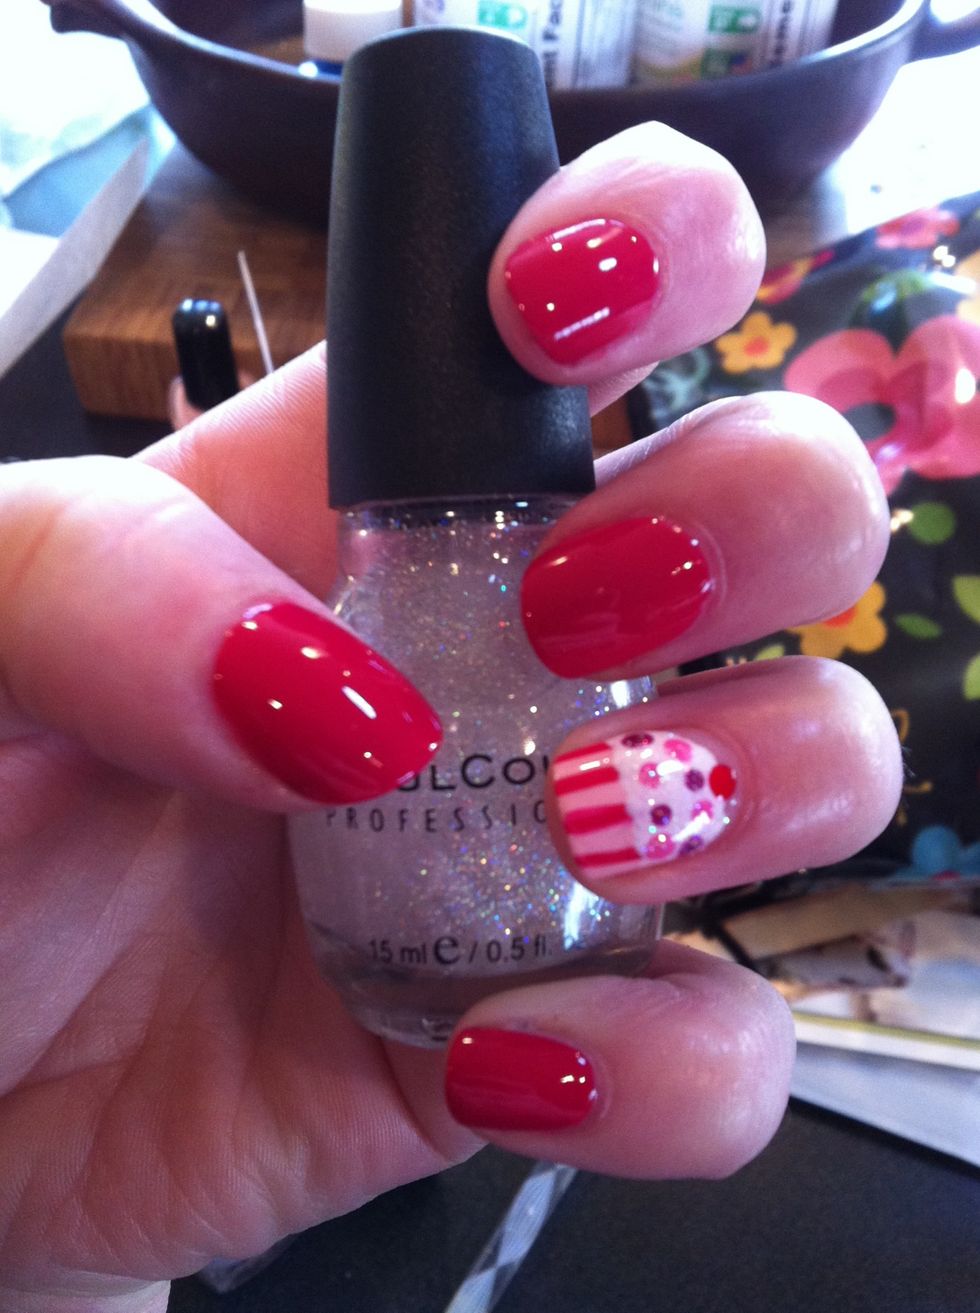
If you like, add a clear glitter to the frosting part, then apply a quick drying topcoat to all your nails.
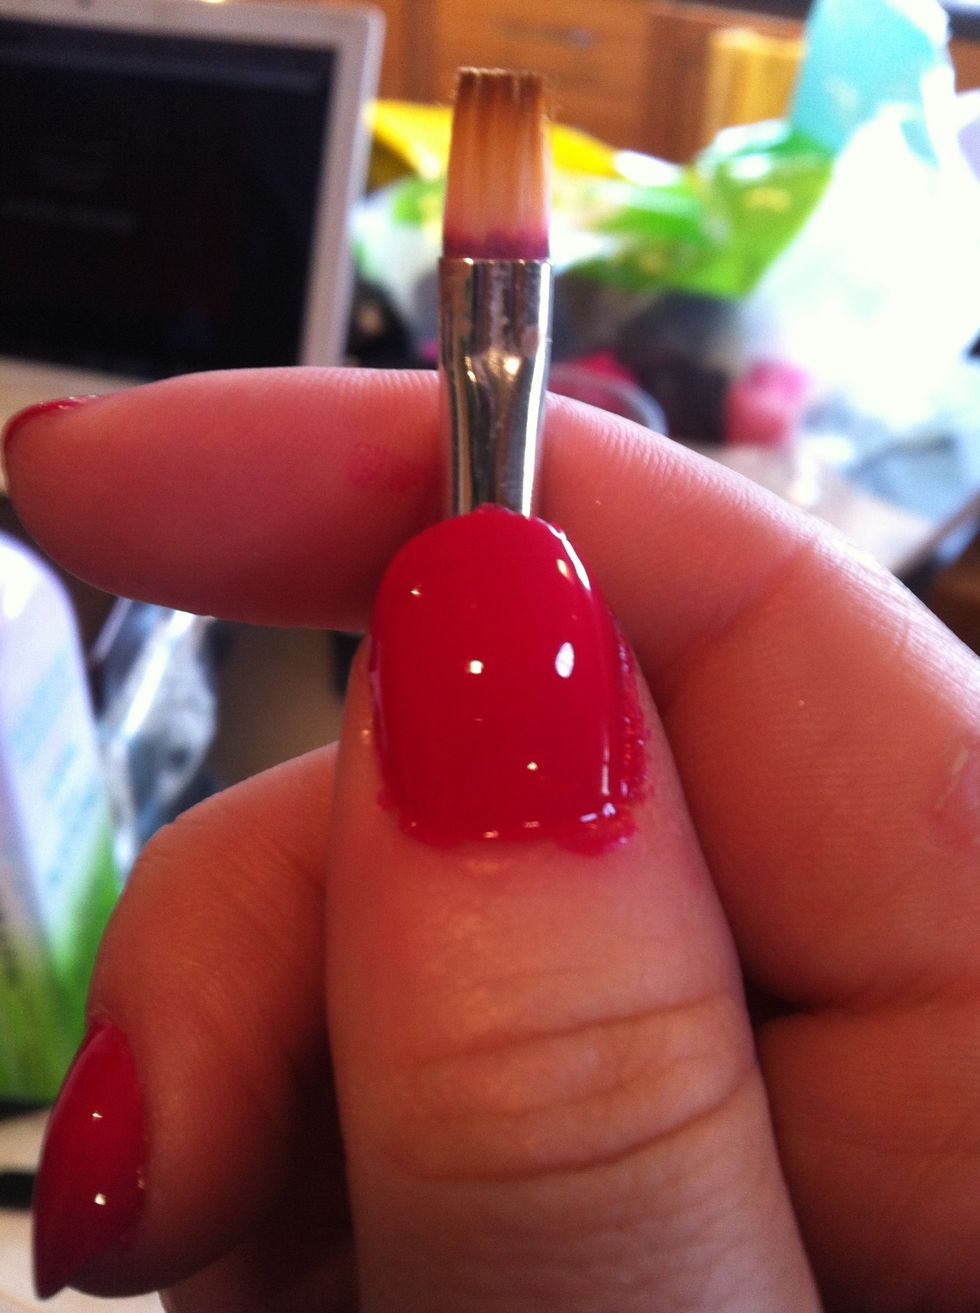
If you need to do any cleaning up around your cuticles, dip a flat brush in pure acetone and gently swipe the stray polish away. Wipe excess on a paper towel. This picture shows the "before"...
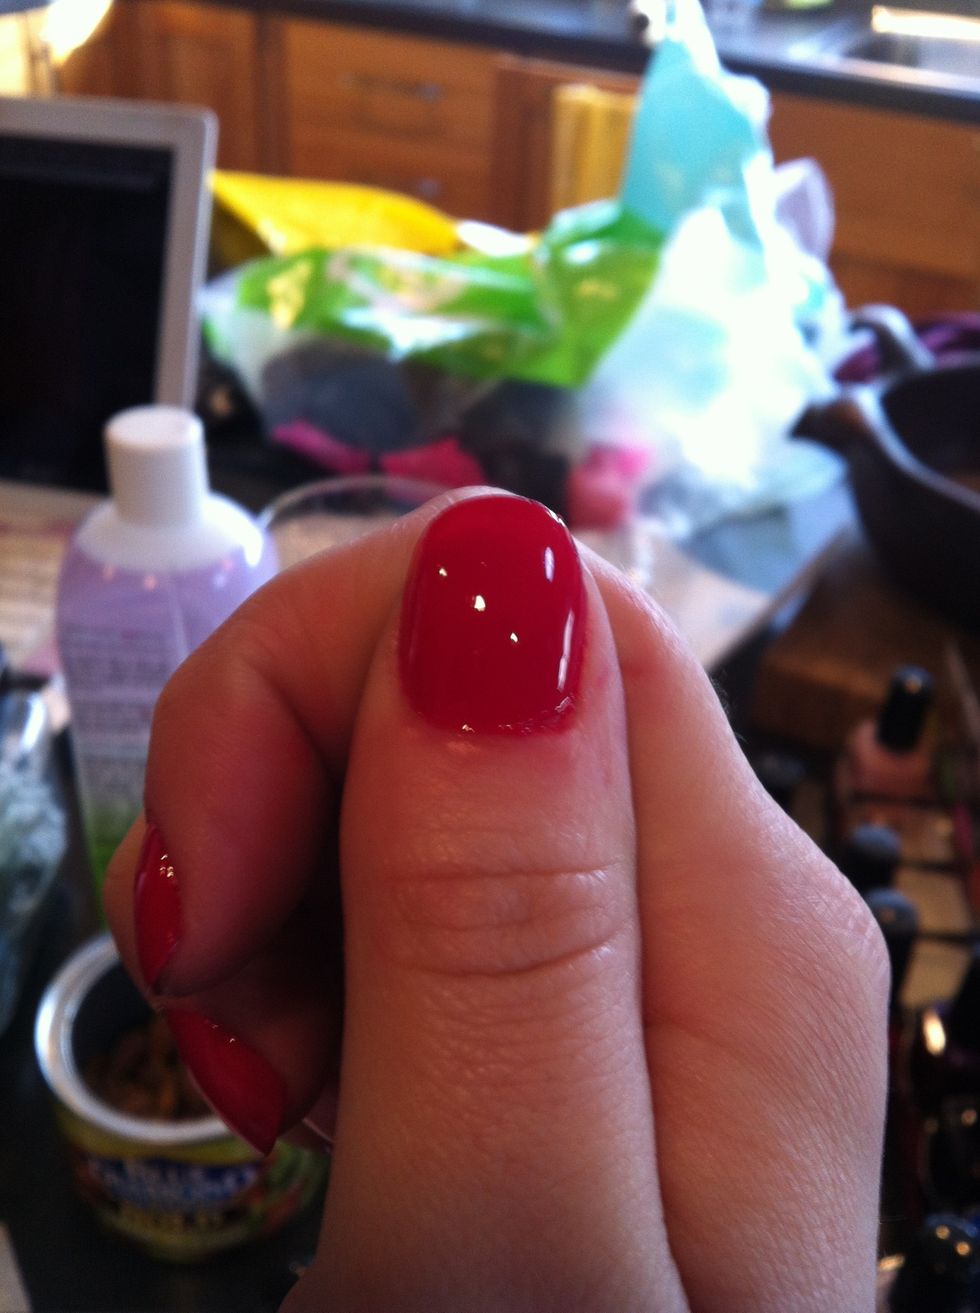
And here's the "after"!