The Conversation (0)
Sign Up
Prepare your car by cleaning and drying the wheel well. Make sure you use a good rim cleaning chemical to clean the tire/caliper/wheel well area. The cleaner it is, the easier the job.
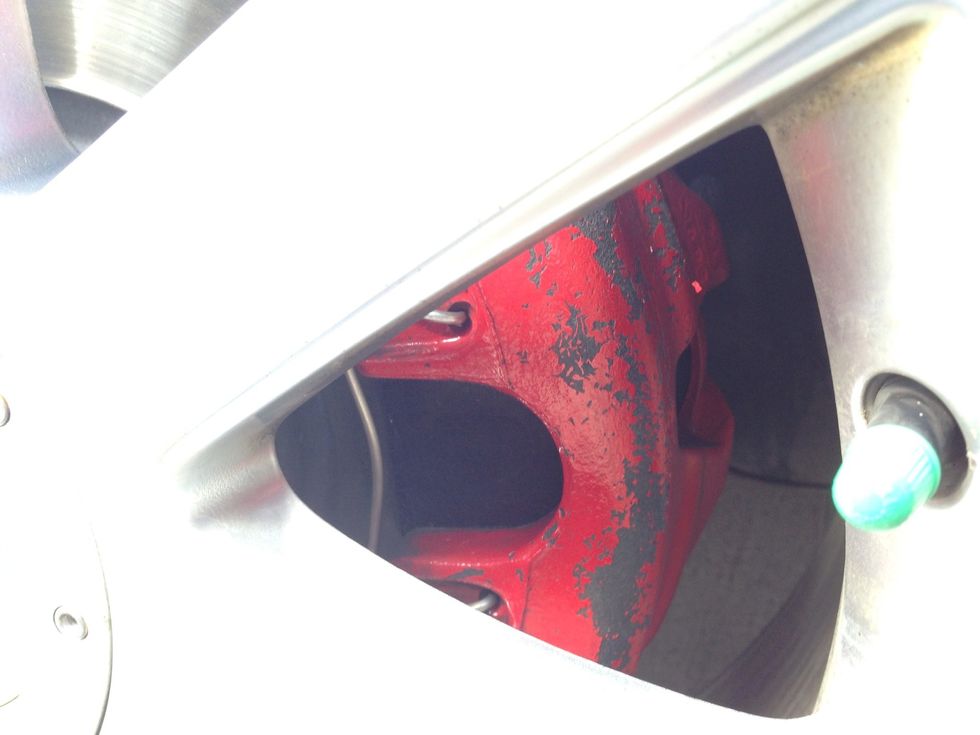
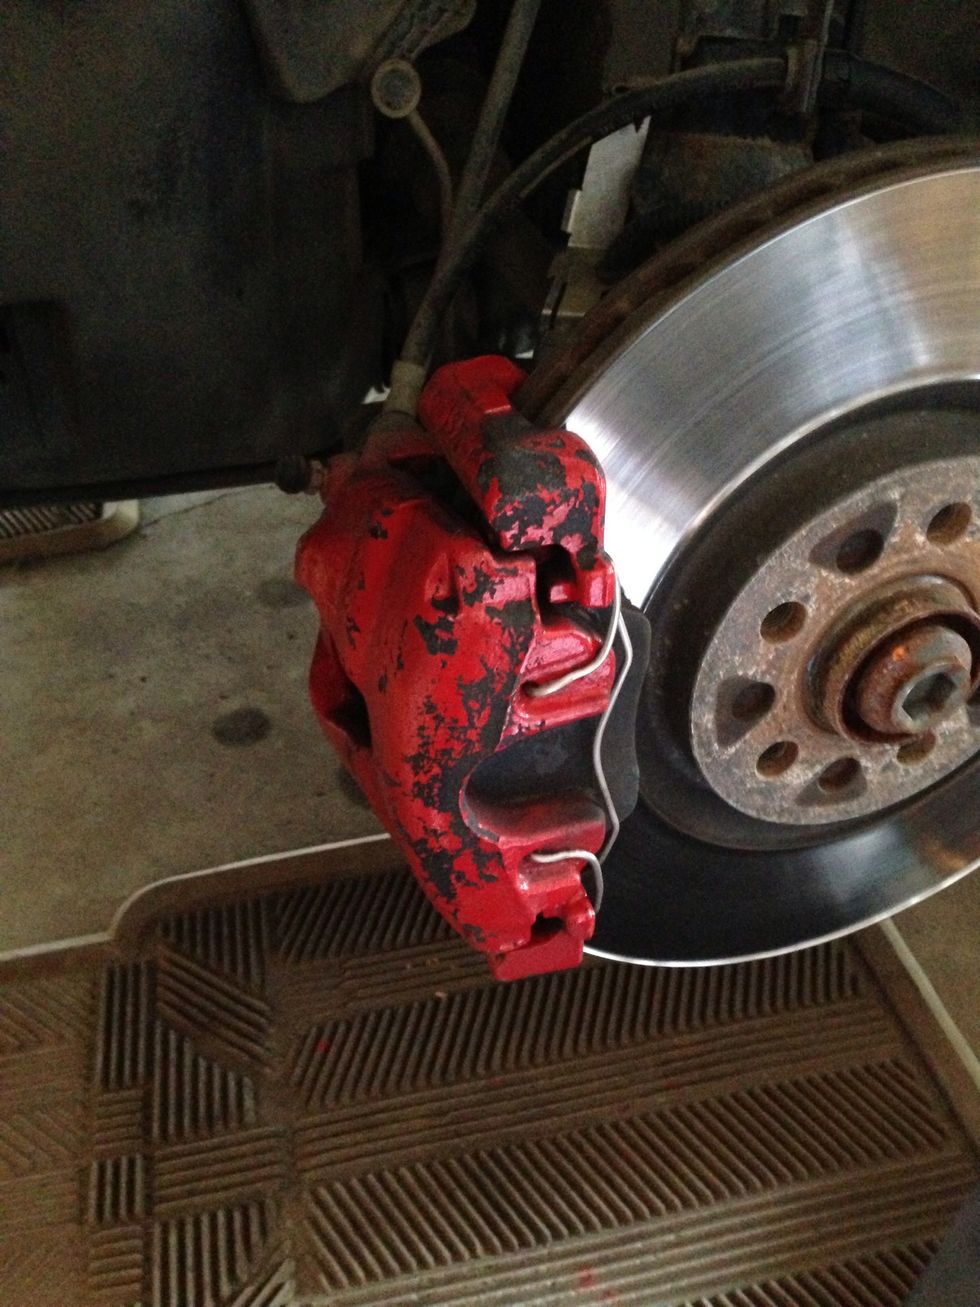
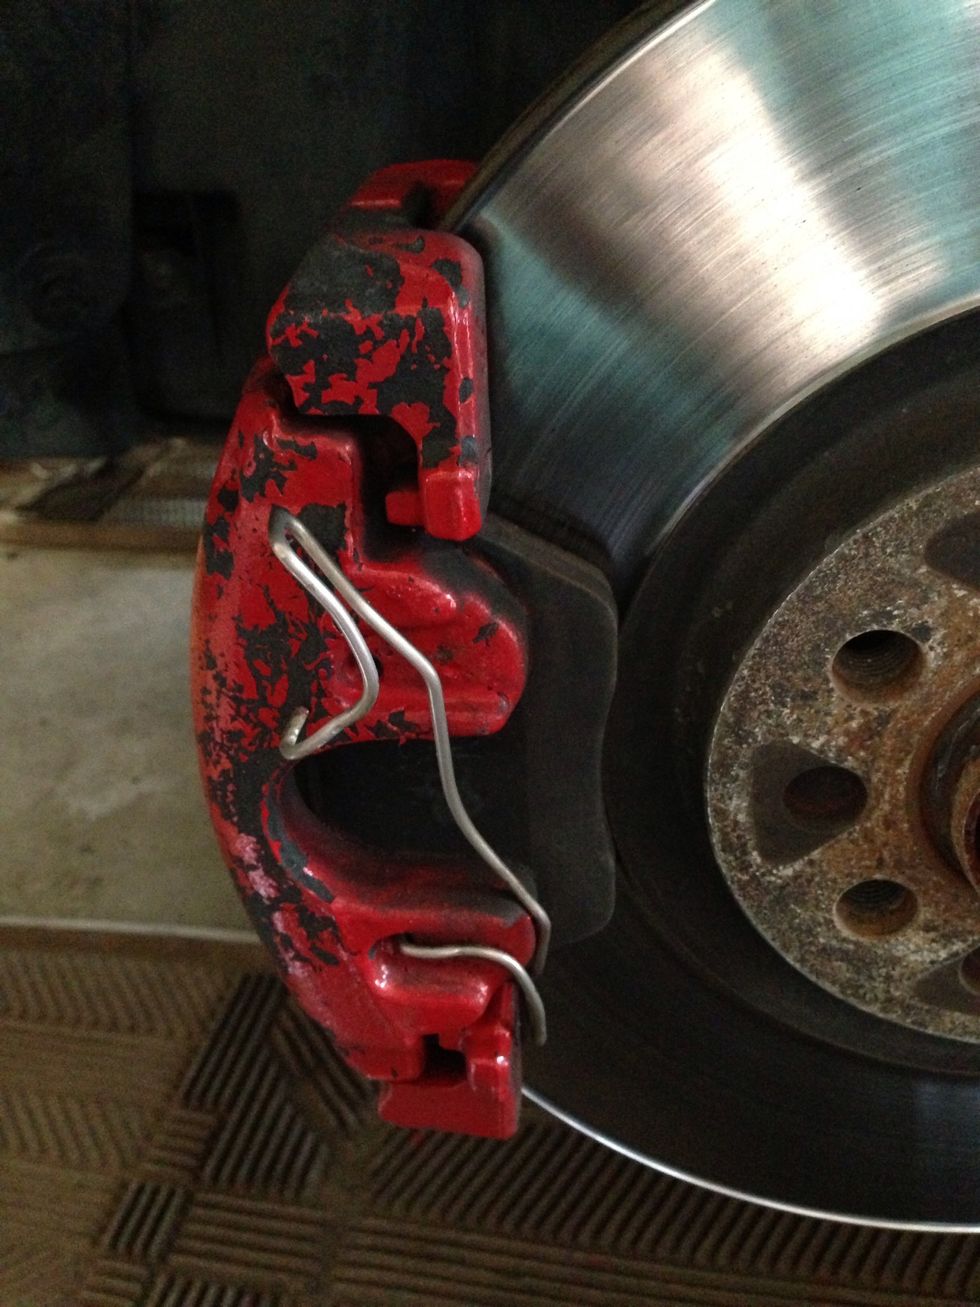
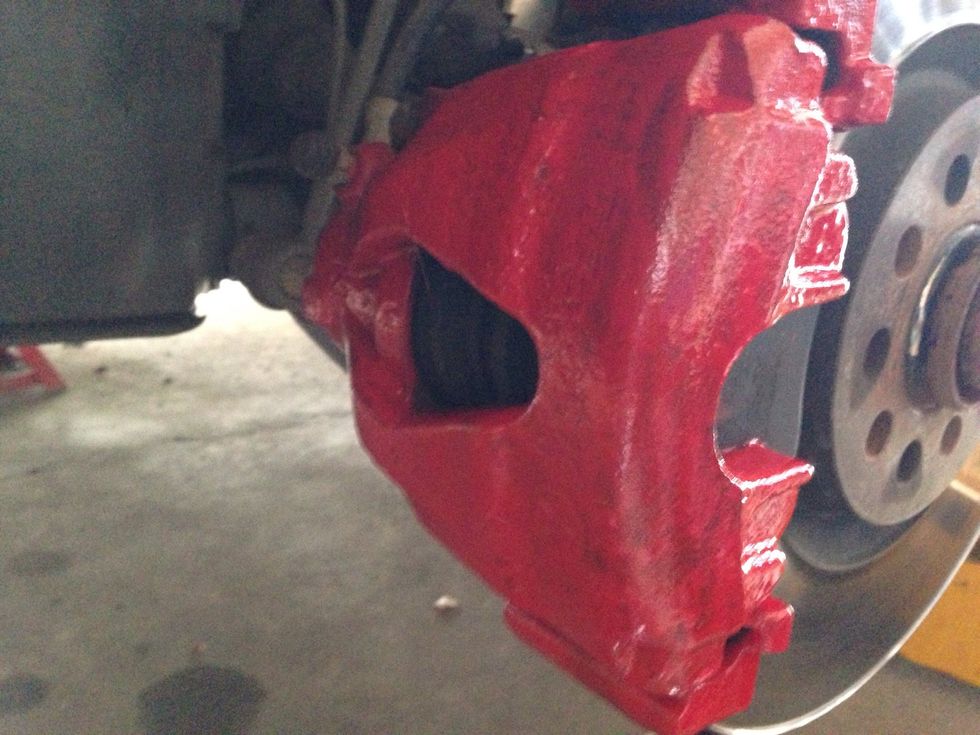
Insure you've thoroughly cleaned the caliper and area. Here you can see some of the paint has flaked off, but the caliper is clean.

Prepare your materials and get them together. Stir and prep your paint.
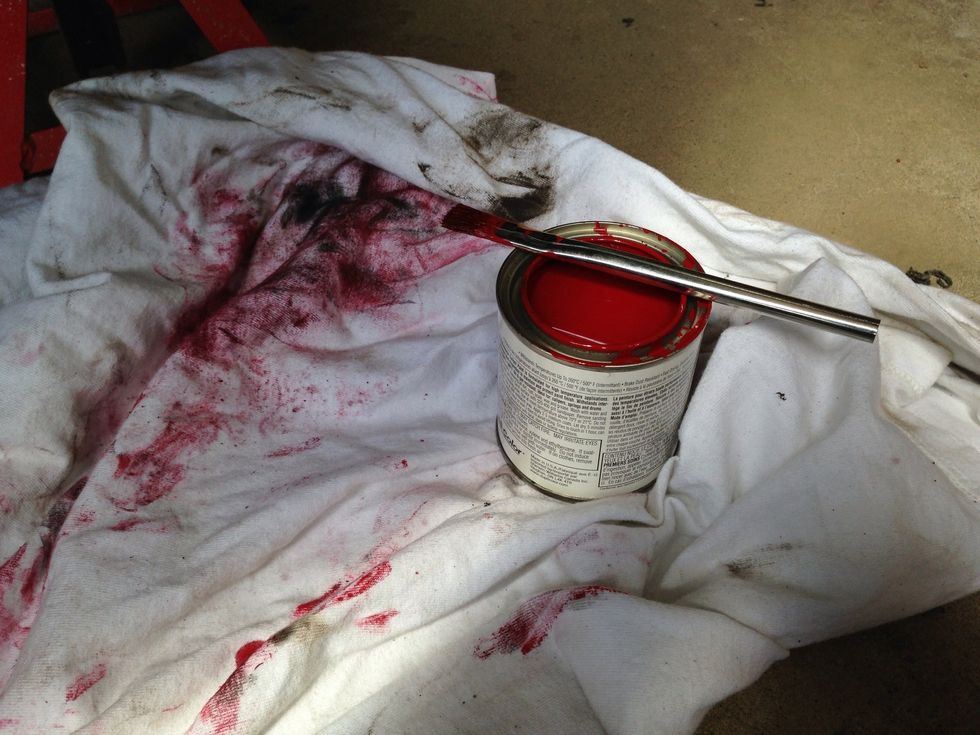
I use a drop cloth to prevent paint from falling and staining the floor.
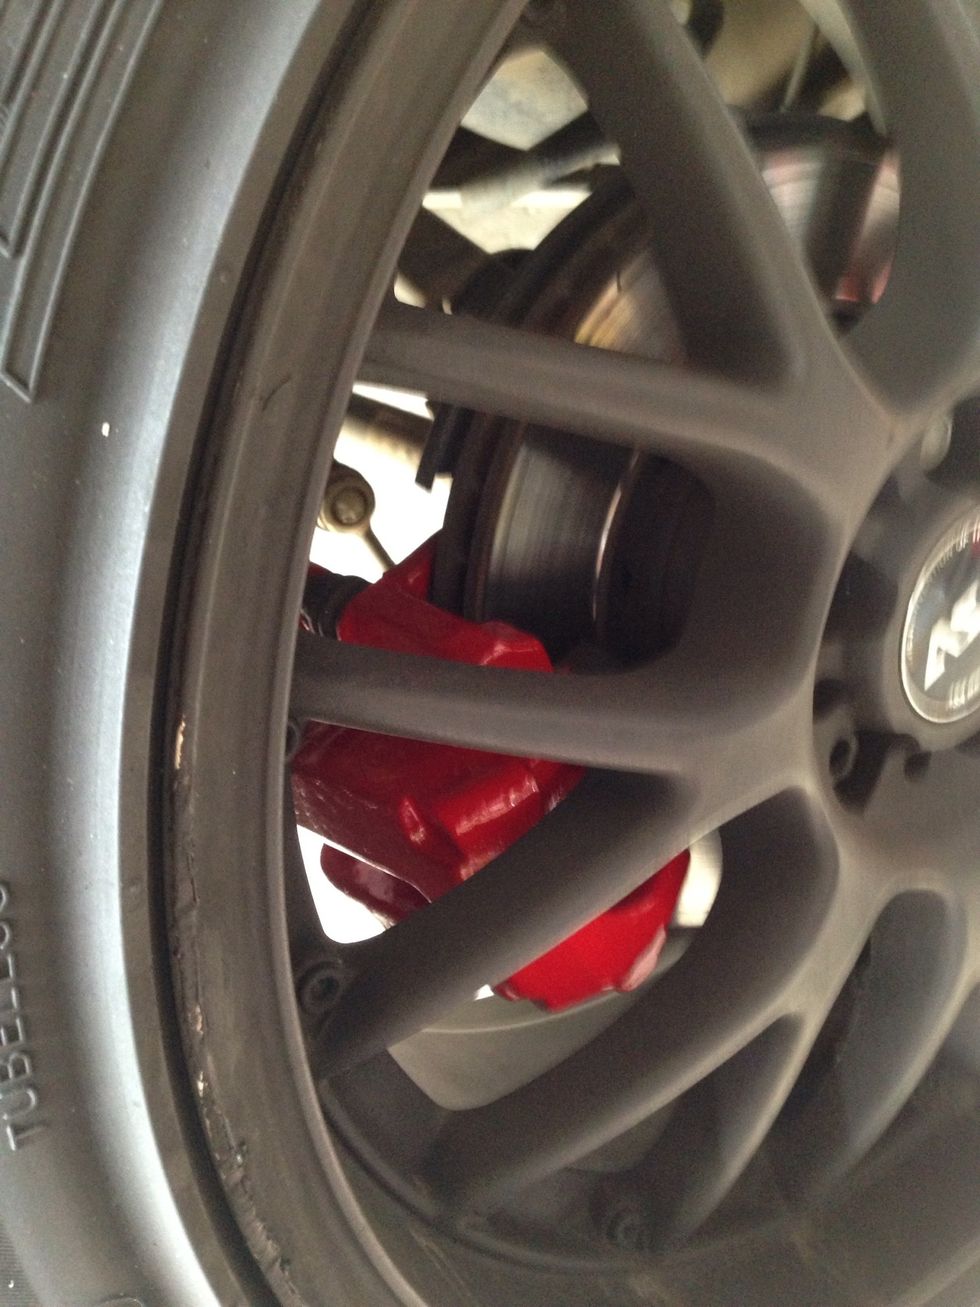
Once you've removed the wheel and exposed the caliper. You now have access to do your work.

Begin by removing any parts you do not want to be painted with the caliper. Here I normally remove the retaining spring.
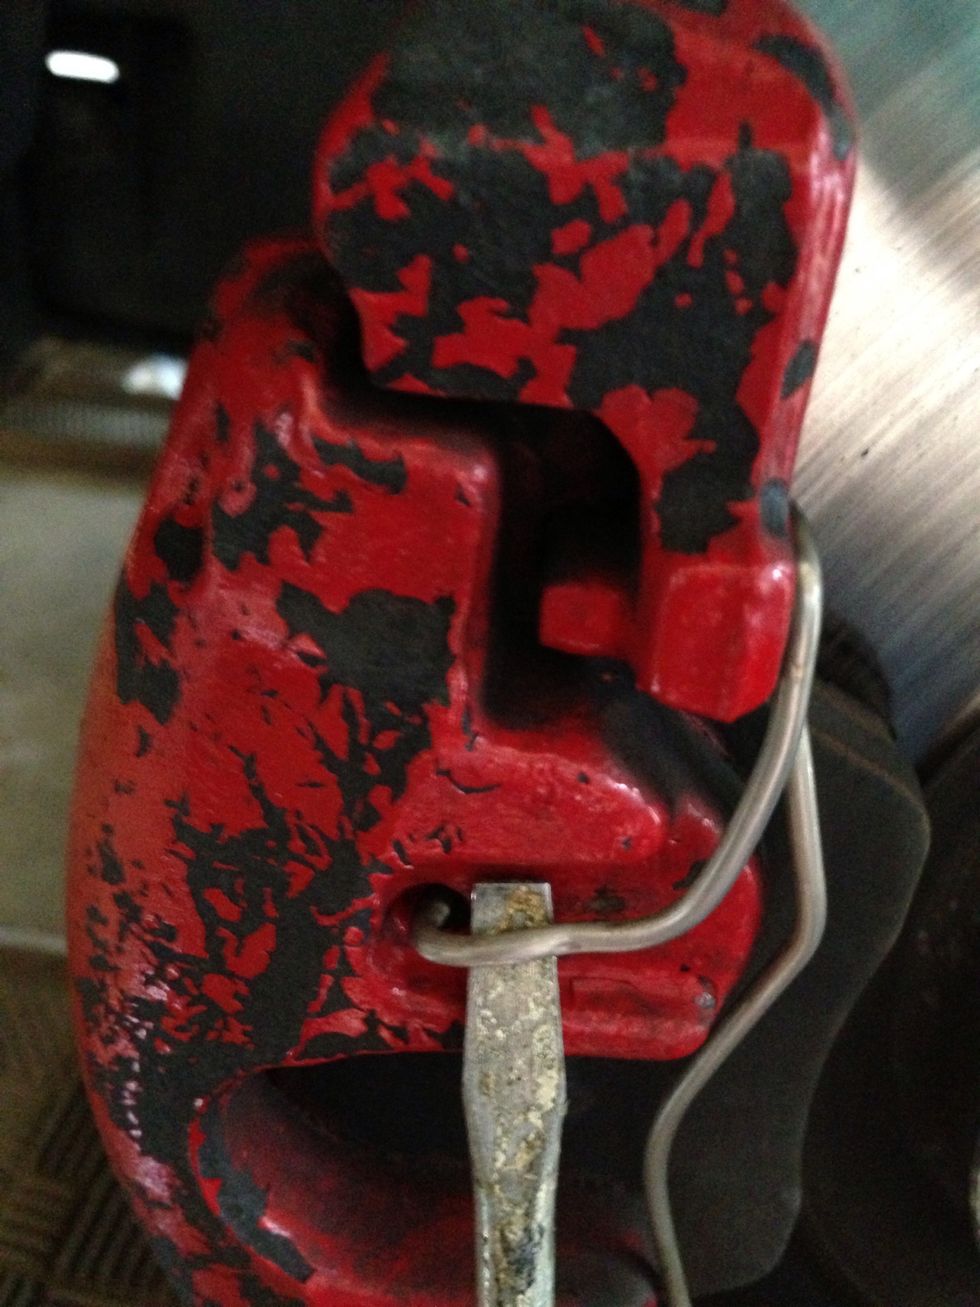
Use a flat head screwdriver and place it under the retaining spring to pop it out of place. Make sure you don't damage the spring.
Pop off one side of the spring and then do the next.
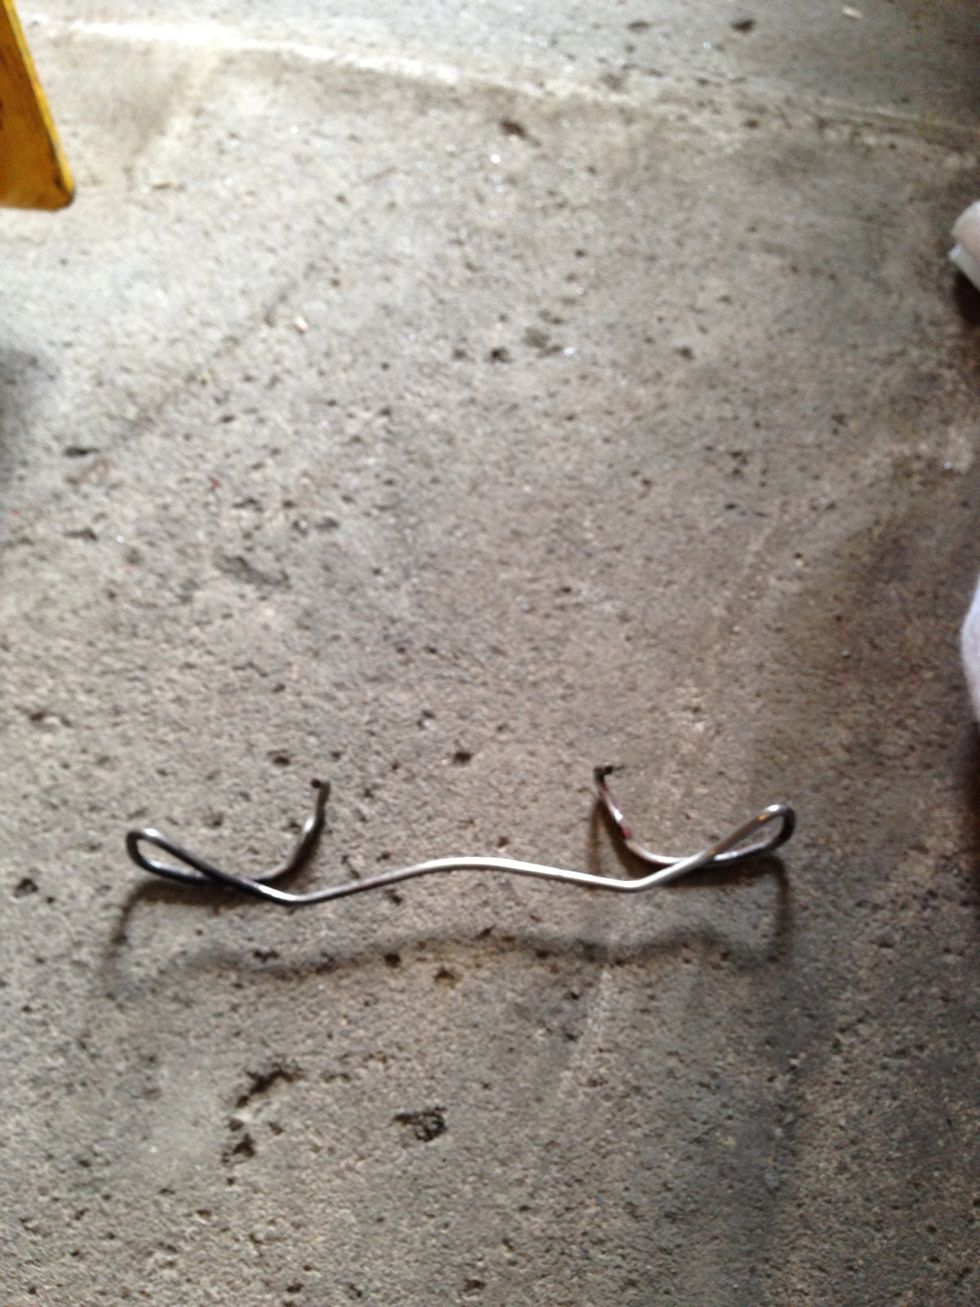
After removing the retaining spring set it aside and clean it with the caliper cleaner.
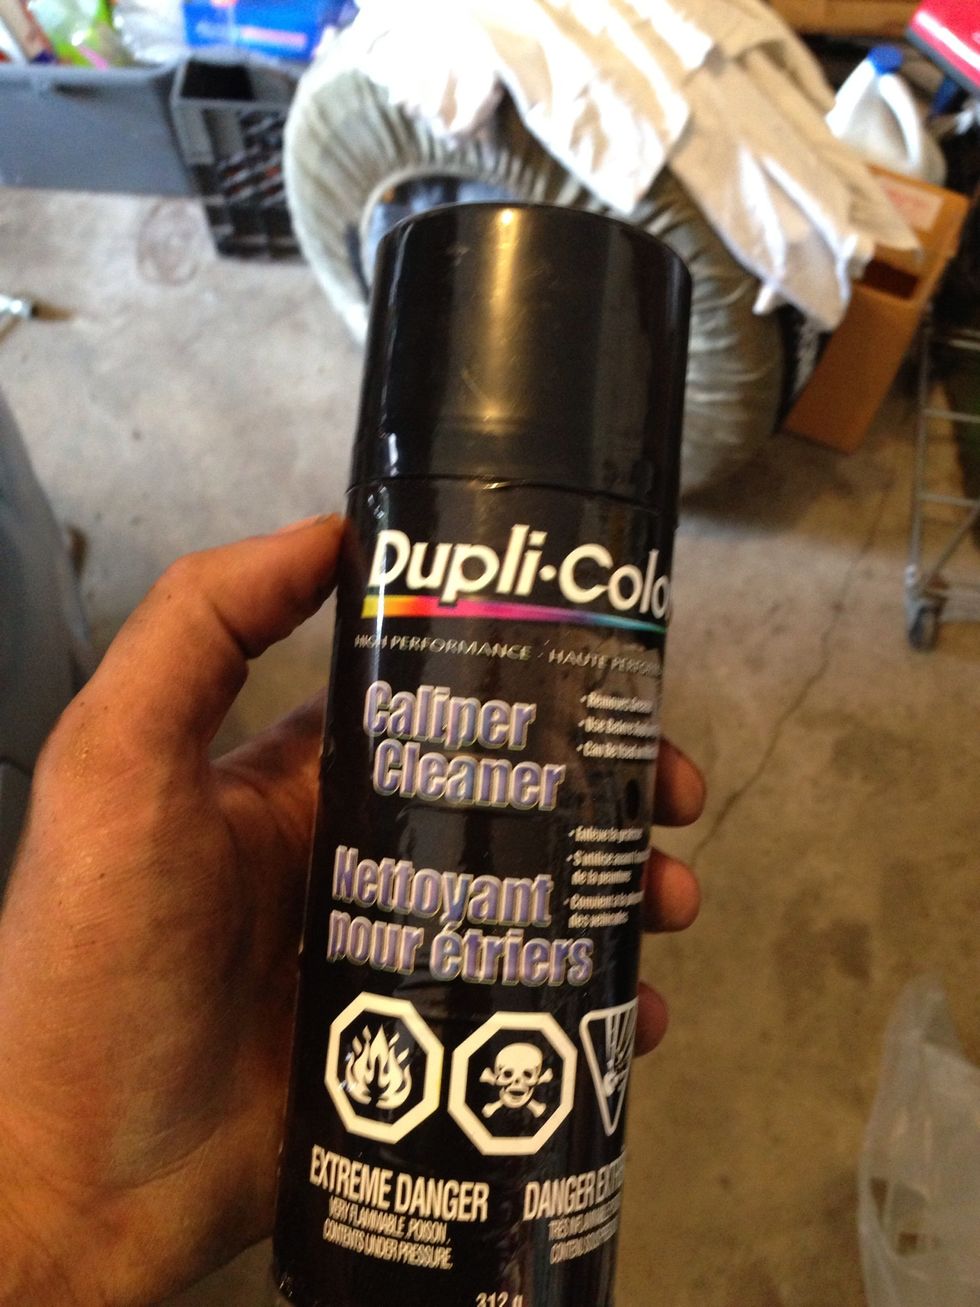
Shake your cleaner before using.
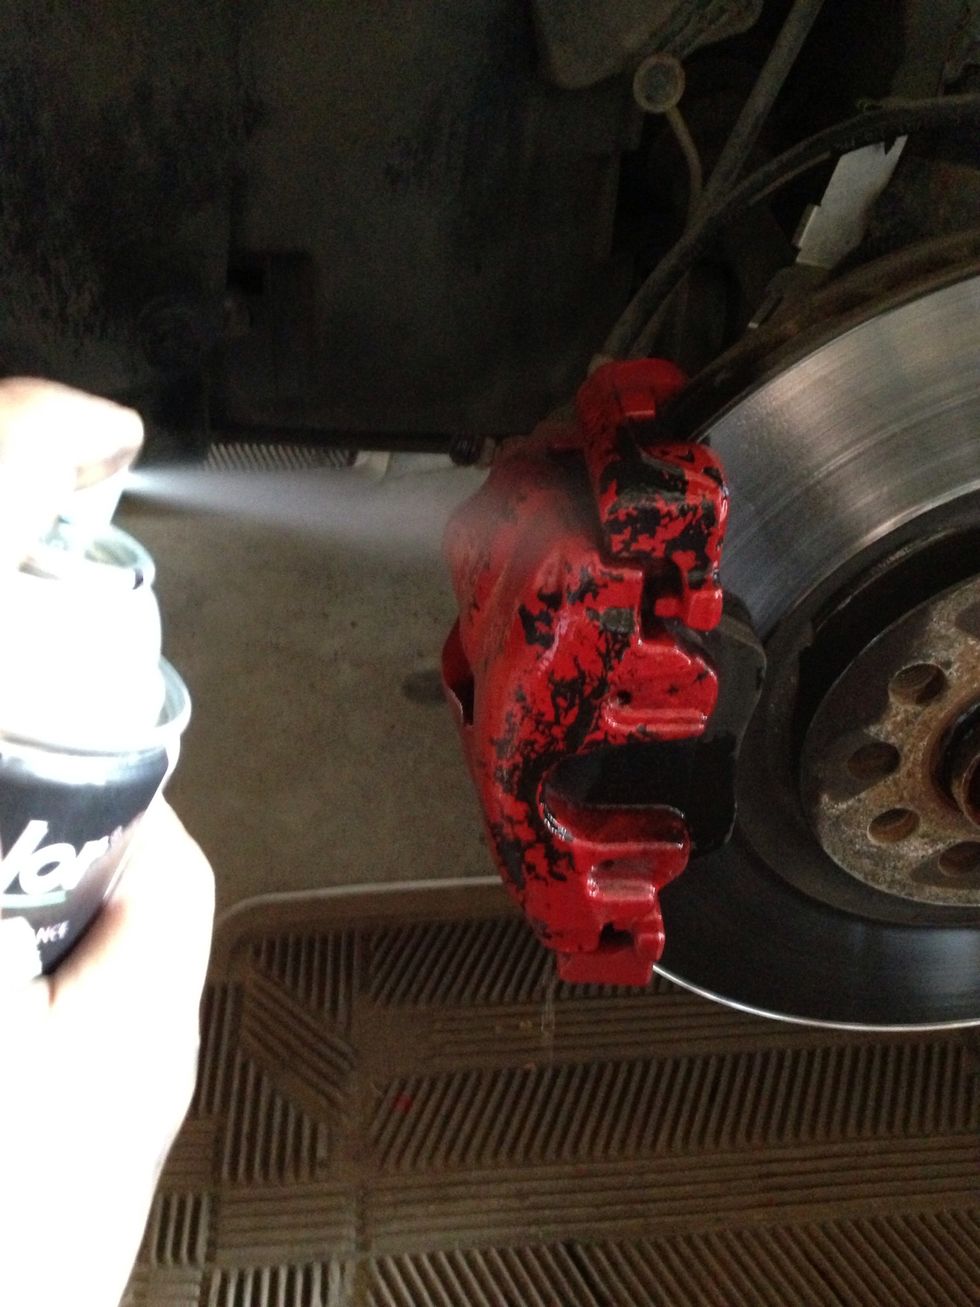
Liberally spray with the caliper cleaner on the caliper and make sure you wipe with a clean cloth. Remember you want it as clean as possible before you paint.

Optional - use a wire brush or toothbrush to clean the caliper while still wet with cleaning solution.
Once dry from the cleaner (a few mins). Apply the first layer of paint with a brush. Paint only the caliper surfaces, and avoid the break pad and the break disk.
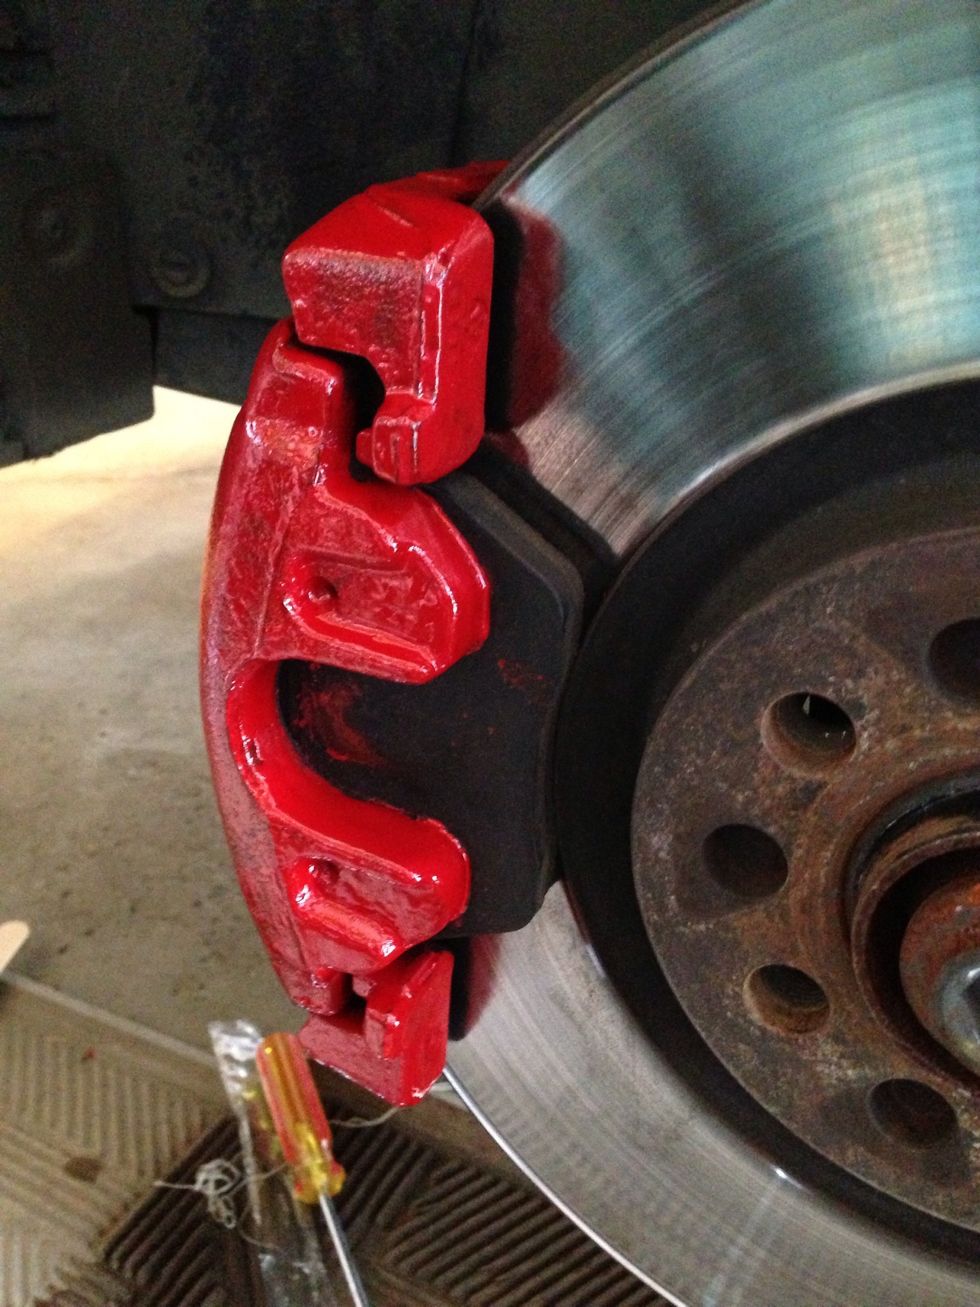
Add a second coat after a few minutes have passed. You do not need to paint the Entire caliper, but it's good practice to paint all spots visible while the rim is on
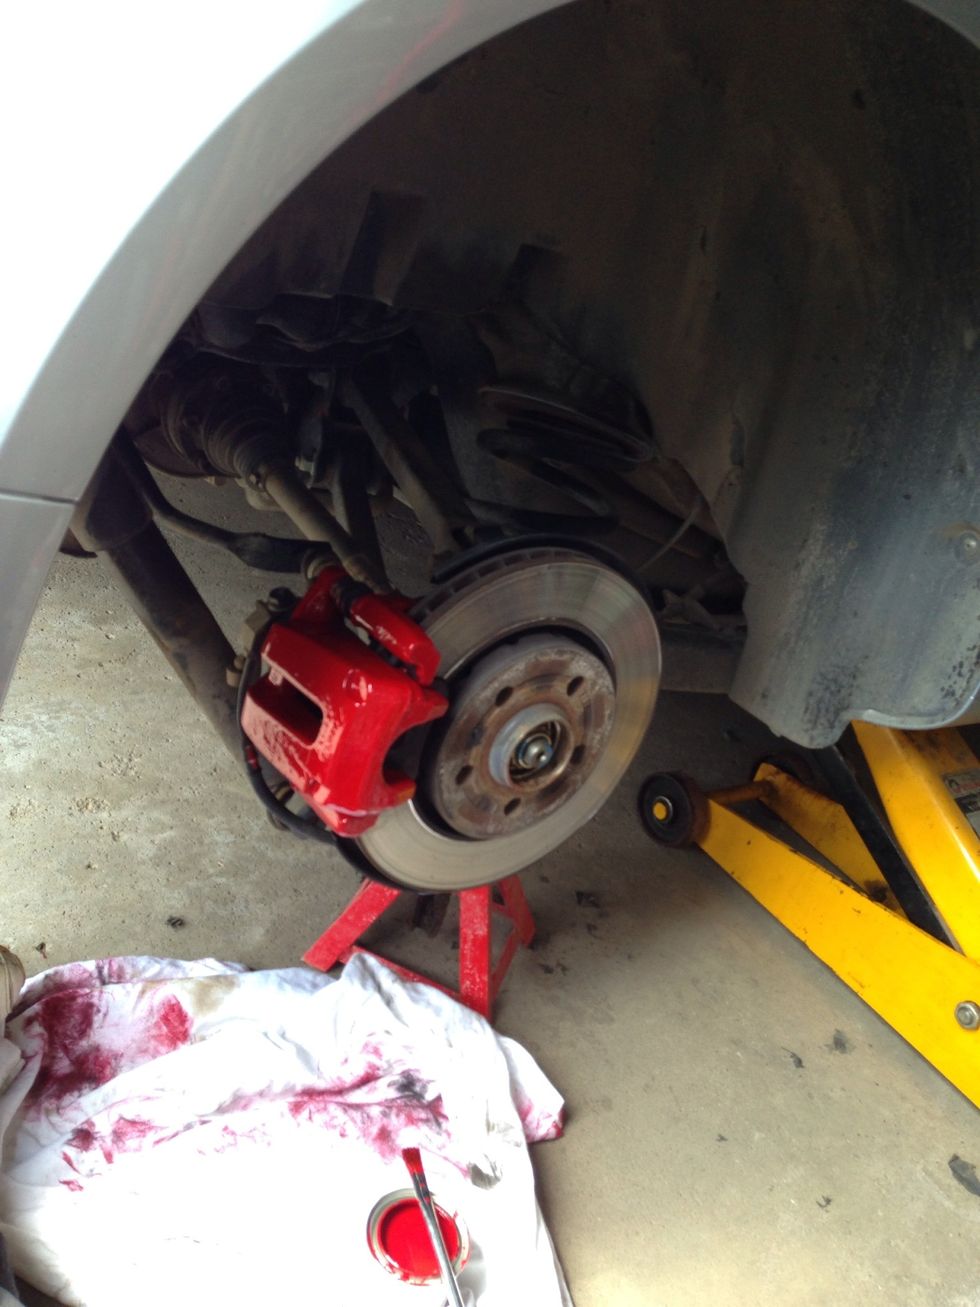
Here you see I'm working on the rear caliper as well.
Tip: Work on two calipers at the same time. It's best to do one side then the other. As you apply one coat on one caliper, the other caliper is drying.
After you are satisfied with the look, and the number of coats, you're done. Replace the retaining spring, bolt on tire, and lower.
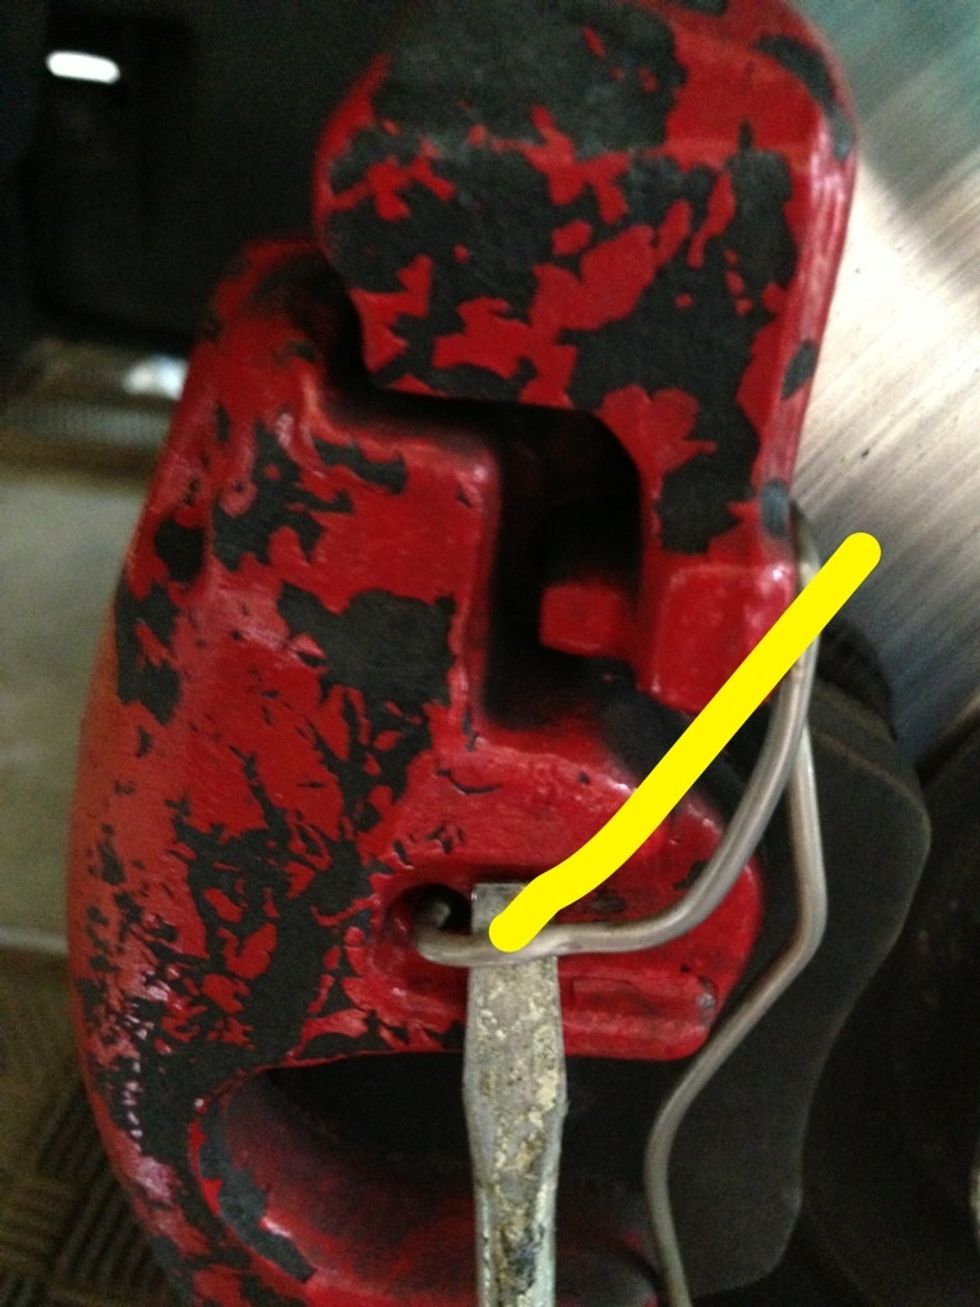
Bonus tip: when putting back the retaining spring. Place the bottom part in first and twist into place. Then insert the flat head through the loop in the direction of the yellow line. Push down and in
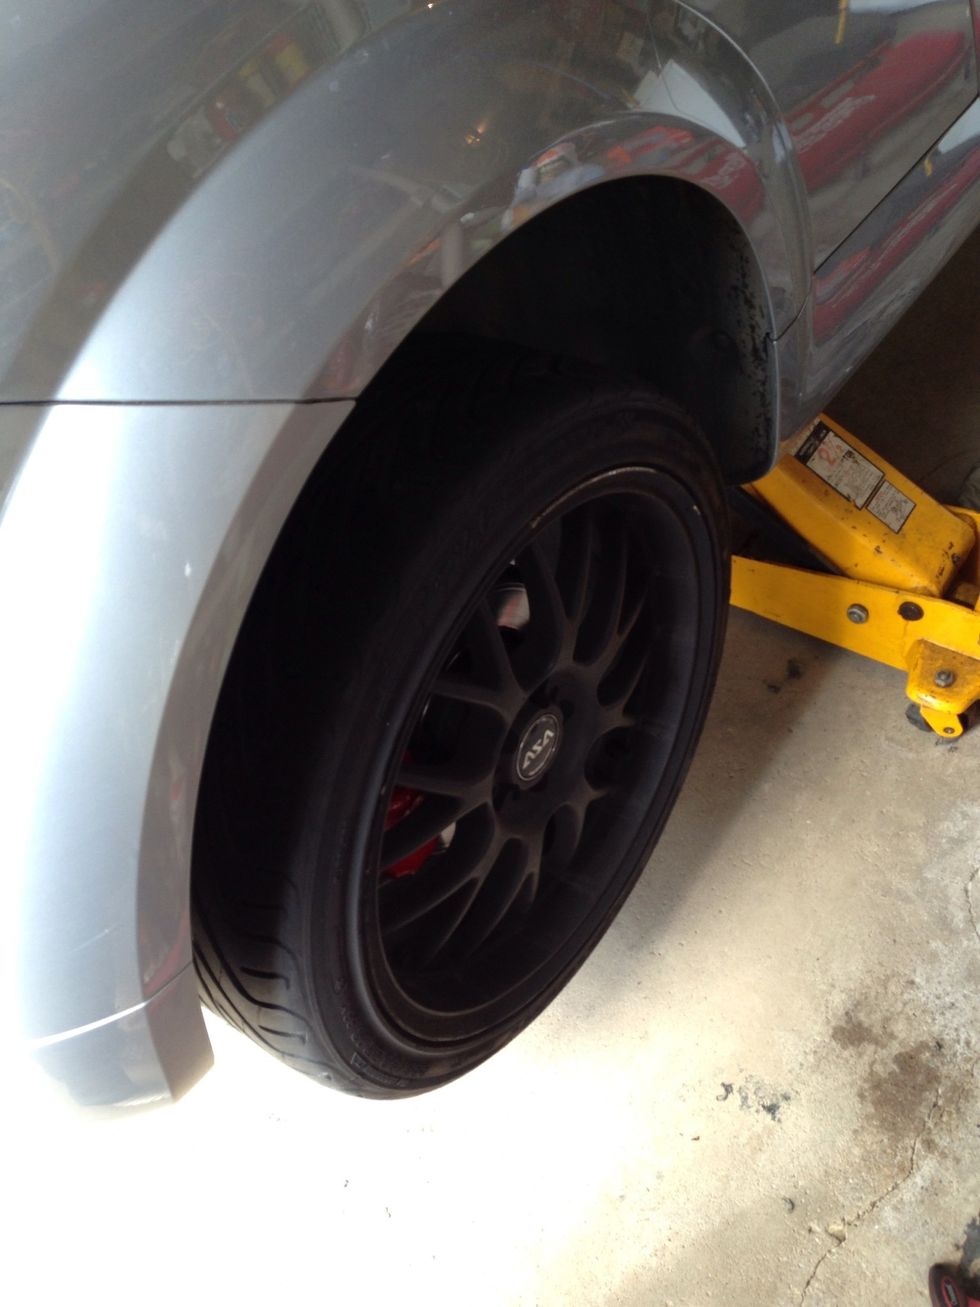
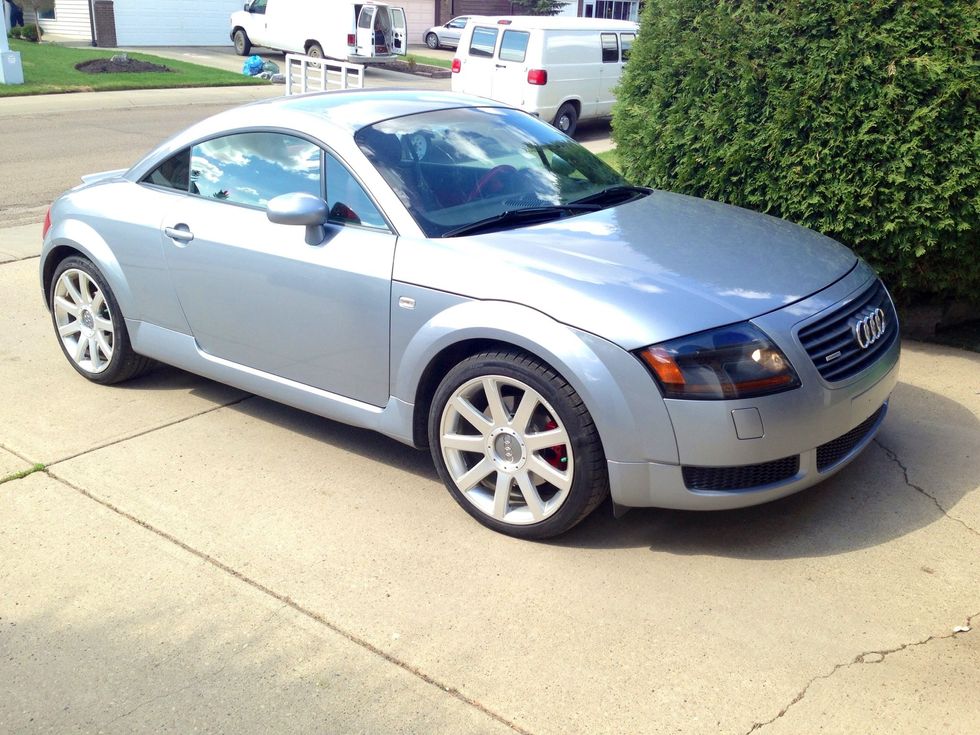
That's it you're done. Enjoy your new look.