The Conversation (0)
Sign Up
Sand table to rough up the finish using 100 grit sandpaper. This will provide some "tooth" for the paint to adhere. Clean off sanding debris with a damp cloth, let dry.
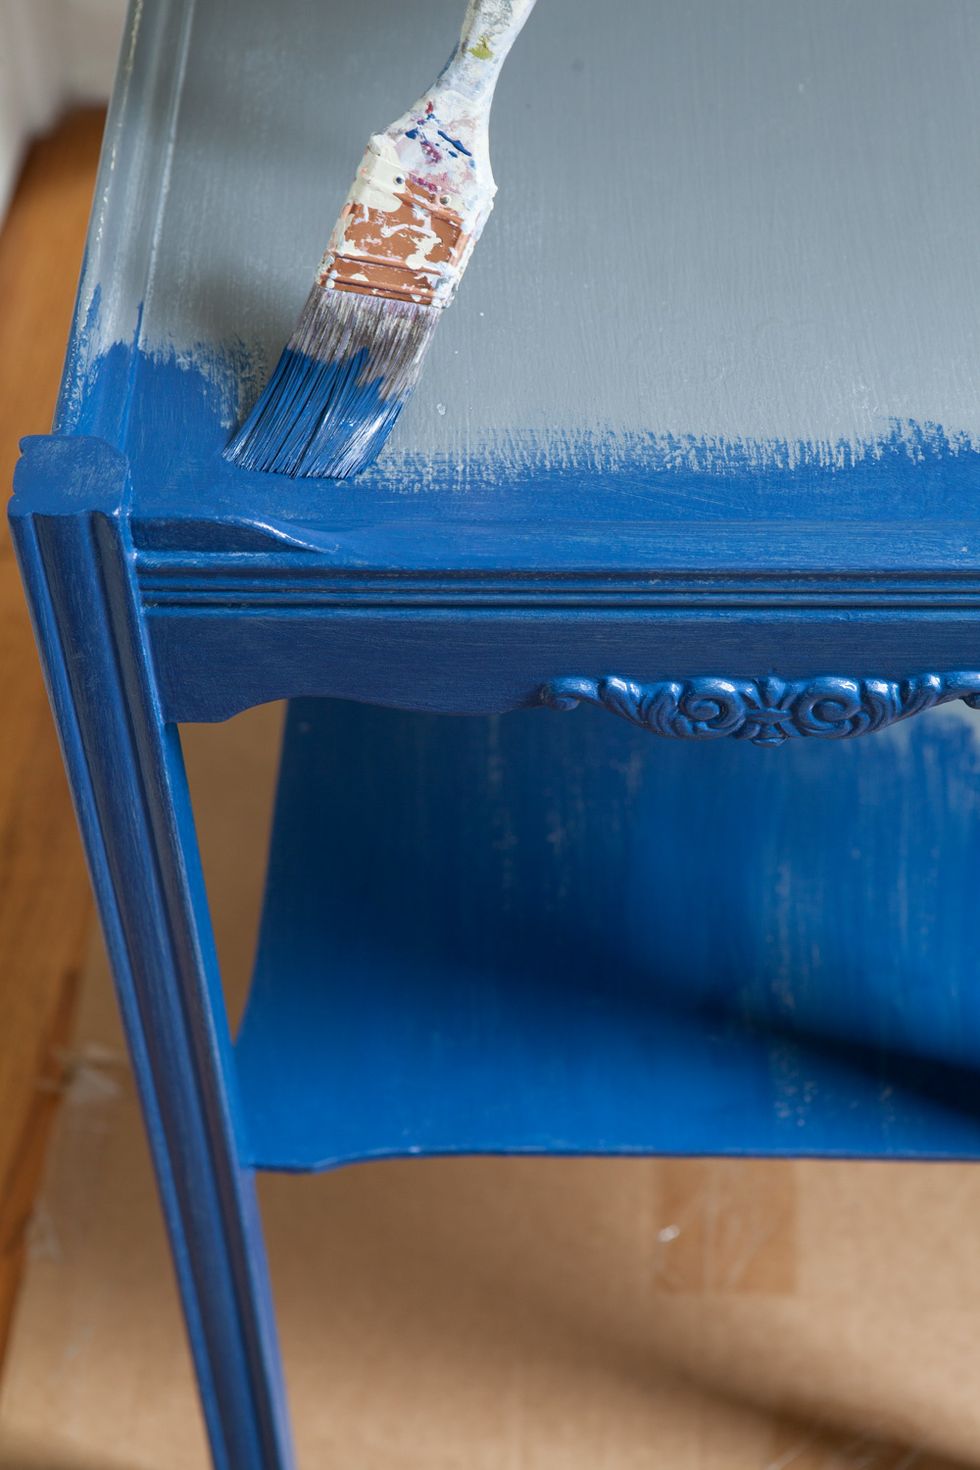
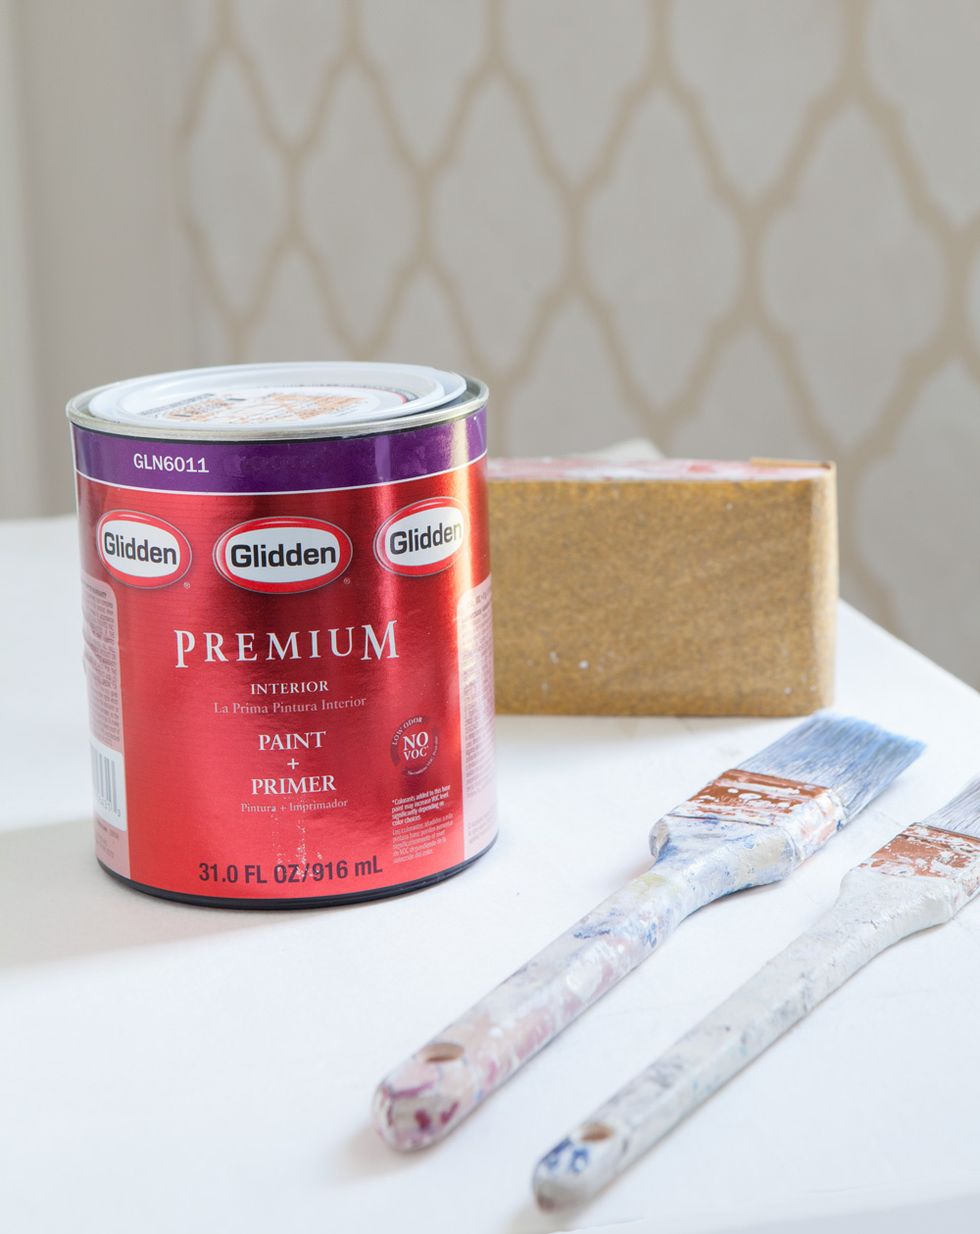
Using an angled brush, paint table in Rich Navy. Apply 2 light coats, letting the first one dry before applying the second. Once dry, check to make sure color is even, apply third coat if needed.
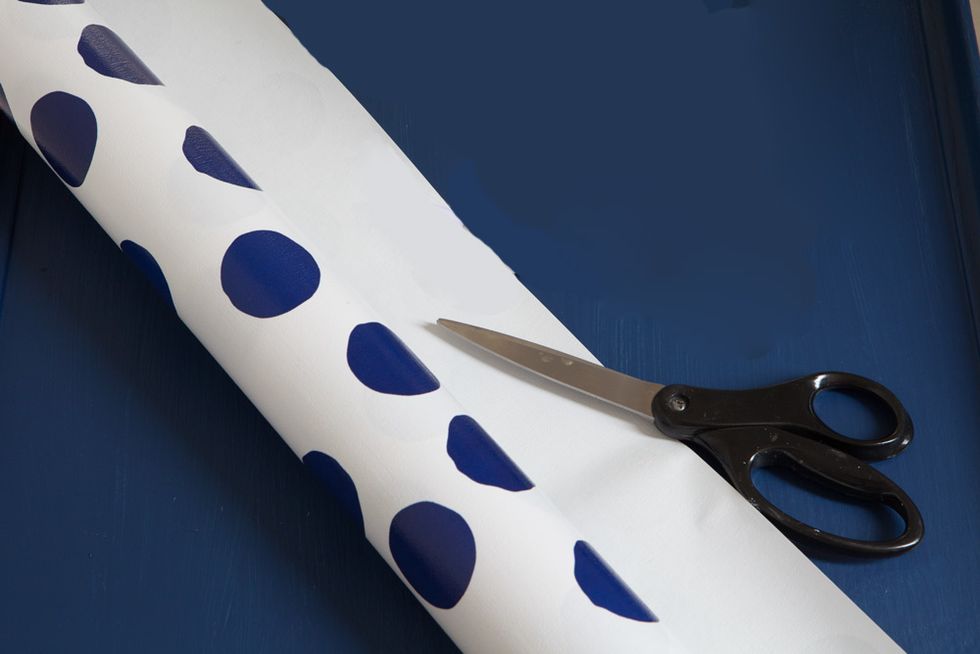
Once paint is completely dry. Cut gift wrap about 3 inches larger all around than the table top.
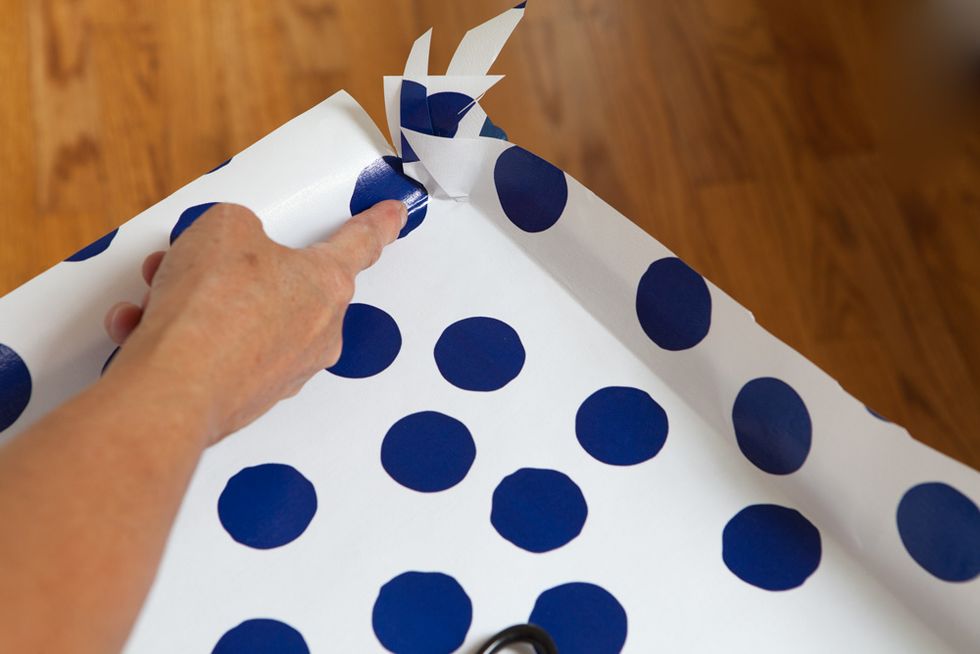
Lay gift wrap on table and use fingers to crease the paper all along the edges to get a perfect fit. The crease will become the cutting line.
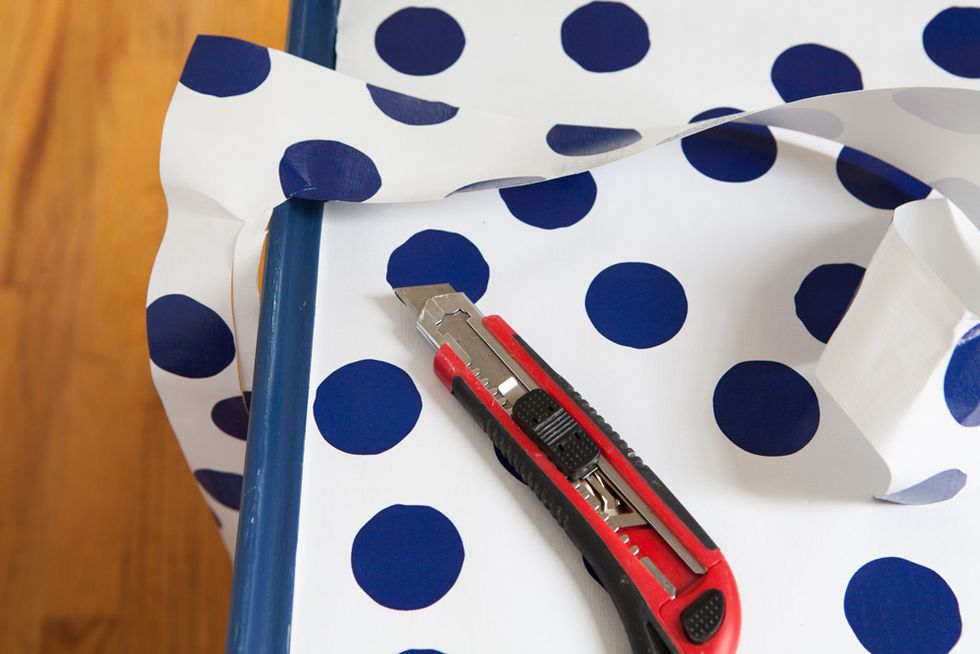
Cut the excess paper with scissors or a craft knife.
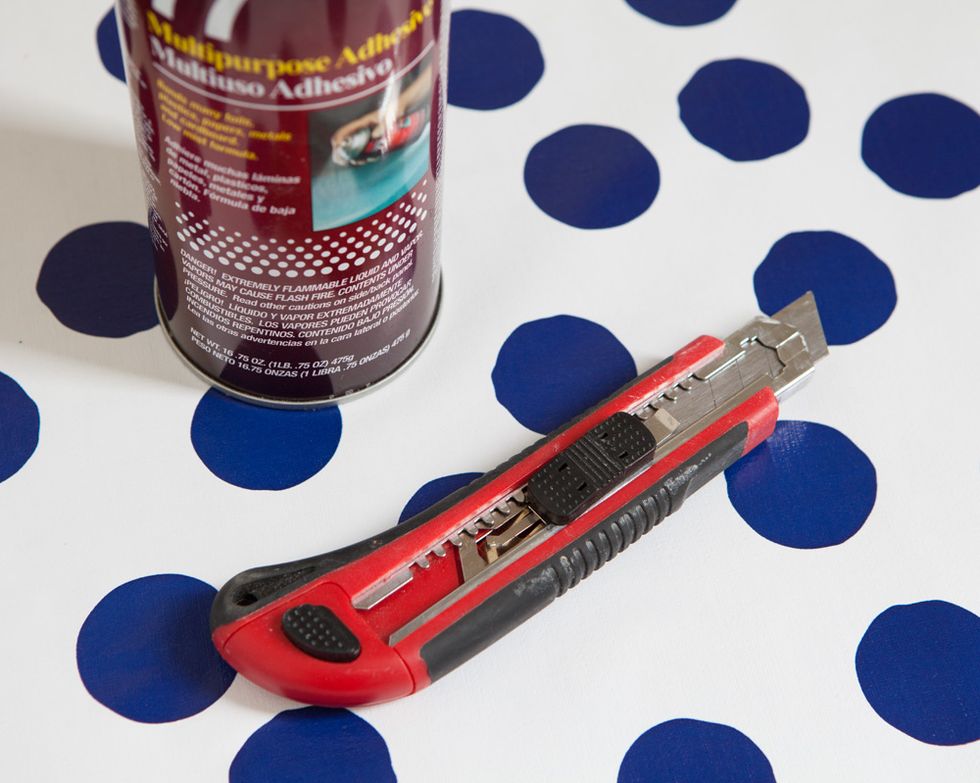
Remove paper and spray back with spray glue. Wait 1-2 minutes for glue to get tacky. Line up paper along one edge of table and slowly roll the paper over the table smoothing with your hands.
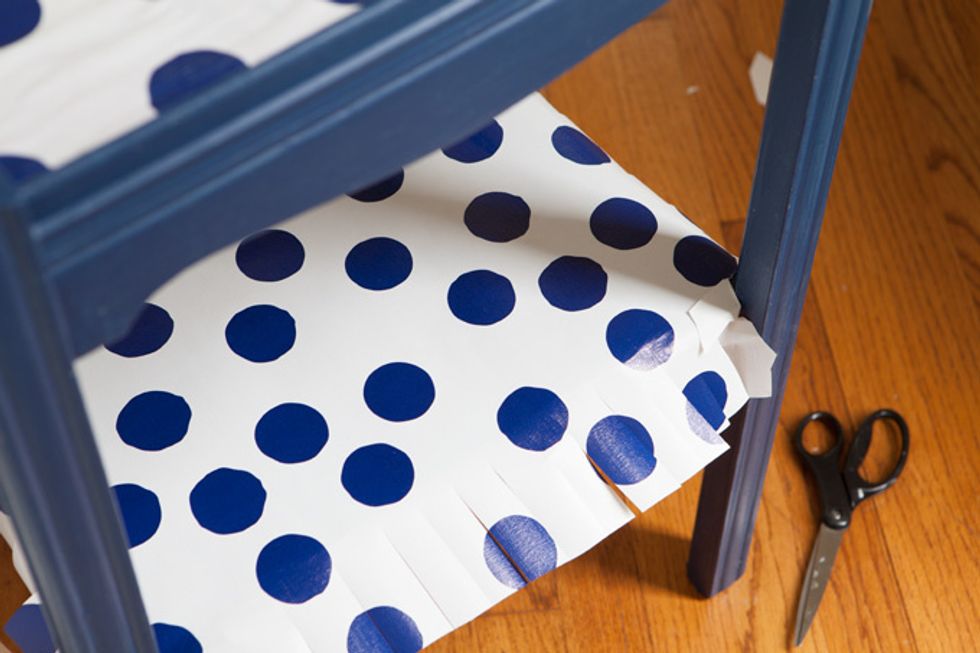
For open shelf, cut the paper about 3 inches larger all around so you have excess paper that can be wrapped around the edge and secured underneath. This will give the edge a finished look.
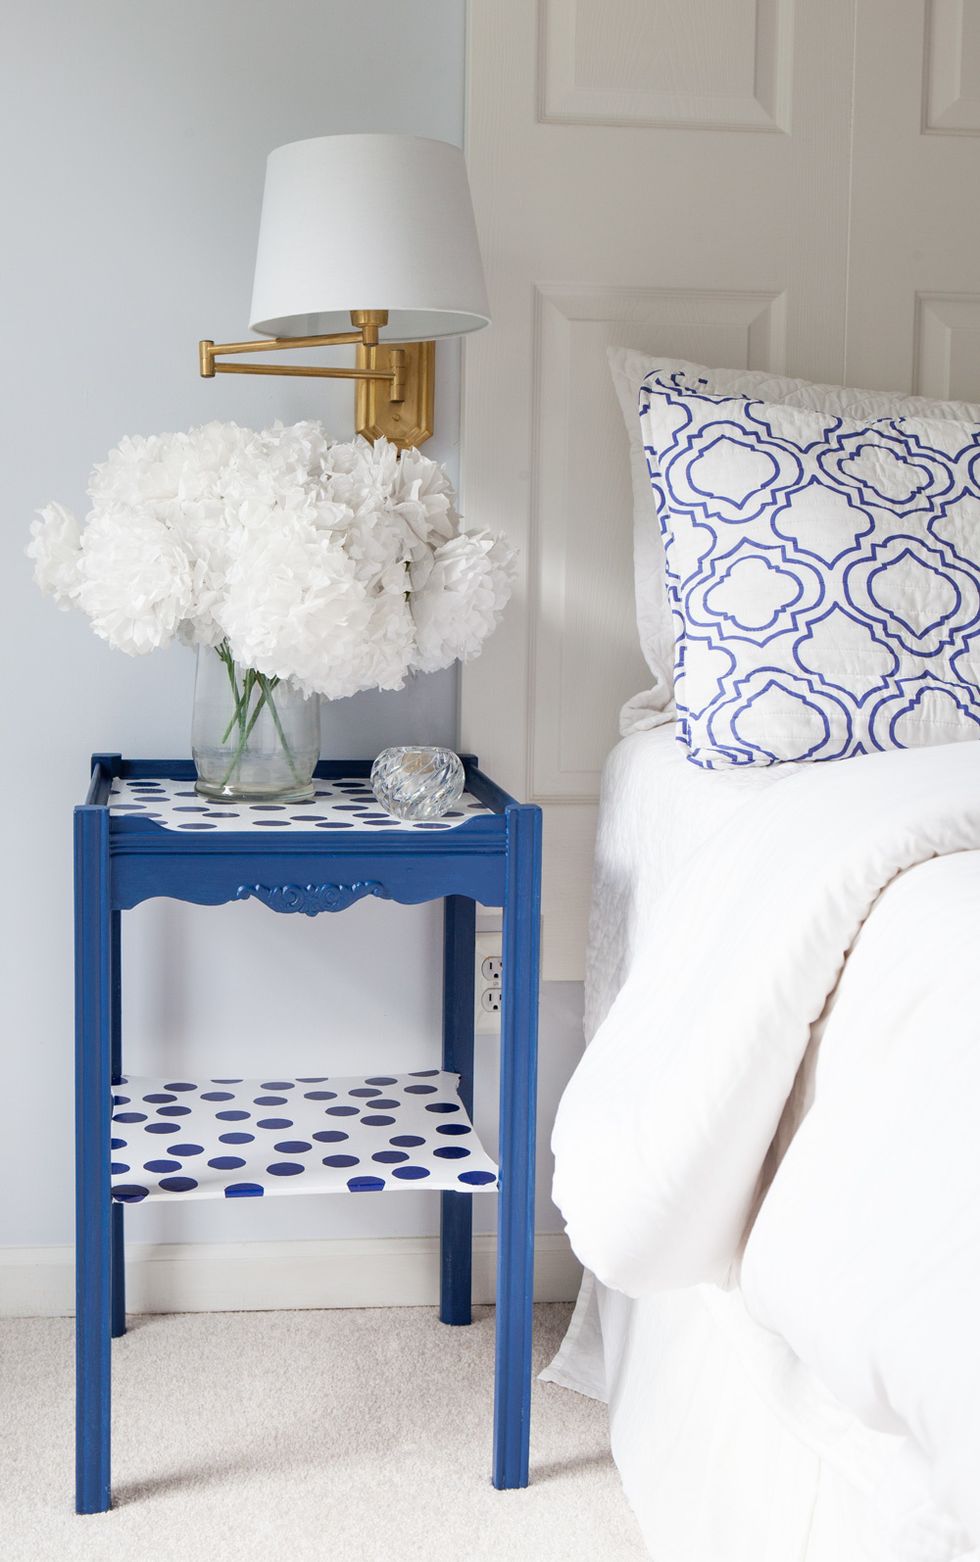
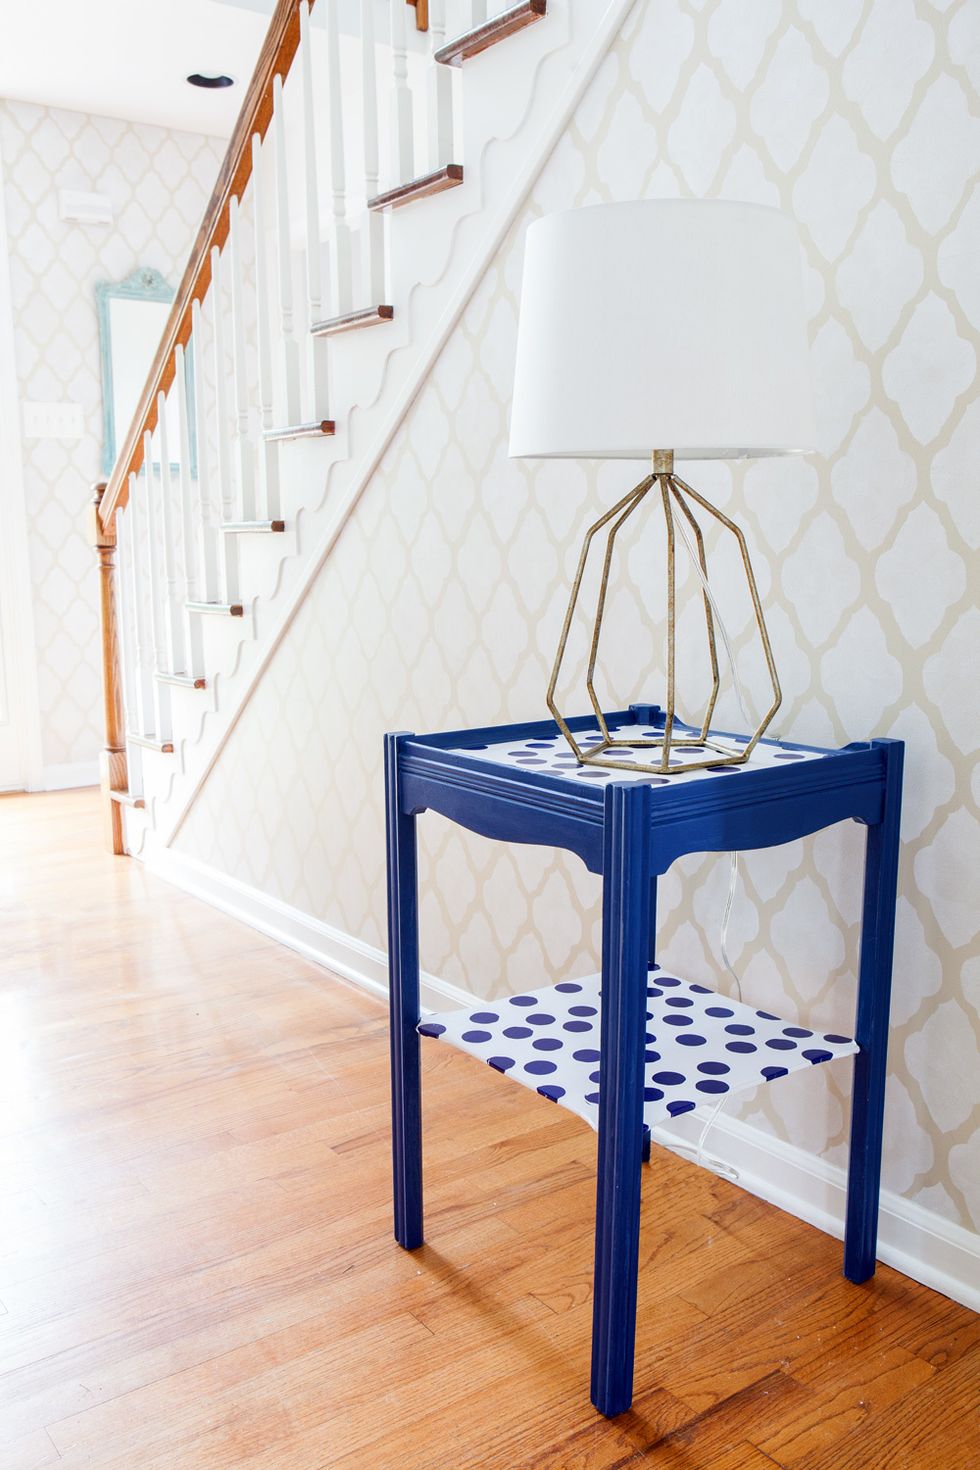
Voila! A decorative table that required no artistic painting skills.
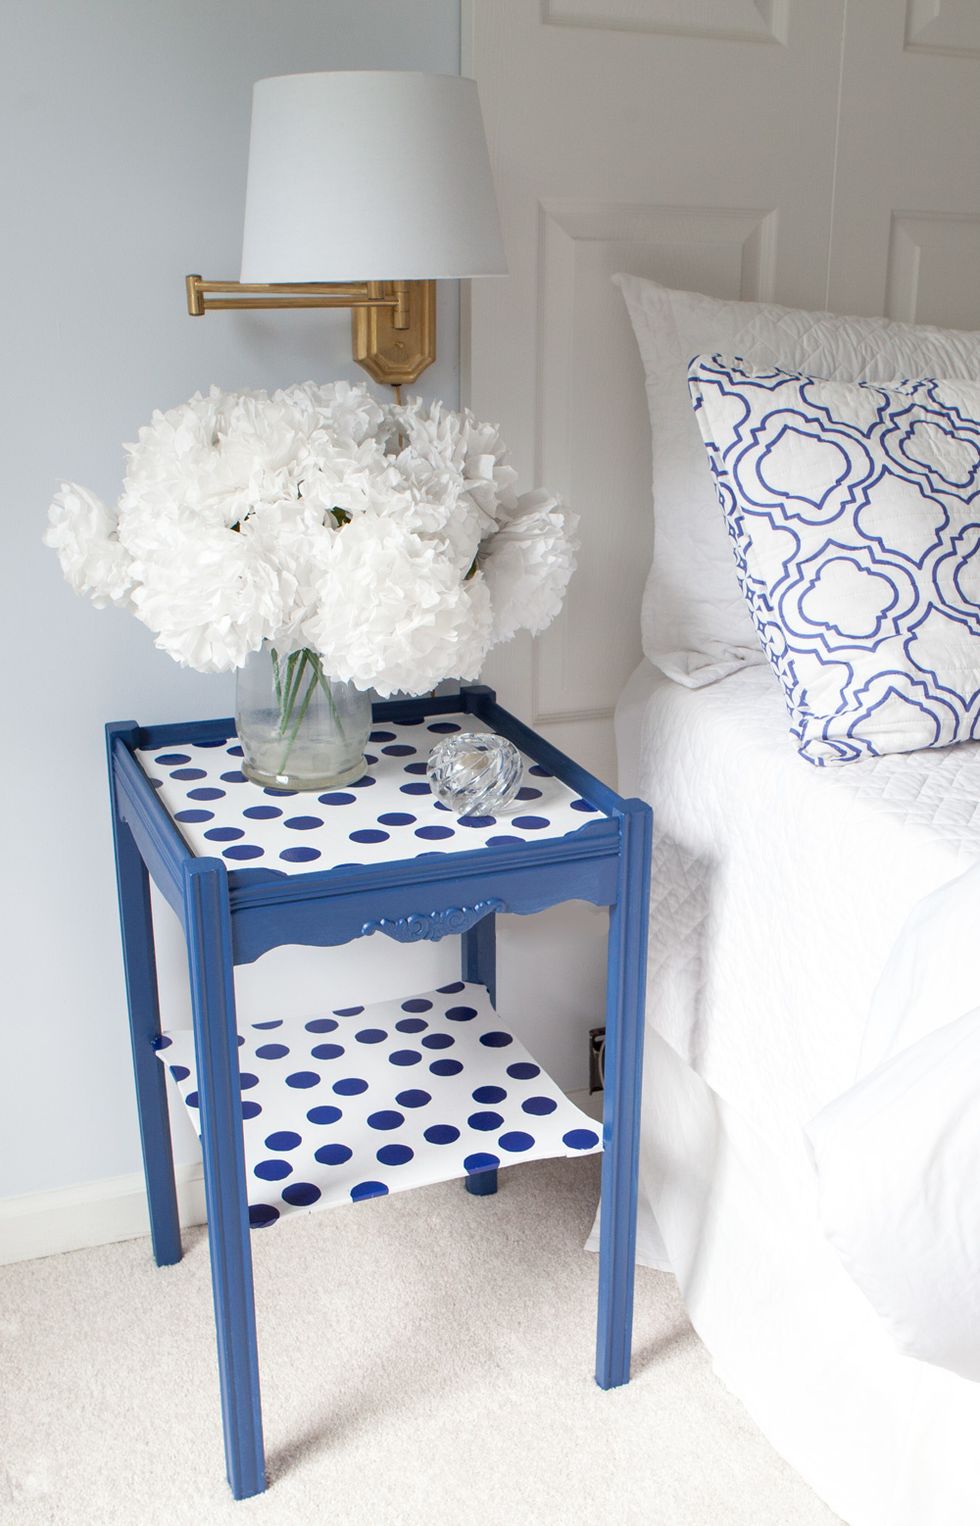
The thick glossy paper is easy to clean. If placing a drink on the table, use a coaster to protect the finish.
If you don't have gift wrap, consider using maps or leftover wallpaper.