The Conversation (0)
Sign Up
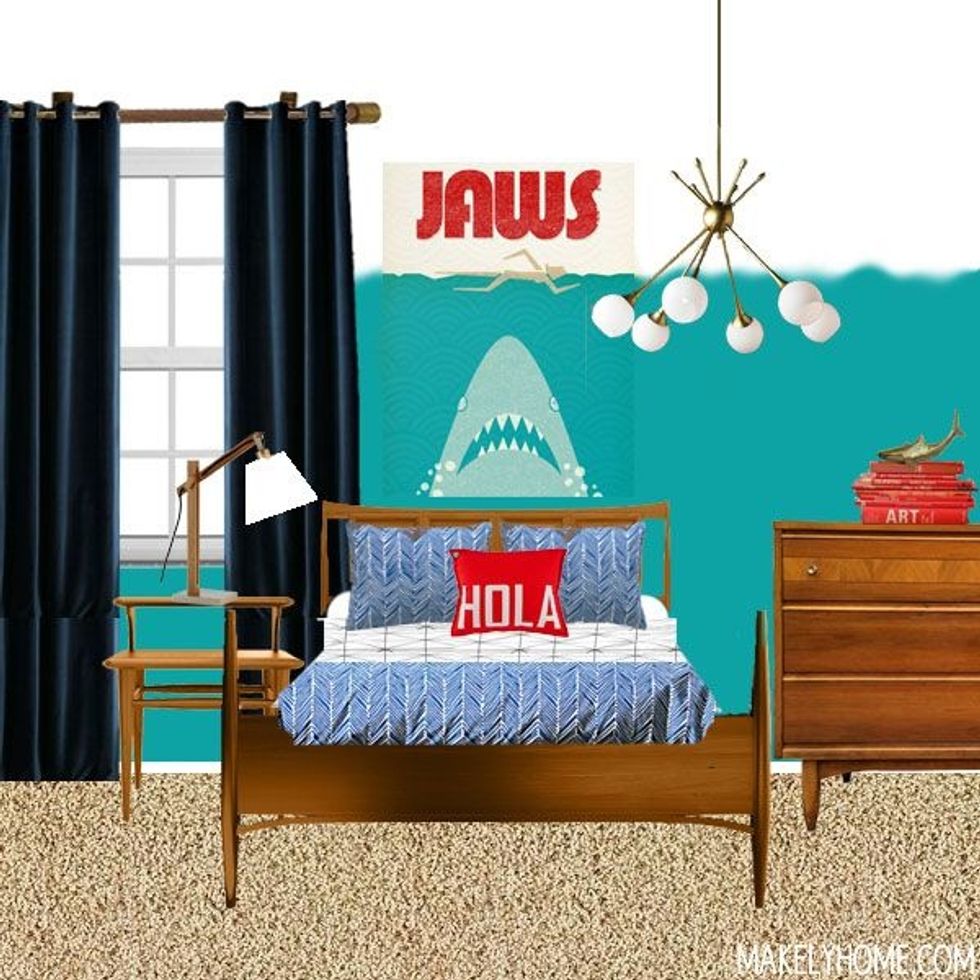
Inspired by the Jaws poster that's hanging above the bed in this mock-up of his future bedroom, I knew that jewel toned, ombre walls were a must.
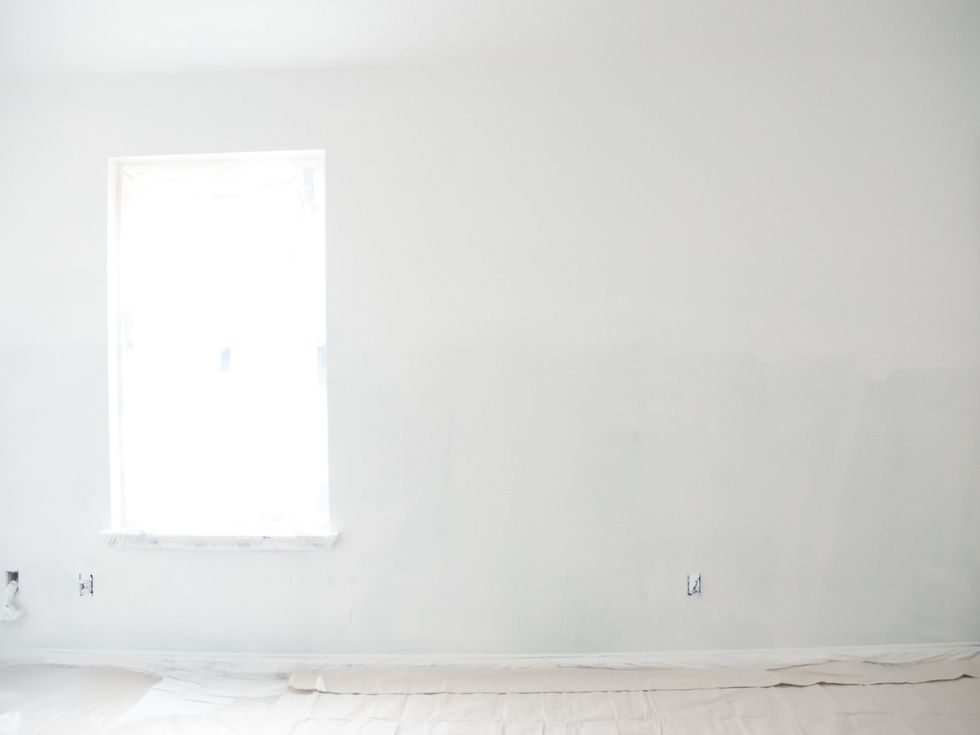
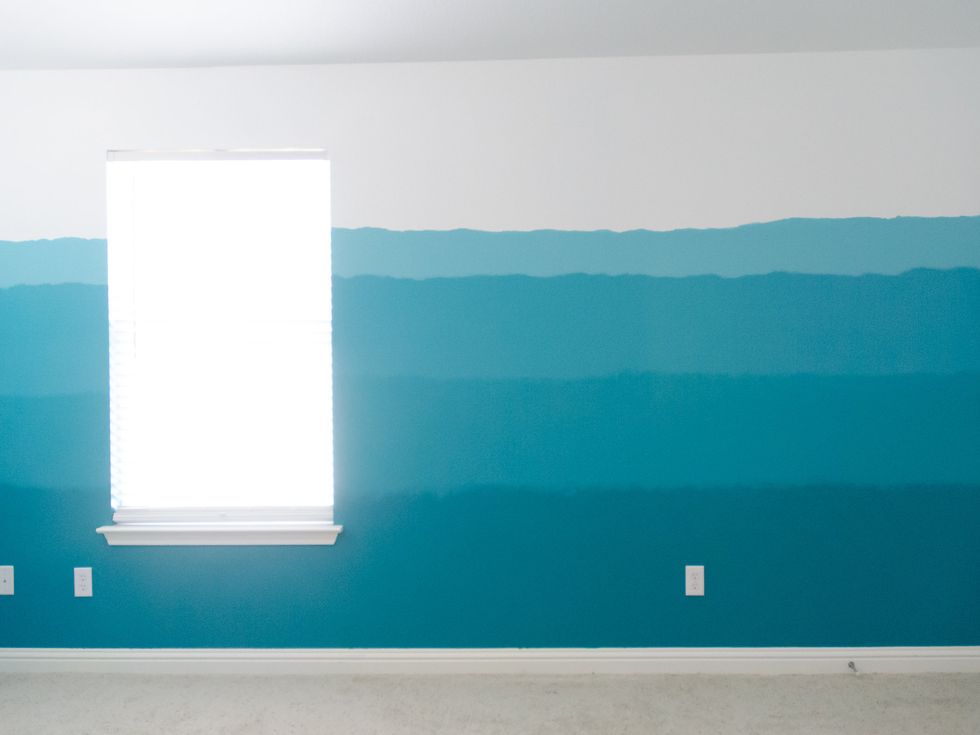
Begin by priming the wall you wish to ombre. I wanted the top of my wall (and ceiling) to be bright white, so I gave that part a couple of coats of White on White Glidden Premium Paint+Primer paint.
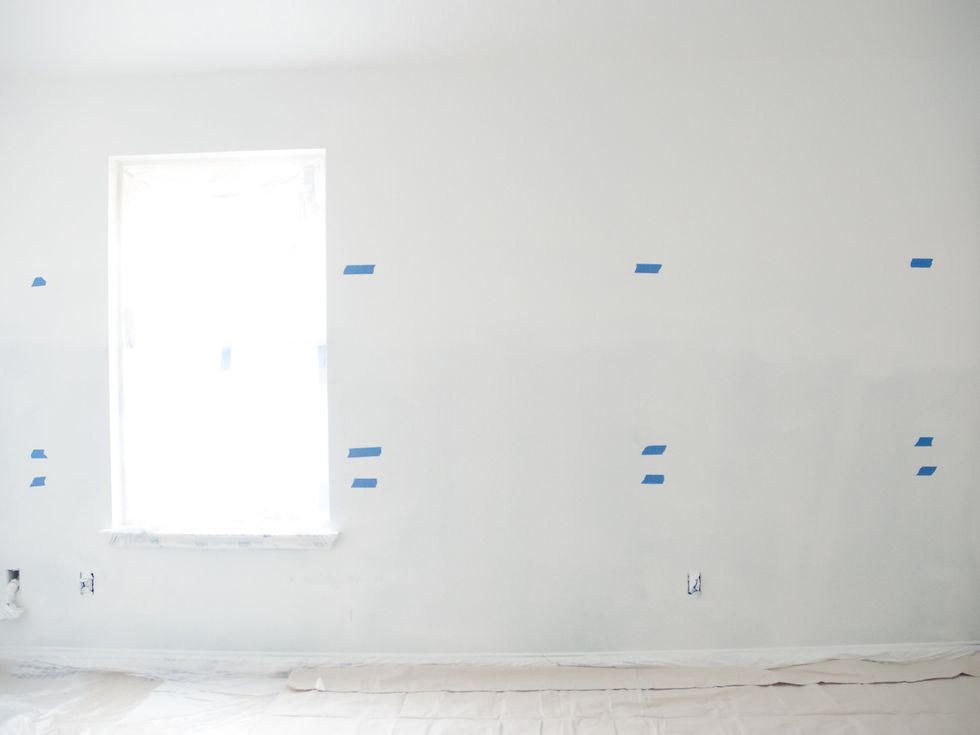
Next, I measured and marked where I wanted each color to begin and end. I left about 6 inches in between each color section so that I could blend in that area.
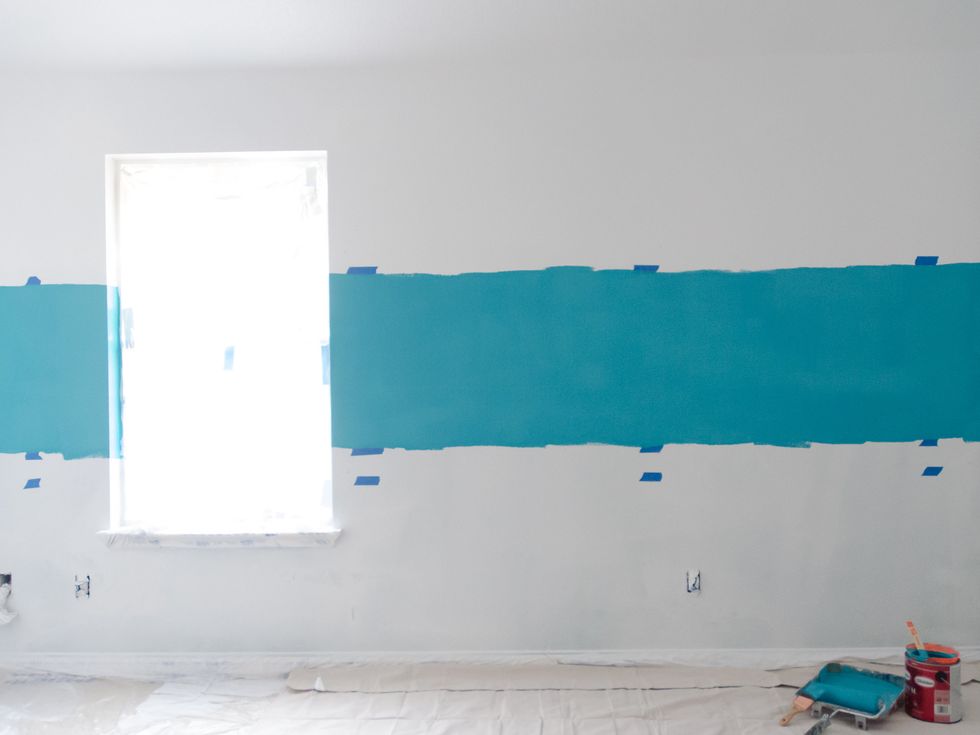
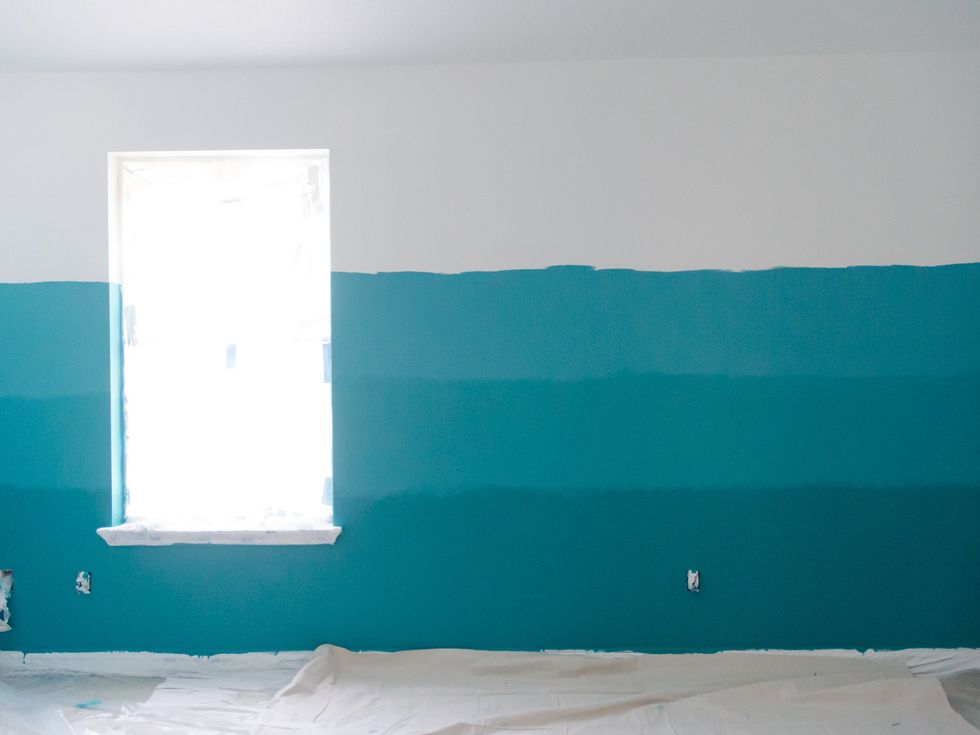
I first painted the Glidden Paint+Primer in Marine Blue in the top section that I marked. I didn't worry about trying to make a straight line since I'll be blending colors.
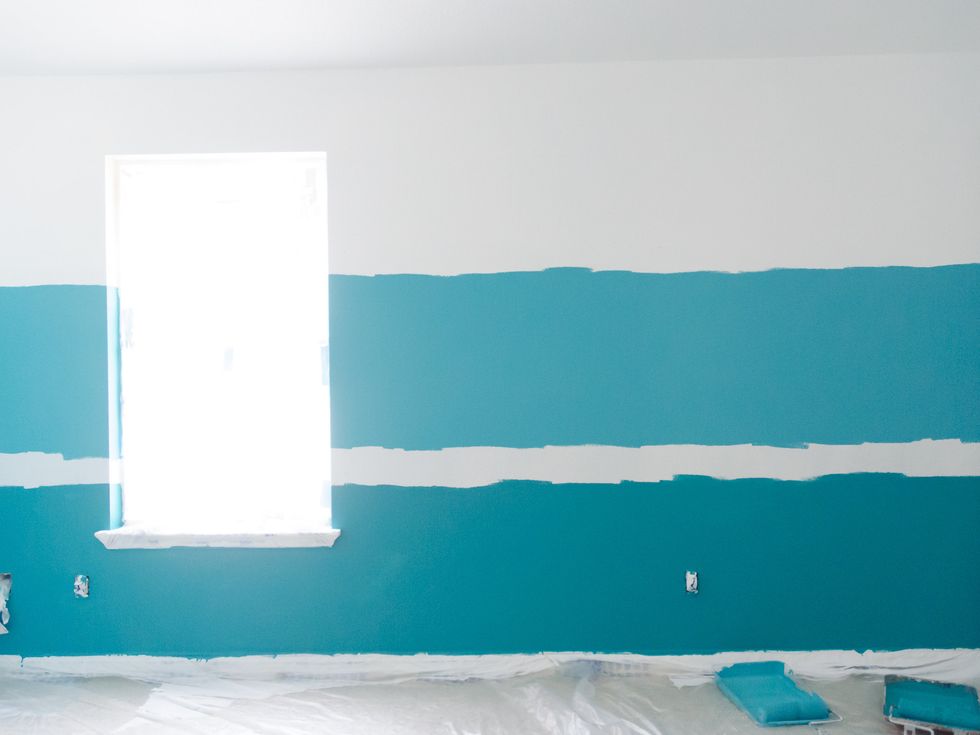
Then, I painted the Glidden Premium Paint+Primer in Deep Pool on the bottom section that I marked on the wall.
Then, I mixed 1 part of each of the blue colors (2 cups each) into one of my empty quart cans.
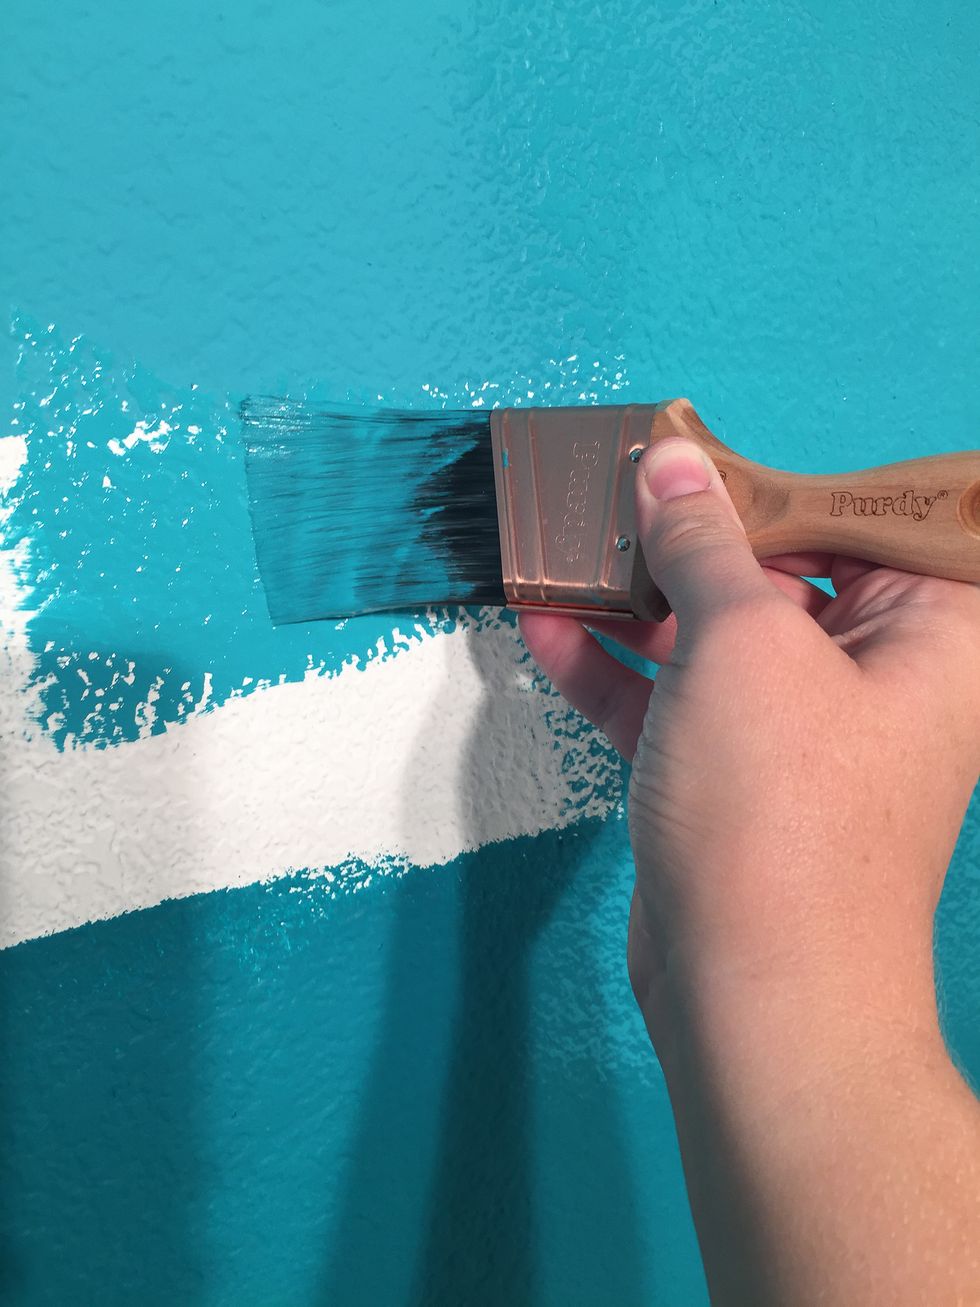
I painted the blank section between the two colors with my new paint mixture, overlapping the top and bottom colors slightly. I painted only about a 2 or 3 foot section at a time.
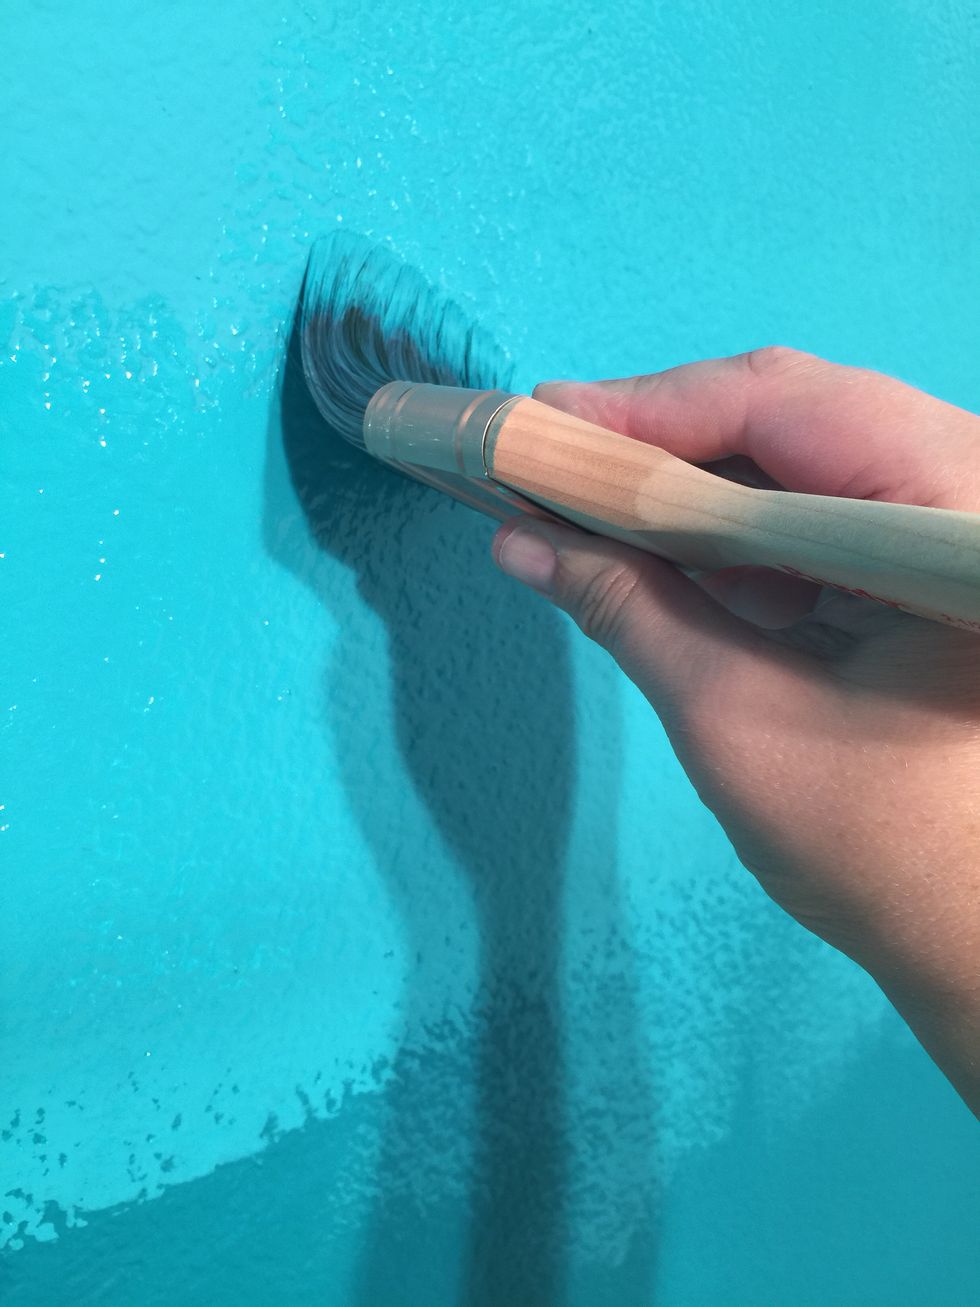
After I painted that small section, I used a dry brush to blend the new paint color up and down. This spreads the wet paint into the other two painted sections.
But, it didn't really turn out the way I expected it to look. I didn't want an ombre that felt too choppy, and this was. But, the good thing about paint is that it's always fixable!
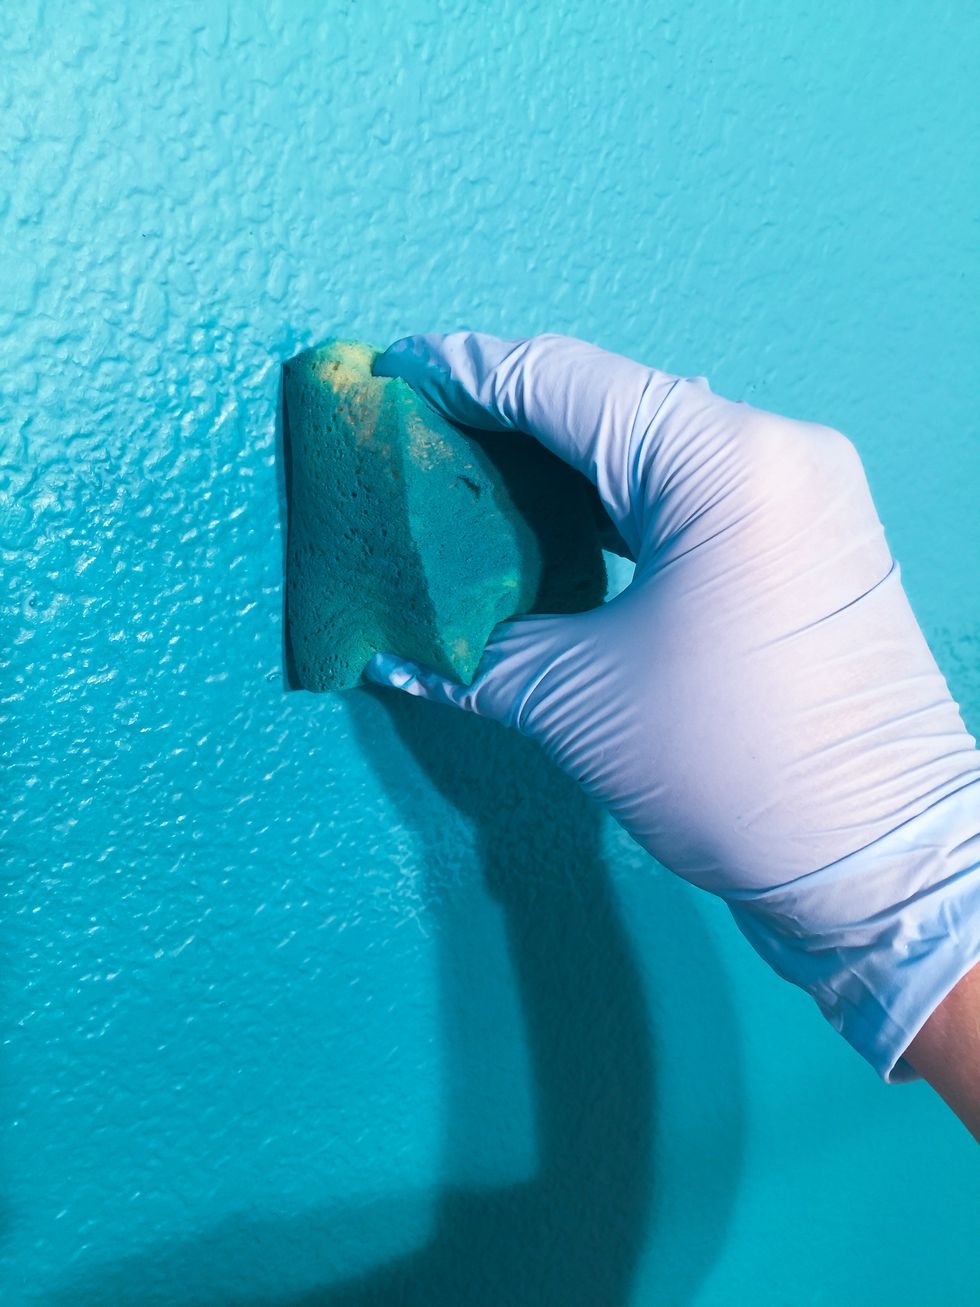
So, I got a sponge, dabbed it in a little bit of the paint, and sponged it along the line. It totally softened the look!
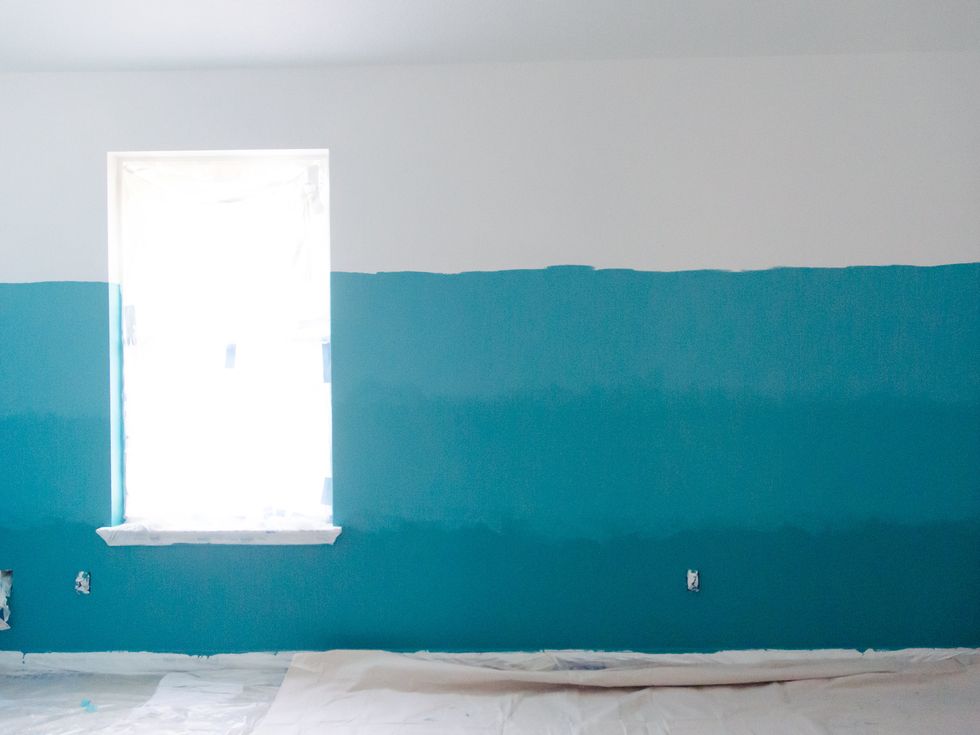
Much better! I love the smooth, blended lines now.
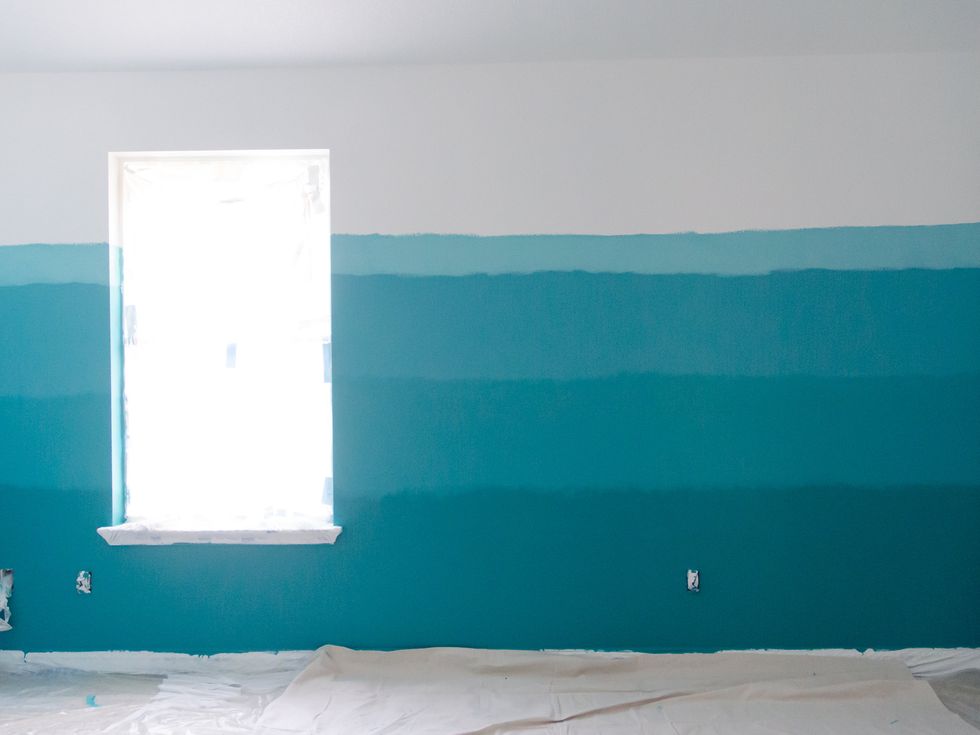
Then, I mixed my White on White paint and the Marine Blue in my other quart can to get a light blue. I painted it above the Marine Blue section.
I blended it with a sponge the same way I did the other sections. Because the jump from Marine Blue to light blue is so big, it didn't blend as smoothly as the other colors. It still looks great.
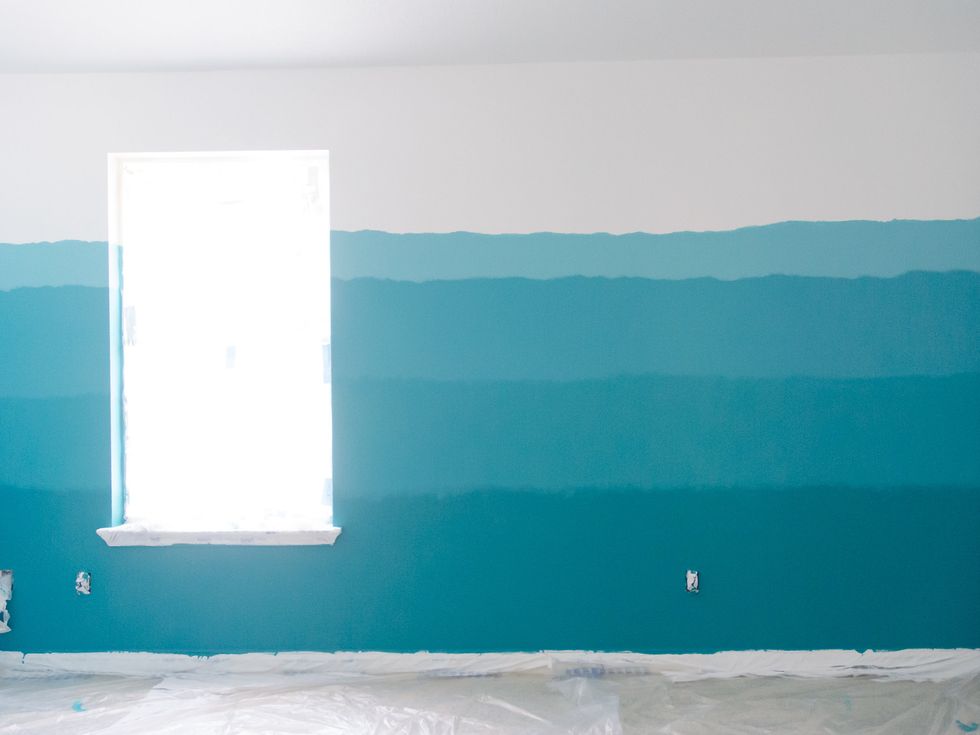
I always love seeing how a paint job really looks after I clean up the dropcloths and painter's tape and reinstall the outlet covers.
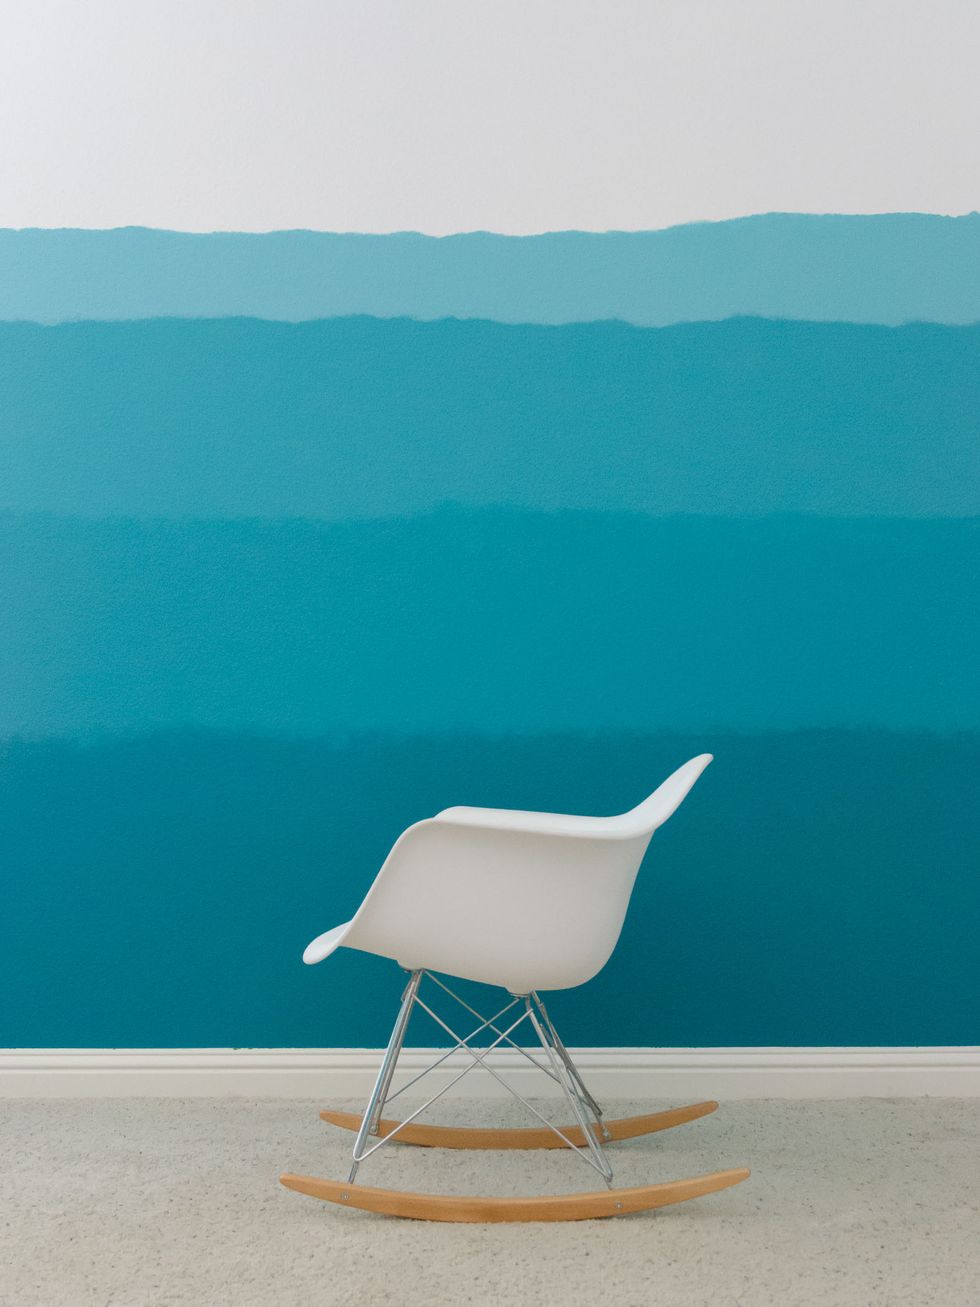
My son couldn't be happier with his ombre walls - and neither could I! It's so nice to be able to give him the ocean theme that he wants without having a theme room.
For more painting ideas, head over to Mycolortopia.com