The Conversation (0)
Sign Up
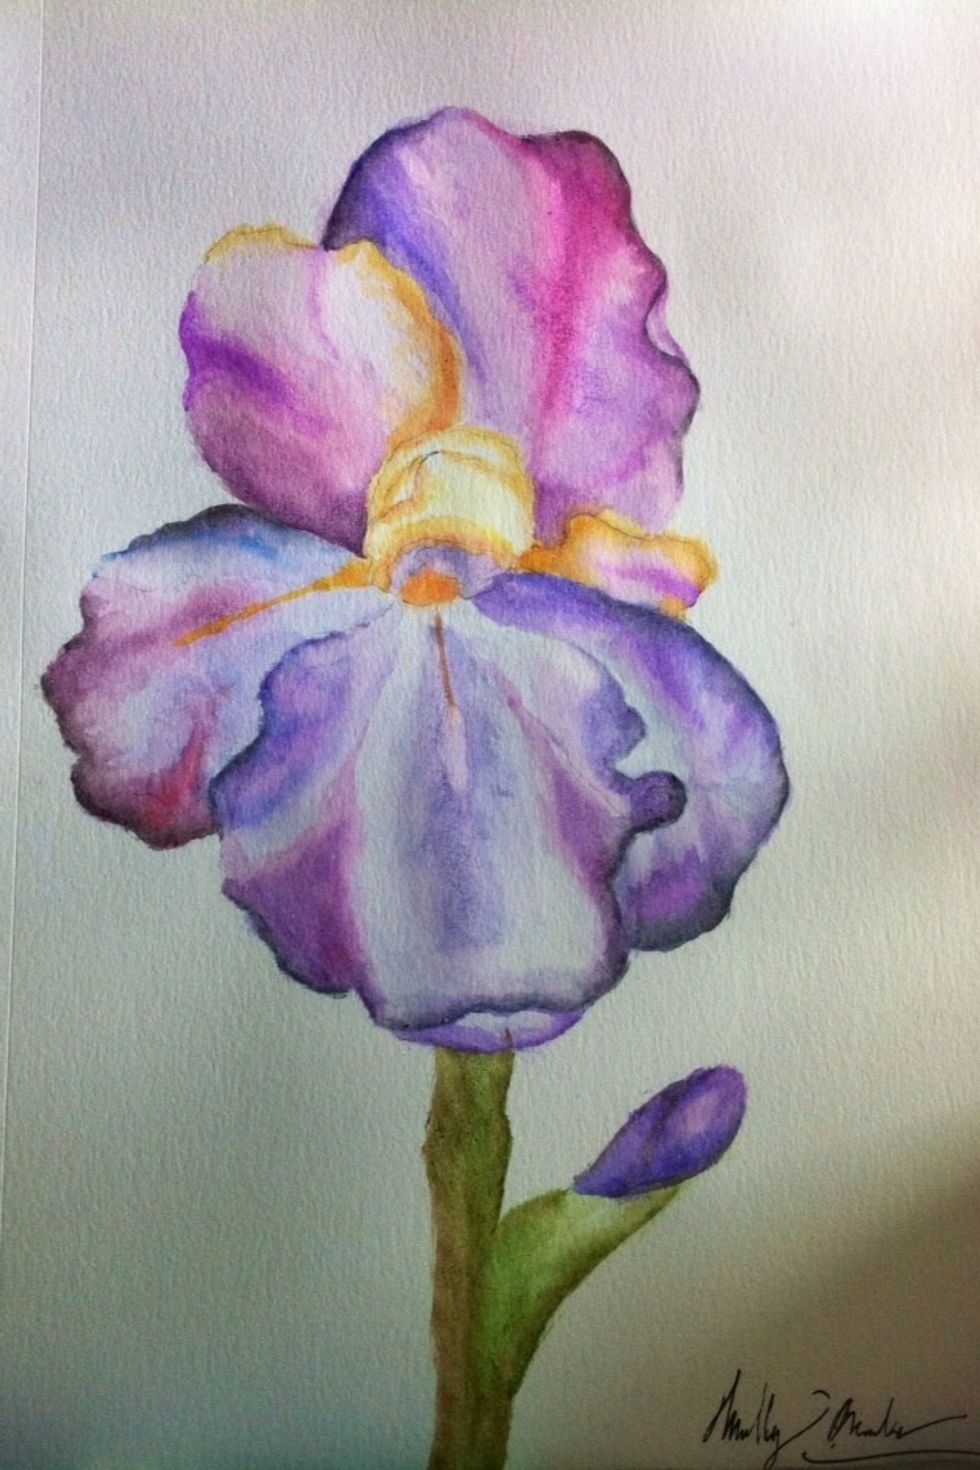
This is what the finished product will look like.
First, outline the general shape of the flower in pencil. You will want to choose a general color scheme to stick to, in this case I chose purples with hints of yellow.
Then, start at one petal and paint the lightest layer first. This is always a good practice with watercolors.
Next, you will be adding darker layers. As you do this, think of how the shadows on an iris would look. Notice how in the painting it looks like the iris actually has the contours of a flower petal.
Use this technique as you blend: clean your brush of paint, then dip it in your water, but soak up all of the excess water. This way you won't be adding pigment or disturbing layers as you blend.
Use a small brush around the edges. (I used a size 2 round brush). Also, use round brushes around edges and to paint more comes lines. Flat brushes are better for filling in large spaces.
Continue this sequence for all I your petals. As a note about irises, the outer petals are generally more pigmented than the center, so just keep that in mind.
Of you want, add a stem and maybe a bud or two. Just remember to maintain the same amount of contour and shading on the stem as on the petals. Then, you're done!