The Conversation (0)
Sign Up
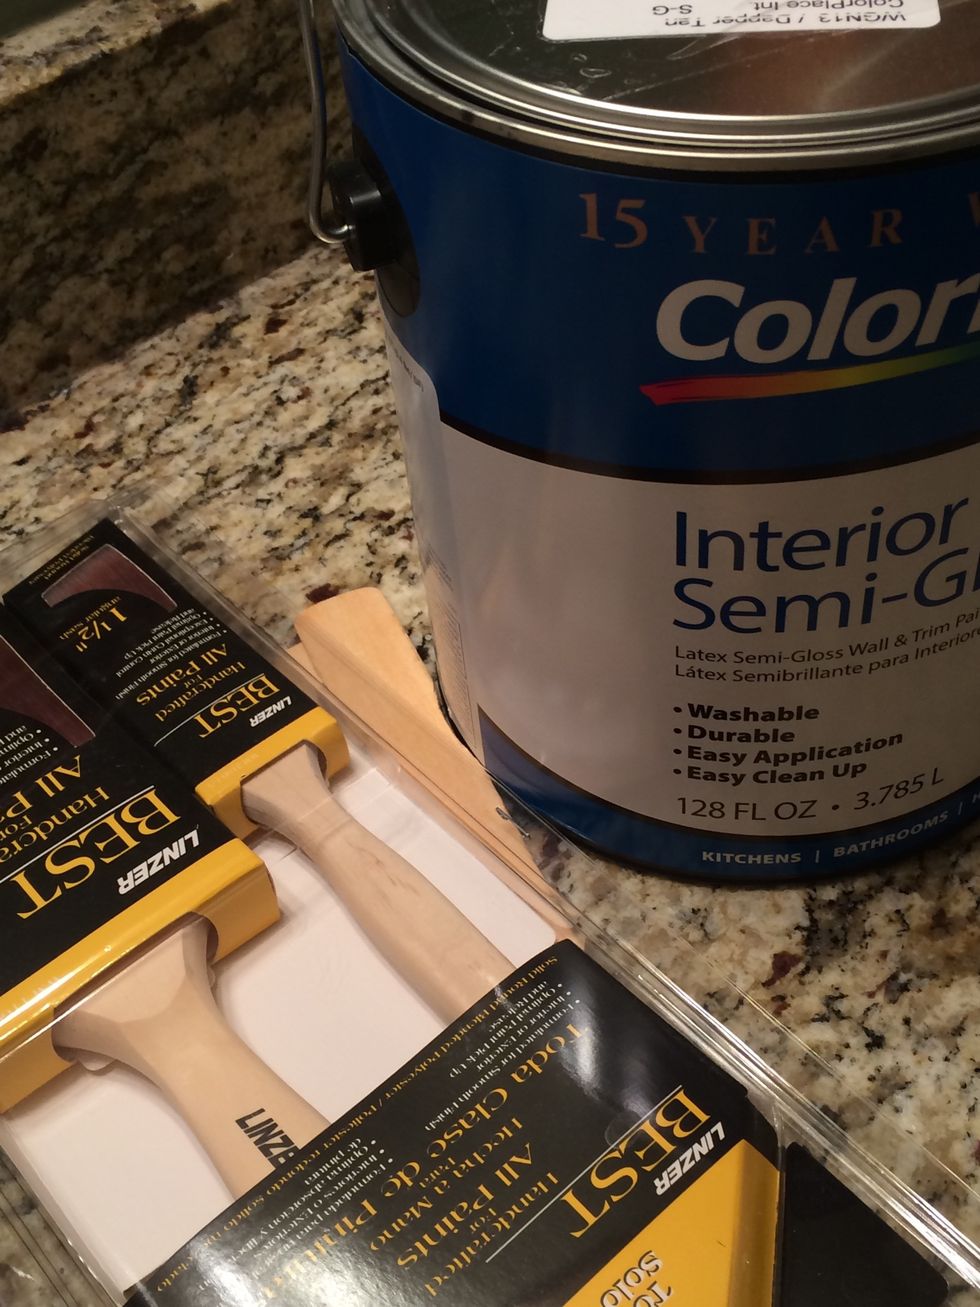
Get your supplies ready. I like having an angled brush and a straight one. I also use the paddle style foam brushes.
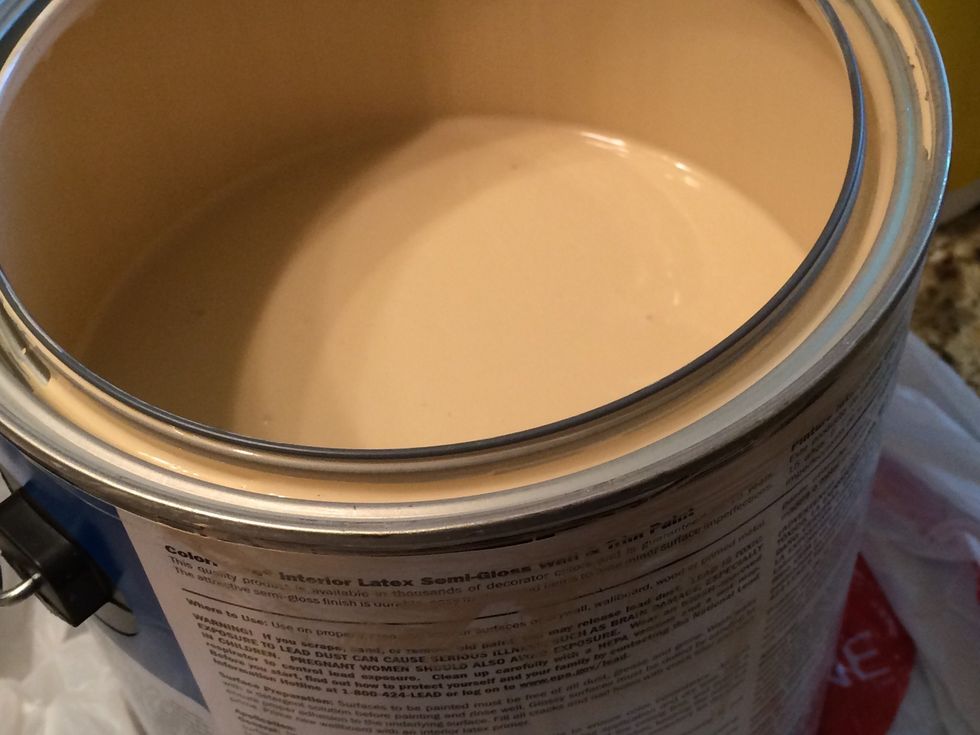
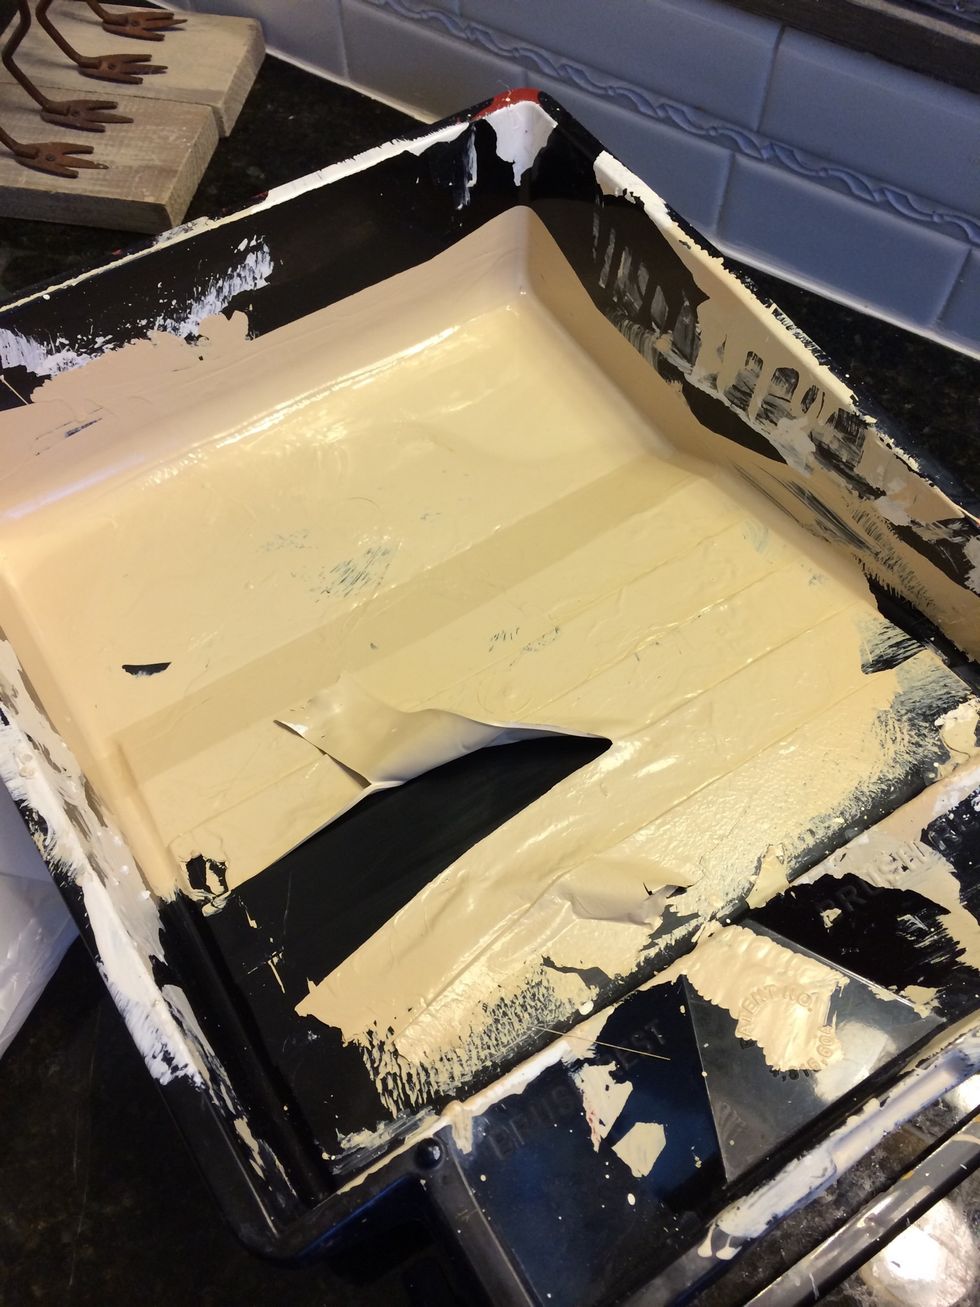
Shake your paint really well and make sure the paint is well mixed before pouring a couple of inches of paint into your plastic paint tray.
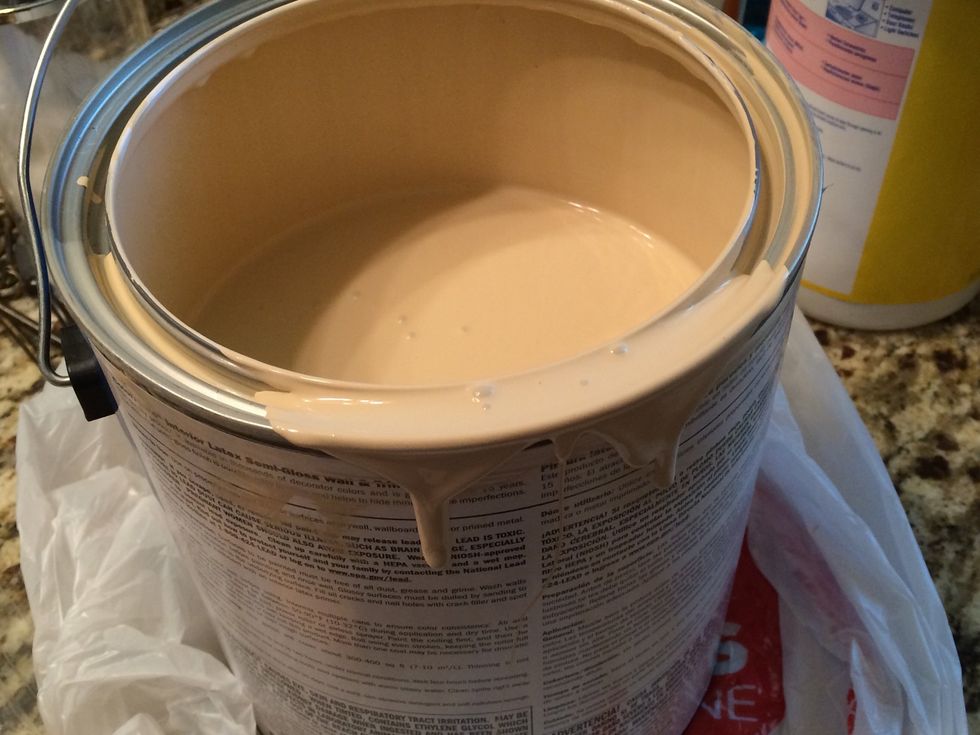
CLEAN the edge of the paint bucket. Do not let paint collect in the grooves and run down the side of the bucket. Use your paint brush and wipe the sides and the grooves. Put the lid back on!
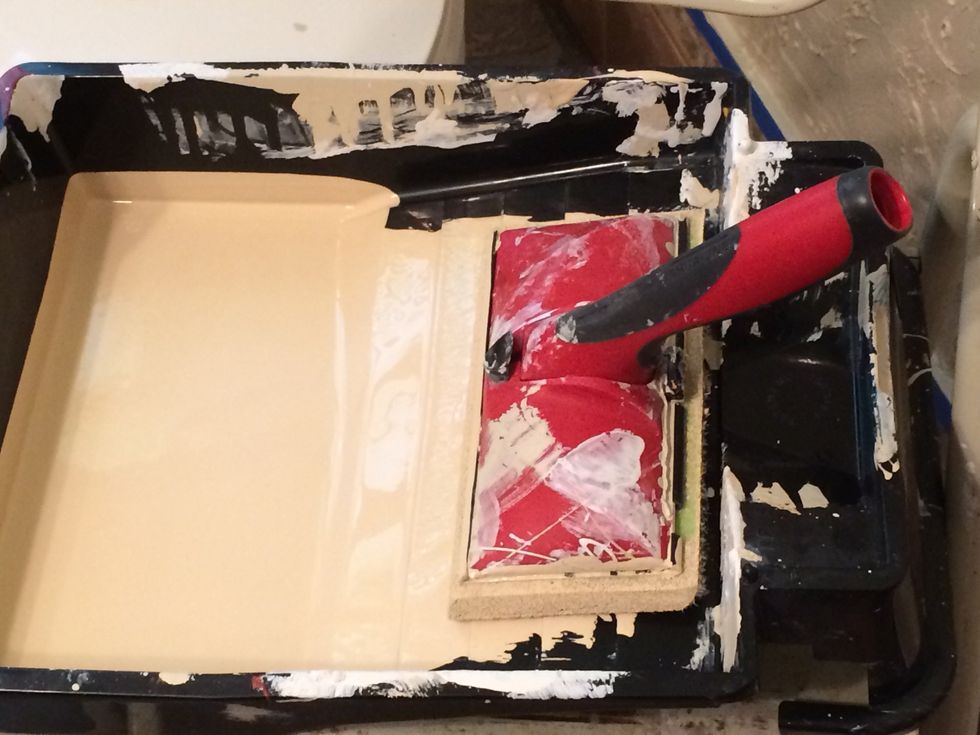
Here is the brush thingy that I really like to use on walls. I clean and reuse these a lot. You can buy replacement pads as well.
Personally, I'm not a fan of paint rollers. The rollers spray paint droplets everywhere and you end up with paint on surfaces you didn't want painted!
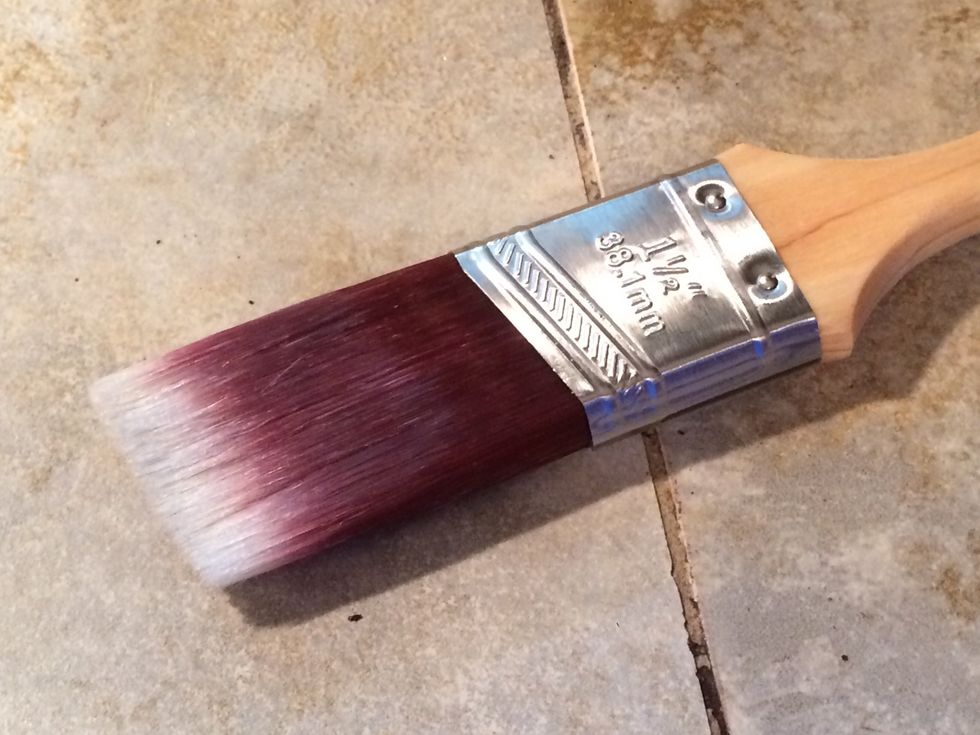
Don't dip your entire paintbrush into the paint! This is how my brush looks after 2 days of painting.
Use painter's tape and firmly press the edges of the tape into the area you want protected. I ran out so not all if the area is protected.
Stop and make sure that important areas are protected!!! If you don't want paint on it, protect it!!
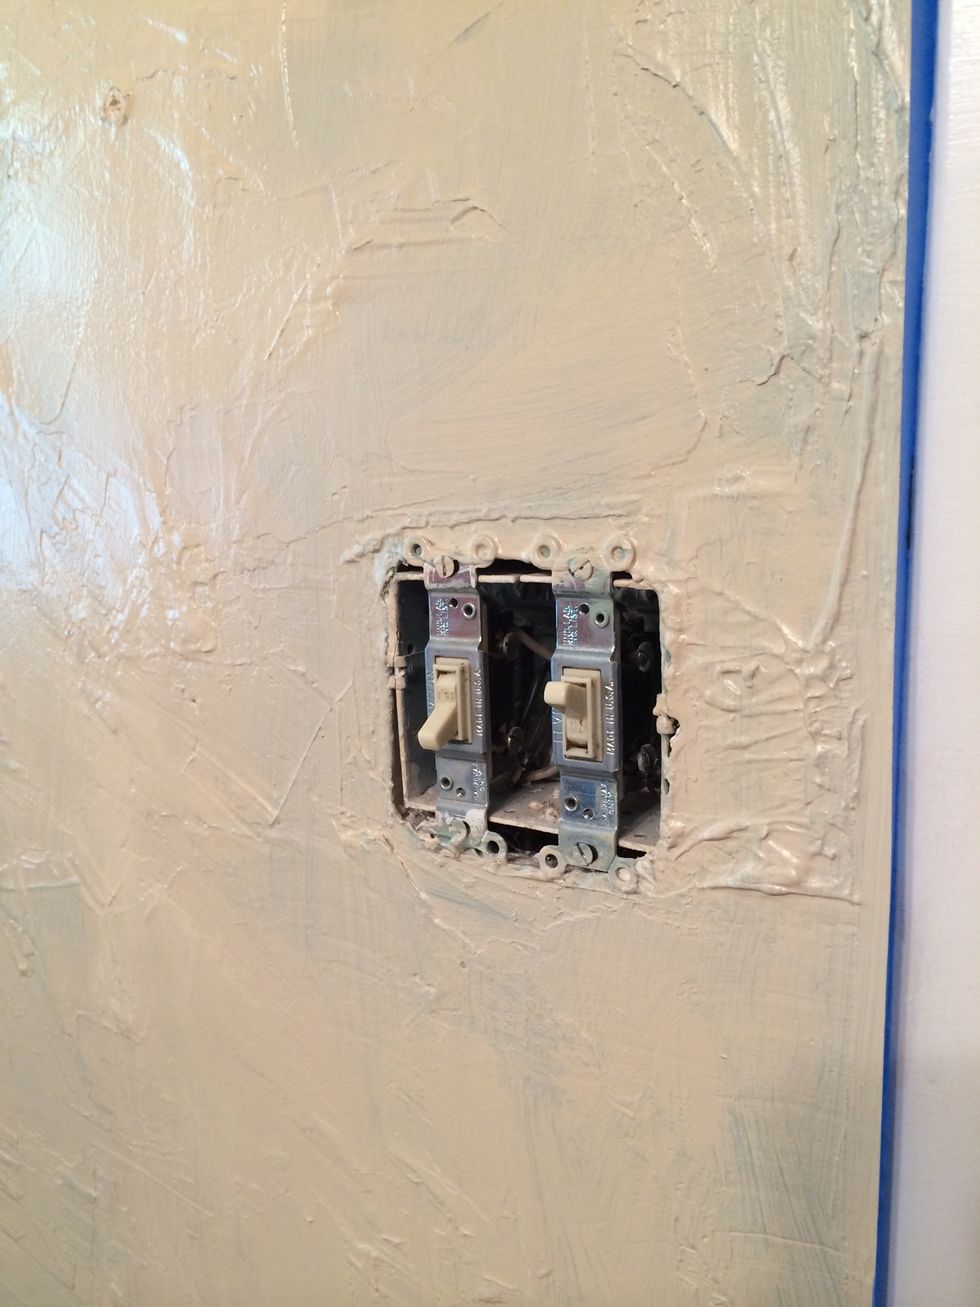
Take the switch plate off the light switch and outlets. It is so worth that extra minute!
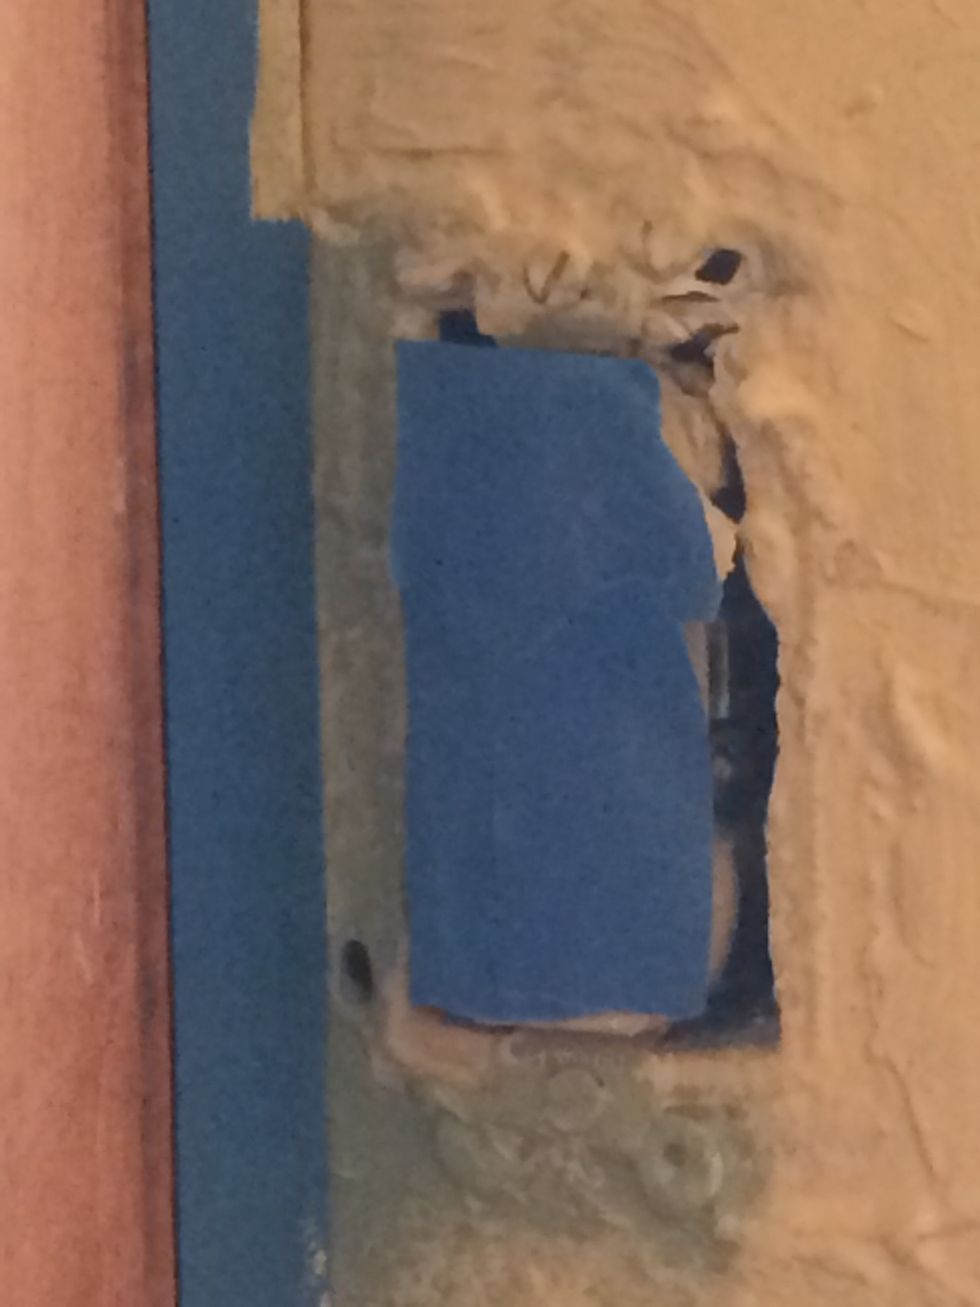
Put tape over the outlet so that you don't accidentally paint the plug.
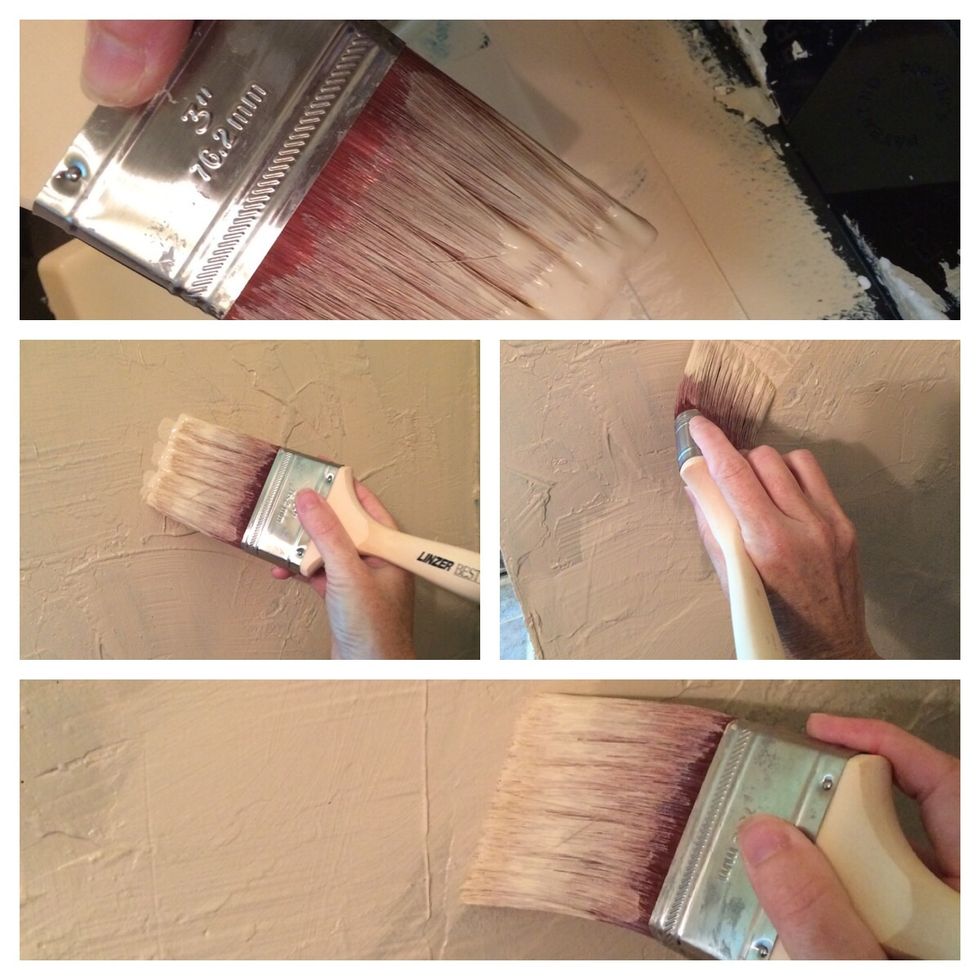
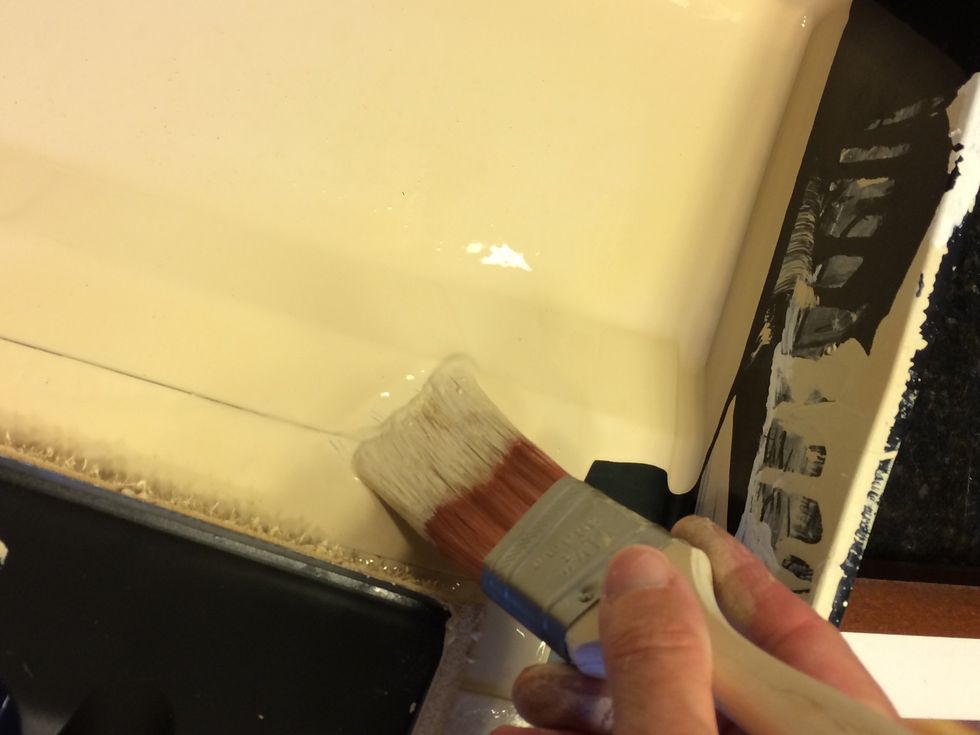
Paint at an angle. Don't smush the tips of the bristles into the wall! Work at 30 degree angle and keep the bristles moving in the same direction.
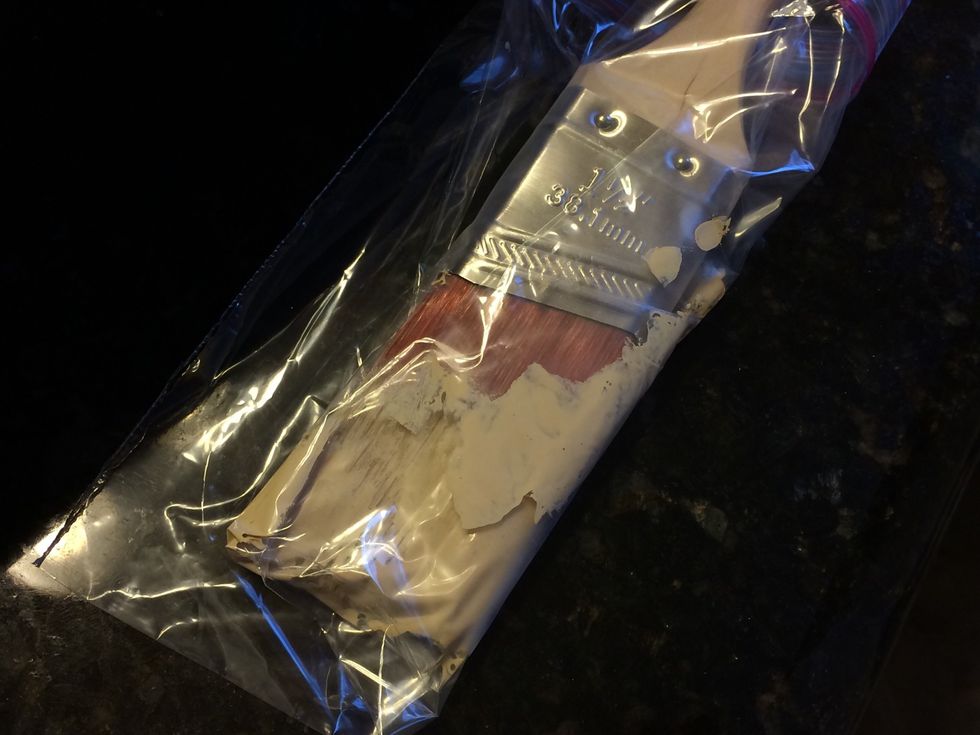
If you need to take a break, put your paint brush in a zip lock bag and get all of the air out that you can. Refrigerate if it's going to be overnight before you use the brush again!
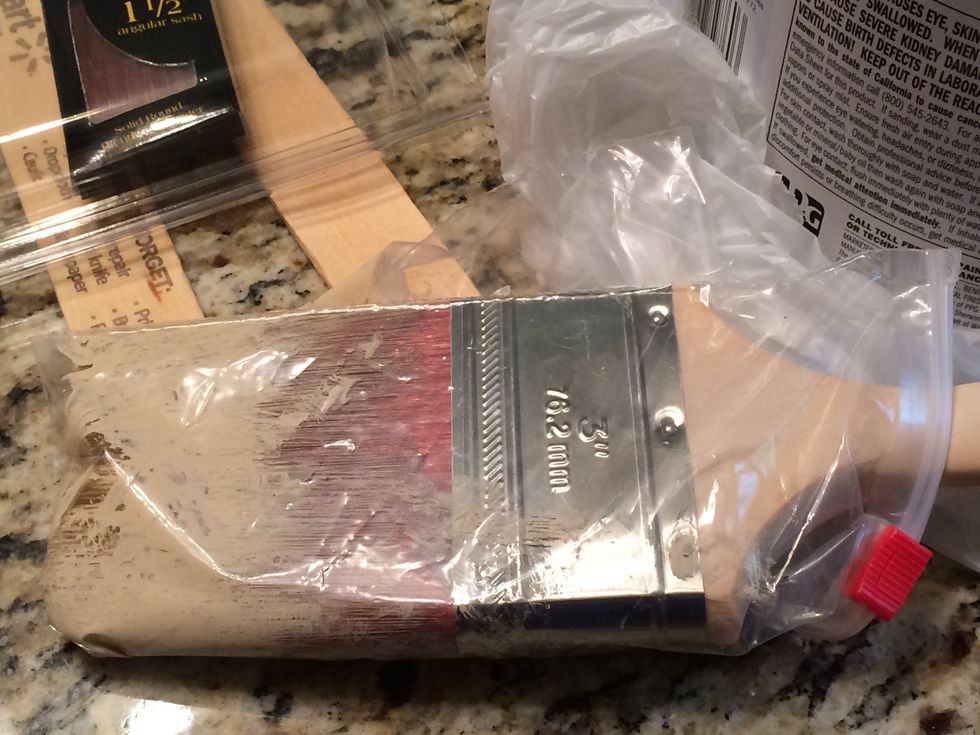
Make sure that the plastic bag is flat against the brush so that the air isn't able to circulate around the brush!
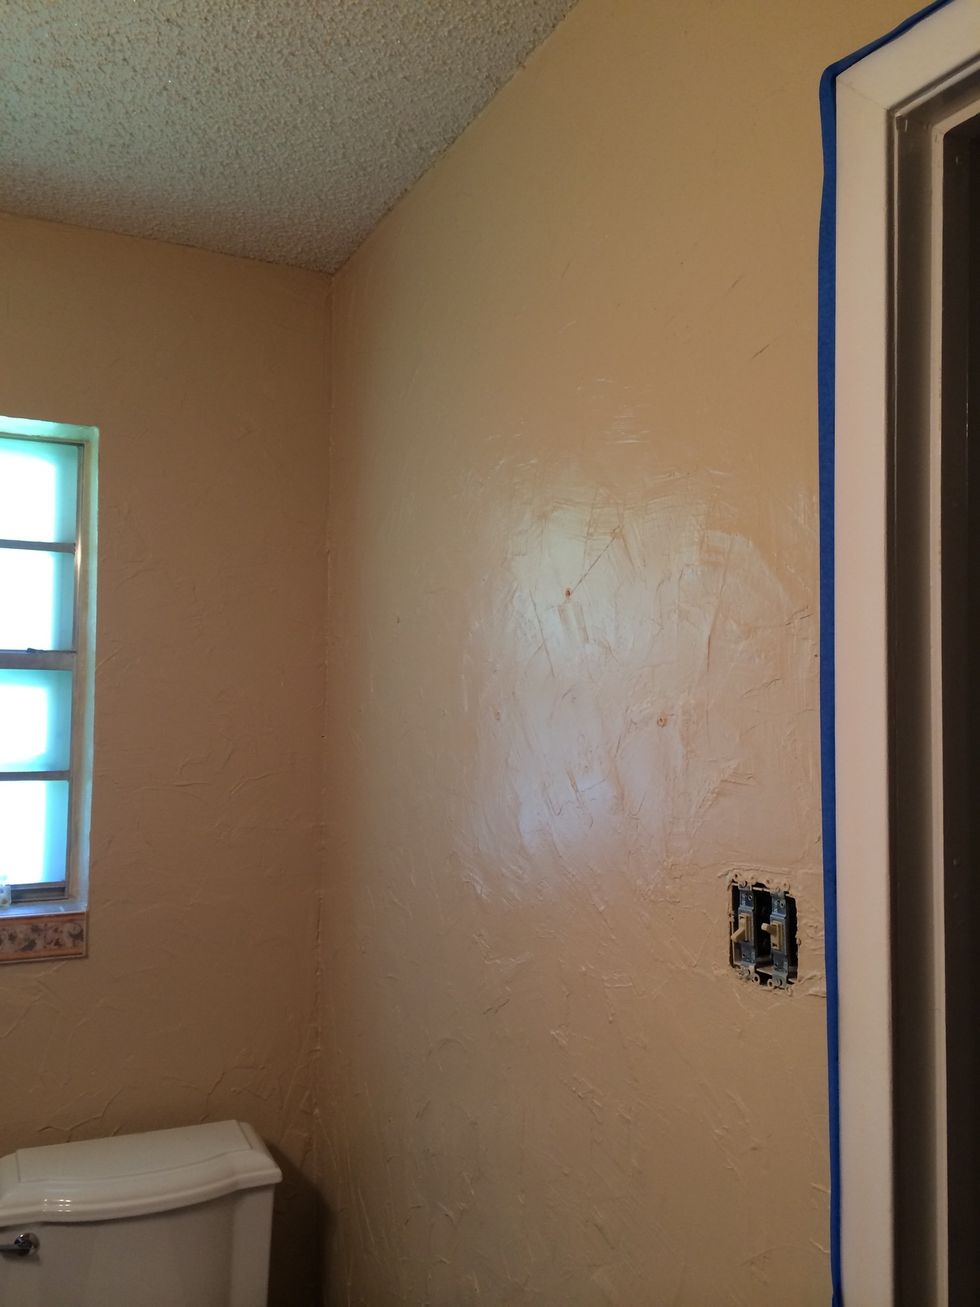
Don't try to coat the walls so heavily that it will only take one coat! You will just end up with dripping and running paint that will make a mess! Plan on at least 2 coats!
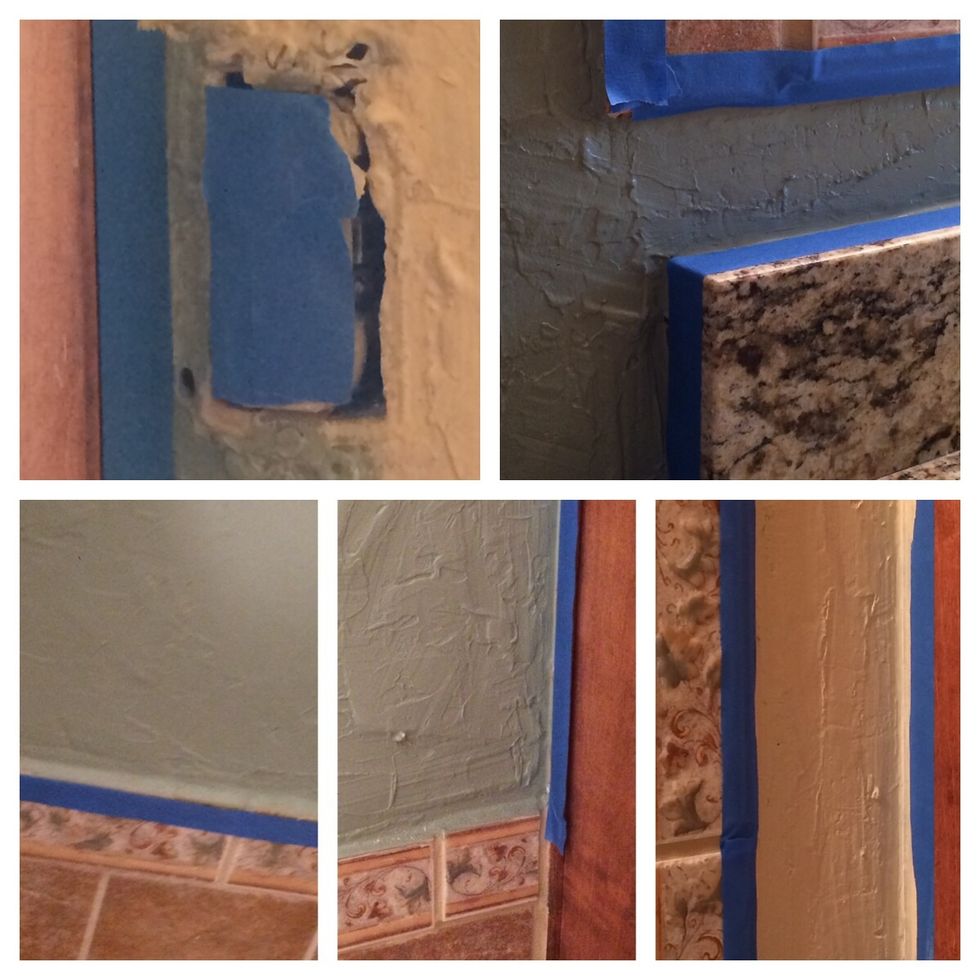
For tiny areas around lights and little crevices, don't try to cut in with your paint brush unless you have protected the area with tape or have a really steady hand.
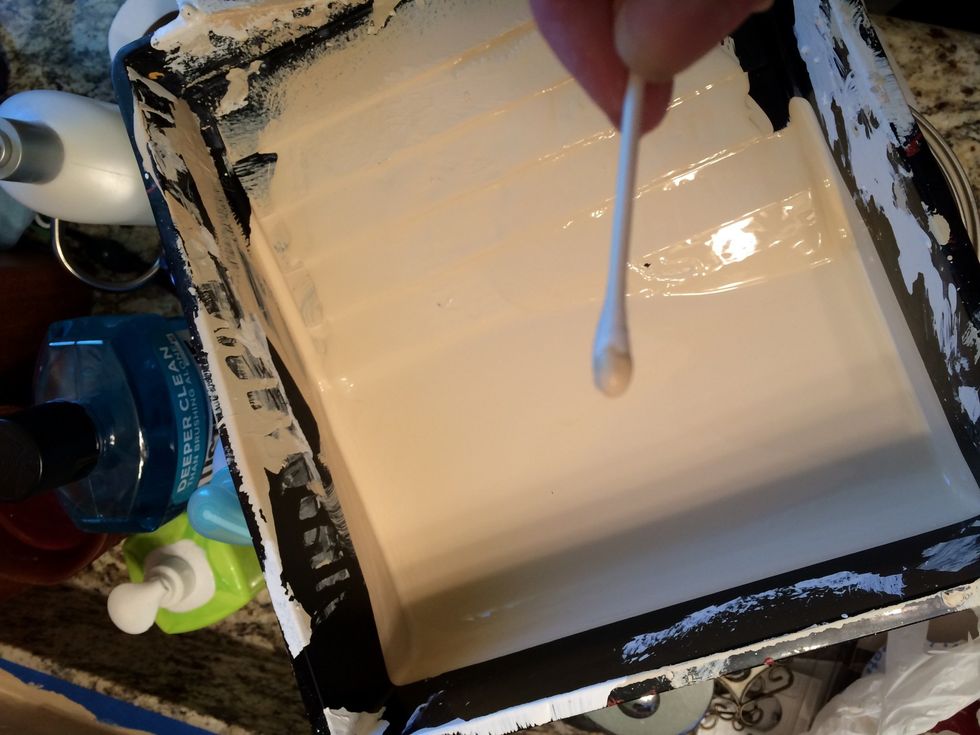
Use a cotton swab with a dab of paint!
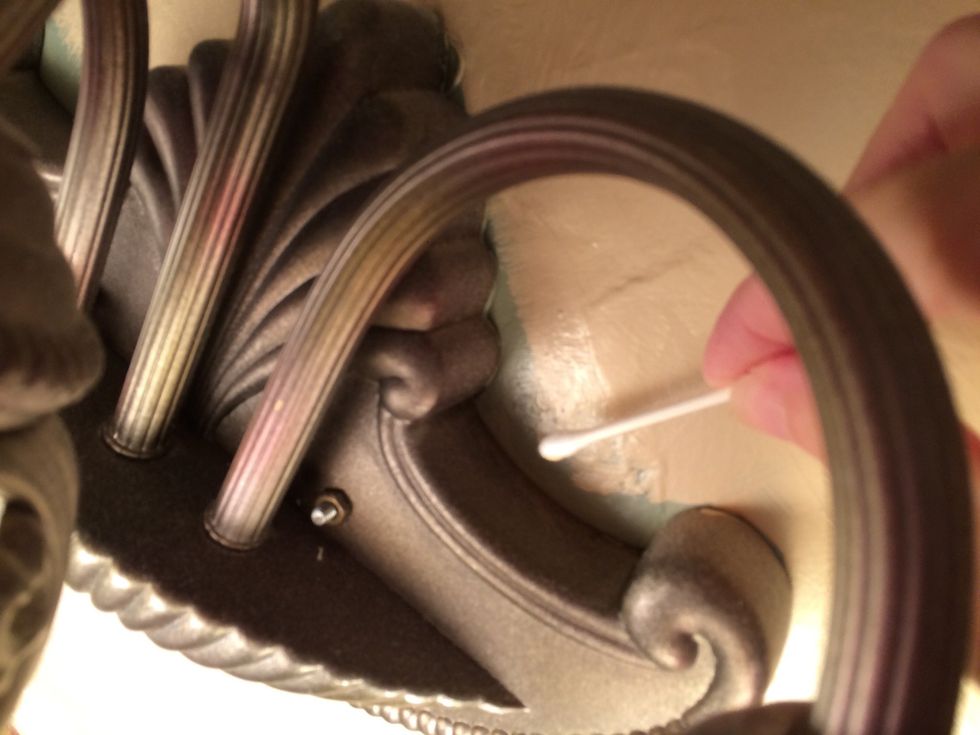
Much easier to control!
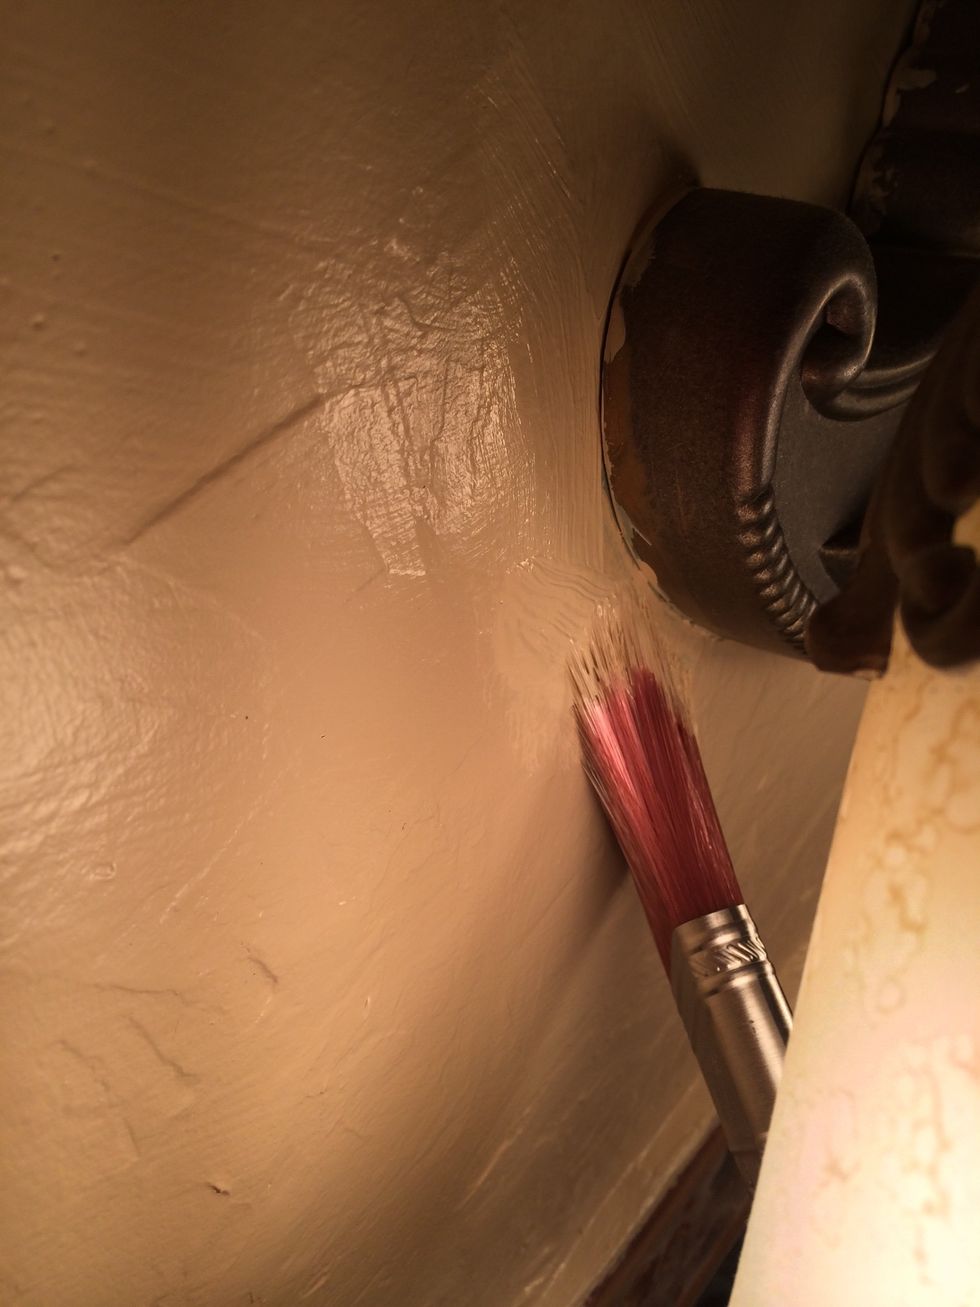
If you must use a brush, use an angled one and work slowly pulling the paint gently towards the spot you are trying to paint.
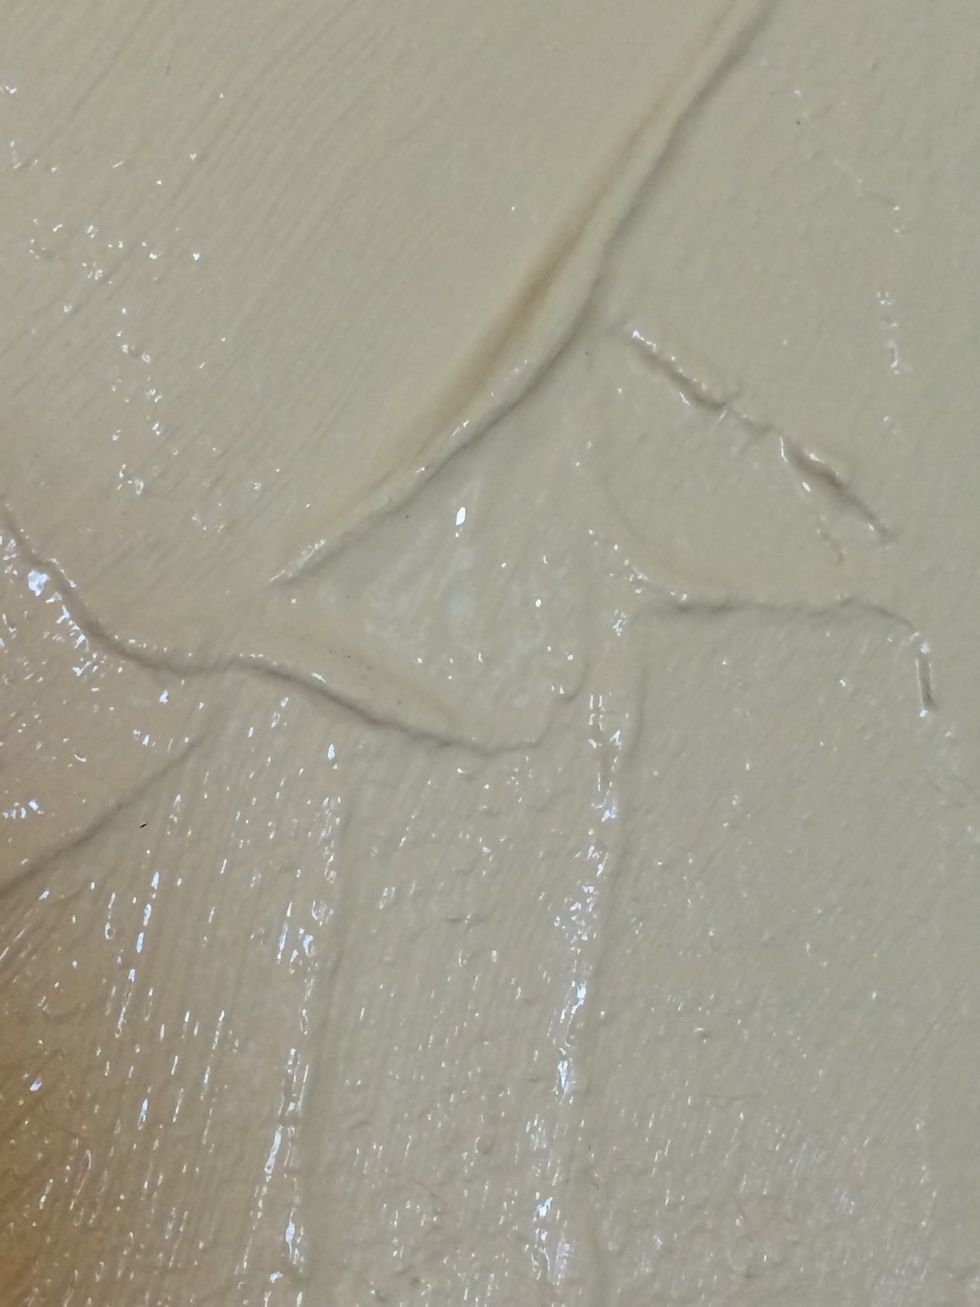
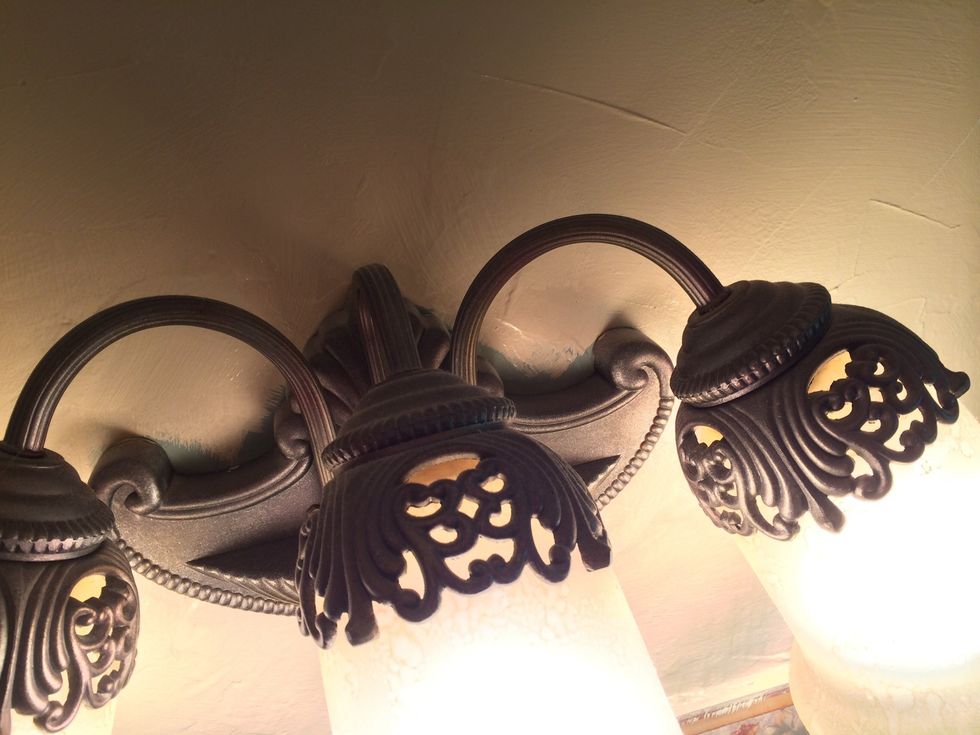
Sometimes you will have heavily textured walls to paint.
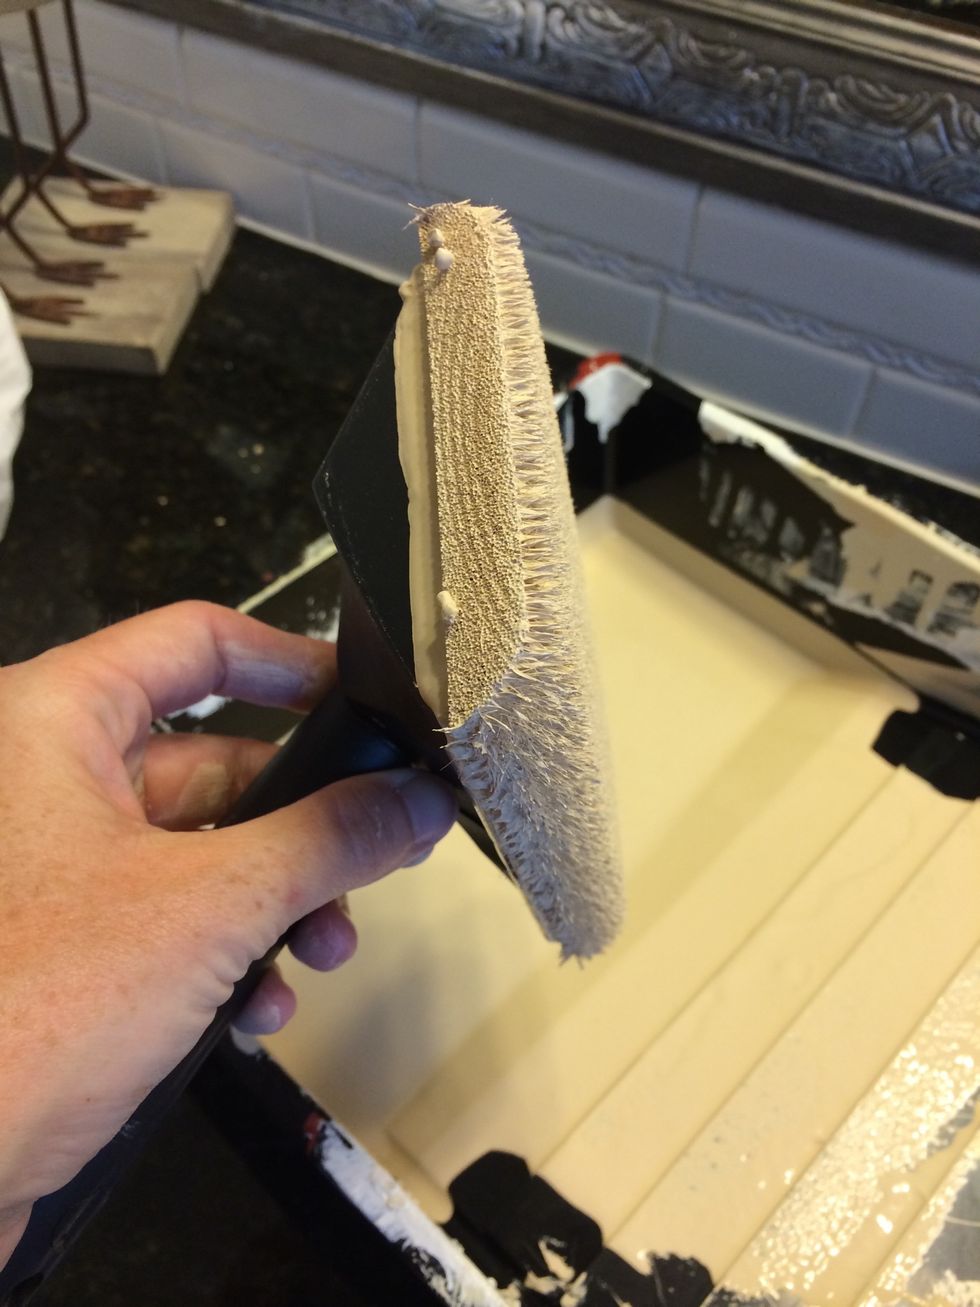
If so, get a brush/paddle designed for rough textures.
As you get close to the end of the day, try to use all of the paint in your tray. Then LEAVE it sitting out! Let the paint dry overnight in the tray. The next day, pull an edge of the dry paint up.
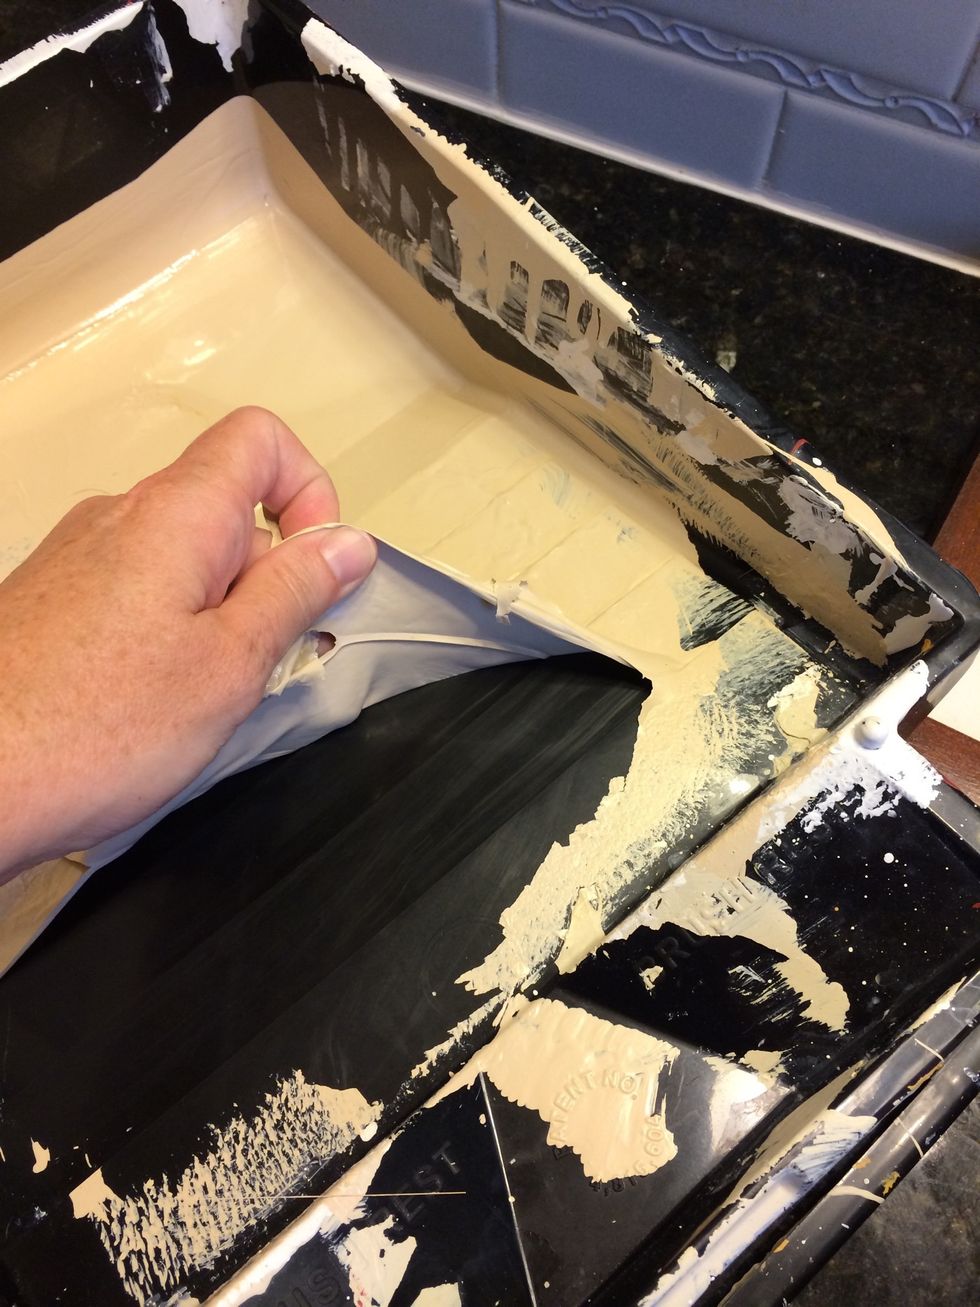
Peel the dry paint up.
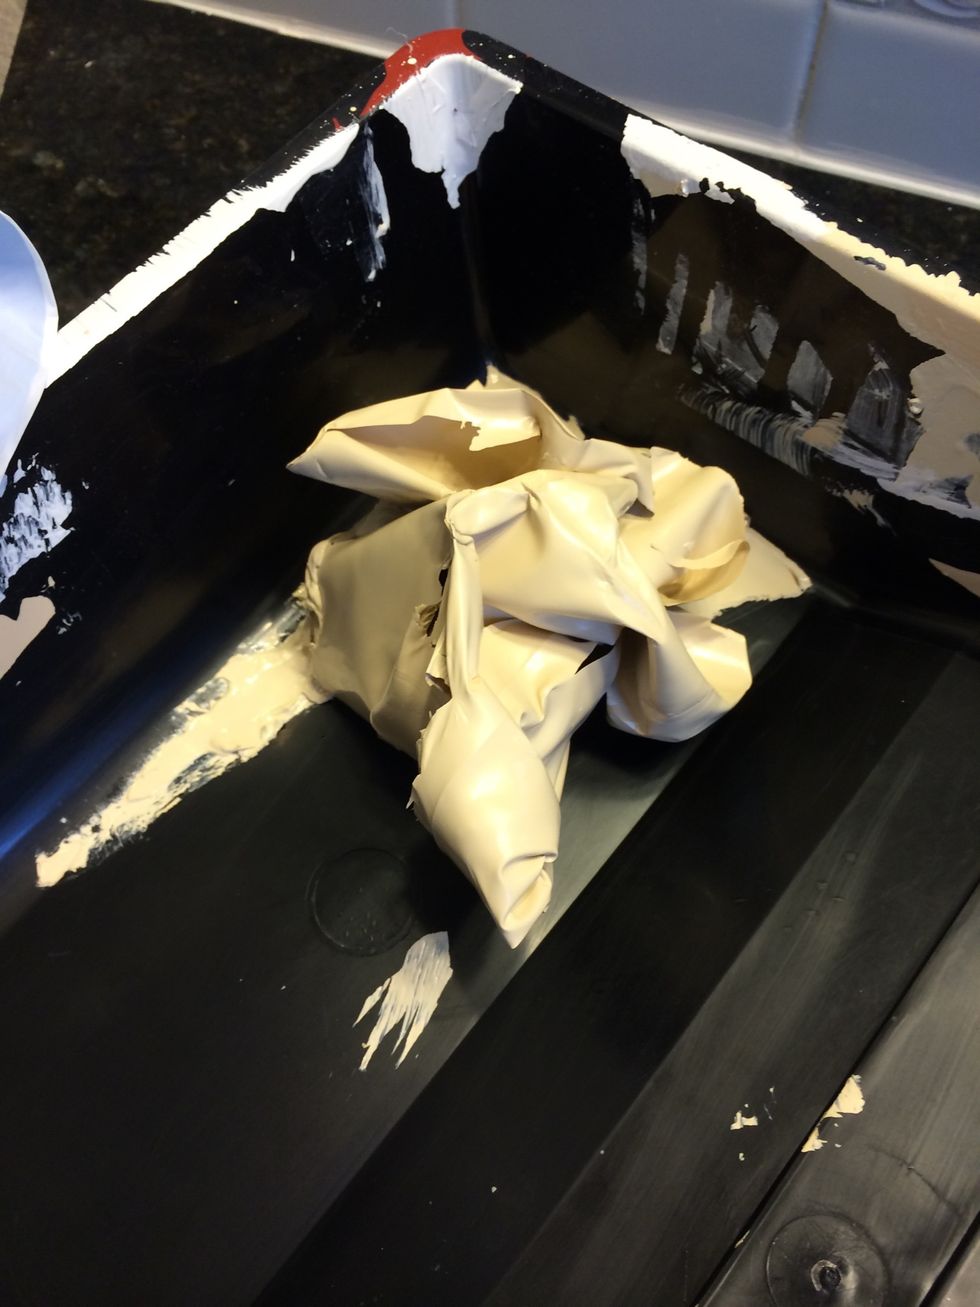
I roll it in on itself so the little bit of paint that is not dry is inside the ball of dry paint. Throw this away.
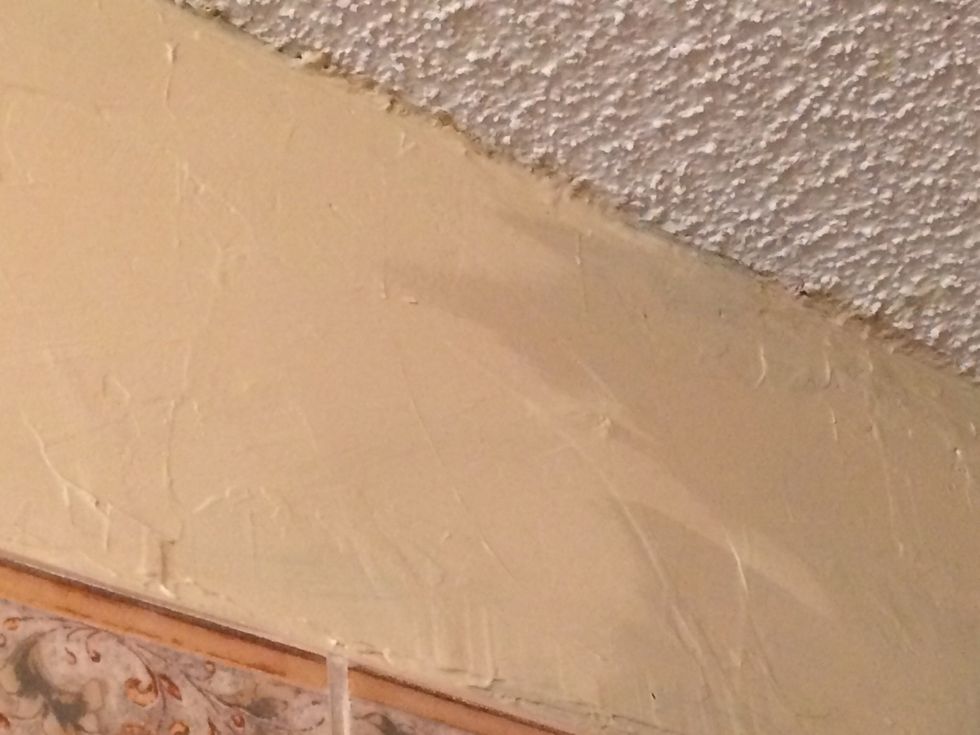
Continue painting! Make sure that if you drip you clean it up with a paper towel right then. Don't wait! And as gross as it sounds, a little spit on the paper towel works great.
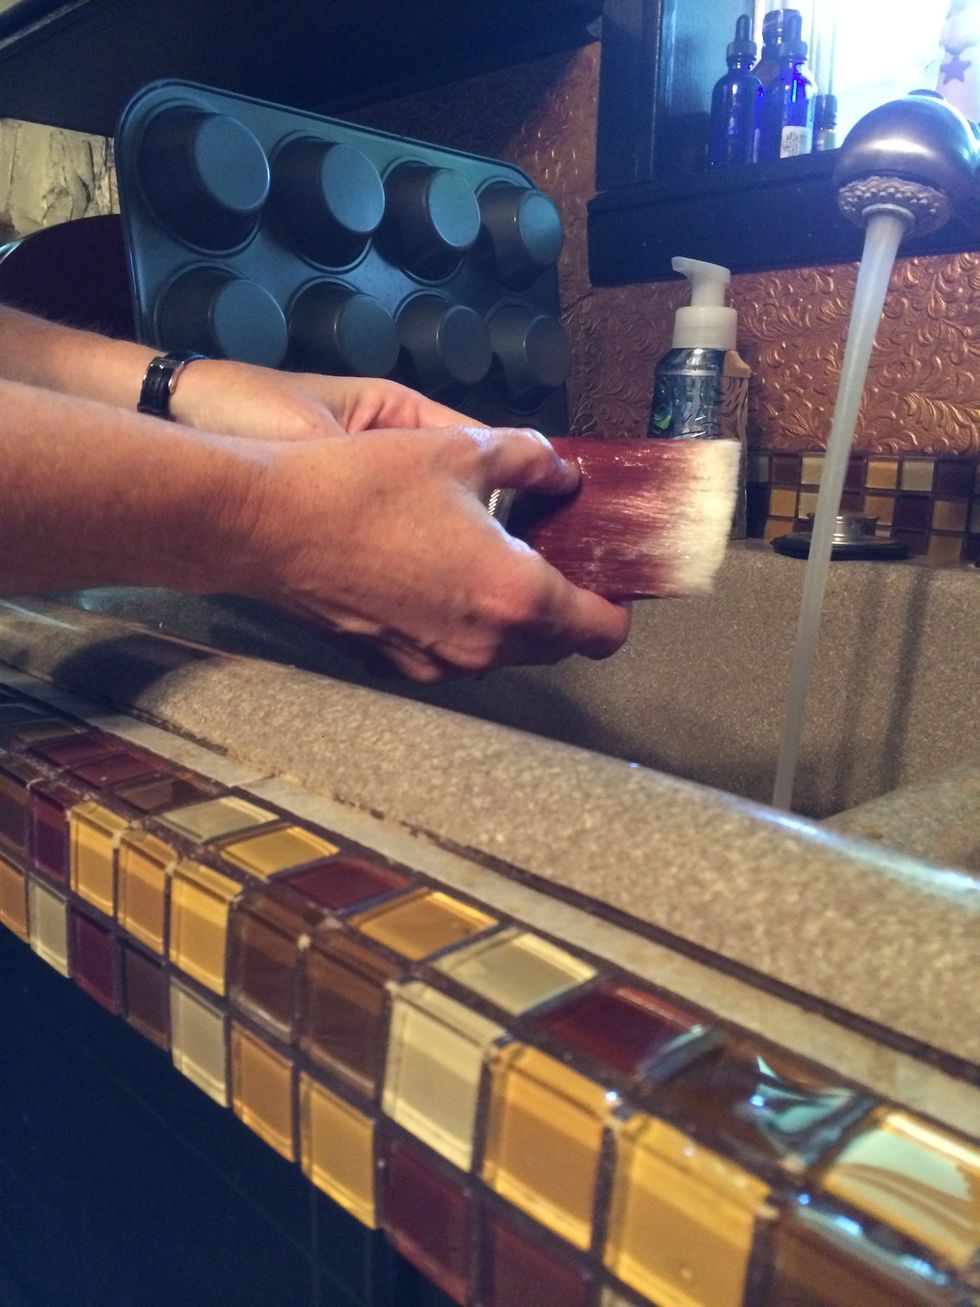
Now it's time to wash the brushes. Use WARM water, not hot and dish soap and rub the soap into the brush. "Paint" one hand using soap and rinse. Continue this until the brush is clean.
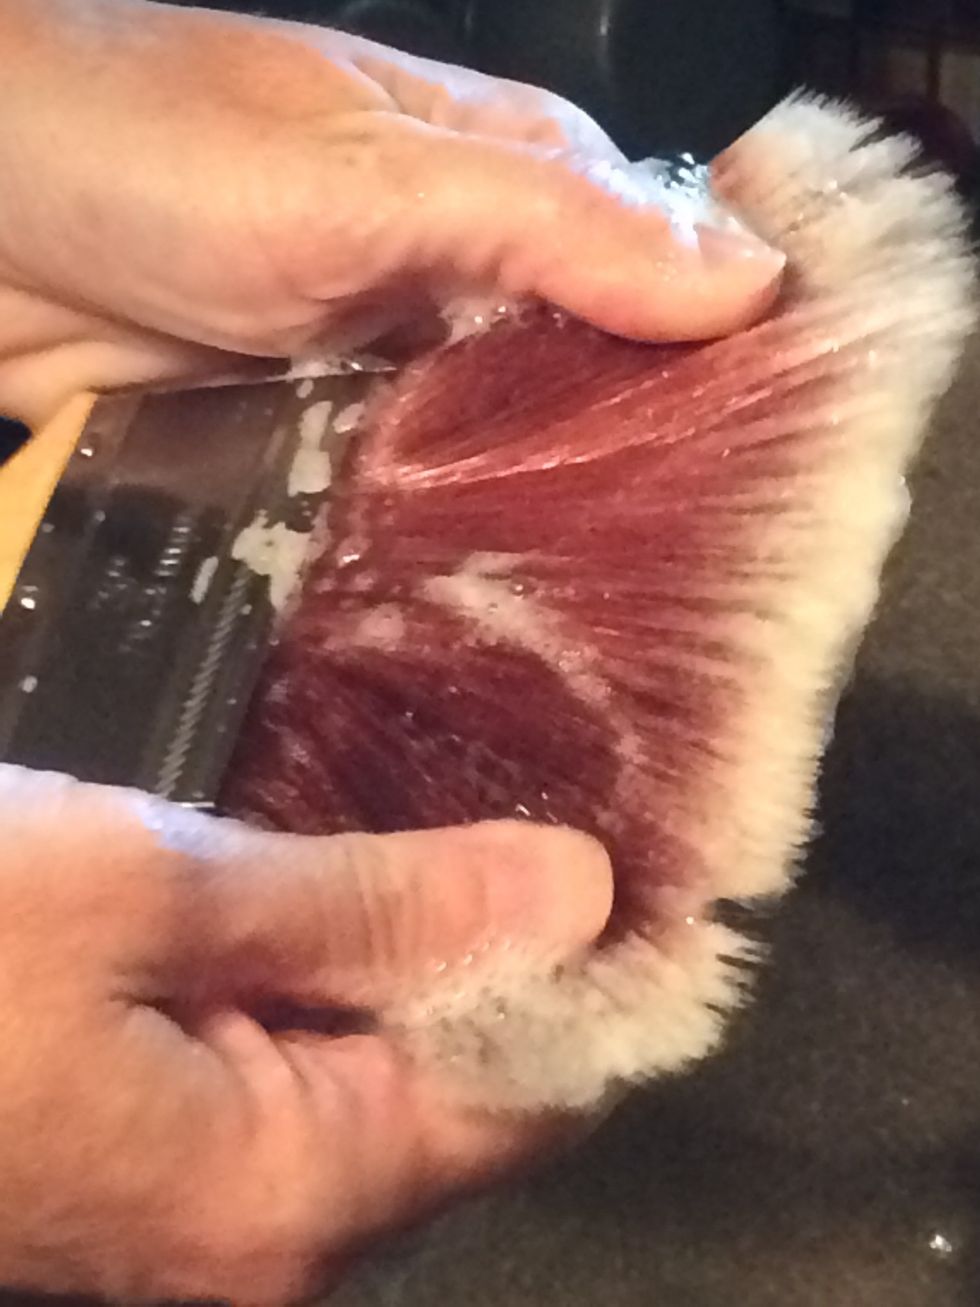
Your brush should NOT have any paint left in it when you are finished!
This brush was used for 2 days and spent the night in the refrigerator. Once clean, the bristles are SOFT and flexible!

Finished. Enjoy. www.faithhopeandart.blogspot.com